Hello and Happy New Year! I hope you had a wonderful holiday season. Are you ready to get back to the daily grind? My daughter has been waiting all Christmas break to go back to school.
Seriously.
What a nerd.
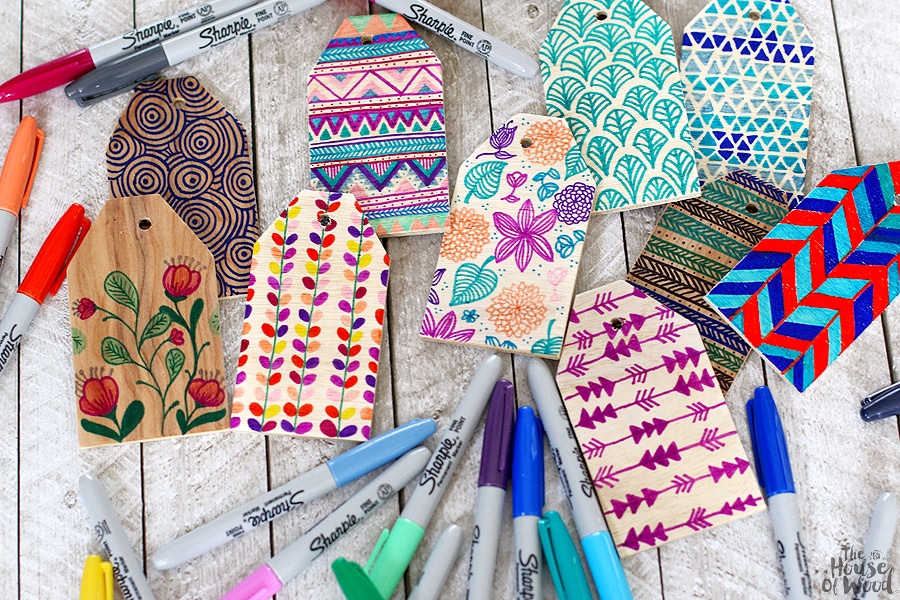
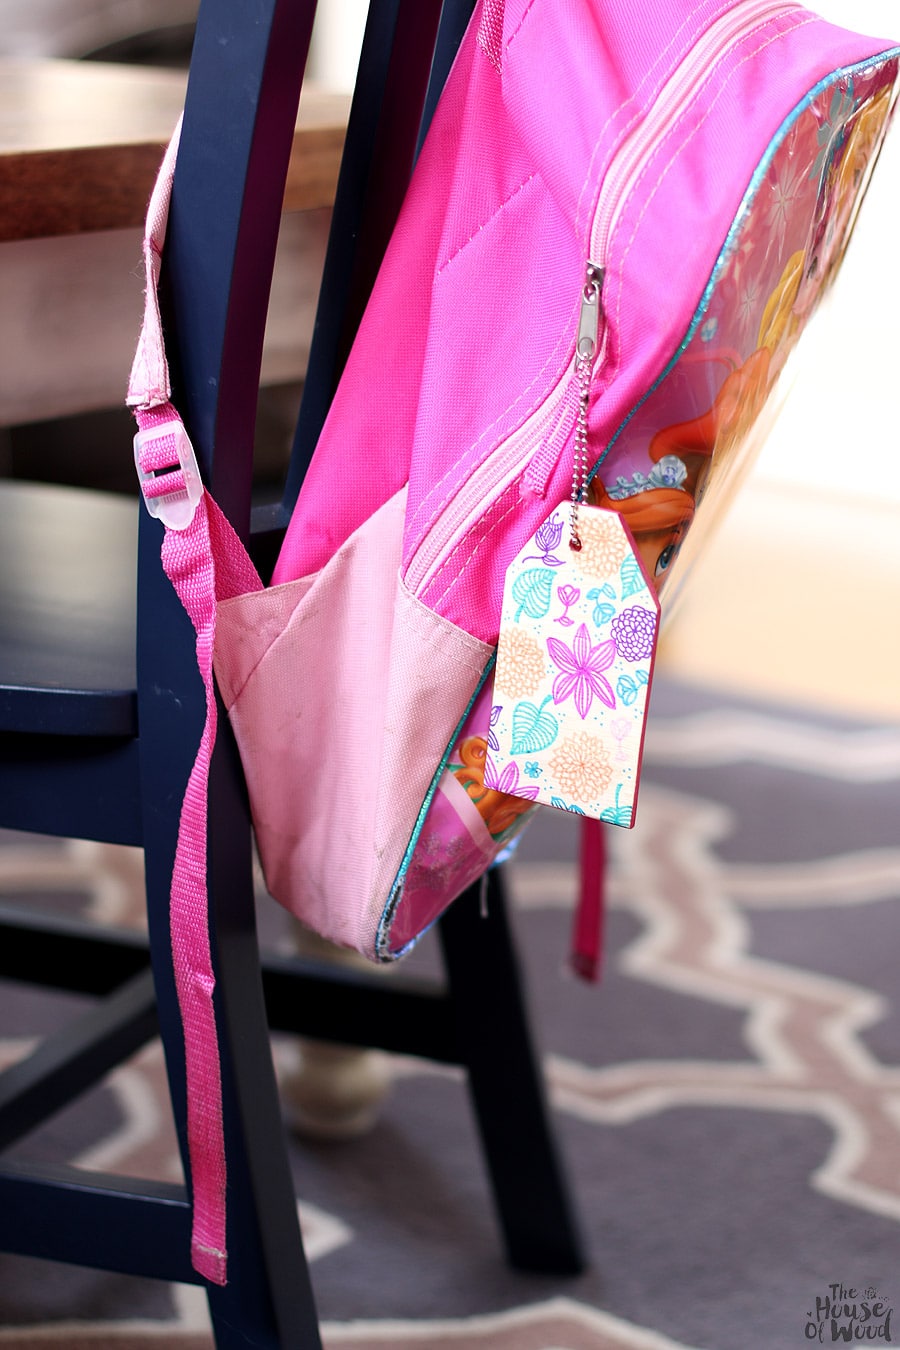
But then again, she is in Kindergarten and it’s always a party in K5, so I can totally understand her enthusiasm. We made these DIY backpack name tags for her classmates, as a “Welcome back! I’ve missed you!” back-to-school gift. So now, my daughter is even more excited to get back to school since she’ll come bearing gifts for her miniature-sized posse.
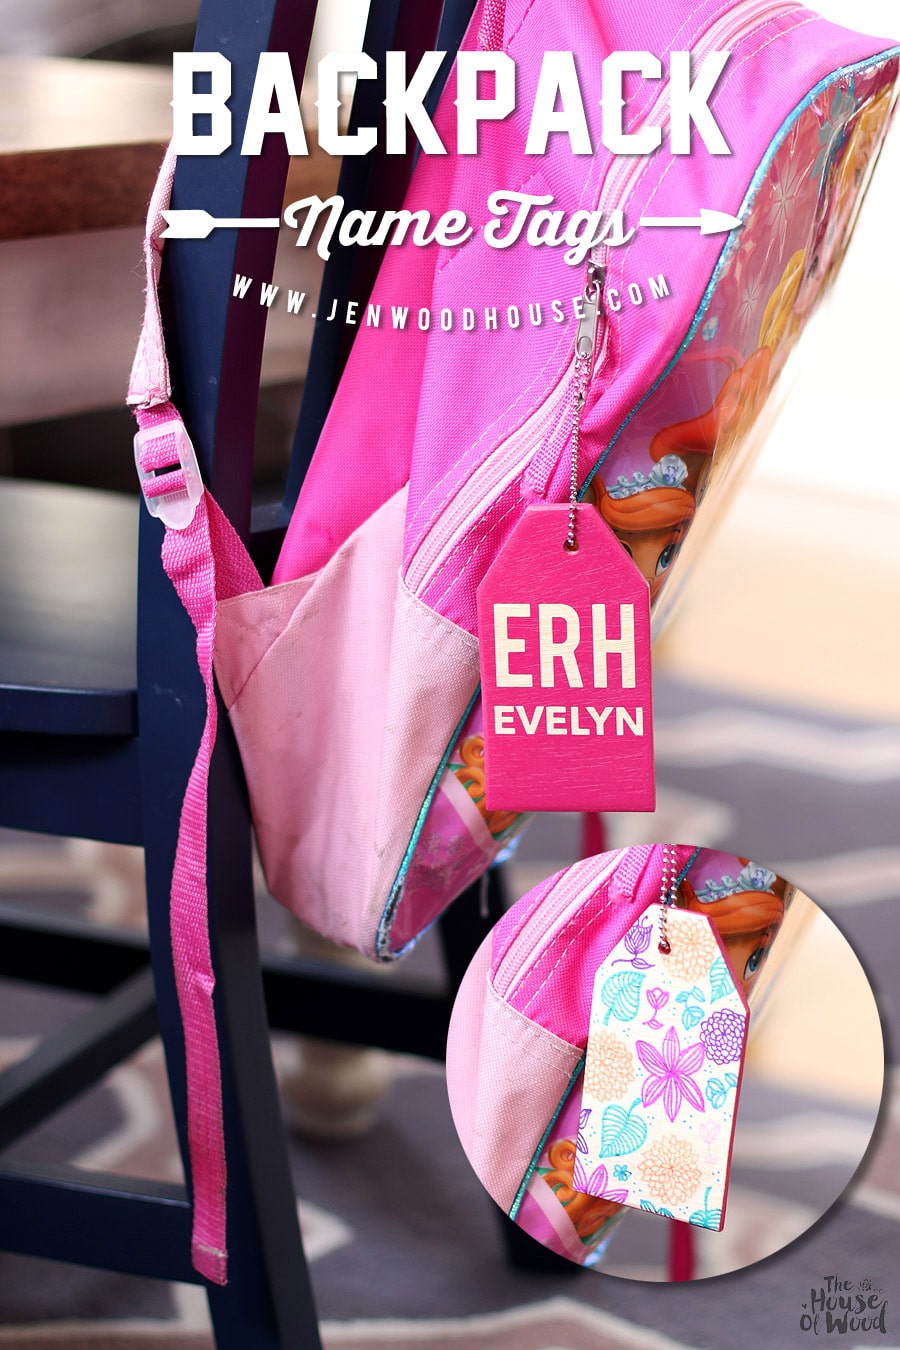 Would these cute bag tags get you excited to go back to school?
Yeah, me neither.
Kids are weird.
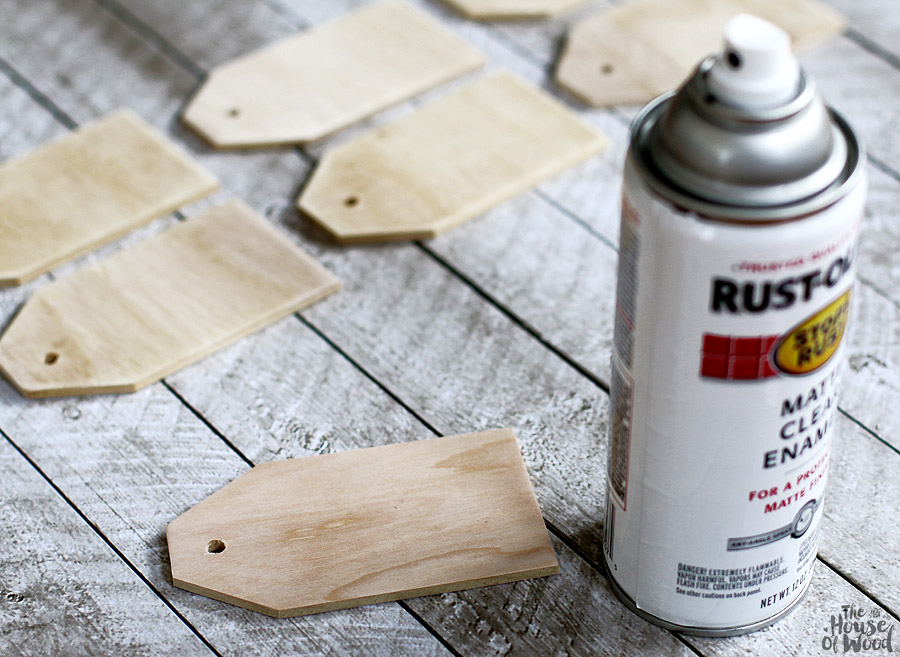
But I am super excited to team up with Sharpie and Staples for this fun back-to-school craft. First, I cut these little tags out of scrap 1/4″ plywood, then sanded them down with 220-grit sandpaper. I cut up scrap wood for this project because I have a never-ending pile growing in my workshop, but you can buy similar wooden tags at the craft store. After all the tags were cut and holes were drilled, I sprayed a light coat of polyurethane on both sides. This helps ‘seal’ the wood so that the Sharpie markers don’t bleed into the fibers of the wood.
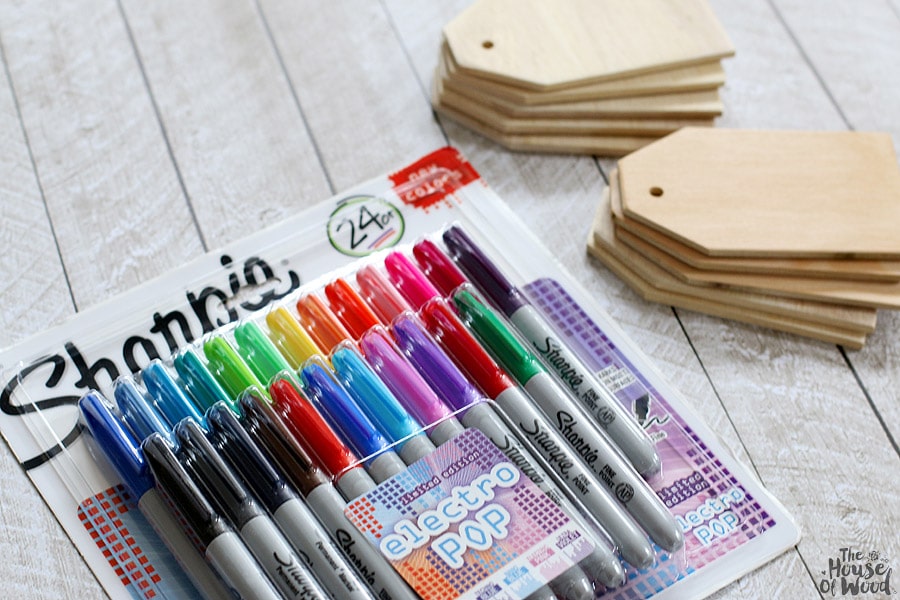
 I picked up a 24-pack of these ‘electro pop’ Sharpie Fine markers at Staples for $10. The 12-packs are $6 this week and they’re running a ‘buy 2, get 1 free’ deal on all Newell writing instruments (while supplies last). Aren’t they fun? I love all the bright colors!
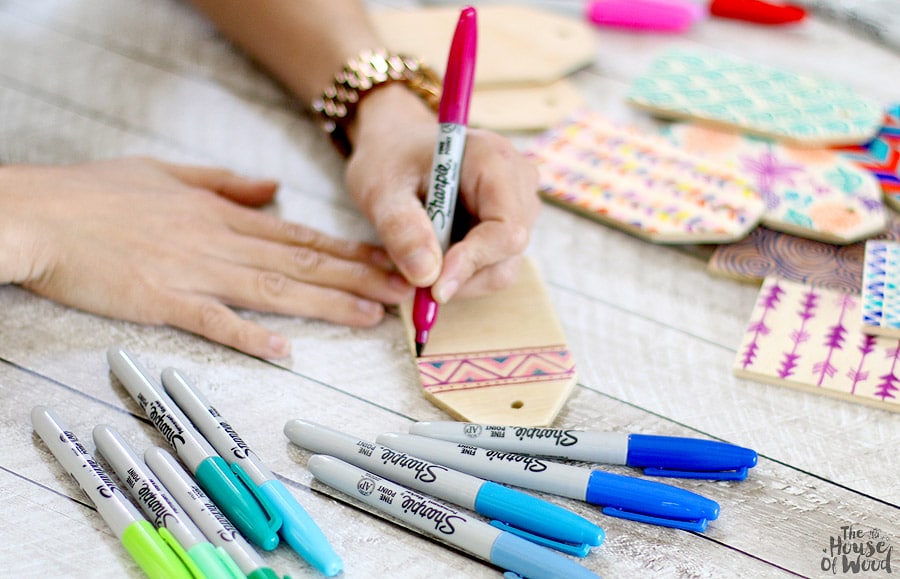
 Permanent markers and a kindergartner.
Yeah, I like to live dangerously.
(But not too dangerously, hence the kraft paper I taped down to protect my dining table. I mean, I’m not insane.)
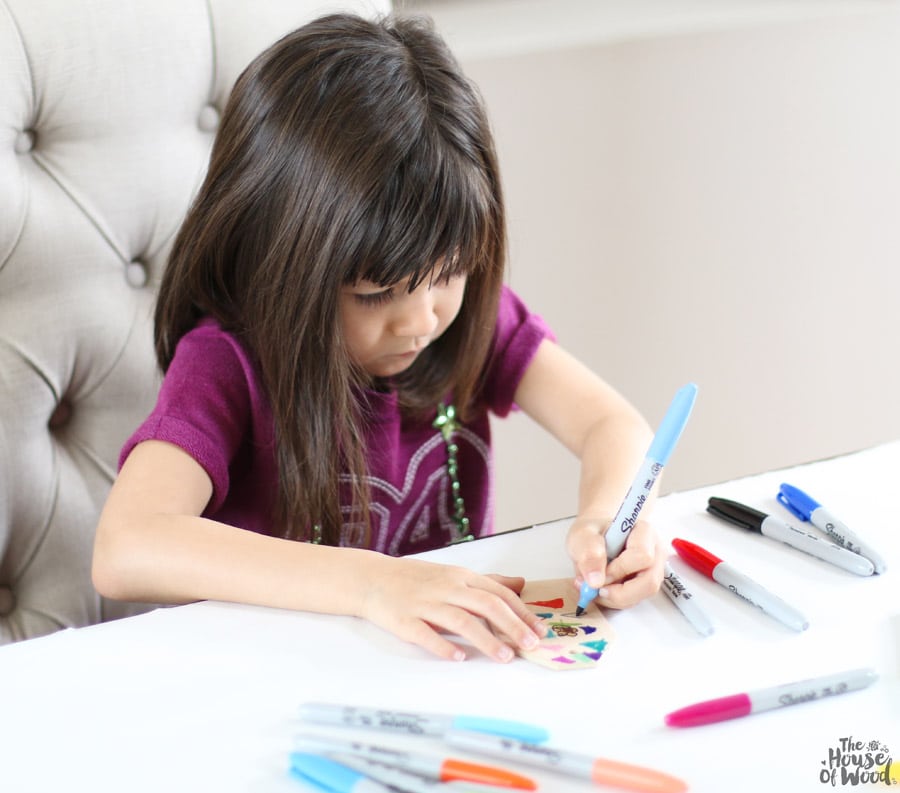 My girl and I had a blast decorating these DIY backpack name tags. I’ve always been a chronic doodler and I have a feeling she will be too. On an unrelated note, we’re both lefties.
 I wanted the other side of the name tags to mimic an airport luggage tag, so I used my Silhouette Cameo (electronic cutting machine) to cut out the kids’ initials and names on adhesive vinyl then stuck it on the tag. Then I sprayed it with a very light coat of spray paint, waited until it was dry to the touch, then peeled away the vinyl to reveal the bare wood underneath.
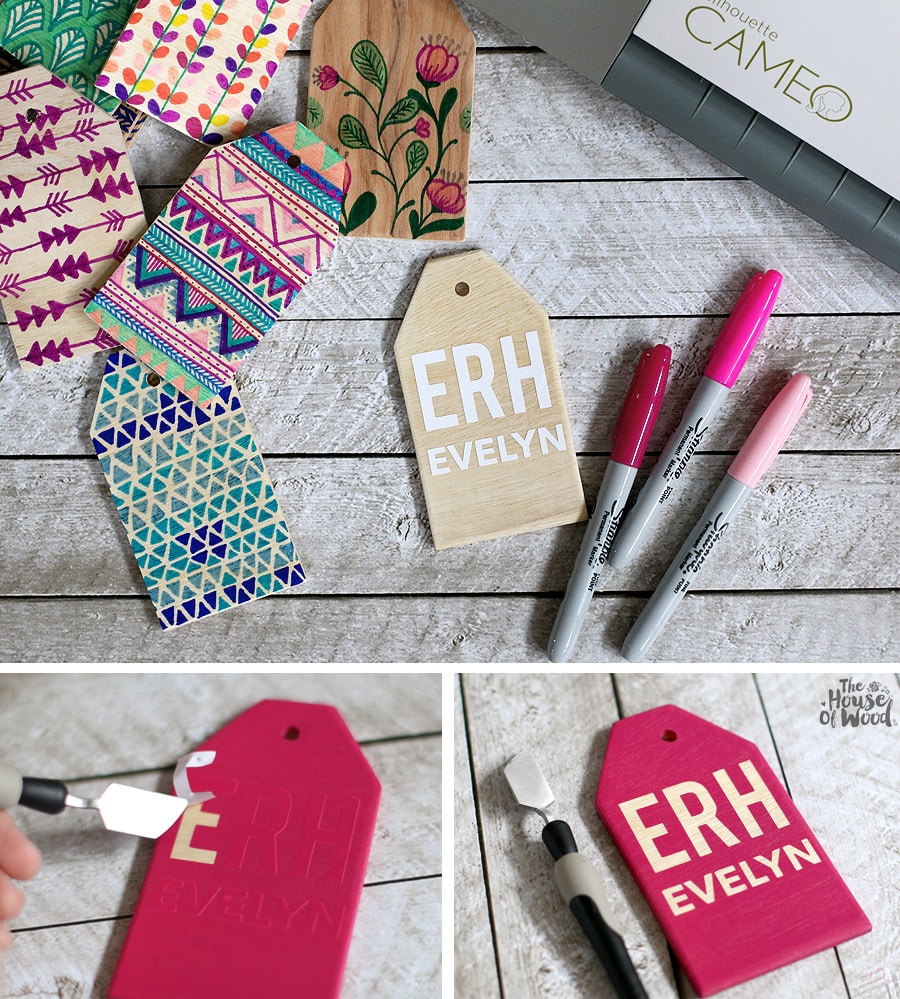 Of course, you don’t need a electronic cutting machine to achieve this look – you can simply hand-draw or paint the personalization on or use a stencil. I chose to use my machine because it was fast, easy, and precise – and because I have the handwriting of… well, a Kindergartner.
 Thanks for reading, friends! If you love these DIY backpack name tags, please PIN and SHARE this project! Happy New Year – I’m wishing you all the best in 2016!
 *This post is part of a social shopper marketing insight campaign with Pollinate Media Group® and Newell Rubbermaid, but all my opinions are my own. #pmedia #stockup4schools http://my-disclosur.es/OBsstV
What a super cute idea!!!
LOVE this idea Jen! And so simple with markers…can’t wait to try it!
Such a great idea! I’ll make them with the kids for sure!