Inspired by the ever-crafty Sherry over at one of my favorite blogs, Young House Love, I decided I wasn’t quite done with my dresser drawer project. Sherry gives a great tutorial on how to line your dresser drawers, which I followed to a tee. Only, she makes it look easy. My experience? Wrinkles and bubbles became the bane of my existence. But we’ll get to that in a bit…
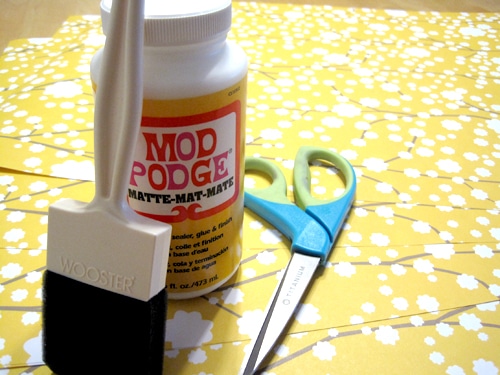
Here are my lovely sheets of gift-wrapping paper, waiting to be cut down to size:
What is it with my obsession with yellow lately?
The cast of characters:
Looky there. I just realized I’ve been calling it “Modge Podge” all these years and it clearly says “Mod Podge” on the label. Huh. Well, ya learn something new…
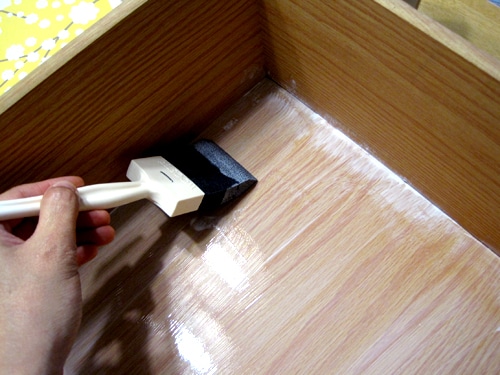
Anyway, I applied a thin, even layer of Mod Podge (a 100% non-toxic, water-based sealer, glue, and finish – love the stuff!) to the bottom of the drawer with a foam brush:
Then, I tried several different techniques with each drawer because my first attempt was nowhere near perfect. On the first drawer, I applied Mod Podge to the entire bottom of the drawer, then placed the paper into the drawer, working from the center out. A few wrinkles here and there, but nothing to obsess over.
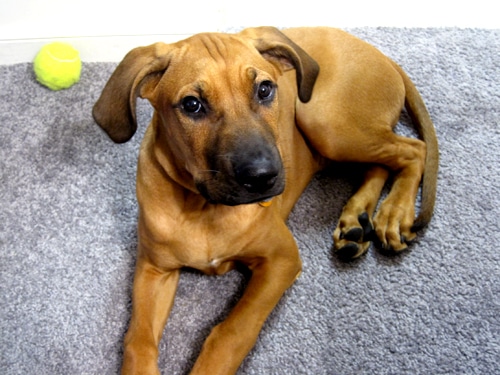
Of course, I would have preferred it to be perfect, but I was in a bit of a hurry. This little guy was giving me hell about not taking him to the dog park on this beautiful day. That’s a look of disdain if I ever saw one.
Then for the 2nd drawer, I applied Mod Podge only to half of the drawer, laying the paper down from right to left and smoothing it out as I worked. Then, as I got to the middle, I applied more Mod Podge to the rest of the drawer and continued to smooth the paper down to the other end. Less wrinkles. Cool, we’re getting the hang of this.
I Mod Podge’d the 3rd drawer (and getting a little frustrated at this point) and dropped the paper in willy-nilly, smoothing it out from end to end. Wow. Whatdyaknow. When I act like I don’t care, the paper behaves. Interesting. No wrinkles! But crap. There’s a bubble. Son of a… !
Watson, at this point, is whining and ordering me to stop crafting and pay attention to him. I bribe him with a dog treat. That doesn’t buy me a whole lot of time, so I hurriedly finish the last three drawers and let everything dry while he and I break for recess.
After coming home from the dog park, Watson graciously allows me to pick up where I left off. The drawers are good and dry by now, so I brushed on a thin, even coat of Mod Podge over the paper to seal the whole thing up.
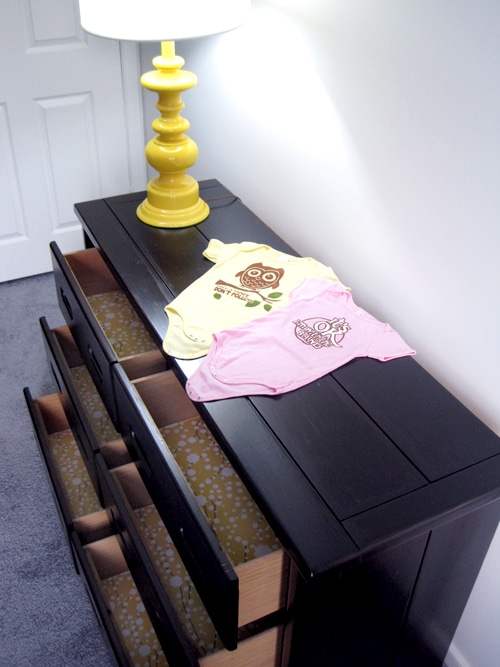
And voila! Won’t that be a sunny surprise when reaching in for Eggroll’s clothes?
I used gift wrap to line the drawers, but you could use anything, really. Sheet music, fabric, vintage maps, pages torn from your favorite novel… the possibilities are endless! Well, not endless. I mean, you couldn’t use chocolate chip cookies or anything, but wouldn’t that be a tasty treat? Hm. Maybe not so tasty covered in Mod Podge. But… I digress.
Next up: lining the drawers in the bureau I just refinished. This time, however, I’ll choose a heavier, glossy paper in hopes it won’t wrinkle as much. Fingers crossed!


I totally say "modge podge" too. Hmm I really thought that’s what it was!
I just clicked through to your blog from DesignSponge and thought I’d say hi! Your projects are fabulous… I, too, was amazed when I saw this project on YHL because I can never get my papered modge podge thingies to lay flat… maybe there is hope for me, too!? Also, Watson is adorable… I could see how you could be easily distracted by him…
a tip – when you have bubbles, take a pin and poke a teeny pinhole in the paper. the air of the bubble comes out, and you can flatten the paper. you can’t see the pinhole after the paper is flattened down.
Looks lovely!
Your blog is great! I just came over from YHL. I want to give you a heads up that Mod Podge stays a bit tacky even when it is dry. It is recommended to spray a few coats of clear acrylic sealer on top so it wont feel sticky. I don't work for them or anything, but I use Mod Podge a lot! This link is helpful.
http://modpodgerocks.blogspot.com/2009/07/mod-podge-formula-guide-youve-been.html
nice dresser DIY!
This is adorable! Where did you get that wrapping paper? I would like to do the same thing but have that paper as the back/inside of my bookshelf. Thank you!