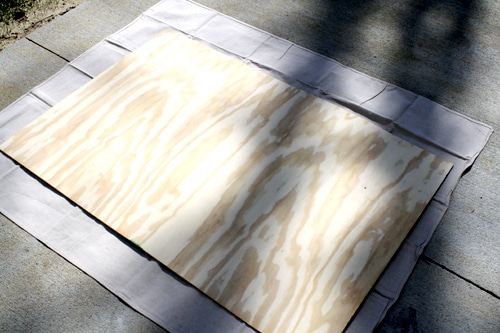
So I’m just a little bit obsessed with chalkboard paint these days. I had some extra pieces of plywood collecting dust in the garage from my DIY headboard projects, so I decided to put it to fun use.
1) First, I broke out my trusty palm sander and sanded one side of the plywood (with the grain of the wood) with a fine grit 220 sandpaper to make the surface as smooth as possible. Then I wiped the board down with a damp cloth and allowed it to dry.
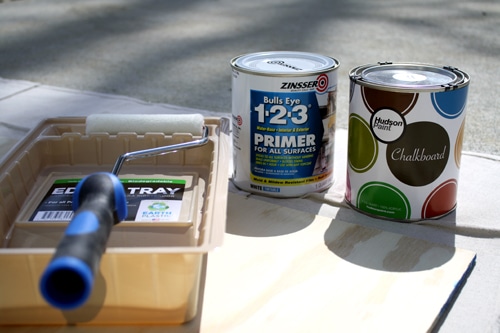
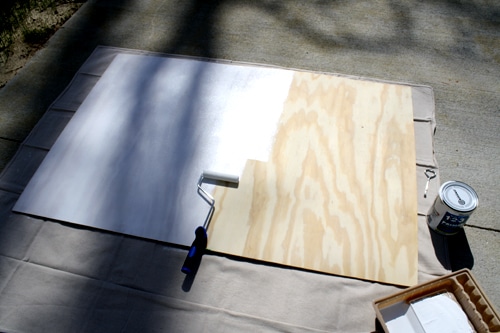
2) Second, I primed the surface with two coats of Zinsser primer and let it dry overnight.
3) Then I rolled on a total of three coats of Hudson colored chalkboard paint (Aquagirl Blue – zing!). And per Hudson paints’ recommendation, I used a 1/4″ nap roller and allowed 3 hours of drying time between coats. Then after the final coat, I let it dry and cure for 48 hours.
4) Meanwhile, I bought some white trim from Lowe’s. I got a compound miter saw for Mother’s Day (yippee!) so I could miter the trim to make a frame for the chalkboard.
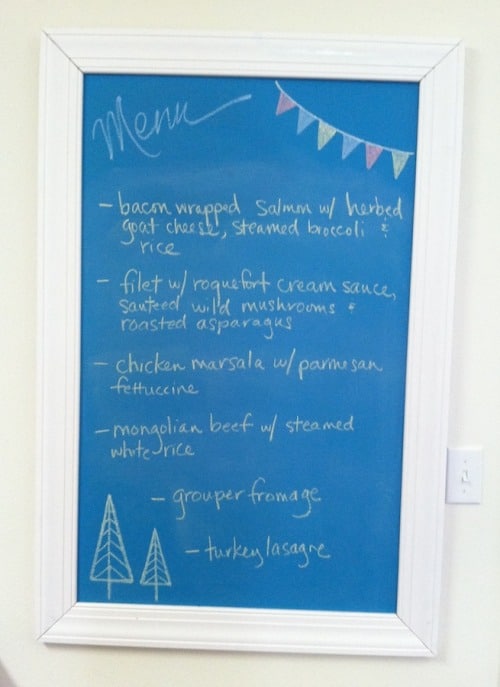
5) For the frame, I measured and cut the trim. Then I attached the trim to the plywood using finishing nails and wood glue. I hammered in the nails from the back, so the face of the trim wouldn’t be altered with nail holes. Then I used an artwork hanging kit (hooks and wire) and hung it on the wall. What a fun, turquoise chalkboard for our kitchen!


Jen, this is SUPER cute! I may have to try these for the kids rooms. I haven't been on your blog in a while so I am playing catchup. you are so crafty and i love getting ideas!
Lori 🙂
I have extra wood from my headboard project that I had cut to smaller pieces (still pretty large). Thanks for the idea! Now, I need to buy a cheap miter saw to make the frame…