God puts certain people in your lives and it’s an incredible blessing. Crystal is one of those blessings. Meet Crystal and her husband, Austin. Say hello, everyone. They’re ridiculously gorgeous, right? Though we’ve only known each other since January, our husbands hit it off and the four of us have become good friends fast. Unfortunately, due to the nature of the beast that is military life, they’re moving away in a couple of days. Their friendship has been such a beautiful gift to Adam and me, so we wanted to give them something to remember us by.
Since I’ve been on a building kick lately, and they’re about to move to a new home (wayyyy across the country… sniff, sniff), I decided to build them a coffee bar console table. Crystal pinned this photo from Pinterest, planning to create a coffee bar in her new home:
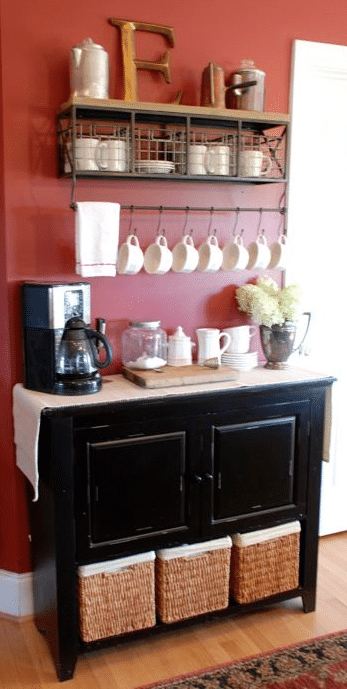
via The Vintage Wren
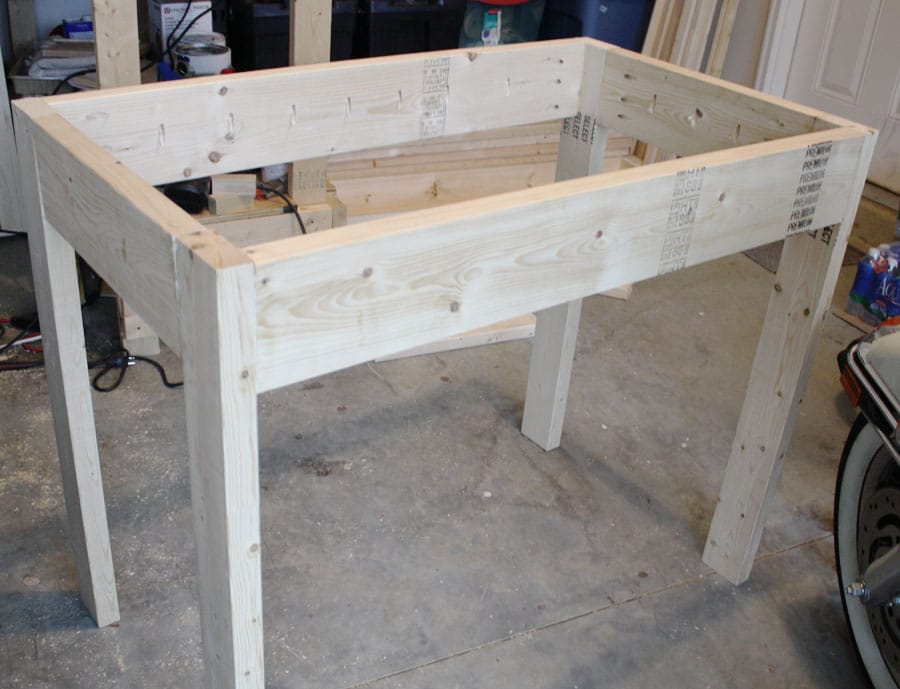
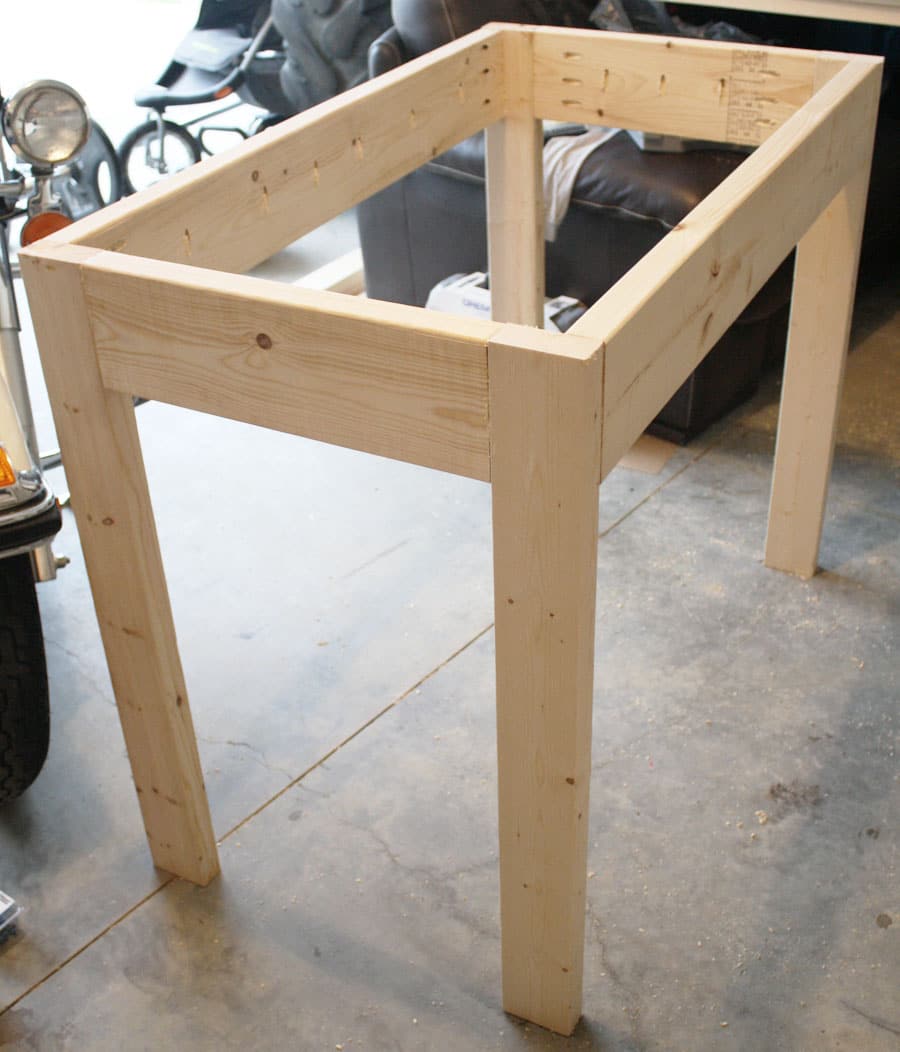
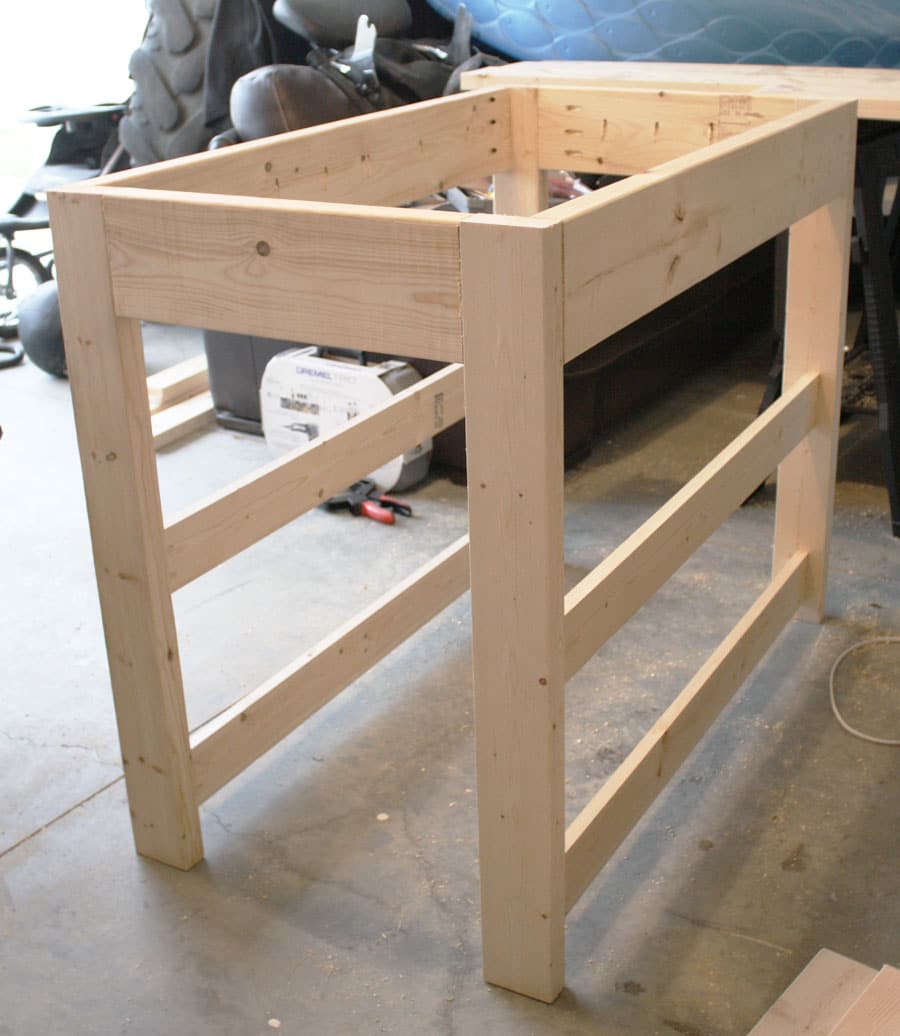
Super cute, right? So we decided to make her coffee bar out of Ana White’s kitchen island plans. I deviated from the plan a little, so my build differs from what’s written in the plan. We decided to shorten the table to 46″ length instead of 54″ to fit Crystal’s space. Also, instead of cutting all of my pieces beforehand, I cut my boards as I went along, to ensure there were no mistakes or wasted lumber. I built this table much like I built Evie’s play table. With the Kreg Jig set on 1 1/2″, I joined the legs and aprons together with 2 1/2″ pocket hole screws and wood glue:
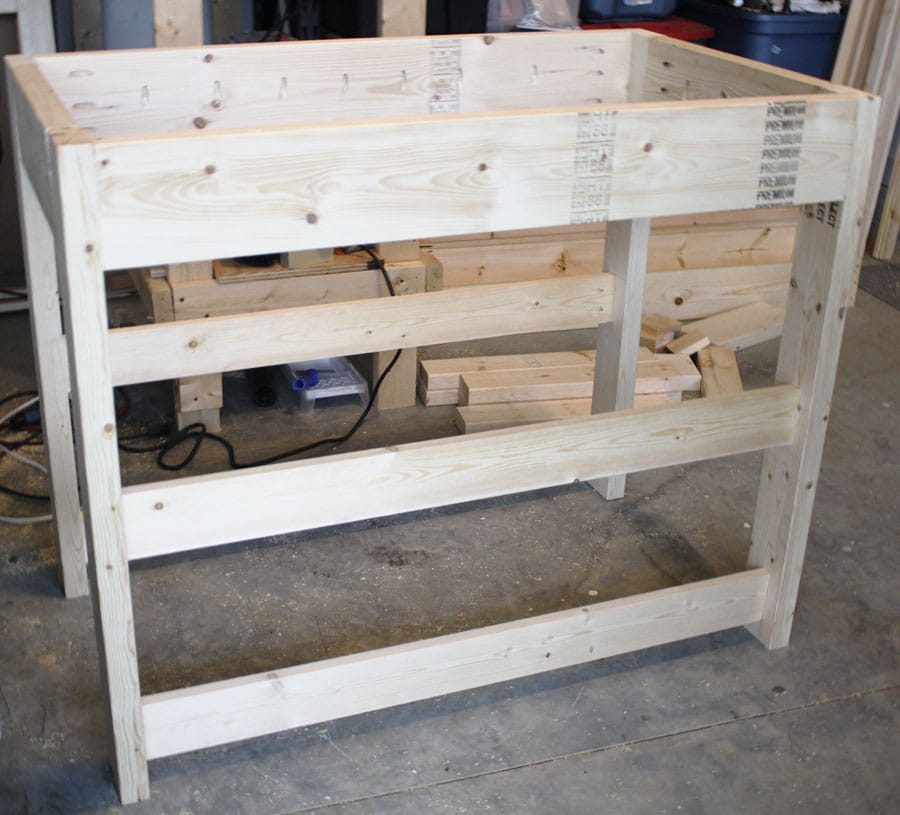
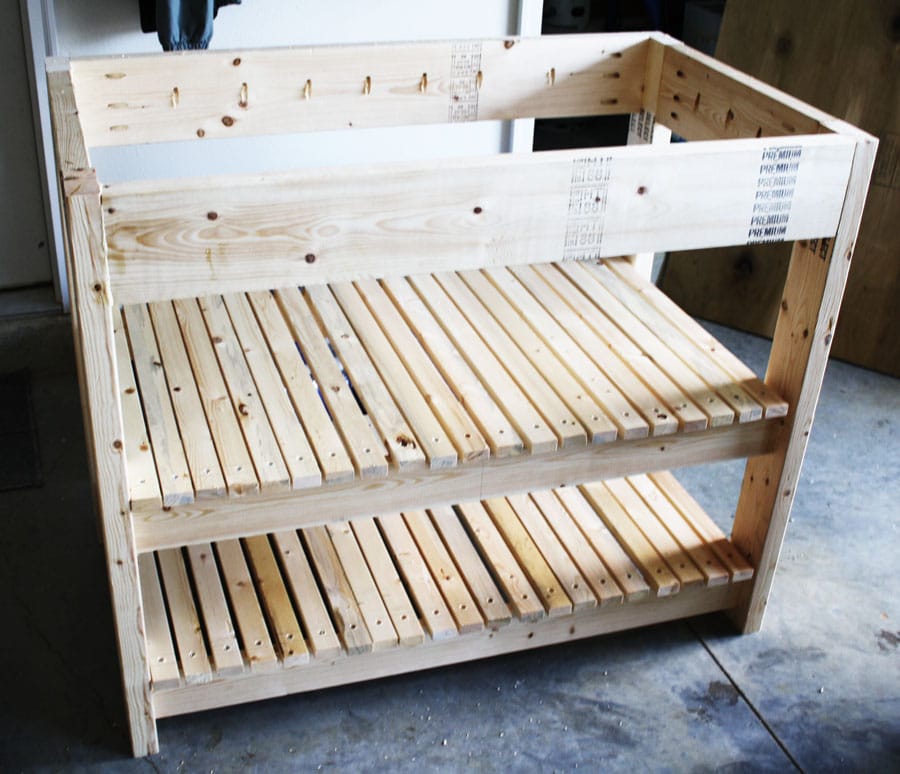
Then I put the Kreg Jig on a 3/4″ setting and attached the shelf supports with 1 1/4″ pocket hole screws:
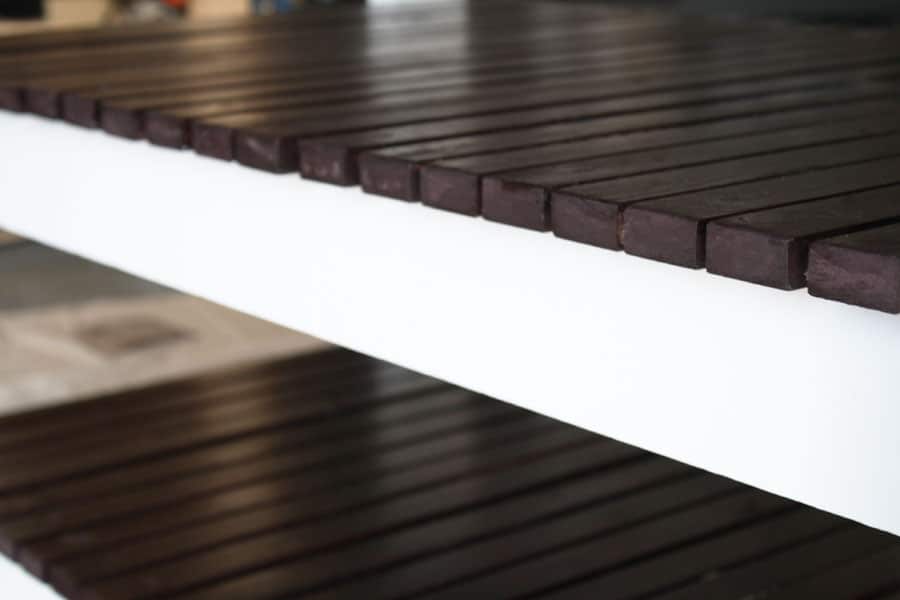
Then, I added the shelf supports, turning them so that the wide side was facing out. Because of this, I had to screw the shelf slats into the support from the top, instead of hiding my screws underneath. The screws had to be countersunk so it could be hidden with wood putty:
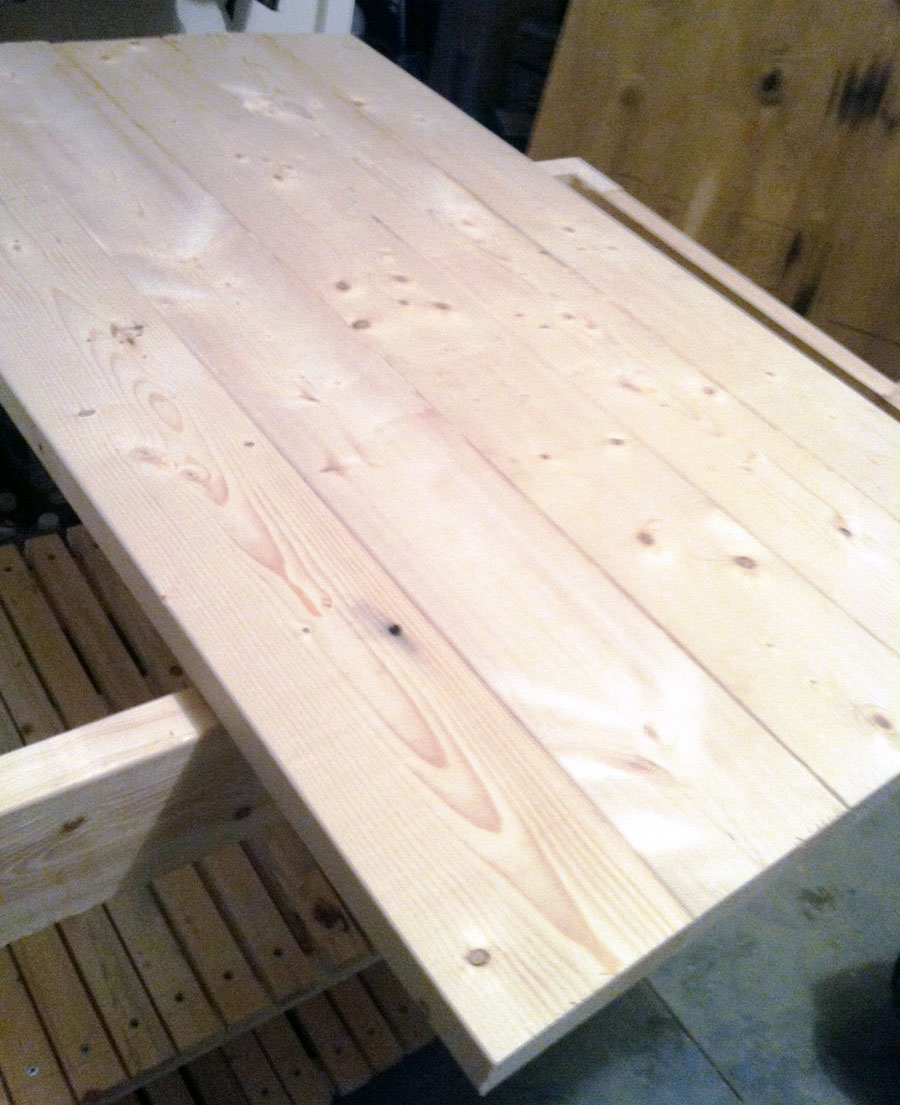
Then I built the table top by joining the 2×6 boards together with pocket hole screws:
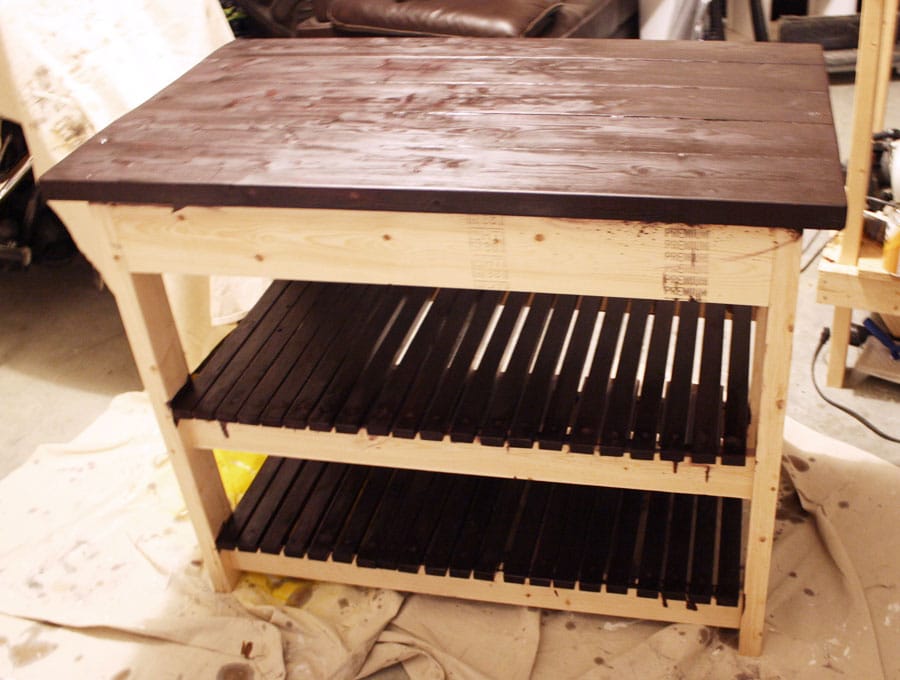
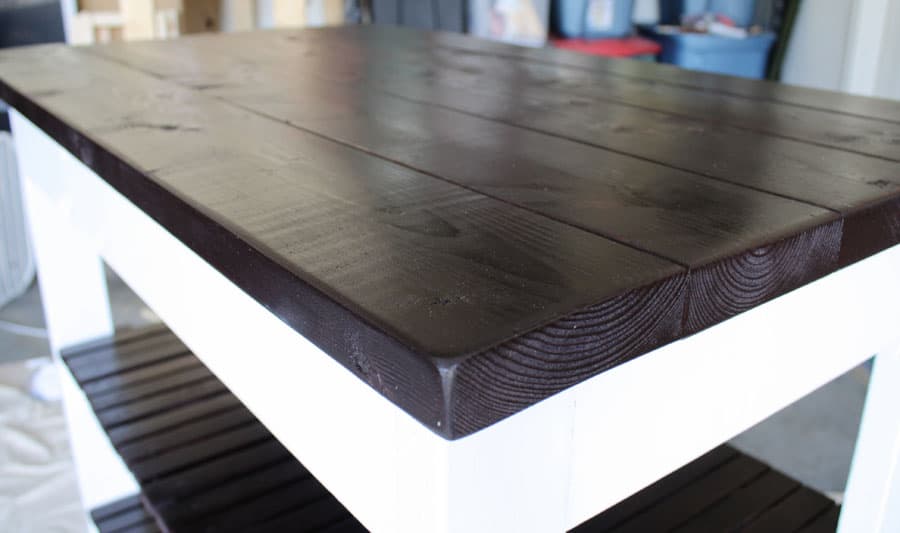
Then I attached the top to the base, with pocket hole screws and glue. After the table was built, Crystal and I worked together to finish the piece. Not only was it awesome to have the extra help, it was such a sweet time we spent together. We stained the top with Rustoleum Ultimate Wood Stain in black cherry:
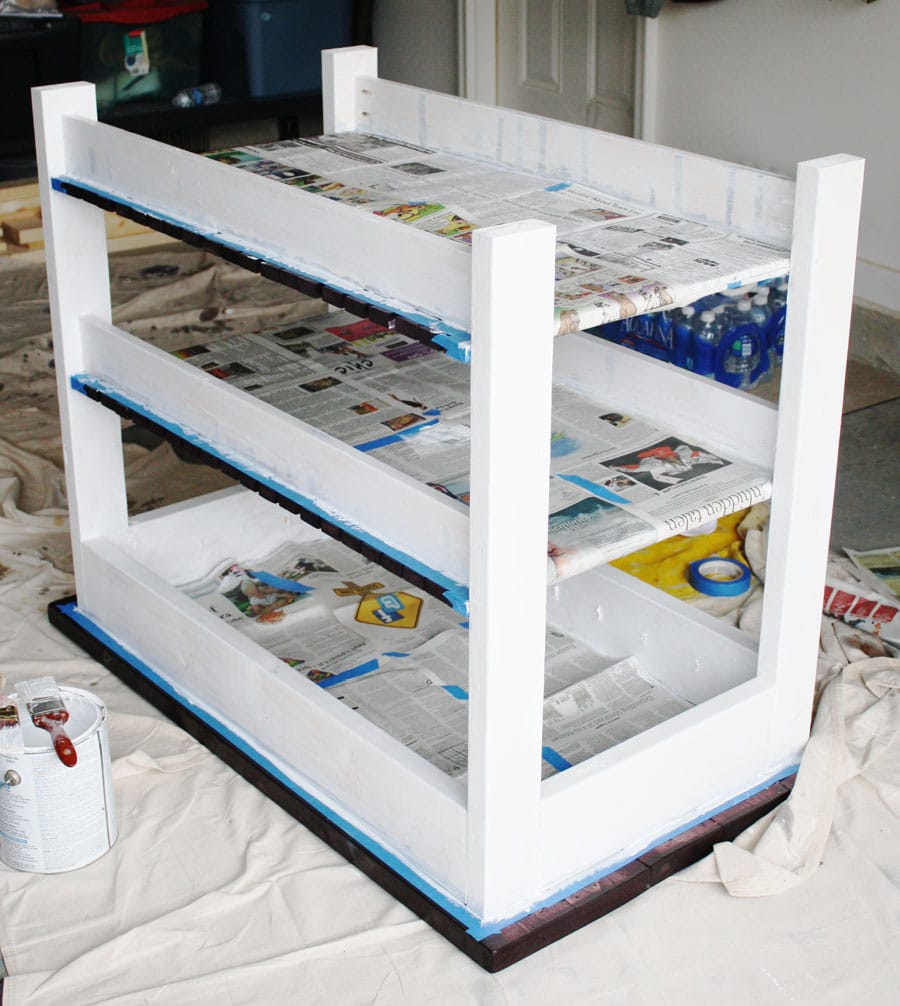
We let it dry overnight, then taped off the stained parts so we could prime the base:
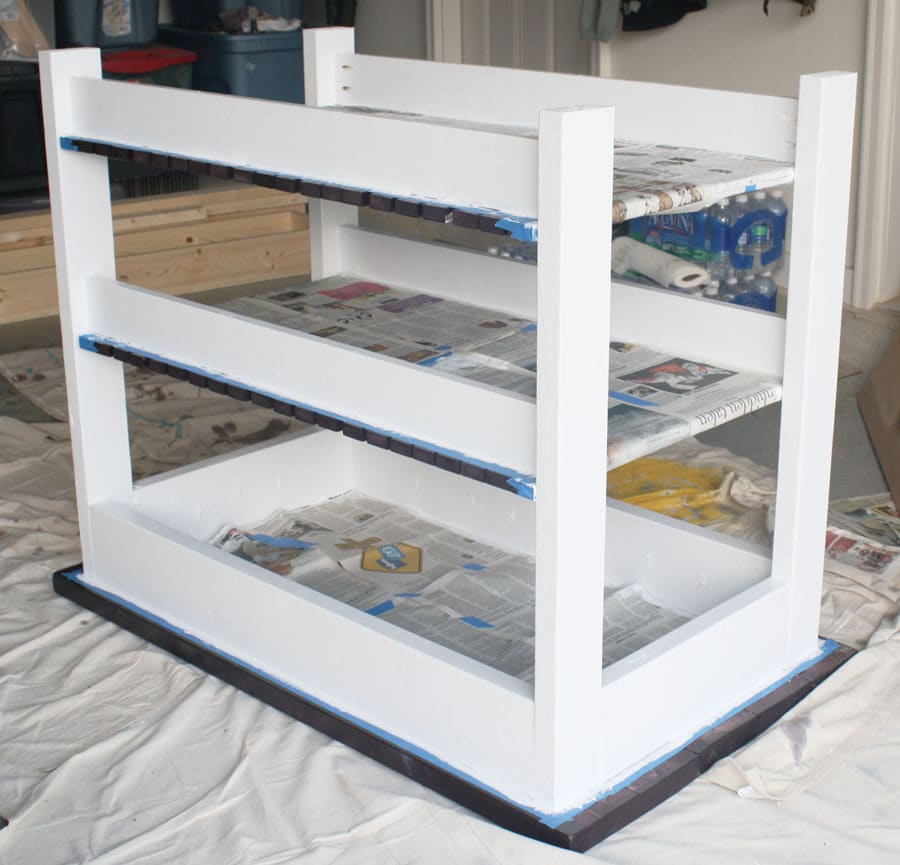
And here it is after a coat of white paint:
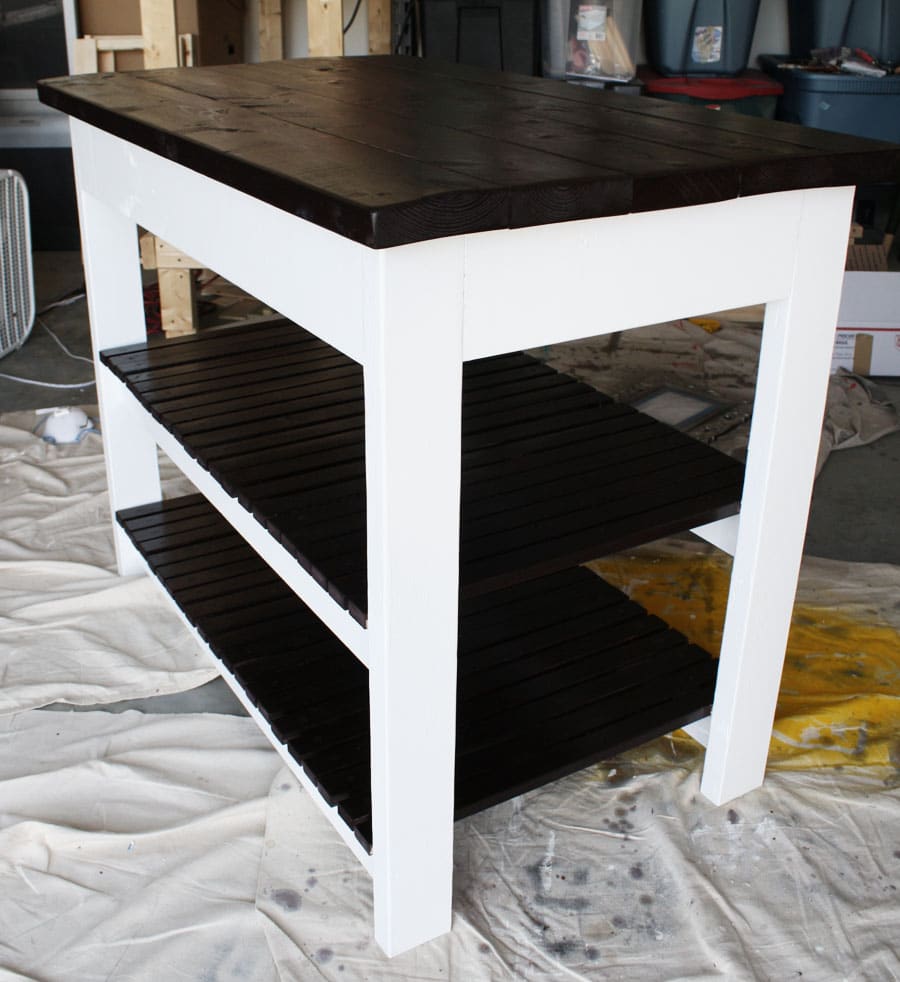
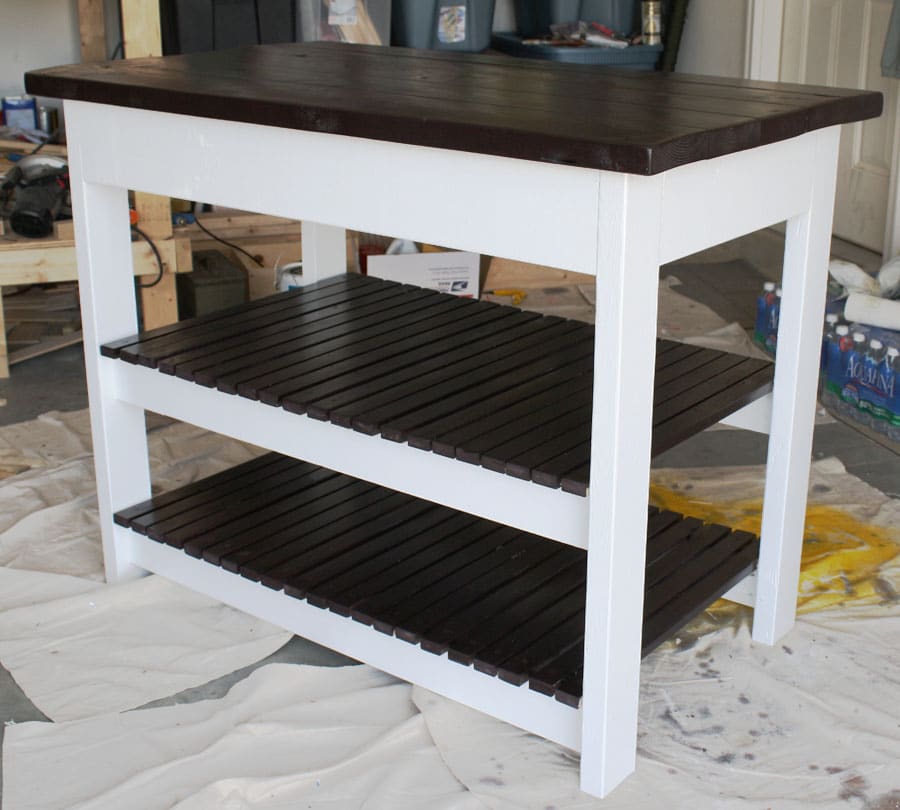
We added another coat of white paint and then coated the entire thing with three coats of Rustoleum satin polyurethane. Here she is, all done!
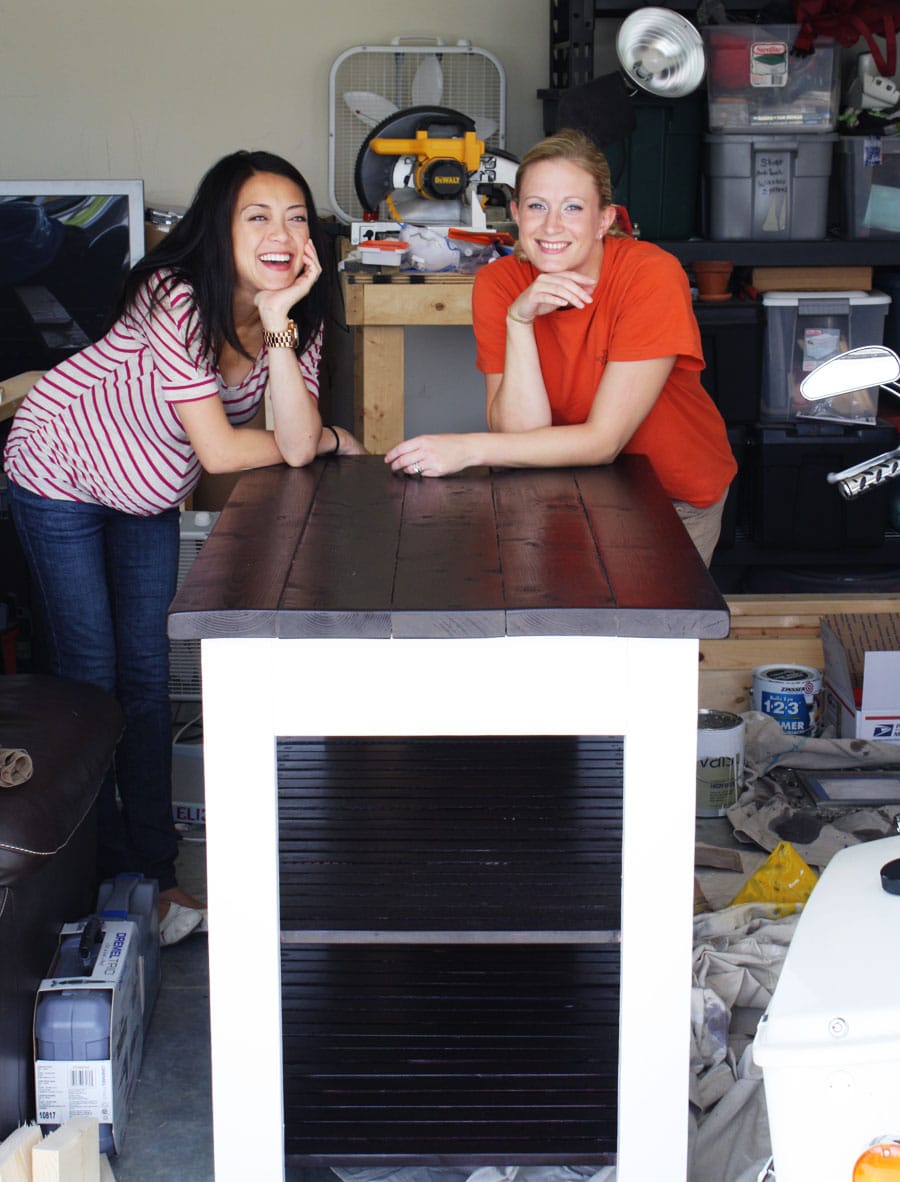
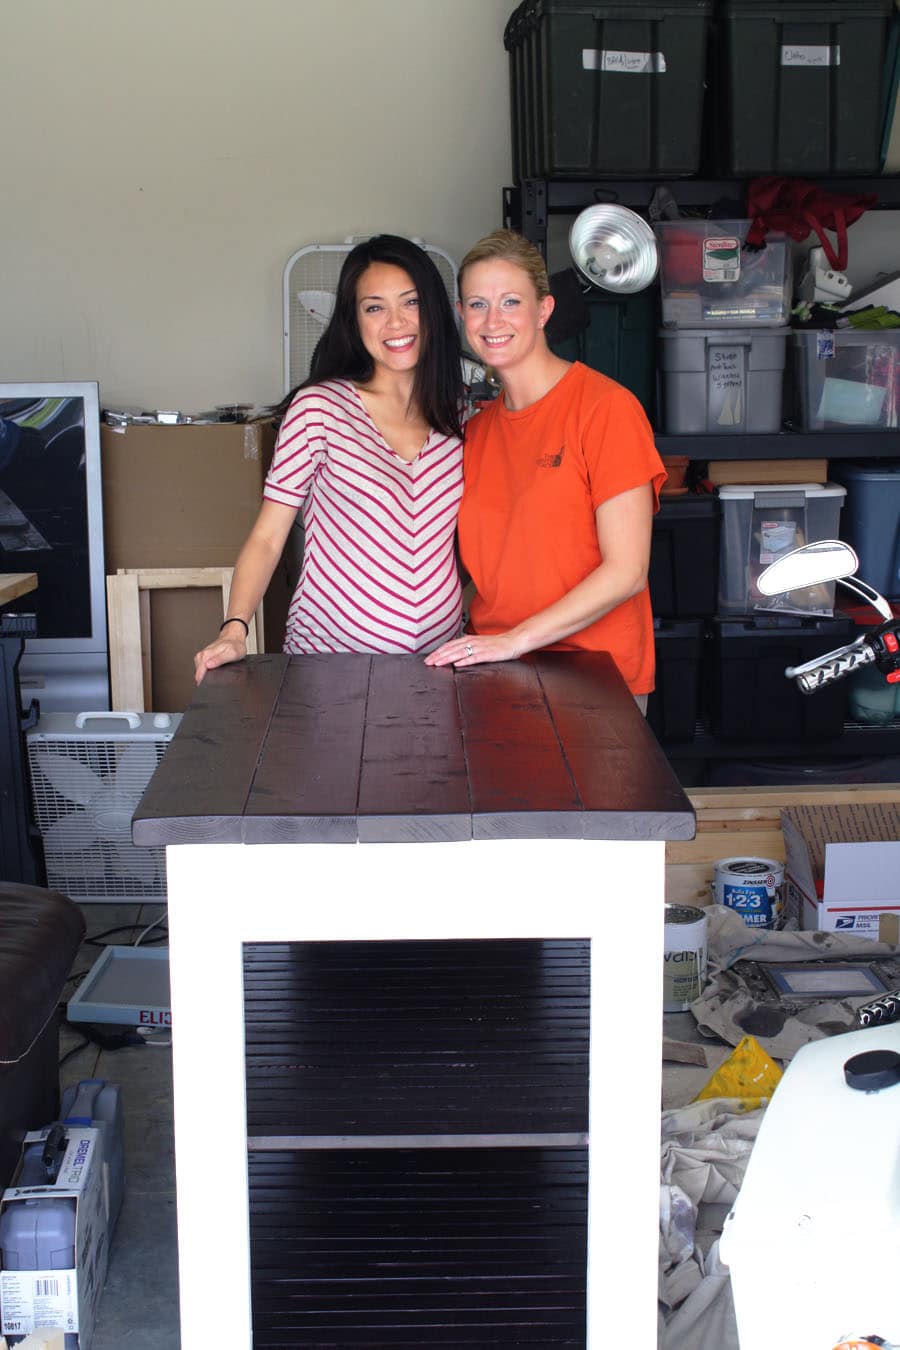
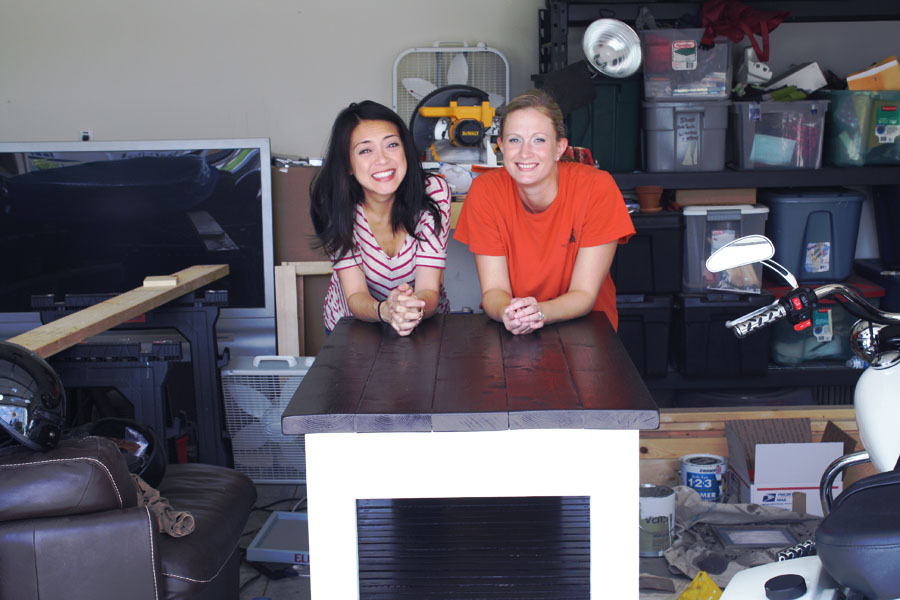
And here we are… I caught Crystal off-guard with my impromptu photo shoot on moving day. She lamented about having her moving clothes on, not looking cute, but I think she’s beautiful.
And yes, we have a leather sectional and big screen TV in our garage. It was previously the Hubs’ man cave, but I’ve since taken it over with all of my ‘projects.’ He’s less than thrilled about it, but I justify myself by doing ‘manly’ things in it. I mean, it’s not like I painted the walls pink or anything.
I can’t wait to see the coffee bar in their new home! Safe travels, sweet friends. I’ll miss you guys so much!

and why do I need to buy furniture again for the house in Nashville? 😉
love,
dad
Um… because by the time your Nashville house is complete, I won’t be pregnant anymore and these building extravaganzas seem to only take place when there’s a baby bump present!
Lol… just kidding, Dad. I’d love to build you guys some stuff!
Lovely job ladies. It does my heart good to see females making sawdust. Love the two tone effect. Jen you are so talented! Thank You for sharing your time, love and friendship with A & C. Til you meet again, God Bless!
Thanks so much! I’m so glad Crystal will be near you again! Btw… Evie says, “hi, Nana!”
Saw this on Hometalk and just had to come have a looksy.. Great job and what a lovely going away gift…Stay in touch with great friends that you find like these cause they don’t come along too often♥ Cheers Tania 🙂 http://tcdesigns1968.blogspot.com/
Thanks for stopping by, Tania! And you’re right… thank God for Facebook!
this is great, i love that you made this, and therefor it could fit whatever color scheme you were working with. so sorry your friends are moving away, too. bummer!
Ahem, who thinks only boys can do good things in furniture? Great job!
Hopping by and following your lovely blog (FB, Twitter, and Pinterest).
The Quiet Mom blogging @ How to Cook Fresh Artichoke Recipe
Also, don’t miss this: 12 Major Reasons to Use Self-Hosted WordPress for Blogging and Selling Your Products Online + Custom Blog or Social Network Button Giveaway
Seriously, Crystal and Austin have to be some of the most beautiful people. Inside and out! Love your parting gift. You’re a good friend, Jen. 🙂 (Totally cried when I said goodbye to her, too.)
What a fabulous parting gift you gave them. I turned out beautifully, love contrast between light and dark. So sorry your friends are moving, it’s hard to find friends we just connect with. Just love this piece! So glad you shared your creative inspiration with Sunday’s Best – your creativity helped make the party a success!
Thanks for having me!
What an amazing project- gorgeous job!!!!
Jen! What a sweet friend you are. I had to come see what you have been up to…. This is amazing! Way to go!
🙂
Thanks, Whitney! So glad you dropped in!
This is gorgeous! I’m building this for a client but with one shelf. What do you think it cost to build without including paint and stain? Just for the wood?
Hmm… the cost for just the lumber, I’d guesstimate around $75. Send pictures when you’re done!
Hi There!
I love this post, thanks for sharing. I’m about to build the same island, but was wondering if it is possible to nail gun the slats down instead of countersinking with screws? Would love to hear your thoughts! I am a newbie at this stuff. Thanks
Hi Christine,
Thanks for writing! Absolutely, you could nail down the slats instead of screwing them in. I chose to use screws for two reasons: 1) I don’t have a nail gun and hammering each nail individually would have taken forever and 2) my friends move around a lot (Army life!) and we wanted a more secure piece.
Hope that helps! Good luck!