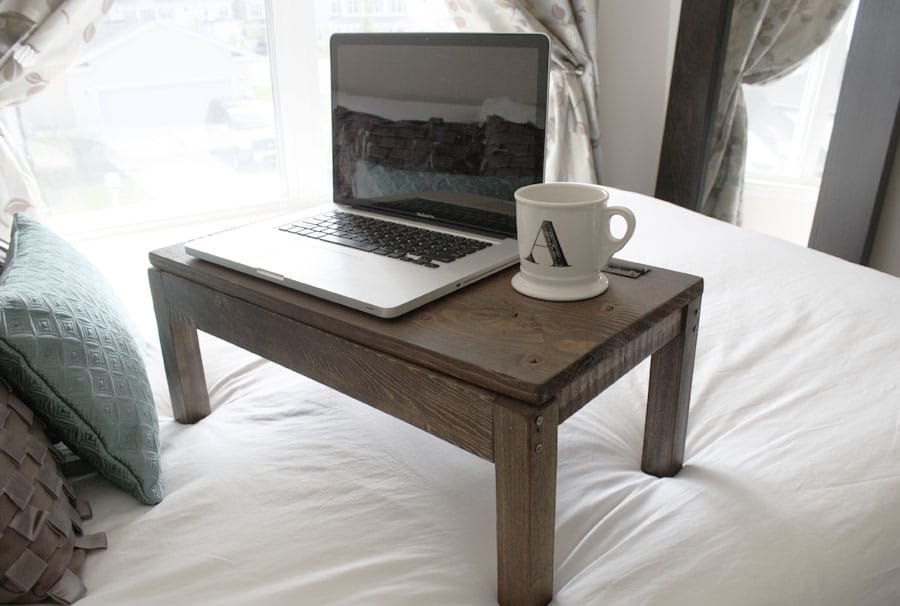
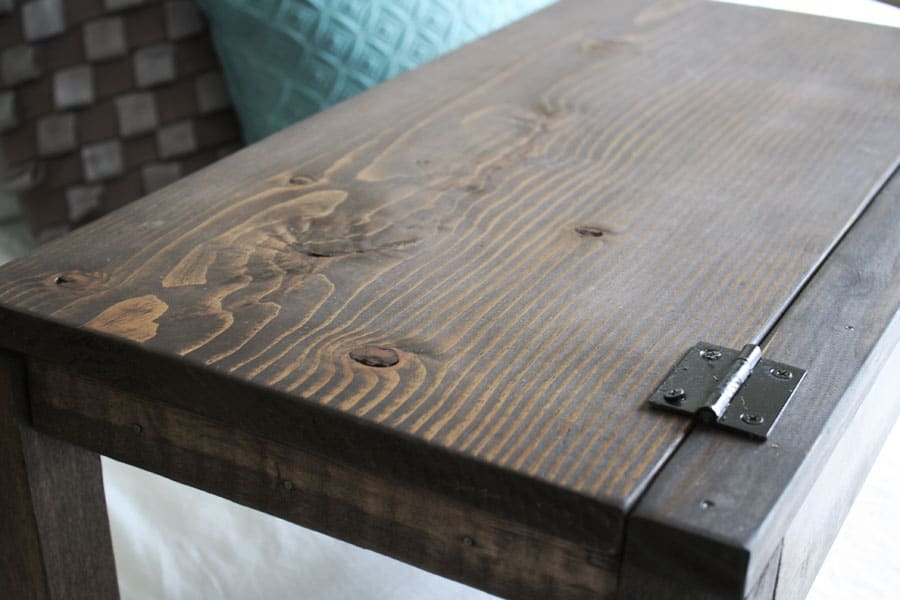
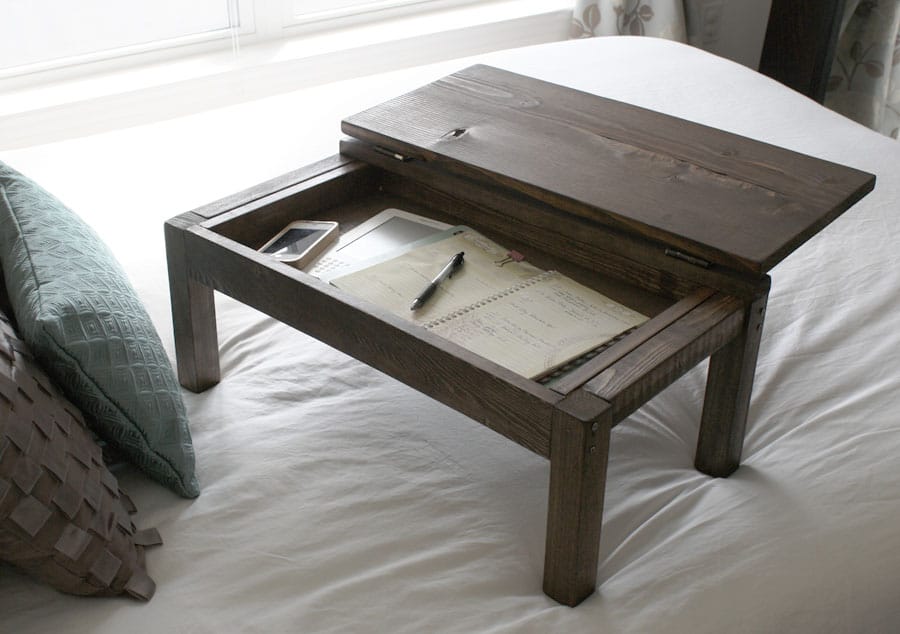
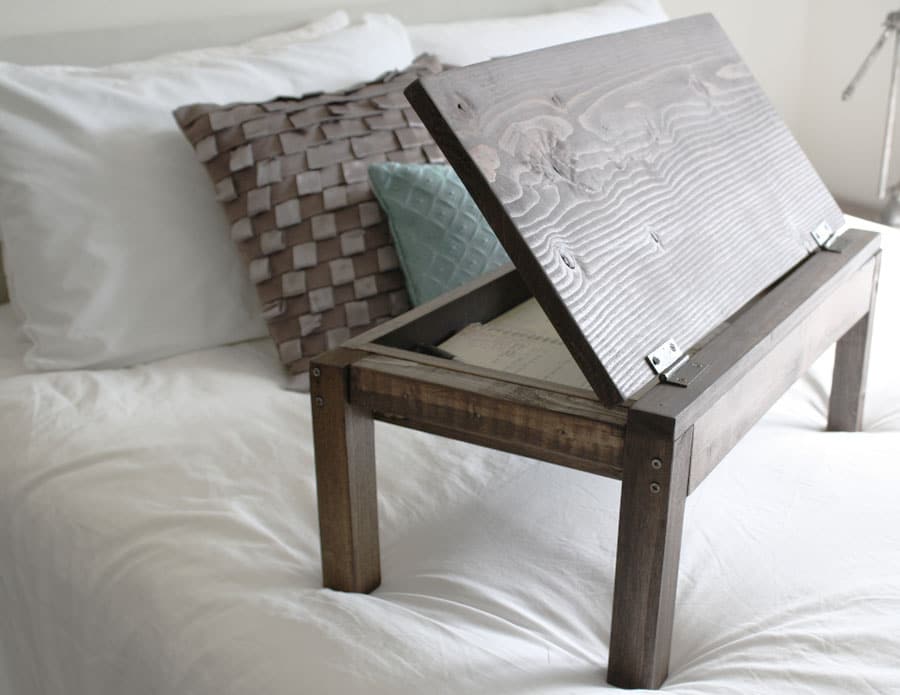
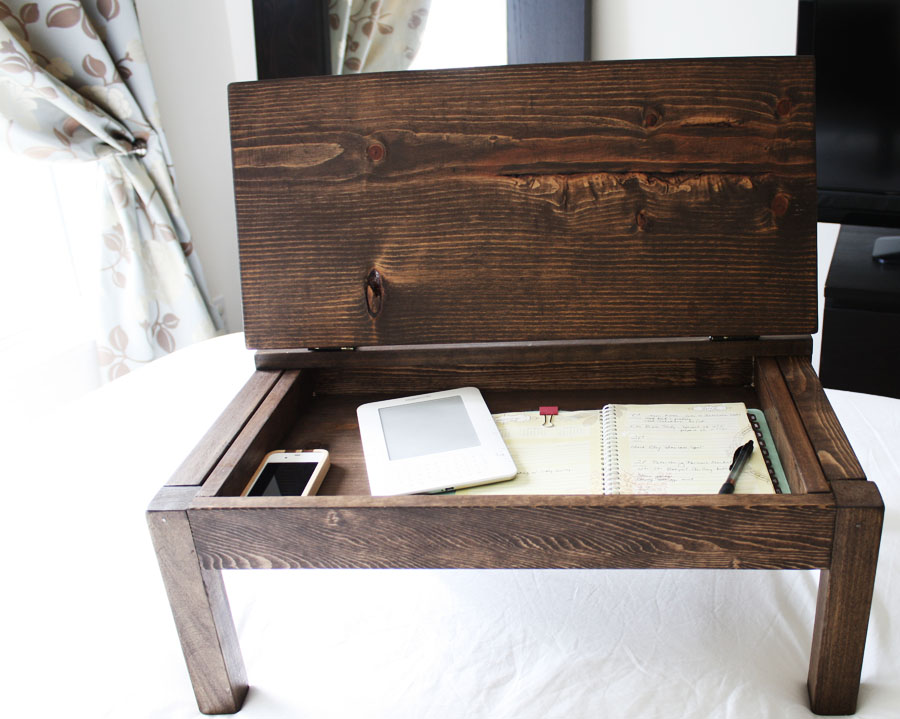
I had a few scraps of wood laying around from previous projects, so I decided to tackle a quick, easy, and (almost) free build: a lap desk! It took less than 2 hours to construct and the only purchase I made for this project was a package of 2 standard hinges for $2 bucks; everything else (wood, screws, nails, glue, stain) I had on-hand. Also, since the hinges came in brass, I spray painted them with Rustoleum’s oil-rubbed bronze spray paint.
I modified Ana White’s plans slightly by:
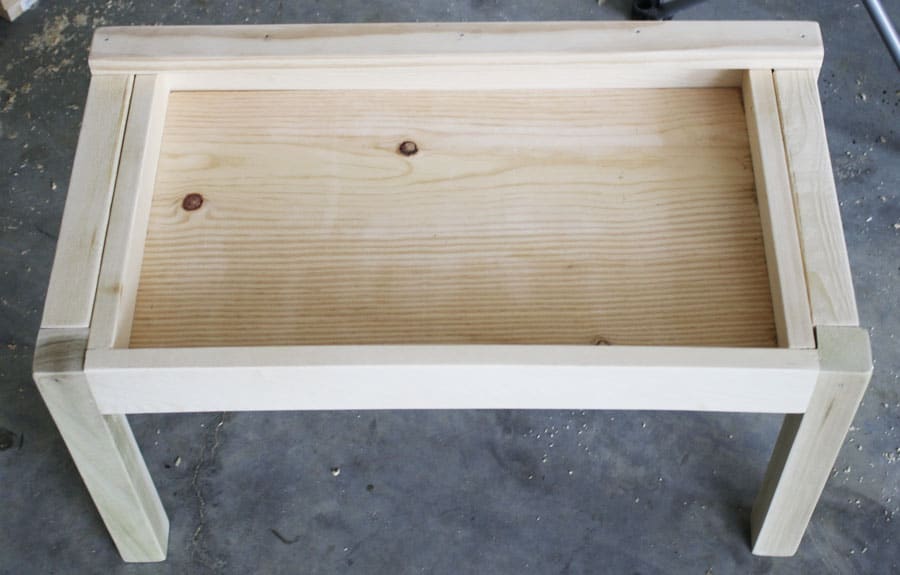
- Not building the side cubbies; I didn’t want this lap desk to be too heavy and didn’t have a need for the extra storage
- Using 1×3 boards for the aprons (just working with what I’ve got!), instead of the 1x4s the plans call for
- Not building the dividers in the flip-top cubby
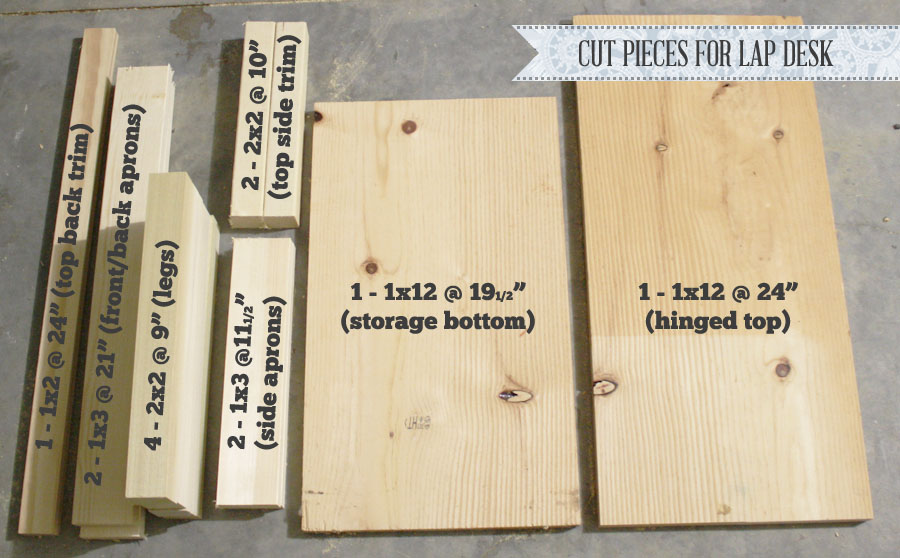
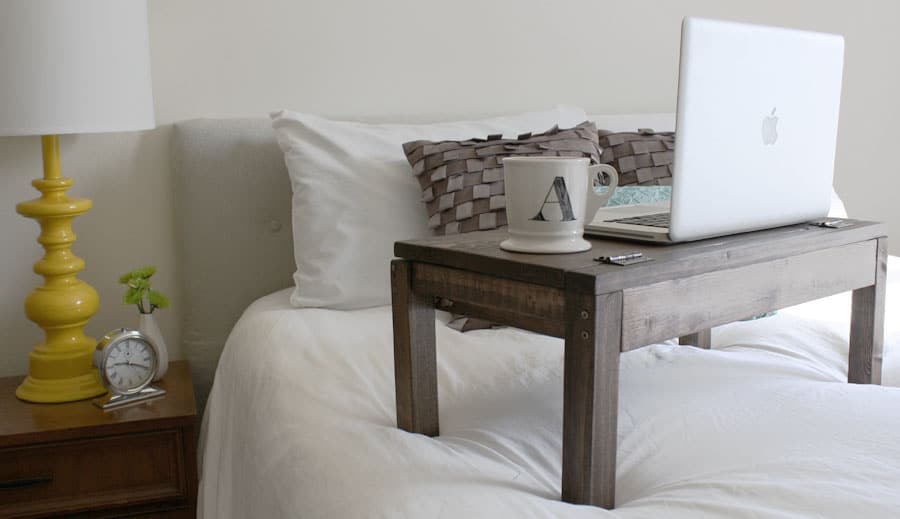
- Shortening the legs by 4 inches so that it would be more comfortable to use in bed
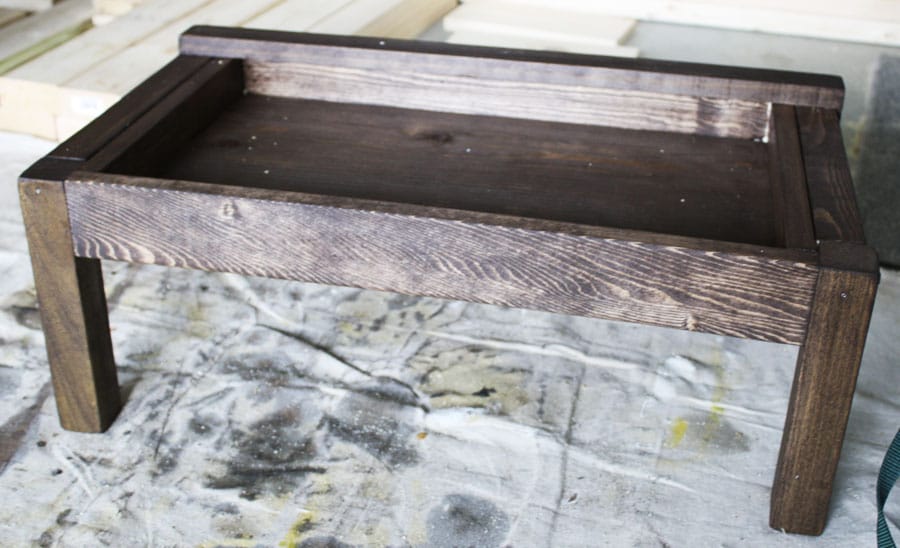
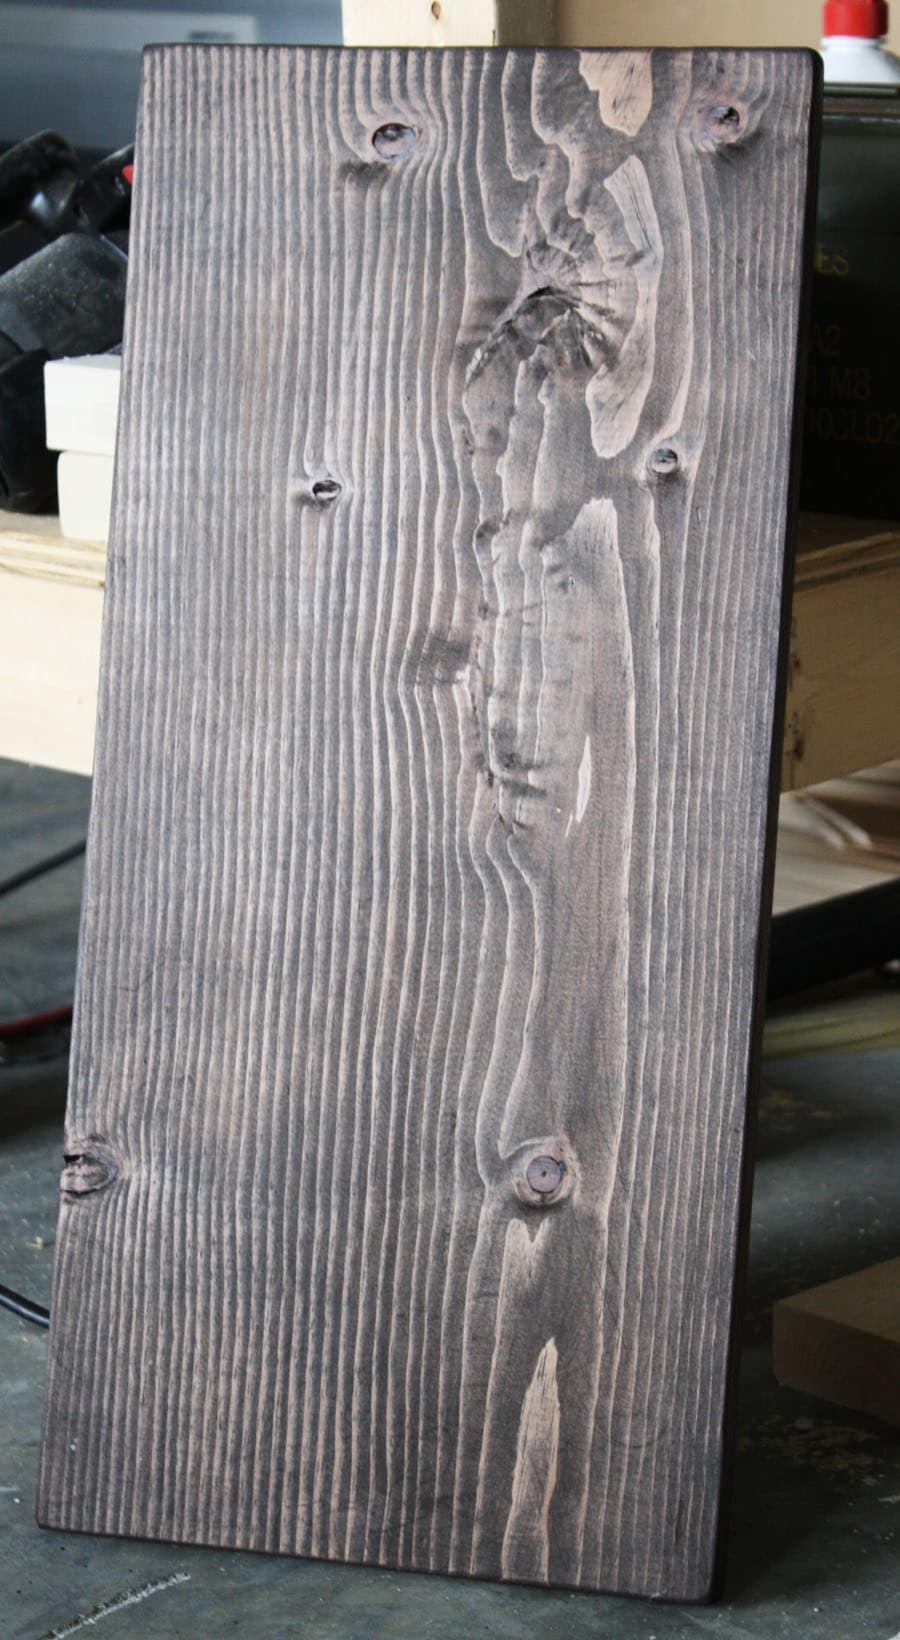
I finished it with a thin coat of Rustoleum Ultimate Wood Stain in dark walnut (love this stuff – it dries in an hour!) and am embarrassed to say I didn’t even bother putting a coat of polyurethane on it (laziness got the best of me).
And here she is, in all her $2 buck glory!
Gotta love quick, easy, and (almost) free projects!
That is absolutely fabulous! I’m not a DIYer, but really wish i was after seeing this one. Thanks for linking up at Making Space Mondays. I hope we see you there next week! -Tabitha
Thanks for hosting!
this is GREAT. I think I might build one this weekend. 🙂
Do it! I’d love for you to come back and share with us!
It turned out beautiful. Love the shape and color. You did a great job:)
Thanks a bunch, Emilia!
Really neat. Don’t you love taking scrap pieces and making something useful out of them?
Absolutely! Thanks for stopping by, Mcgrimus!
Jen, I LOVE this! I am going to have to make one of these for myself! Thanks for the idea. <3
Awesome! Good luck!
Jen,
On the front aprons, do my eyes decieve me or are there 2 aprons there? Maybe one for the front and one for the back? In the cut list photo it says 1 – 1″ x 3″ @ 21″ (front aprons) but it looks like 2 pieces stacked in the photo. Thanks!
Oops! You’re right… good eye! One apron for the front and one for the back (not 2 for the front, obviously). Thanks for the catch!
You are beautiful, smart, skilled, and talented!! Amazing!
What a sweet thing to say, Delana! Thank you!
Can I come over and you teach me everything you know? 🙂
Sure! Come on over!
This turned out so nice. Such a perfect little table.
Thanks so much, Brandi!
LOVE the laptop table! You have now solved my Christmas list problem for my mother!! (she has everything!! lol)
I love woodworking and this will help make my scrap wood collection smaller!
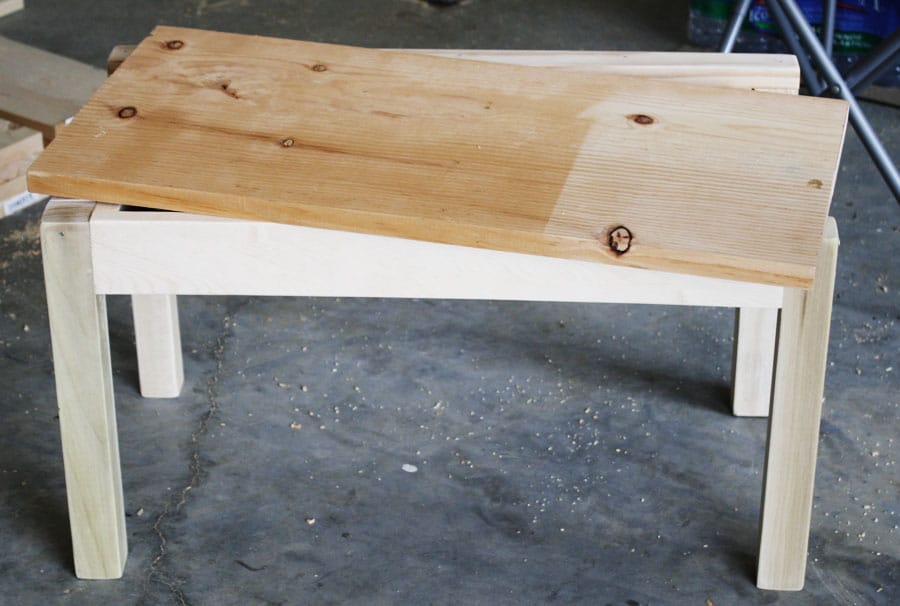
have you shortened the legs? Comparing the first two pictures with the already stained one.
Yes, I believe I did – after getting it inside and sitting it on the bed, the desk top was much too high.
Thanks for your reply, Jen. Do you remember if the if the measurements in the first picture are already corrected to the final version? I’m not very good with inches and whatnots, metric system FTW! 😛
I’m sorry I can’t remember, but I think the measurements in the first photo are before I shortened the legs. I think I shortened it by 4 inches or so. It’s been awhile, but I remember setting it on top of the bed, in my lap and just figuring out what height would be most comfortable for me. I’d recommend you build it to your specific needs. Hope that helps! Good luck!
You could always measure them, right? (n_n) Anyway, I’m going to start this late tonight and finish it tomorrow and gitf it to my mom for christmas. Thanks for the inspiration and merry christmas!
Just wondering if I cold insert a cooling pad since my laptop overheats sometimes.
When it comes to actually assembling your own laptop desk, I’d rather leave it to the experts to do it or I end up having a misaligned, weak desk that wouldn’t look any good. I also play to have my brother make one of those laptop desks for bed for those times I’m feeling to lazy to get out of bed.
Fabulous!