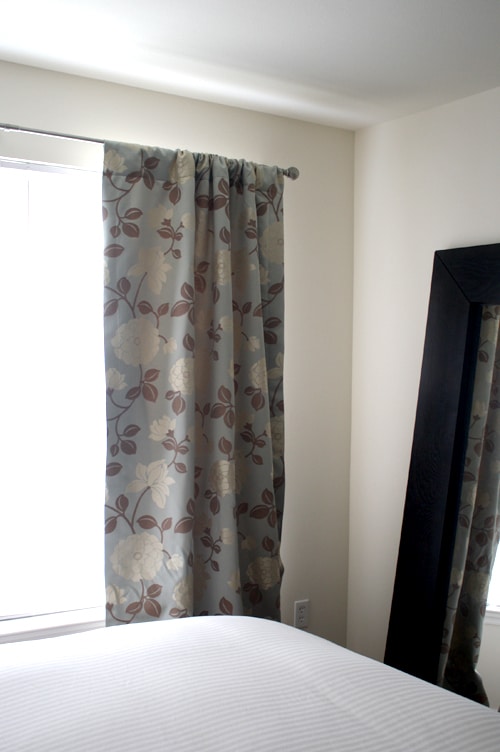
Let’s just get one thing straight: I am a novice seamstress so if I can do this project, anyone can. After weeks and weeks of searching in stores and scouring the web for some curtains for our guest bedroom, I decided to DIY my own lined drapery panels. Adding the thermal lining is just a few extra steps and it makes all the difference in the world. Not only did it cost me hundreds less to sew my own curtains, it gave me such a sense of accomplishment when I was done! Here’s how it turned out:
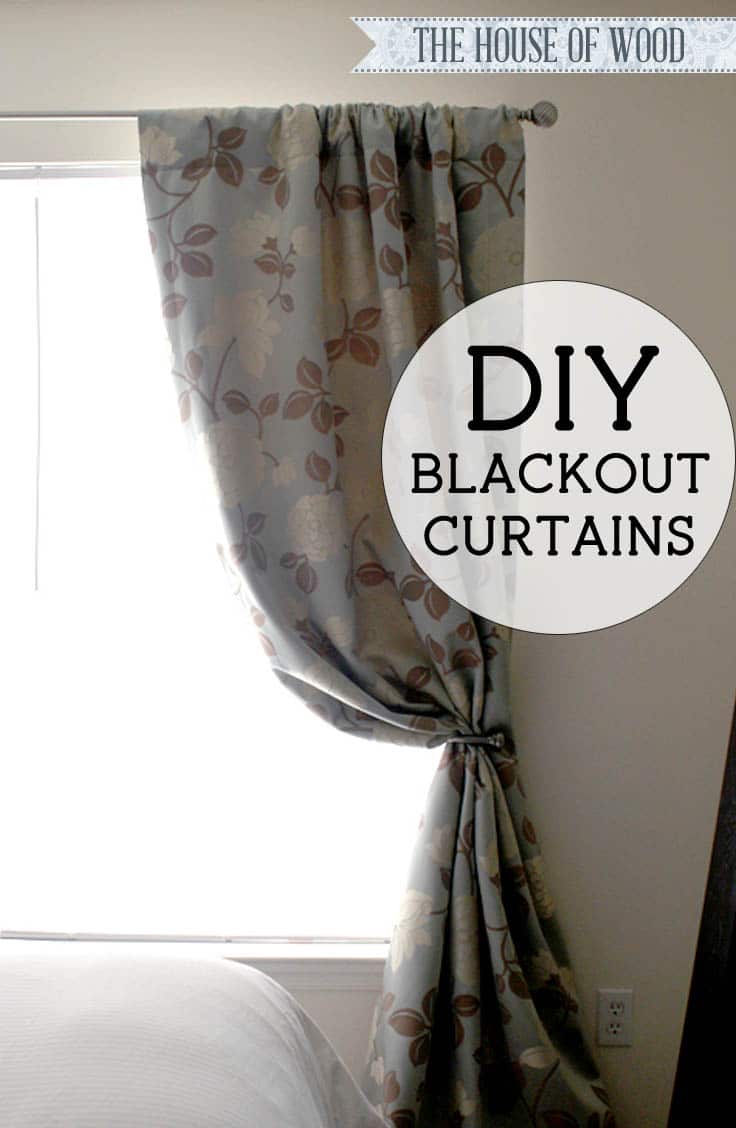
So profesh, right?
1) I measured my windows (79″w x 61″l) and figured out how much fabric I’d need. For floor-length drapery panels, I measured the distance from the curtain rod to the floor, which was 87 inches. I added more length to the bottom, since I prefer the panels to puddle on the floor a little. Then I added 4.5″ inches to the top, to allow for the rod pocket.
I fell in love with Liz Claiborne’s “Caverly Oasis” and had it special-ordered from Joann’s. It’s an upholstery-grade fabric on a 58″ wide bolt so I bought 6 yards of it to fit my windows. And it was on sale at 50% off! Holla!
The Cast of Characters
I also picked up upholstery thread and a heavy duty upholstery needle to get the job done.
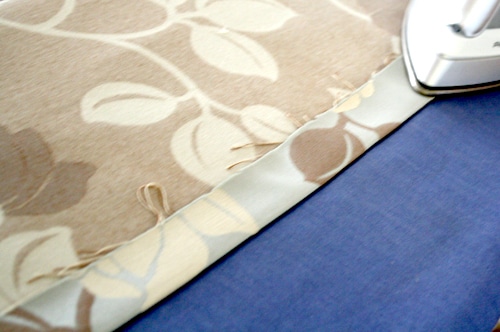
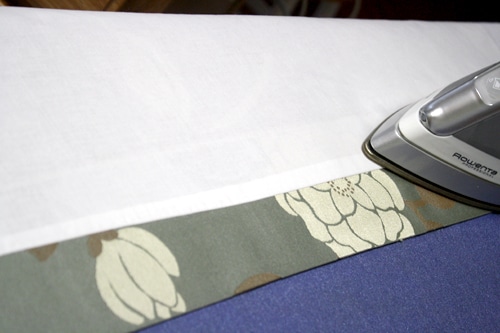
2) First, I hemmed the bottom. I folded the bottom of the fabric 2 inches up and pressed it.
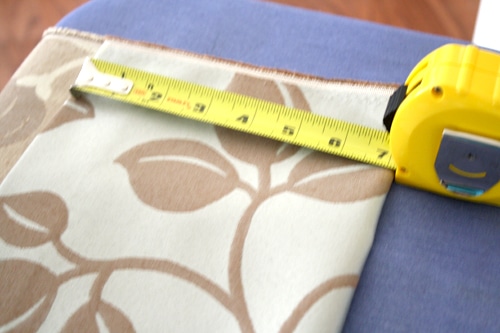
3) Then I folded it over again, 7 inches up and pressed it.
4) Then I pinned and sewed the hem.
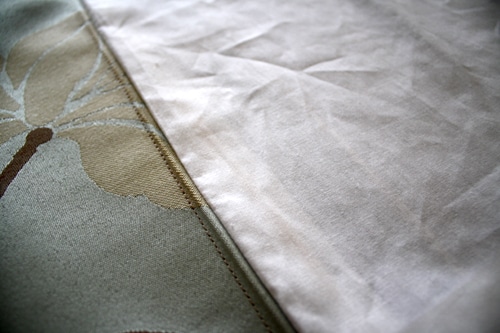
If you’re fancy, you may opt to do what’s called a blind hem stitch, where the hem doesn’t show up as much. I’m not that fancy, so I just did a regular straight-stitch hem. This is what my bottom hem looks like, on the right side of the fabric:
5) Then I hemmed the bottom of the liner. After pinning the drapery fabric to the liner, right side together, I sewed a seam up each side (like you’re sewing a pillowcase).
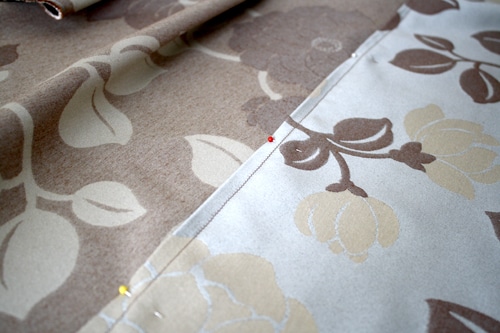
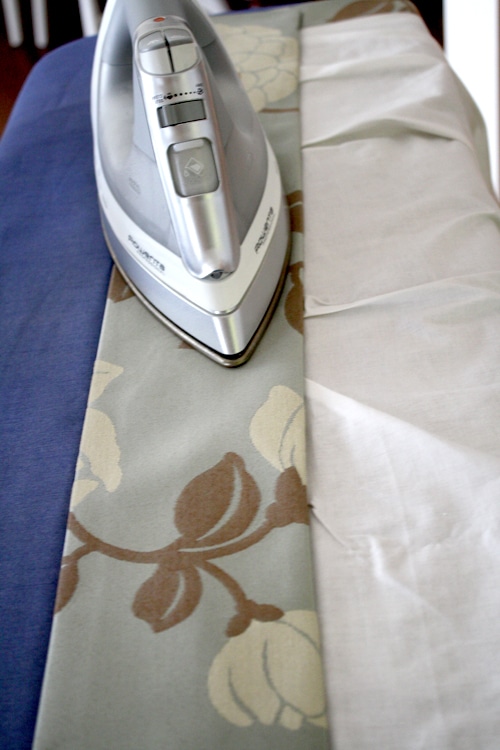
6) I turned everything right side out then pressed a crease about 2 inches over on the sides of the panel, like this:
7) I sewed a seam all the way up both sides, to keep that 2″ crease in place:
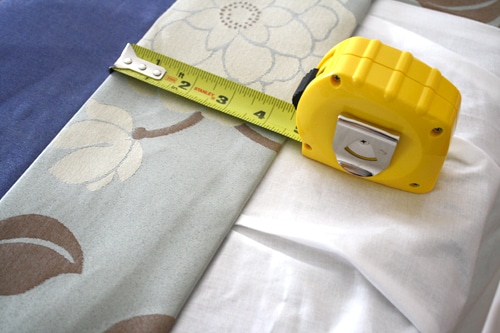
8) Now for the rod pocket at the top. I folded the top 2 inches down, and then folded that over about 4.5 inches down to make a “tube” for the curtain rod to slide through.
9) Then I pressed the rod pocket and sewed a seam at the bottom of the “tube.”
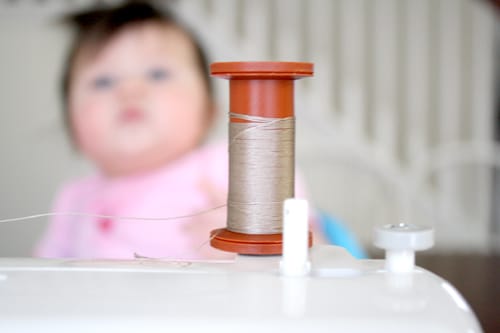
And look who almost ran out of thread! It would’ve been such a pain to stop what I was doing and drive back to the fabric store to get more. (That’s Evie in the background, saying “thank goodness for a narrowly averted disaster, Mommy!”)
10) Finally, I hung the curtains up and congratulated myself. I’m so glad I chose to add the thermal lining to the curtains because not only does it help control the temperature in the room by insulating the windows, it blocks out some light as well. Plus, it adds some weight to the curtains, making them heftier so they hang nicely.
Ta-da! Feel free to pin and share! Thanks friends!






Your curtains look AMAZING! And the how-to couldn't have come at a better time for me. I'm planning to tailor some plain curtain panels today!
Ahh, they look so good! Great job!
Thank you SO MUCH for sharing. I can't wait to try these!!! I need to hang some pretty curtains in our guest bedroom! 🙂
I love how you explained that and showed pictures of your work. I am about to make drapes for our bedroom, and was looking for an easy way to add a lining. Thanks for sharing your talent. I, too, sew, but nothing really detailed. The only thing I will do differently is to not bother with the rod pocket at the top. I will add the clip-on hooks which slide easily onto the rod! Great job!
These are fabulous – have been looking at using this same Liz fabric in our living room, either for curtains or upholstery. Great job!
The draperies are lovely and the instructions are very well done, thank you. But I’m a little confused on the blackout part, are draperies light reducing, or do they completely block the light have large east facing windows in the master bedroom and its just too bright in the morning.