Remember that beautiful Restoration Hardware-inspired coffee table I built for my parents? Well, it was such an easy project and I loved it so much that I decided to make one for our living room! The folks at Osborne Wood were kind enough to send me another set of the turned legs they designed for this coffee table! The legs are custom, but are available for sale here!
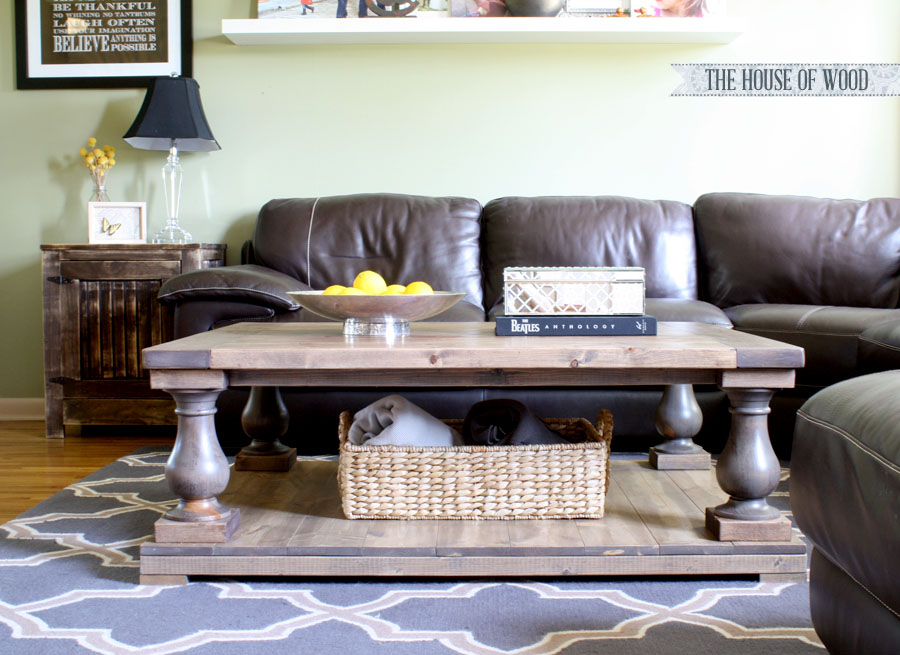 I modified Ana White’s plans so that our table would fit more appropriately in our space. I like to think of ours as the baby brother of the original Balustrade coffee table. We needed ours to be more square-ish (it’s a word, don’t judge), so it had to be a bit shorter, but wider at 49-1/2″ long by 38-1/2″ wide. This meant my shopping and cut lists had to be adjusted, of course.
Here are my modifications:
Shopping List:
- 5 – 1x6x8
- 4 – 2x4x8
- 5 – 2x6x8
- 1 – 1×4 @ 15″ long
- 4 – turned legs (Osborne Wood #1332)
- 1-1/4″ and 2-1/2″ pocket hole screws
- 2″ or longer wood screws
Cut List:
- 9 – 1×6 @ 38-1/2″ (bottom shelf)
- 2 – 2×4 @ 49-1/2″ (bottom frame)
- 2 – 2×4 @ 30″ (bottom frame – may need to cut to fit)
- 4 – 1×4 @ 3-1/2″ (feet)
- 8 – 2×6 @ 5-1/2″ (blocks on each leg)
- 2 – 2×4 @ 36-1/2″ (long aprons – may need to cut to fit)
- 2 – 2×4 @ 25-1/2″ (short aprons – may need to cut to fit)
- 7 – 2×6 @ 38-1/2″ (top shelf)
- 2 – 2×6 @ 38-1/2″ (breadboard ends – may need to cut to fit)
I won’t write up a long, detailed tutorial because that one already exists, so here’s a quick run-down:
I like to cut as I go along, so my measurements are more precise and there is no wasted lumber. I cut nine of the 1×6 boards to 38-1/2″ long and then assembled them with pocket hole screws underneath. Next, I measured the long side of the bottom shelf (49-1/2″), cut two 2×4 boards to fit, and attached them to the underside of the bottom shelf. Then I measured the space along the short side of the bottom shelf and cut two 2×4 boards to fit (30″) and attached those to the underside of the bottom shelf as well, to create a frame under the bottom shelf.
After that, I attached a 3-1/2″ square “foot” to each corner of the frame. Then I moved onto assembling the legs and attached them to the bottom shelf, 1″ inset from the edges. Because there are plenty of variables that decide how long the aprons will be, I measured the space between each leg and cut an apron to fit. I ended up cutting four different aprons for each side. The long aprons measured 36-3/4″ and 36-7/8″ and the short aprons measured 25-3/4″ and 25-5/8″. I attached them to the legs with pocket holes.
I assembled the table top in the same manner as the bottom shelf then attached it to the aprons and legs with wood screws and glue. For a more thorough tutorial, check out Ana’s original plans here.
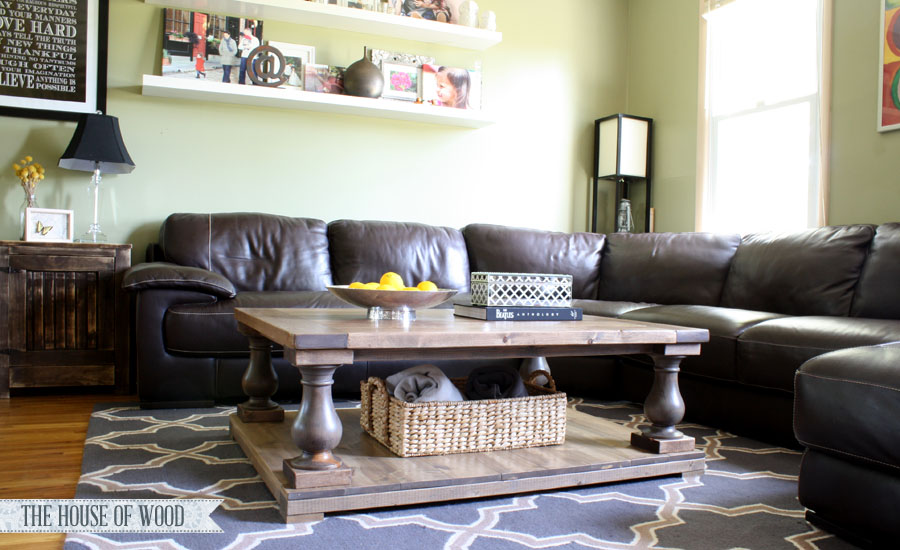 And once again, I’ll never stop singing praises to the mighty belt sander. It’s responsible for my flat-as-can-be tabletop. Love it! After sanding the top and bottom shelf down so that everything was all flush and level, I followed up with my palm sander fitted with 150- and 220-grit sandpaper.
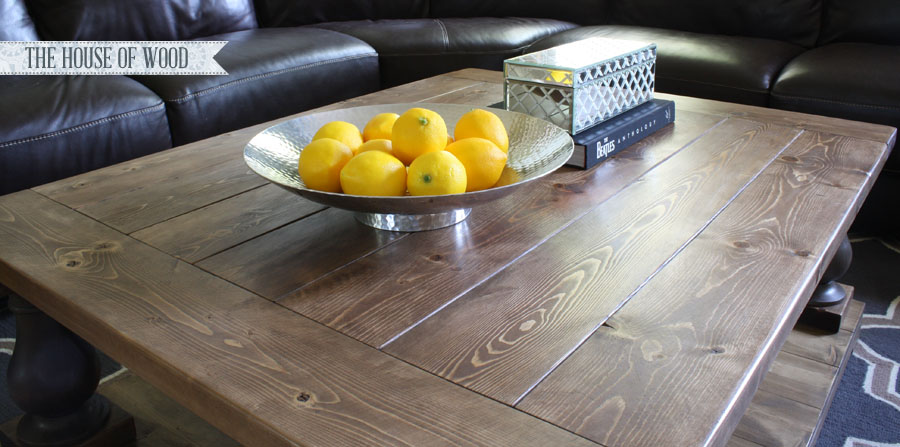
Then for the stain, I layered Minwax’s Special Walnut over their new color, Weathered Oak, and finished it using their Wipe-On Poly (amazing stuff!). I applied 3 coats of poly, sanding in between coats, wrapping a sheet of 400-grit sandpaper around a scrap block of wood and sanding the table top and bottom shelf by hand, before wiping on each coat. I’m telling you guys, this Wipe-On poly stuff is the jam. It’s so easy to apply and you don’t have to worry about drips, brush strokes, or bubbles! And it provides enough protection for these occasional tables, that I am smitten. Ah-mah-zink.
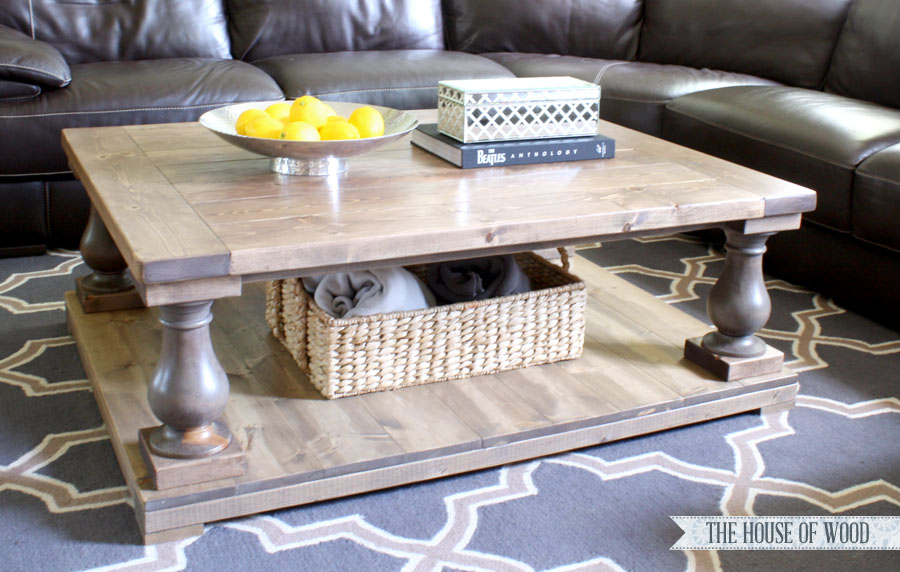
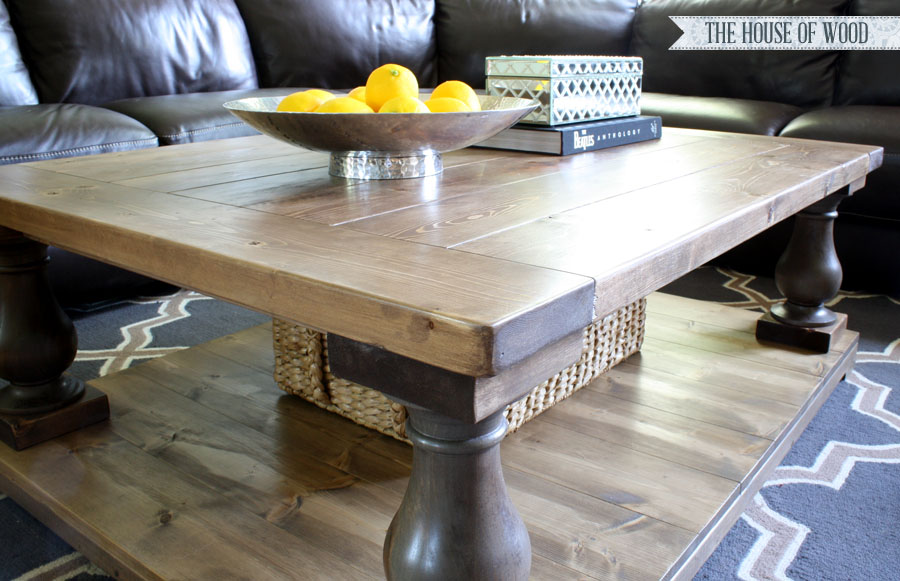
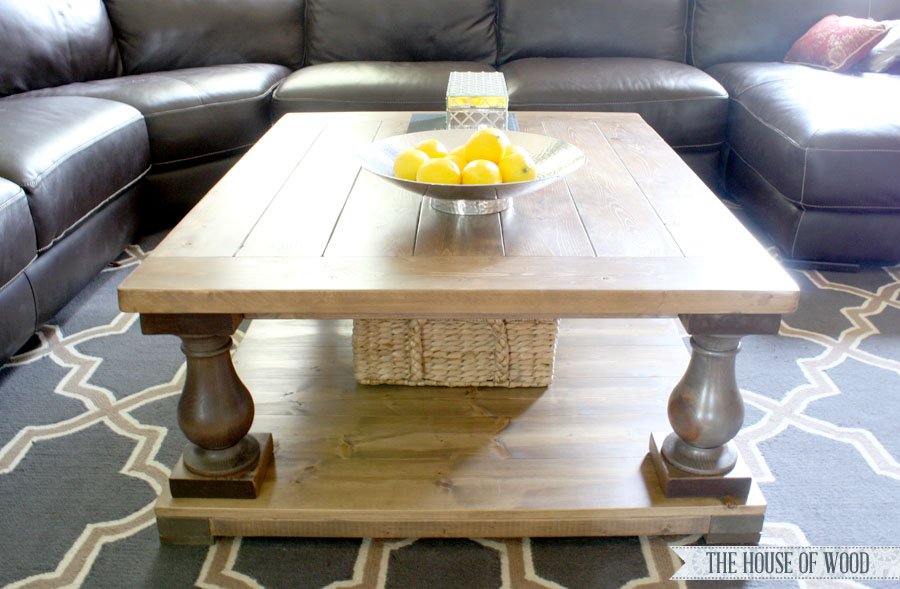 And a heartfelt thank you goes out to my homies at Osborne Wood. They were so kind to provide the beautiful turned legs for this project. Thank you!
 For anyone who’s timid about building furniture from scratch, this is YOUR project. It’s the perfect beginner-level build. Don’t forget! Go here for the complete, step-by-step plans. Also, you can check out the original Restoration Hardware-inspired Balustrade Coffee Table, where you’ll find a ton more work-in-progress photos and a few helpful tips.
Feel free to pin and share this project! Thanks for reading, friends!
I’m sold and ready to get started on this table! Have a few questions if you wouldn’t mind
1. Did you use all pine wood?
2. Would you share the cuts and dimensions for the squarish one that you built for your parents?
Excited about getting started!
Great! The table I built for my parents is a long rectangle. The details on that table can be found here: http://jenwoodhouse.com/2014/05/05/rh-balustrade-coffee-table/
Good luck!
Thank you so much! I’ll post my pics!
YOUR COFFEE TABLE IS GORGEOUS! I WOULD LOVE TO FEATURE IT, IF THAT WOULD BE OK PLEASE LET ME KNOW,
LAUREN
Sure thing! Thanks for the love, Lauren!
Wow! It’s beautiful.
Hello Jen, you have inspired me and I’ve begun my table. A few quick questions for you, how did you connect the tabletop to the base? Did you just use wood screws and go through the apron and into the bottom of the tabletop? If so, did you pre-drill the holes and how did you keep the drill bit from piercing the face of the table top? Also did you router the edges? In the pictures it appears that your edges are pretty rounded over?
Thanks again for sharing all of this with us. If it wasn’t for your post and finding the legs at Osborne I would have never even thought of attempting this. You are the best Jen! Thanks again.
Awesome, good luck Frank! The tabletop is connected to the base of the table by the aprons. I pre-drilled and drilled wood screws from underneath. Be sure the screw length isn’t too long that it comes through the top of the table. Also, you should pre-drill the holes in the aprons before you put the top on, so there is no worry of the drill bit coming through the table top. No, I did not route the edges, but that would look great if you did! I simply rounded the edges with a sander. Be safe, good luck, and feel free to ask questions if you get stuck!
Hi Jen, I love your work! I love coming to your blog just to see the mantles you design – they’re always so gorgeous! I was wondering if there’s any chance of you and Ana doing plans for the RH Balustrade Console .. I’m dying for a matching console table!
Thanks, Jackie! I’ll put it on the list. Which size for the balustrade console were you wanting?
I was thinking the 58″W x 18″D x 30″H one … this would make my year if I could have the matching console table! Thanks for even considering it! You, Ana White, and the Shanty 2 Chic sisters got me into building – and now every wooden (not upholstered, yet!) piece of furniture in our home came from one of your websites. You guys are fantastic and very empowering!
That’s so awesome to hear, Jackie! Thank you! If you post on social media, be sure to tag me so I can see and feature your projects. Also, I’m estimating the cost of the balustrades will be less than $50 for pine, which is a far cry from the RH cost. I’ve put it on my list and I’m shooting for next month to publish the plans. Sound good?
That sounds perfect!!! Thank you so much!
This design is wicked! You certainly know how to keep a reader entertained. Between your wit and your photos, I was almost moved to start my own blog (well, almost…HaHa!) Great job. I really loved what you had to say, and more than that, how you presented it. Too cool!
Do you know where the rug is from? So beautiful!
Thanks! Here’s an affiliate link to the rug: http://fave.co/1PpVOF1
Do you think this table would look ok less than 33″ wide? I love the look but I think I need something more narrow as my living room is a long rectangle. I love the look and am having one custom made. I just don’t want it to look distorted because the legs need room to be shown off. Any suggestions? I can go 54-55″ long, but it’s the width that’s off for me.
It’s a really great table and a wonderfully written post, but don’t you find it a little misleading to present this as such a cheap diy when you’ve gotten the legs for free? Pricing out what you’ve used after shipping would cost over $100 alone. I’m sure you’re getting a lot of advertising money from all the clicks and pinterest repins because of that claim and it feels really disingenuous. Just my two cents.
Honestly, the original Restoration Hardware piece costs $1695 to $2195! $100 is an absolute screaming deal, and definitely IS a cheap DIY! IMHO, Jen does a ridiculous amount of amazing work to get free plans to us, so she deserves whatever payment she gets for any types of clicks or links.
Also, those legs would be a lot more expensive from Osborne (hundreds more) if Jen hadn’t made this plan and had Osborne make those legs available for everyone. Please don’t give Jen a hard time. She doesn’t have to give you anything for free, and you don’t pay anything for those ‘clicks’.
I’m sorry you feel that way, Ovelia, but relative to purchasing this table from a furniture store (for $1800), $200 is generally considered inexpensive. Although I did receive the legs for free (which I plainly disclose in the first paragraph), I include that cost into the total figure. I don’t understand what you find misleading or disingenuous. Additionally, your assumption that I’m “getting a lot of advertising money from all the clicks and pinterest repins” is incorrect. I was not paid for this post. However, this blog is not a hobby, it’s my business and ad revenue is a source of income for me and my family. Thank you for reading.
I don’t have any furniture building experience and I’m wondering, how many pocket hole screws do I need along each board when creating the top and bottom shelves? How far apart should they be from each other, and how close to the edges?
Hi Alex, I’d recommend spacing the pocket holes about 6″-8″ apart and no less than 1″ from the edge. Good luck!
Hi there! Love the table! Question on the stain – did you do one layer of each stain and then three layers of poly? Also, did you sand in between each layer of stain? Wasn’t sure if the ‘three layers total’ above means one layer of each – stain 1, stain 2, poly or it was referring to 3 layers of only the poly after staining. Thanks for the clarification!
Sorry – I revised the post to clarify. Thanks for the heads up! I wiped on 3 coats of poly, sanding in between each coat.
I absolutely LOVE this table!! Thank you so much for sharing the plans!! I have been doing a lot of research on purchasing similar coffee tables from various sites and have decided to try my luck/newbie-wood-building-talents on this table! My one question thus far (before even buying supplies) is if you have modified plans for a square version of this table? I know I can probably figure out the measurements on my own, but thought if you already did it, why waste my brain power? Lol!
Do you have any video of that? I’d want to find out some additional information.