Hey guys! It’s Shara here from Woodshop Diaries and I’m so excited to be contributing to The House of Wood!! I’ve been a big fan of Jen’s for a good while and actually worked with her last year to bring my modern dog house to life!
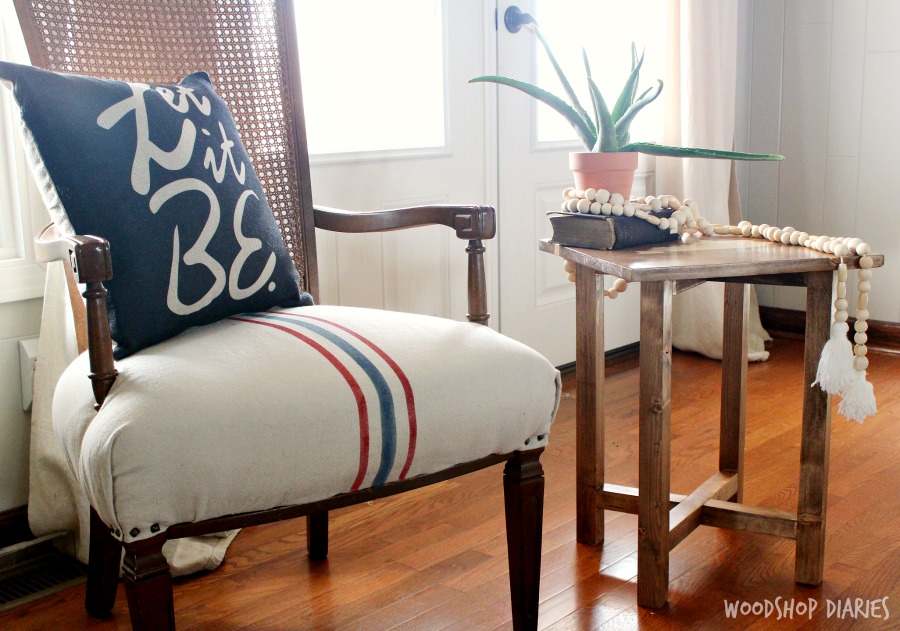
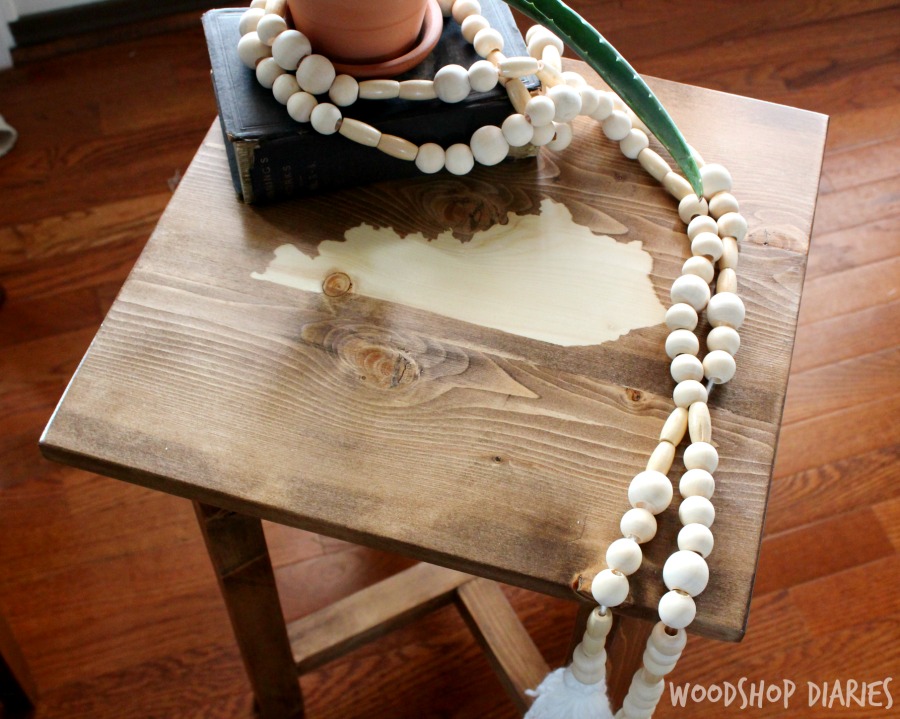
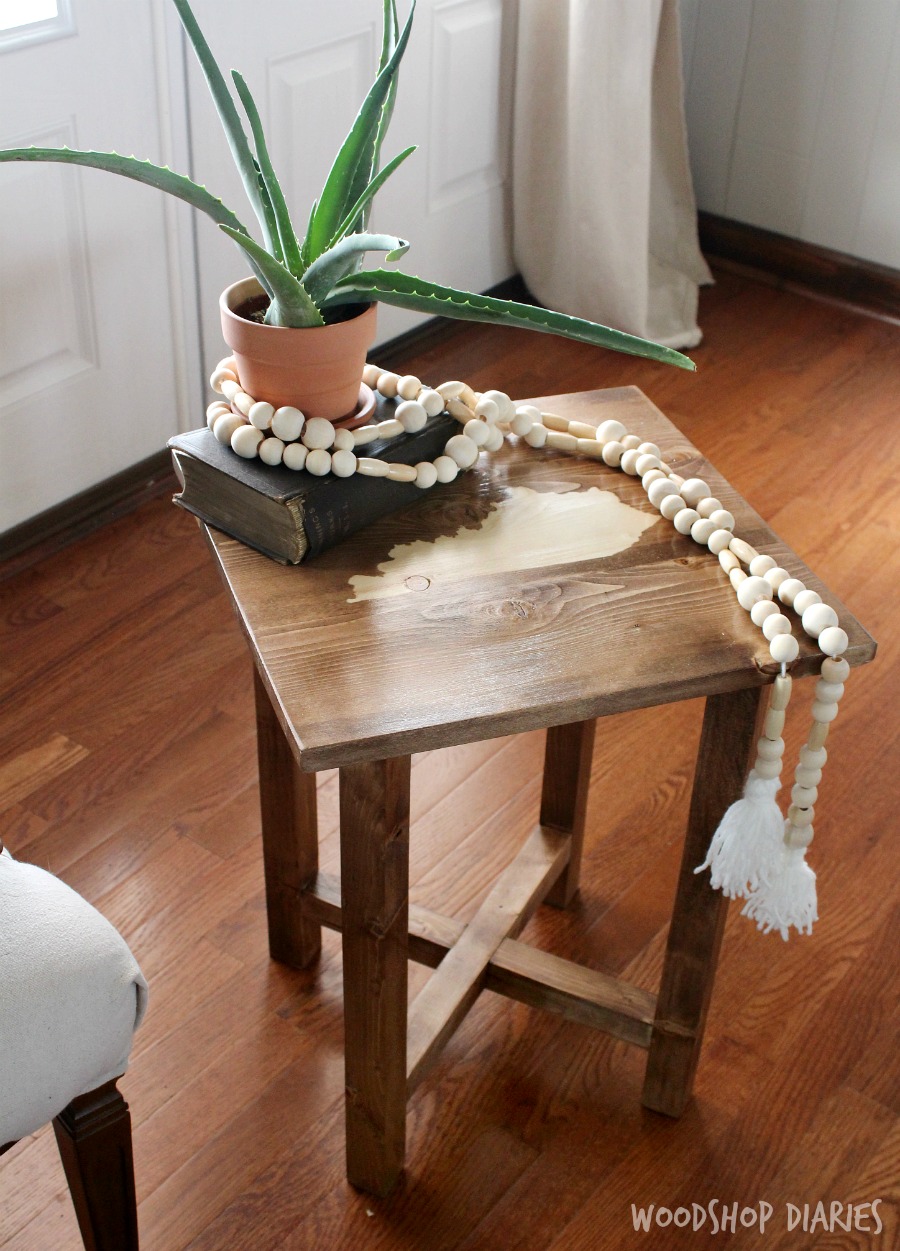
Like Jen, I love building furniture and am excited to bring you the tutorial to build this simple DIY side table!
- Miter saw
- Pocket hole jig
- Drill
- Jigsaw
- Clamps
- 2-inch wood screws
- 1 1/4-inch wood screws (optional)
- 2 1/2-inch pocket hole screws
- (1) 1 x 6 x 8 Ft. boards
- (2) 2 x 2 x 8 Ft. boards
Cut List:
- (4) 2×2 @ 22 inches long (legs)
- (4) 2×2 @ 13 inches long (base X pieces)
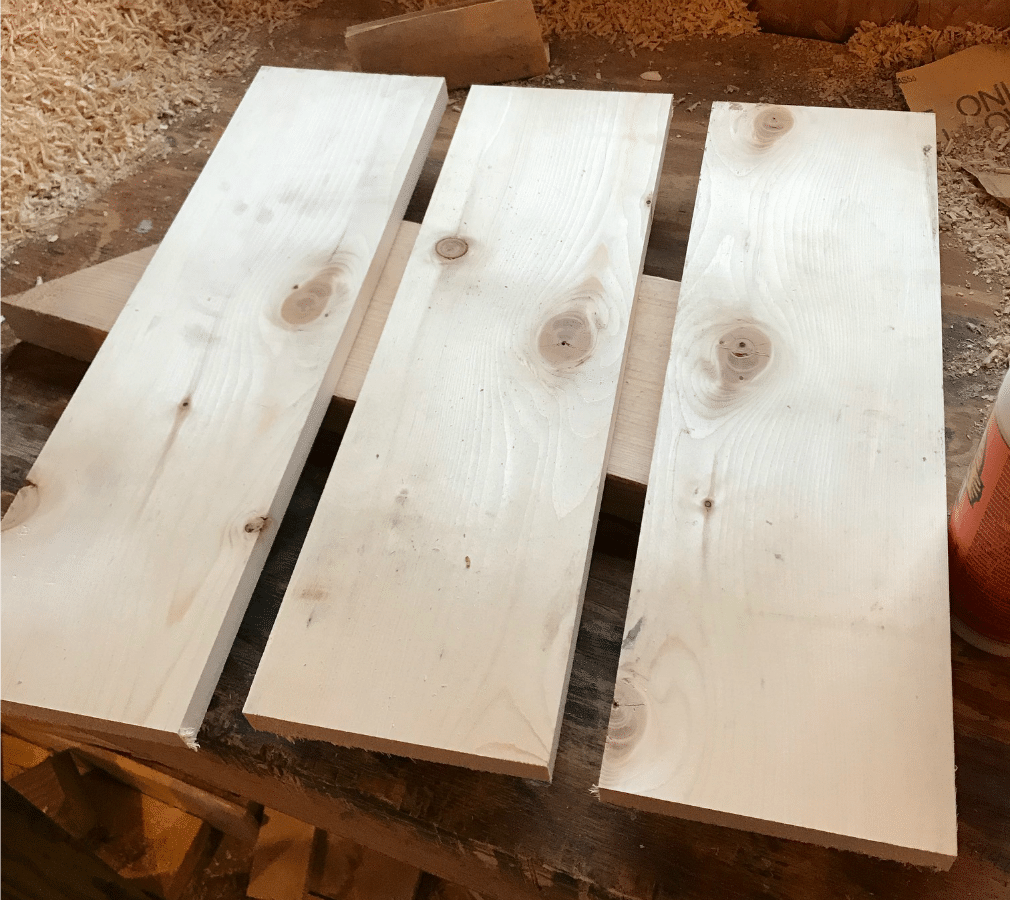
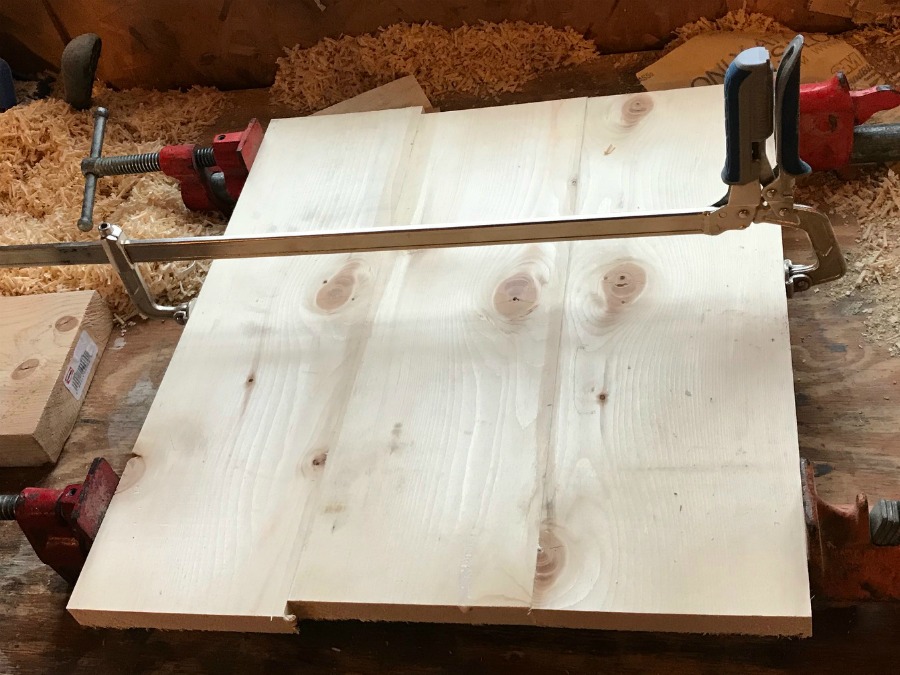
- (3) 1×6 @ 16 inches long (top)
Step 2: Create the table base Xs:
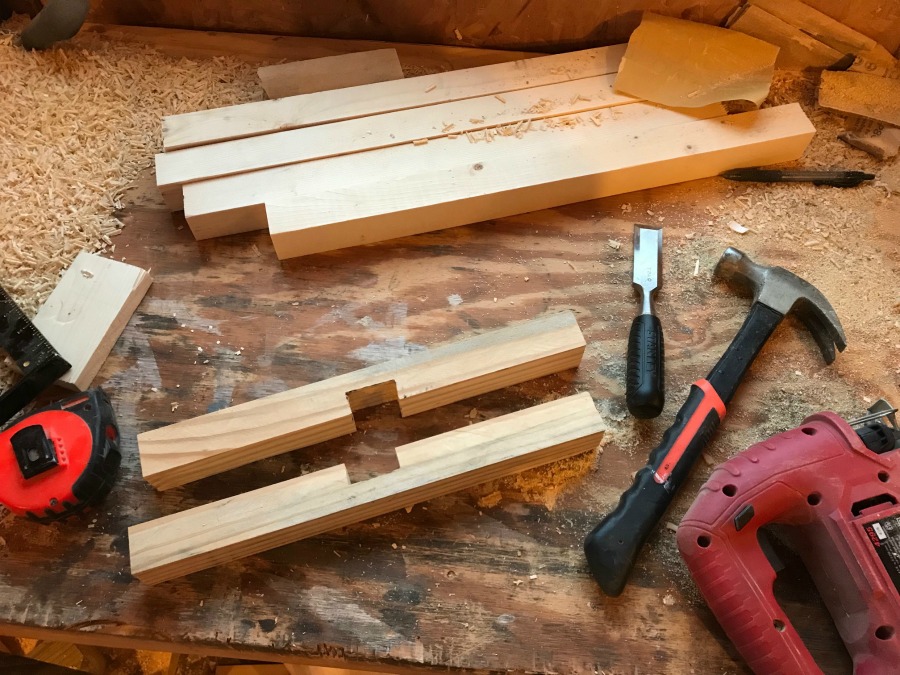
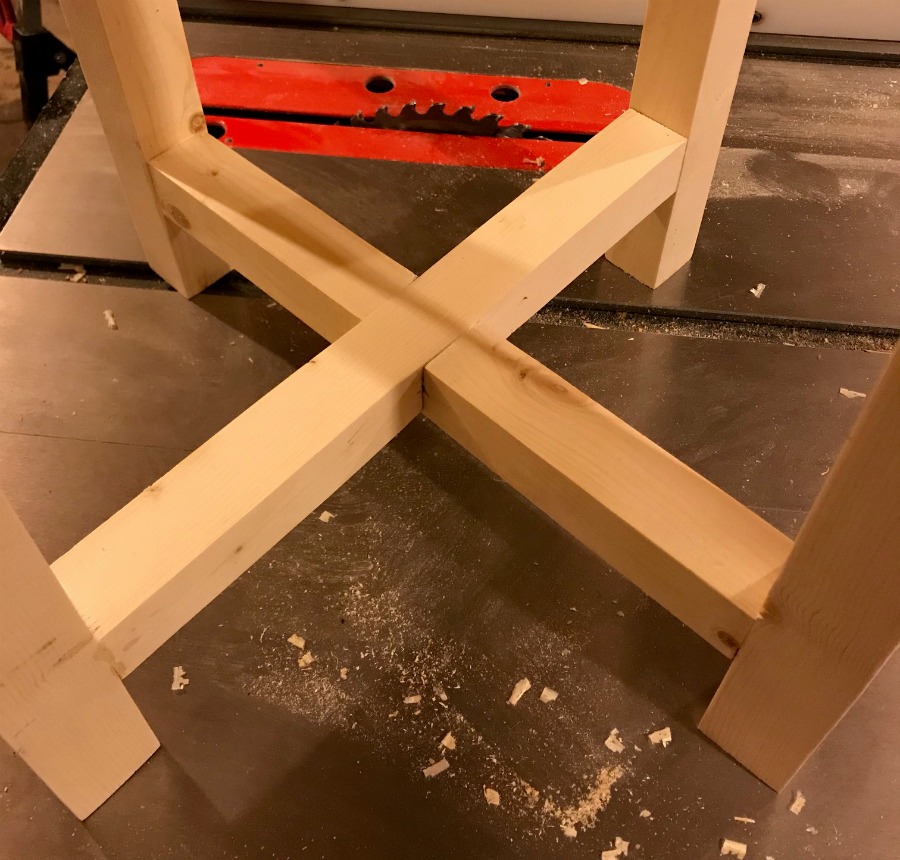
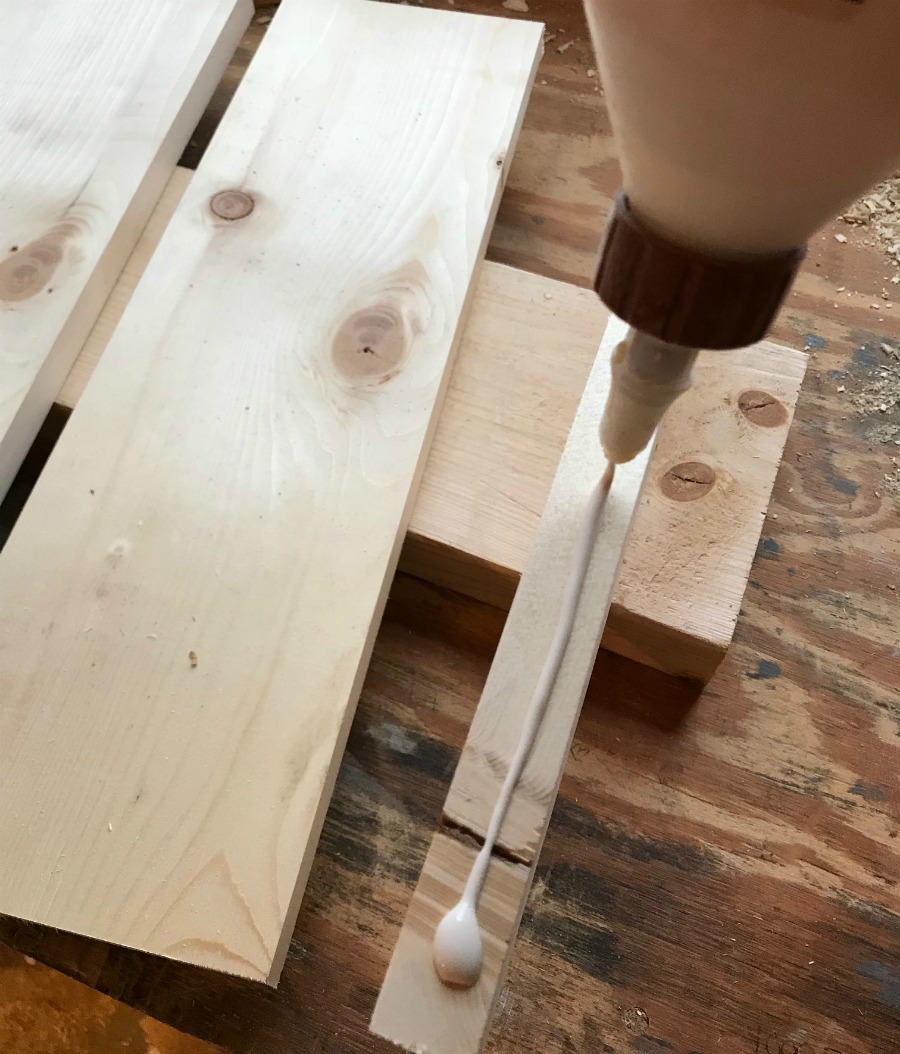
Find the center of each 13-inch board and mark 3/4 inches on each side of the center. Then, mark 3/4 inches into the board from the edge. Use a jigsaw and a chisel to cut out a notch like shown so that when fitted together, the two boards create an X. Apply some wood glue into the notches and fit together to create two identical Xs. This is called a half lap joint. You can drive a 1 1/4-inch wood screw into the bottom side to strengthen the joint.
Step 3: Assemble the side table base:
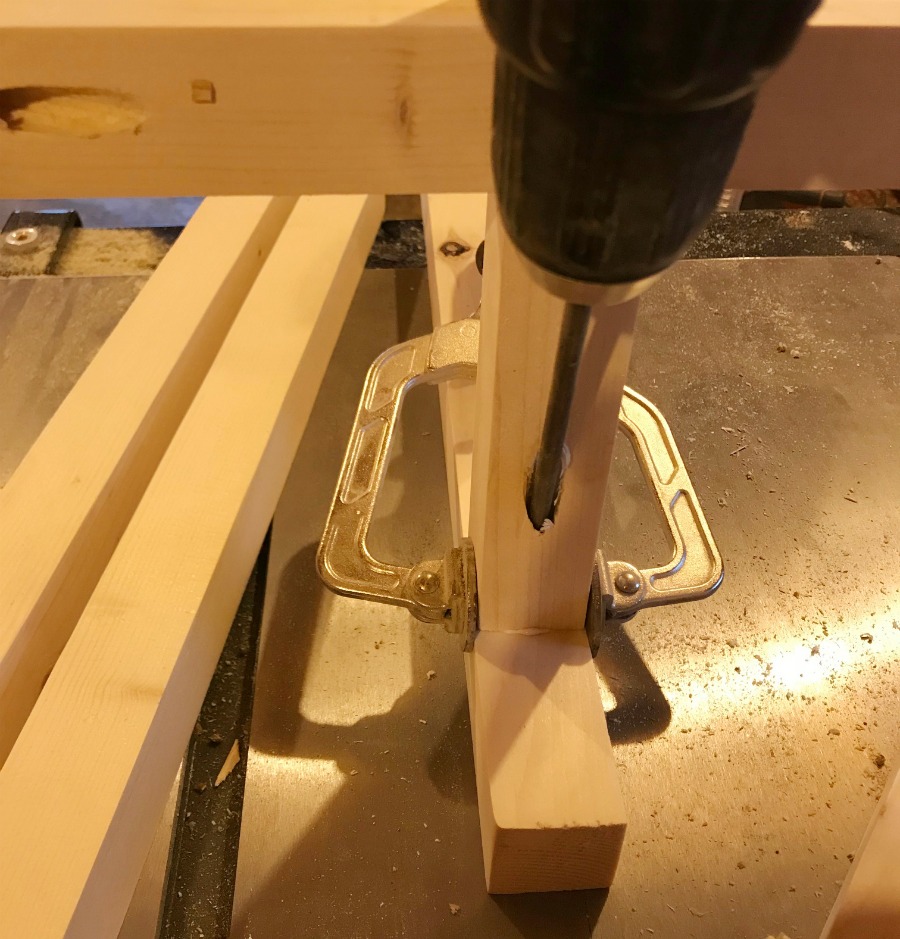
Drill one 1 1/2-inch pocket holes into each leg of each X using a pocket hole jig and a drill. Then, cut the legs and make a mark from the bottom of each leg about 2 inches up. Line the BOTTOM of one of the legs of one of your Xs up with the mark and attach using a 2 1/2-inch pocket hole screw.
Step 4: Attach the base and top together:
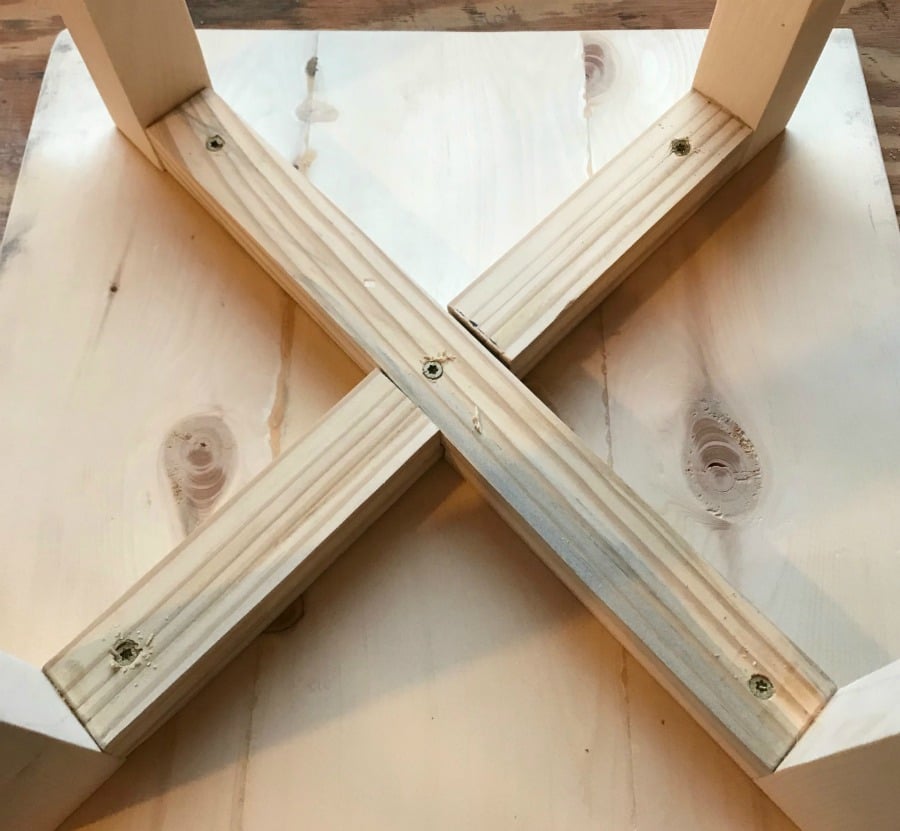
Once you’ve cut down and sanded the top and base, turn the top upside down on your work surface and place the base upside down on top of it making sure that it’s centered. Using 2-inch wood screws, attach each leg of the top X to the top as shown.

Very nice project. I’m trying it as well.
Love the simplicity of this table. Thanks for sharing!
Trying this today!! Thanks ?
Lovely job Jen! Looks absolutly stunning!
Fantastic guide Jen! It looks amazing!!
Can you provide cut materials for an 18×18 inch top?