Hello again House of Wood readers! It’s Kristi, from Chatfield Court, and I’m so excited to be here today to share our Rustic Wall Mounted Coat Rack with Shelves with you all.
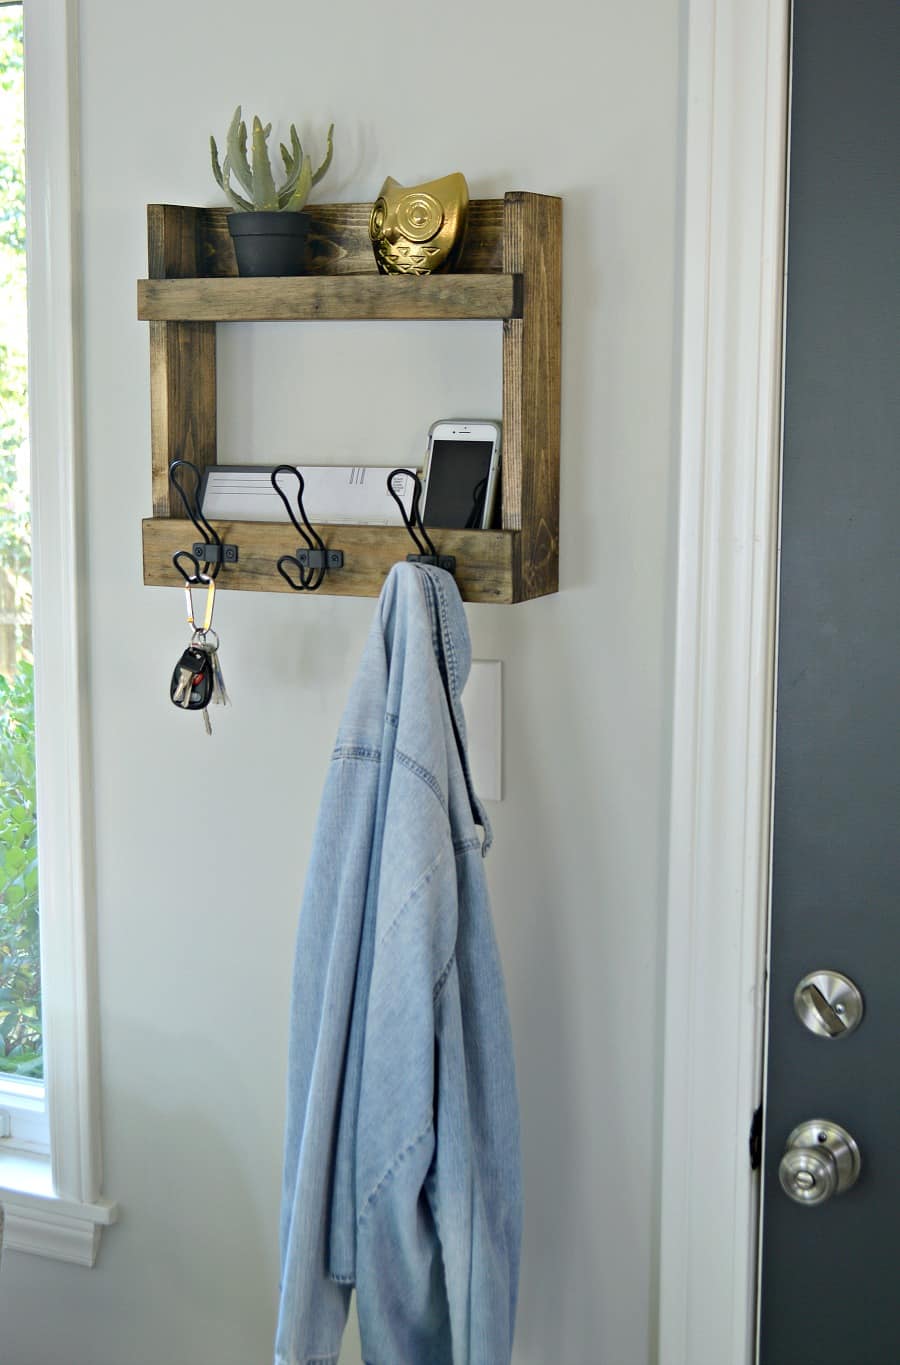
We live in a small house and one thing we regularly have to deal with is lack of storage space. Everything we bring into the house, especially a new piece of furniture, has to be multifunctional. That’s just how it is when you live small.
My latest issue came when I was trying to find something that we could use by our back door for coats, keys, and mail. Kind of like a mini drop zone. I was having a really hard time finding the perfect piece. Most everything that I saw was either too big, too small, or too expensive. Having no luck finding what I wanted, I decided that I could easily make my own.
Rustic Wall Mounted Coat Rack With Shelves
Supplies
- (1) 1 x 4 x 10 Ft. Board
- Scrap of 1×3 Board @ 15 inches long
- Scrap of 1×2 Board @ 15 inches long
- 1 1/4-inch Brad Nails
- Sandpaper
- Dark Walnut Wood Stain
- Wood Glue
- (3) Coat Hooks
Tools
- Brad Nailer
- Chop Saw
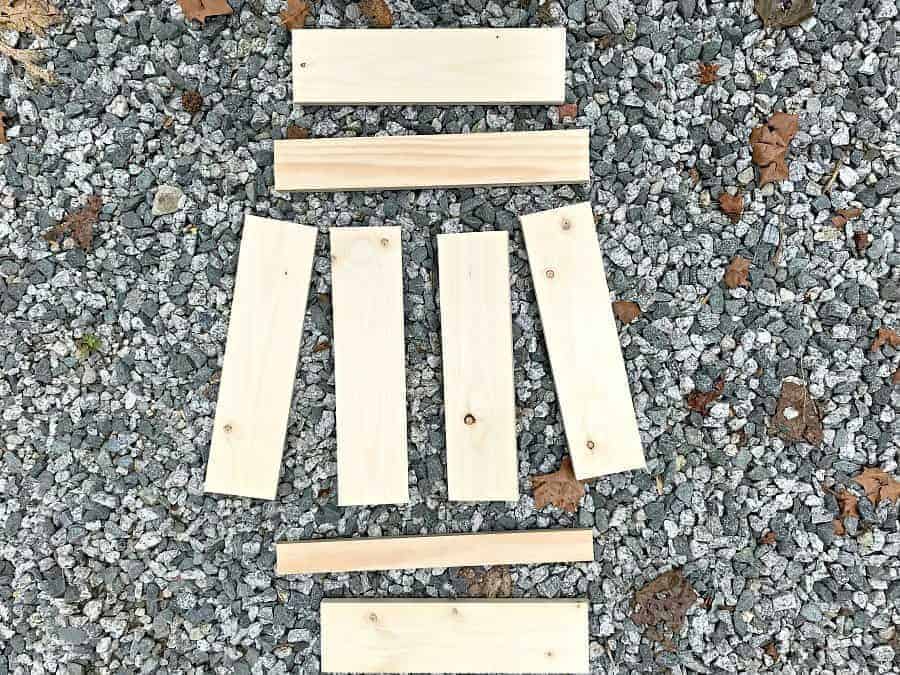
Cut List
- (2) 1×4 @ 14 inches (sides)
- (4) 1×4 @ 13 1/2 inches (shelves)
- (1) 1×3 @ 15 inches (bottom shelf lip)
- (1) 1×2 @ 15 inches (top shelf lip)

Instructions
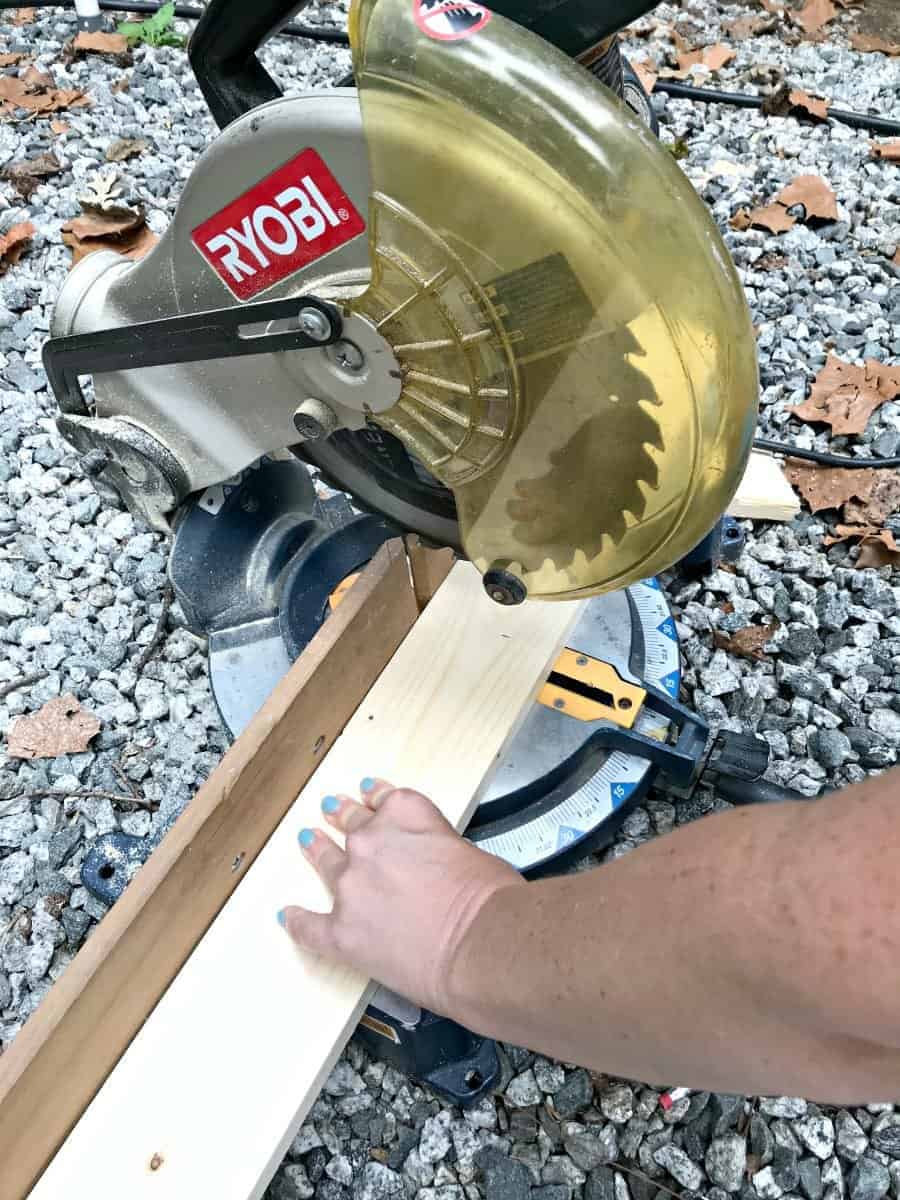
This really is a super simple project to tackle and it allowed me to have the exact look I wanted, in just the right size for my space. The first thing I had to do was to figure out the measurements for my coat rack so I could determine my cuts. I just measured the wall space that I was going to hang it on, quickly sketched out my coat rack, and figured out my cuts. With the measurements all worked out, I quickly cut the wood on my chop saw.
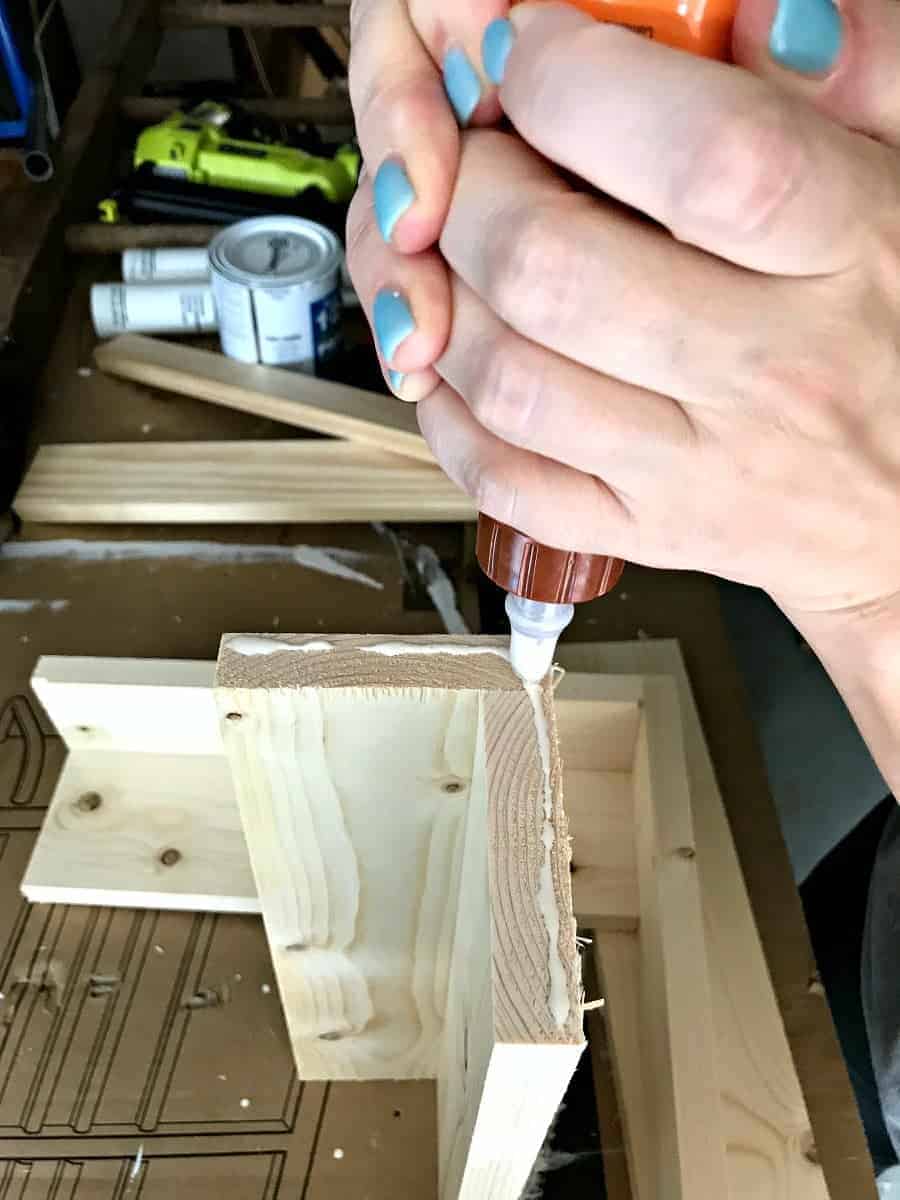
Putting this together was almost as easy as cutting the wood. I added just a small bead of wood glue to each edge and then joined the pieces together using a brad nailer. My coat rack was going to be stained so I was extra careful when I was using the glue. I’ve learned from past projects that if you put too much and it seeps out, the stain won’t penetrate into the wood.
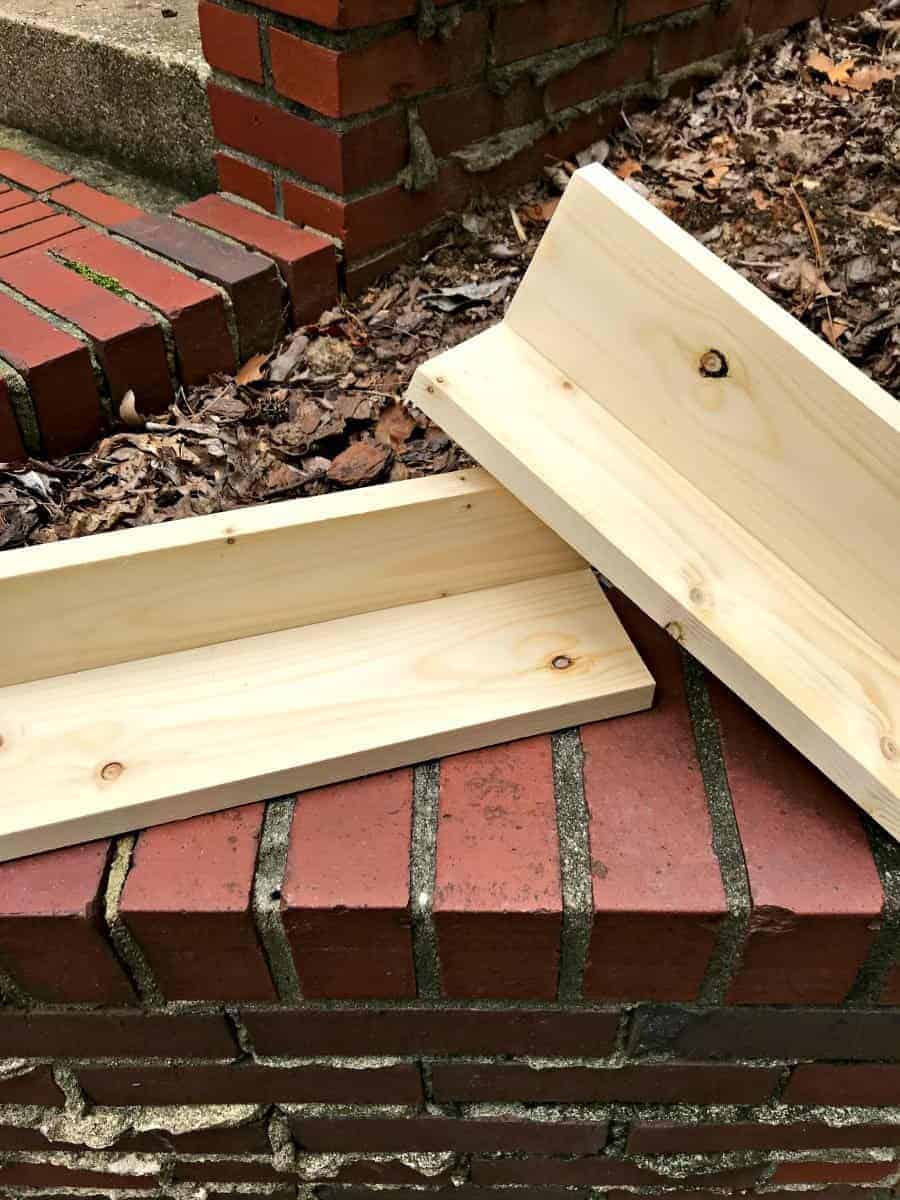
I worked on building the shelves first…
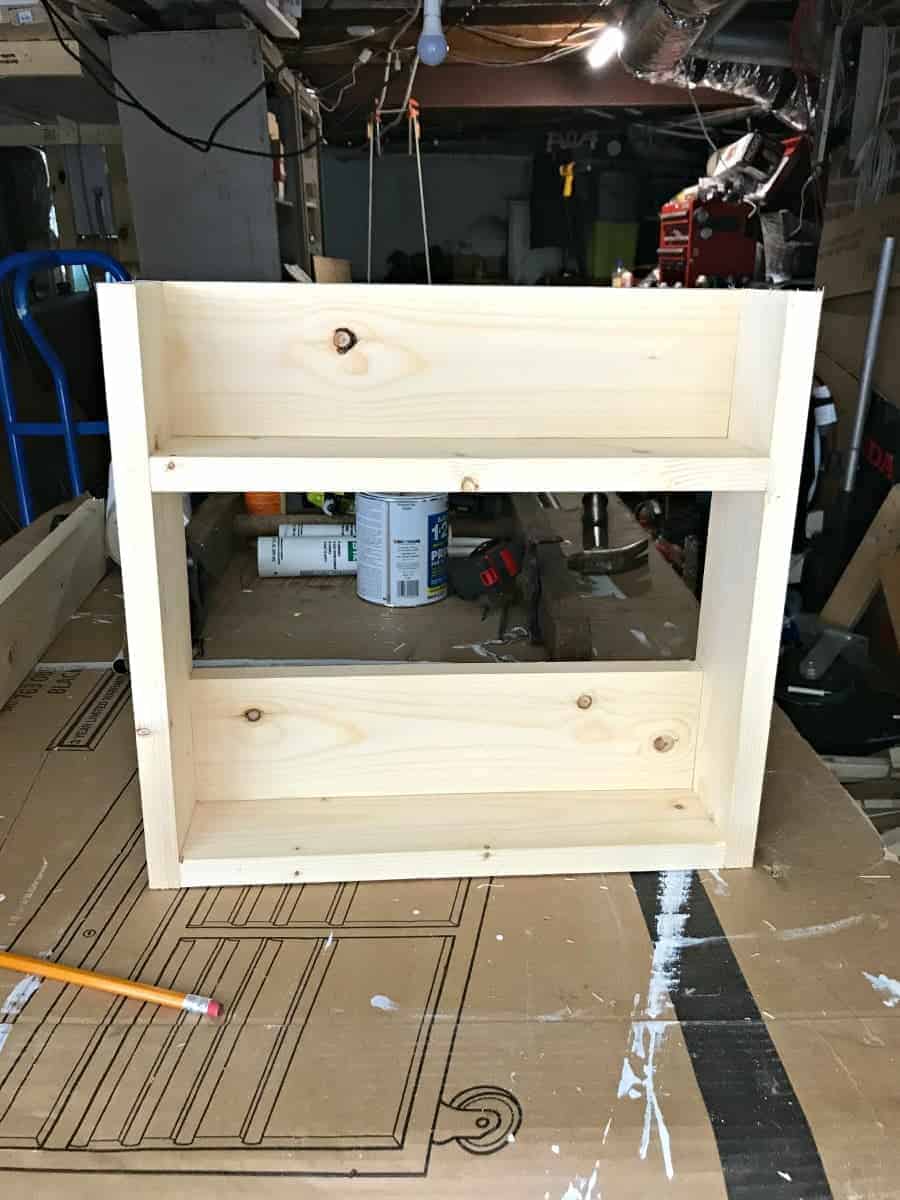
And then attached the sides.
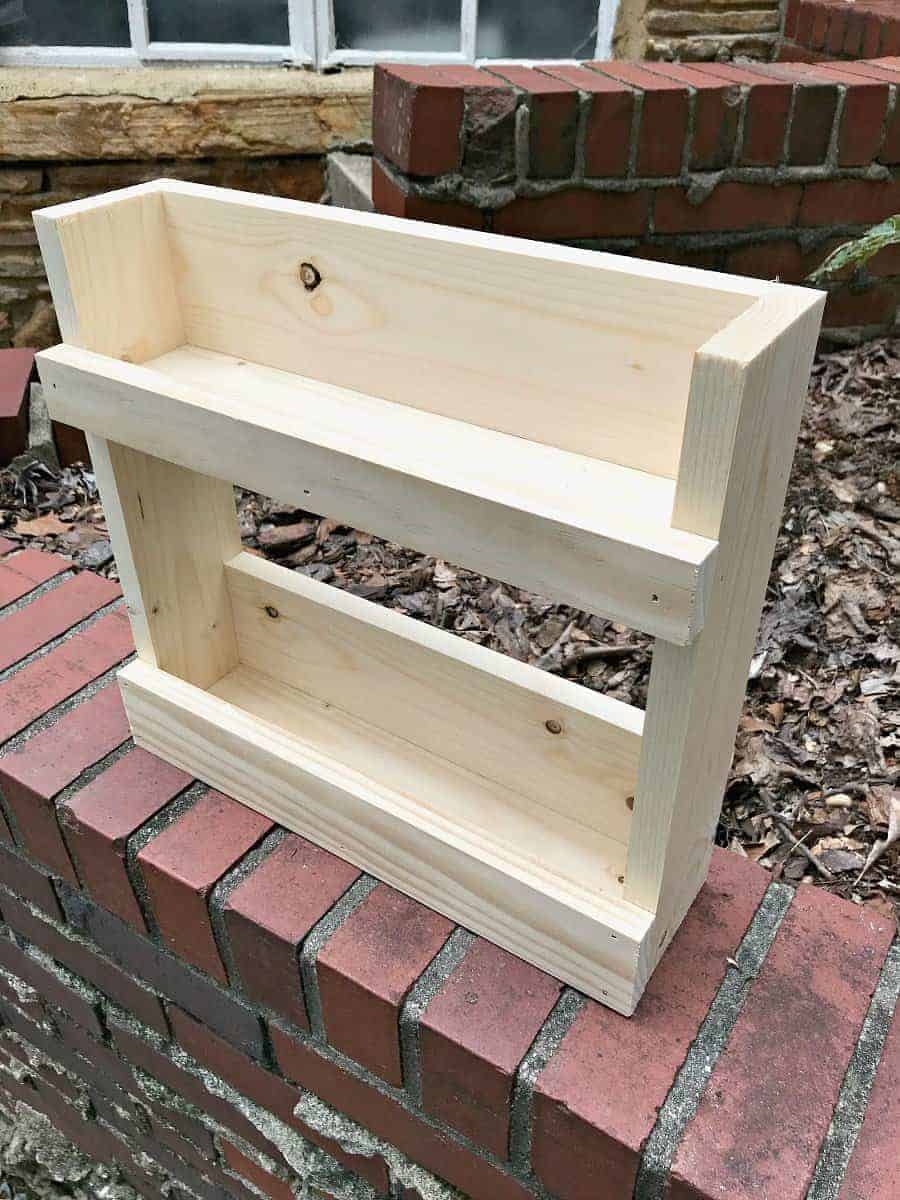
All that was left was to attach the front lip pieces on each shelf.
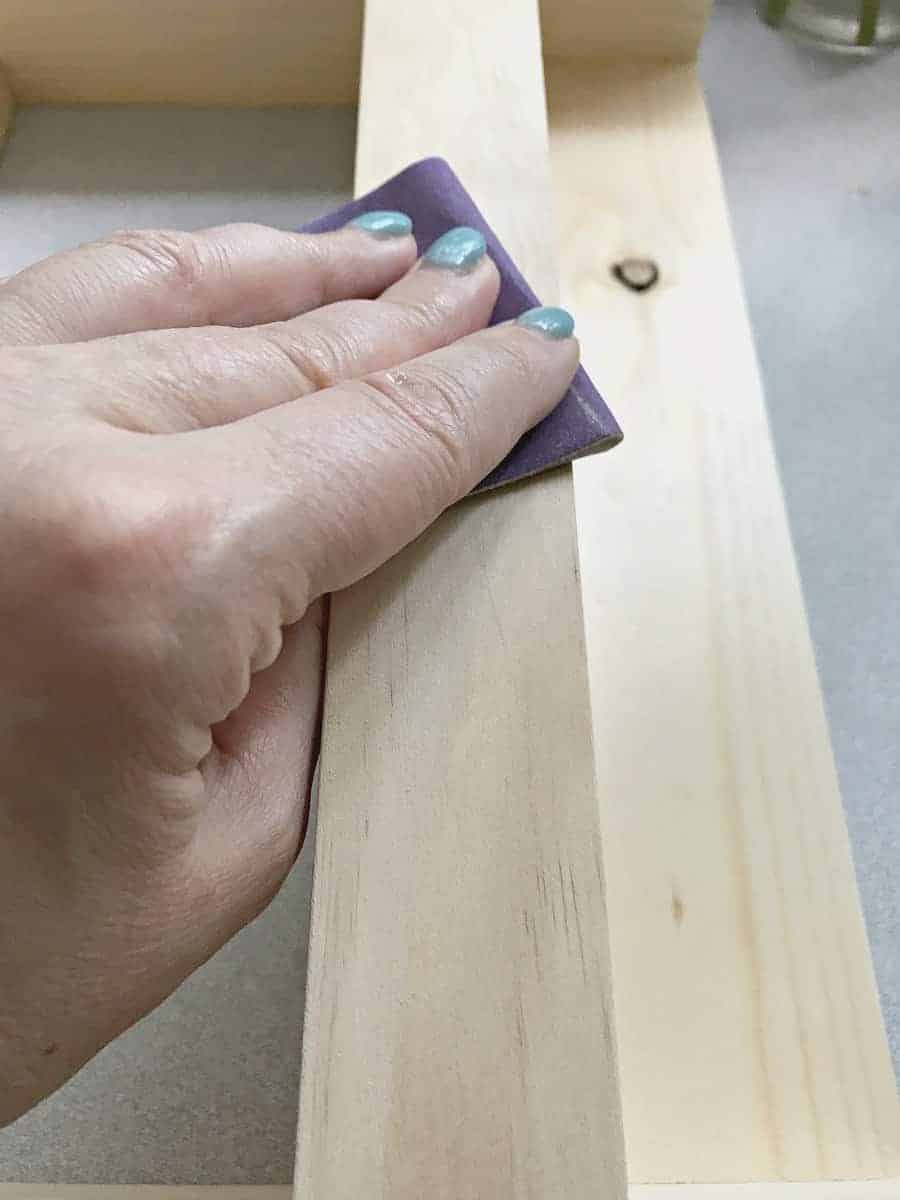
Once my coat rack was built, I used a fine grit sandpaper to lightly sand the edges.
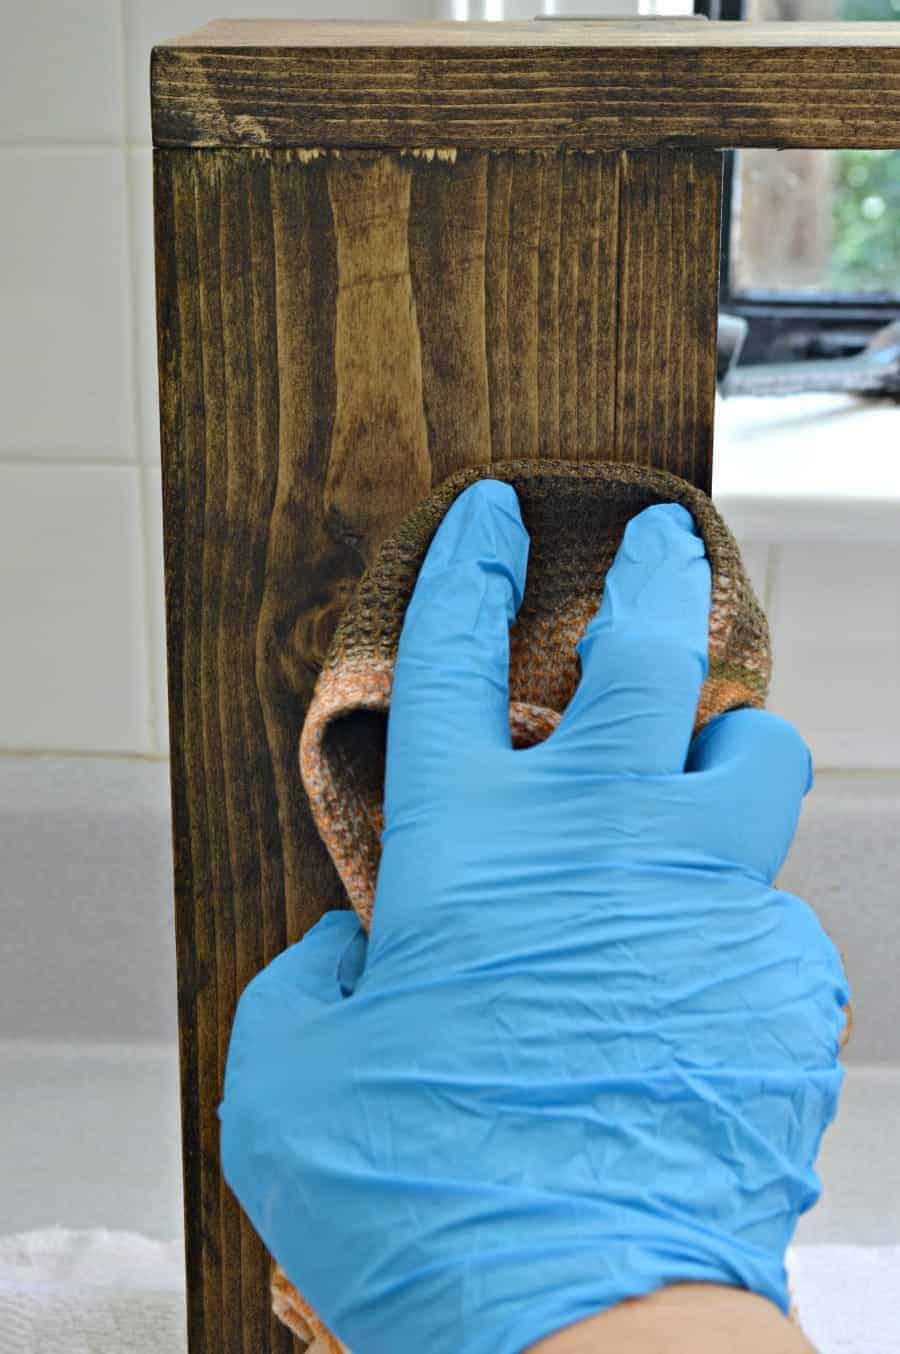
After a good wipe down, I applied the dark walnut wood stain with a clean rag. I love to see the grain pop out when the stain is applied. It even makes an inexpensive wood like pine look rich and beautiful.
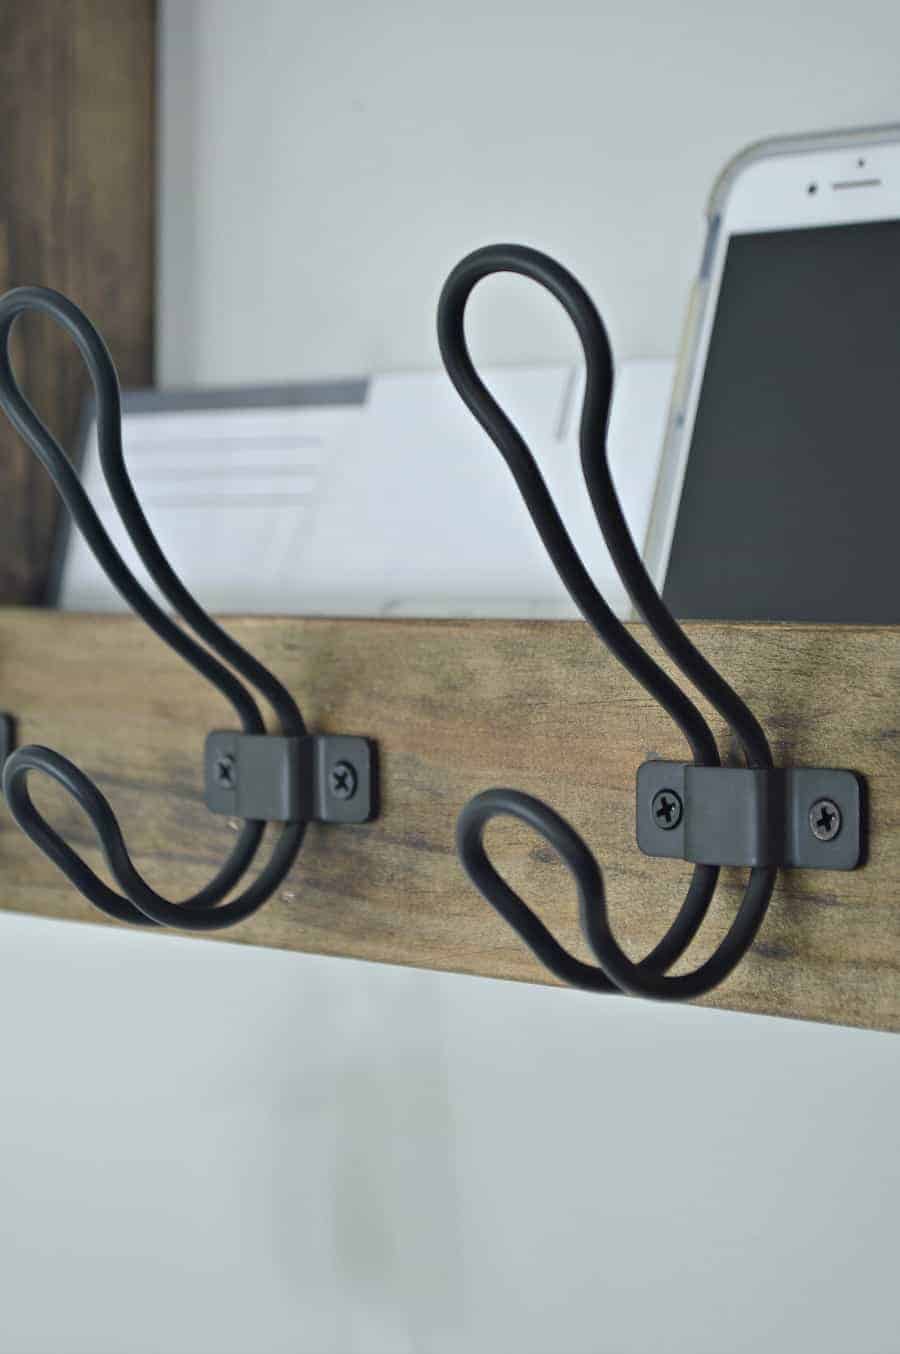
I let the coat rack dry and then attached the 3 hooks that I picked out.
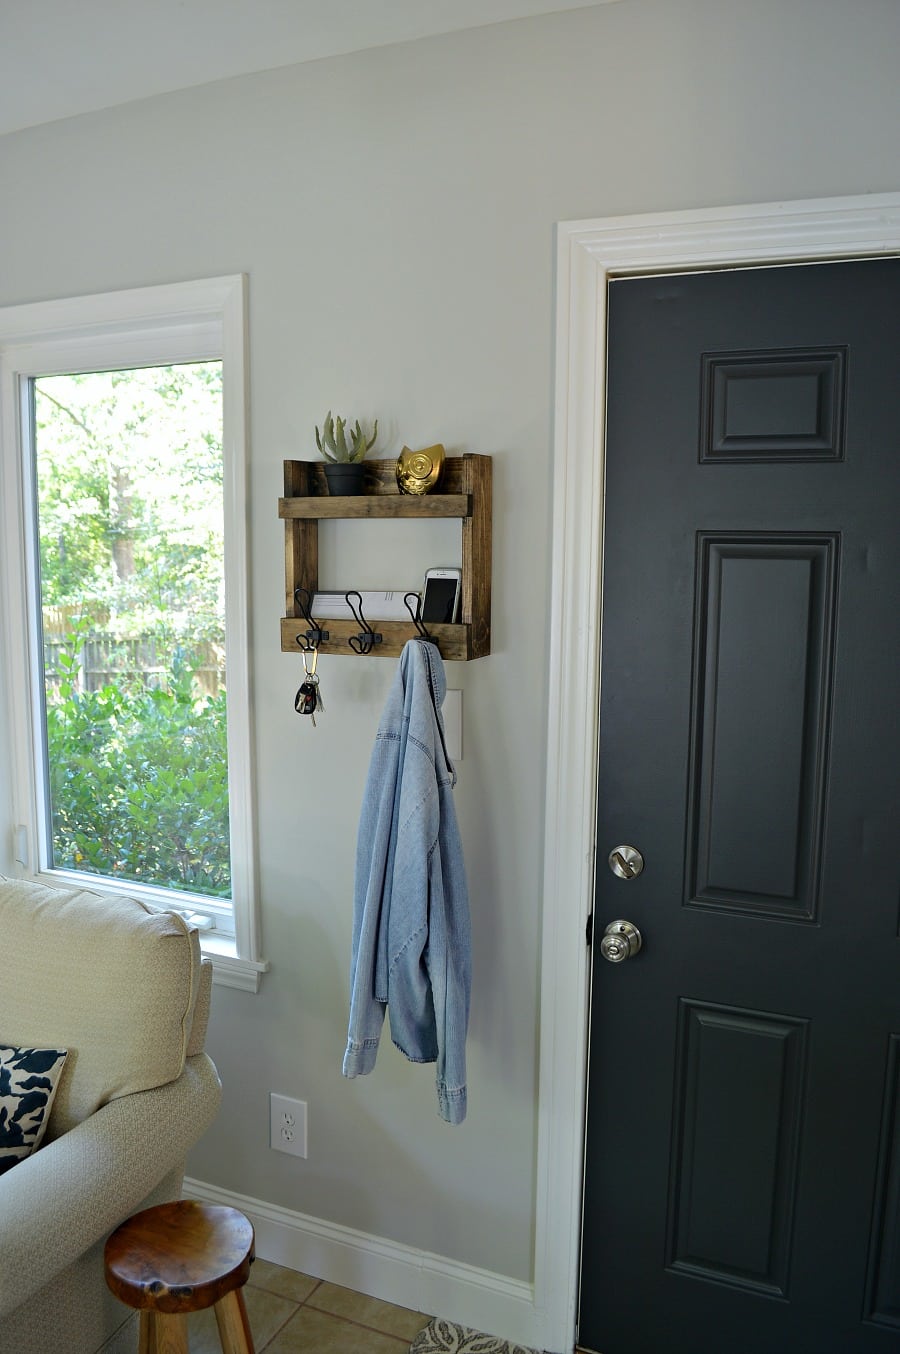
This rustic wall mounted coat rack with shelves is the perfect multi-functional piece for our back door entry. Now we have a place to put our phones, hang our keys, and we can even have a small plant.
Make sure you stop by Chatfield Court to check out some of my other easy DIY projects, like our open shelving in the kitchen for under $50 and our easy DIY custom curtain rods. Don’t forget to stop by the comments.


Leave a Reply