How To Mill Rough-Cut Lumber Without a Jointer
If you don’t own a jointer, you can still mill rough-cut lumber flat, straight, and square using a planer, a simple planer sled, and a table saw.
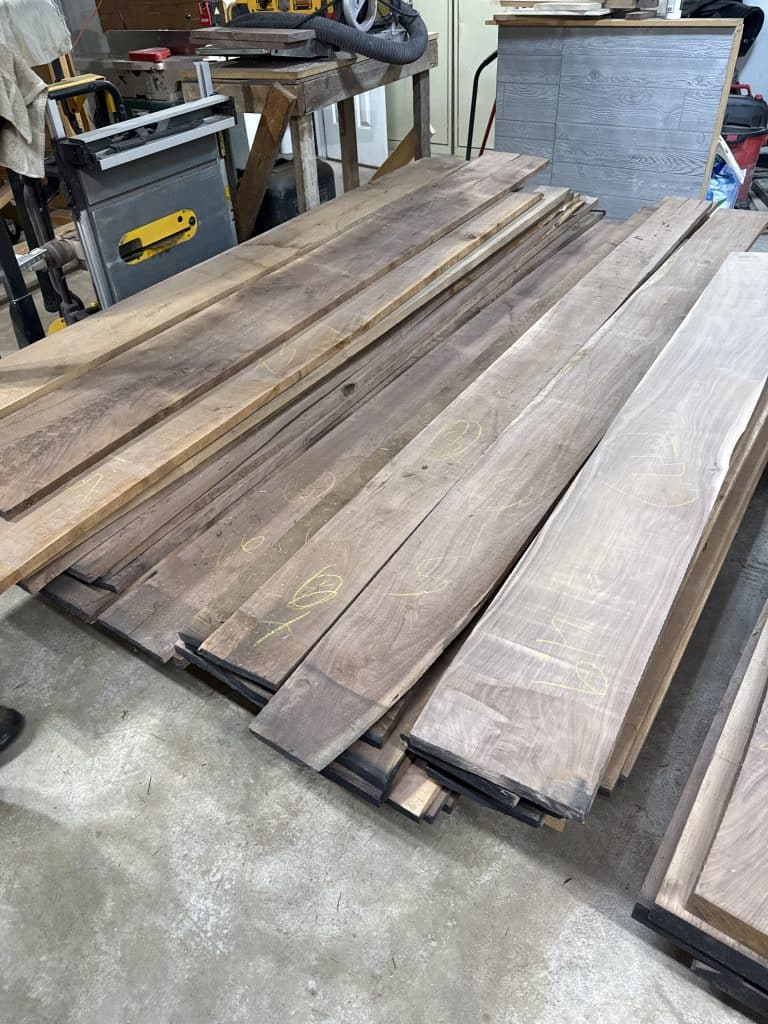
When we couldn’t find the black walnut boards we needed locally for our built-in mudroom lockers, we packed up the truck and headed to Indiana. Sometimes, you have to cross state lines for the good stuff! Of course, what we brought home was nowhere near ready for a project – these boards were rough, uneven, and far from square. Rough-cut lumber is just that: rough on every side. Before we could even think about building our mudroom lockers, each board had to be milled flat, straight, square, and smooth. And here’s the twist (see what I did there?): I don’t own a jointer. But with a planer, a homemade planer sled, and a trusty table saw, you can absolutely turn rough-cut lumber into perfectly milled stock. If you’re in the same boat, don’t worry, I’ve got you covered!
Why Proper Milling Matters
Before we get into the steps, let’s talk about why milling really matters:
- Your first face needs to be flat.
- The opposite face needs to be parallel.
- At least one edge needs to be straight and square.
- Everything needs to be a consistent thickness.
If your boards aren’t flat and square, everything that follows gets harder. Face frames won’t sit flush, doors won’t align, and gaps show up where they shouldn’t. It’s no bueno. Milling isn’t glamorous, but it’s the foundation for everything that comes after.
Let the Lumber Acclimate First
Before milling anything, let your lumber acclimate to your shop environment. Wood moves with humidity. If you bring boards home from a lumberyard, especially if it’s a different climate or storage condition, they need time to adjust. Wood is a very dynamic medium!
Here’s what I do:
- Bring the boards into the shop
- Sticker them (stack them with spacers between layers)
- Let air circulate around all sides
- Leave them for at least 48-72 hours
I also check the moisture content with a moisture meter. For interior furniture and cabinetry, I’m looking for lumber with a moisture content of 6-8%. That’s typically where wood is stable in a climate-controlled shop or home environment. If your boards are sitting at 10-12% or higher, give them more time to dry out. Milling wet lumber down to final dimensions is just asking for movement later.
Tools You’ll Need
Here’s what I used:
- Thickness planer
- Table saw
- Planer sled (I DIY’d mine)
- Shims
- Woodworker’s double-sided tape
- Straight edge
- Push blocks
- Moisture Meter
See? No jointer required.
Safety Notes Before Milling
- Always wear eye and hearing protection
- Keep hands clear of blades
- Use push blocks at the table saw
- Never remove too much material in one pass
Step 1: Inspect the Board
Before running anything through a machine, look at the board.
Check for these troublemakers:
- Cups
- Bows
- Twists
- High corners
Lay the board on a flat surface and press on the opposite corners to see where it rocks. Find the high spots – those are the ones you’ll shim. I like to use a combination of shims and playing cards. I fill the gaps and make sure the board doesn’t rock after shimming. Take your time here. Milling starts with careful observation.
Step 2: Build a Simple Planer Sled
A planer sled is simply a flat, rigid base that supports a warped board while you run it through your planer. It keeps the board steady so the planer can flatten one face rather than just pressing it flat temporarily.
Materials
- 3/4-inch plywood (longer than your boards, flat and straight)
- Double-sided woodworker’s tape
- Wood shims and playing cards
- Optional: cleat at the front or back
Cut the Base
I use 3/4-inch plywood and cut it a bit longer than the boards I’m milling. The width needs to fit inside your planer. My planer is 13 inches wide, so my sled is slightly narrower than that. The plywood must be truly flat. If your sled isn’t flat, then what are we even doing?
Add A Cleat (Optional: Front or Back)
You’ll see woodworkers do this two ways. Some add a cleat to the front (in-feed side), while others add one to the back (out-feed side). Either way works. A front cleat stops the board from sliding forward, and a back cleat prevents it from creeping backward as it exits. If you add a cleat, just make sure it sits lower than your board thickness so the planer cutter head doesn’t hit it.
Step 3: Shim the Board Until It Doesn’t Move
Place your board on the planer sled. Press down on opposite corners – if it rocks, you’ve got gaps underneath. Slide shims and/or playing cards into those gaps until your board sits rock-solid, with no wiggle at all. Once everything feels stable, tack the shims in place with a little hot glue or double-sided tape. I like to use double-sided tape to tape my board to the planer sled too, so nothing shifts while it’s going through the planer.
Step 4: Flatten the First Face
Run the sled and board through the planer, taking very light passes – just a whisper off each time. Don’t rush; you’re not after final thickness yet. You’re just creating one perfectly flat face to use as a reference later. Check your progress as you go. When the whole surface is flat and clean, you’re done. Test your work by taking the board off the planer sled and placing it planed side down on a flat surface. There should be no more rocking. Now you’ve got one true flat face. Huzzah!
*Pro Tip: If your board is severely twisted, remove just enough material to flatten one face, then let the board rest overnight before bringing it to its final thickness. Wood can move after tension is released by cutting.
Step 5: Plane the Opposite Face Parallel
Remove the board from the sled and place your newly flattened face down on the planer bed. Keep taking light passes until you’re close to your final thickness – don’t go all the way just yet. Now you should have two flat faces, both parallel, and a board that sits steady.
How To Minimize Snipe
Snipe is that slightly deeper cut at the beginning or end of a board. To minimize it, run a sacrificial board before and after your workpiece, take lighter passes, and ensure the in-feed and out-feed supports are level. A little snipe can be trimmed off later, but reducing it upfront saves material.
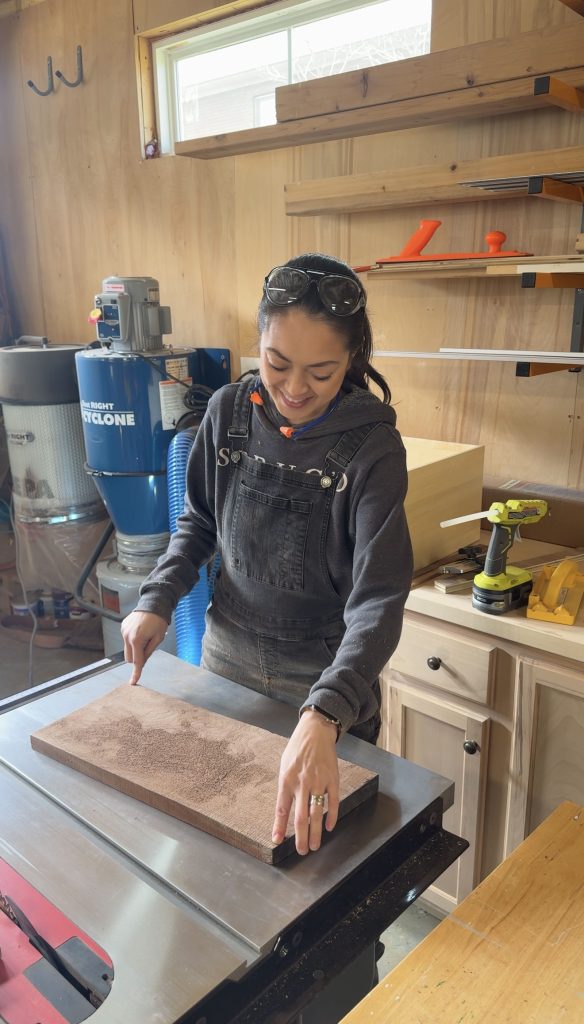
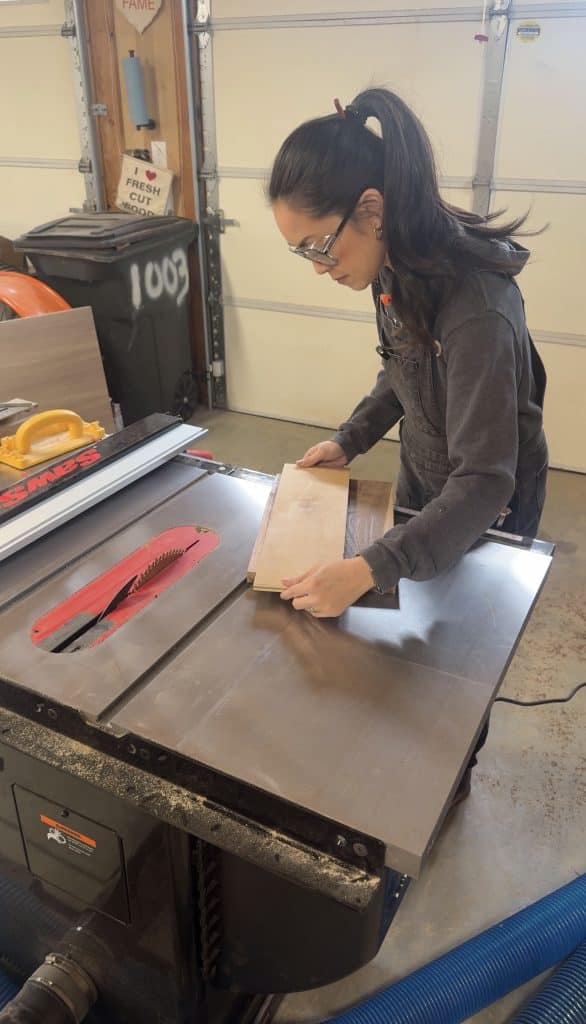
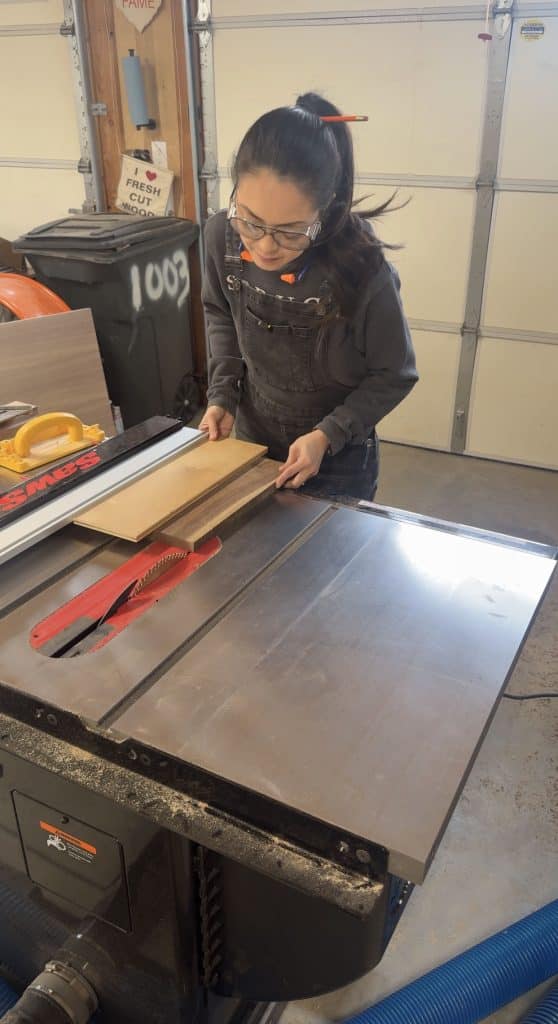
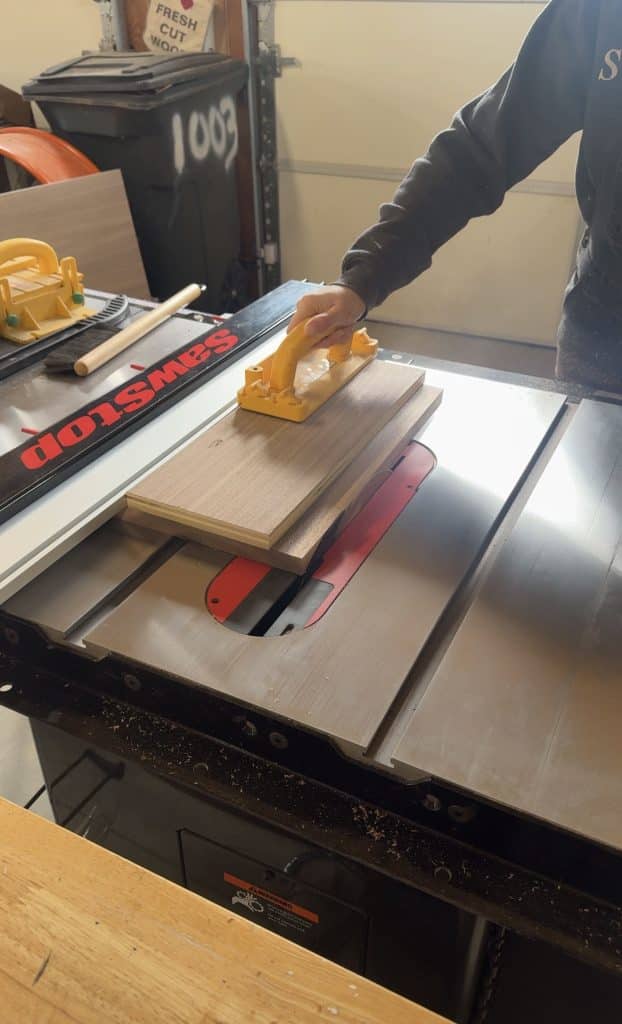
Step 6: Square Up One Edge Using an L-Fence on the Table Saw
Without a jointer, your table saw becomes your edge straightener. I use a SawStop with the Advance T-Glide aluminum fence set up as an L-fence, but you can create the same effect with a plywood straight edge. Just attach the straight edge to your board with double-sided tape, run it along the fence, and use it as your guide.
What Is An L-Fence?
An L-fence creates clearance between your workpiece and the rip fence. Instead of referencing a crooked board edge directly against the fence, you reference a straight edge. If you run a crooked edge directly against the fence, the saw will simply cut a parallel line to that crooked edge, which doesn’t fix anything. It can also be dangerous if it binds and kicks back.
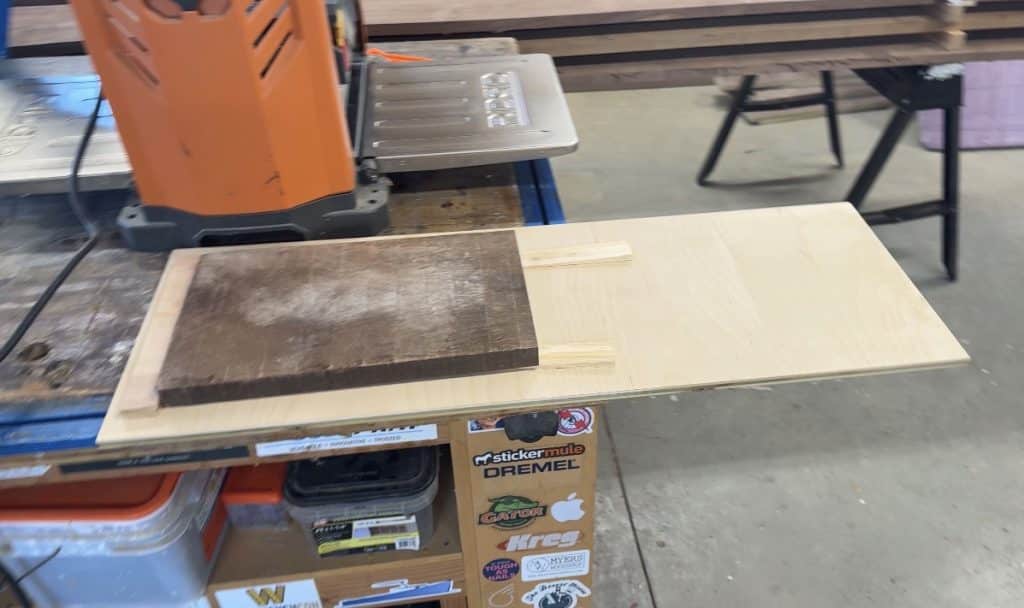
How To Joint An Edge on the Table Saw
- Attach a straight reference edge: Take a piece of plywood with a known straight edge, place it along the crooked edge of your board, and secure it with double-sided tape. Now, that plywood edge becomes your temporary straight edge reference that will ride along the L-fence.
- With the plywood straight edge against the fence, make your cut – just enough to give you a single, true straight edge. After the cut, separate the board from the plywood and admire your new straight, square edge.
- Rip the board just shy of your final width. Now you’ve got two flat faces, one true edge, and one parallel edge. Flat, square, and ready for action.
The Reality of Milling
I actually love the milling process. There’s something deeply satisfying about turning a rough board into clean, square stock. Sure, it’s slow and a bit tedious, but when you’re prepping lumber for face frames, doors, and drawer fronts (the parts everyone will see), it’s worth every minute.
By the end, we had stacks of beautiful black walnut ready for those finishing details in the mudroom. Totally worth the extra effort.
Frequently Asked Questions
Can you mill lumber without a jointer?
Yes! A planer with a planer sled and a table saw can replace a jointer for most small shop projects.
Is rough-cut lumber cheaper than S2S or S4S lumber?
S2S lumber is surfaced on 2 sides and S4S lumber is surfaced on all sides. Rough-cut lumber is rough on all 4 sides. Usually rough-cut lumber is cheaper than S2S or S4S lumber, and often by a big margin. But you’re trading dollars for time – milling takes patience and a little elbow grease.
What thickness should you mill rough lumber to?
Mill a bit above your final thickness to start. If your boards need to acclimate, let them rest before those final passes.
What order should you mill rough lumber?
Remember the acronym FEE: Faces (flat), Edges (square), Ends (final length). Flatten one face first. Plane the opposite face parallel. Joint one edge, rip to width, and cut to length.

I like the nerdy parts as well, as I am that nerdy girl ✋️ I also liked knowing about your road trip to find material (I am not alone!) AND knowing its out there somewhere!
Enjoying this journey with you! I think its good for people to know its takes longer than a 15 second video, lol.
wow, what a process, buy it will be worth it in the end, thanks for sharing!
This is such a great resource! I really appreciate how thorough and well-researched this post is. I have shared it with my friends because it is just too good not to share. Thank you!
What do you use for dust collection on your SawStop? I’ve had to ditch the blade guard (and overarm dc) because it was getting in the way of my cuts, but I hate getting coated with sawdust. Sometimes I wear my shower cap so it doesn’t get in my hair. It looks just as fashionable as you might imagine 😆
Do you just take a dust bath or have some other solution?
Amazing post! I have been following your blog for a while and this is one of your best articles yet. The content is so relevant and practical. Really appreciate the work you put into this!