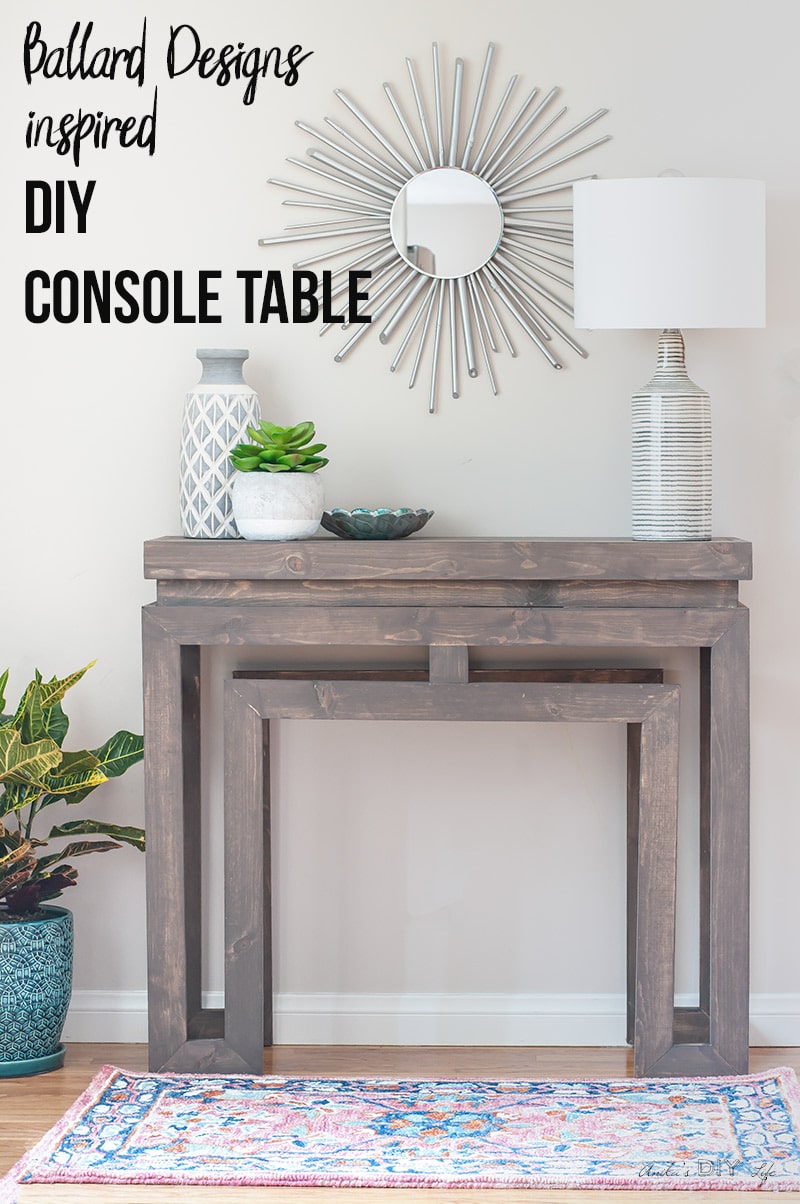
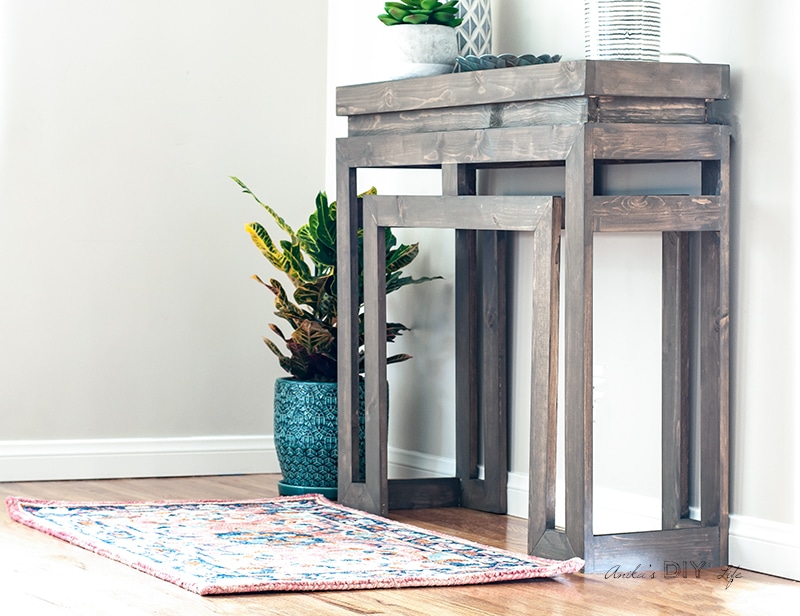
Hey there House of Wood readers! It is Anika from Anika’s DIY life and I am super excited to be back here sharing a DIY Ballard Designs-inspired Console Table with you!
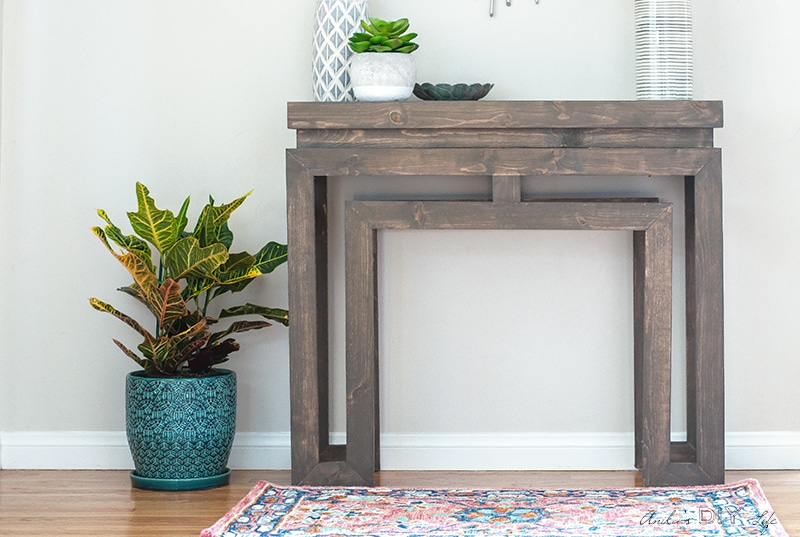
I first saw this beautiful console table from a Ballard Designs ad and was immediately drawn into those gorgeous legs and simple lines. Ballard Designs sells their table for $599 and I was able to build my own for $35 in lumber! Amazing, right?!
One of the things that come with being a woodworker is that you immediately want to build any cool new piece of furniture you discover! This console table made that list instantly and I am happy to report that after being on that list for almost 4 months, it has finally come to life!!
DIY Ballard Designs-Inspired Console Table
Material List:
- (6) 1 x 3 x 8 foot boards
- (1) 1 x 12 x 4 foot board
- (2) 1 x 4 x 8 foot boards
Cut List:
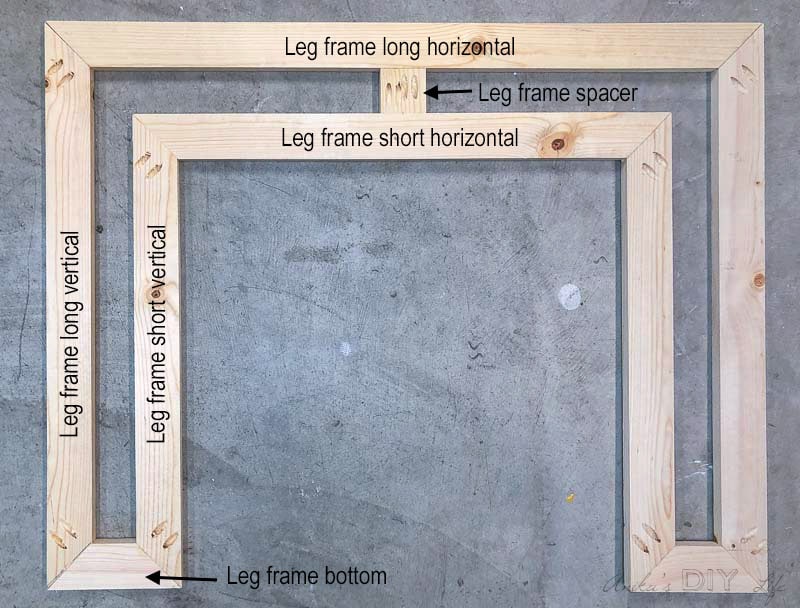
- (4) 1×3 @ 31 ¼ inches (long to long end cut at 45º – Leg frame long vertical)
- (4) 1×3 @ 23 ¾ inches (long to short end cut at 45° – Leg frame short vertical)
- (2) 1×3 @ 30 inches (long to long end cut at 45º – Leg frame short horizontal)
- (2) 1×3 @ 40 inches (long to long end cut at 45º – Leg frame long horizontal)
- (2) 1×3 @ 7 ½ inches (long to long end cut at 45º – Leg frame bottom)
- (6) 1×3 @ 11 ½ inches (Side Aprons)
- (2) 1×3 @ 2 ½ inches (Leg frame spacers)
- (2) 1×4 @ 11 ½ inches (Spacer for top – short)
- (2) 1×4 @ 38 ½ inches (Spacer for top – Long)
- (5) 1×4 @ 11 ½ inches (Support slats)
- (1) 1×12 @ 38 ½ inches (Top)
- (2) 1×3 @ 11 ½ inches (Top trim -short)
- (2) 1×3 @ 40 inches (Top trim- long)
Tools and Hardware:
- Miter Saw
- Drill
- Brad Nailer
- Pocket Hole Jig
- Sander and sandpaper
- 1-1/4 inch pocket hole screws
- 1-1/4 inch brad nails
This DIY Ballard Designs-inspired Console Table is relatively simple to build. The key is in getting perfect 45° angles and making sure that there is no error in the sizes to keep everything square which is true for every build but here, it is quite critical. Let’s get building!
Step 1 – Build the leg frame
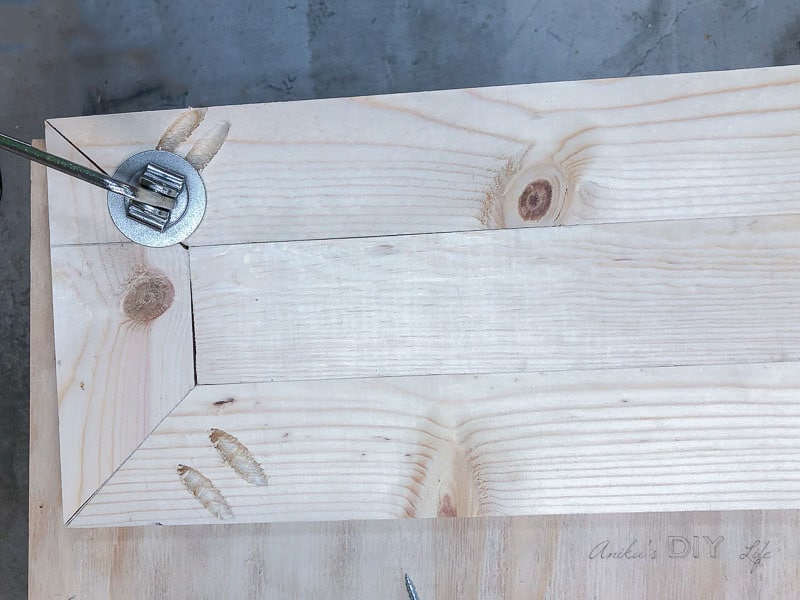
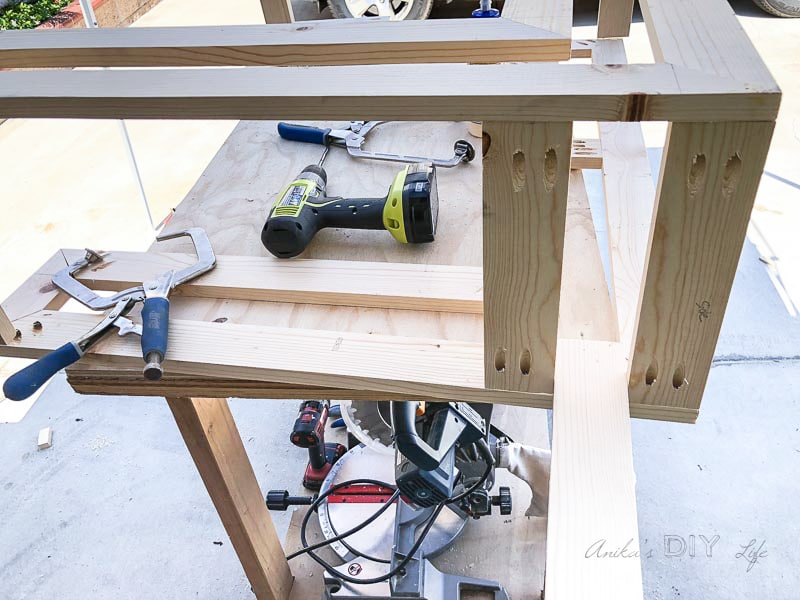
Using pocket holes and wood glue, put each of the 2 leg frames together. Make sure to use a scrap 1×3 as a spacer while joining the boards to help keep all the boards aligned and square.
The pocket holes are only in the vertical pieces of the leg frame and the spacer. Here is a full view of one of the leg frames with all the parts labeled because I know all the leg frame parts are getting confusing…
This is also a great time to fill the pocket holes and sand the leg frames.
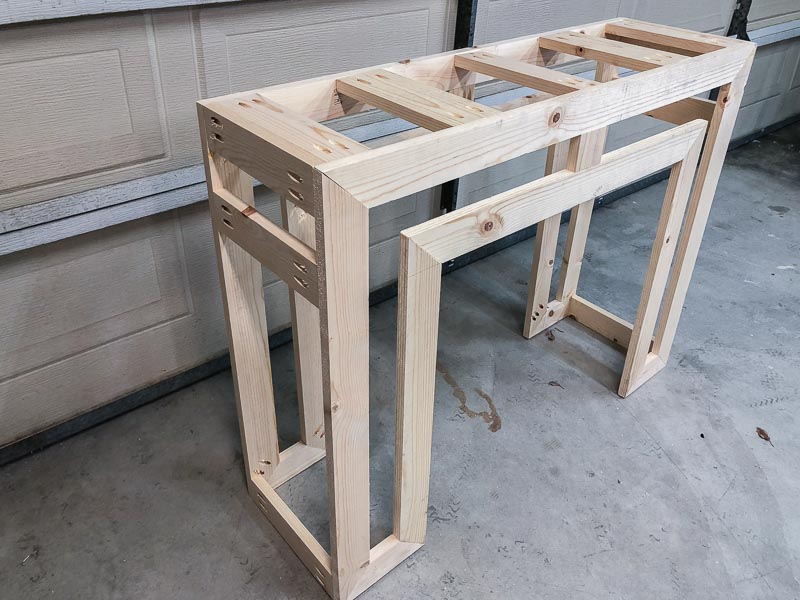
Step 2 – Join the two leg frames together using the side aprons
There are 3 aprons on each side . The top two are 2 1/2 inches apart and I used a 1×3 scrap board for the spacing.

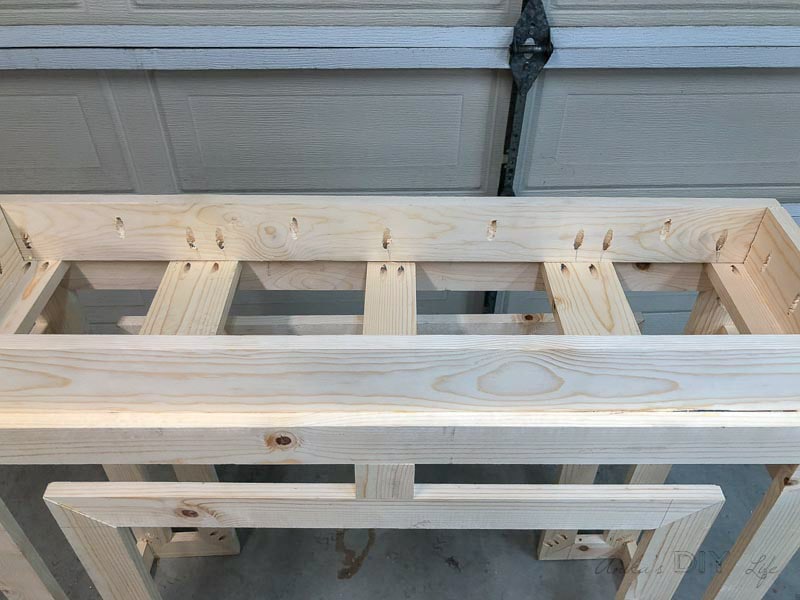
Step 3 – Add the support slats to the top
There are 5 slats total – two on each end, two 10 inches from each end and one in the middle. I used a combination of 1×3 and 1×4 scraps to do this and attached them using wood glue and pocket holes screws.

Step 4 – Attach the spacer for the top of the console table.
First, place the 1×4 spacer boards and mark location of pocket holes such that the boards get attached to the support slats. Then make the marked pocket holes along with pocket holes facing upwards that will attach to the top. Once all the pocket holes are made, attach the spacers to the console table frame using wood glue and pocket hole screws.

Step 5 – Prepare the top.
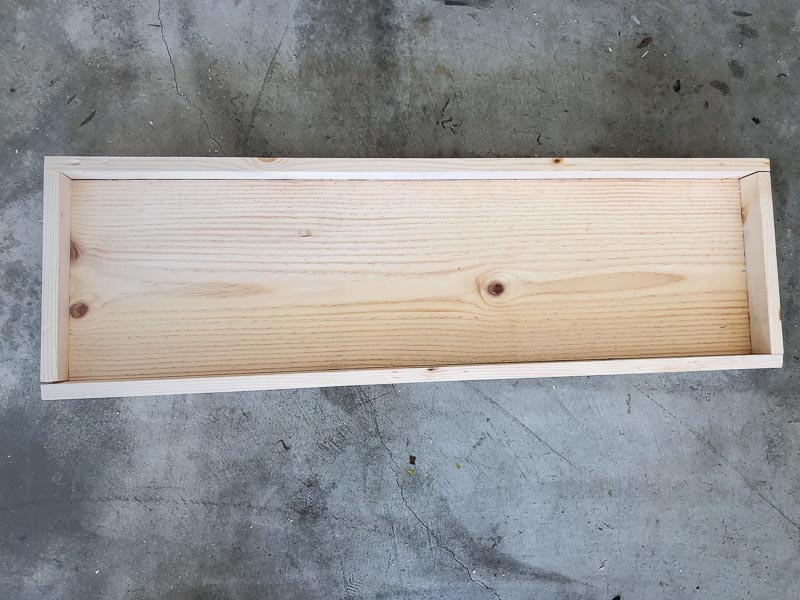
I built the top by attaching the trim 1×3 boards around it using wood glue and brad nails.

Step 6 – Attach top to the console table frame
Attach the top to the console table frame using pocket hole screws and wood glue. To do this, turn the table upside down and add pocket hole screws into the spacers.
Fill all pocket holes, sand, and stain and/or paint, and finish as desired.
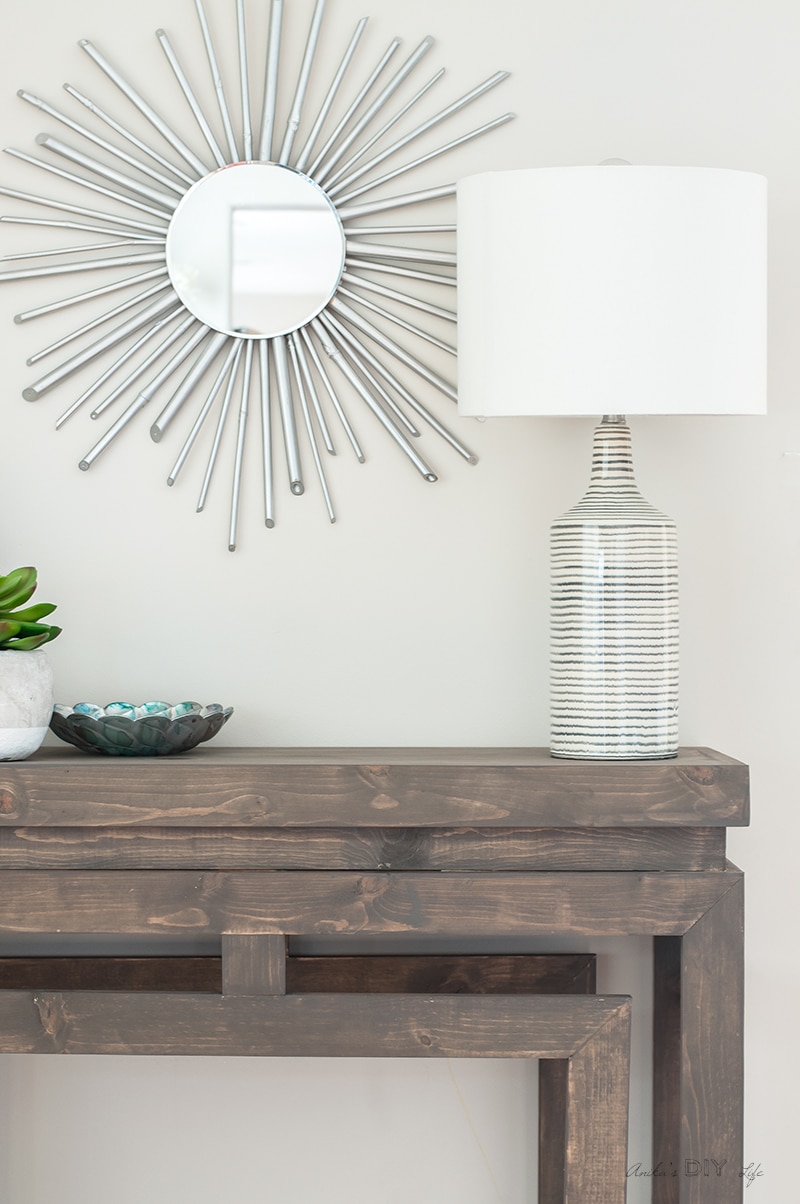
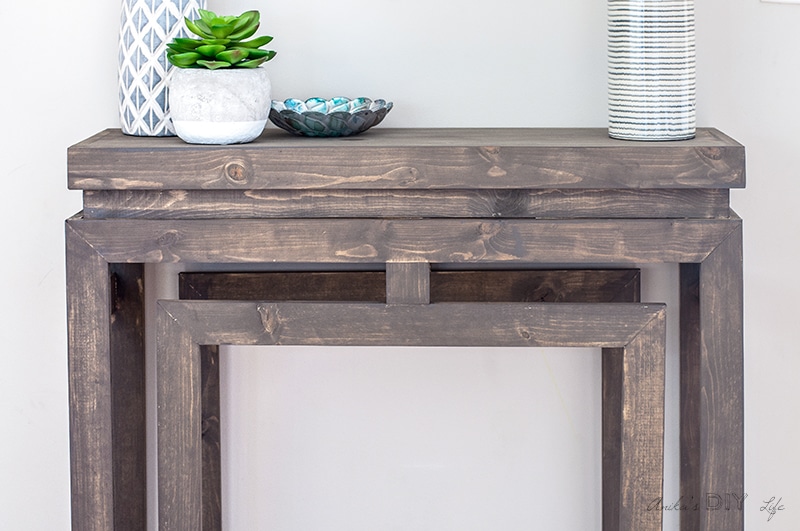
This DIY Ballard Designs-inspired Console Table makes the perfect entryway table. Simple and stylish at the same time!
I can totally imagine it with a more modern look with painted legs and stained top…
If you happen to build this DIY Ballard Designs-inspired Console Table, be sure to tag Jen @jenwoodhouse and me @anikasdiylife on Instagram! We would love to see!
See you next time!

I love this so much, it’s beautiful! Great job! What are the finished dimensions? Thanks!
What is the stain you used to finish the table?
Hi Laura, I used Briarsmoke by Varathane for the finish.
I think you ment 4 leg short bottoms of the 7 1/2 in
Hi Kelly, the finished dimensions of the table are – 40″W x 13″D x 34.5″ H.
*(2) 1×3 @ 7 ½ inches (long to long end cut at 45º – Leg frame bottom)
You actually need (4)
*(2) 1×4 @ 11 ½ inches (Spacer for top – short)
These should not be 11-1/2
Love this! One question for you – what type of blade on the miter saw is required to get these fine of cuts?
do you think if you made the legs shorter it would be strong enough as a narrow bench to sit on for a single person from time to teim