Hello builder friends! This is Angie from House Becoming Home and today I’m back to share one of my recent projects, this DIY geometric side table:
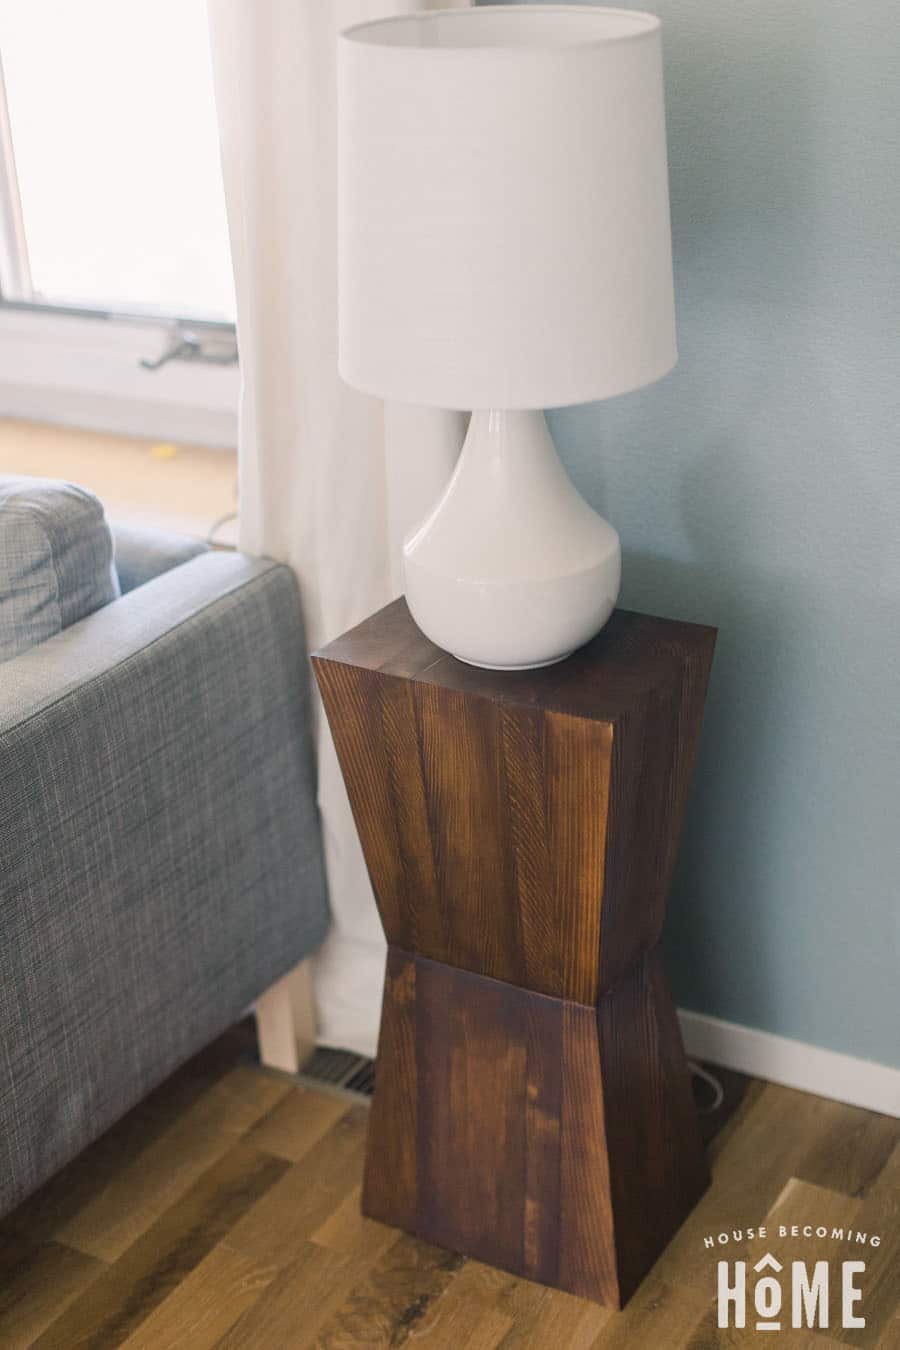
Earlier this summer, I was admiring the inspiring living room at Place of My Taste. I’m in awe of the entire space, but was particularly drawn to the little geometric side table – I love it! And of course my mind went where it often does when I’m looking at furniture: “Could… I… DIY this?” And that’s how it began. 🙂
How to make a DIY Geometric Side Table
Materials
- (2) 4 x 4 x 10 Ft. Boards
- (1) 2 x 4 x 8 Ft. Boards
- Wood Glue
- Finish of choice
Tools
- Miter Saw
- Table Saw
- Taper Cut Jig (you can DIY this with a few scraps and screws)
- Lots of clamps (at least 3-4)
- Sander + sandpaper
- Finishing supplies (rag/paintbrush)
Instructions
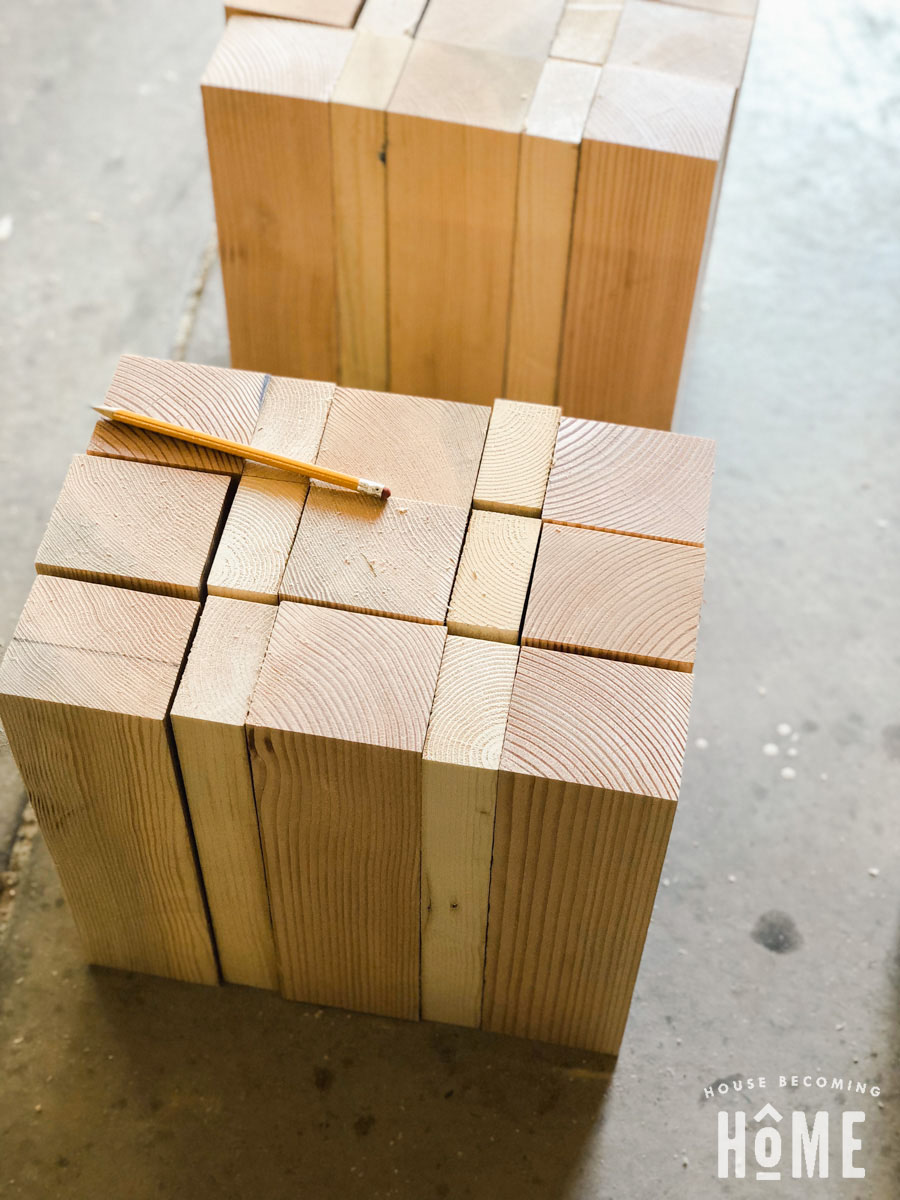
Build this geometric side table from two identical sections of tapered 2x4s and 4x4s. Each section is made up of nine 4x4s and six 2x4s.
Step 1
Cut 4×4 lumber into 18 pieces, 13 inches in length, then cut 2×4 into 12 pieces, 13 inches in length. Adjust the size for a table shorter/taller than 26 inches.
Step 2
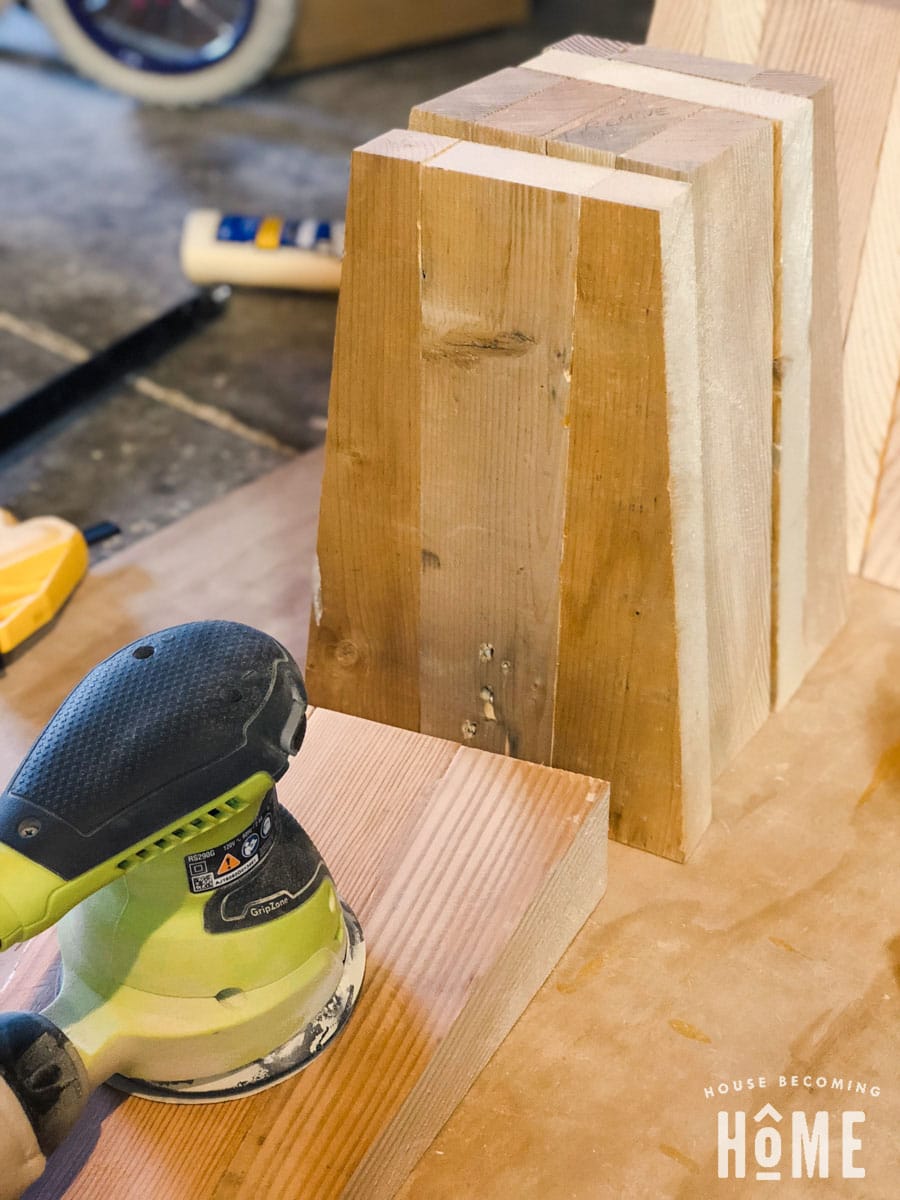
Remove about ⅛-inch from the edges of all 2x4s and 4x4s to get rid of the rounded edges. My husband, Jim, helped me with this step while I worked on cutting the 2x4s and 4x4s into 13-inch pieces. He used the table saw to do this. Removing the rounded edge is important so that all pieces sit flat against each other without gaps.

Step 3
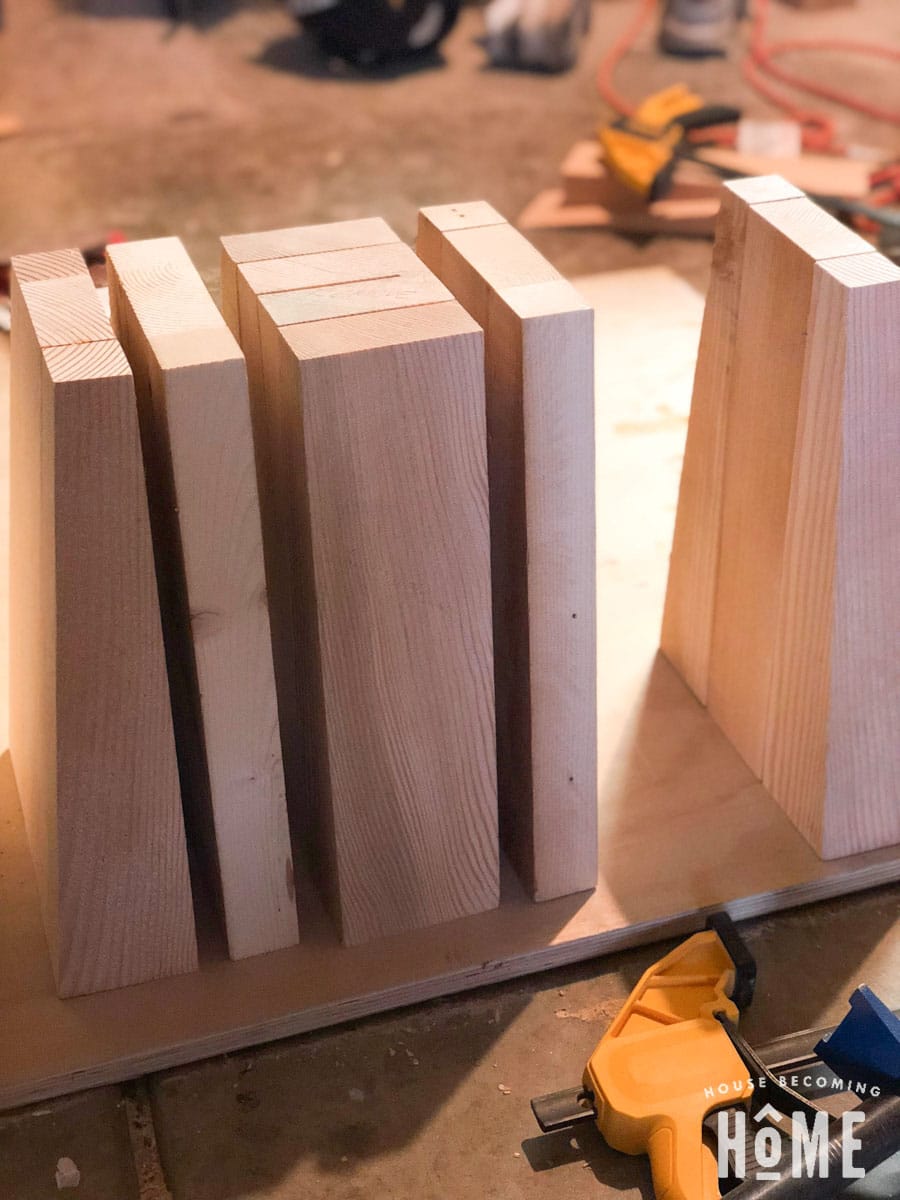
Organize the 13-inch 2×4 and 4×4 pieces into two identical sections, alternating 4x4s with 2x4s, as shown below. I tried to arrange them in a way that knots were hidden (facing inward) with the best side facing outward.

Step 4
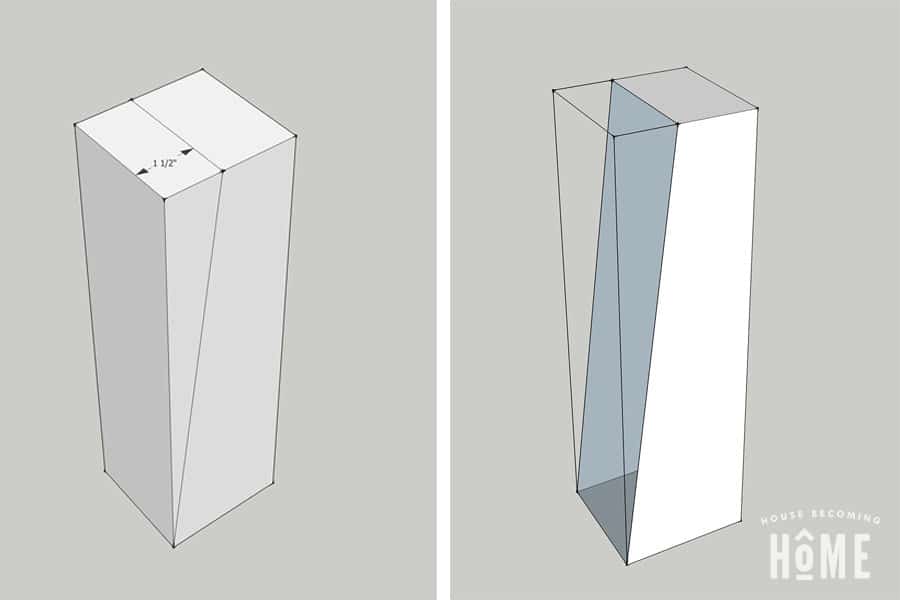
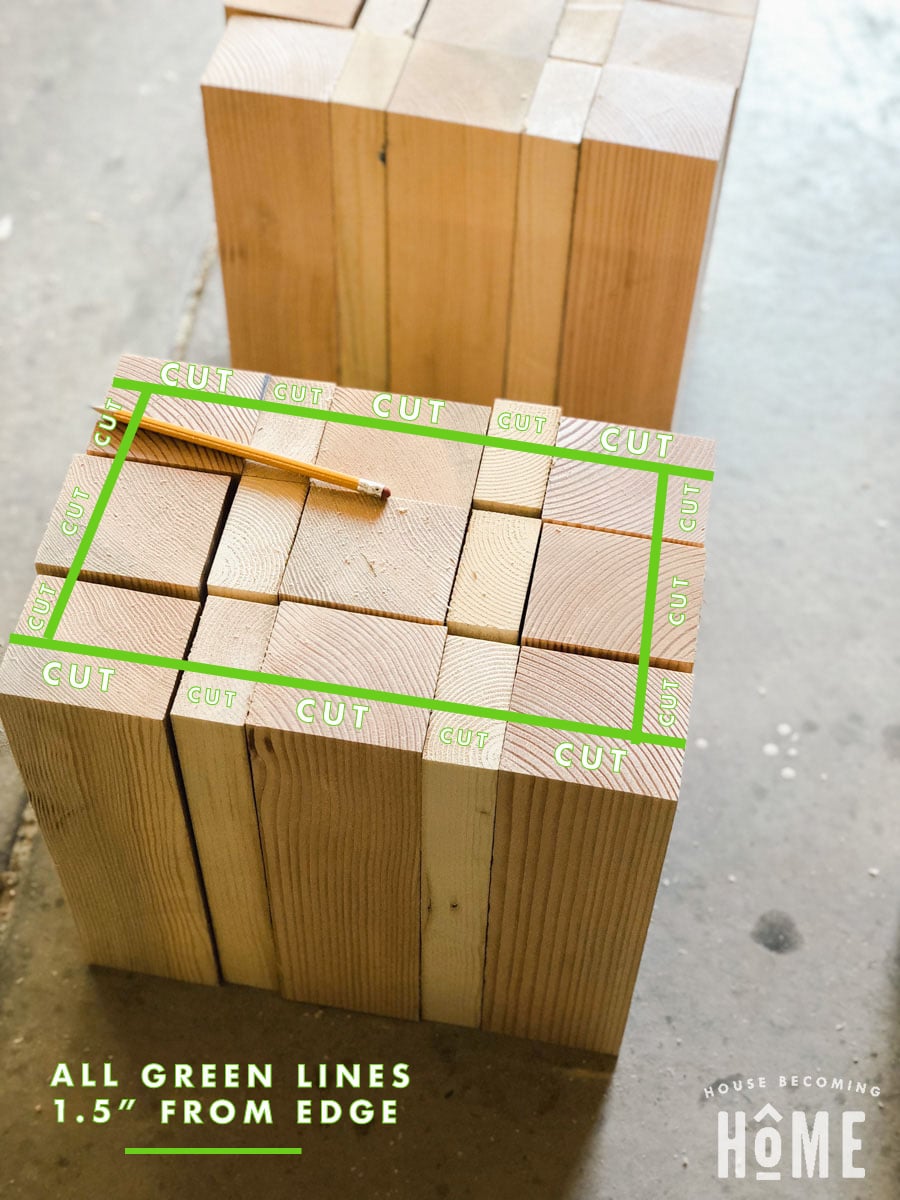
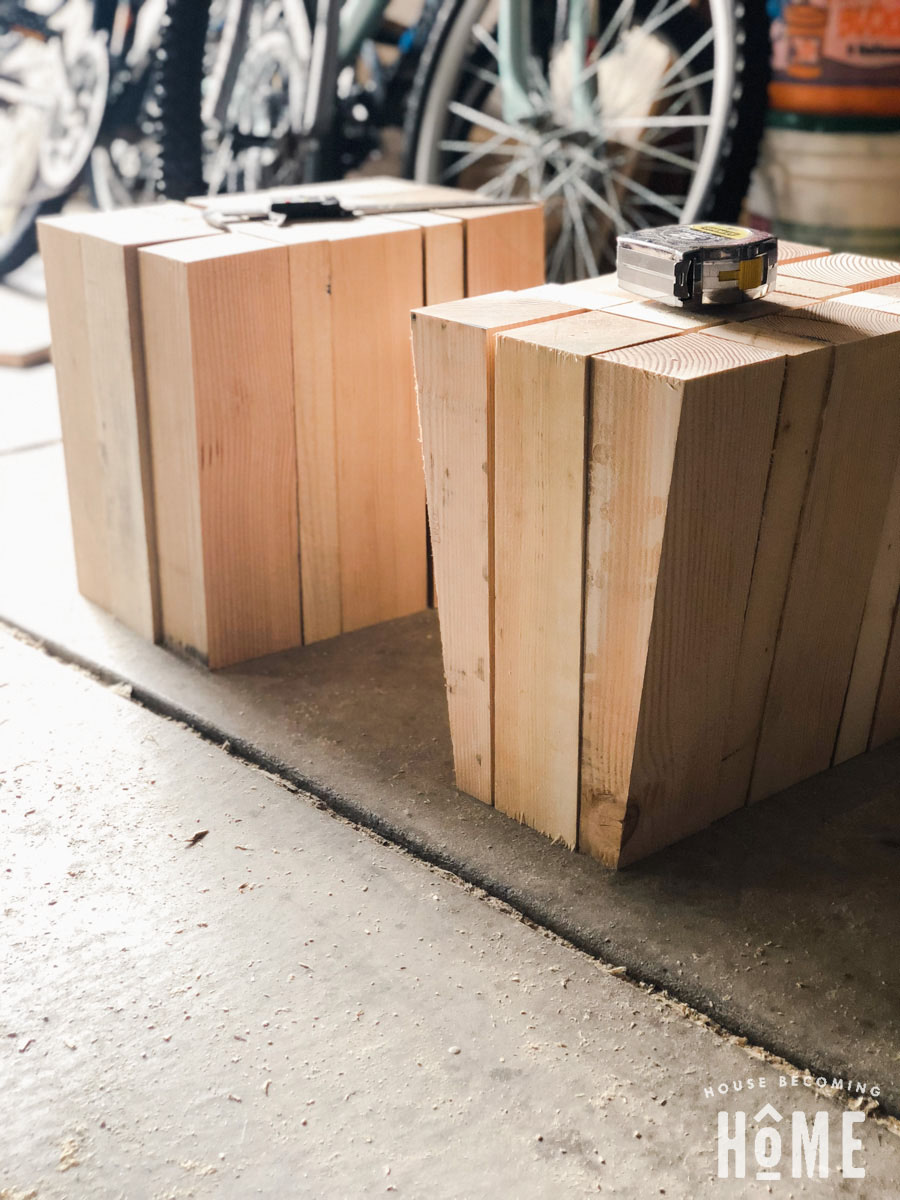
Time to make the tapered cuts that give this table its cool, geometric shape! I chose to take 1.5 inches off at the narrowest point:
Every outward-facing (visible) side needs to be tapered. The three pieces in the middle don’t get tapered at all. Some will have one side tapered, some will have two sides tapered:
I found it easiest to keep all pieces arranged in their correct spots. As I brought each one to the table saw, I could see which side(s) needed to be tapered.
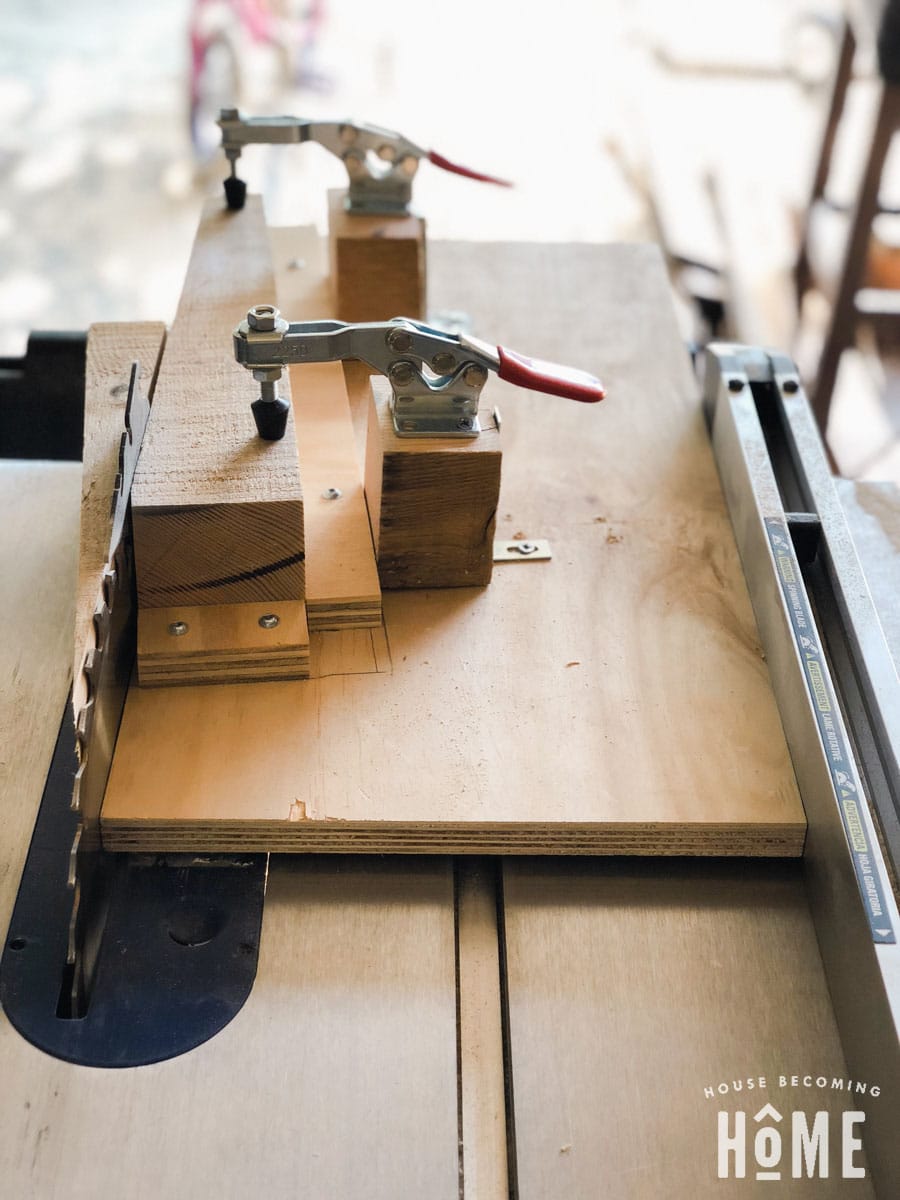
In order to make this tapered cut, you’ll need to buy or make a simple jig. Here’s a photo of what mine looked like:
If you’re new to tapering, you may want to do some googling and watch some YouTube videos. I made a three-minute video showing how to make a tapering jig which you can find on House Becoming Home.
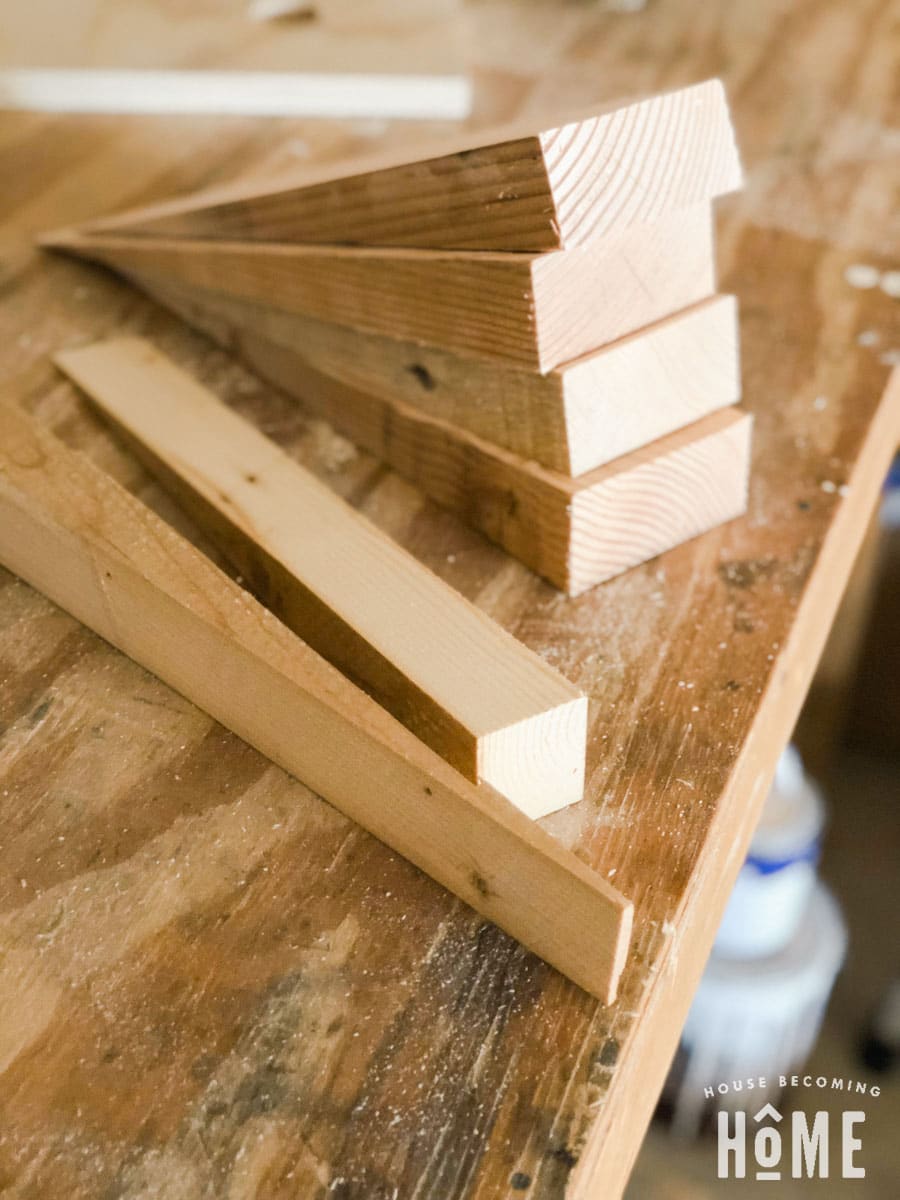
*Tip: hold onto the scraps! They will come in handy when you’re clamping later on. They’re also great pieces to test stain colors on.

Step 5
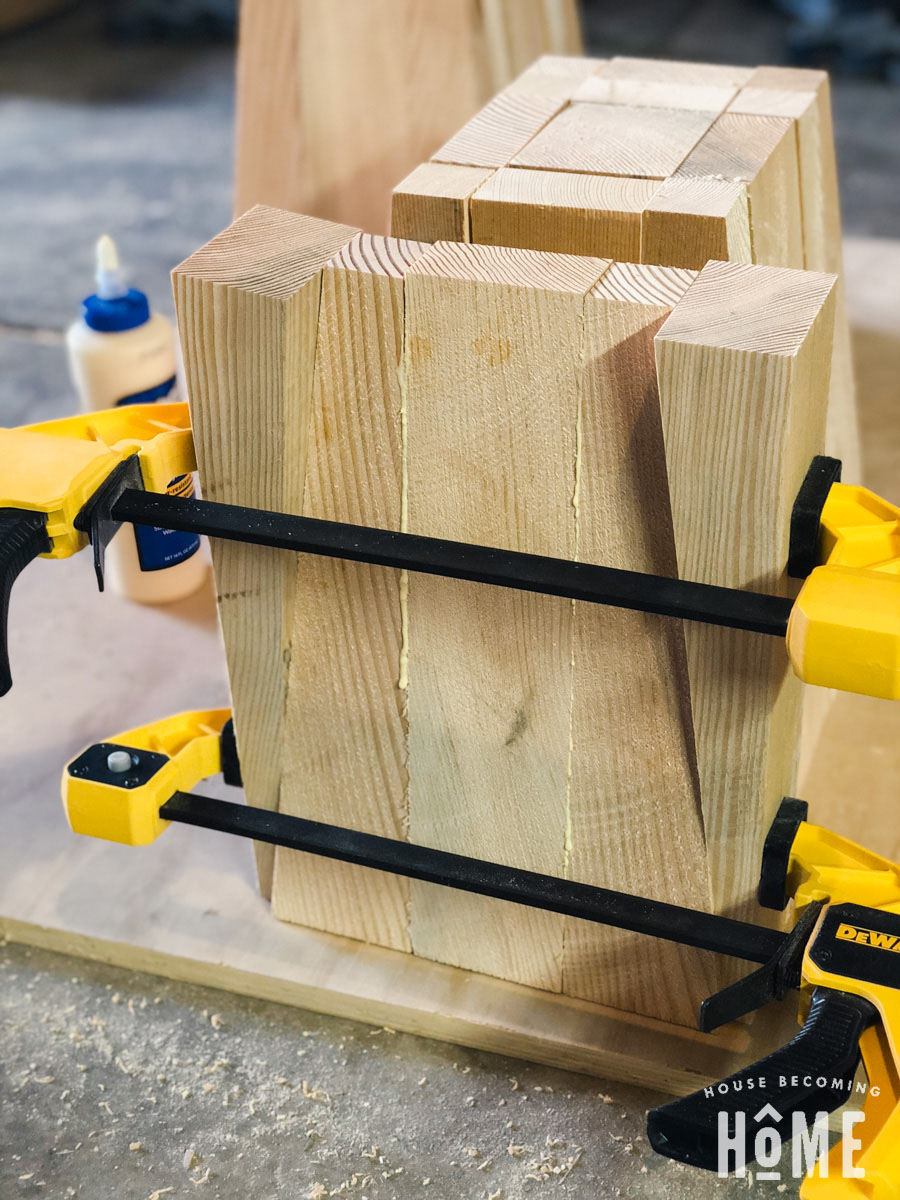
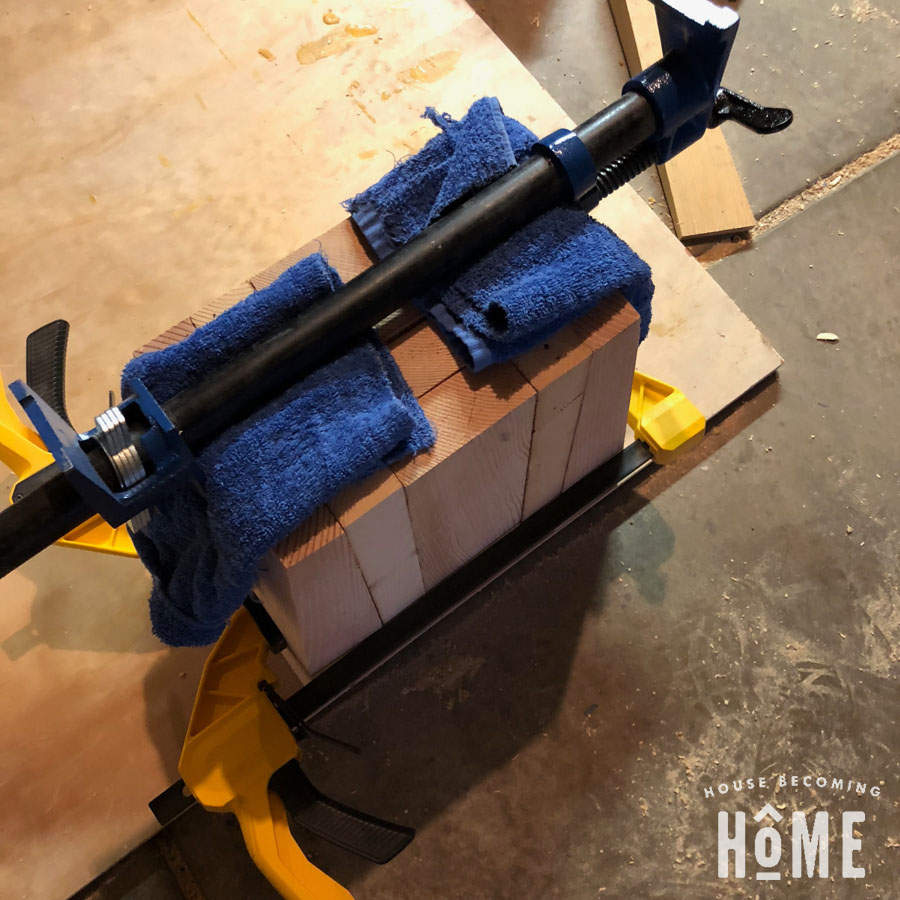
Once all the pieces are cut and tapered, it’s time to glue it all together! My selection of clamps isn’t huge, so the process was slow-going. I worked in sections – gluing and clamping all three pieces in a row together. As soon as that was dry, I’d do the next row of three, then the next, etc. until I had all 10 rows glued. Use your scrap pieces to make clamping easier!
Before gluing the rows to each other, make sure to sand off any uneven areas to avoid gaps. Use a similar process as above to glue the rows of three to each other, one by one. Glue, clamp, let dry.

Step 6
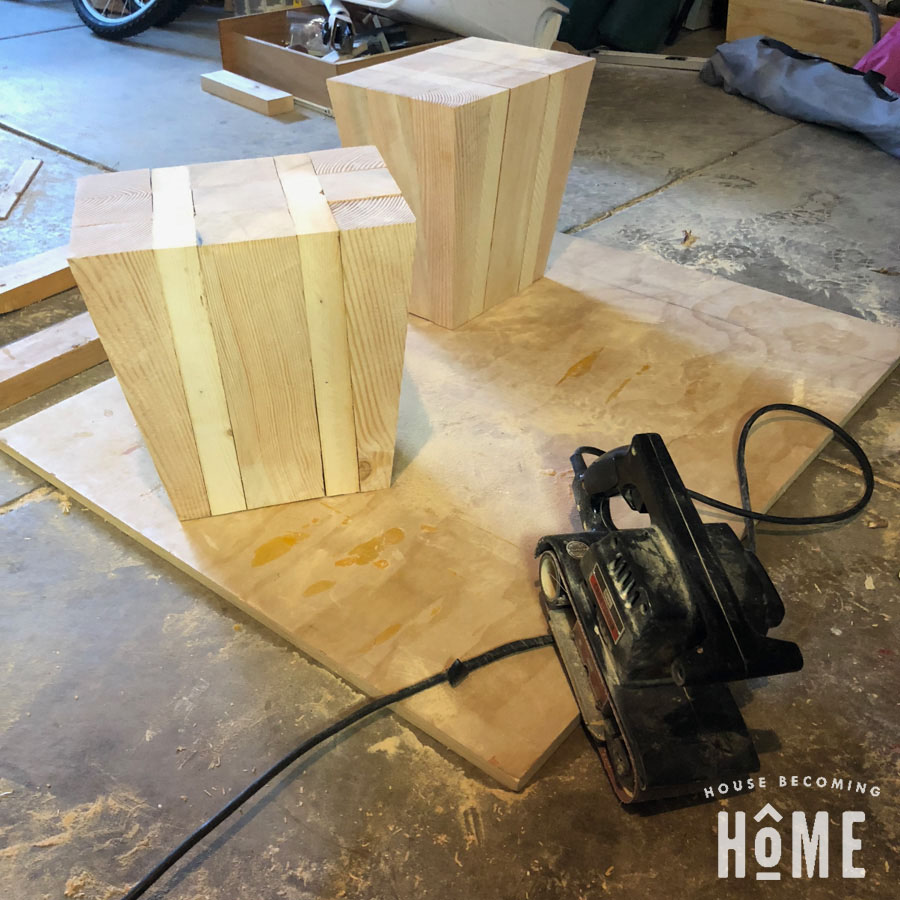
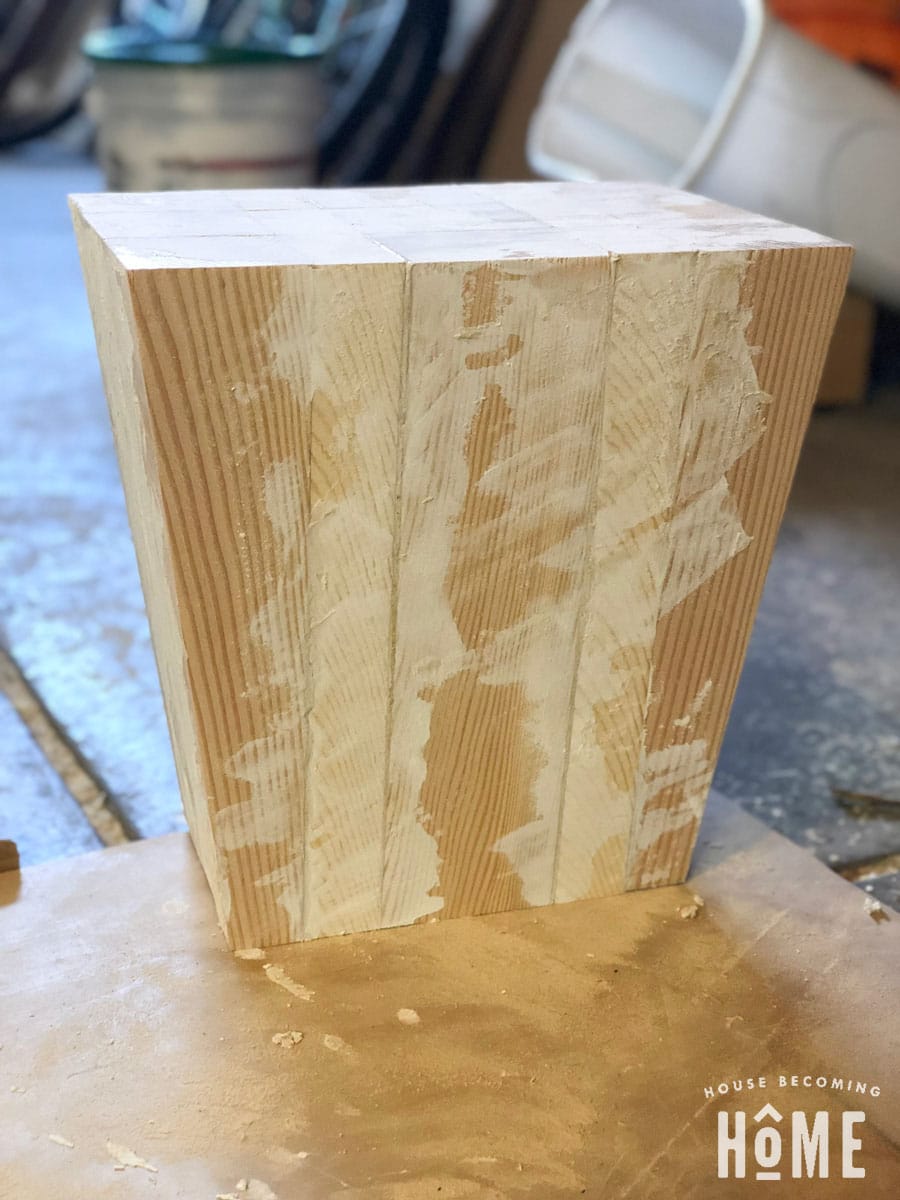
At this point, you have the top and bottom of your table, but it probably looks a little rough. Despite my best efforts, the top was uneven and there were areas of small gaps between some of the pieces. Use a sander with coarse sandpaper to even out the table top or any other face that isn’t smooth. Fill any gaps with wood filler or drywall mud. Sand again, working from coarse to fine grit.

Step 7
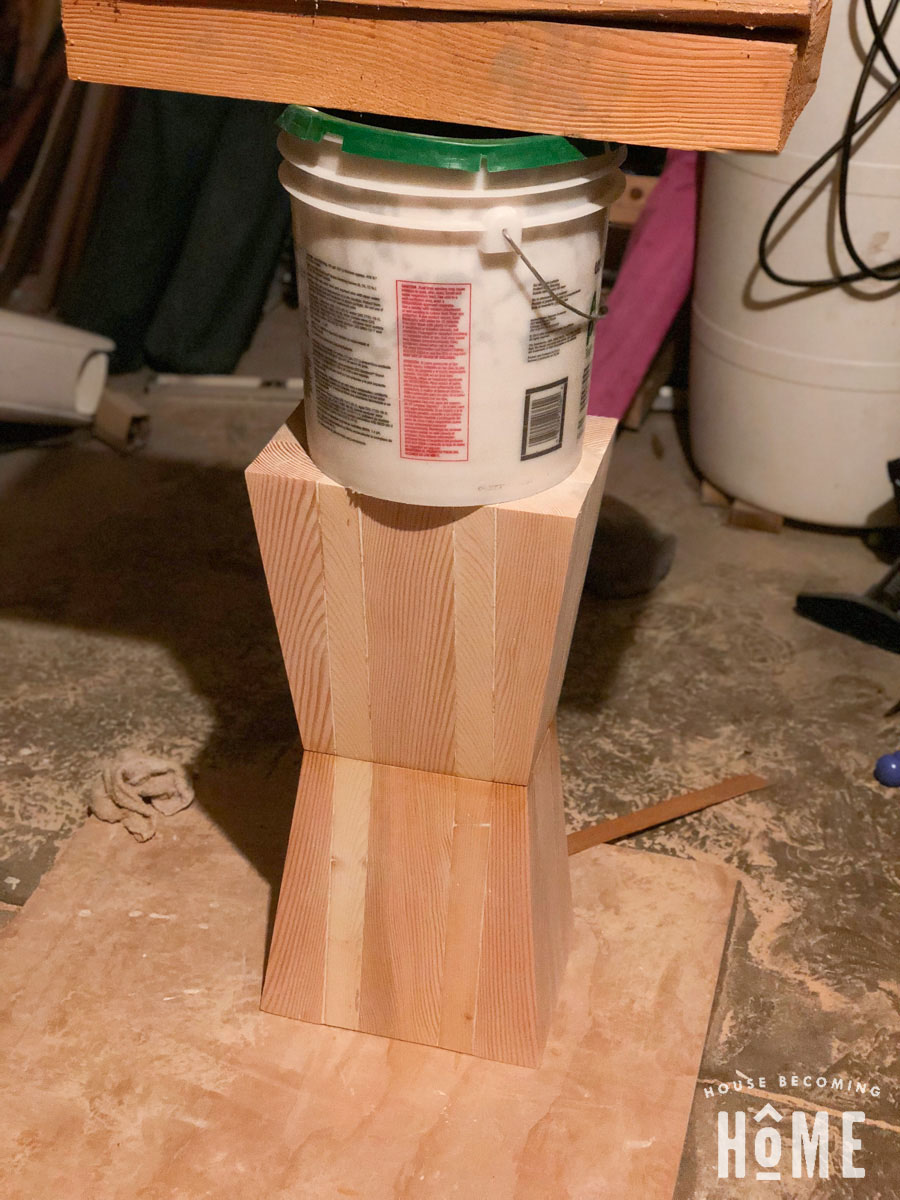
Attach the top and bottom pieces together with wood glue. I looked around my garage for something heavy and sturdy and found this bucket of drywall mud + scraps of 4×8 and placed them both on top while the glue dried.
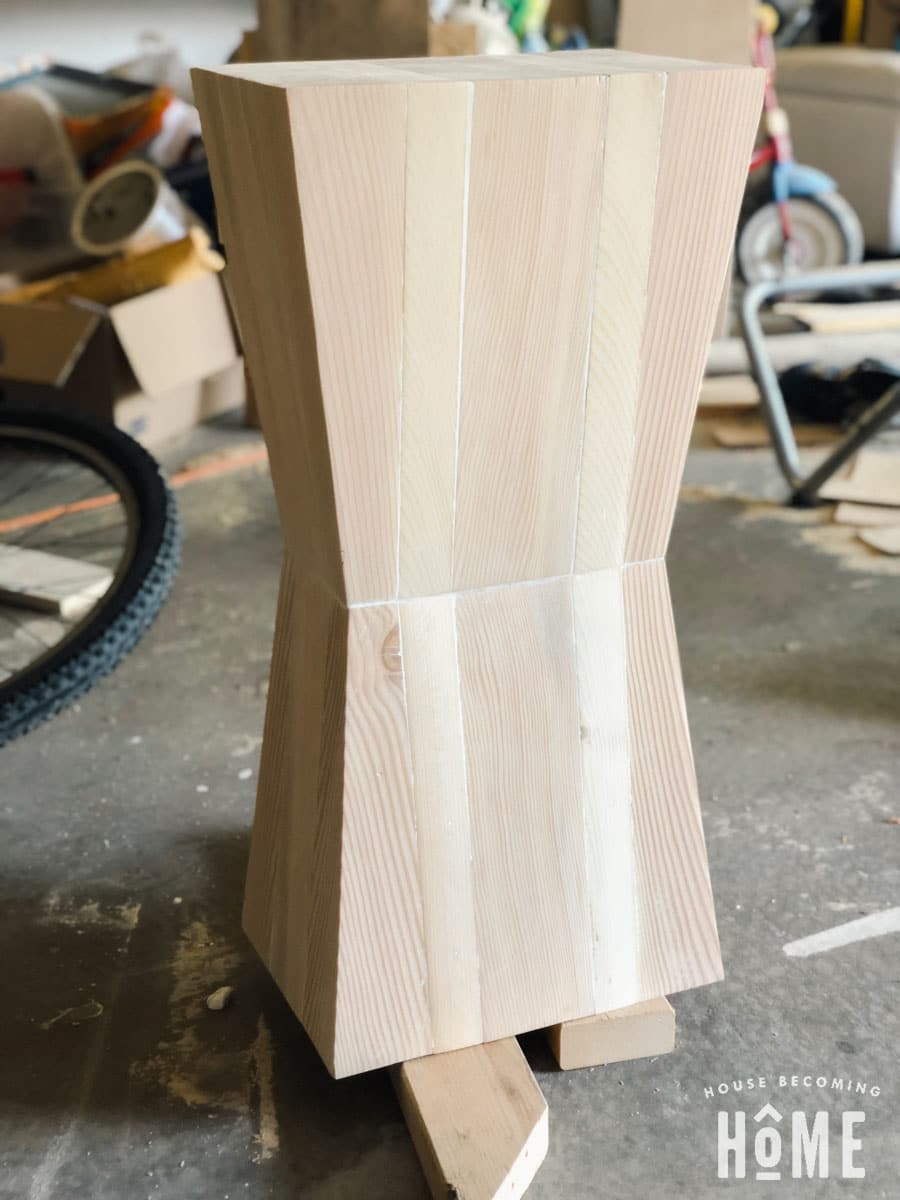
If there are any gaps where the top and bottom meet, fill with wood filler, then sand.

Step 8
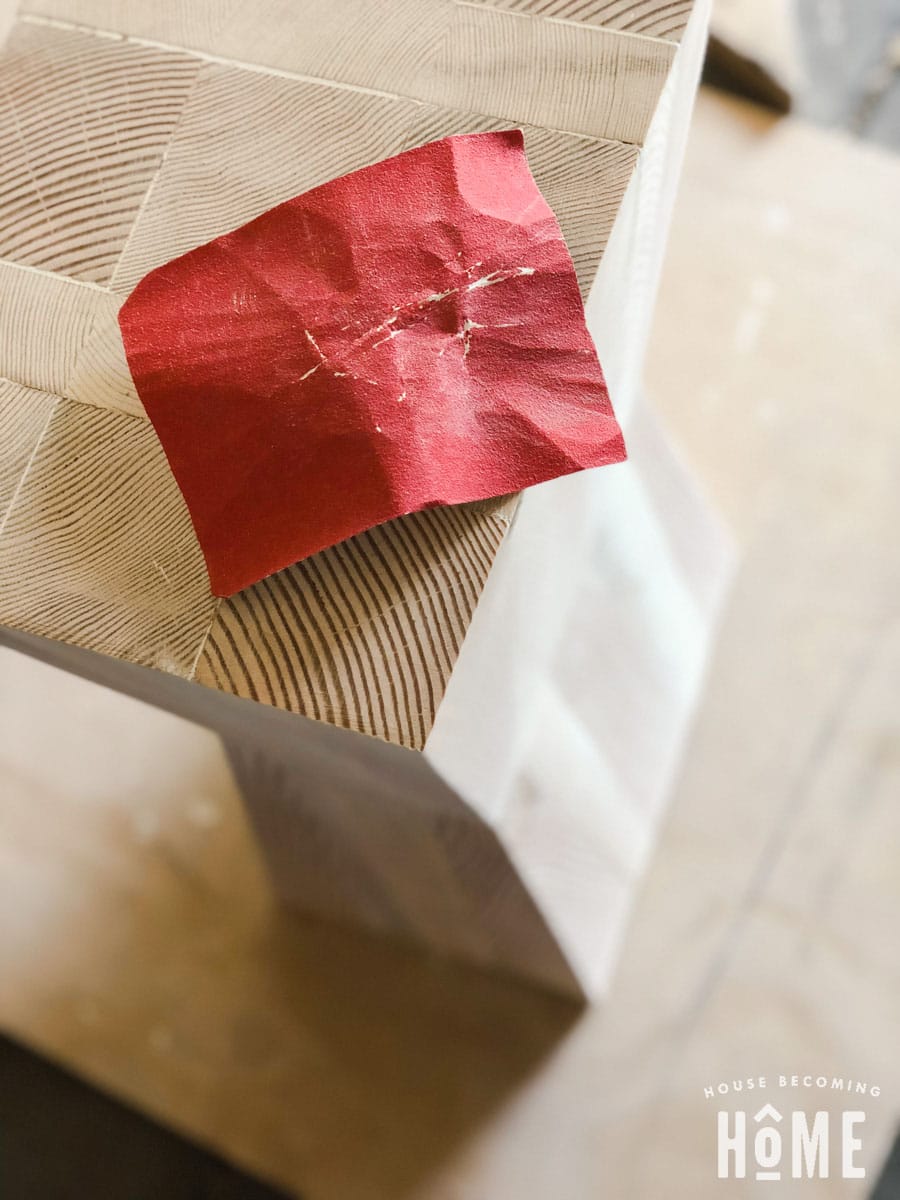
At this point, I realized the edges of the table were probably a bit too sharp, so I ran some sandpaper along the corners to break the edge.

Step 9
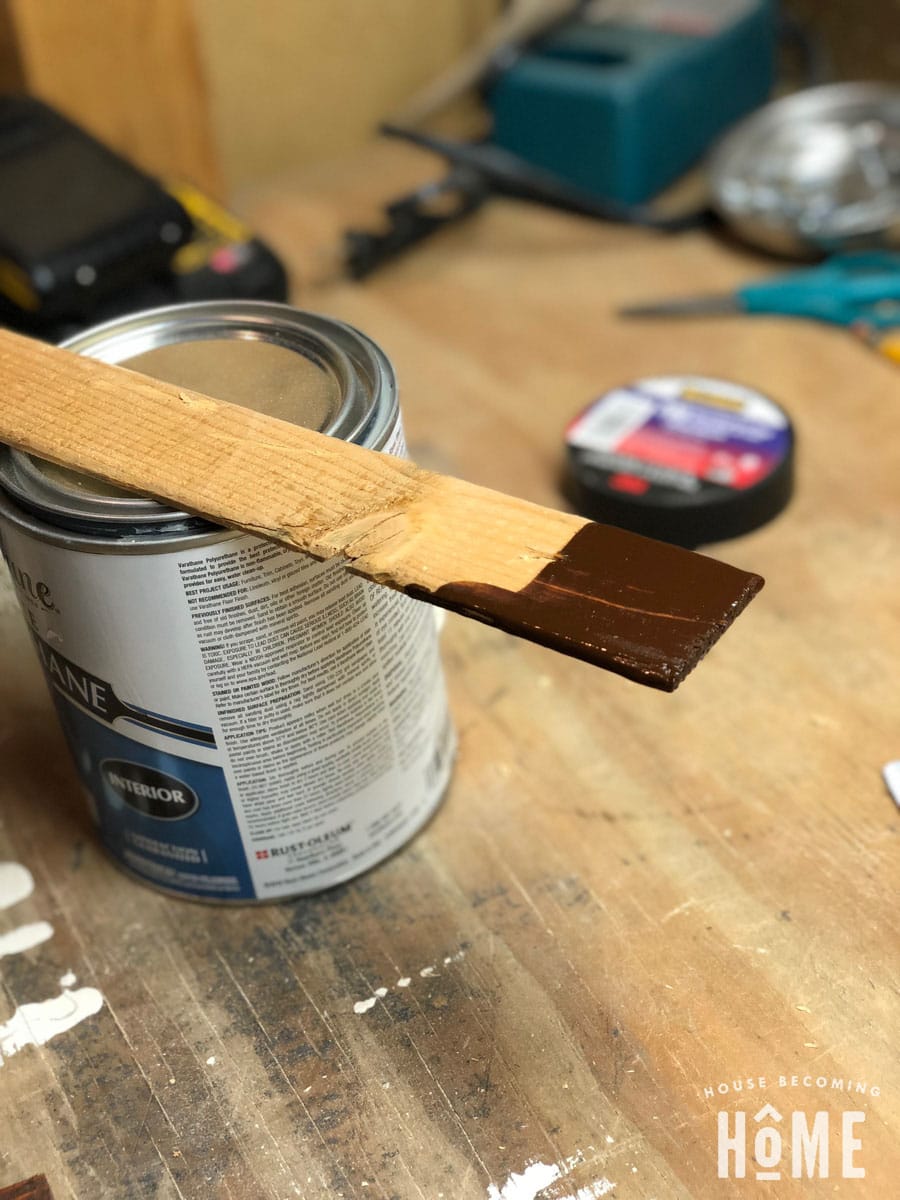
Stain, paint, and finish as desired. I have a thing with the modern simplicity of painted furniture, but I’m trying to break out of my comfort zone and use stain. I really wanted a medium brown finish, but after testing out all kinds of samples on the scraps, realized dark is probably a better bet with pine.
*Tip: save those rounded edges you cut off the 2x4s – they work GREAT as a stain-stirrer. 🙂
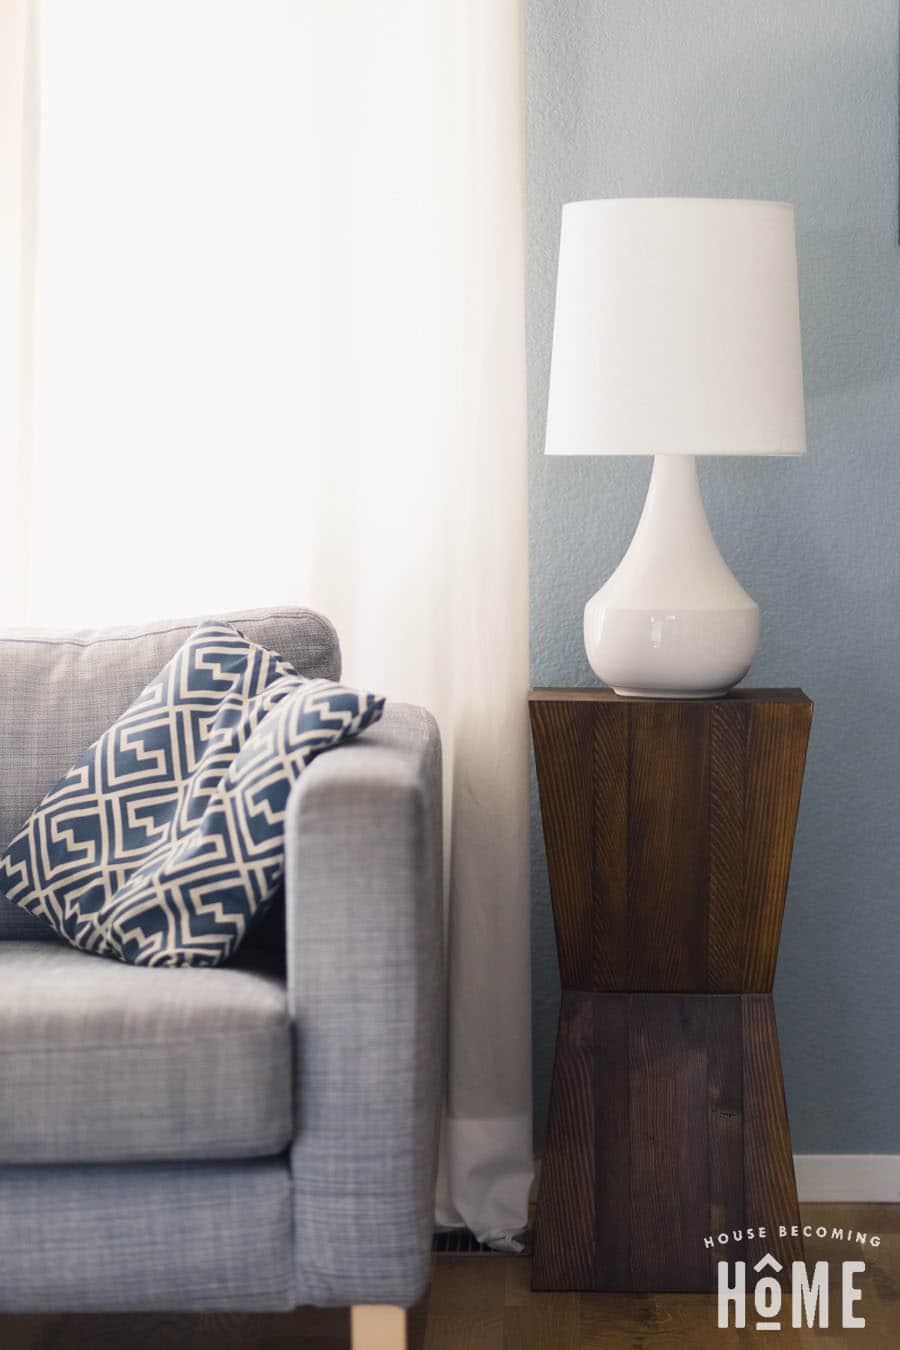
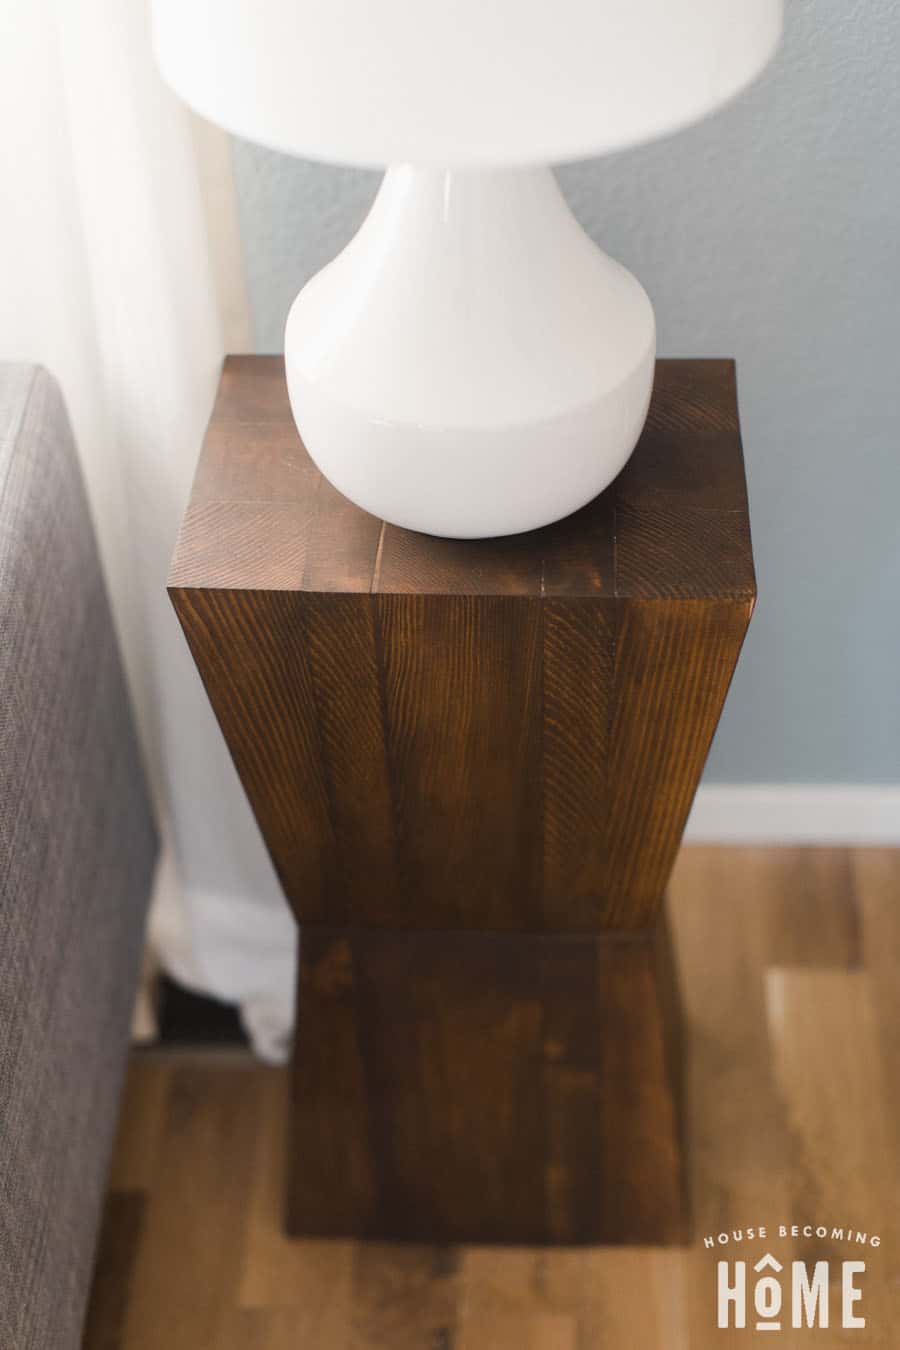
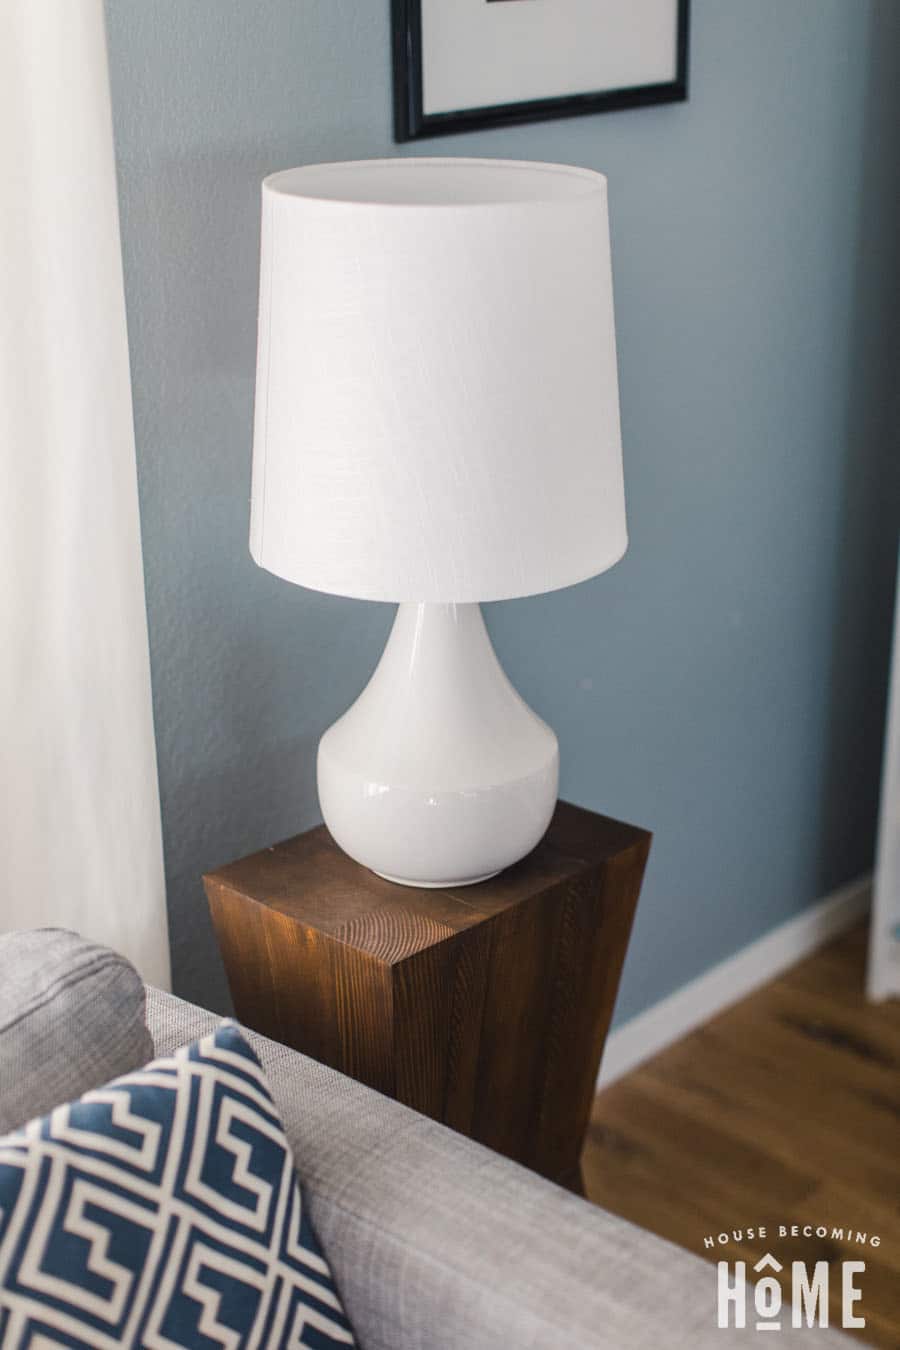
And here’s my DIY geometric side table, all finished and in my living room:


Leave a Reply