Good morning House of Wood readers, Shelly here from 100Things2Do.ca with another incredible DIY project for you! This DIY upholstered ottoman / footstool is easy, inexpensive, and it will leave you looking and feeling like a rockstar when you’re finished!
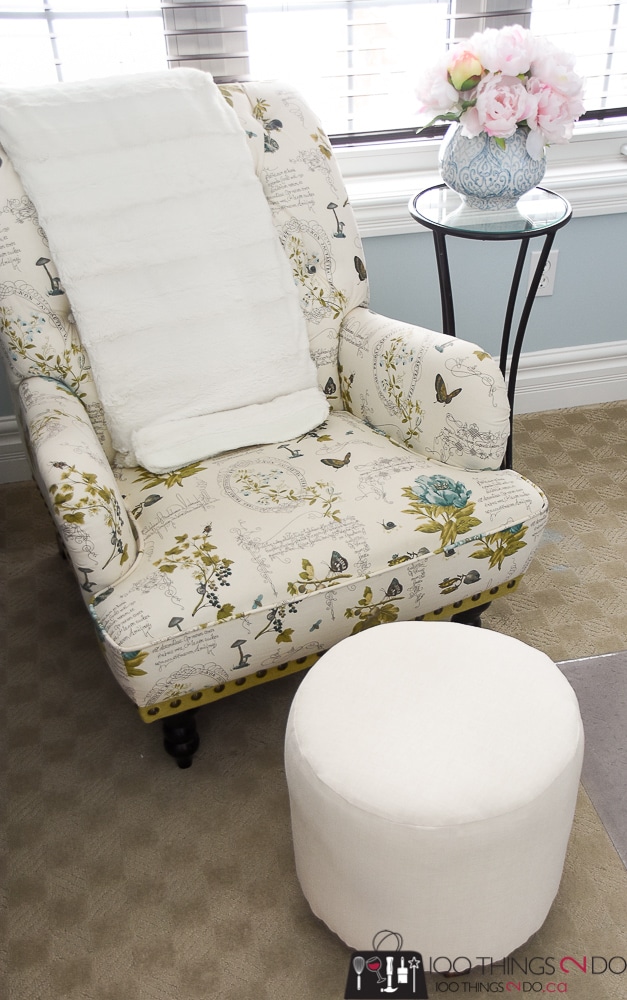
Want to learn how to make your own DIY ottoman or footstool? And do you want to make a $100+ knockoff for only $25? You know you do! No one can resist saying “I made it myself and saved $___!” – it’s genetically imprinted into every DIYer.
Supplies:
- (1) 12-inch concrete form
- (1) 13-inch circle of ¾-inch plywood
- (1) 13-inch circle of ½-inch plywood
- 1-inch foam (50 inches enough to wrap around the concrete form plus a 15-inch topper)
- 1 yard quilt batting
- 1 yard upholstery fabric
- 4 pieces 2″ x 2″ x 2″ scrap wood
- 2 ½-inch wood screws
- Duct tape
- Wood Glue
Tools:
- Jig saw
- Clamps
- Upholstery stapler
- Sewing machine
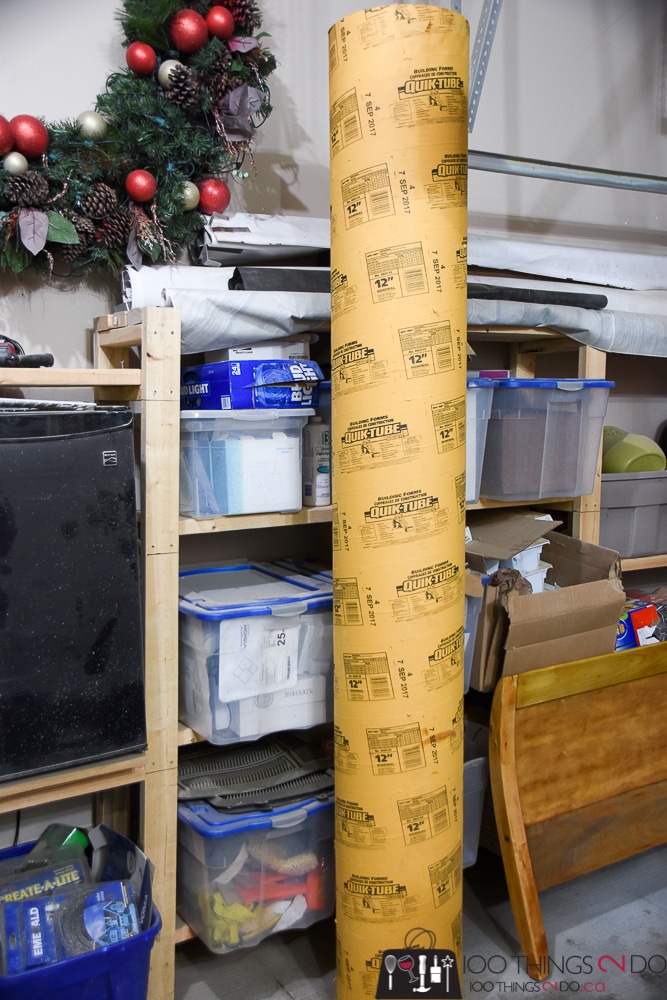
I picked up this 12-inch concrete form at my local home improvement store for $15 (Cdn). The inside diameter measures 12 inches. The outside diameter is closer to 13 inches – something to keep in mind when you make your own ottoman. If you want a wider foot stool, you can choose a wider concrete form or select a thicker foam layer to go around it.
(Please forgive the mayhem that is my garage/workshop – I have a few projects on the go).
The concrete forms come in 8-foot lengths, and while you won’t need nearly that much (unless you plan on making multiple foot stools – maybe a fun DIY crafternoon with the ladies?), I didn’t find a smaller purchasing option.
I measured the seat of the chair I would use the footstool in, and it came to about 15 inches. The average height for footstools is 16 inches, but measure your chair – you don’t want your feet above your head.
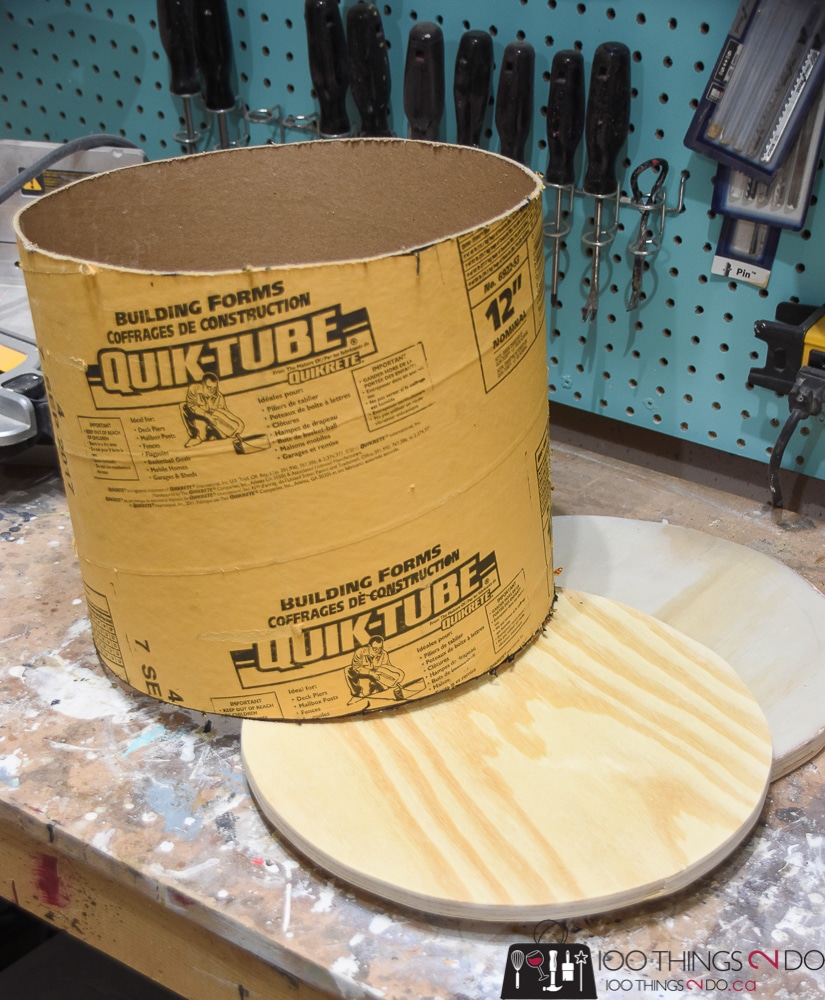
Taking into account the ½-inch plywood (top) and the ¾-inch plywood (bottom), PLUS the 1-inch foam (top) and 2-inch wood feet, I determined that my concrete form should be cut to 10 ¾ inches. I made it 11 inches, just to make my life easier.
I traced the concrete form onto a piece of ½-inch plywood and again onto a piece of ¾-inch plywood – mainly because that’s what I had as scrap in my She-Shop. If you are purchasing wood, I’d suggest the ¾-inch plywood because it gives you a better base to screw your feet into. Cut the circles out with a jigsaw.
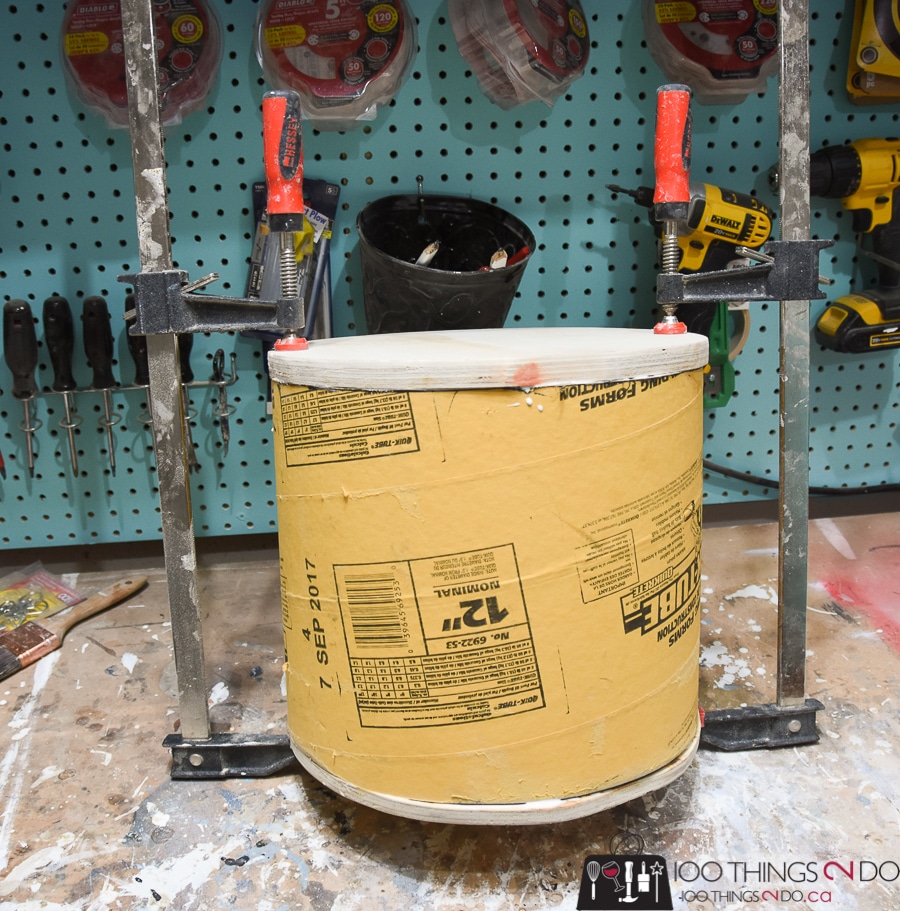
I ran a thick bead of wood glue around the top and bottom rim of the concrete form and clamped the top and bottom boards onto it. I left this overnight to dry – mainly because it’s FREEZING in Canada and I wanted to make sure the wood glue set solidly.
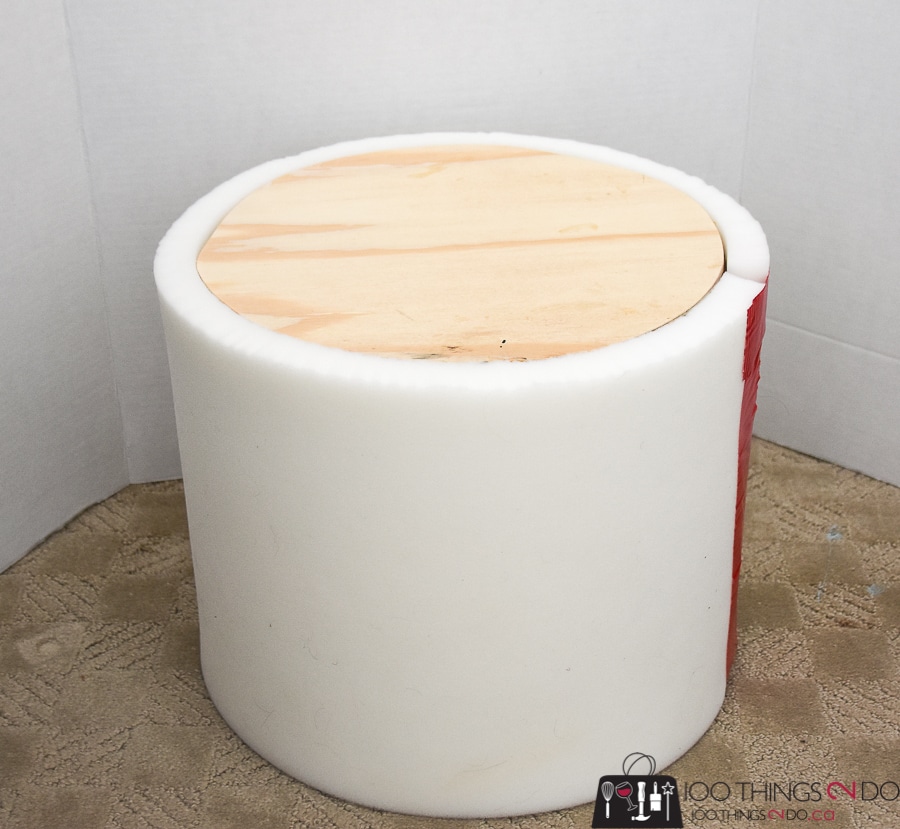
Next, I rolled the form along my 1-inch foam and traced a line to cut on. You can use an electric knife to cut the foam if it’s thicker than an inch, but scissors or an exacto knife will work too.
I rolled the foam tightly around the form and held it in place with a strip of duct tape.
Trace the ottoman form onto another piece of foam and cut out your topper. Note: if you used two different thicknesses of plywood like I did, make sure your ¾-inch plywood is on the bottom.
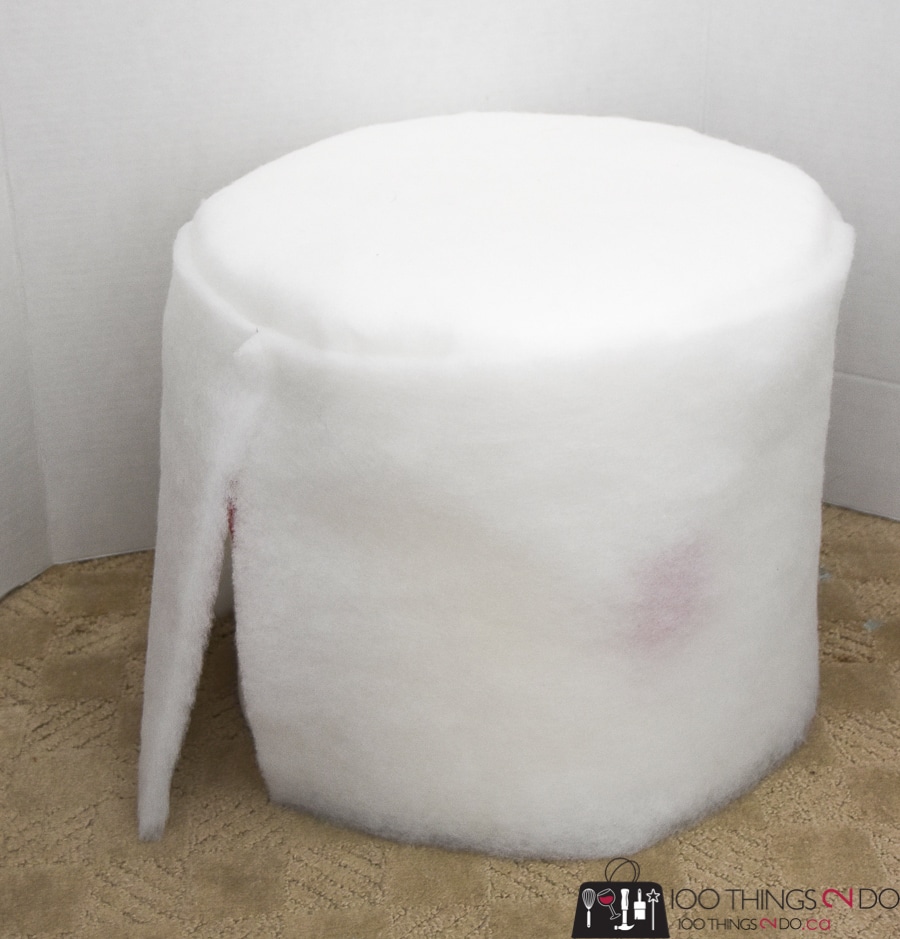
Wrapping the ottoman with quilt batting makes for a more uniform silhouette underneath the upholstery fabric. Without this layer, your fabric will show the lumps and bumps of the 1-inch foam and unless you have a very forgiving pattern (read: loud), your foot stool won’t look very professional.
I wrapped the quilt batting over the top of the form and then wrapped a strip around the outside and pinned it to hold it in place.
I know that Jen’s blog is a “House of Wood” sort of thing, just think of a sewing machine as another power tool with the added bonus of having a gas pedal (that’s actually electric, but you get what I mean). Trust me, if you can sew a straight line, you can totally do this.
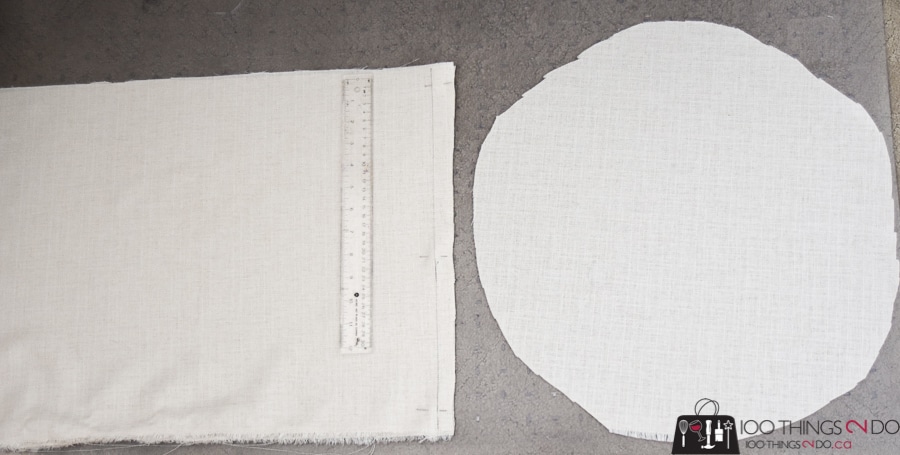
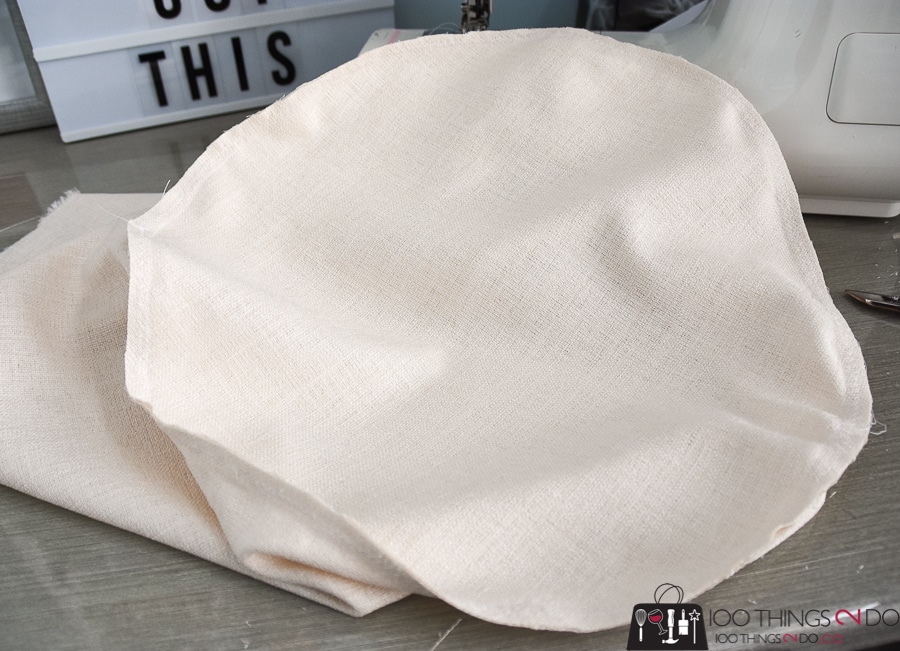
I cut a length of fabric that was the same height as my ottoman PLUS 2 inches, and that would wrap around my ottoman PLUS 1 inches. The upholstery fabric measured 50 inches by 15 inches. You want this to be a tight wrap. Next, you’ll need to trace the top of your form and cut out a circle that is about ½-inch larger for a seam allowance.
With good sides facing each other, sew a straight line connecting your 50-inch ends together to make a tube.
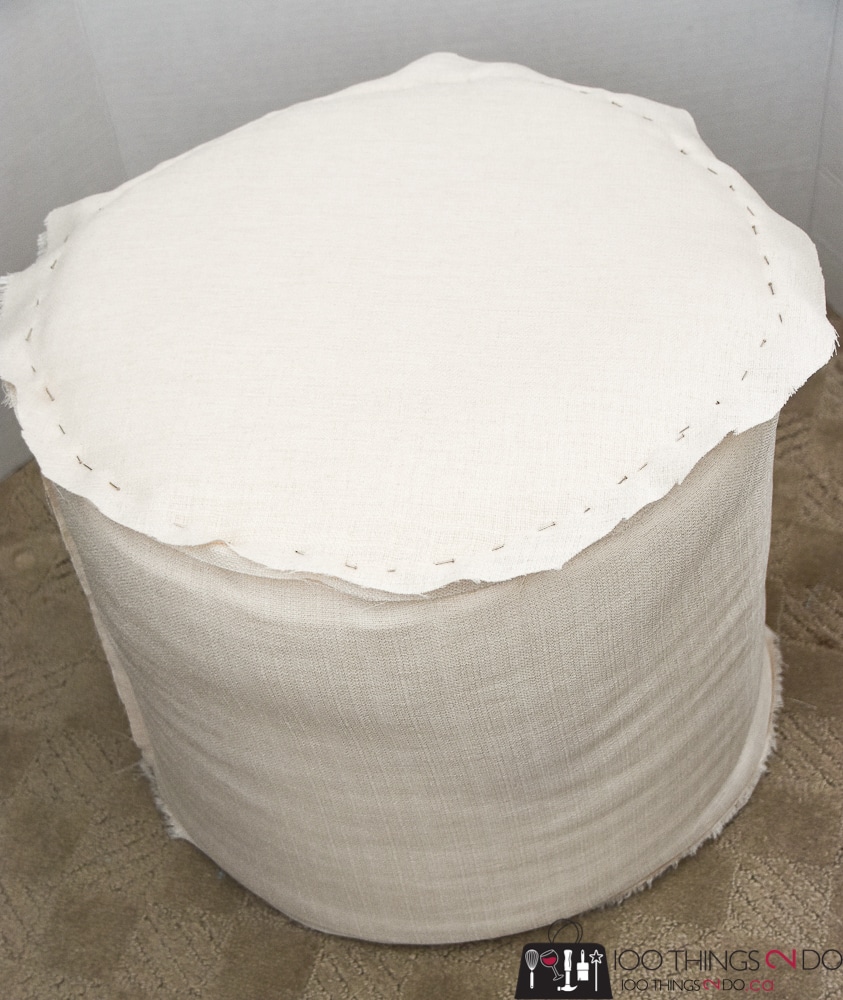
Carefully pull the tube over the form, with the pattern facing inwards and check the fit. It should be taut. Pin your fabric topper in place with the pattern facing down and be sure to use A LOT of pins. The material on the first ottoman I made puckered because I didn’t have enough pins to hold every inch in place.
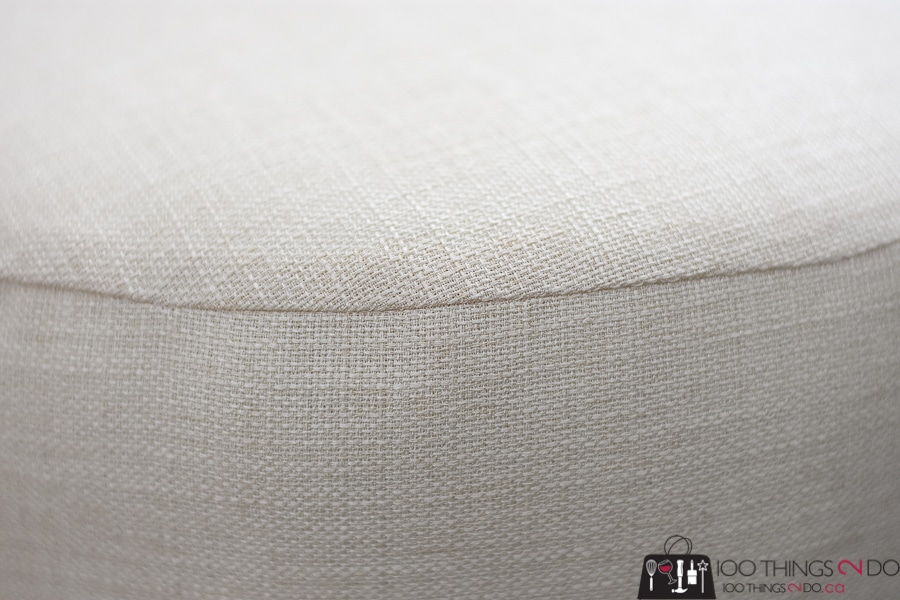
Carefully sew the circle topper to the sides pulling the material tight so you don’t suffer from any puckers. Reinforce with a zig-zag stitch to keep fraying to a minimum, then cut off any excess.
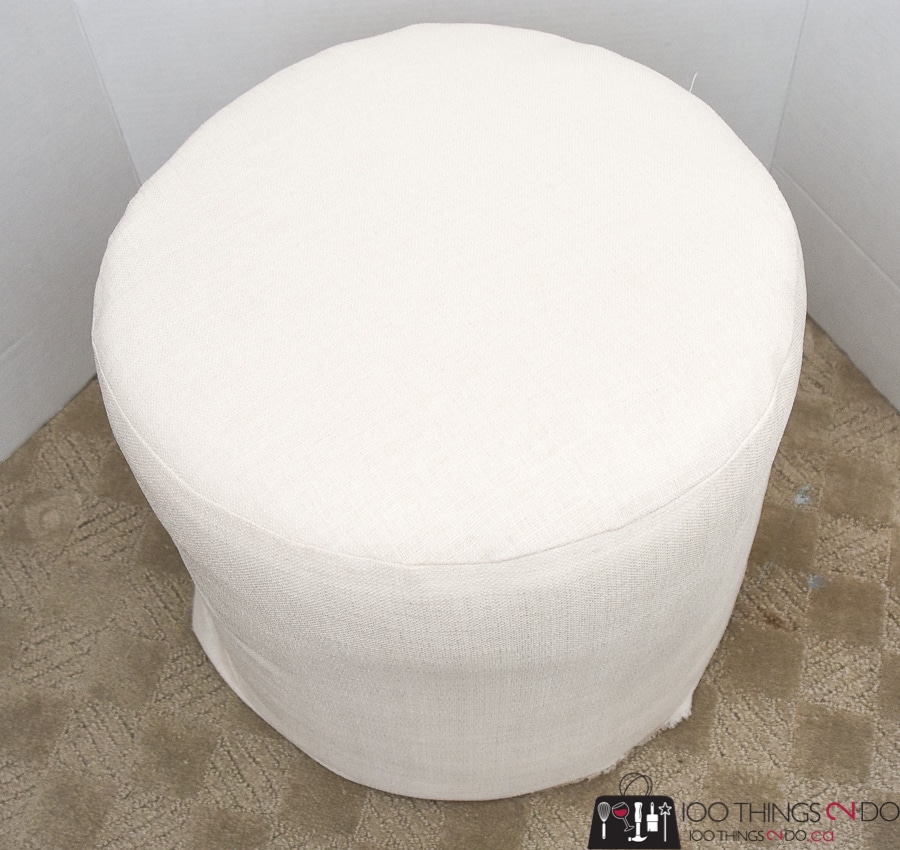
Carefully – remember those pins – slide the ottoman cover over the form (good side facing out), removing the pins as you go, and sliding your hand in to smooth any lumps or bumps that might occur.
It’s awesome so far right?!
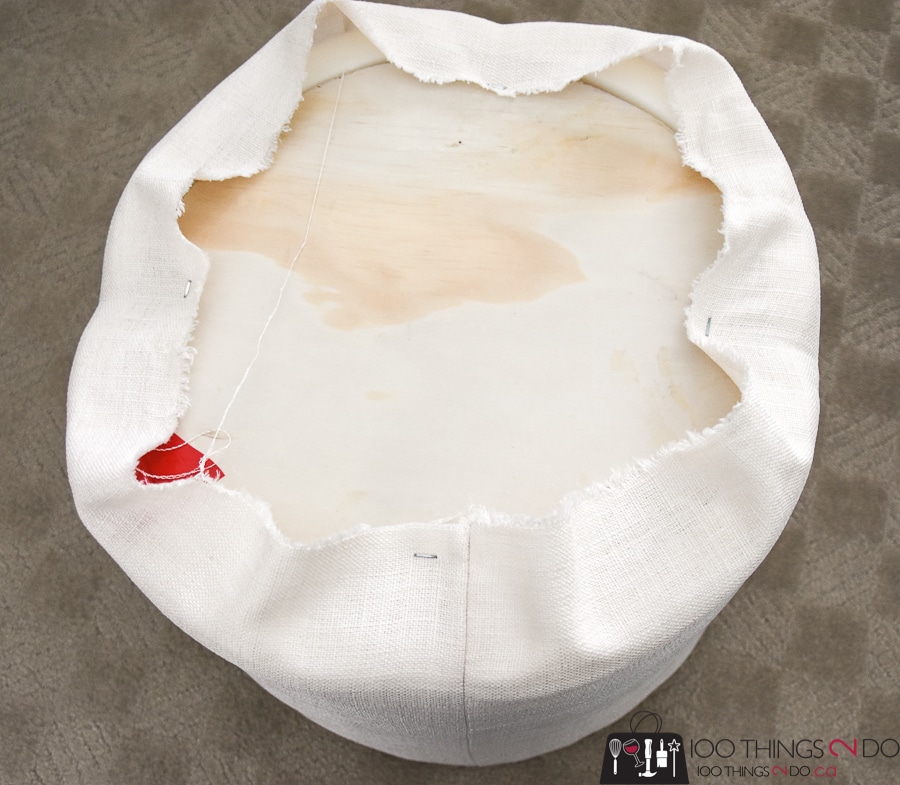
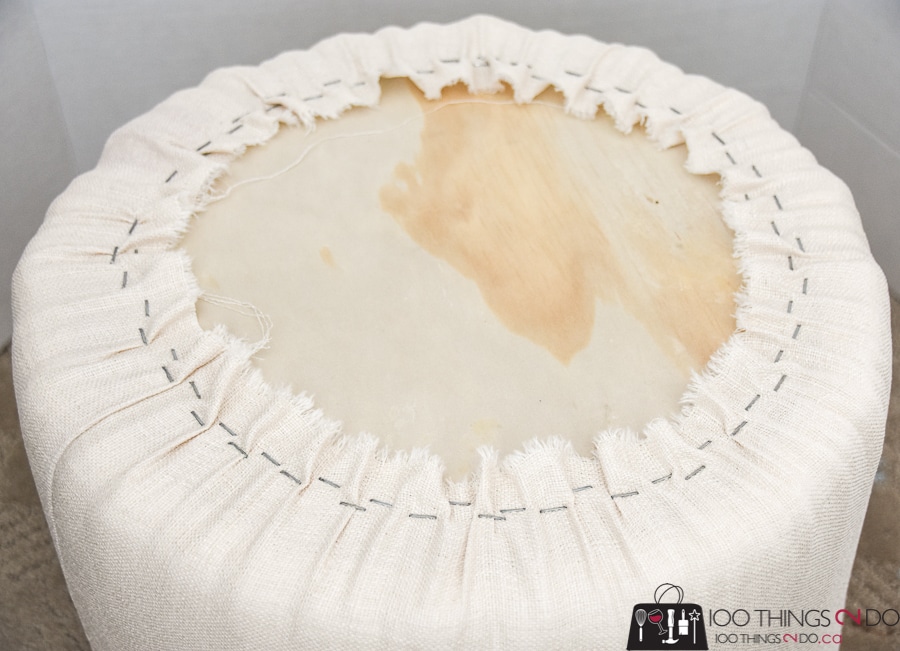
Now it’s time to staple the fabric into place. Start with one staple on each of four ‘sides’,
Then split the difference between the staples over and over until your ottoman is covered tightly.
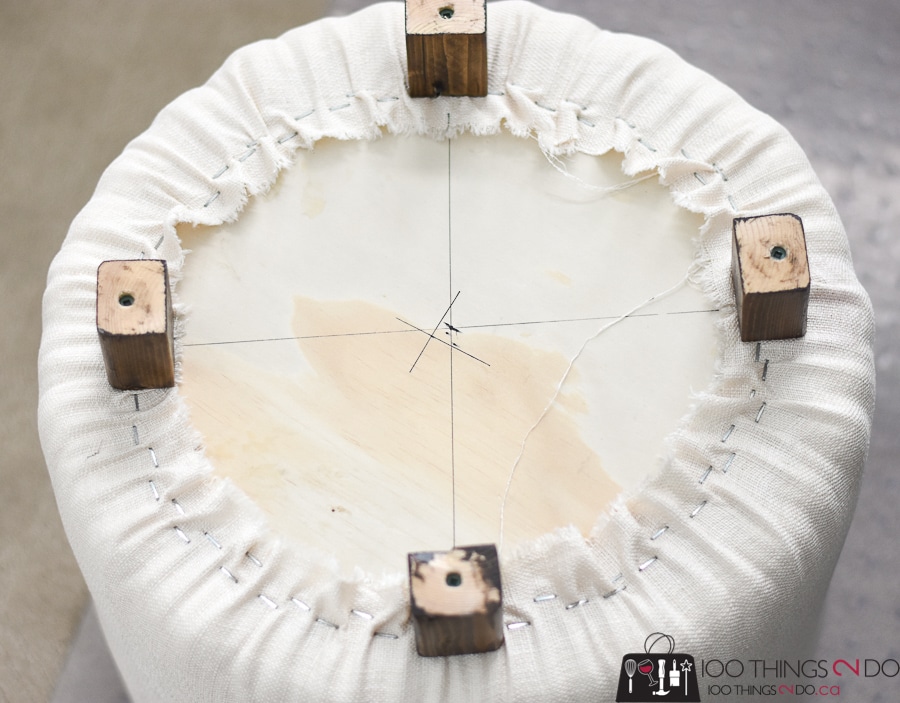
I’m sure there is a way to eliminate those tiny pleats, but even after making two footstools, I couldn’t figure out how. I wasn’t too worried though – this is the bottom after all.
I cut four pieces of scrap wood to 2 inches tall and pre-drilled each with a hole. After staining and varnishing the feet, I attached each foot to opposite sides of the ottoman with 2 ½-inch wood screws. I countersunk the screws (which in Shelly-world means drilled too far in) so as not to scratch the floors.
You’re done!
Okay, I got a bit wordy with this DIY upholstered ottoman / footstool tutorial, but I wanted to save you a couple of mistakes that I made – I’ve got your back like that.
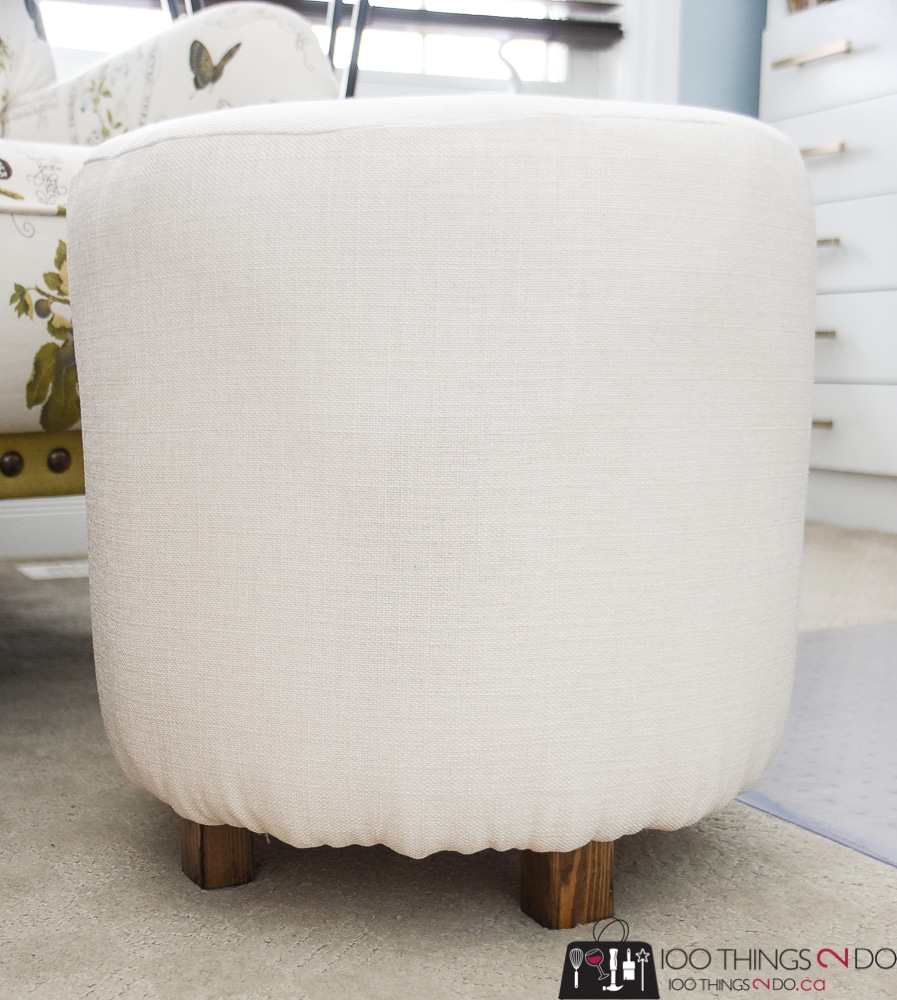
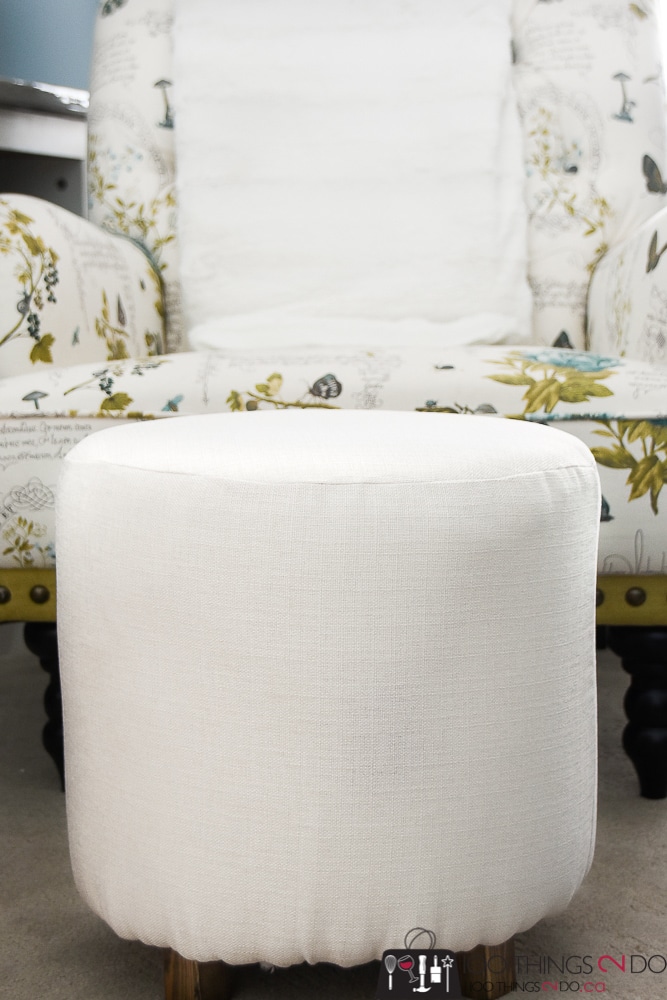
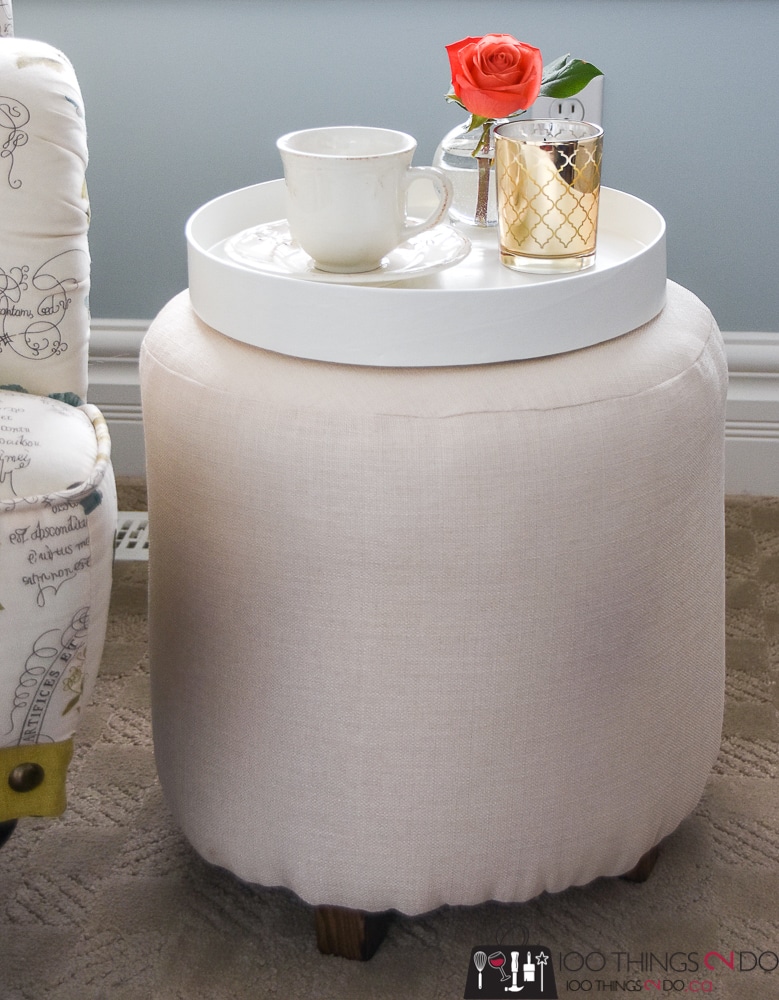
She’s so PURDY!
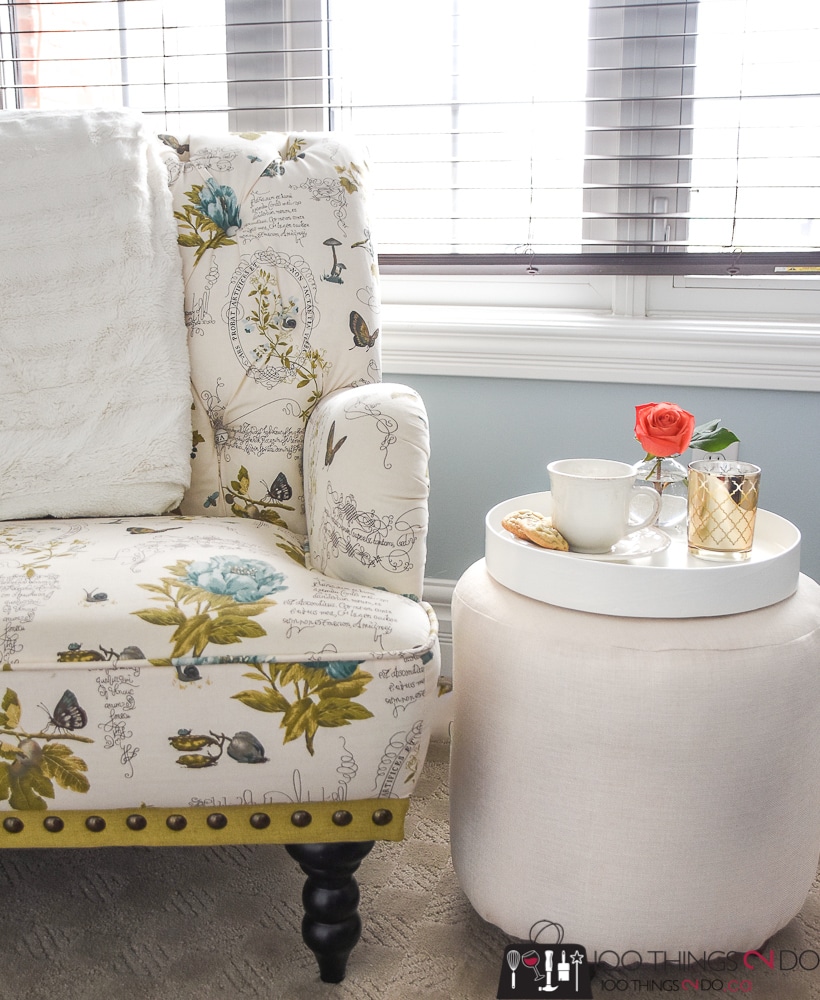
I have my new DIY ottoman in my office/craft room/reading room so that I can put my feet up while watching Netflix on the computer.

But you could also use it as a small side table to hold your coffee and treats:
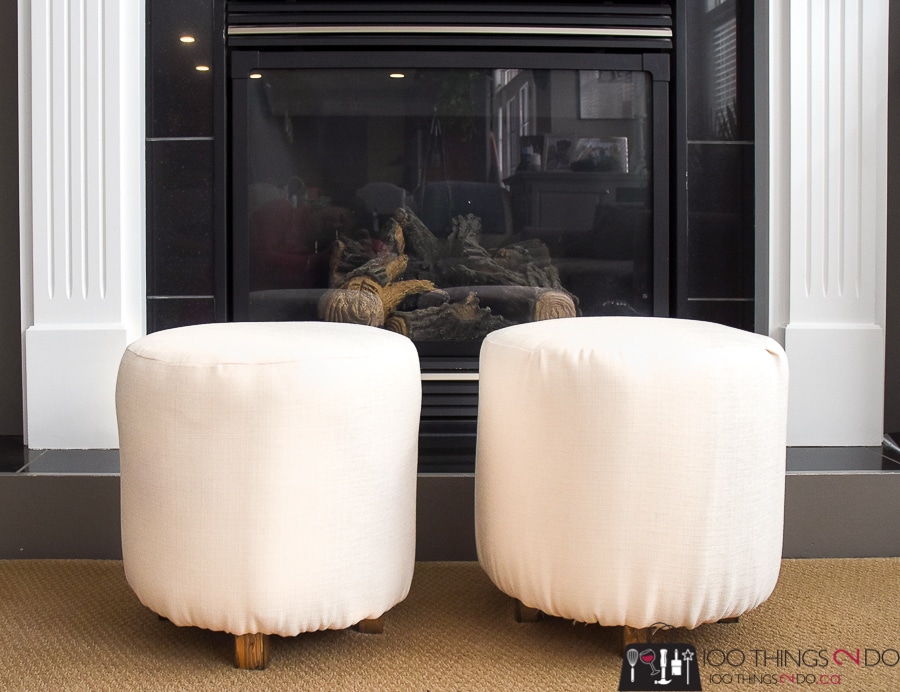
You can see my first attempt (below right) where the material has more puckers along the upper seam. No biggie really, but “if you’re gonna do it, do it right”, according to the poetic and philosophic melodies of the late George Michael.
I now have extra seating should the need arise, a decorative accent, a place to set a tray and drink, and most importantly – a place to rest my weary feet.
For more concrete form projects (like that round tray above) click over to 100Things2Do.ca and see what else I’ve whipped up!
Pin it for later!
Have a great one!

Great job! 🙂 Very creative. Btw, this is the best way I found to get rid of puckers: http://littlegreennotebook.com/2012/07/how-to-upholster-bench-corners.html/
It’s specifically for corners, but it works well on round objects–just make your four initial staples, then pull the fabric together between each “quarter” and staple what’s left over.
Thanks for the tip – I’ll definitely check it out!
I thought at first that you were using an actual cylinder of concrete! Is the concrete form strong enough to bear weight? I don’t know that I’d trust sitting on it.
Definitely strong enough, I sit on mine all the time. The concrete form is made to hold hundreds of pounds of wet concrete, and the plywood top and bottom rest on the form, not inside it – so it’s very strong…. having written that, it is a footstool and not regular seating.
I FOLLOWED THE DIRECTIONS TO A TEE EXCEPT I FILLED MY TUBE WITH POOL NOODLES JUST TOO FILL THE SPACE….IT HOLDS PEOPLE SITTING ON THEM JUST FINE . I MADE TWO AND LOVE THEM FOR EXTRA SEATING.
How did you cut the concrete form?
This is such a brilliant idea! I love how affordable and stylish the DIY upholstered ottoman looks. Can’t wait to try this out for my living room—thanks for the detailed instructions!