Hello and happy Friday the 13th everyone! I’m super excited to share my latest nesting project with you…
I’m in love with this children’s play table from Pottery Barn Kids, but the large one can easily set you back $450 and the small one anywhere from $250-$200 (and that’s without chairs)! Oh, PB, why must you toy with my emotions (heh, heh… get it)? Sigh… I’ll just have to admire this table from afar. Or…
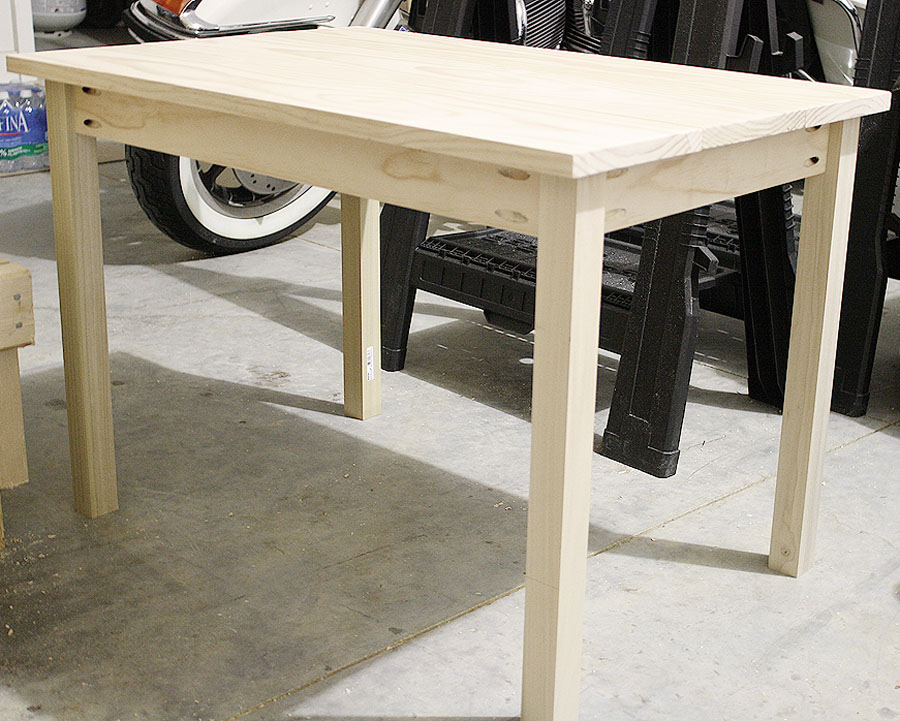
I could build it from scratch! Heck, yeah! Once again, I looked to Ana White for inspiration and plans. Constructing this table took me only 3 hours, and that’s including all the math involved! Can you believe it? (P.S. I stink at math.)
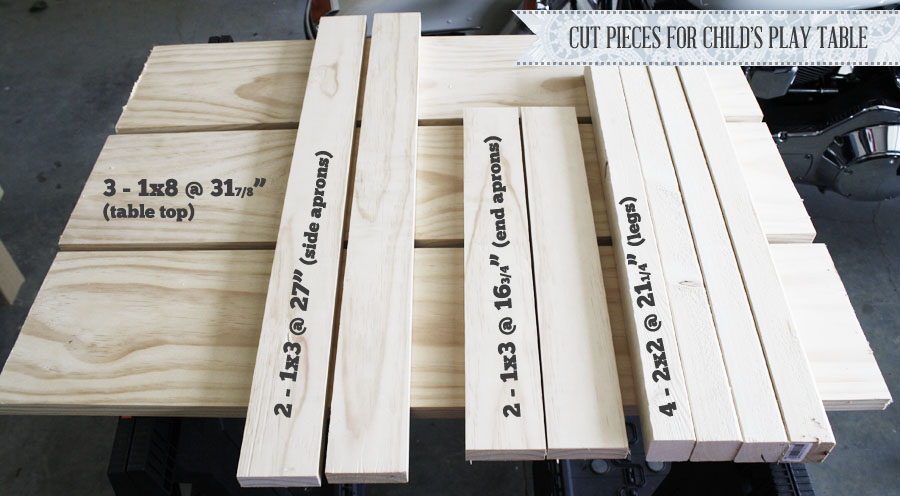
Because my 1×8 boards are actually 7 1/4″ wide (instead of the standard 7 1/2″), I had to adjust the length of my end aprons accordingly. So I took the difference in my 1x8s (1/4″), multiplied it by 3, then subtracted that from the cut length of the 1×3 end aprons, which gave me 16 3/4″ (Ana covers this in her plans, so don’t worry if it doesn’t make sense just yet). Also, because my 1×8 boards are exactly 96″ long, I cut the boards at 31 7/8″ to account for the saw blade (also noted in the plans).
And guess what, I made all the cuts and drilled all the pocket holes during nap time (er, I mean, “craft time”)! Here are my cut pieces:
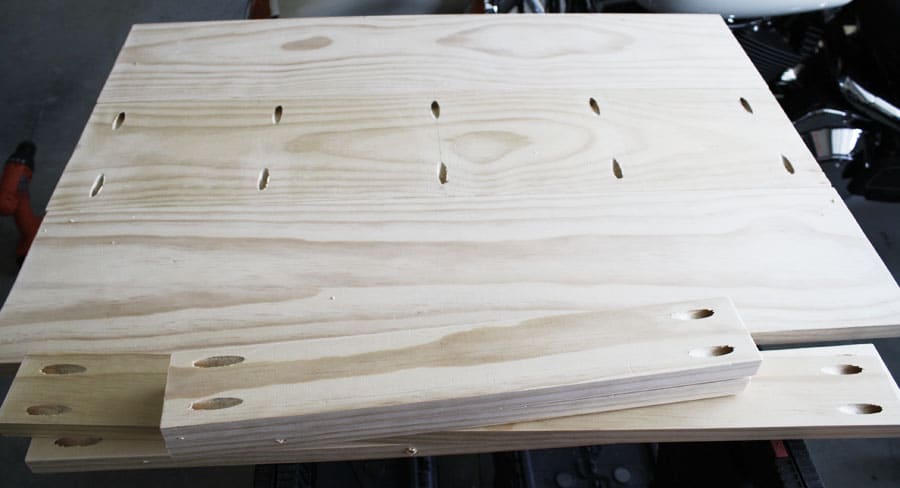
And here are the boards with the pocket holes drilled:
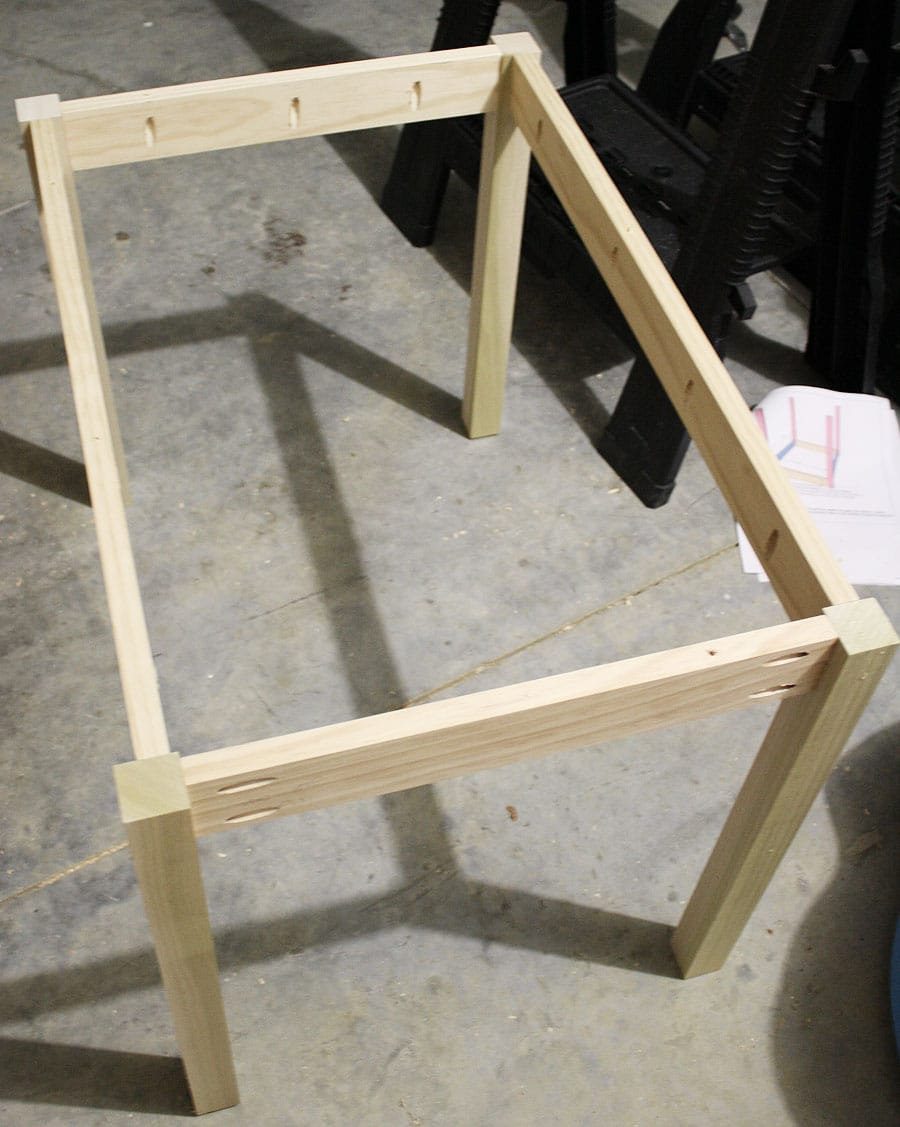
After joining the table top boards together, the next step was to join the aprons to the legs. Initially, I used 2×2 furring strips, but the wood kept splitting, so I decided to invest in some hardwood 2x2s. So back to Lowe’s I went to pick some up. And get this: the lumber guys at Lowe’s recognized me (sorry, no autographs, please). They were all like, “you come here a lot, huh?” and I was like, “yeah, what can I say? I like working with wood.” True story (okay, not really… well, the last part anyway). And no, they were not trying to pick me up; I’m 7 months pregnant with a toddler-in-tow after all (rest easy, dear Husband).
I bought poplar (they didn’t carry pine), which was a bit more expensive, but I’d rather work with higher quality wood, rather than risk my daughter’s table falling apart on her. I’m so glad I did, too, because it’s much more solid and sturdy.
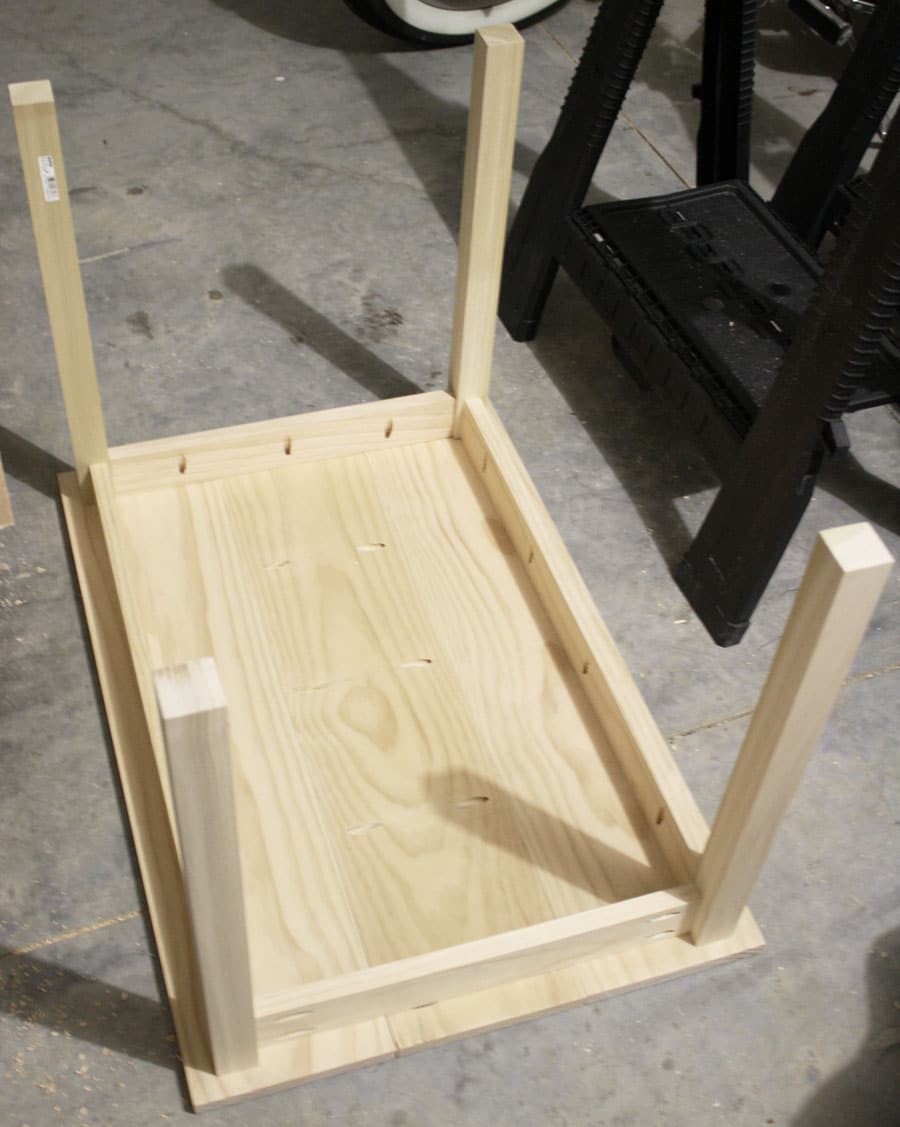
Next, I joined the base frame (legs and aprons) to the table top. Ana’s plans don’t state which length pocket hole screws to use, so I just used the standard 1 1/4″ screws, except when I screwed the base onto the table top. I used 1″ screws, just in case the 1 1/4″ screws were too long (the last thing I want is a bunch of sharp screw points poking up through the top of her table!).
And there you have it! Three hours and $34 later, Evie’s table is built! Had I not decided to use the poplar 2x2s for the table legs, this table would have cost me about $15 bucks. *Insert happy dance here.
Cost Breakdown:
- Lumber: $14.37
- Poplar 2x2s: $19.72
- Pocket hole screws: already owned
Total cost: $34.09
Now all that’s left to do is fill in those pocket holes with wood filler, sand, and finish it. I just need to figure out what color to paint or stain it.
Oh, and the chairs! I plan on building some chairs to go with it, but which ones? This cute Land of Nod knockoff? A miniature version of this West Elm one? Or the more practical Land of Nod storage chair? Decisions, decisions… stay tuned!
Just stopping by from Roeshel’s to tell you how talented and creative and all-around wonderful I think you are! Thanks for sharing your heart and your inspiration on the pages of your blog!
Have a wonderful and blessed day!
karianne
why didn’t you make the side pocket holes on the inner side? that way you wouldn’t have to deal with wood filler