Remember the ZGallerie-inspired dining table I just built with the help of my talented friend, Ana White?
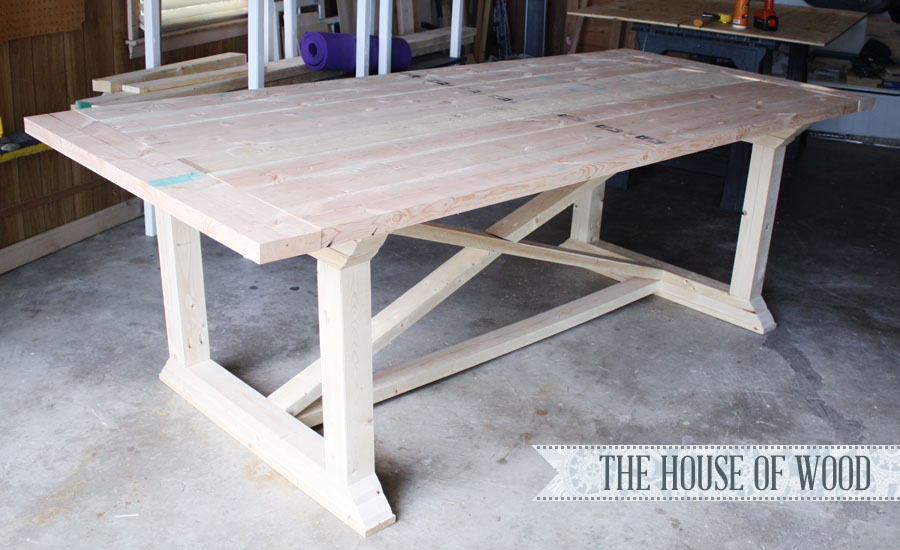
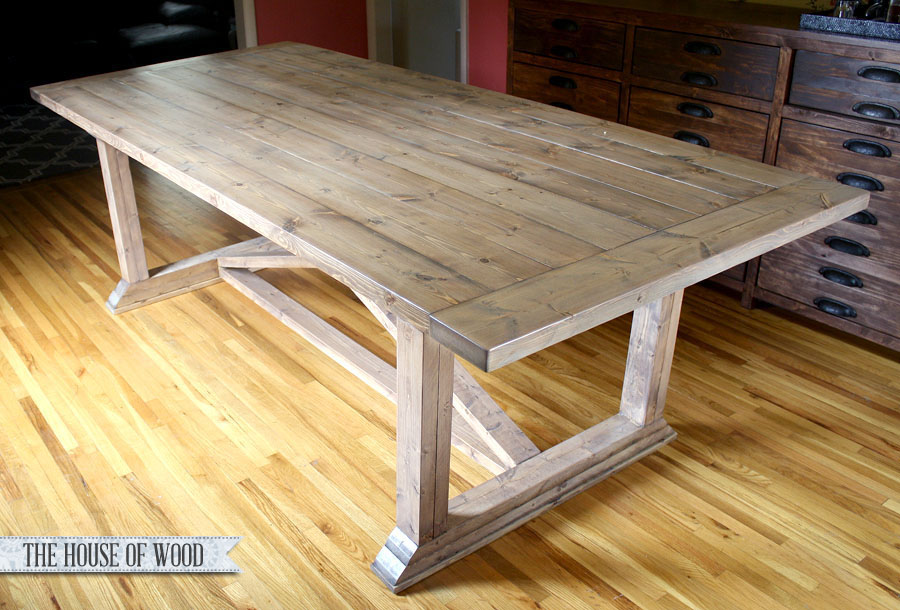
Well, here it is, all finished!
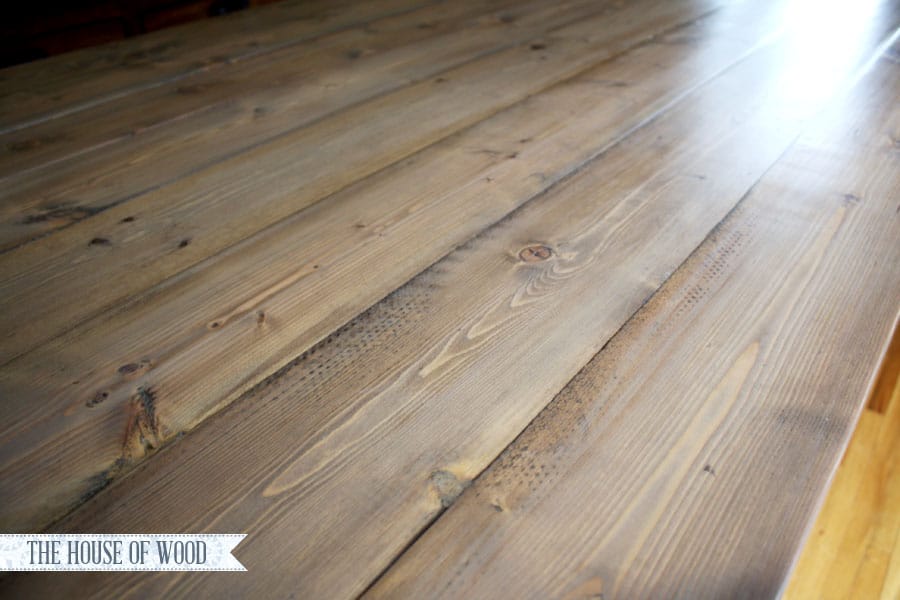
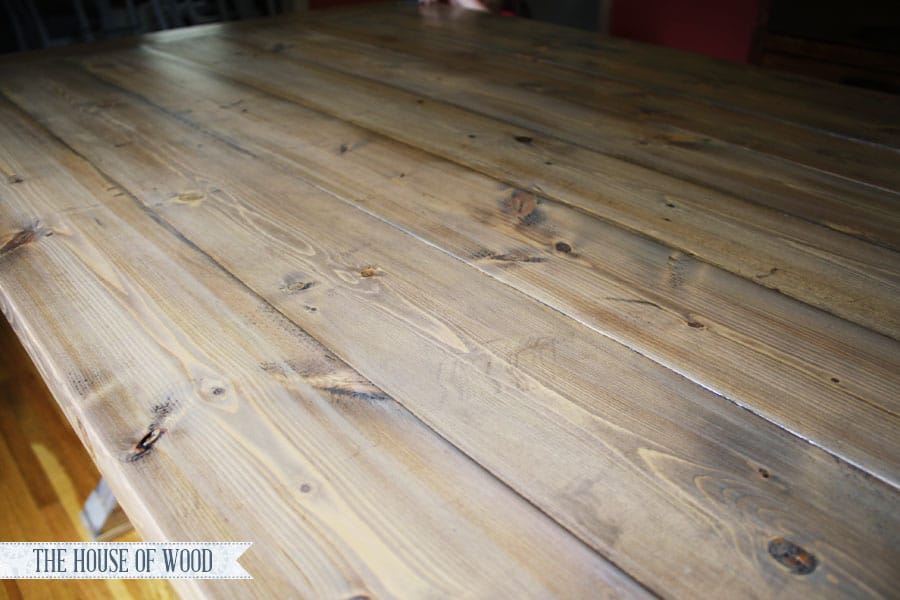
And here’s a close-up:
*This post contains affiliate links. To read my full disclosure policy click here.
Hop on over to Ana White’s site for the complete step-by-step tutorial! I used Minwax stains and finishes for this project, so a big bear hug goes out to my homies at Minwax for sponsoring that post! I’m so in love with how it turned out. I want to lick it. (Disclaimer: for safety’s and liability’s sake, please don’t lick your wood finishes.)
But back to this drool-worthy finish… yeah, it was, like, a million-step process (not really), but so worth it. Amiright?
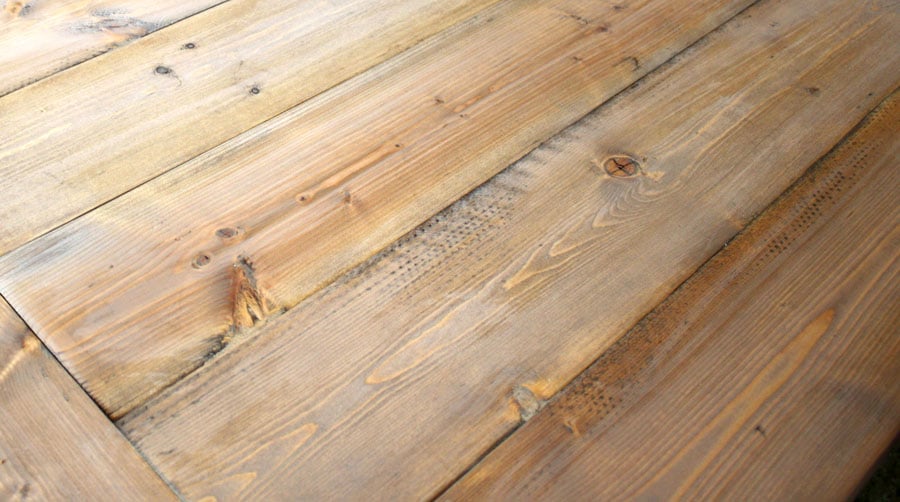
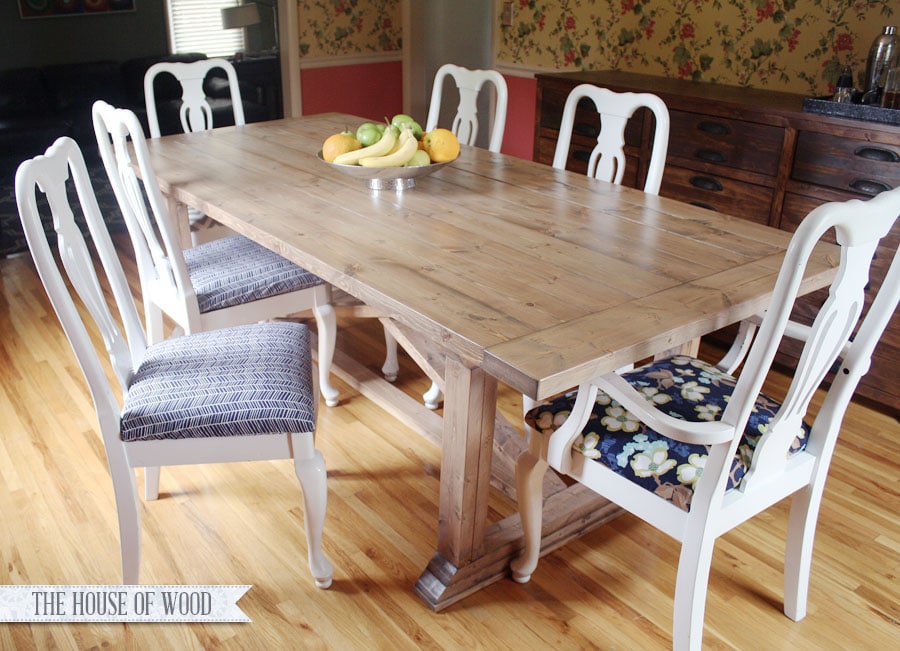

Restoration Hardware, eat your (rustic, yet refined, OH EM GEE I love you and I hate you) heart out! Well, what are you waiting for? Go here for the full-on how-to!
Gorgeous! I want to copy and paste it into my dining room. lol Amazing you made it yourself at a very small fraction of what it cost at Restoration Hardware.
Oh, if only it were that easy. If that’s the case, I’d love to shift + alternate + delete that wallpaper. lol
Thanks for the kind words!
omg love it! you did an amazing job! so this is like my 3rd comment lol sorry if they all end up going through… we just finished ours as well would love to see what you think.. i linked you on my blog.. so whats your next project? i think we could be partners in crime lol..
you amaze me! this table is gorgeous!
Amazing Jen. I have been busting to see how u finished it!!! I L.O.V.E. the colour. Thanks for all the tips, I too rush thru and end up unhappy lol! We too r renting (altho we r’nt as “lucky” as u with the wallpaper 😉 ) & I want to build this table, b7t having to possible move it worries me! Did u make yours so that the top can be removed for easier transportation??? Is it super heavy and did it go thru a normal doorway. We currently have sliding doors into dining area….but ya never know what the next house will be like. P.s. over here in australia I cant seem to find minwax stains. Will keep looking tho coz the colour is PERFECT!!!
Thanks for the kind words! Yes, because we move a lot, I had to make it so that it would be easy to disassemble when the time comes. The top comes off. I used the existing bolts from our old dining table. It was super heavy and wouldn’t fit through the door fully built, which is another reason why I chose to build it in two separate pieces. Good luck!
Thanks jen!!!
Actually do u have a picture of how the bolts are positioned/work? I am one of those visual peeps and can’t get it till I see it 😉
I don’t have a photo, sorry! But they’re called “hex drive threaded inserts” – basically, it’s a metal insert with threads so that the bolts screw metal into metal, instead of wood, which can strip when you assemble/disassemble too many times. I used the existing ones from my old dining table. Good luck!
What color was the mini wax you used?
I used a couple different color stains – here’s the full tutorial: http://www.ana-white.com/2013/08/rustic-yet-refined-wood-finish
Hi all, Jen here… I’ve been getting several emails regarding the comments not going through… just testing it on my end…
Hmm… seems to be working on my end. Ahh… technology. If anyone else is having trouble, please email me! I love hearing from you. Thanks!
Thats a great table you have made. Right from the scratch.
I stay in a RTM home where everything is made of wood. I will try building a table like this at my place.
Thanks again for a great article 🙂
Hi Jen,
Just wondering what you used for the white wash, just plain paint or anything special?
I’ve got a bunch of oil based minwax stuff already and all the whitewashing products seem to be water based.
thanks!
I used a flat oil-based white paint. Hope it helps!
I like your table more than the original.
we built one of ana’s plans for a restoration knock off and i loooove it. now i’m constantly thinking, oh, i can knock that! love how this one turned out!
Can you tell me and explain what finish you used on the table? Thanks!
Amanda, if you follow the link, you’ll find the whole step-by-step tutorial. Hope it helps!
Hi Jen! I love what you’ve done here. Can you answer a quick question about the finishing process? On that last coat of stain, after the white washing, did you actually mix the walnut and weathered oak stains together and apply all at once? I’m getting a pretty chalky result from the white-wash over the stain so i’m thinking I need more stain. Thanks so much.
Sarah
Hi Sarah,
I wasn’t too methodical with it… I just took sort of a painterly, artistic approach. I mixed the two stains then applied it unevenly, where I thought it needed it. Then after that was dry, I went back over with either walnut or weathered oak sporadically. You can’t mess it up! Just eye-ball it! Good luck!
Hola muy lindo el trabajo, me podrías explicar el proceso de pintado…como llegar al final con ese color.
Gracias Pedro
Hellko here I am so excited I found your weblog, I really
found you by mistake, while I was browsing on Askjeeeve for something else, Nonetheless I am
here now and would just like to say thanks a lot ffor a marvelous posst and a all round trilling
blog (I also love the theme/design), I don’t have time to reqd it all
at the moment but I have book-marked it and also added youyr RSS feeds, so when I have time I wikl be back to
read a lot more, Please do keep up the great work.
Jen, I love your creativity and attention to detail. I’m using the Restoration Hardware inspired finish on a wood table for my patio. Two questions: (1) Are there any problems with the white paint sticking to the stain since a primer is not used (A Home Depot attendant brought this up to me as I was buying the white paint), and (2) Is the sealant water based? Thank you.
Thanks, Laura! I didn’t have issues with getting the white paint to stick. I used an oil-based paint, though, not latex. And I used this as a top coat: http://www.minwax.com/wood-products/clear-protective-finishes/interior-exterior/minwax-helmsman-spar-urethane
Good luck!
I’m going to be using your method on pine and oak furniture. Have you ever tried to get a light weathered oak look from a darker wood, mahogany say? So many nice pieces around, but not sure it would work or have the grain I’m looking for.
I’ve put this on my list of projects and moved it to the top. Did you use kiln dried wood. It doesn’t look like your wood warped at all. What’s your secret?
Dumb question, when you say you wiped off the first stain immediately, how long are you actually leaving it on? Are you actually staining a board and then wiping it off, or staining the entire table then wiping?
Either way will work, Adam. I just didn’t let the stain sit for 15 minutes, like the instructions say.
Love this table! I am thinking of building a dining table as my first “major build” project. How has the table held up? Have you had any problems with the table warping with the breadboard ends? I live in the Dallas area so not sure if humidity will cause a problem or not. Love the finish!
Gah!!! I see the wallpaper, lol!!!! Yup…that would have been a tough one to work with! Oh the things we put up with in this life!!!!
But that table is WOW and pretty much makes up for the flowers on the wall!!!
Obsessed with this table! Did you sand in between staining jobs?
Thanks Sarah. No, don’t sand in between each coat of stain. Sand in between each coat of poly.
Thank you for teaching me (everyone) how to do this. It’s beautiful! I’m obsessed! Trying to do it myself and it’s coming out pretty red. The weathered oak didn’t tone down the redness like I thought it would. Did you stain in between staining coats? Thanks again!