Hi friends! Welp. We made it safely to our next duty station but we are still digging ourselves out of a mountain of cardboard boxes. In fact, we’re considering moving out of this house, into the 5-bedroom/3-bath cardboard mansion that we’ve constructed in our front yard. The neighbors love us already, I can tell.
When Aniko from Place of My Taste invited me to join her on this fun West Elm Knockoff Decor Series, I was thrilled to take a break from unpacking boxes and get back to making sawdust. Is it any surprise that the first room I unpacked was the garage (aka my workshop)? #buildersgonnabuild
This is a summer-long series where I, along with four other bloggers will be bringing you a new West Elm-inspired DIY project each month! I am honored to be in such great company. Check out this stellar lineup:

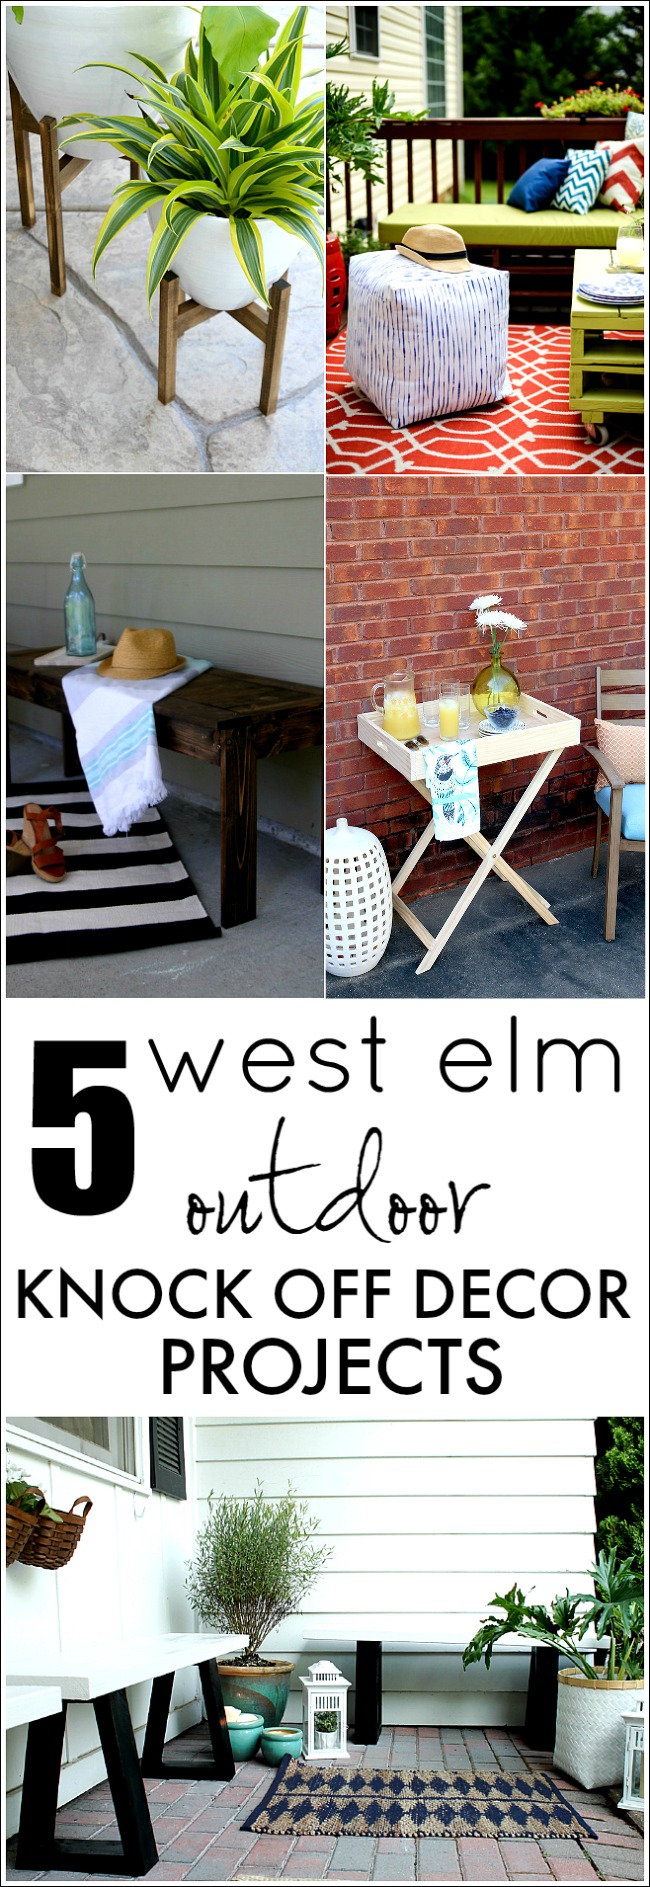
For this month’s challenge, we each chose a West Elm outdoor item to knock off. Here’s what we came up with:
- Corey, Tiny Sidekick | Wooden Plant Stands
- Aniko, Place Of My Taste | Striped Pouf
- Chelsea, Making Home Base | Wood Slat Bench
- Jen, The House of Wood | Butler Stand
- Ursula, Home Made By Carmona | Slab Bench
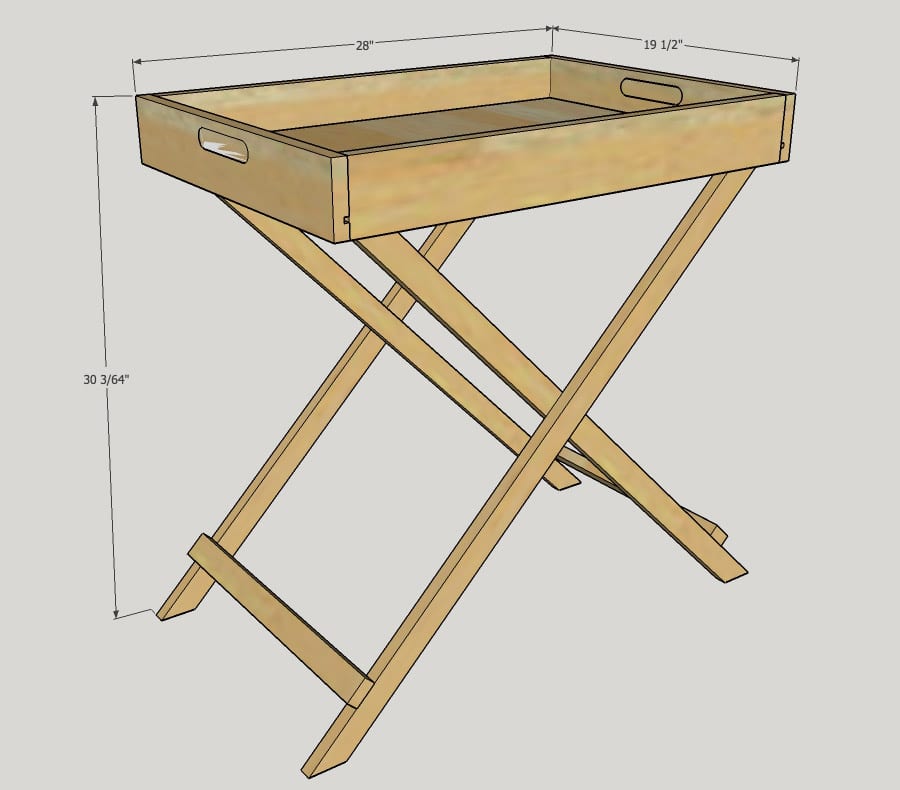
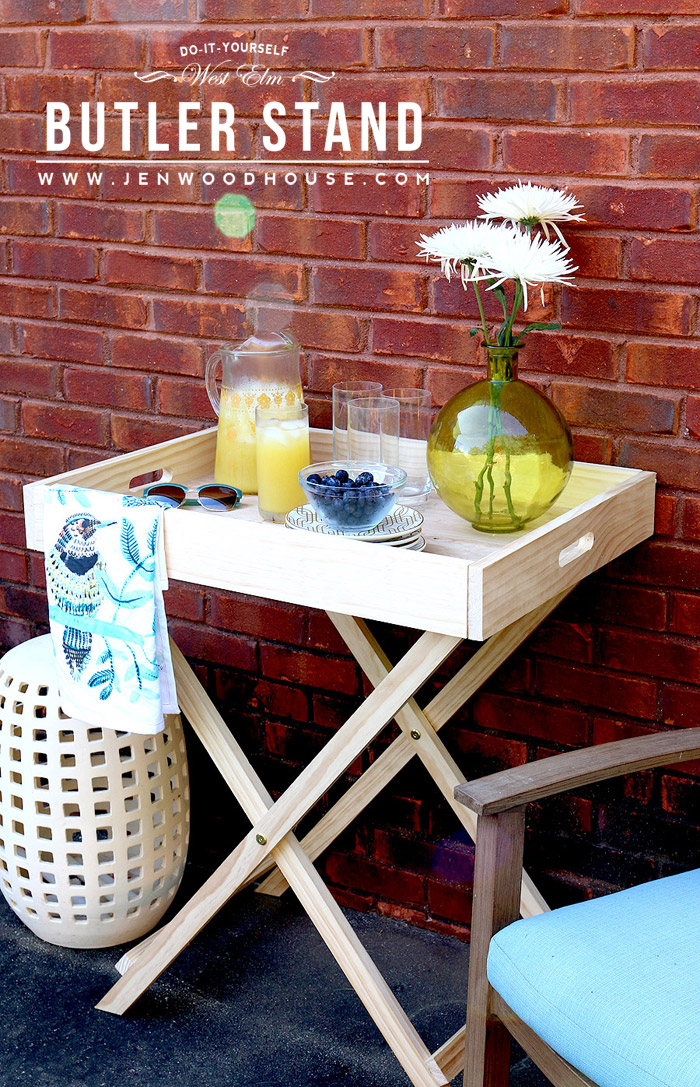
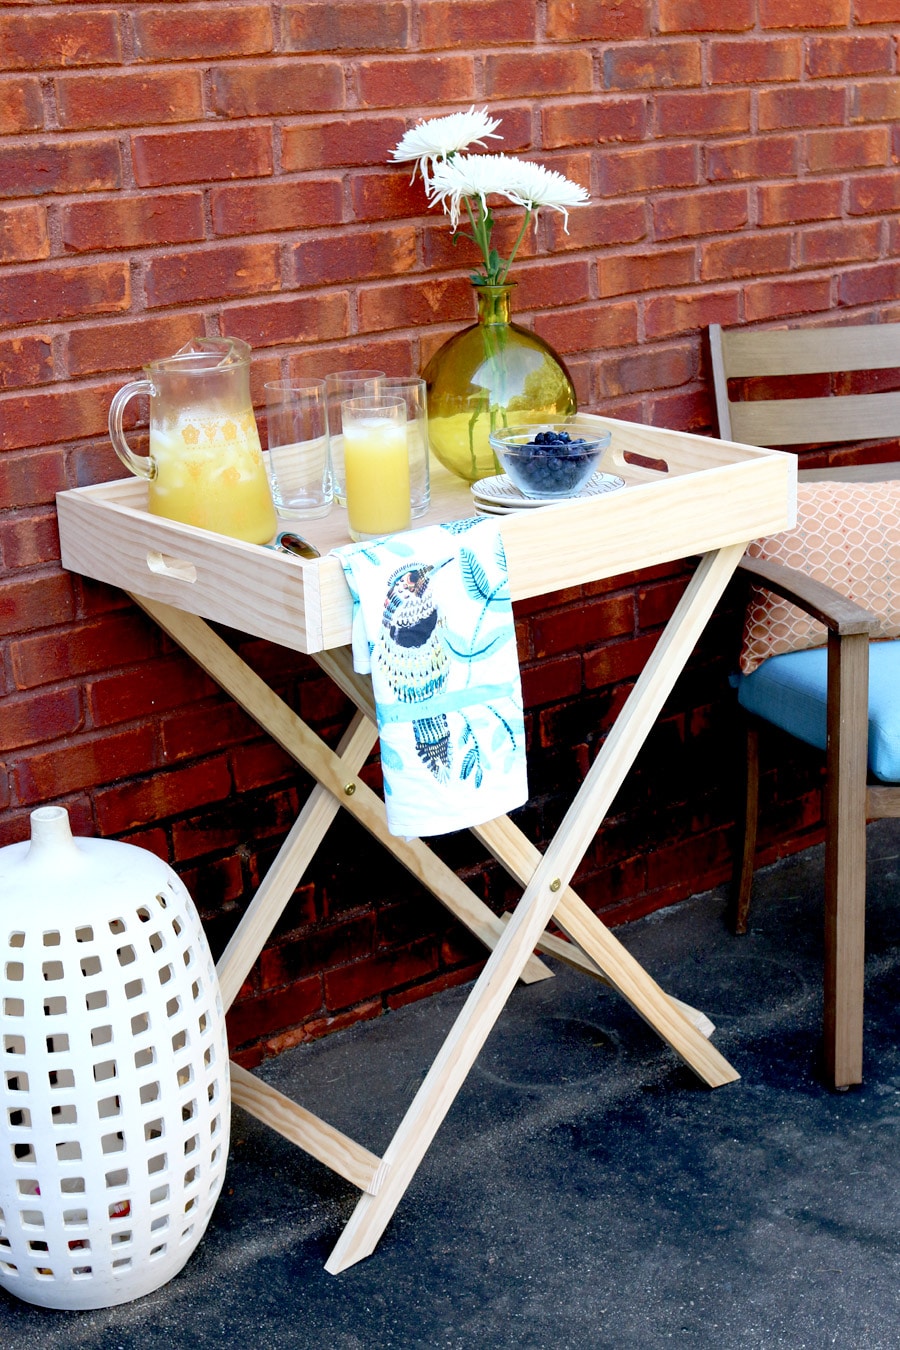
Today, I’m sharing the tutorial on how to build this DIY Butler Stand, inspired by West Elm’s Jardine Butler Stand.
HOW TO BUILD A WEST ELM-INSPIRED BUTLER TABLE
I’ve drawn up the plans for you so you can build it yourself!
Download the PDF plans for the DIY Butler Stand here.
 *This post contains affiliate links. To read my full disclosure policy, click here.
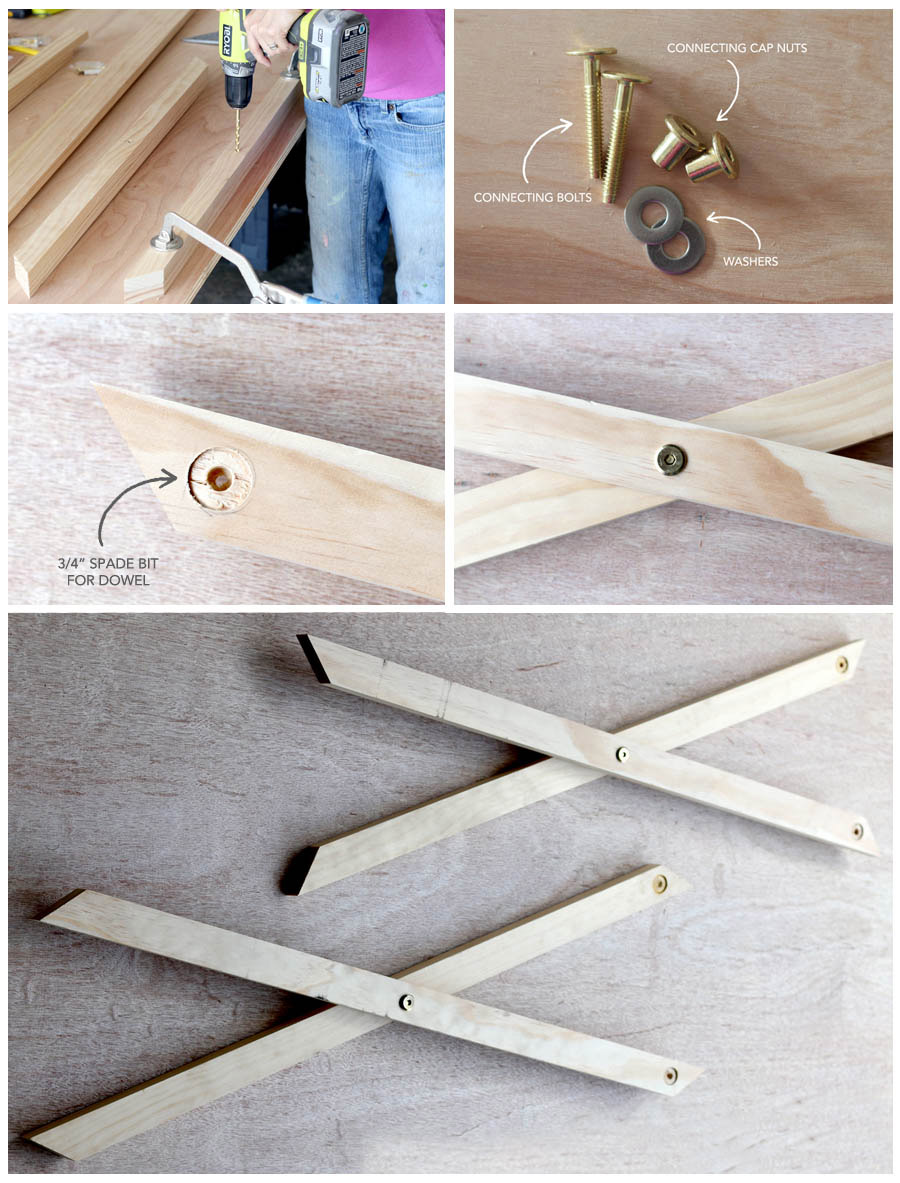
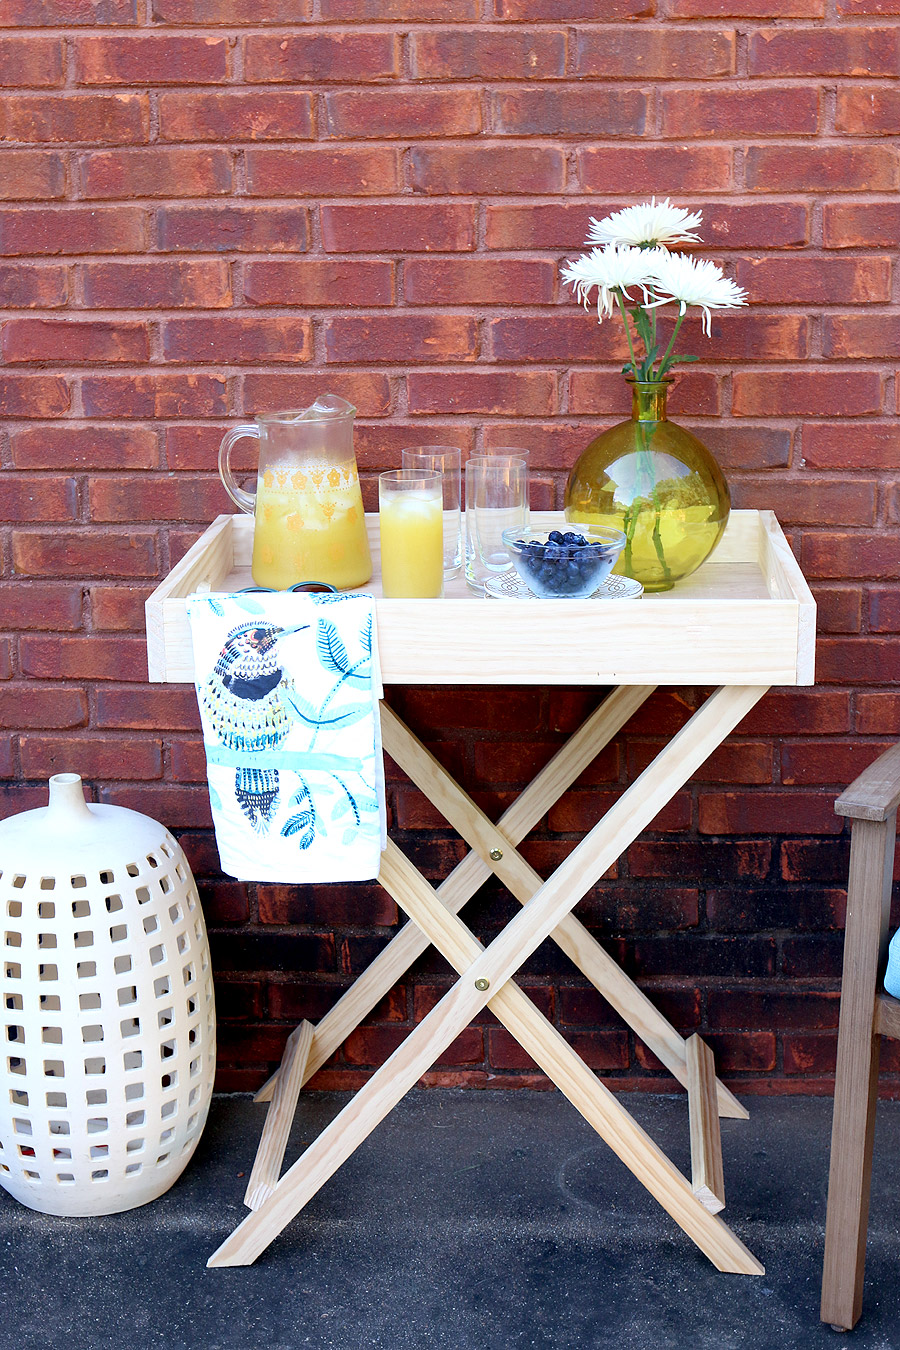
First, I cut four 1×2 boards for the legs, cutting the ends at a 45º angle. Then I drilled a hole in the middle, clamping two of the legs together to ensure a uniform hole. Since I needed the legs to swing open and closed, I chose to use connecting bolts, connecting cap nuts, and washers to attach the X pieces together. The connecting bolt goes through one side, with a washer in between, and a cap nut on the other side. Next, I drilled a hole for the dowels to sit in using a 3/4″ spade bit.
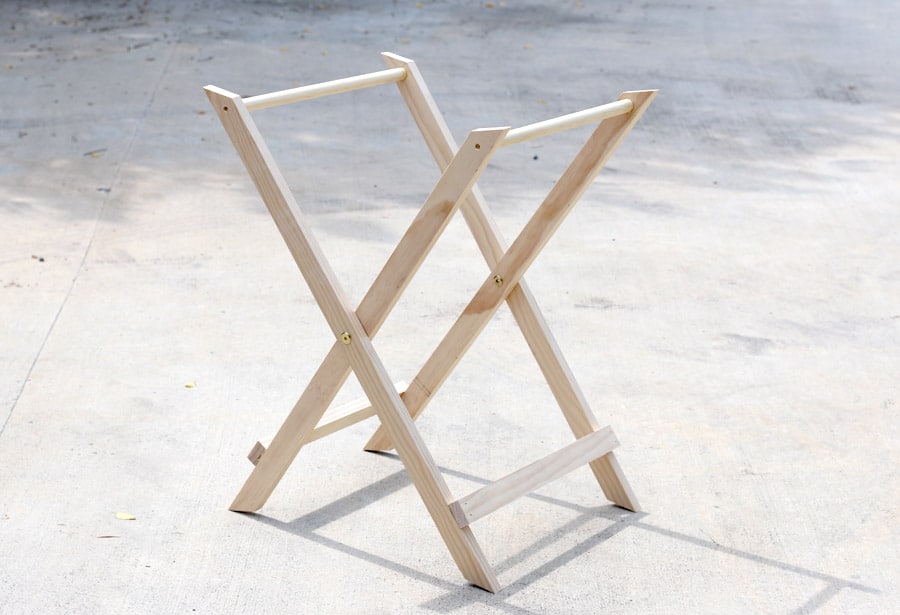
 Then, I inserted the dowels and secured them with wood glue and screws. After that, I cut a couple of 1x2s for the bottom stretchers and used my brad nailer to attach them about 4 inches from the bottom.
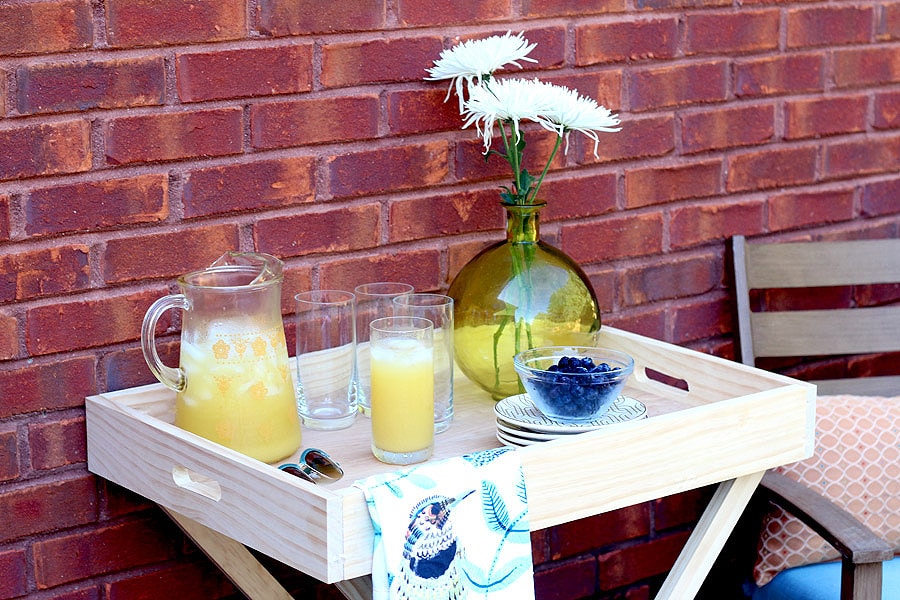
 Next, it was time to build the tray. With my router fitted with a 1/4″ straight router bit, I routed a 1/4″ wide groove on all four sides of the tray so that the bottom panel would slide in. I used biscuit joints to construct the tray, but if you don’t have a biscuit joiner, you can build the tray using wood screws or pocket hole joinery. Ever since I bought my new biscuit joiner to join the butcher block top for my dad’s rolling grill cart, I’ve been using biscuits to join everything in sight.
When I’m using pocket hole joinery, I use this Kreg pocket hole jig to drill my pocket holes.
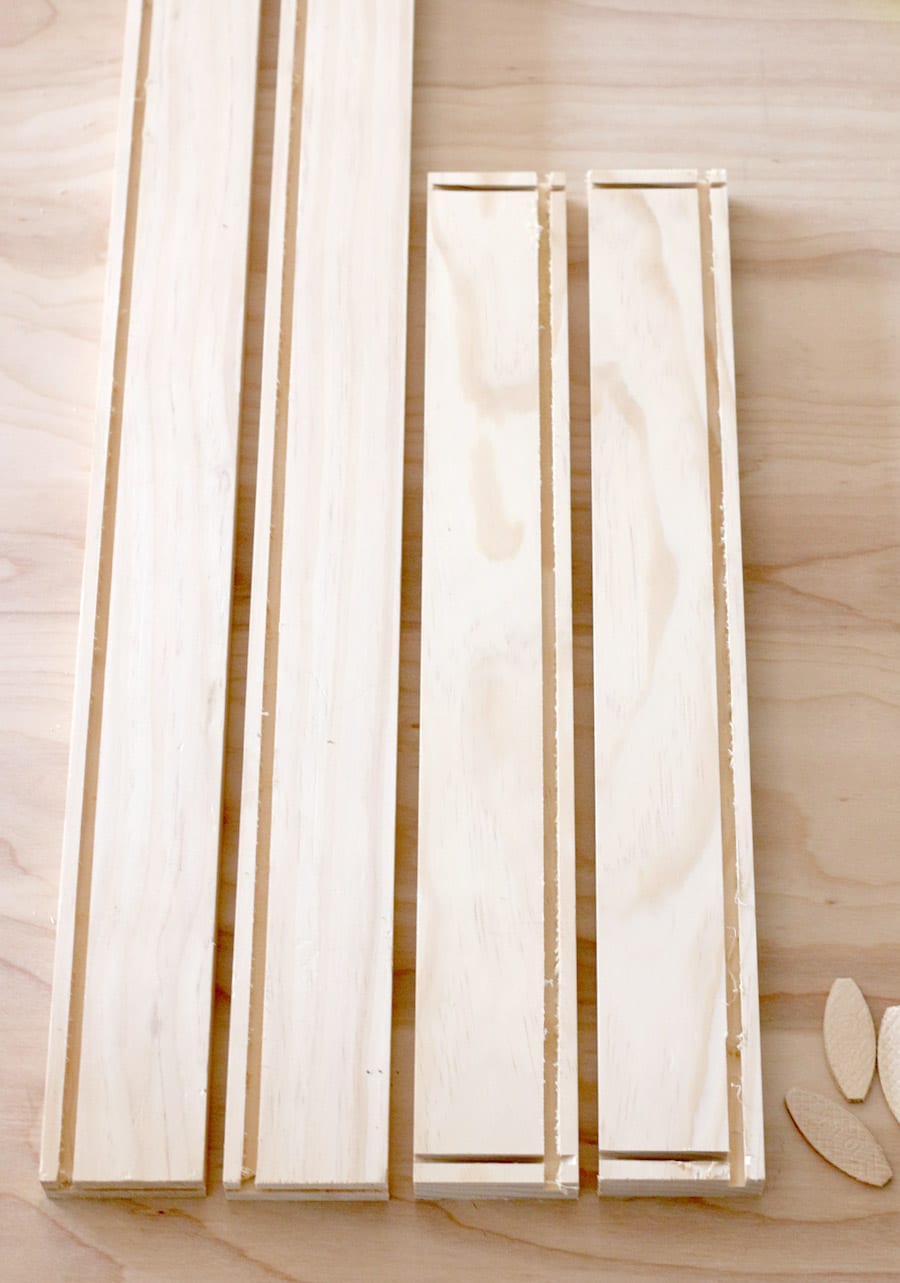 I like that the biscuit joints are hidden, but the drawback to using them is the time it takes for the glue to dry. The other joinery methods are much quicker, but leave visible screw holes (which are easily hidden by filling them with wood putty).
Also, don’t make the same mistake I did: cut out the handles before you construct the tray. Doh!
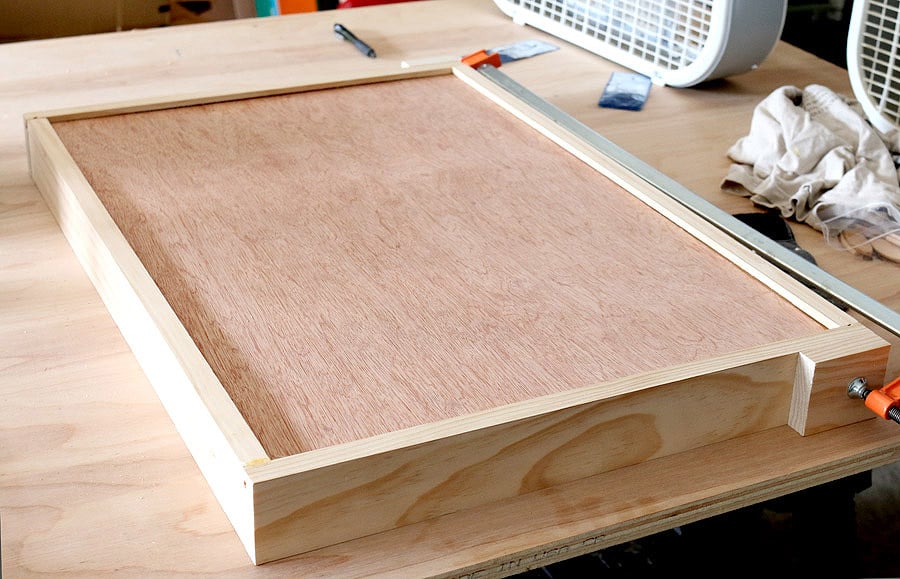 I bought a couple yards of polyester webbing from the fabric store to sew onto the dowels to keep the legs from swinging out too wide, then placed the tray on top and voila!
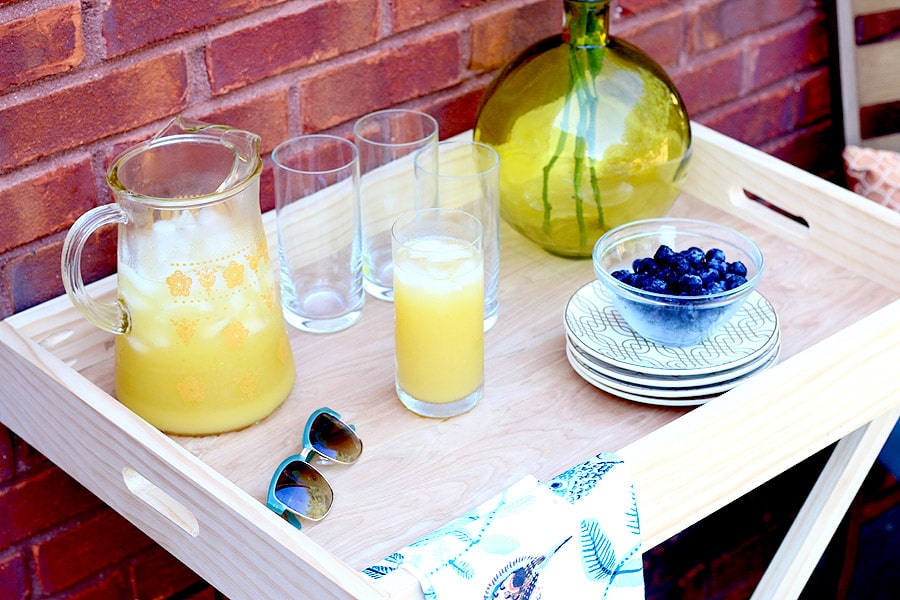
I love how roomy this butler table is – it’s much larger than I expected and it neatly folds away when not in use.
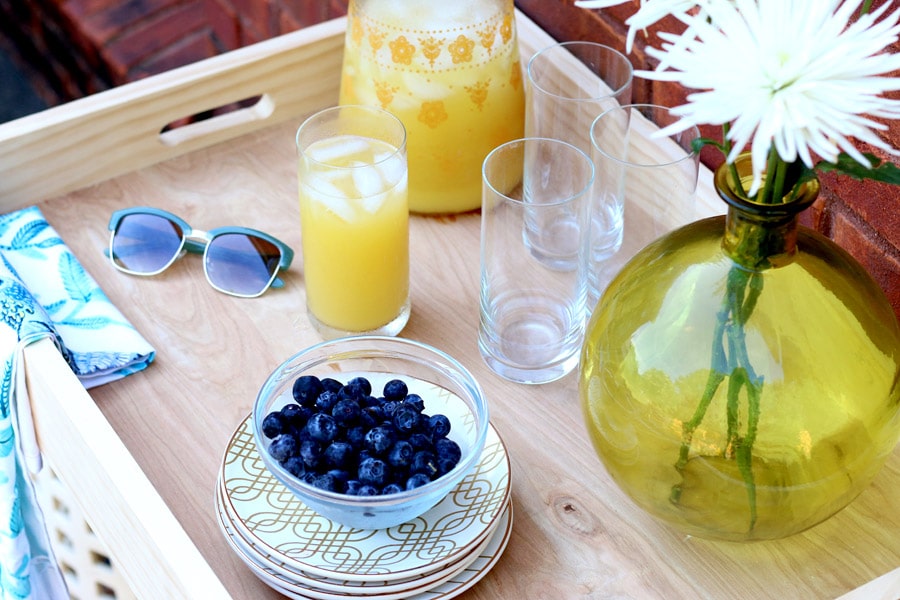 Because I built this table out of pine, I sprayed a few coats of exterior-grade satin polyurethane to protect it from the outdoor elements. Cedar and redwood are also great lumber choices for outdoor projects, since they are both naturally resistant to decay.
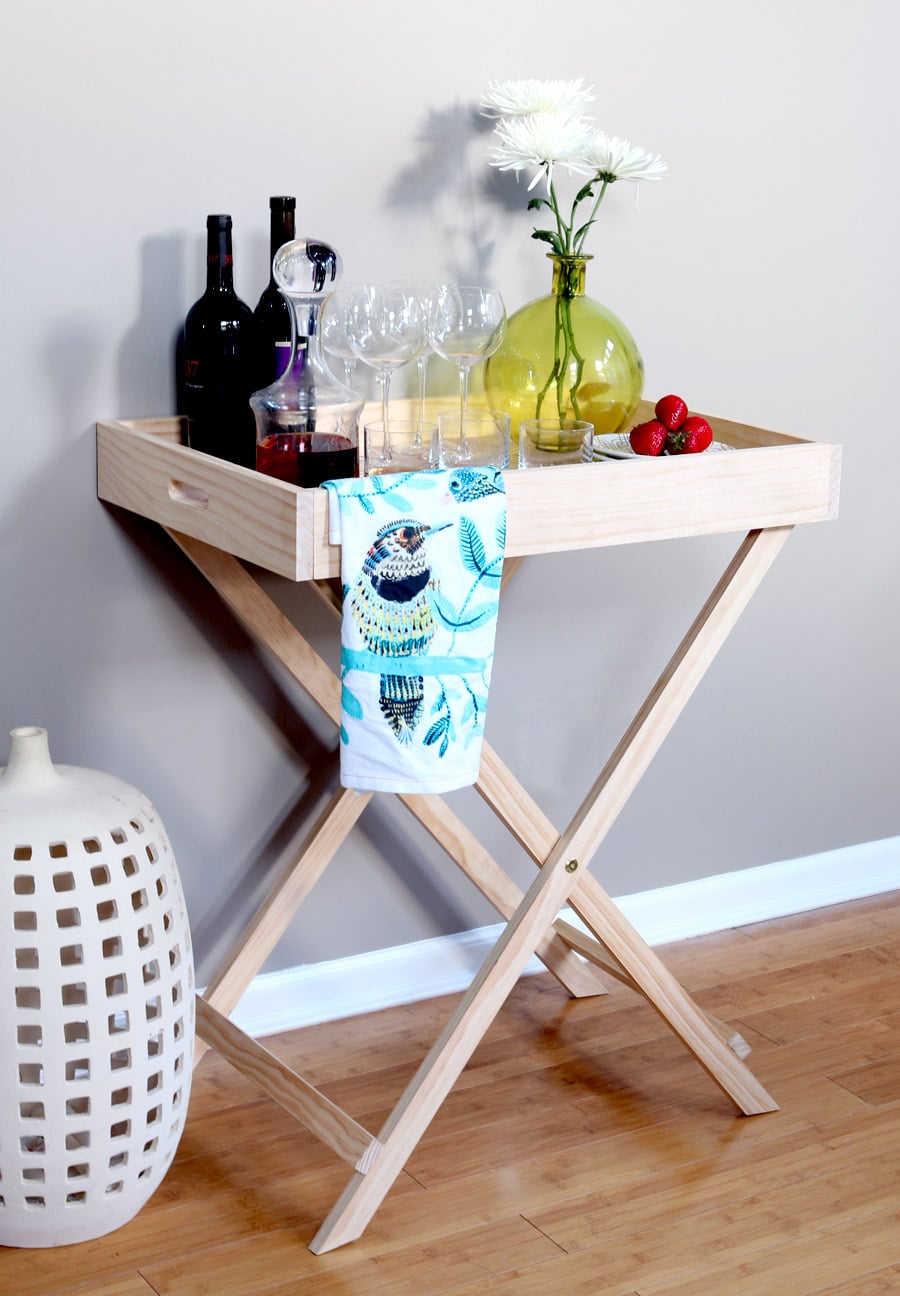
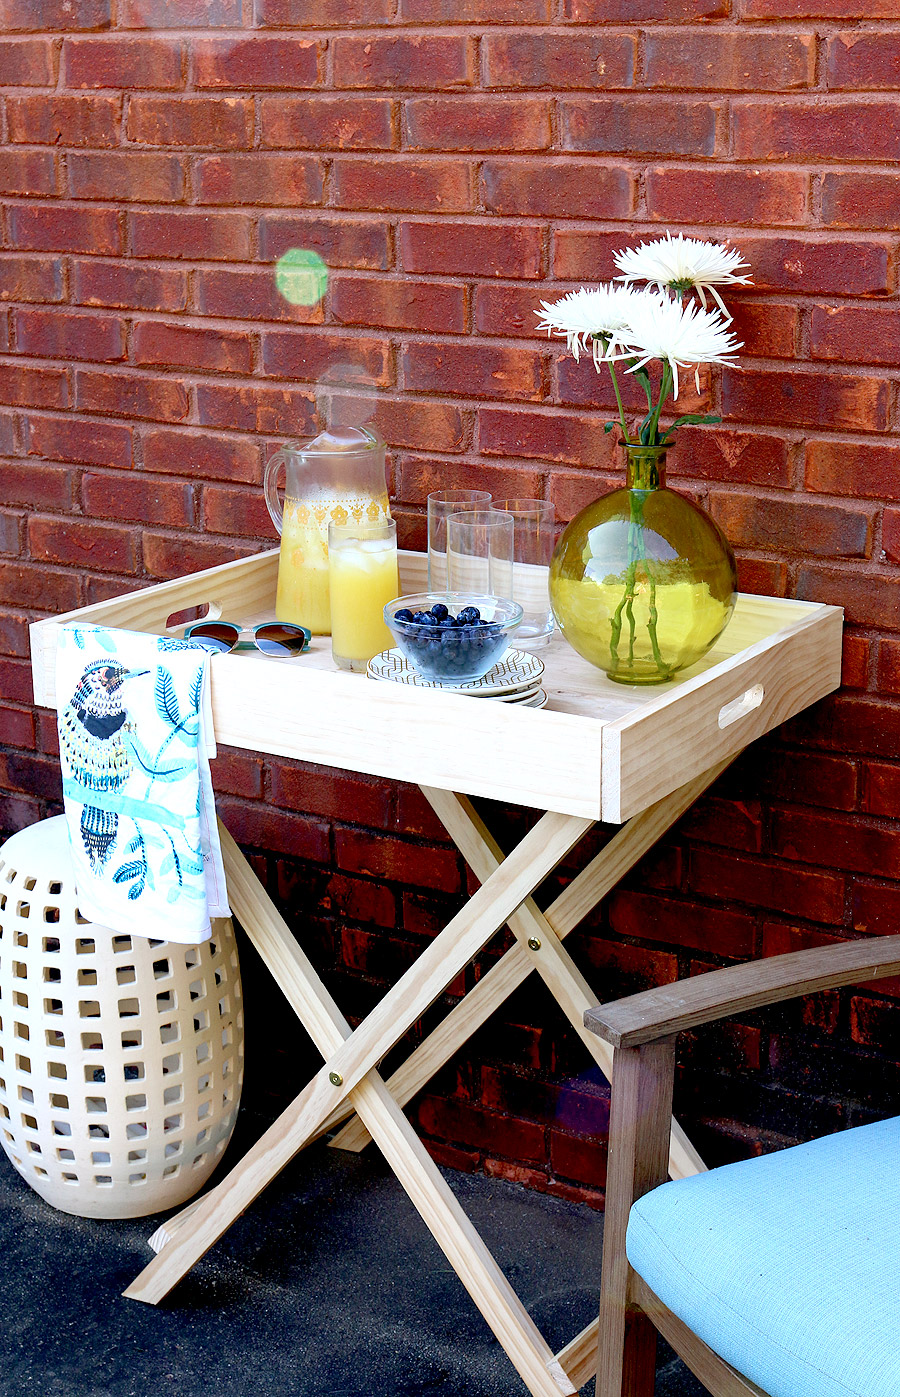 Even though I built this butler table for our outdoor space, it would work just as well indoors too! How chic would it be as a portable serving station?
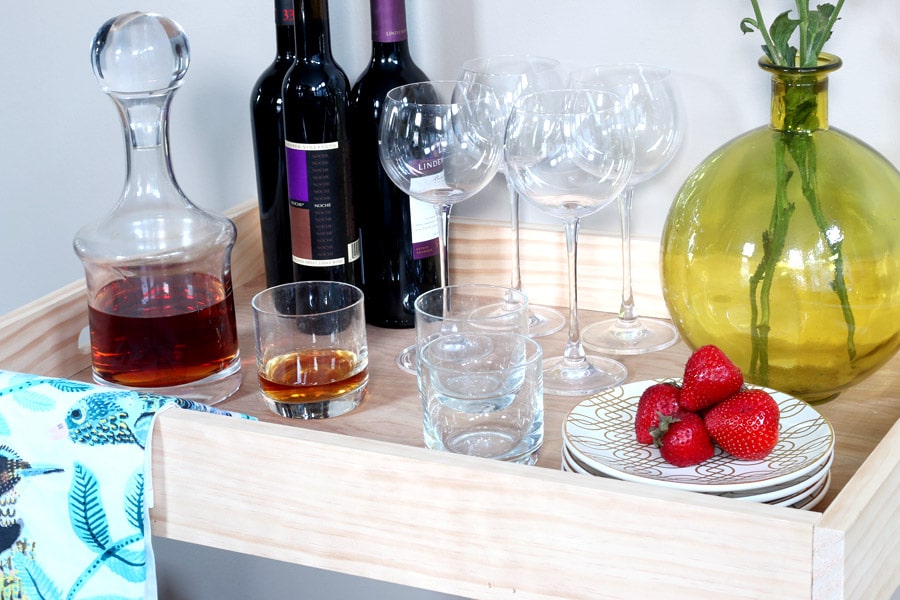 So what do you think? Are you ready to build your own DIY butler stand? Be sure to download the free PDF plans here.
Are you Instagram, Facebook, or Pinterest? If you build this butler table, be sure to tag me @jenwoodhouse #jenwoodhouse #houseofwood so I can check it out!
And don’t forget to take a peek at my blogging buddies’ inspiring projects too. We’ll be back this time next month to share a new West Elm-inspired project with you!
- Corey, Tiny Sidekick | Wooden Plant Stands
- Aniko, Place Of My Taste | Striped Pouf
- Chelsea, Making Home Base | Wood Slat Bench
- Jen, The House of Wood | Butler Stand
- Ursula, Home Made By Carmona | Slab Bench
I’d love for you to pin and share this by clicking the ‘pin it’ button on the image below. Thank you! Happy Tuesday, friends!
You are so good Jen! I was eying this butler stand myself but if I DIYed it, it wouldn’t have looked anything like this! Thanks for sharing your plans! I can’t wait to try it! Beautiful job, friend!
That is one hardcore project! Alright, a girl after my own heart…one who builds! 🙂 This turned out amazingly! I absolutely love it!
Wow! You make this look really doable and I love how it turned out! I agree, it is one of those things that is great indoors or out! So happy to be doing this series with you ladies!
Oh my! This project turned out fantastic, Jen! Just like every one of them that you do-ha:-) I am so jealous of your skills!! Thanks for being part of this fun series!
Wow, I love this!!! Looks amazing, thanks for the inspiration 🙂
This table looks fantastic! I love how you didn’t stain the wood. It really looks nice natural.