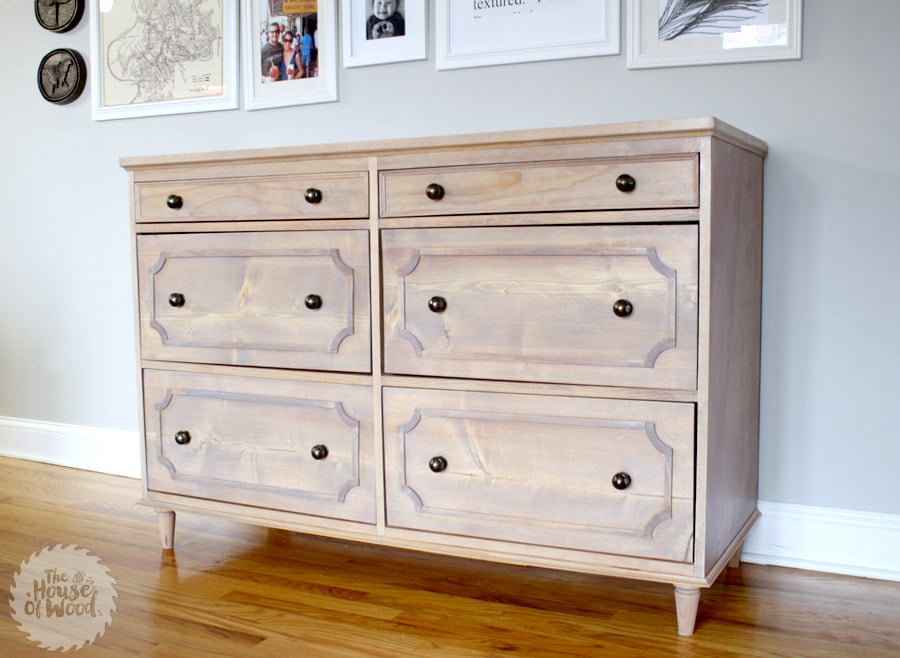
Remember the DIY Ballard Designs-inspired nightstands I built for my photographer friend Emily? Well I’m back to share how I built her matching dresser! Once again, I teamed up with my sweet friend Ana White on this build. You can download the free plans on her website here.
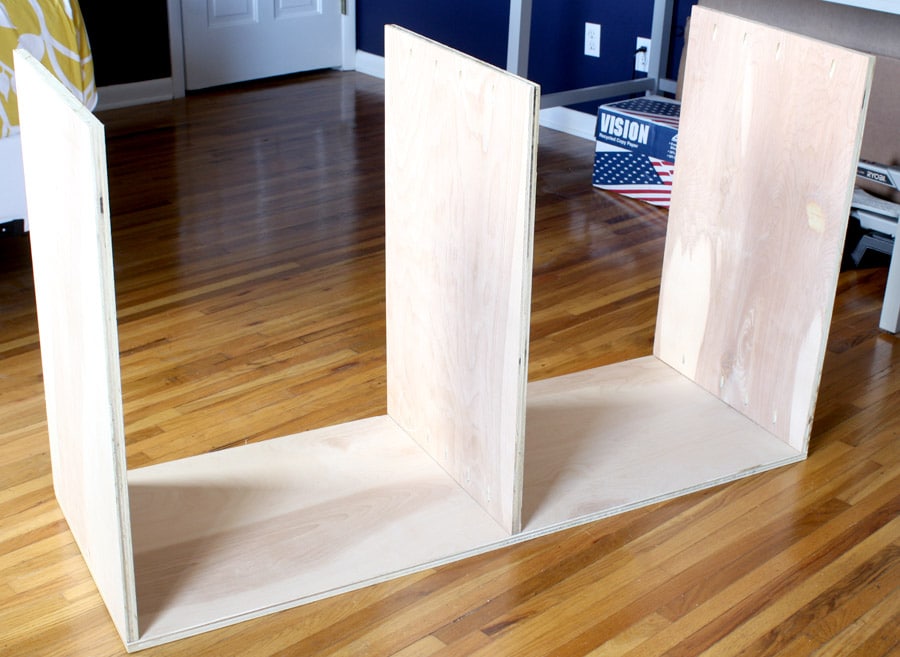
I used my favorite plywood, Purebond Plywood to build the carcass of this dresser. It’s the prettiest plywood I’ve seen and it comes in a wide variety of beautiful veneers: birch, maple, oak, walnut… even a rich mahhhhogany.

(Sorry, Ron Burgundy references just never get old.)

I used 3/4″ maple plywood and you’ll see in a minute how beautifully it takes stain. I recommend cutting both the top and bottom out of the same sheet of plywood, so that you make the most out of your plywood panels.
By the way, do you like my workshop? It’s my guest room. What? It’s WINTER. Don’t judge me.
*This post contains affiliate links. To read my full disclosure policy, click here.
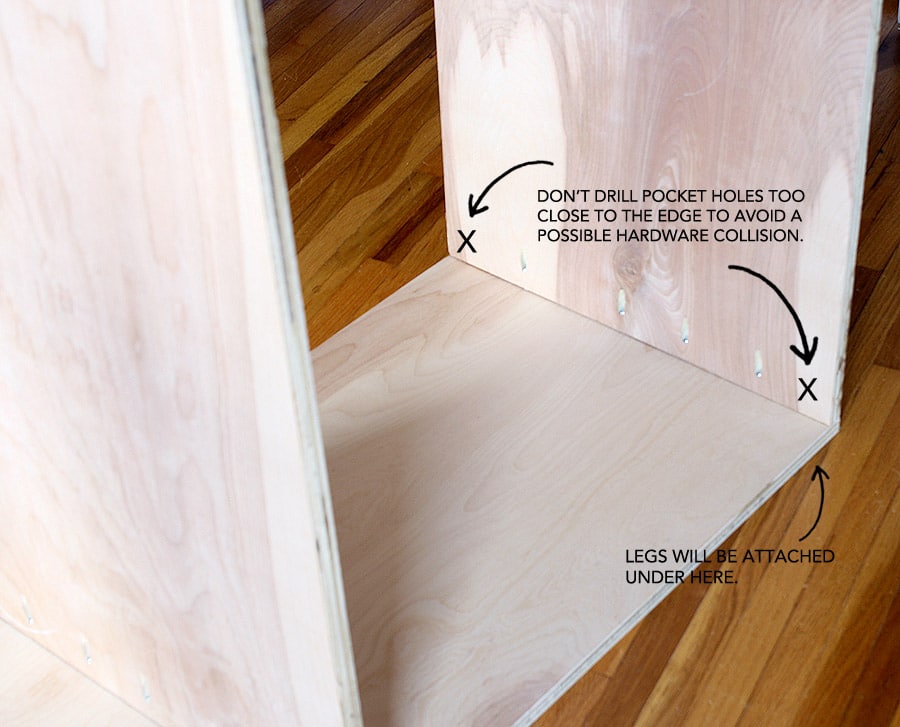
As always, I used my Kreg Jig to build this dresser. I don’t build anything without it. Oh, and just to save some potential headache later, I recommend not drilling pocket holes too close to the edge (see photo below), so that when it comes time to screw the legs in, you don’t risk a head-on collision.
Don’t ask me how I know.
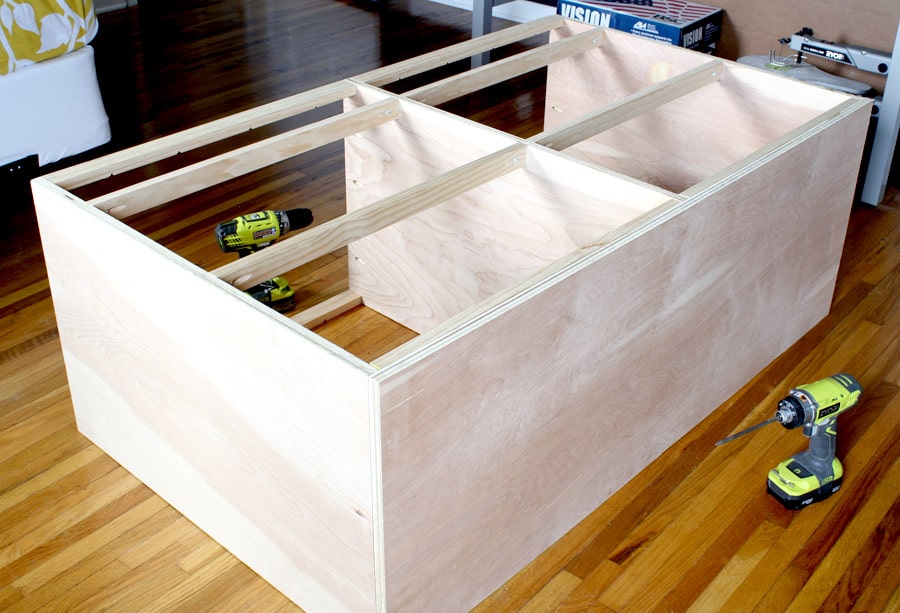
As you can see from the photo below, I drilled 3/4″ pocket holes facing up into 4 of the 1×2 boards, to attach the top in later steps.
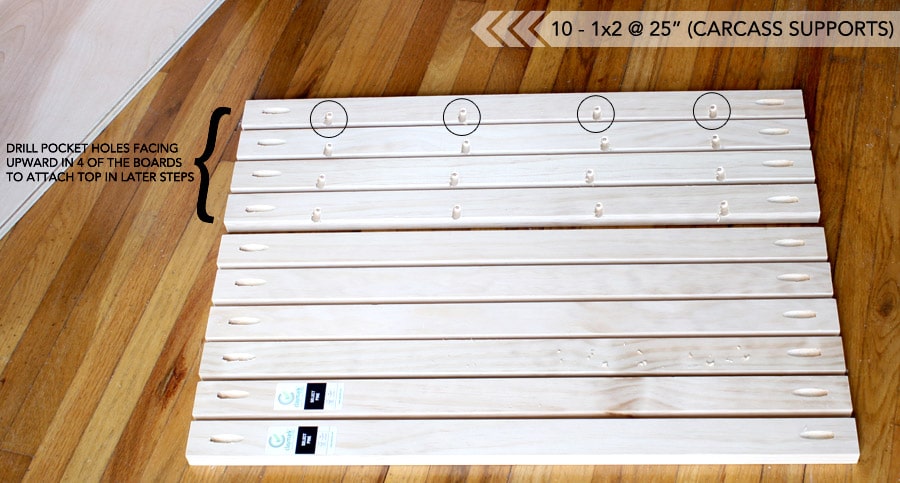
Next, I turned the dresser on its back so I could attach the supports, hiding the pocket holes underneath.
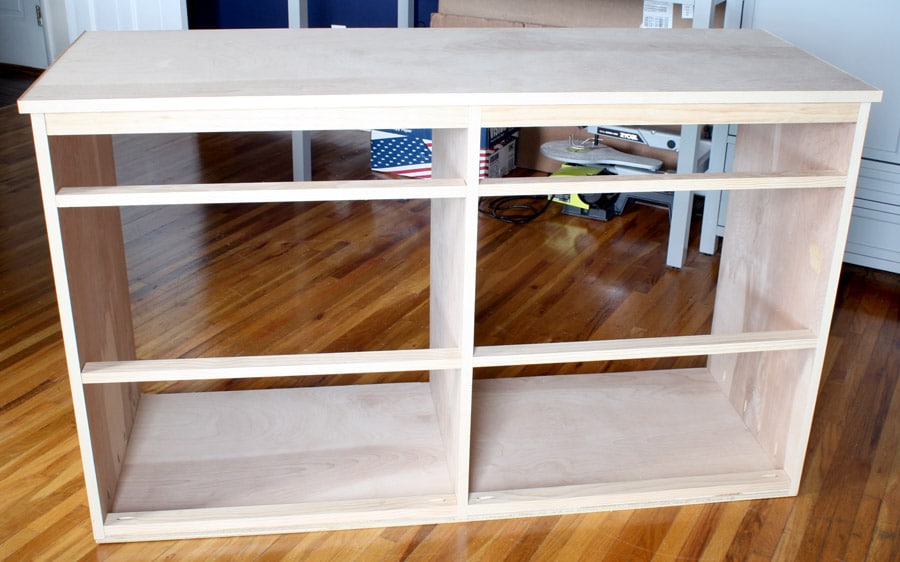
I attached the top with a 3/4″ overhang on the sides and front. Then I ironed some veneer edge banding on to hide the raw plywood edges. Then I attached the decorative cove moulding with 3/4″ brad nails and glue.
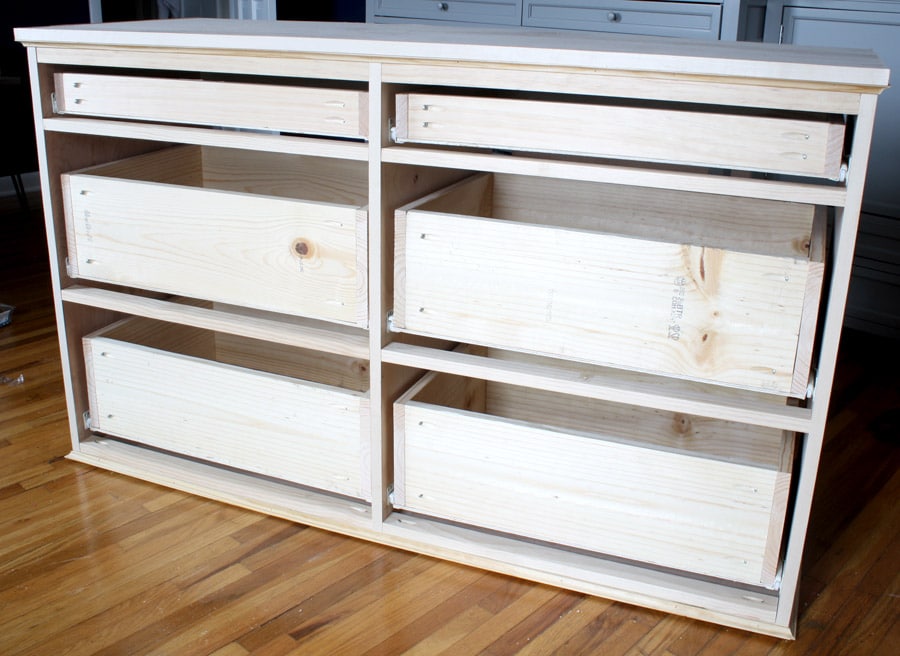
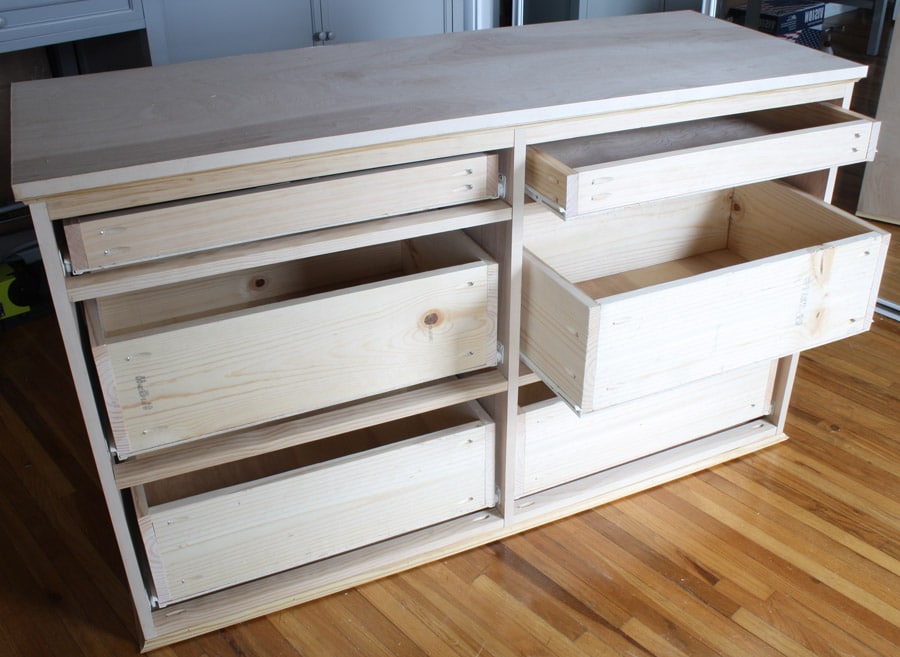
After building the drawer boxes, I installed the drawer slides according to the manufacturer’s directions.
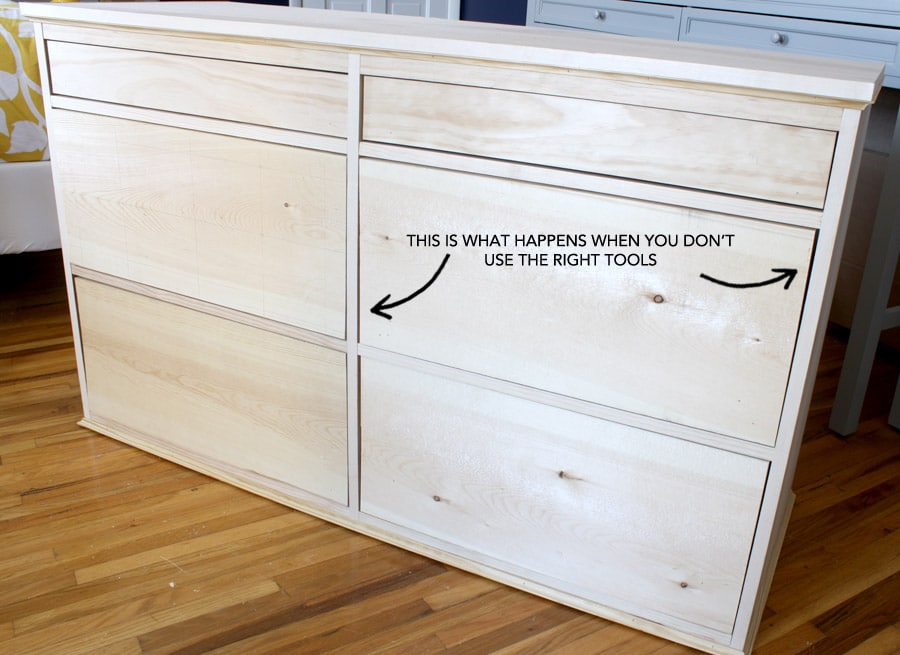
Okay, so having the right tools makes building a whole helluva lot easier and more efficient, right? Right. I know this. Yet I chose to ignore my own sound advice. You see, I cut my 1×12 drawer faces with a saw that wasn’t large enough to handle that board width so when I made the cut, I had to flip the board over to complete it. This was the horrifying result:
Let’s take a closer look, shall we? See how those cuts aren’t perfectly square?
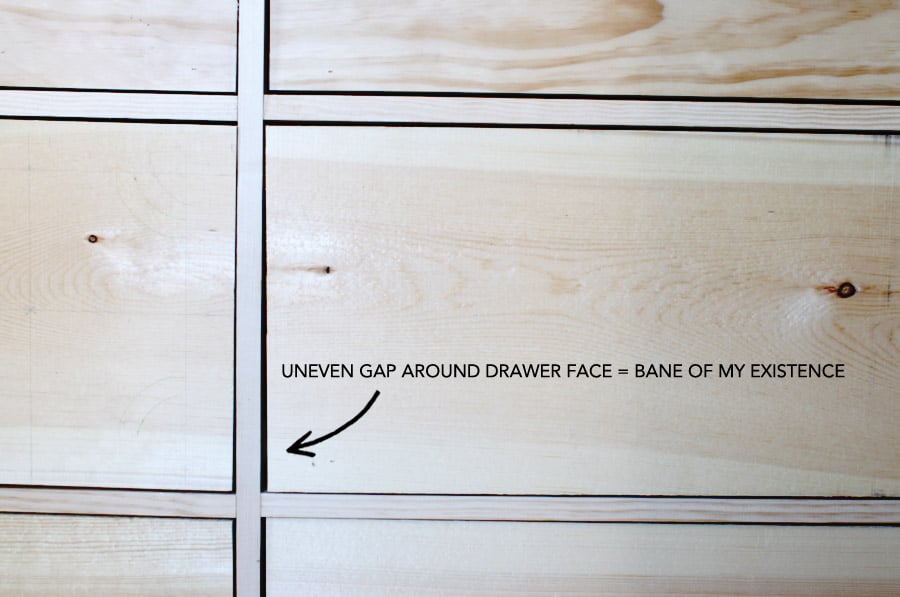
Arghhhhh!!! Right?! You guys. This drove me cah-razy. And I spent a few days mulling over this dilemma. Should I keep moving forward and just ignore those uneven gaps and try to live a happy and full life?
OR
Do I face reality, admit to myself that those uneven gaps will forever haunt my dreams until I make things right?
Decisions, decisions…
Listen, I am not prepared to face a lifetime of regret, so I tore off those horrible, uneven drawer faces and marched right back to the lumber yard, bought more lumber, and recut the drawer faces – this time, with the right saw.
This RYOBI 10-inch sliding miter saw is the one I used.
Because the blade slides, it can handle cutting wider boards, such as a 1×12. I really should have used this saw in the first place, but for whatever reason, I used my other, smaller saw, thinking it would be able to do the job. I was wrong and was kicking myself for days over it. I cannot stress this enough: use the right tool for the job.
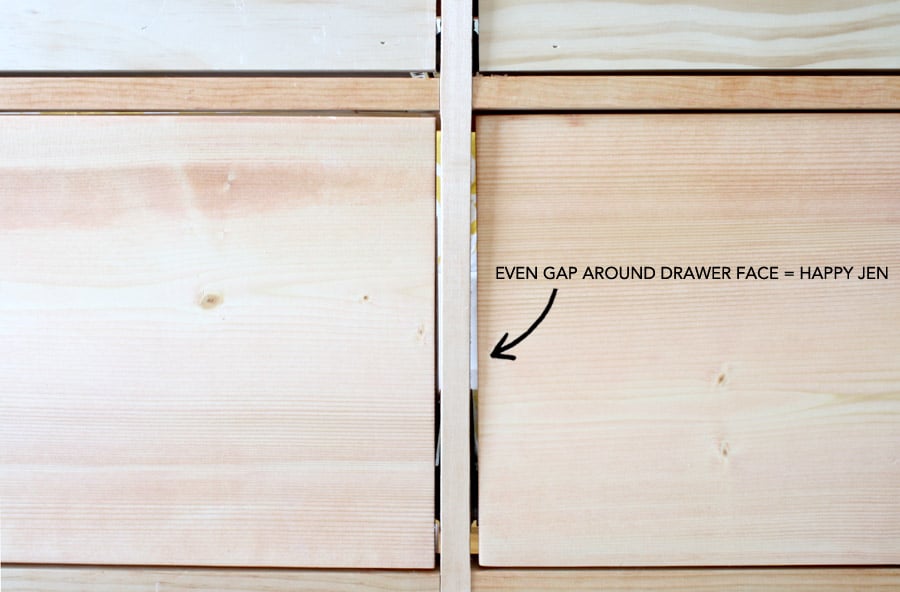
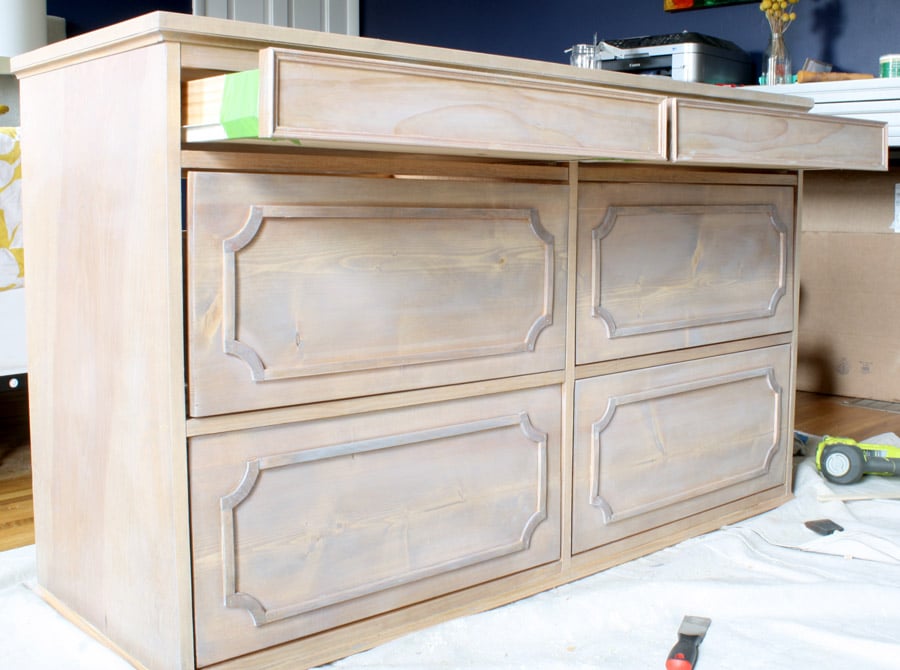
See those pretty moulding details? Totally DIY. I couldn’t find an affordable option for those curved pieces, so I had to cut them with my scroll saw. Ana includes a graphic for those curved pieces in her plans, so i just printed it out and used it as a template.
I love the precision of this tool. Once again, proving that if you use the right tool for the job, you get the job done most efficiently.
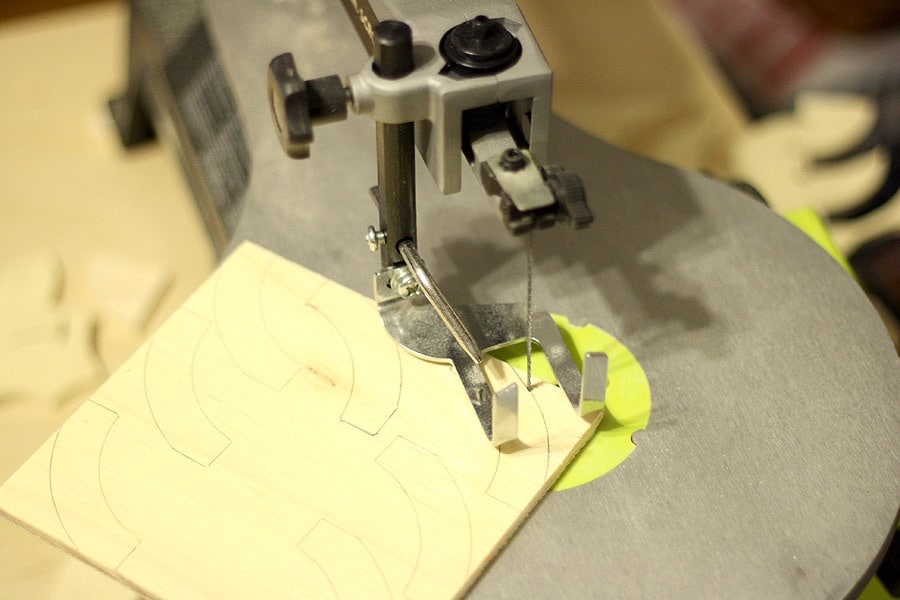
In the midst of cutting the curved moulding pieces, I broke my blade. It was the same feeling I get when I break a guitar string mid-concert. I mean, when I rock, I rock hard.
Then I googled it, and it’s, like, a normal thing to break a blade after a couple hours of use. Whatevs. I was totally rocking out on mah big bad scroll saw.
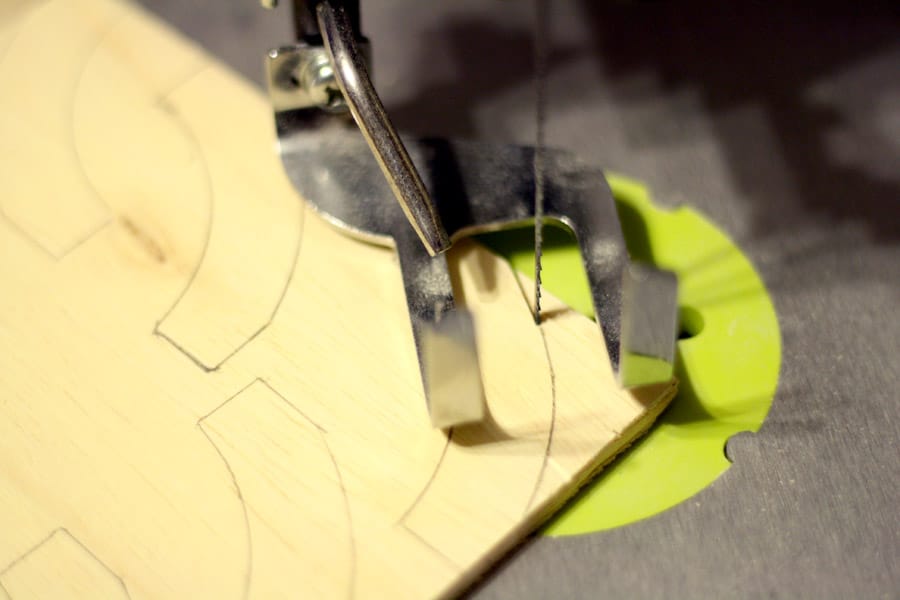
Then I used 3/4″ brad nails and glue to attach the moulding to the drawer faces.
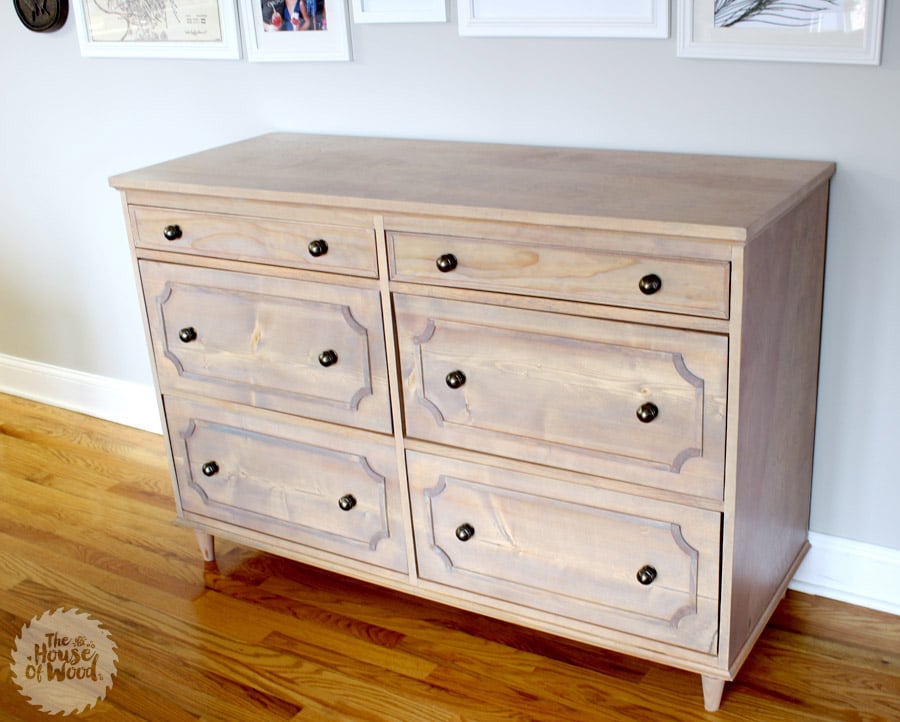
For the finishing process, I gave the dresser the same finish as I did for Emily’s nightstands: a coat of Golden Pecan stain, followed by a couple coats of Weathered Oak. Then I applied some liming wax, buffed it out, and finally wiped on 3 coats of satin polyurethane.

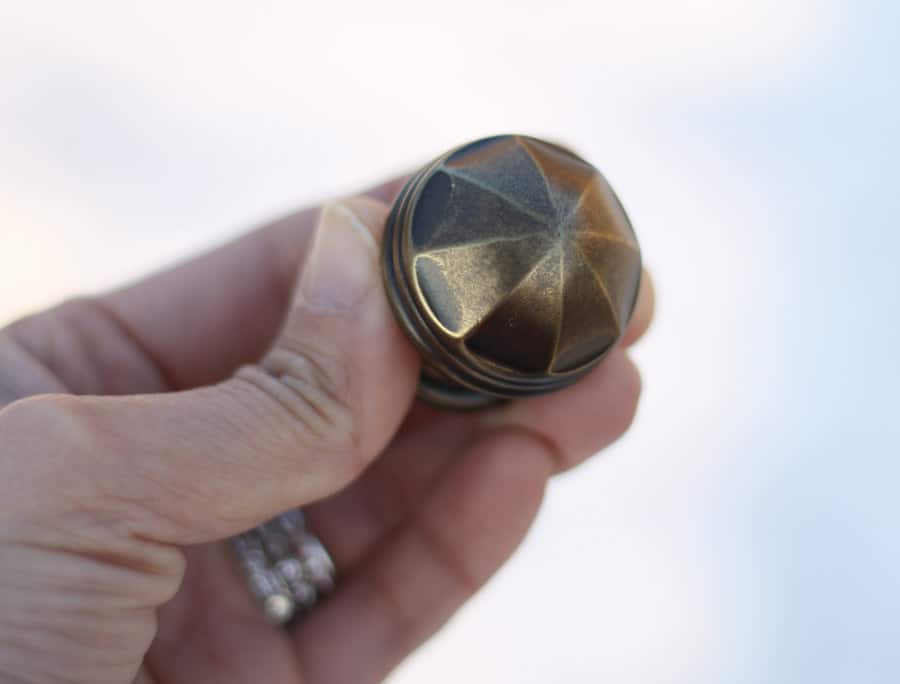
And check out these knobs. Aren’t they beautiful? They’re pretty hefty too. I got them from D. Lawless Hardware.
And will you check those legs? Once again, I teamed up with my friends at Osborne Wood to make them. They’re custom, but can be purchased here for less than $8/leg (I chose the knotty pine species). I installed the knobs, attached the legs using my hanger bolt/tee nut combo method and called it done.

I love how this dresser turned out! I hope Emily and her hubby do too. Those small details, like the curved moulding, furniture feet, and pretty knobs really make this dresser quite a looker.
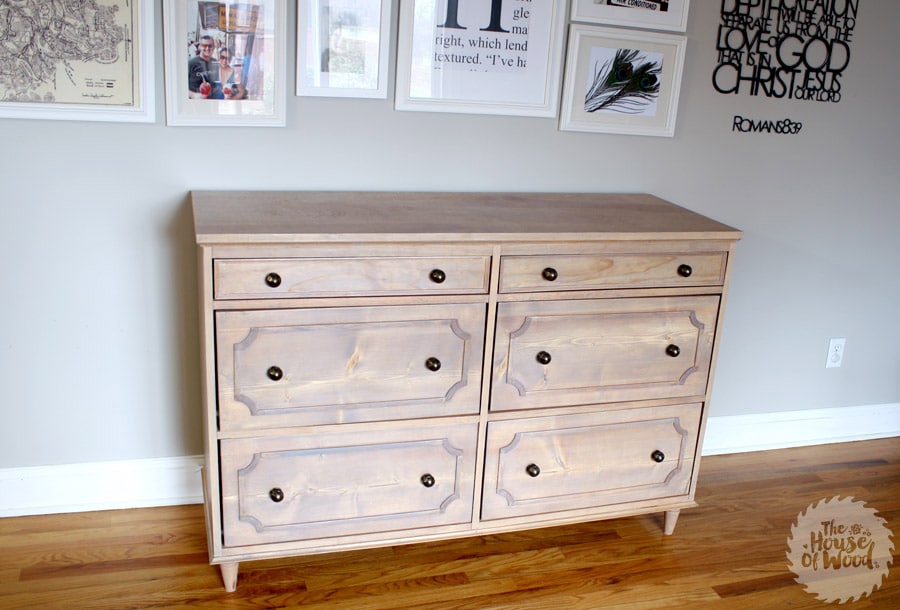
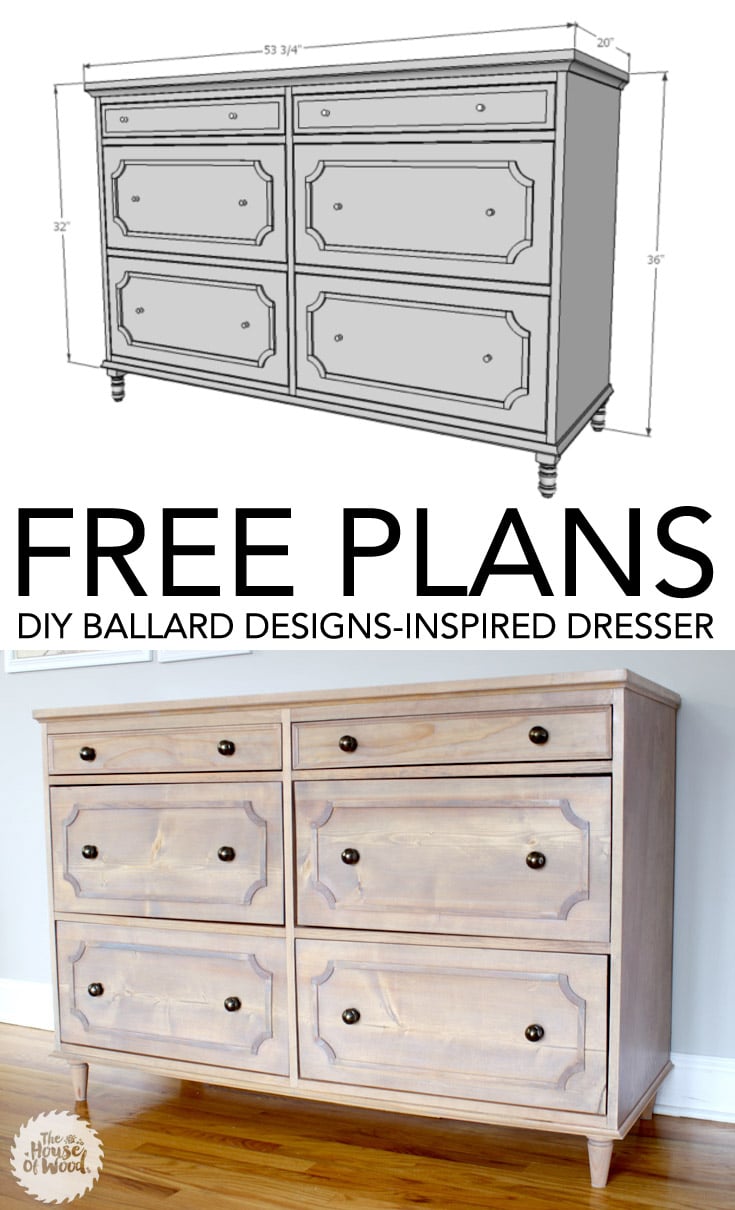
Be sure to drop by Ana’s site and download the free plans. If you’d like to pin and share this project, that would be amazing. You can use the image below. Thanks for stopping by – happy building!
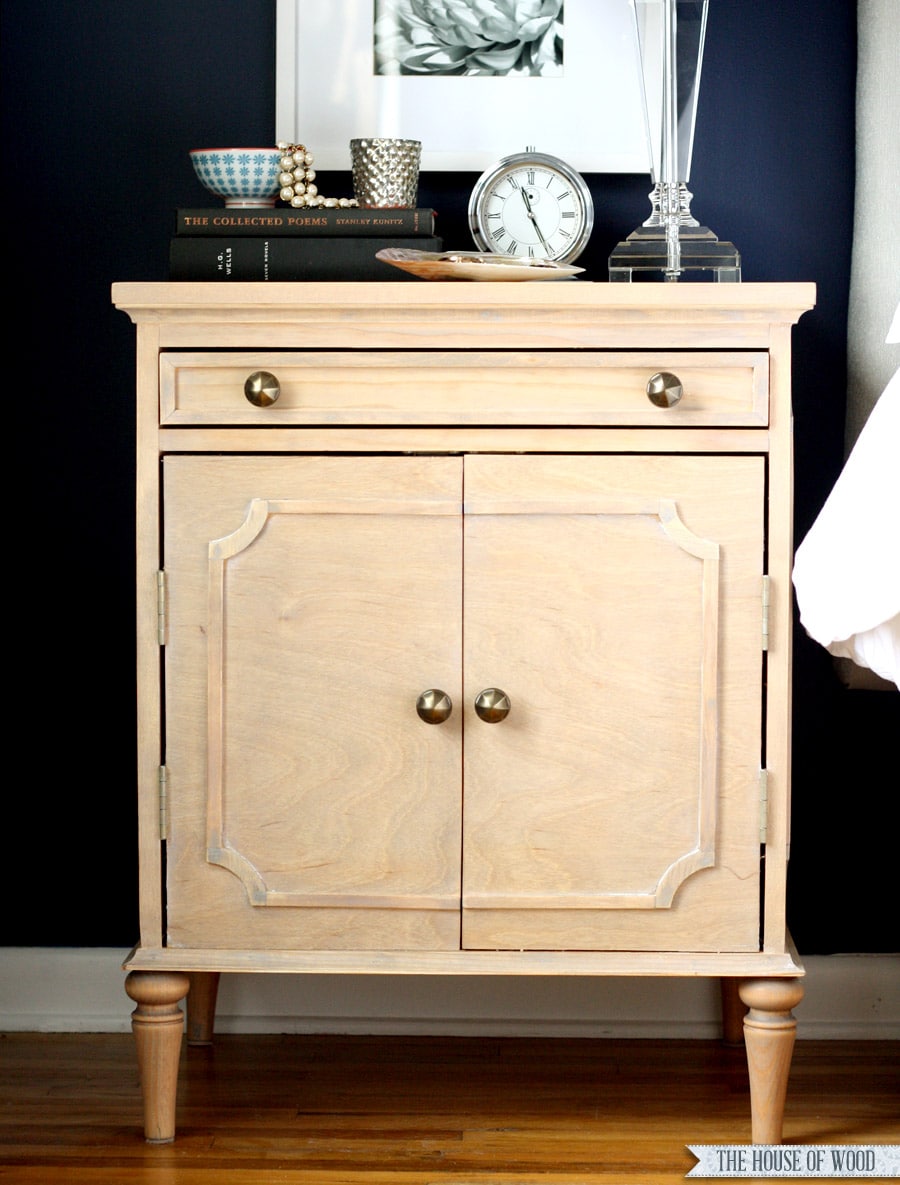
Want to build the matching Emily’s nightstands? Click Emily’s nightstands.
Disclosure: The furniture feet were generously provided by Osborne Wood and the drawer knobs were supplied by D. Lawless Hardware. All efforts, opinions, and professions of undying love for the products mentioned in this post are completely my own.
I am constantly impressed with your skills! That is a beautiful piece!
Thanks lady. I’m still waiting for you to build that cat box! 😉
Very pretty Jen and I spy your new logo – love!
Thanks Jaime – you too with the new logo! 🙂
How are you cutting the plywood? What kind of saw and blade? We were building a project with the PureBond stuff this past week and it just keeps splintering, but your edges (at least from this zoom level!) look so beautiful! How are you doing it?
Thanks! I use a circular saw fitted with a OSB/plywood blade. Makes a world of difference!
Impressive! That’s what we were using… First time out, we just flat out didn’t pay attention… We were using a borrowed circular saw and just used the blade it came with — it didn’t even occur to us that a plywood blade might be a thing. No surprise there that the plywood got terribly chewed up! Then we did some looking and came home with two different blades. One was the Avanti plywood/OSB blade (140 tooth) and the second was a Diablo plywood/finishing blade (40 tooth). Unfortunately, both of the plywood blades gave us rough cuts on the plywood, though the Diablo was a fair bit better than the Avanti (which is both a surprise [fewer teeth] and not a surprise [better quality blade]). Since we’re now definitely using the blades one should be using for plywood, we keep wondering if there is a secret to cutting plywood well that we’re just missing.
Hmm… that’s strange. I use the Avanti plywood/OSB blade and it works well for me. It also helps to have the good side of the plywood down. Because the teeth rotate upward, having the good side underneath helps minimize tear-out. Another helpful tip would be to tape the cut line with some painters tape. The tape holds the fibers of the plywood together long enough for the blade to pass through with minimal tear-out. Other than that, I’m not sure what else you could be doing. I use the 5-1/2″ cordless circular saw by RYOBI and absolutely love it. It’s small and easy to maneuver and handle. Hope that helps!
Got it! We (or rather my husband!) tried those things (we worked almost all day on Saturday!) and it seemed to help. Thanks for the advice! 🙂
Awesome! So glad to hear!
Wow….absolutely beautiful. This is my goal to learn how to cut and build wood ….!! You are so gifted!!
I am a tad late to this party, but had to say it: This is awesome. It’s a great post and your honesty is a whole new level of comedy. (Why? because you’re my people, and I get ya. I’ve done the very same saw thing before. more than once.)
Anyway, the dresser turned out beautiful! I love it.
Are you thinking of building a tall dresser to match?
I wasn’t planning on it, but I can definitely draw up some plans for you, if you’d like, Zoe!
I really love the finish on the dresser. I actually have a dresser and wardrobe that I would like to paint (as I don’t think stripping to bare wood is a viable option) to a similar finish. Anyone have suggestions as to how I could achieve a similar look?
Beautiful as always! Just found this dresser, and totally love what you did on the drawer face.