Hello and happy Monday! I’m excited to be giving you a sneak peek of our newly updated laundry room today. By making just a few minor updates, I was able to totally transform the look, feel, and functionality of this tiny space.
Our laundry room is the most trafficked thoroughfare in our home since it leads out to the garage. You’d think this room would be more functional, being that we use it so often. Sadly, this is not the case. It was dated, drab, dysfunctional, and disorganized. I wish I snapped a photo of what it looked like before. #badblogger
Here’s what it looks like now:
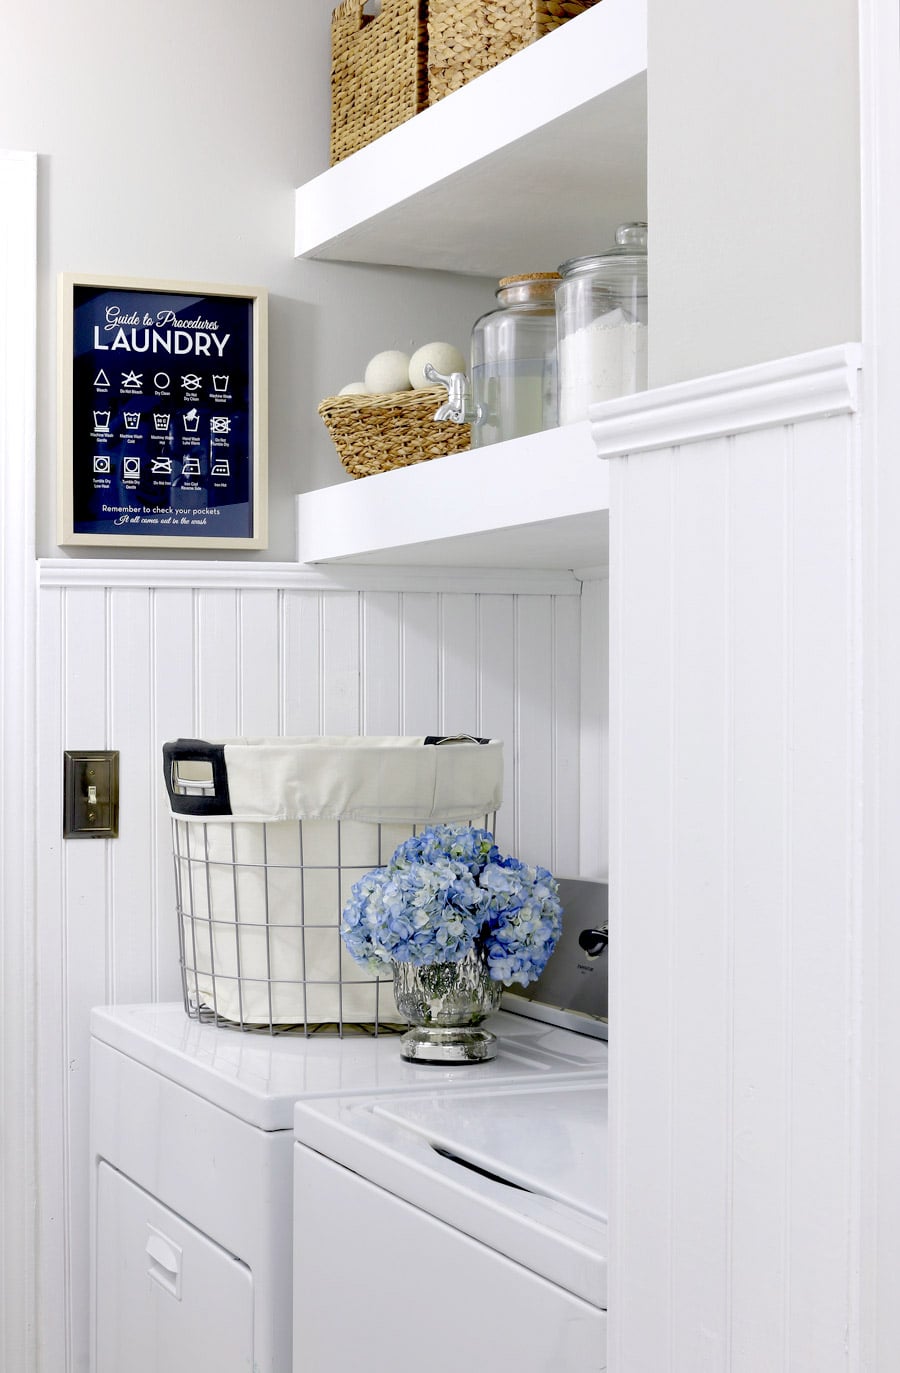
I installed tongue and groove wood paneling to the walls, gave the room a fresh coat of paint, and replaced the ugly wire shelving with some custom floating shelves.
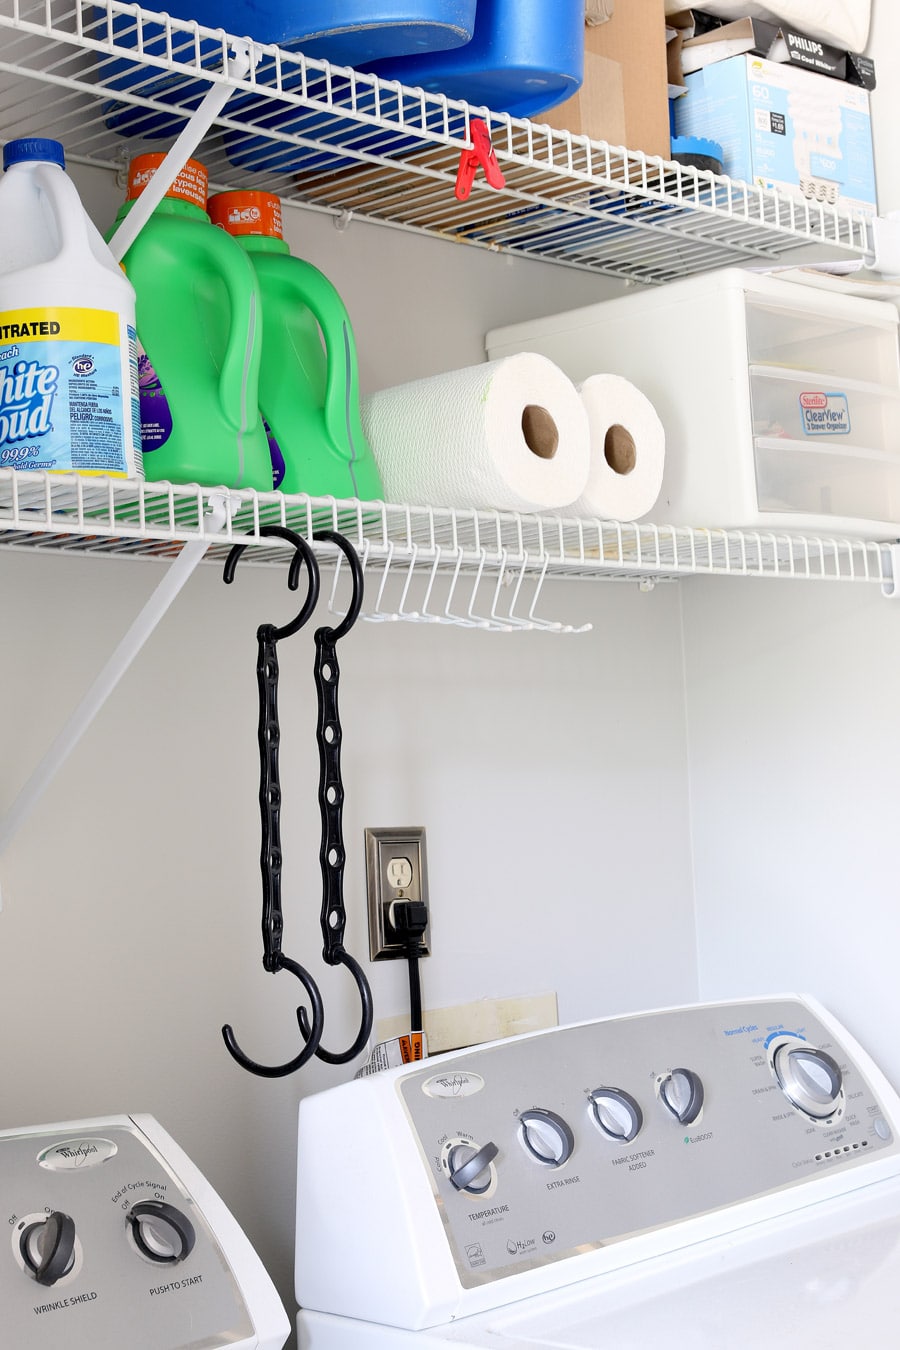
This is what I started with:
*This post contains affiliate links. To read my full disclosure policy, click here.
This is how it all shook out.
Materials (for two shelves):
- 6 – 2×4′ studs
- 2 – Sheets of 1/4″ plywood
- 2 – 1x6x6′
- 3″ Spax construction screws
- 2-1/2″ Spax construction screws
- Wood glue
- Wood filler, caulk, paint
Tools:
- Stud finder
- Level
- Tape Measure
- Speed square
- Pencil
- Drill/Driver
- Circular Saw
- Table saw (to rip the 1×6 down to 4″ wide)
- Brad Nailer
- Caulk gun
- Finishing supplies (sander, paint roller, paint brush, etc.)
I had a lot of the materials and tools already on-hand (screws, caulk, etc.), so I only had to purchase the lumber. The approximate cost of this project was $60.00 for two custom, built-in shelves!
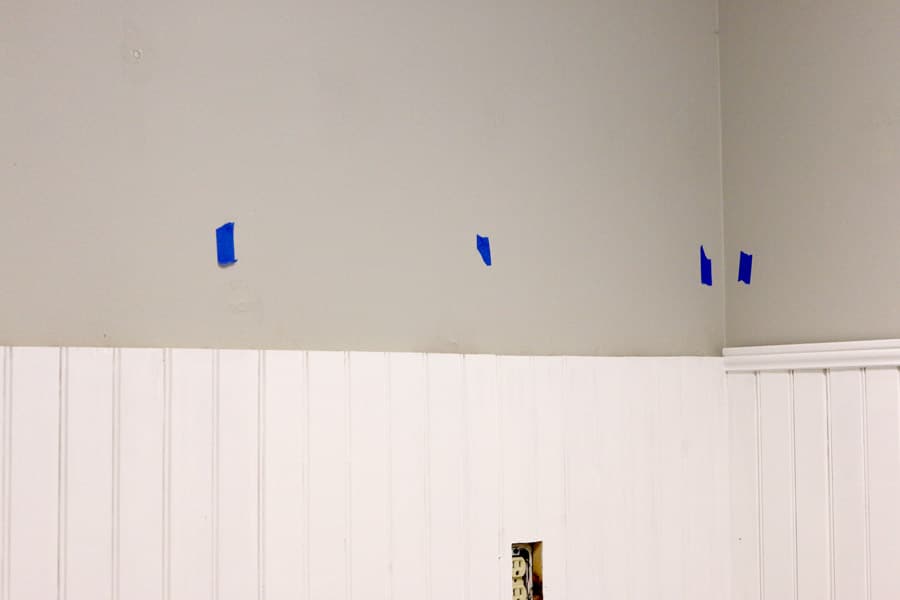
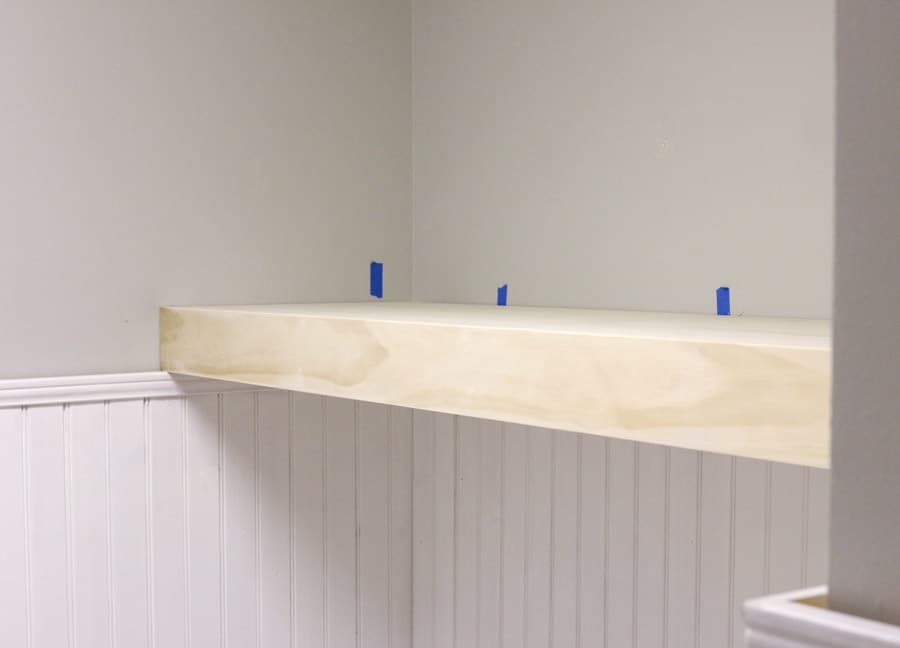
First, I removed the old wire shelving, then used a stud finder to locate the studs in the wall. I used painter’s tape to mark where the studs were.
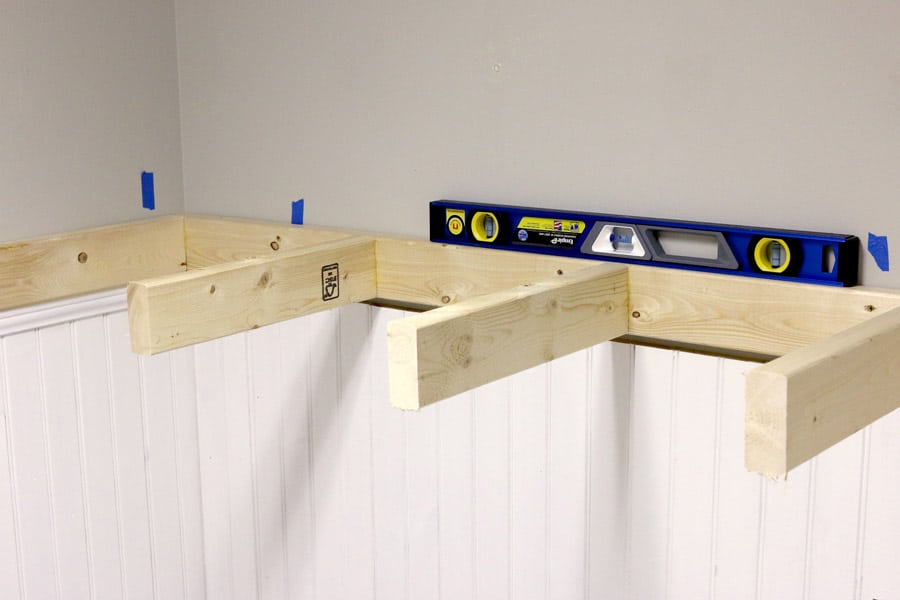
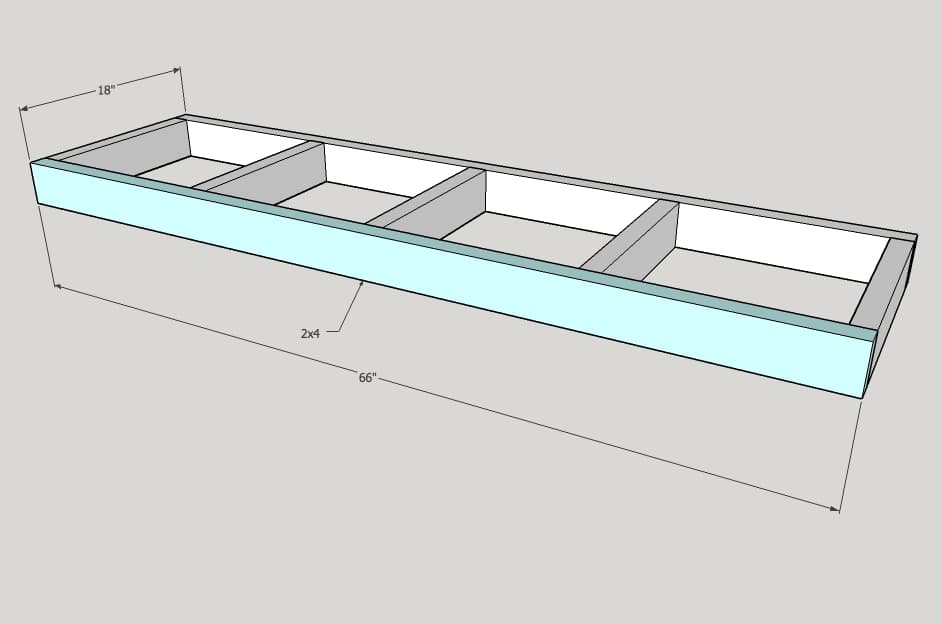
I built my shelves to be 66″ long and 18″ deep. Your measurements may vary if you’re wanting to build these shelves in your home. Measure the length of the wall, then cut two 2x4s to that length. Then cut your supports. You’ll want to cut these supports 3 inches shorter than the overall depth of the shelf. My supports are 15″ long for a 18″ deep shelf. I recommend spacing the supports about 12″-14″ apart.
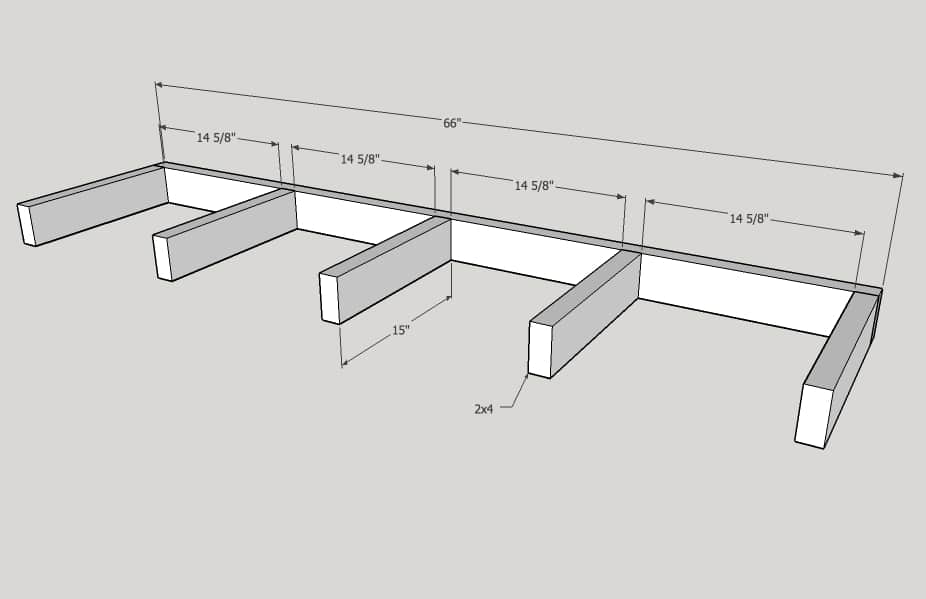
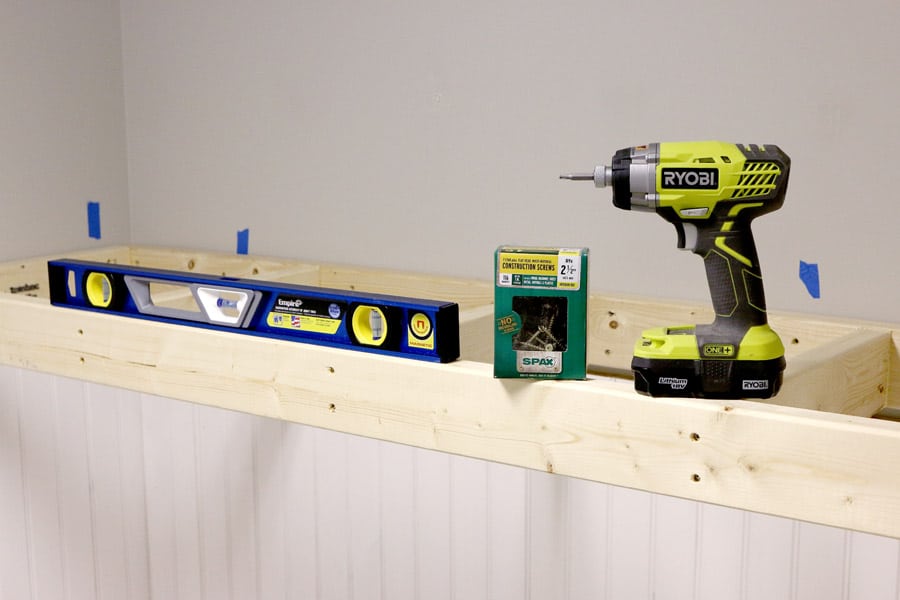
I built the frame as shown in the diagram above then screwed it into the wall with 3″ spax construction screws, making sure to screw into the studs. I love using these screws because pre-drilling isn’t necessary. I used my impact driver to easily drive the screws into the studs. Use a level to ensure the shelf is level on both the front/back, as well as the left/right sides.
Next, attach the front 2×4 board to the rest of the frame with wood glue and 2-1/2″ Spax screws.
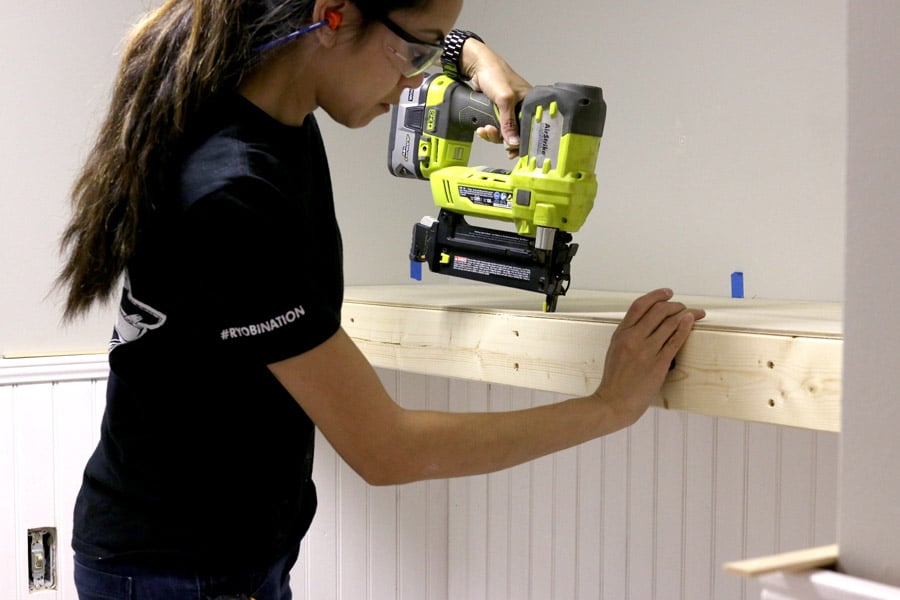
I had The Home Depot rip my 1/4″ plywood down to 18″ so it would be easy for me to tote home. Then, I just cut them to 66″ long, dropped them into place and nailed them down using my cordless brad nailer. I did this for both the top and the underside, to hide the 2×4 frame.
Next, I ripped a 1×6 board down to 4 inches wide then glued and nailed it to the front. I applied caulk to where the shelf meets the wall for a seamless, built-in look. I filled all the nail holes and gave the whole she-bang a quick sanding. Finally, I painted the shelves with Behr’s Ultra Pure White latex paint in a satin finish.
One shelf is done. Onto the next! I used my laundry basket and tallest laundry detergent bottle to determine how much vertical space I would need for each shelf. It worked out that both of the shelves have about 14 inches of clearance.
I absolutely love the way they turned out and they were super simple, fast, and inexpensive to build! I bought six 2×4 studs, a couple of sheets of 1/4″ plywood, and two 1×6 boards; these two shelves cost about $60.00 to build. I love the custom built-in look, the improved functionality, and how they complement the charming bead board walls.
Speaking of the bead board walls, here’s the full tutorial on how to install them.

Source List:
- baskets
- wool dryer balls
- liquid detergent dispenser (not available online, similar)
- lidded glass jar
- laundry basket (not available online, similar)
- mercury glass vase (not available online, similar)
Hi Jen, these look great! How much weight do you think these hold? I’m looking for shelving ideas in either side of our tv console and have considered floating shelves.
Thanks
Toni
Oh goodness, I’m not sure how much weight it’ll hold, but the frame is screwed into the studs in the wall so it is SUPER strong!
Beautiful!
Where did you get the blue/white laundry print?
Thanks! I bought it from this Etsy seller (affiliate link!): http://rstyle.me/n/bi223ebjmyf