Hi there! If you’ve been hanging around here for the past couple of weeks, you’ll have noticed I’ve been focusing on my laundry room lately. I ripped down the ugly, dysfunctional wire shelving and replaced them with these beautiful custom DIY floating shelves and installed solid wood tongue and groove boards to the walls.
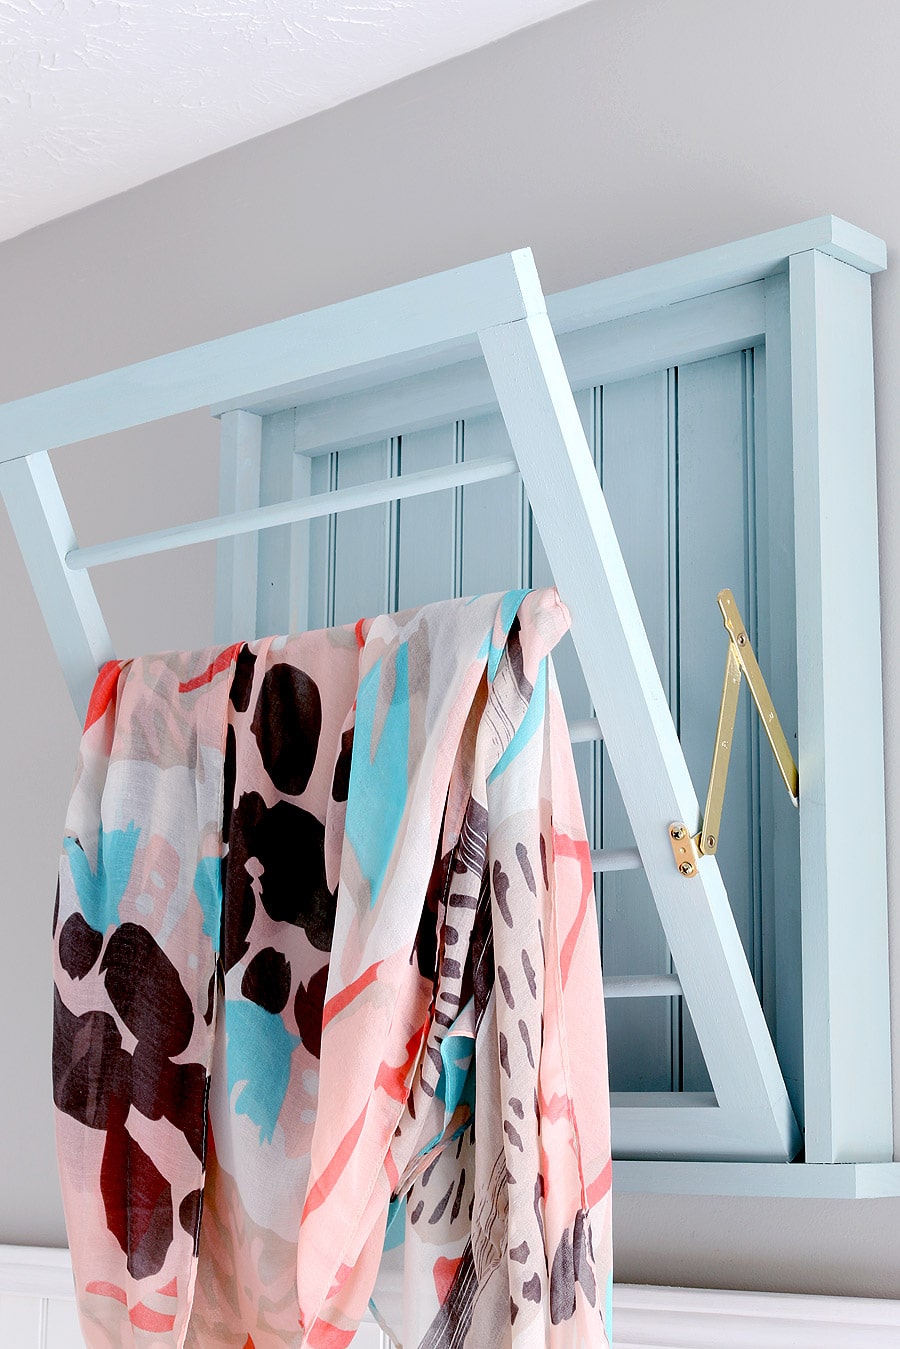
Because our laundry room is very narrow, I had to come up with a space-saving solution for air-drying my delicates. Inspired by this beadboard laundry drying rack from Ballard Designs, I built my own version with the leftover tongue and groove boards I had from my laundry room makeover.
The Ballard Designs’ laundry rack will set you back anywhere from $99 to $250 plus shipping and taxes! Because I was able to raid my scrap wood pile, I built mine for next to nothing (I did spring for the hinges and French cleat). If you were to purchase all of the materials, this project would cost about $30 to build. A far cry from the designer catalog price tag, amiright? Gah. Don’t you just love DIY?
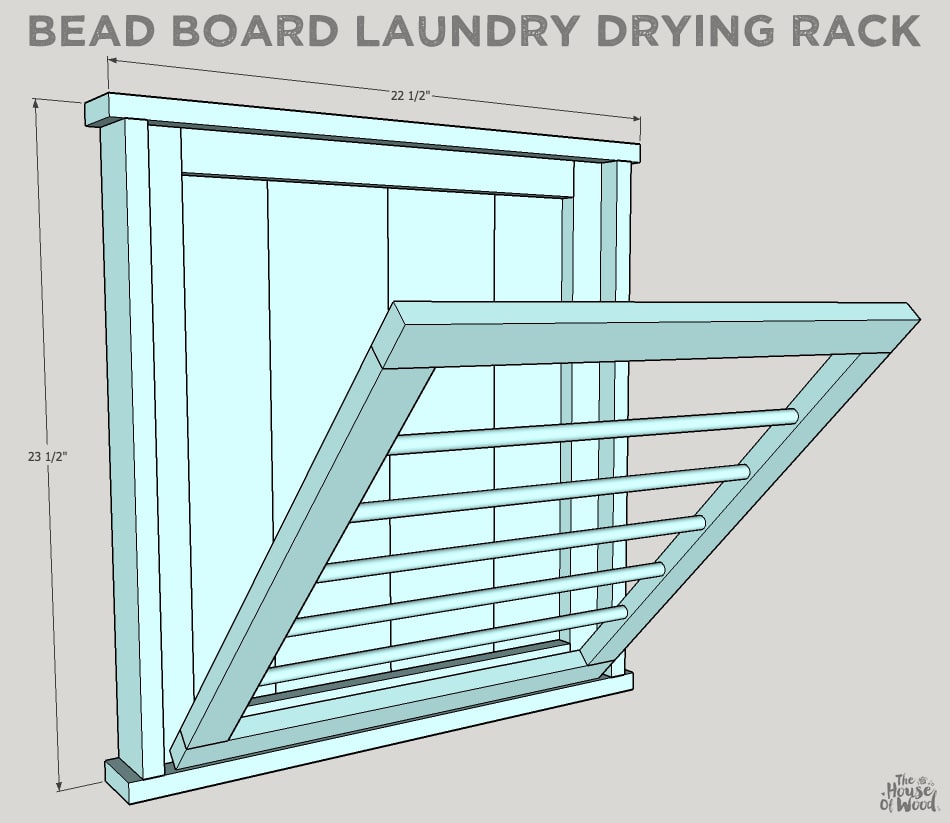
 I’ve drawn up the building plans so you can build your own!
Click here to download the PDF plans for this Beadboard Laundry Drying Rack.
*This post contains affiliate links for your convenience. To read my full disclosure policy, click here.
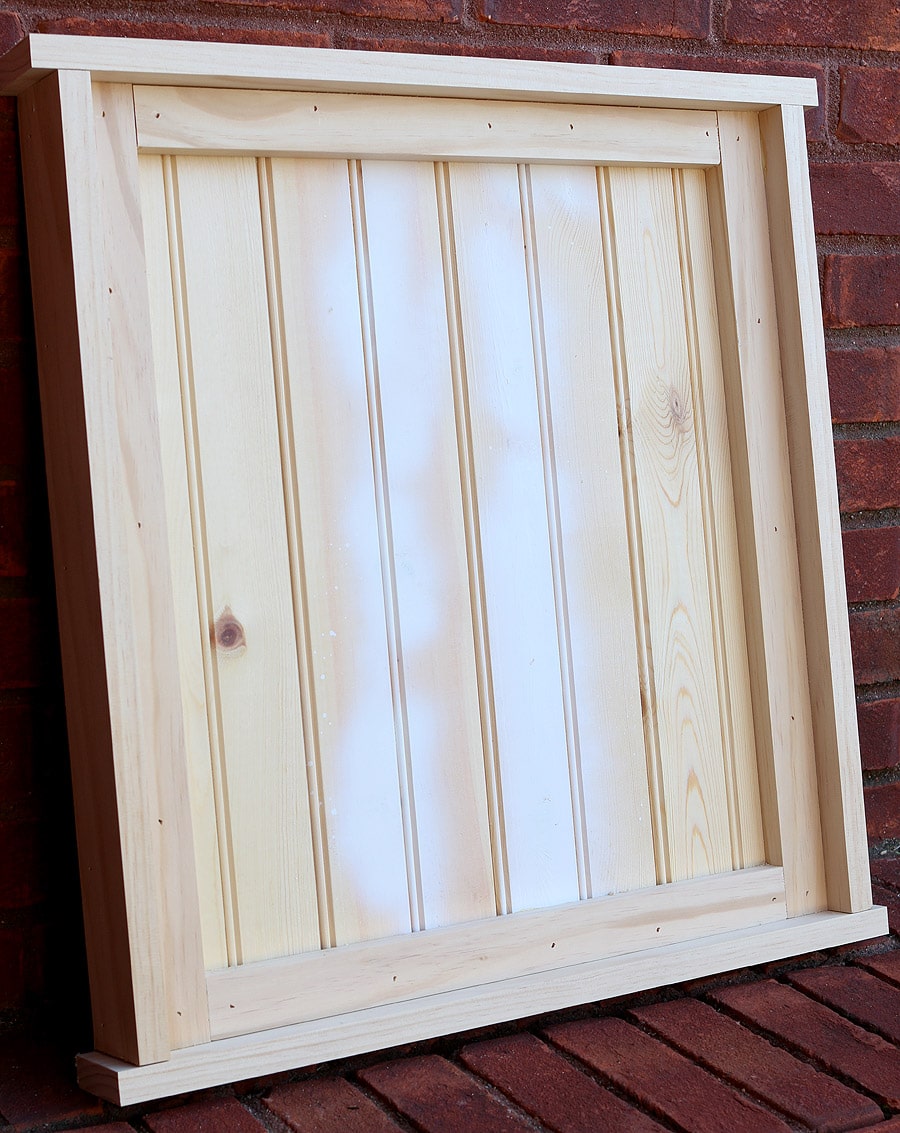
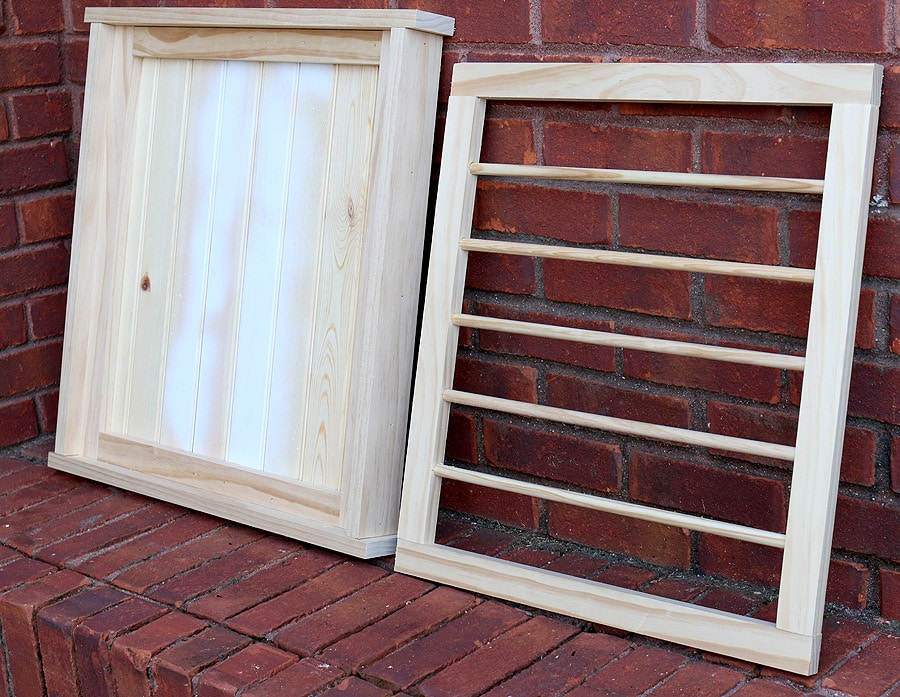
 This is a pretty straightforward project. Build a frame like so – the tongue and groove boards interlock, so I didn’t bother using fasteners to attach them together. I did use 1-1/4″ brad nails and wood glue to construct everything else here though:
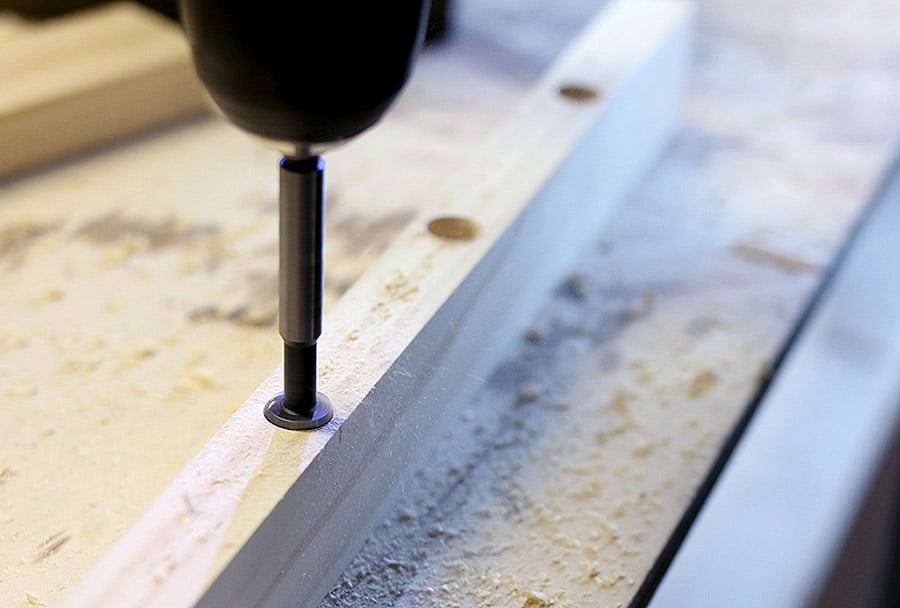
 Then, with a 1/2″ forstner drill bit, I bored holes into two 1x2s for the dowels to sit in. The holes are about 1/4″ deep. I prefer to use a forstner bit over a standard drill or spade bit because the cuts are cleaner and more precise. This is the forstner bit set I have.
 Then I gently hammered the dowels into place, secured with wood glue, and built the rest of the frame around it with 3/4″ pocket holes and 1-1/4″ pocket hole screws.
 After a quick sanding, I painted the laundry rack with Rust-Oleum’s Chalked Paint in Serenity Blue.
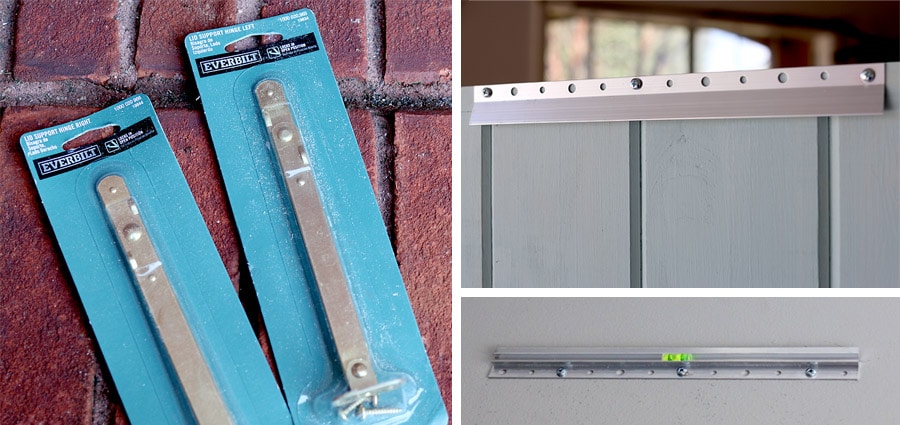
I found these lid support hinges – they fold out and are stiff, so they lock in place. I love that I can open up the rack to whatever position I want and it’ll stay put.
Finally, I screwed one part of the French cleat to the back of the rack, the other to the wall, and hung the rack up.
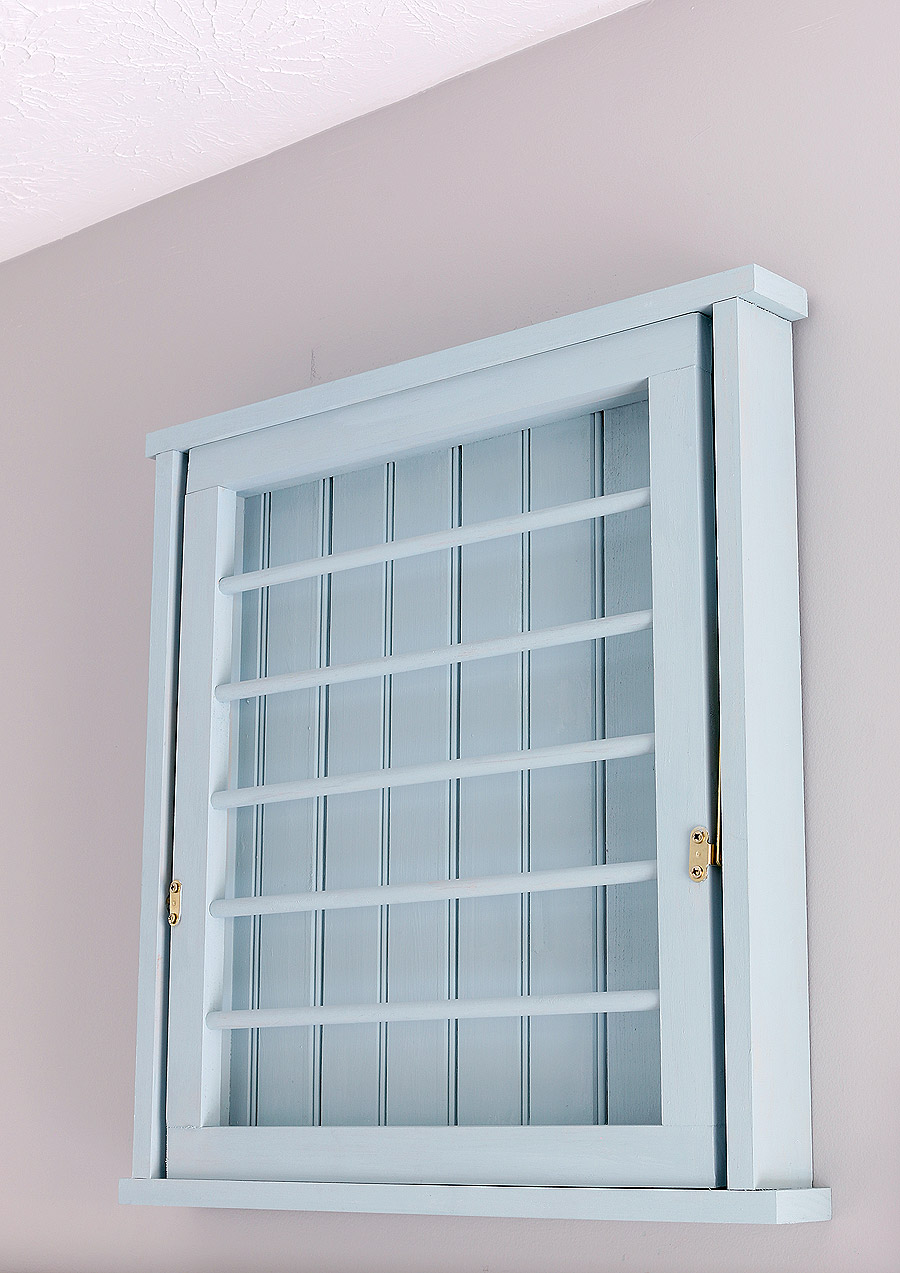
 This laundry rack takes up very little space when it’s folded away and it’s super functional and pretty too!
 Let me show you the other side of this small space:
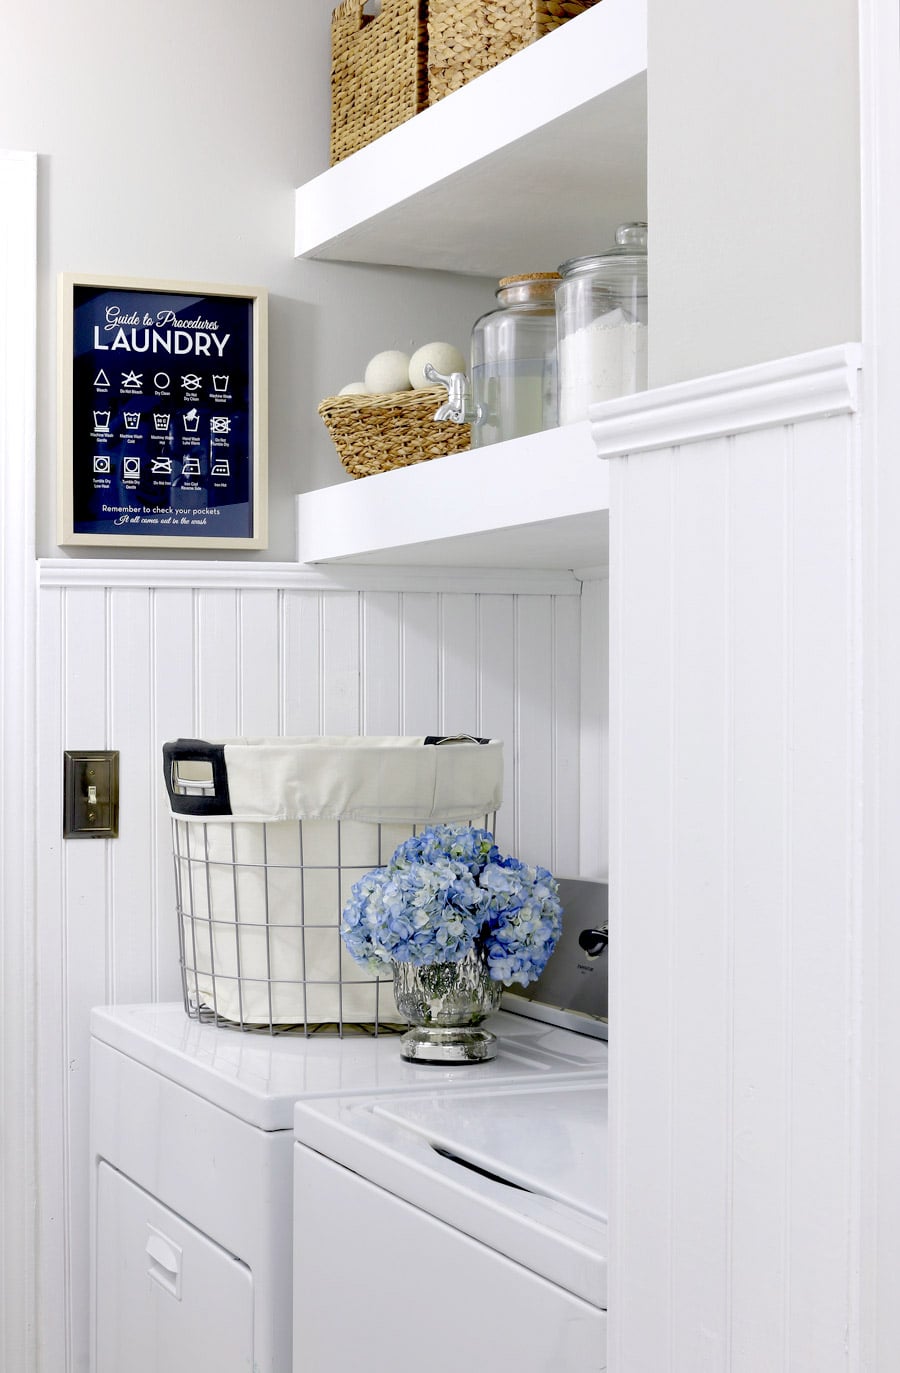 Can you tell I’ve been on a bit of a bead board kick lately? Not only is it in my laundry room, but I recently installed it in my daughter’s closet too.
Gotta love those locking hinges – I can just pull the drying rack down when I need to hang my unmentionables.
Oh, let’s be honest. After eight years of marriage, two sticky kids, an enormous dog, and one very hardy fish, do we really have time for unmentionables? They’re just going to end up on the floor in two seconds flat anyway, right? #aintnobodygottimeforthat
Oh. Too much?
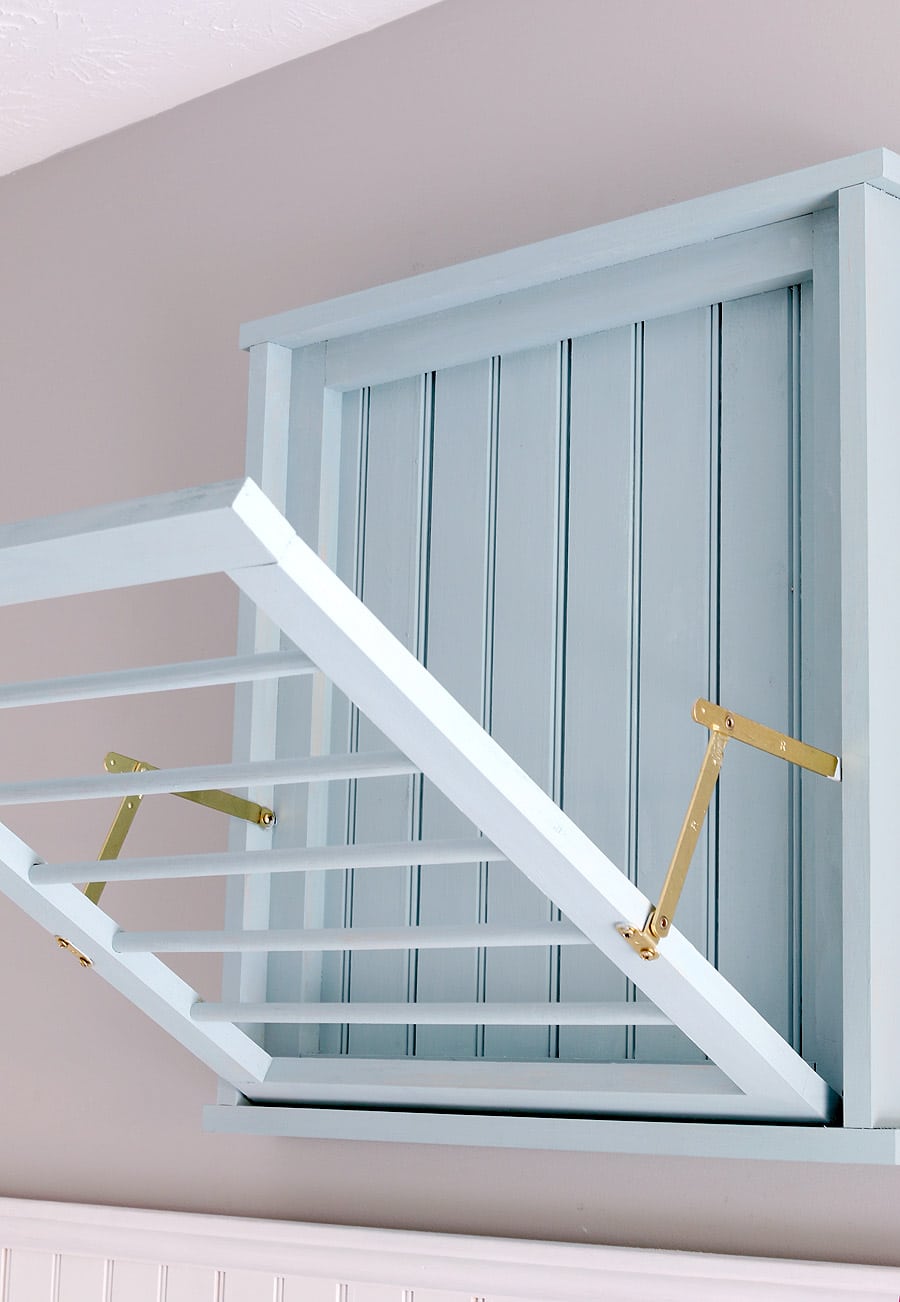 So the laundry rack. Pretty sweet, right? Thirty bucks (or less) people! C’mon, pound it. #fistbump
How about you? Do you wait until you run out of socks and underwear before you tackle the laundry or are you a “throw a load in everyday” kind of person?
I’m definitely the latter – I don’t know why, but laundry is one of the few chores I don’t mind doing. That, and making the bed. Those are my surefire daily tasks. If nothing else gets done, by God, you can rest assured I have an empty laundry basket and a well-made bed everyday. The dishes and floors, however, are another story. Can’t win ’em all, amiright?
Budget Breakdown:
- 1 – 1x6x8′ Tongue & Groove Board – $5.32
- 2 – 1x2x8′ – $1.17 ea
- 1 – 1x3x8′ – $1.77 ea
- 2 – 1/2″ Hardwood Dowels @ 48″ – $1.72 ea
- 1 Set of Lid Support Hinges $5.98 set
- 1 – French Cleat $9.97
Approximate Cost: $28.82
Thanks for reading friends; hope you have a lovely weekend!
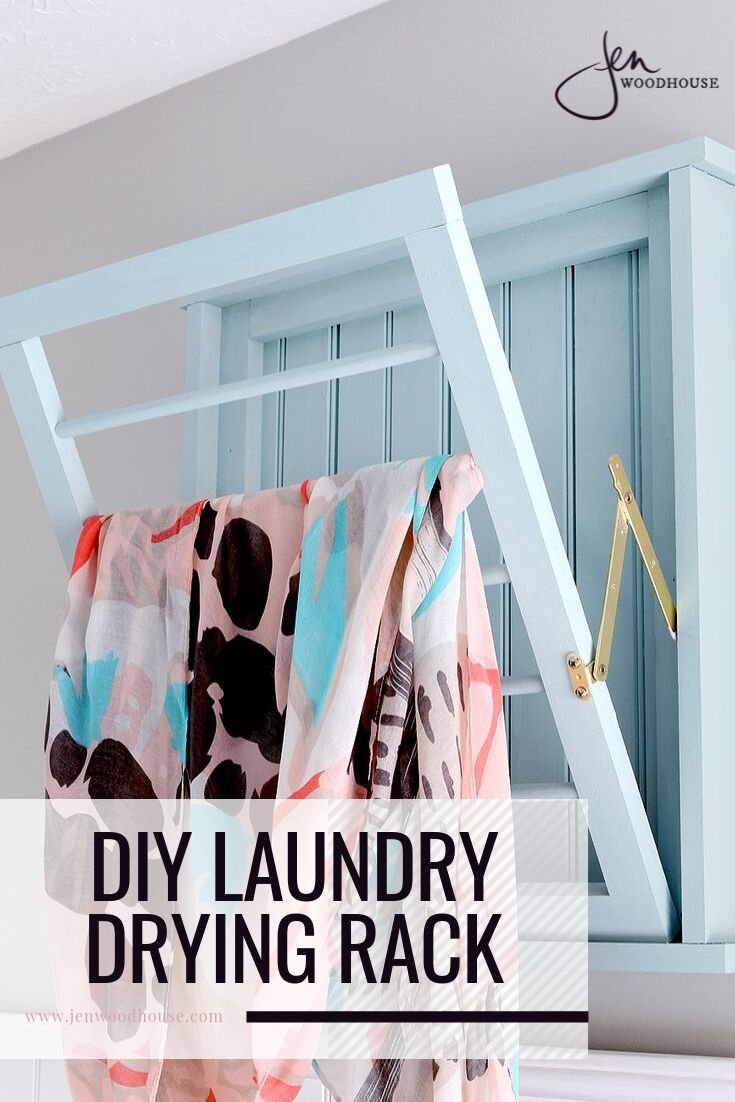
Pin it for later!




Looking good! So smart and pretty too. Now I need one.
Love it! Where did you get your laundry sign?
Thanks! I bought it from Etsy!
The link for the tongue and groove wood takes you to a light fixture. I love this though! I should have mine finished tomorrow I am so excited to hang it up!
Darn! The HD must have changed their inventory. I corrected the link, although I could only find the 12-foot board, instead of the 8-foot board I used. Glad to hear you’re almost done with yours!
All the instructions call for tongue and groove board but the one you made uses beadboard. Did you put a layer of beadboard on top of the tongue and groove?
No, the tongue and groove boards were already beaded.
Did you seal your paint with anything? How has the matte finish held up to dampness? I should have mine built by Sunday but I’m still waffling on the finish
Good question, Sarah! No, I didn’t apply a topcoat and it still looks great. However, if you’d like to finish your laundry rack, Rust-Oleum makes a great spray poly that comes in different sheens.
I love this! I want to create something similar to fit a nook in my laundry room. Do the hinges you used allow the rack to lie completely flat (90 degrees), so that you can dry things like sweaters?
Thanks,
Corinne
WOW, c’est vraiment une superbe idée bricolage pour la salle de lavage. On va tenter de fabriquer un modèle semblable pour notre maison. Merci!
Beautiful! Thanks for sharing. Love your work.
i just painted all my lumber with rustoleum 2X fire orange spray paint. i’ll cut and assemble tomorrow. i’m giving this rack to my cousin for christmas to hang in her new laundry room. i can’t wait!! thank you for sharing this tutorial. wish me luck!
Hi ! I loved this!.we made it I’m the same colors and modified the size to a bit narrower. We reused wood from a scissor wood type collapsible hamper! Then blue washed it to tone down my paint choice. Perfect!. Thank you for the inspiration!
Hi! Love your drying rack! I was just wondering how the chalk paint was holing up to the damp clothing? Thanks so much for sharing!
Thanks Jaime! The paint seems to be holding up just fine!
Out off all of the DIY wall mount drying racks, I love yours best. I have all of the materials and printed out the plans that you so generously provided. I understand everything except how you attached the hinges at the bottom. Did you attach one flat part to the bottom lip of the frame and one to the inside wall of the actual part that holds the dowels? I am all ready to go what the exception of understanding that part. Thanks so much!
Thank you Catherine! I actually didn’t install hinges at the bottom – only on the sides. I did see that one reader attached hinges at the bottom and it looks like she just screwed them on to the inside of the frames. Hope that helps – best of luck!
I was wondering the same thing myself. I’m starting mine this weekend and plan to attach it with a couple small hinges to keep it in place.
A short piano hinge works great for this and they come in a variety of finishes; e.g. https://goo.gl/BkFepp
Hey Jen!
My daughter wanted a drying rack for her nursery to hang the cloth diapers she will be using.
I searched Pinterest and found your plans. Thank you for graciously sharing your plans. I built it and painted it white. I attached the hinges correctly but when I try to close it, it moves on the bottom. Do you have any suggestions?
I also purchased Forstner bits through your affiliate link. Thanks for shaeing!
I don’t have a brad nail gun. Could I use construction screws and then putty to cover it up and then paint it? I don’t have saws or anything so I am hoping I can be really nice to the Home Depot people and they’ll help me out!
I love this project but I have a modern look going on in my laundry room. Is it possible to replace the tongue and groove board with plain MDF
Hi, Jen. Thank you for sharing these plans! I’m almost done – just have to install the hinges. Would you mind sharing your measurements for where you mounted them? Thank you!
Erin
This is exactly what I was looking for! I can’t wait to build it, thank you!
I’m SOOOO super grateful for this plan! I loved every minute of this build! I modified the dimensions to about 3’x4’, added a hinge to the bottom, and opted for black jack chain instead of hinges. And I chose stain and paint to match the stained wood sink base and black sink and black faucet this will hang above. Here’s a link to the outcome on Instagram: https://www.instagram.com/p/B3fk3tQnPxc/?igshid=3zjfc4hyxcr1 Thank you so much for sharing this plan!
Would love to see the finished product, as I am also thinking of using a small, sailing rope instead of hinges.
Hi!
Thanks for sharing the design plan. I have eyed them at Ballard Designs but thought surely I could make it myself much cheaper!!!
I was wanting to use it at a lake house in the bathrooms for guest to dry their towels (so everybody doesn’t use a new towel to shower everyday since I will be the one doing the laundry!).
I envisioned the dowel portion to lower to 90* so the towels can hang down to air dry. Do you think this is strong enough to hold a couple of bathroom towels? or beach towels? And does yours lower to 90* ?
Thanks!
Beverly
I tried to copy & paste your URL for this page to send to my friend who will help me build it. It gives an error message every time I try to go to it.
Thanks!
Beverly
Wow, I just joined your fabulous site, and I am excited about everything I’ve seen.
I especially love this project. I was blowing away with everything you did, but especially the final outcome. Thanks for sharing
I love this so much and can’t wait to make two for our laundry room! One question, is there a way to do this without using a pocket jig (which I don’t have)?
Thanks!
Jodi
Hi Jen,
I would like this in my laundry over my window, so will not need the backing.
I would have to measure up the window and then get materials.