Welp. It’s time for another Pinterest Challenge over at Young House Love! Don’t know what I’m talking about? Here’s the skinny: we pin, pin, pin on Pinterest but never do, do, do. So this is us, do-do-doing. Wait. That came out wrong. Sherry over at YHL explains it much more eloquently than I ever could, so go there if you’re still confused.
Moving on. My spice cabinet is a-makin’-me-cray-cray (omg, did I just say “cray-cray”? Remind me to kick my own ass later). Though I’ve done spice organization before with these cute magnetic spice tins, that was at our old house. Now that we’re in a new house, this calls for a new solution. And naturally, Google Pinterest was my first stop for some inspiration.
Here are a few pics I found on (viva la!) Pinterest:
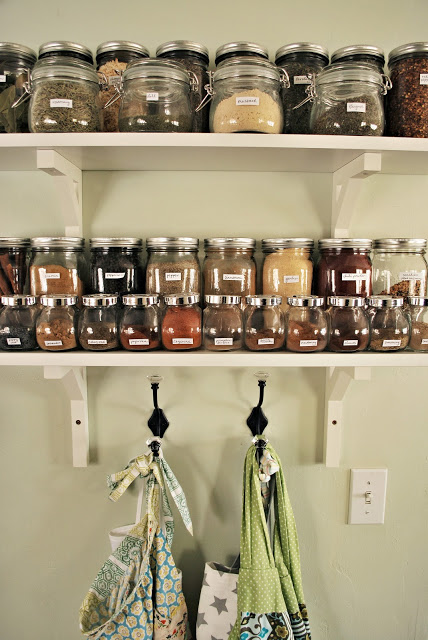
Be still my OCD heart. I love the matching spice jars. *Swoon.
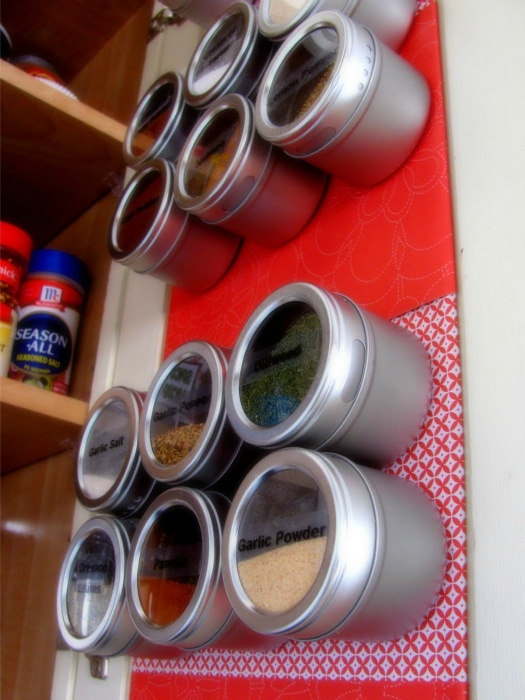
This is really cute, but *yawn… been there, done that.
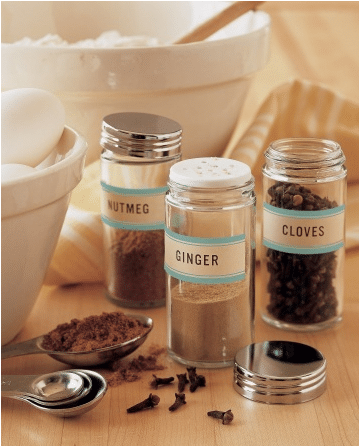
via Martha Stewart
Again, with the matching spice jars, complete with adorable (and downloadable) labels… oh, Martha, you had me at hello.
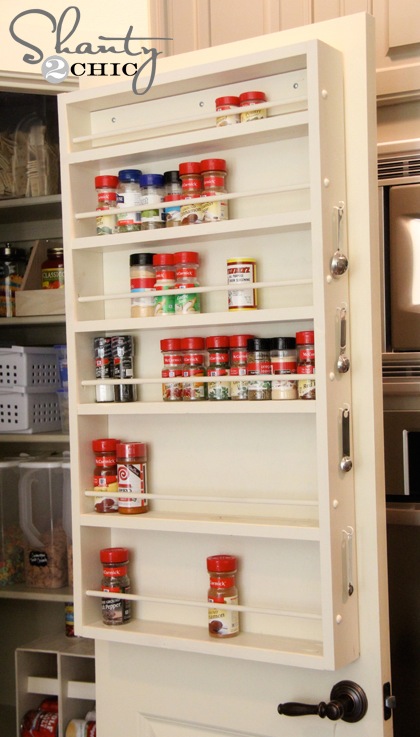
via Shanty 2 Chic
And of course, the Shanty Sisters don’t disappoint. Their wooden spice rack was the perfect solution! But because I’d be hanging mine on the wall, I had to tweak it a little by adding a door to the front, so my spices would be stored out of direct light.
I picked up a couple dozen of these empty spice jars from Bed, Bath, and Beyond for 99 cents each. And as I filled them with my spices, I discovered why I so desperately need some spice organization in my life:
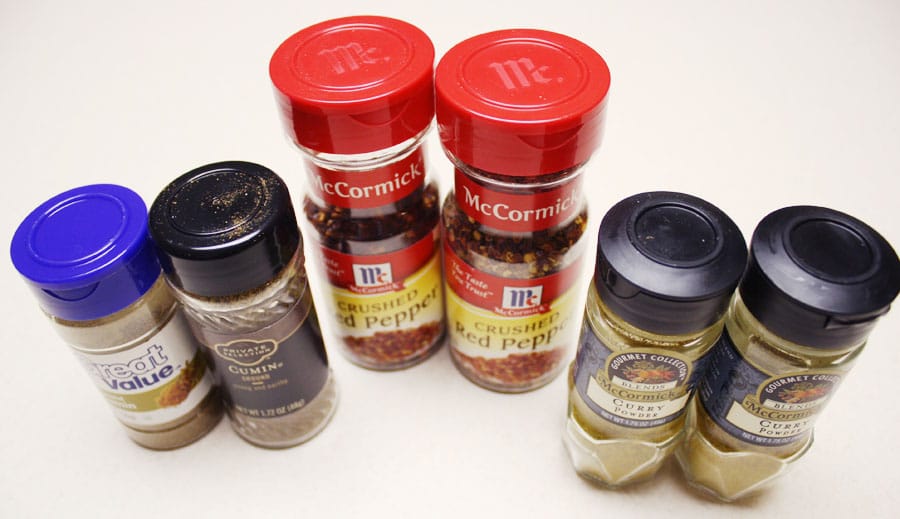
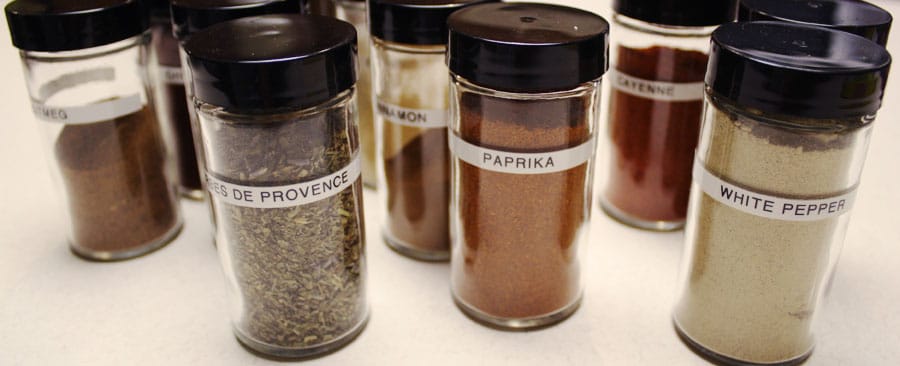
Either my spices are multiplying like rabbits, or I’m buying duplicates. Doh! Here are my spices now, neatly labeled:
Okay. Onto the build! It was a beautiful day to work out in the garage, so I plopped Liam, my 7-month-old, into his exersaucer under the shade, while Evie, my 2-year-old, ran around in the grass picking flowers. First, I measured the space on the wall where my spice rack would go. I decided to make it 14″ x 32″. I clamped my 32″ boards and drilled the holes for the dowels using a 3/8″ drill bit. I drilled the holes 3/4″ away from the edge, and 1 1/4″ from where each shelf would be.
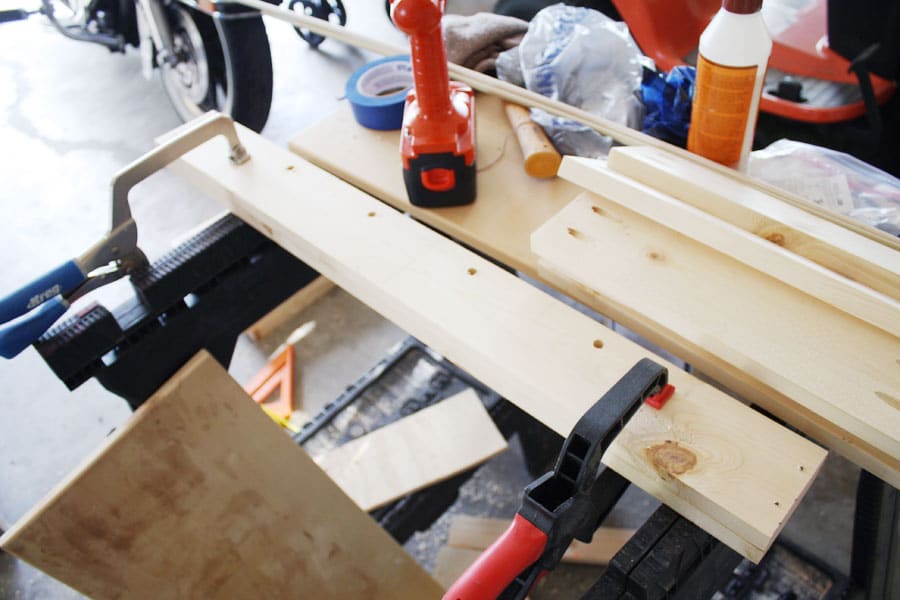
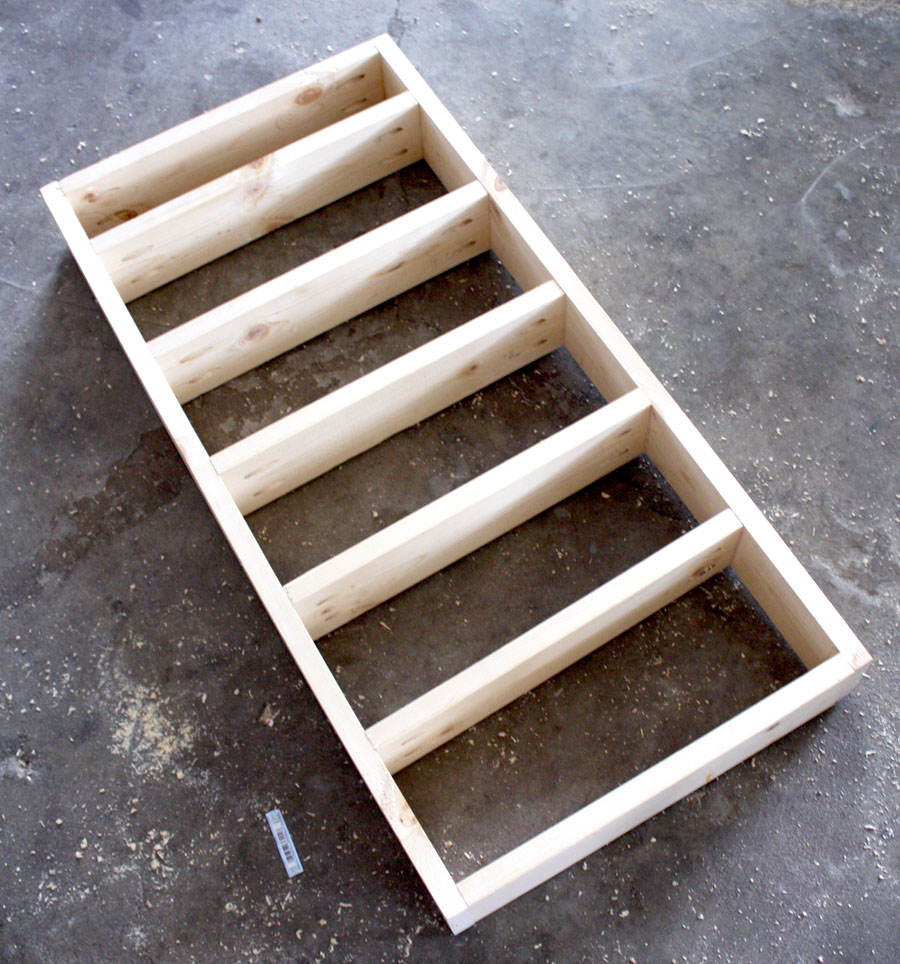
Then I built the box – 32″ on the left and right boards and 14″ for the top and bottom boards. If you look closely, here’s where I put the box together before drilling the holes for the dowels. *Slaps forehead.

Then I attached each shelf. They’re 5 1/2″ apart, with the top shelf being much shorter, because that’s how I roll.
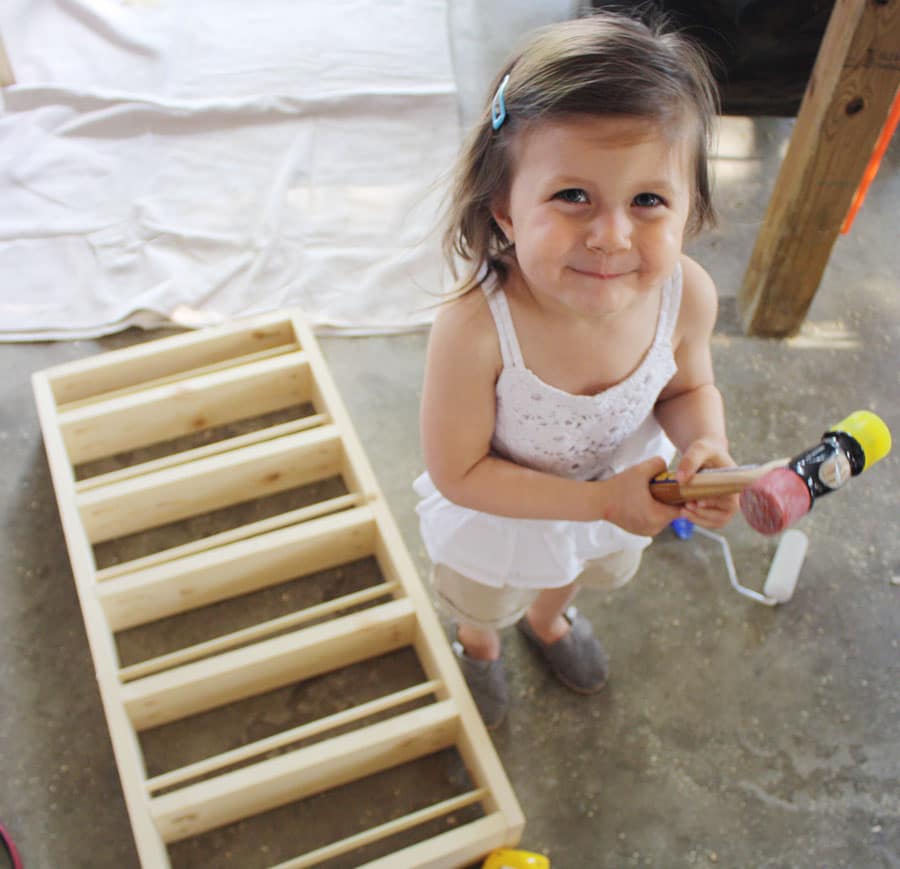
Then my little helper and I tapped the dowels into place with a rubber mallet.
Next, I made a frame for the door using pocket holes and wood glue:
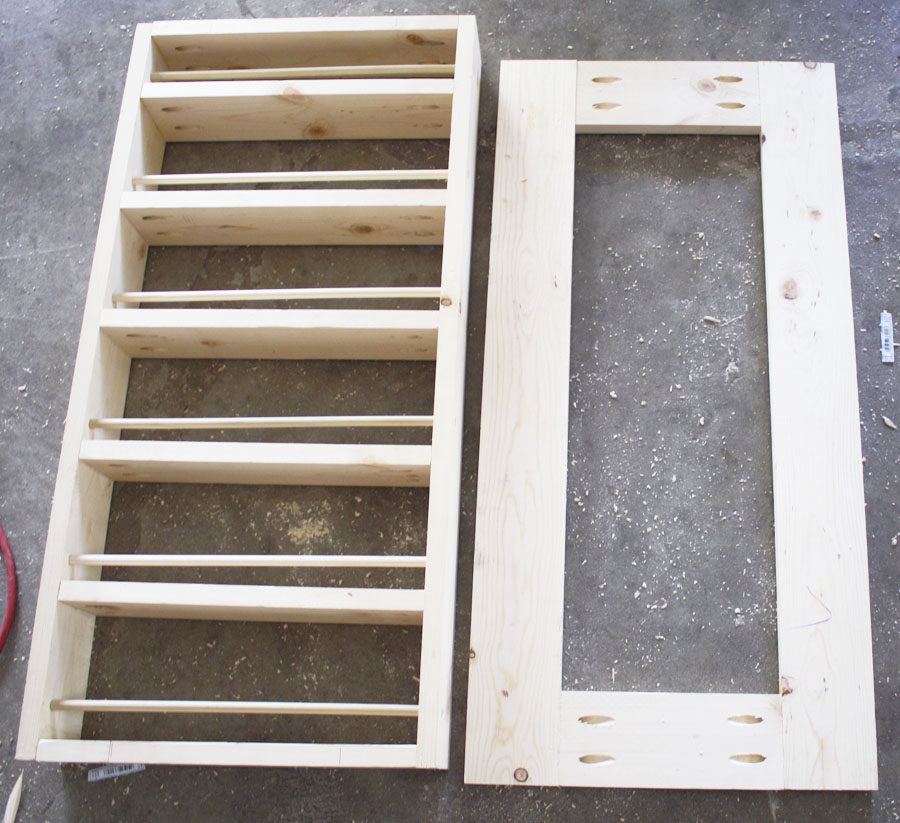
Then nailed a scrap panel of plywood on with 3/4″ finish nails:

I painted the plywood panel with chalkboard paint and gave the rest of the shelf a couple coats of Olympic’s Heirloom Lace. Then I attached the door to the shelf with a couple of 2″ hinges (spray-painted oil-rubbed bronze), then screwed in a knob.
And now it’s time to hang this baby up! I attached a couple of D-ring hangers to the back of the shelf and hung it up on the wall with drywall anchors. And even though the D-ring hangers claim to hold 100 lbs. of weight, I screwed a couple of drywall screws through the bottom of the shelf just for good measure.
I filled ‘er up with my spices and here’s how it all turned out:

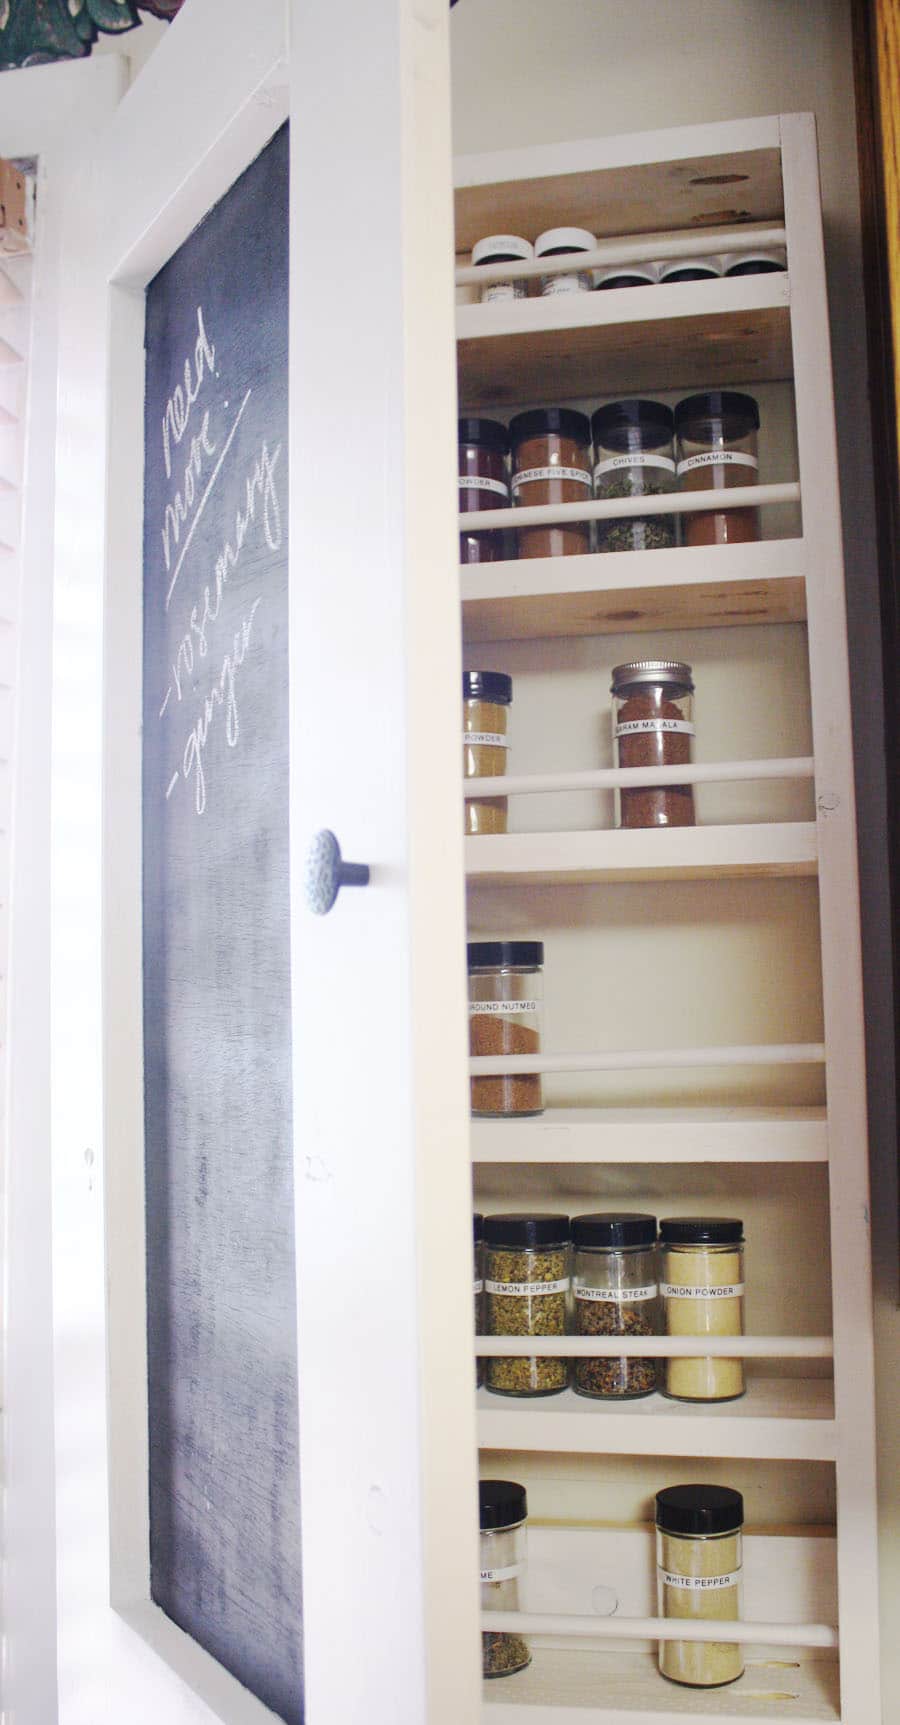
Of course, my spices are in alphabetical order. What did you expect here, the dewey decimal system? Anyone else notice how there are a LOT of herbs and spices that start with the letter C? Cayenne, chili powder, Chinese five spice, chives, cinnamon, cloves, coriander, crushed red pepper, cumin, curry powder… you get it. I think it’s safe to say the letter C has pretty much cornered the market on spices, that greedy son of a B. And see that teeny tiny top shelf? It just so happens that my Wilton icing colors fit in there perfectly. Don’t you just love happy accidents?

If you take a peek at my grocery list, can you tell someone in this house is teething and everyone in this house is over it? Yeah. We haven’t been sleeping as well lately because of two tiny terrorizing teeth trying to pop out. C’mon, Liam. Cowboy up, Crybaby.

Just kidding. Poor little guy. Evie never had any trouble when she was cutting teeth, so this is a new experience for us all. If anyone has any suggestions on how to sooth our little teething fusspot, please share!
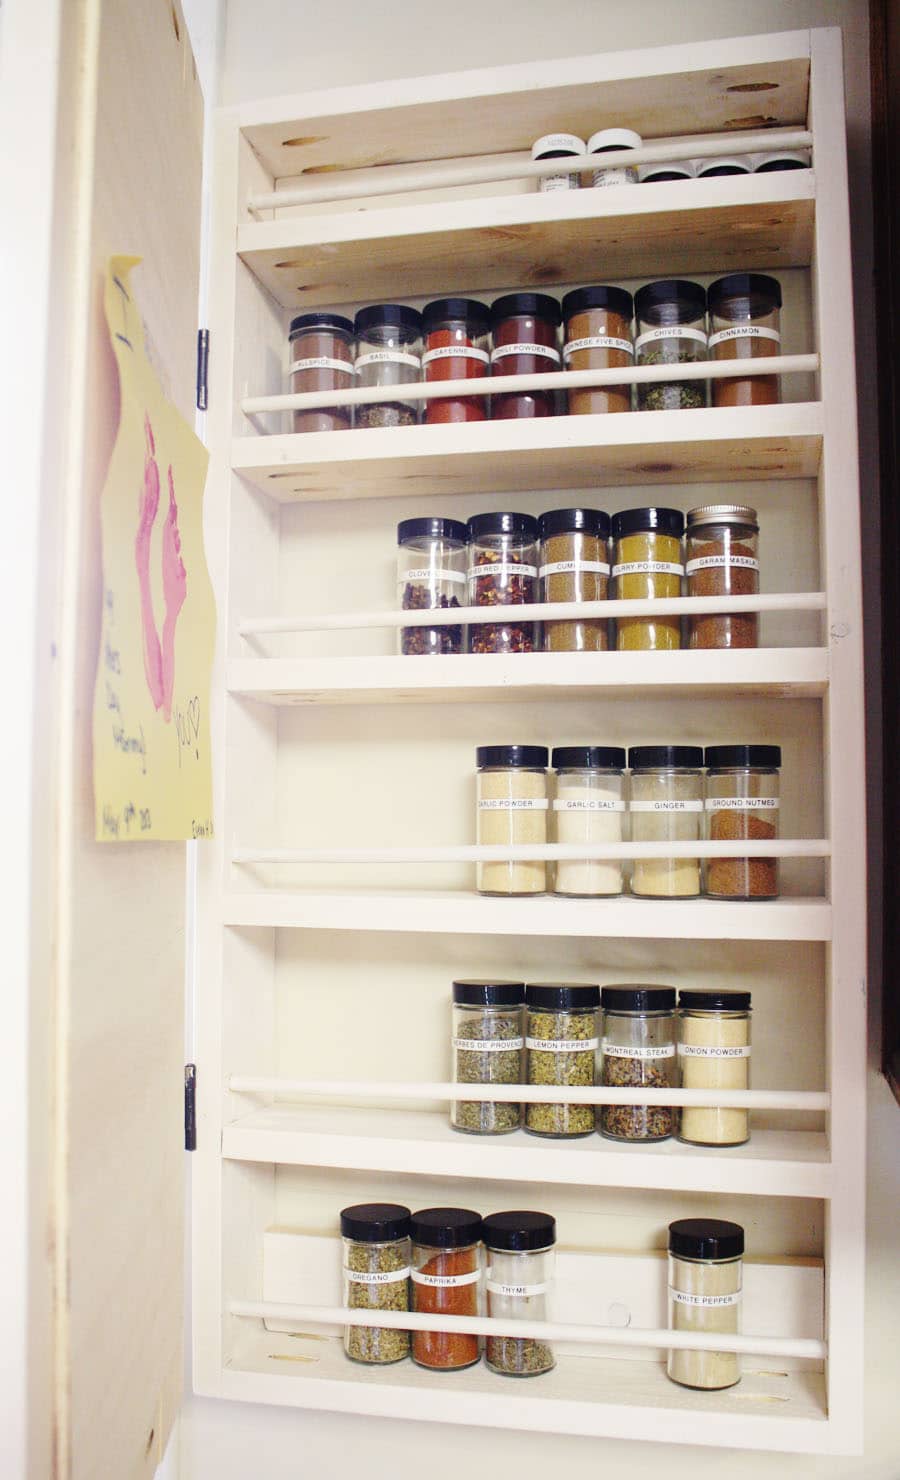
So there you have it. Don’t look too closely because it’s certainly not my prettiest or most perfect build, but it works and I can keep an eye on those mysteriously multiplying spices. Hopefully it’ll discourage them from getting spicy in there. Yep. I went there. Boom.
Well done! Love the chalkboard part, too. Evie is huge. And Hyland Teething Tablets work like a charm. Miss you.
The spice rack looks great! About teething relief, maybe these blog post suggestions could help? (or suggestions made by their readers in the comments)
http://mamanatural.com/6-natural-teething-remedies/
http://www.mommypotamus.com/how-to-make-homemade-teething-gel-oil/
Thanks for sharing those links!
I love this project. I am a huge home cook and I need lots of storage space for my spices.I think I will take your desin and retro fit it for my available space. Question: Where did you get your spice bottles at? I have looed for a while but I can not find them at a good price. Thanks for the great spice rack project. Check out some of the Home, garden and recipe articles on our site. http://homeinformationguru.com .
Thanks for the kind words! I bought the spice bottles at Bed Bath & Beyond, for 99 cents each!
Teething baby = frozen washcloth; frozen waffle/bagel. Those were my go-tos. And I know I am going to get crap for this but I even rubbed a little bourbon on their teeth at night. BTW, they are now 19, 16 and 12 and none are alcoholics, I promise!
Ooh, frozen washcloth = brilliant! Thanks for the rec!
Love, love your spice rack! You did a beautiful job with it! I have a new weekly link party which is live now and I would love if you stop by and link up this wonderful post! Hope to see you there! http://mariaelenasdecor.blogspot.com/ Hugs, Maria
I haven’t done much wood work, what kind of wood did you use? I know you used a rubber mallet to get the dowels in but how did you get them in after you had your sides and shelves nailed together? I’m looking to make one of these for my art space.
Hi Dianna,
I used pine boards and just tapped the dowels into place from the outside. Good luck!
Do you think the dowels are necessary? I know the original plans were for the rack to be on the back of a door – so having the dowels makes sense to keep everything in place. I’m thinking about doing a similar rack on a wall, like you did – but wonder if I even need to bother with the dowels (and I don’t really like the look). Do you find they’re necessary for your set up?
Since my spice jars are glass, the dowels give me that extra assurance that they won’t come tumbling off the shelf.
Instead of dowels you could use elastic stapled into the side panels, or recycle skinny leather belts to secure the spices. If you plan on using a door on the spice rack, cut notches into the side panels the same thickness as the leather or elastic so the door sits evenly at the hinges
Love your process photos… especially the on with your “helper”. Adorable! I’ve been planning something similar (minus the helper) and your photos are a big help. Thank you.
Carol
I love the spice rack too. I plan to build it but wonder how deep is it? Are the side frame boards 32 x 3 x 1?
Hi Carla, I believe the side boards are 1x4s. Hope that helps! Good luck!
This site was… how do you say it? Relevant!! Finally
I’ve found something that helped me. Appreciate it!