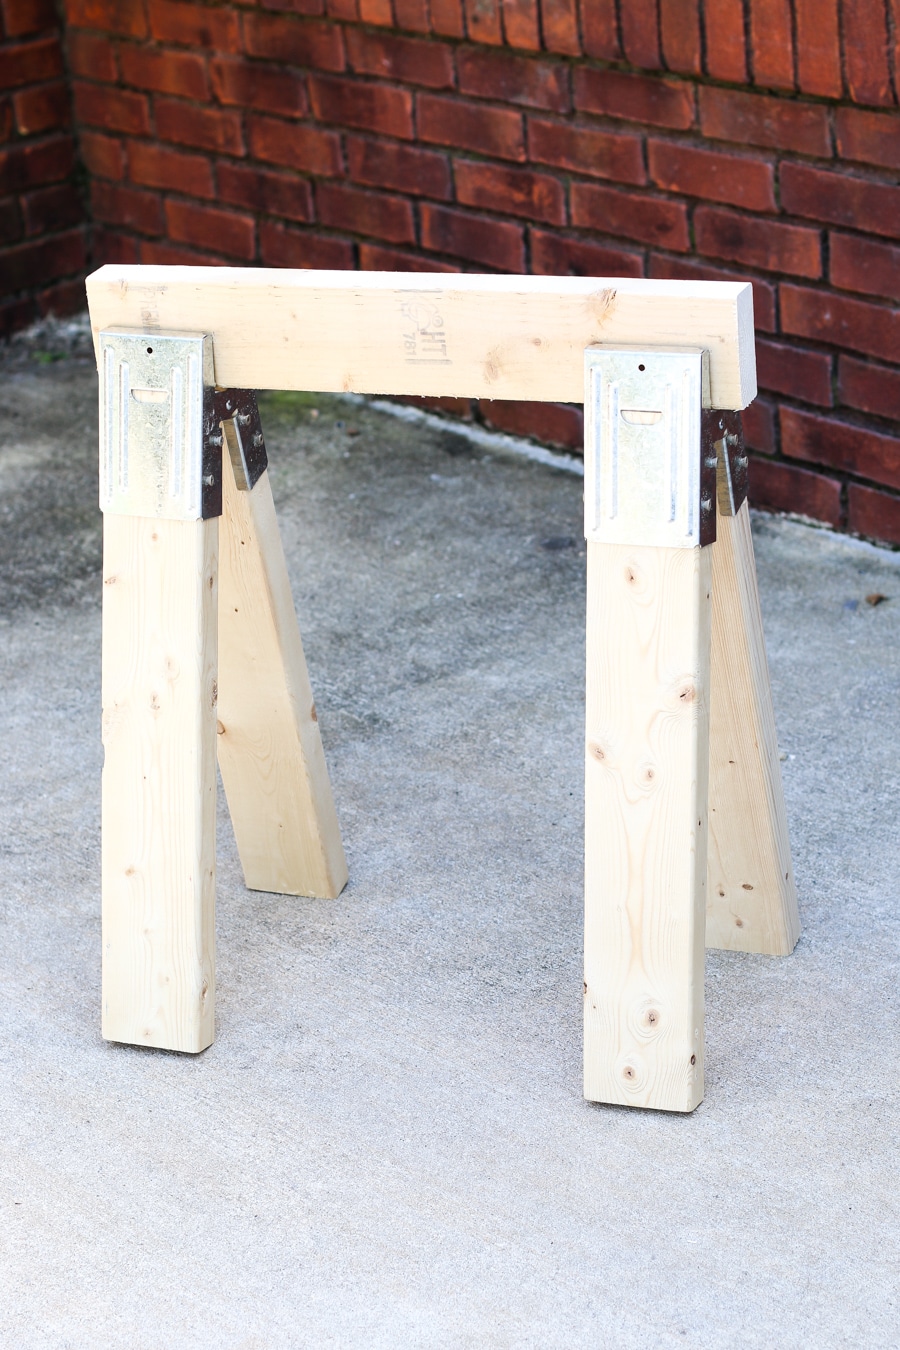
Are y’all ready to see how I made the easiest DIY sawhorses ever? It cost me about $14, some scrap wood, and less than 20 minutes of my time. Literally. It actually took me longer to dig the scrap wood out from my massive pile.
You guys. This is not rocket surgery.
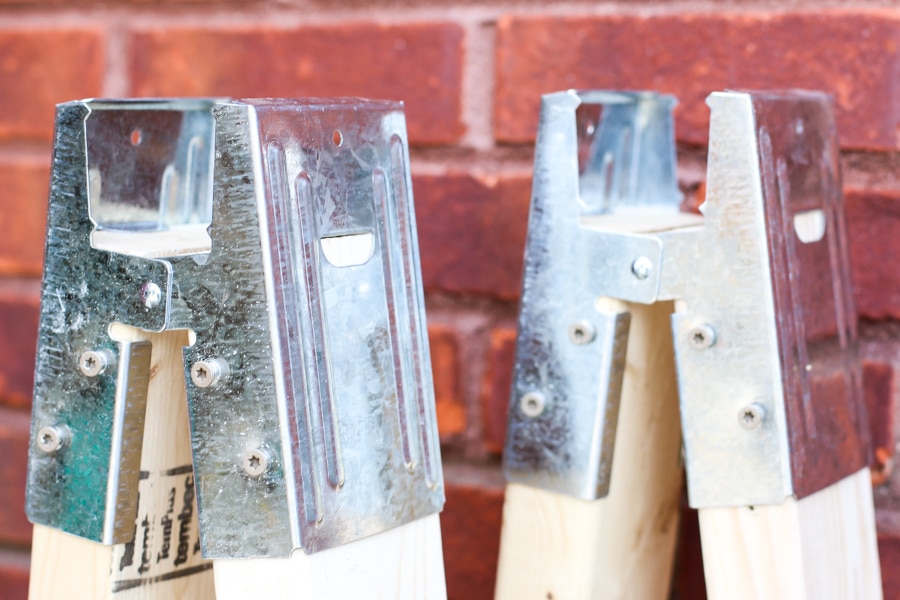
I picked up a couple of these metal sawhorse brackets from the Home Depot. They were about $7/box. There are two brackets in one box; one box makes one sawhorse.
Okay, are y’all taking notes? Well, don’t. You won’t need to. Easiest DIY sawhorses ever. Let’s do this.
Step 1: rip open the box and take the brackets out.
Step 2: cut four pieces of 2×4 lumber down to size for the legs. I cut mine to 21″ long because I wanted my sawhorses to be kid-height (for a fun project I’ll share later on this week) but you can make yours however tall or short you’d like.
Step 3: slide the 2×4 legs into the bracket and pre-drill pilot holes using the guide holes on the brackets.
Step 4: drive 1-1/4″ exterior-grade screws into the pilot holes, attaching the brackets to the 2×4 legs.
Step 5: cut a scrap 2×4 to whatever length you’d like for the top rail.

Finally, insert the top rail into place and secure it to the sawhorse legs with 2″ finishing nails.
Told you it wasn’t rocket surgery. Easiest DIY sawhorses ever.
I’ll be back later on this week to share why I made these kid-height DIY sawhorses. We had a super fun weekend because of it. Until then, get out there and make some sawdust!


Leave a Reply