We just wrapped up our primary bathroom remodel and I shared how I organize my bathroom vanity drawers on Instagram. Today, I’m sharing what it looks like in the cabinet under the sink. I needed a place to store and organize my hair tools and products, so I designed and built this DIY hair tools organizer and now my “under-the-sink situation” is nice and tidy!
I’m thrilled to be teaming up with Arrow Fastener again this year. If you recall, we partnered on several projects last year: a raised planter box with trellis (in which we grew a ton of tomatoes last season!), a stair runner (to help our aging dog), a white oak cookbook stand (these made great gifts!), and a Parisian-inspired wall molding in our guest bedroom (so fancy!). We’ve got a few more exciting projects coming to you this year too, so stay tuned!
How To Make A Hot Hair Tools Organizer
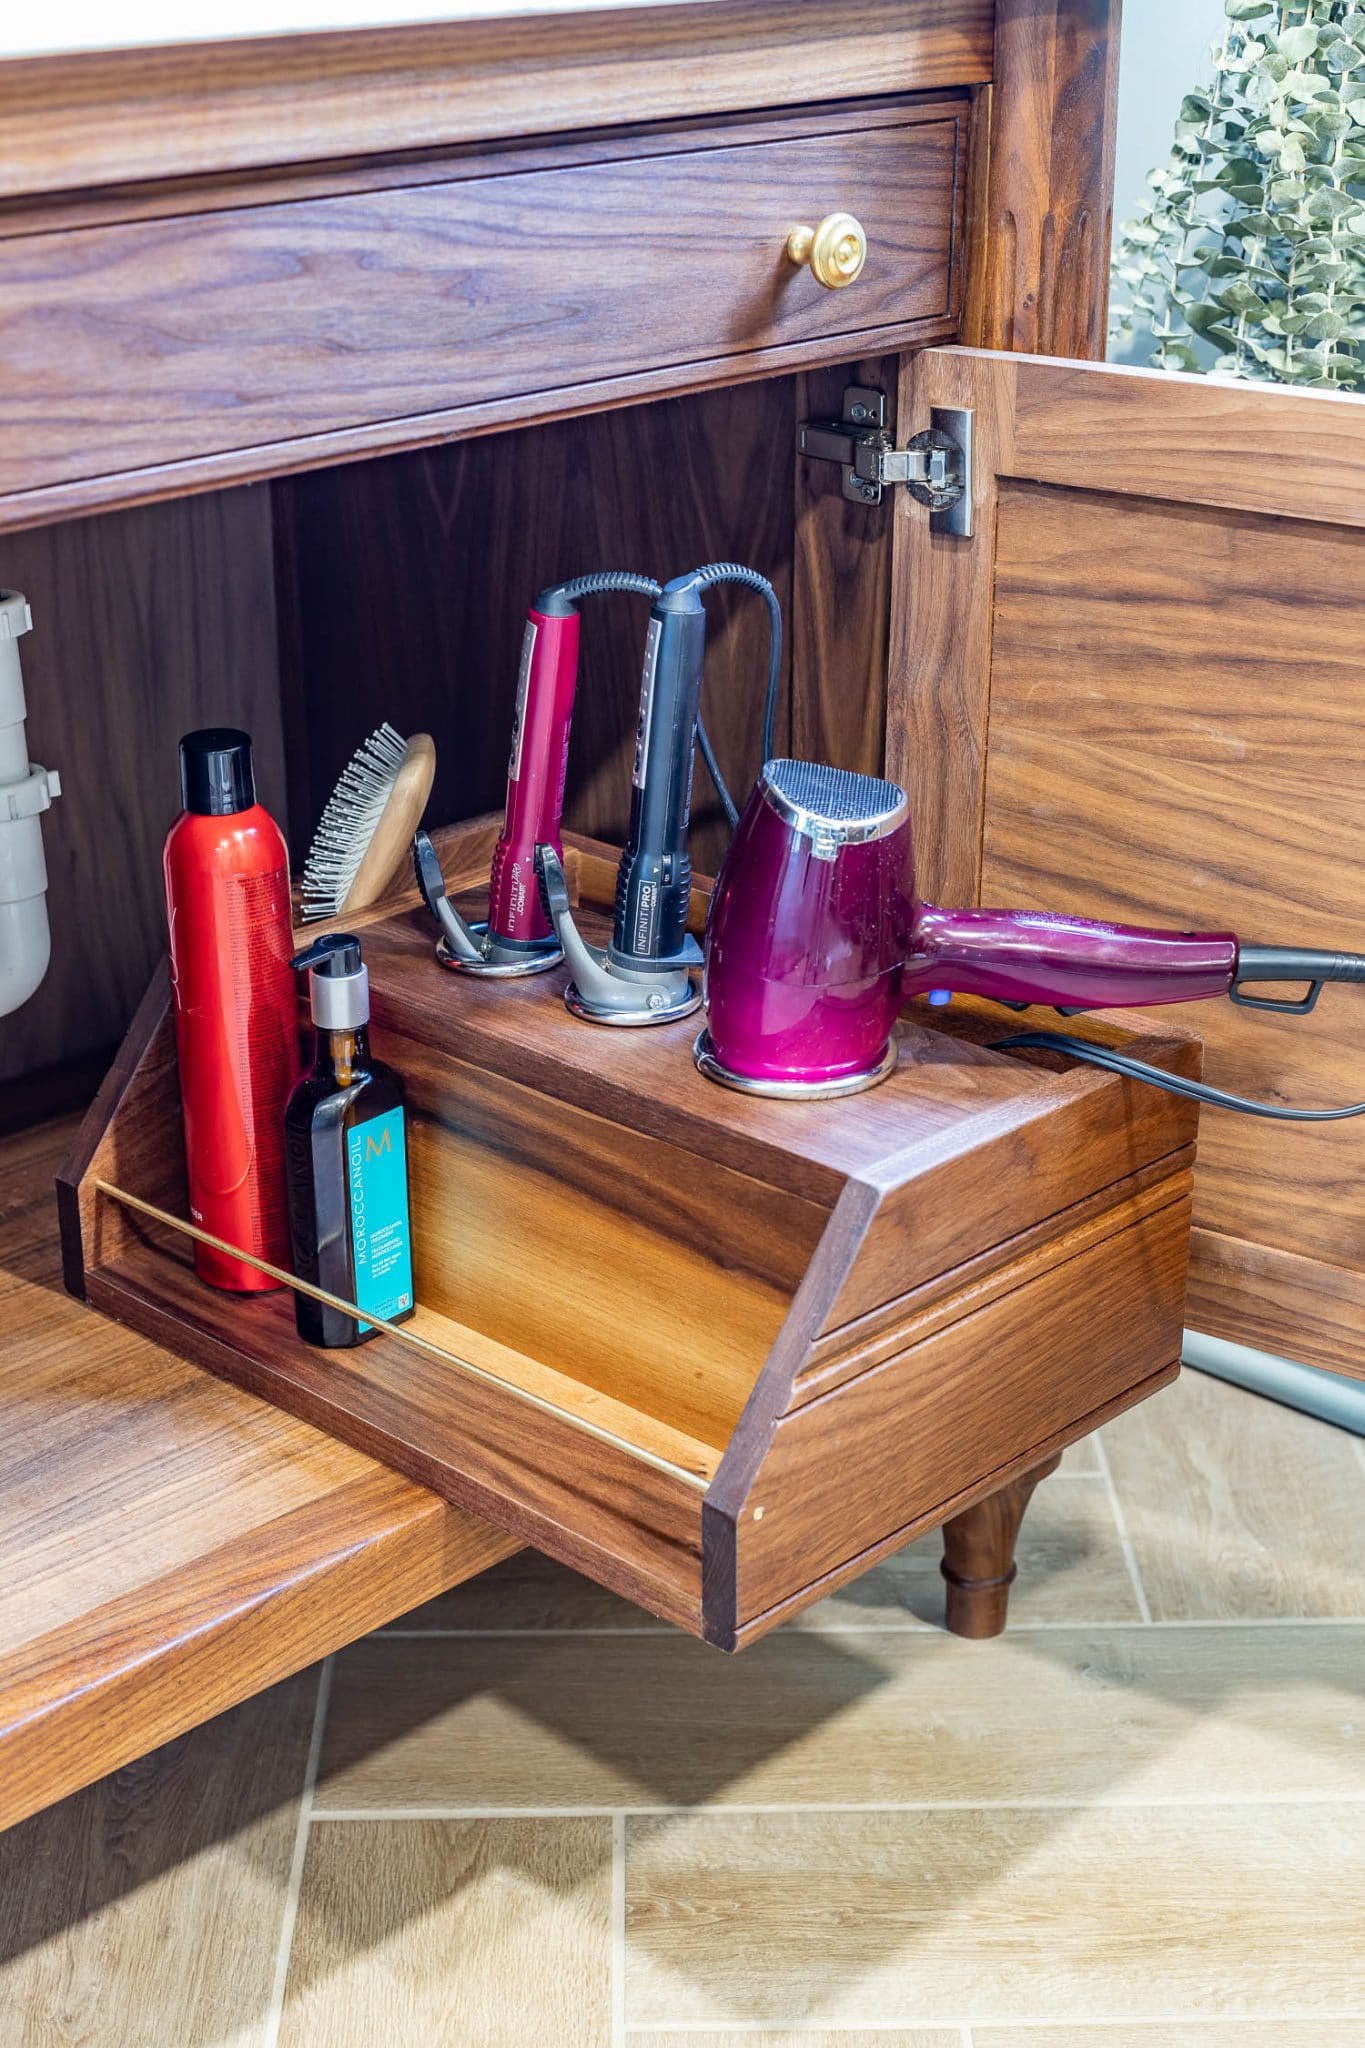
This hot hair tools organizer has a place to store a hairdryer, a couple of curling irons (or flat irons, if they’re narrow enough), the accompanying electrical cords, hairbrushes and/or combs, and several hair products! Are you ready to make one for yourself? Read on!
Tools:
- Arrow Fastener PT18G Pneumatic Brad Nailer
- Air compressor
- Saw (circular, table, or miter)
- Jigsaw
- Cordless drill/driver with drill bit set (optional)
- Step-by-step project plans
- Tape measure
- Pencil
- Speed square
- Safety glasses
- Hearing protection
- Dust mask
Materials:
- Scrap wood
- 3-inch Hairdryer holder
- 2-inch Curling iron holder
- 1 1/4-inch brad nails
- 3/4-inch iron-on edge-banding
- Wood glue
- Brass rod (optional)
- Rubio Monocoat Wood Finish
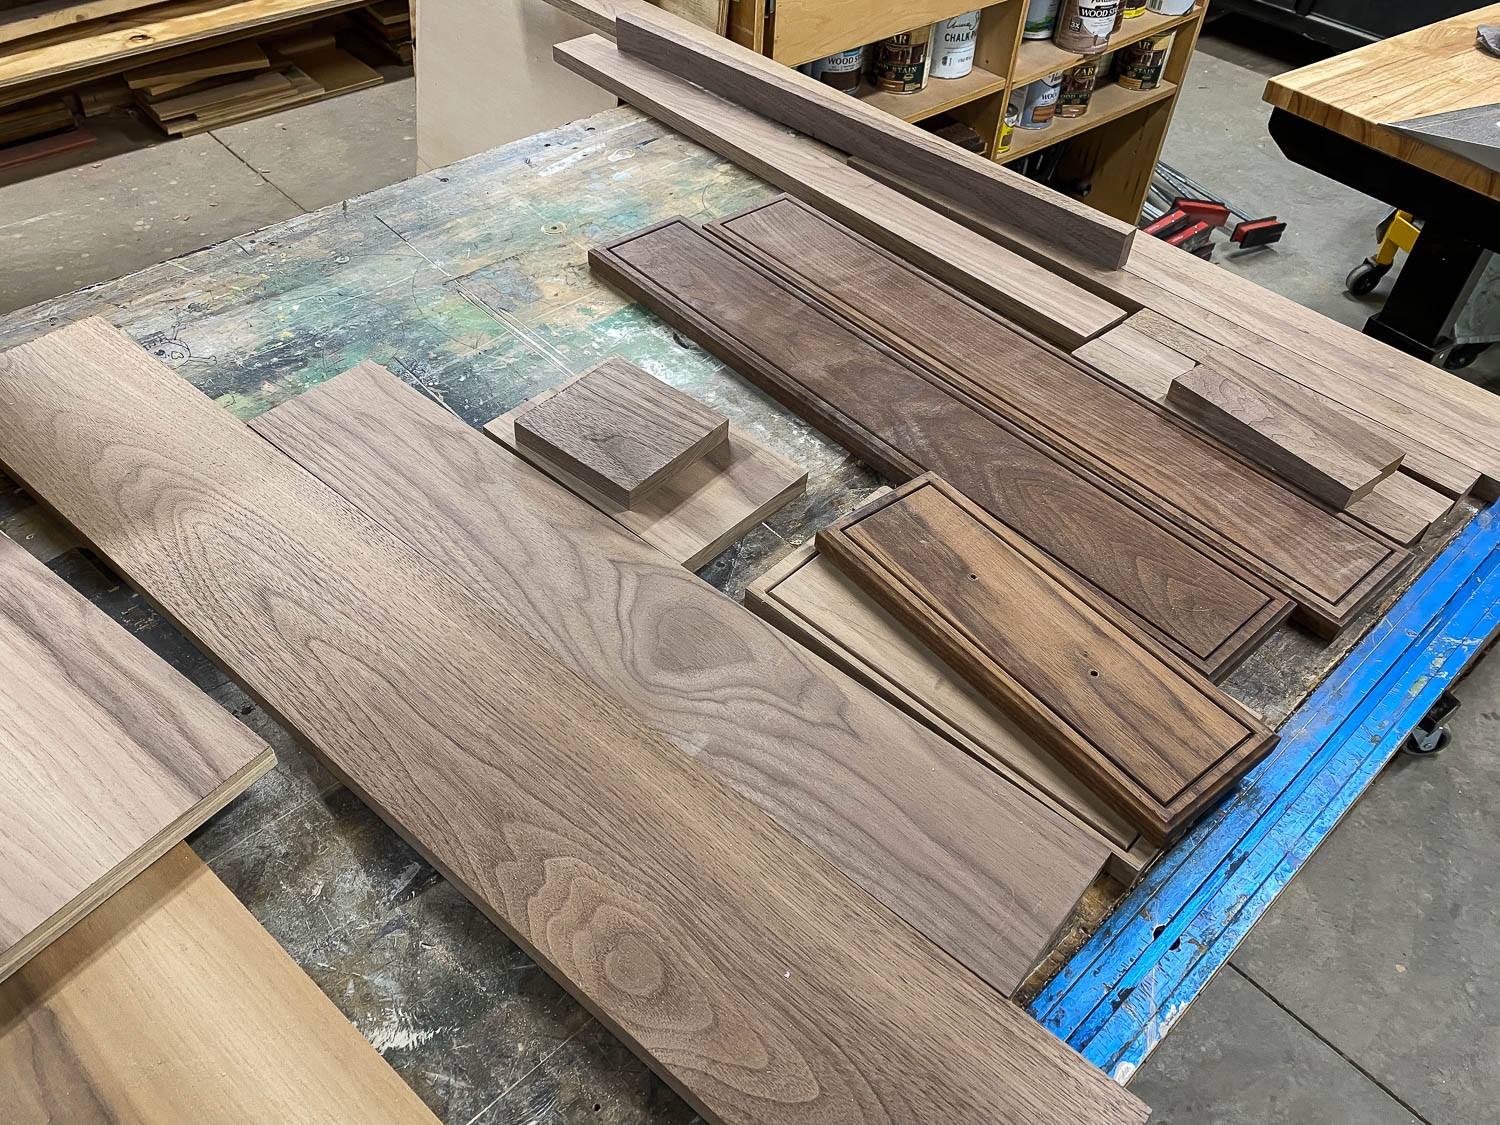
This hair tools organizer is a great scrap wood project! I was able to rummage up a few walnut pieces leftover from my DIY bathroom vanity project, but because they were a hodgepodge of various sizes, I had to glue up a few boards to create wider boards. You may not need to do this if you have enough scrap wood.
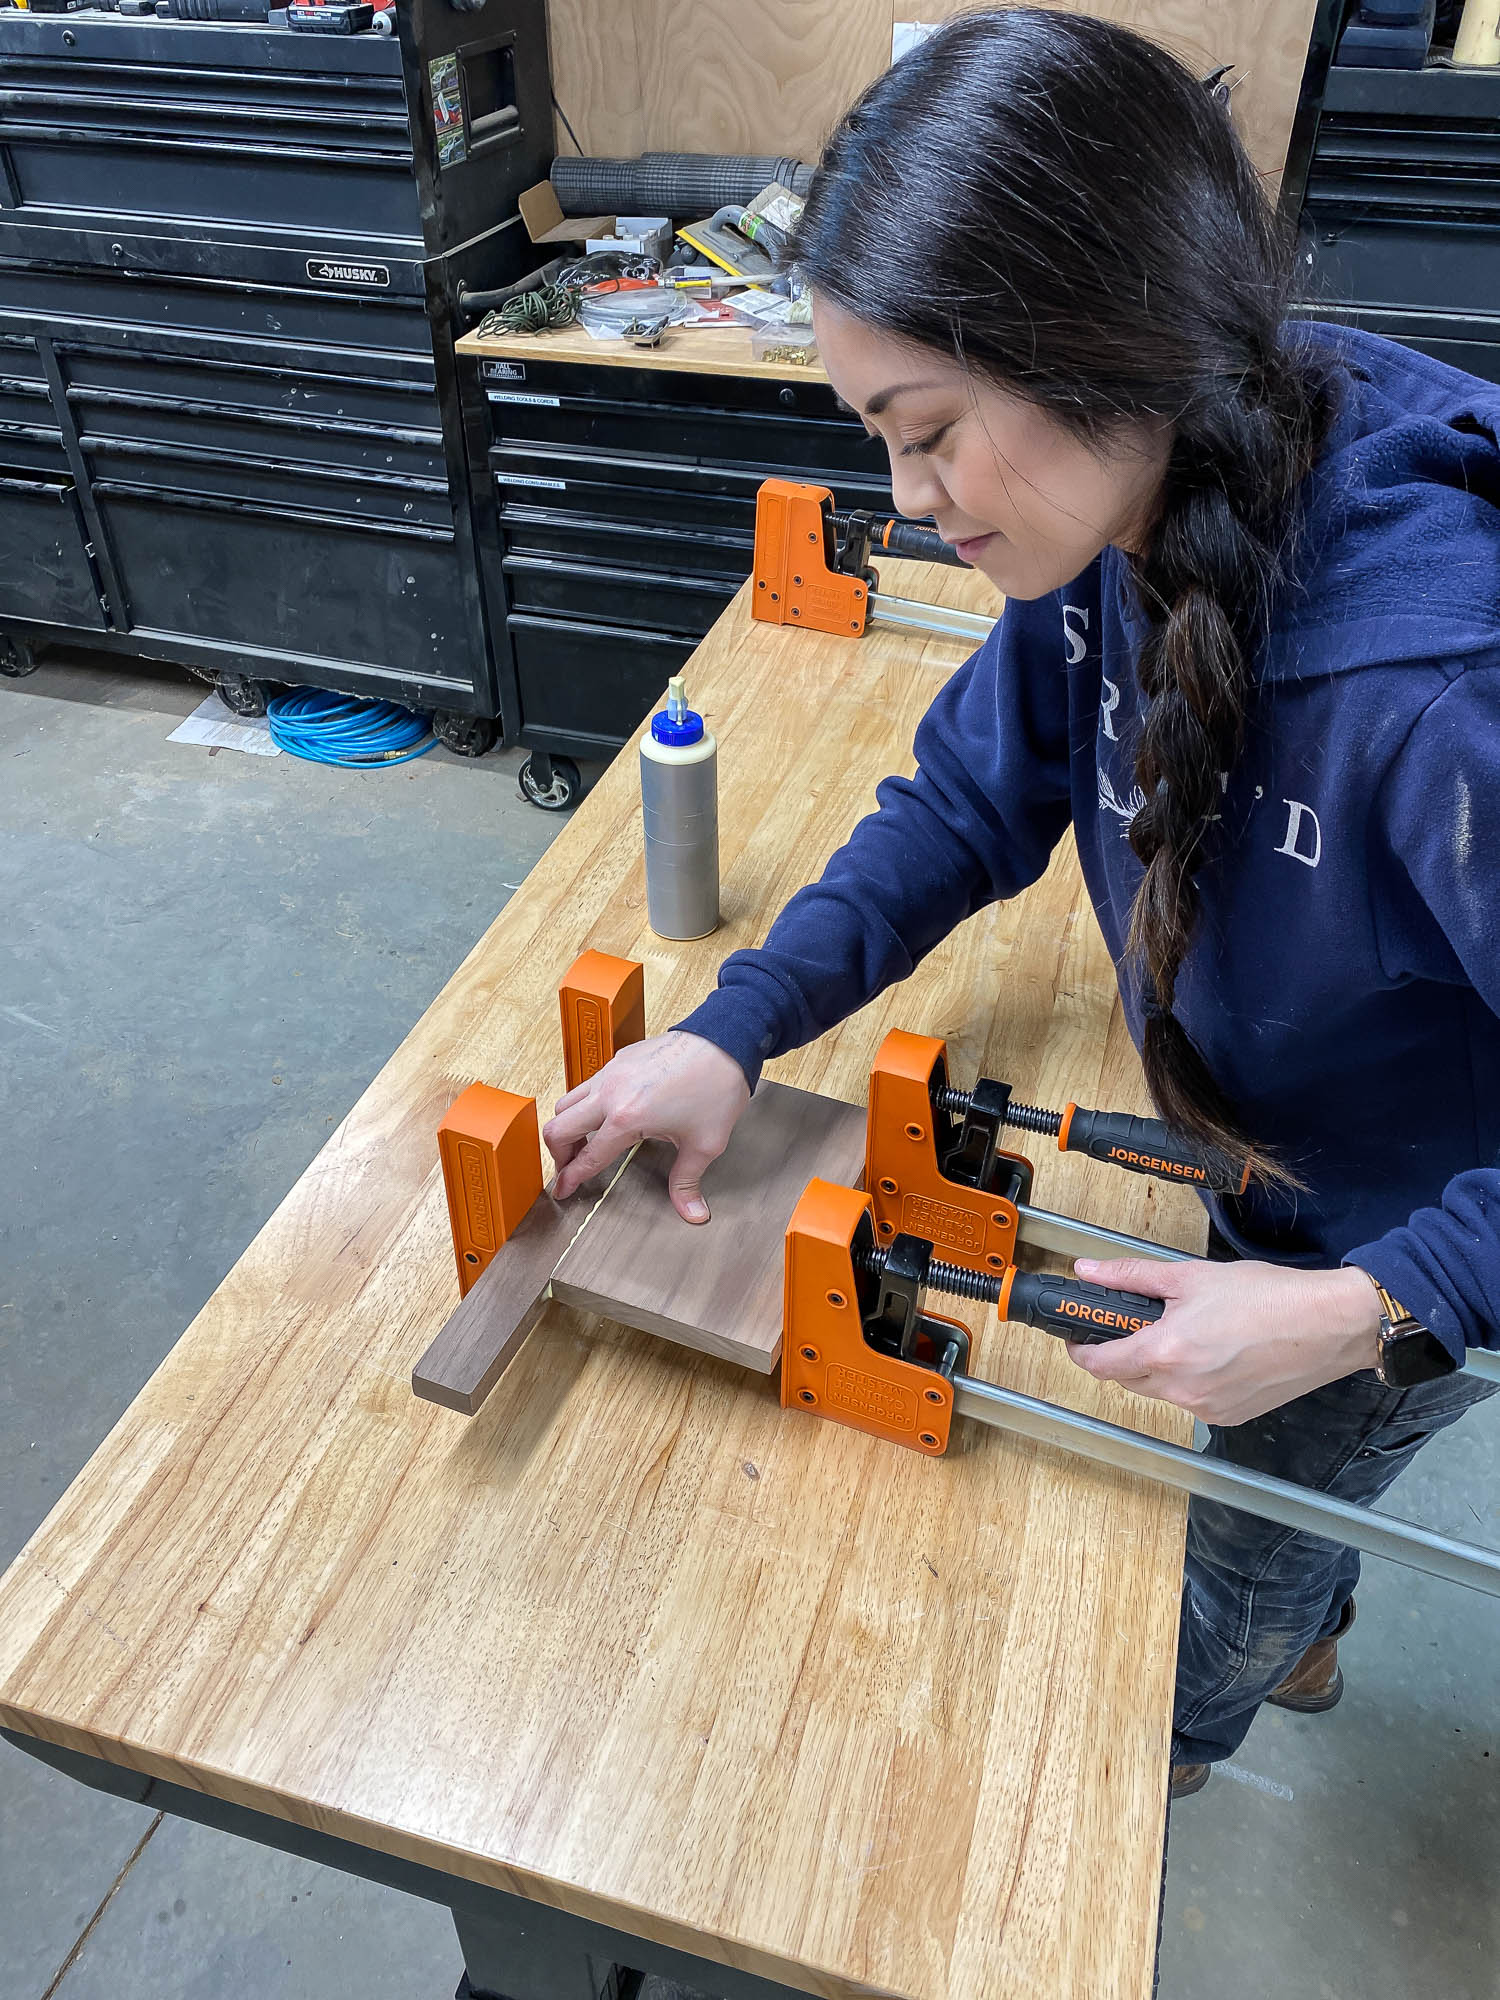
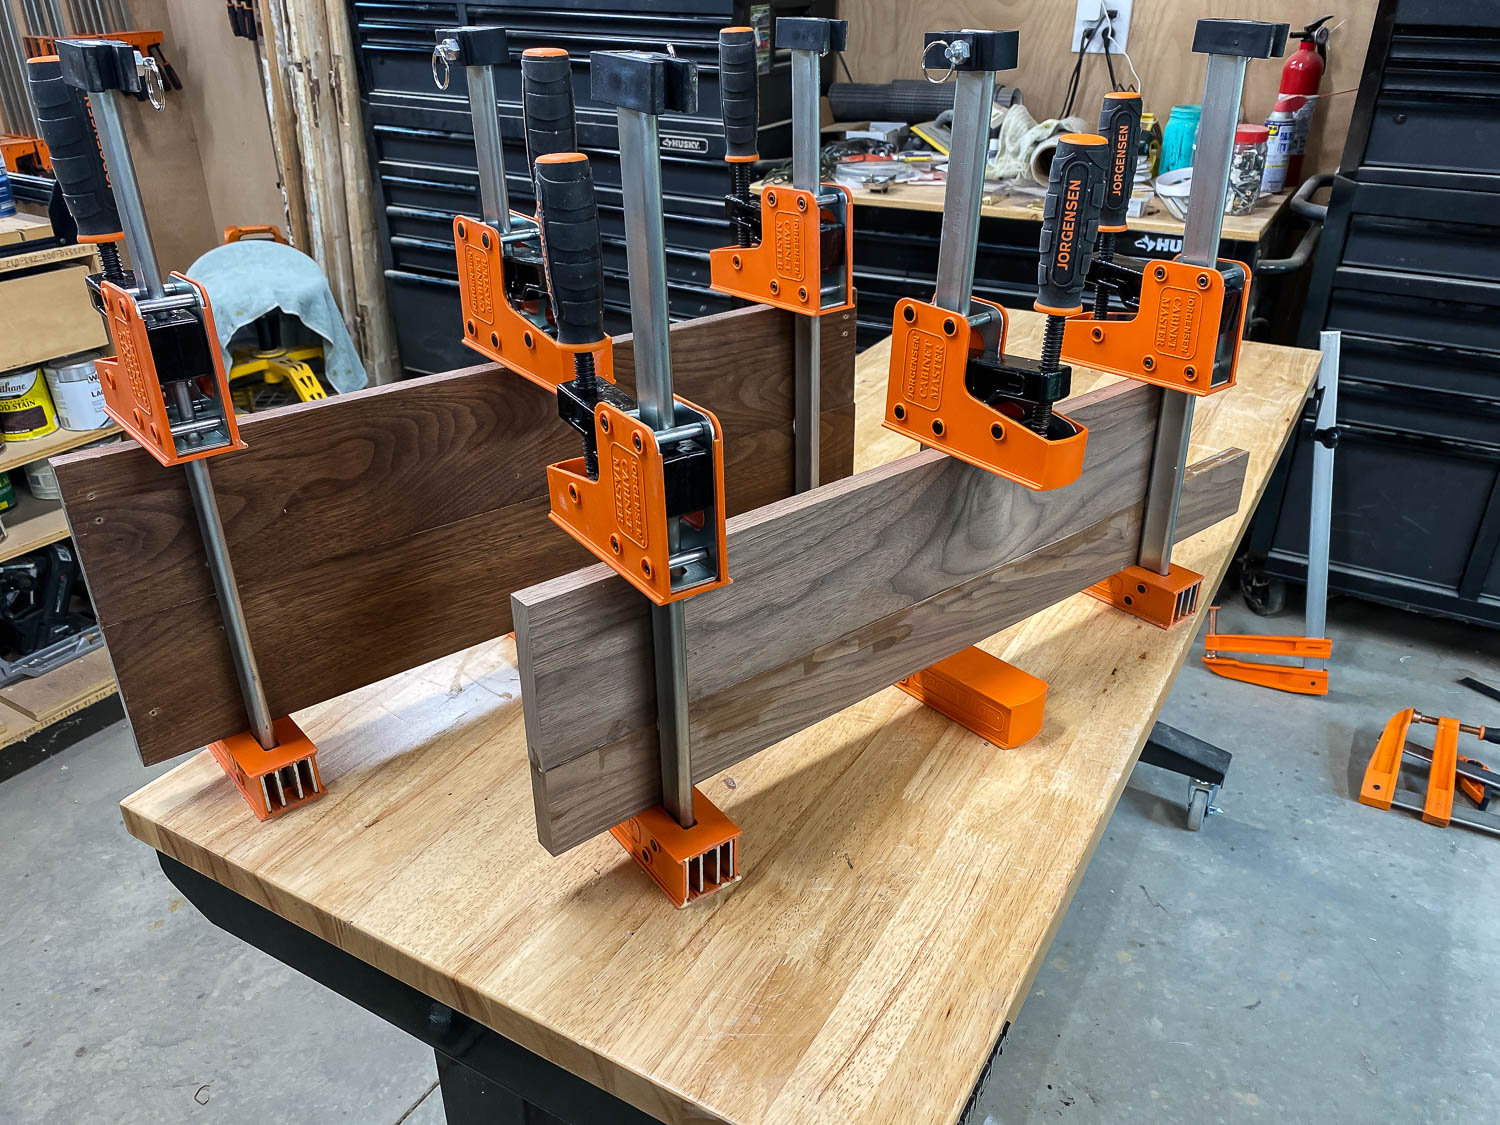
These Pony Jorgensen parallel bar clamps are my favorite – they make the glue-up so easy and precise! And I’m a big fan of these shortie clamps – they’re the perfect size for cutting boards.
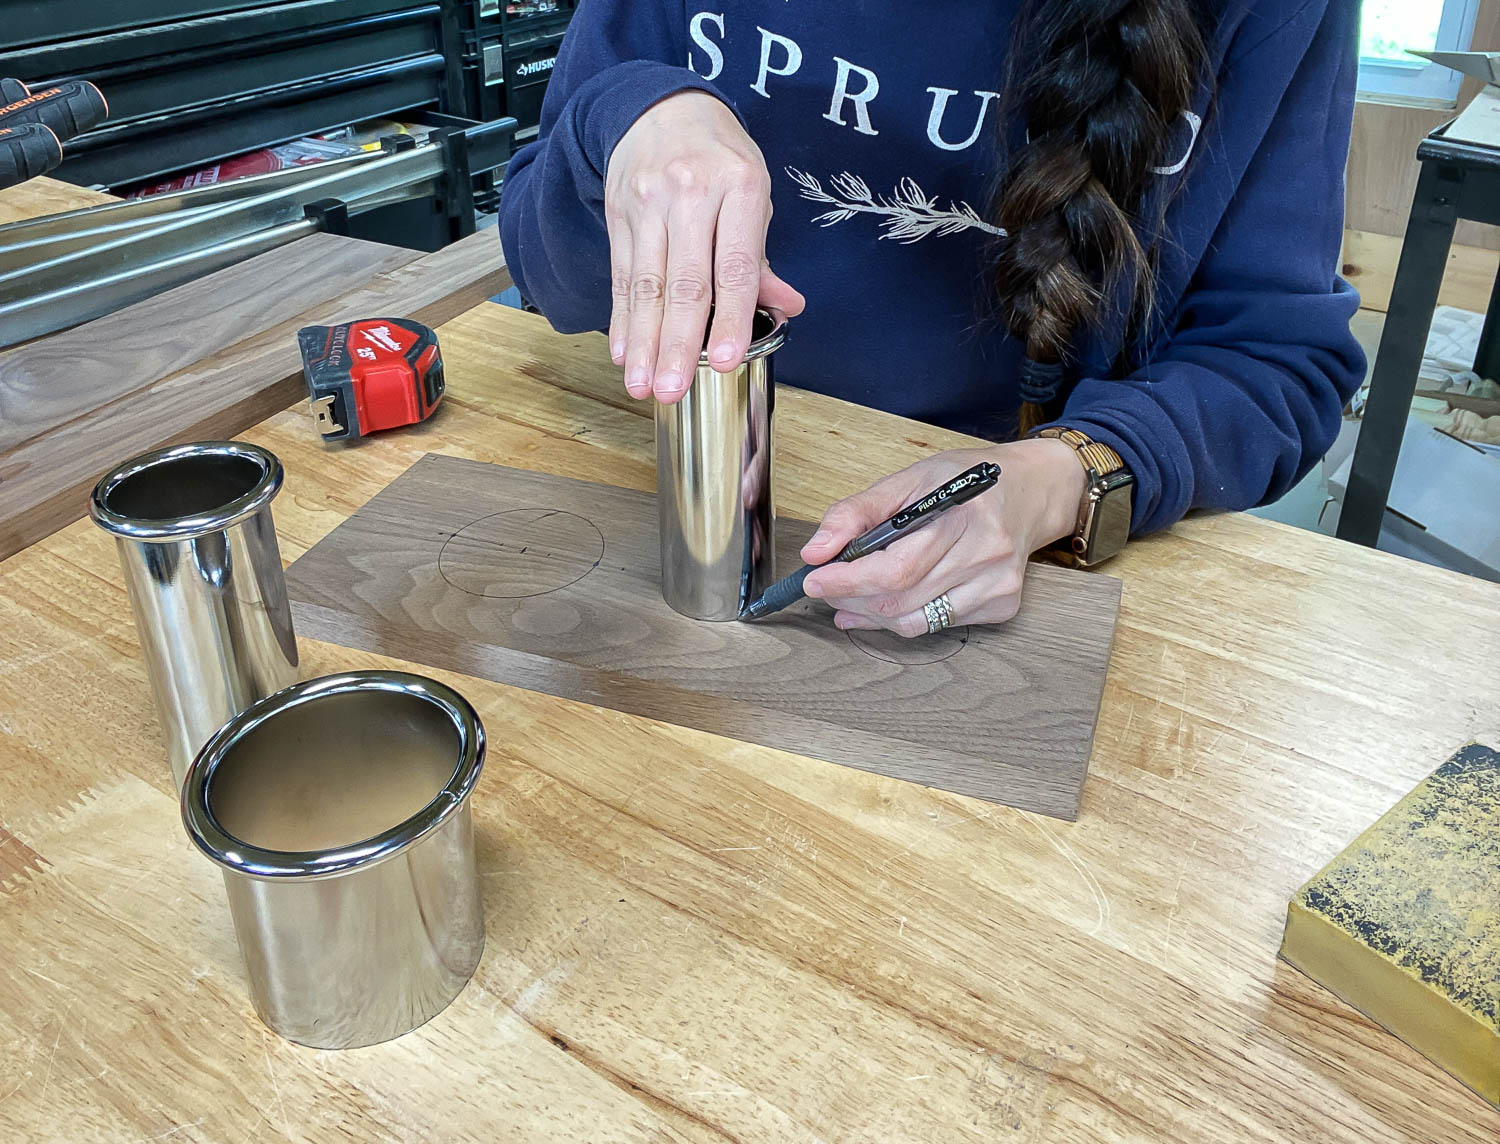
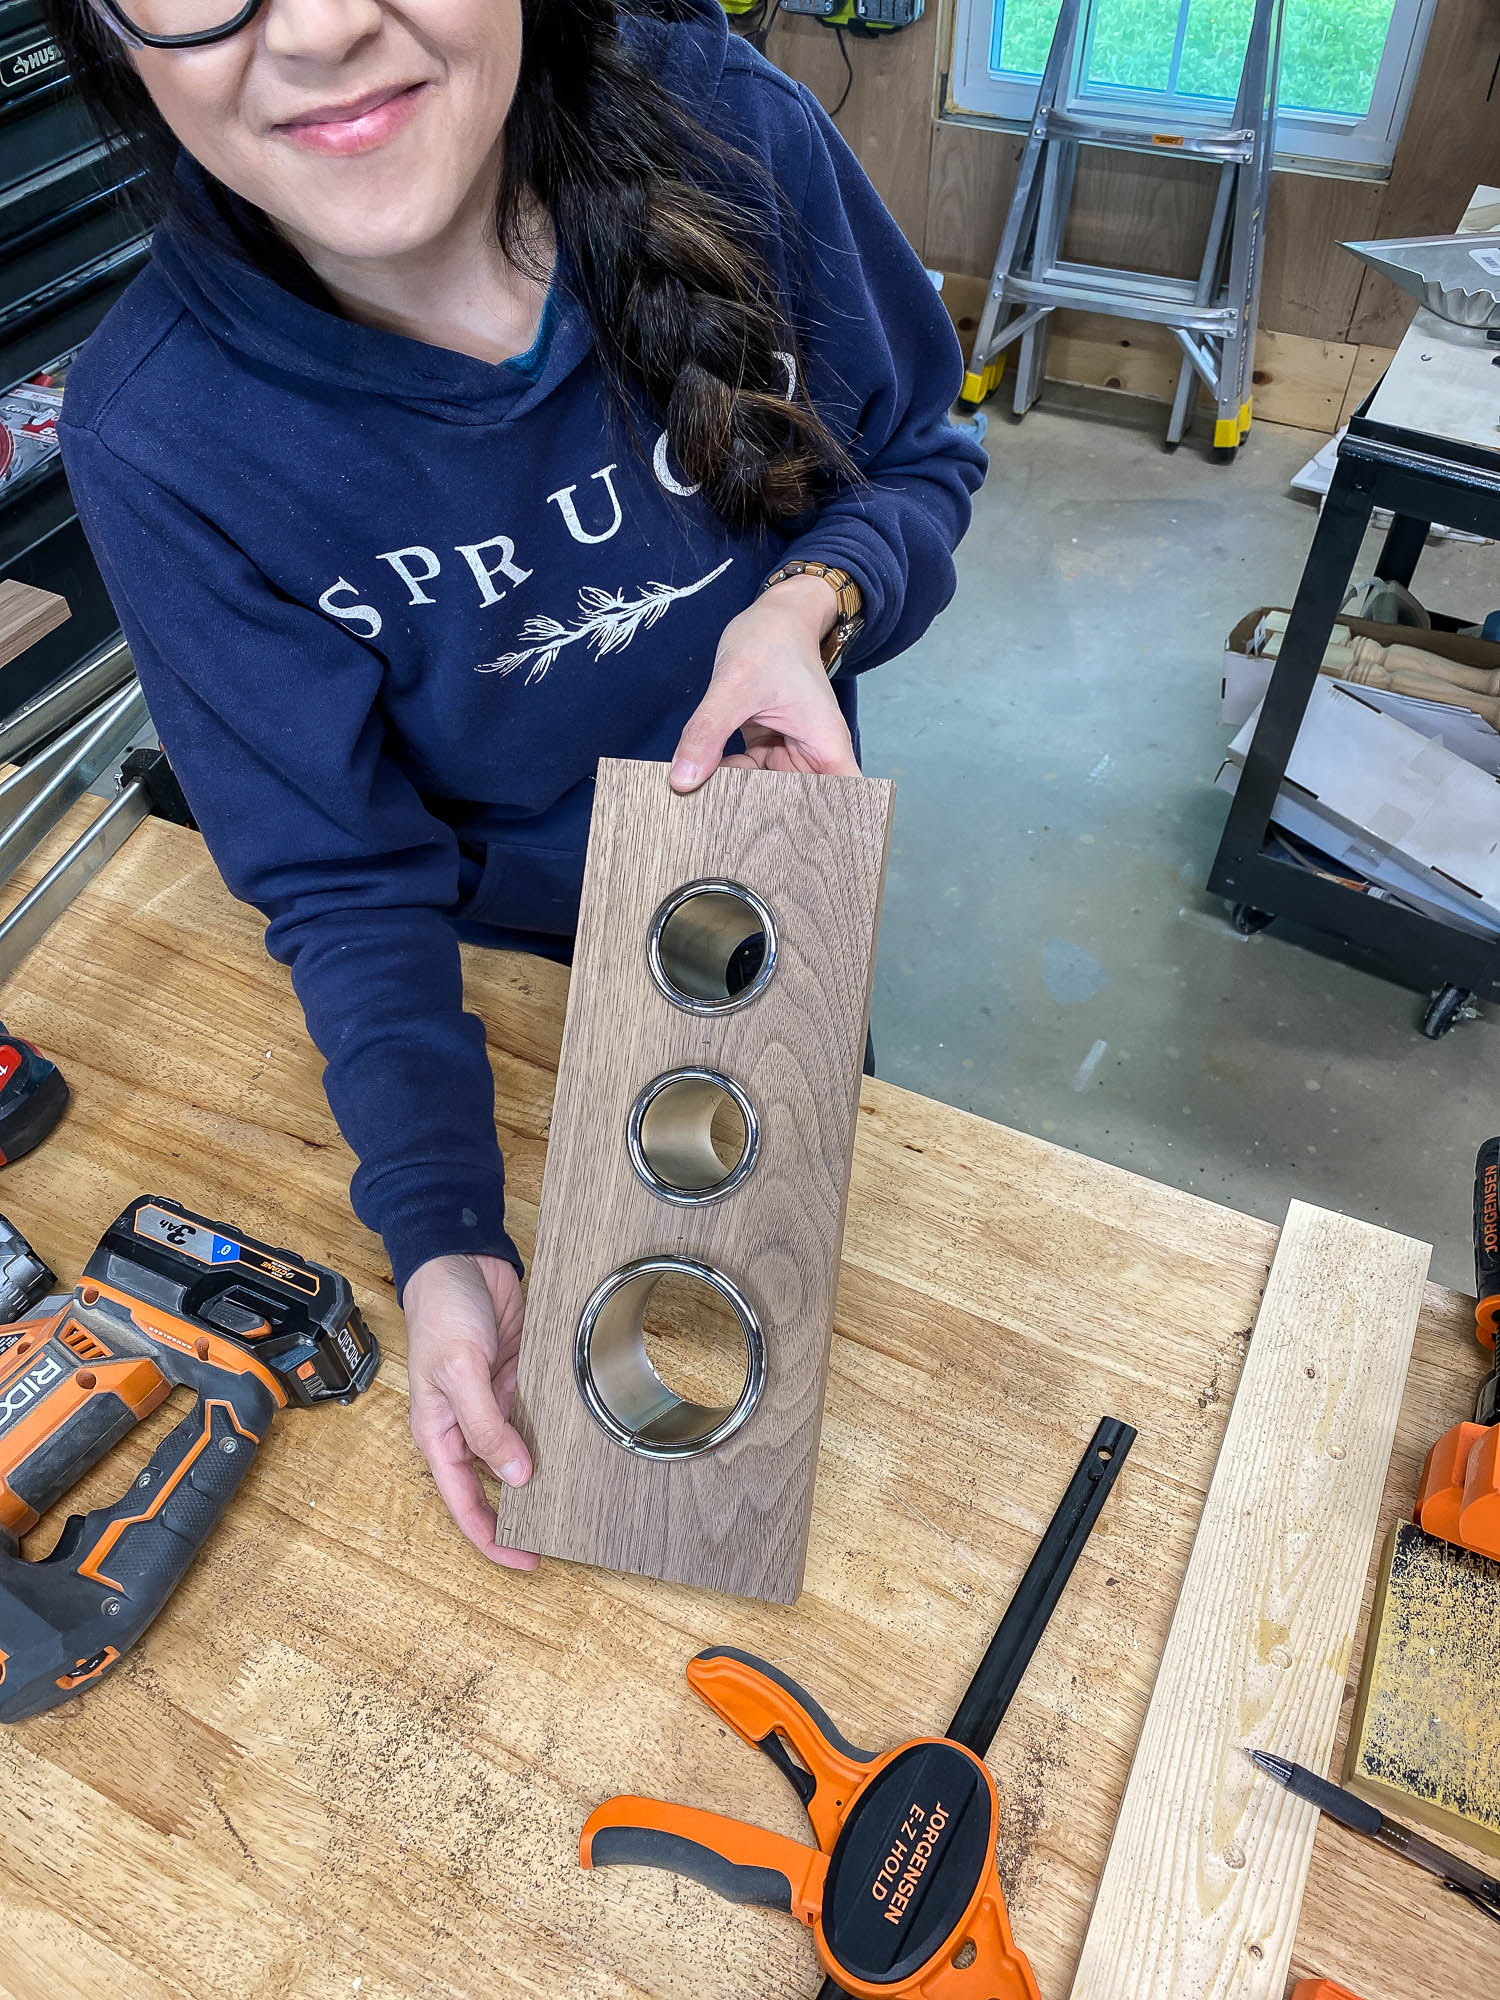
While we wait for the glue to dry, let’s move onto cutting out the holes for the hairdryer and curling irons. I found these chrome salon holders online and bought a 3-inch dryer holder and two 2-inch curling iron holders. I traced the outlines, drilled a starter hole, and used a jigsaw to make the cuts. *Pro tip: put a scrolling blade on your jigsaw – it’ll help you make tighter turns and more precise cuts!

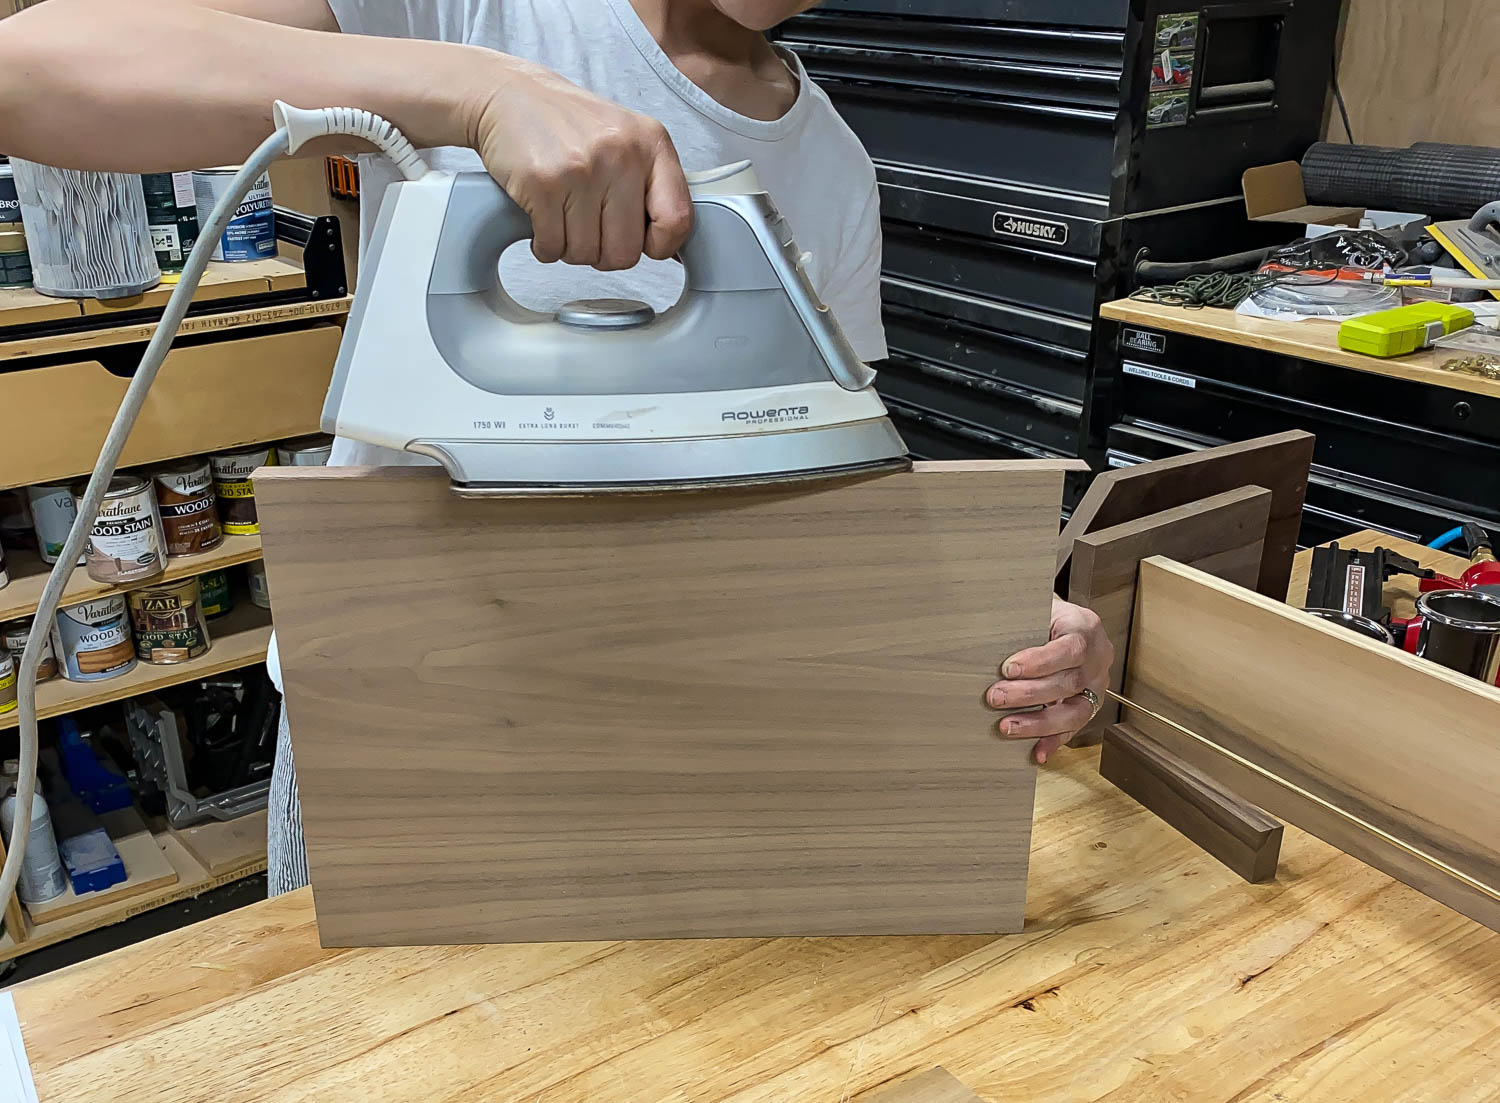
Sadly, I didn’t have enough solid wood walnut scraps to make the hair tools organizer, so I had to supplement with a couple of walnut plywood scraps. To hide the raw edges and make the plywood look like solid wood, I used an iron-on walnut edge banding. The heat from the iron activates the adhesive on the veneer and once cooled down, you can trim the excess with this tool. A pair of scissors or a razor blade works well too.
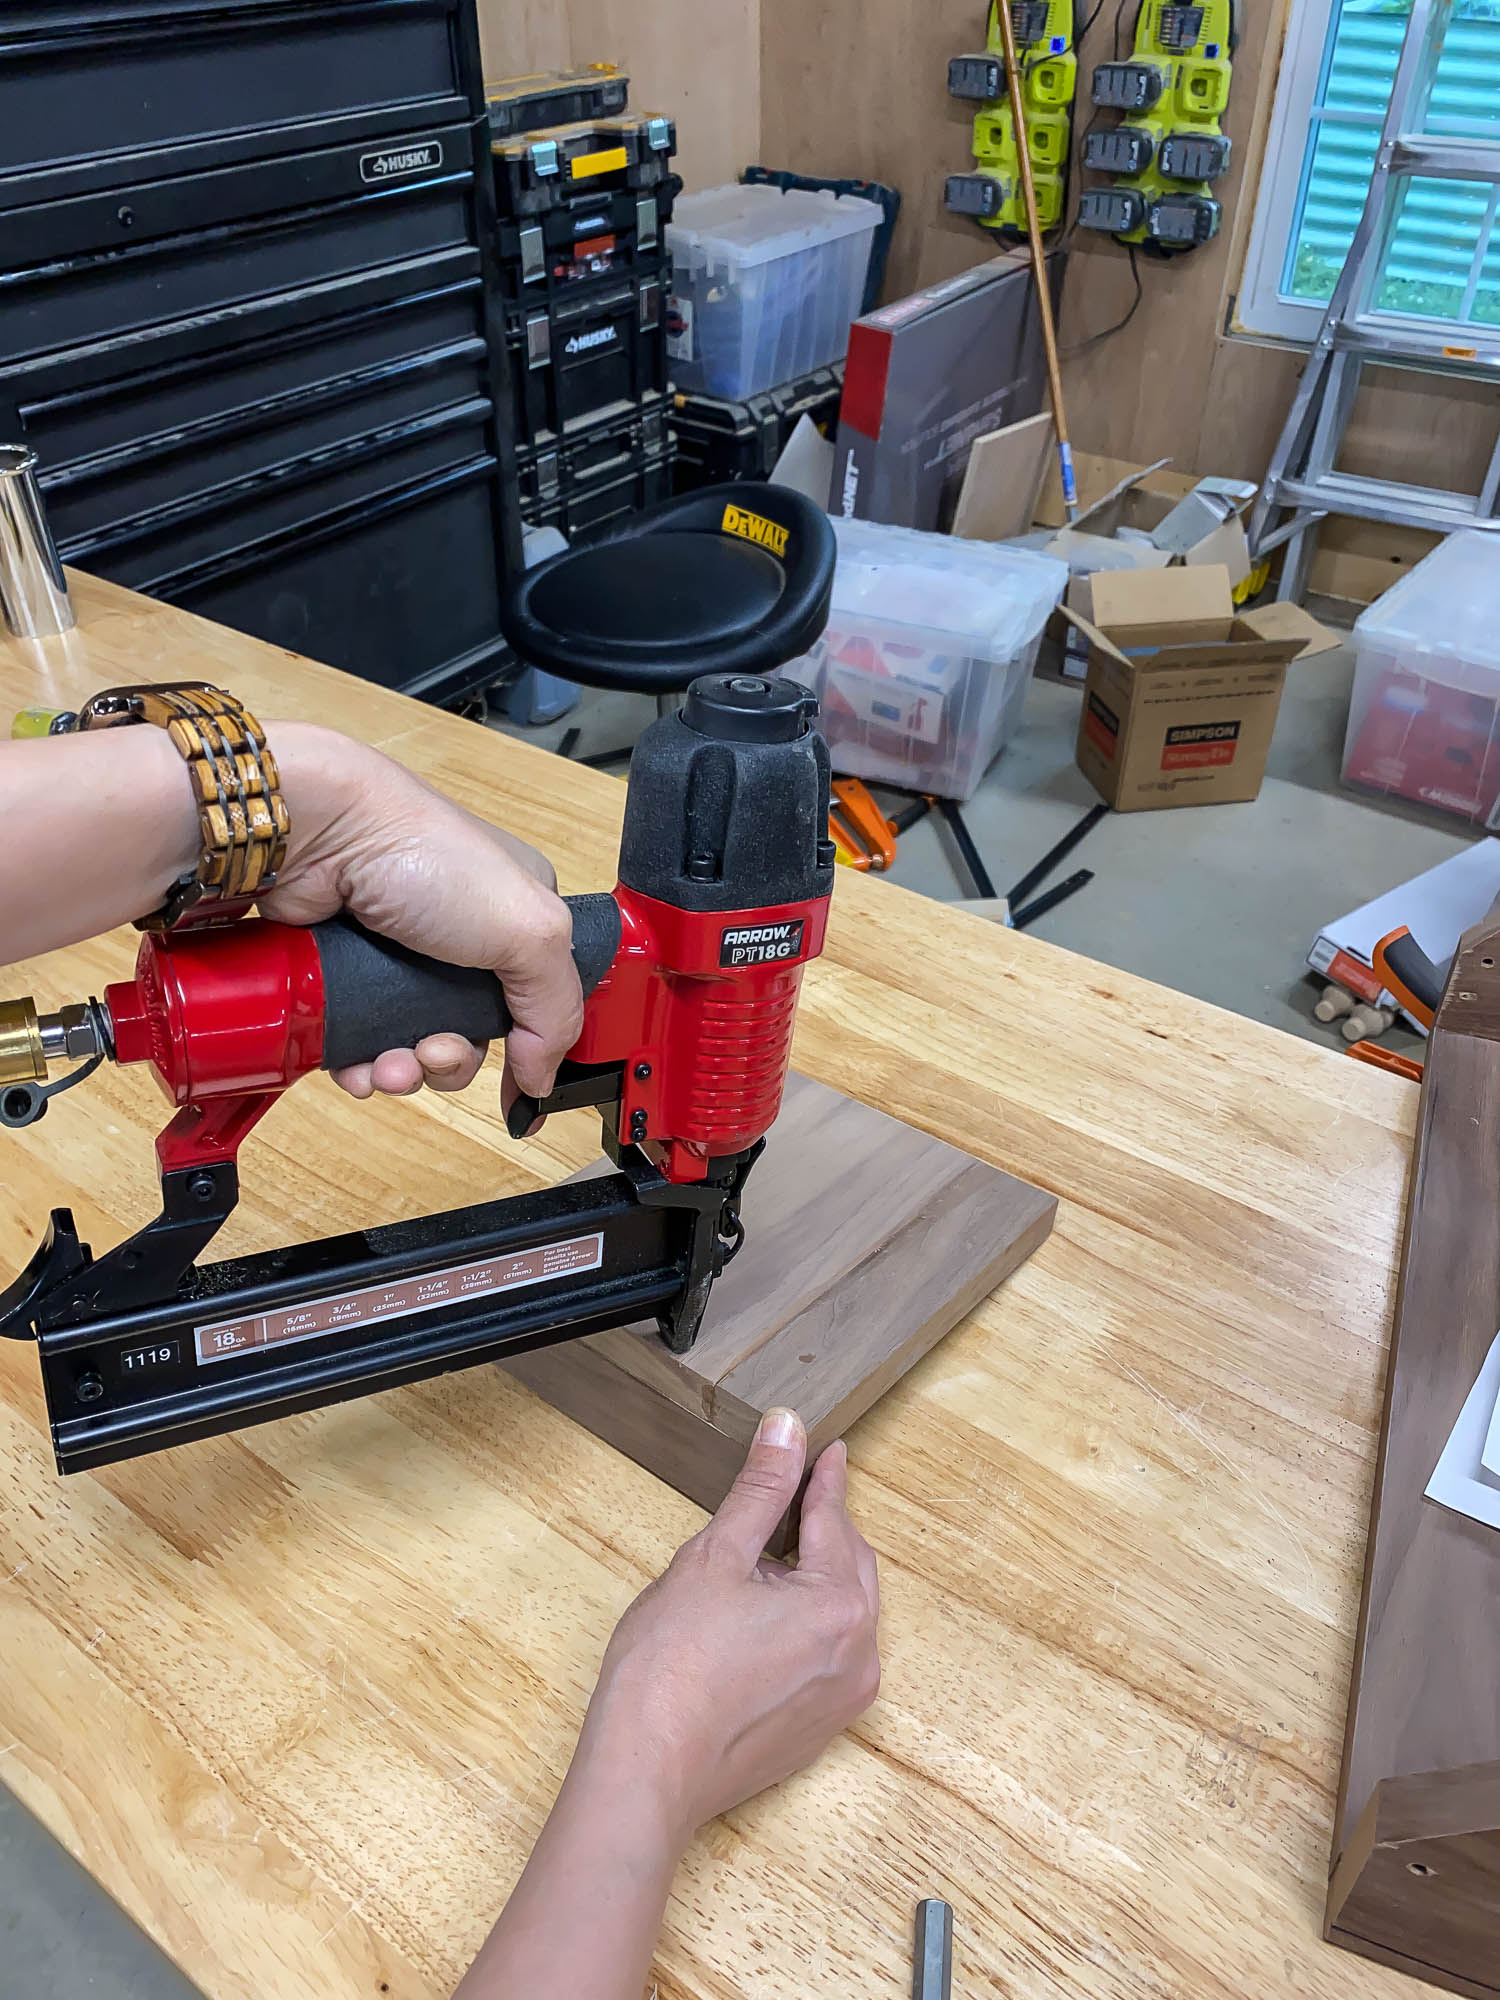
Now that the prep work is done, it’s time for assembly, which should go pretty fast! According to the PDF plans, I cut out all the parts of the hair tools organizer. The plans will have a complete cut list as well as 3D diagrams of each step. I applied wood glue and used my Arrow brad nailer to nail the parts together, starting with the two sides. Arrow Fastener products are must-have items for every pro, maker, and DIYer. They have a full line of manual, electric, and battery-powered staple guns, rivet tools, glue guns, and nail guns. This nail gun is perfect for smaller projects like this one. It’s lightweight and easy to handle.
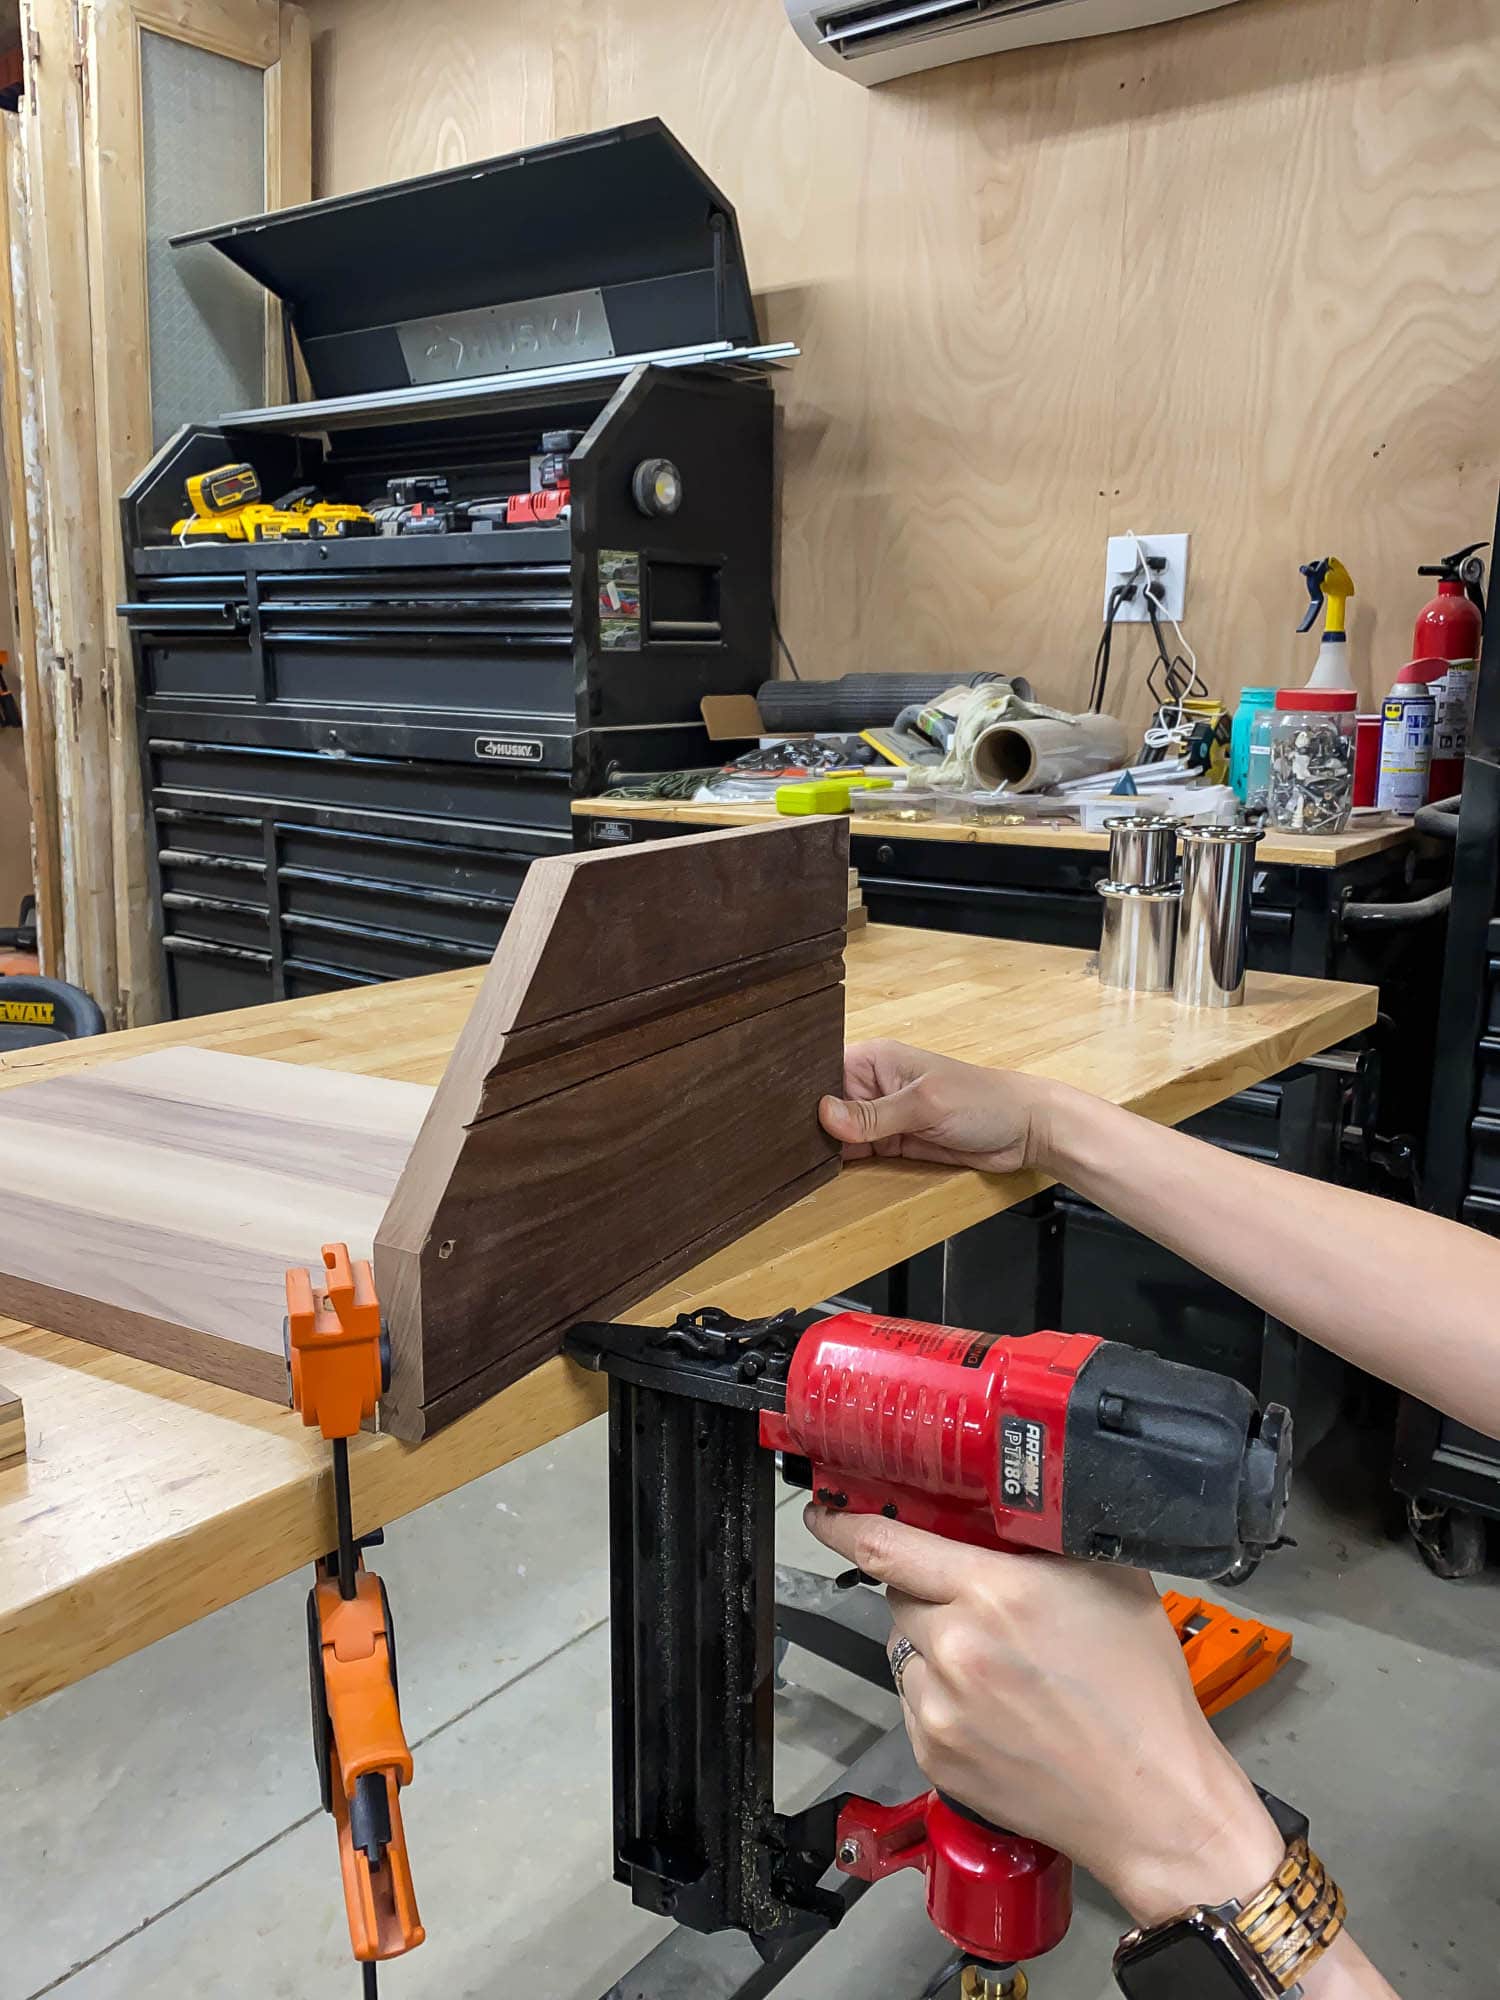
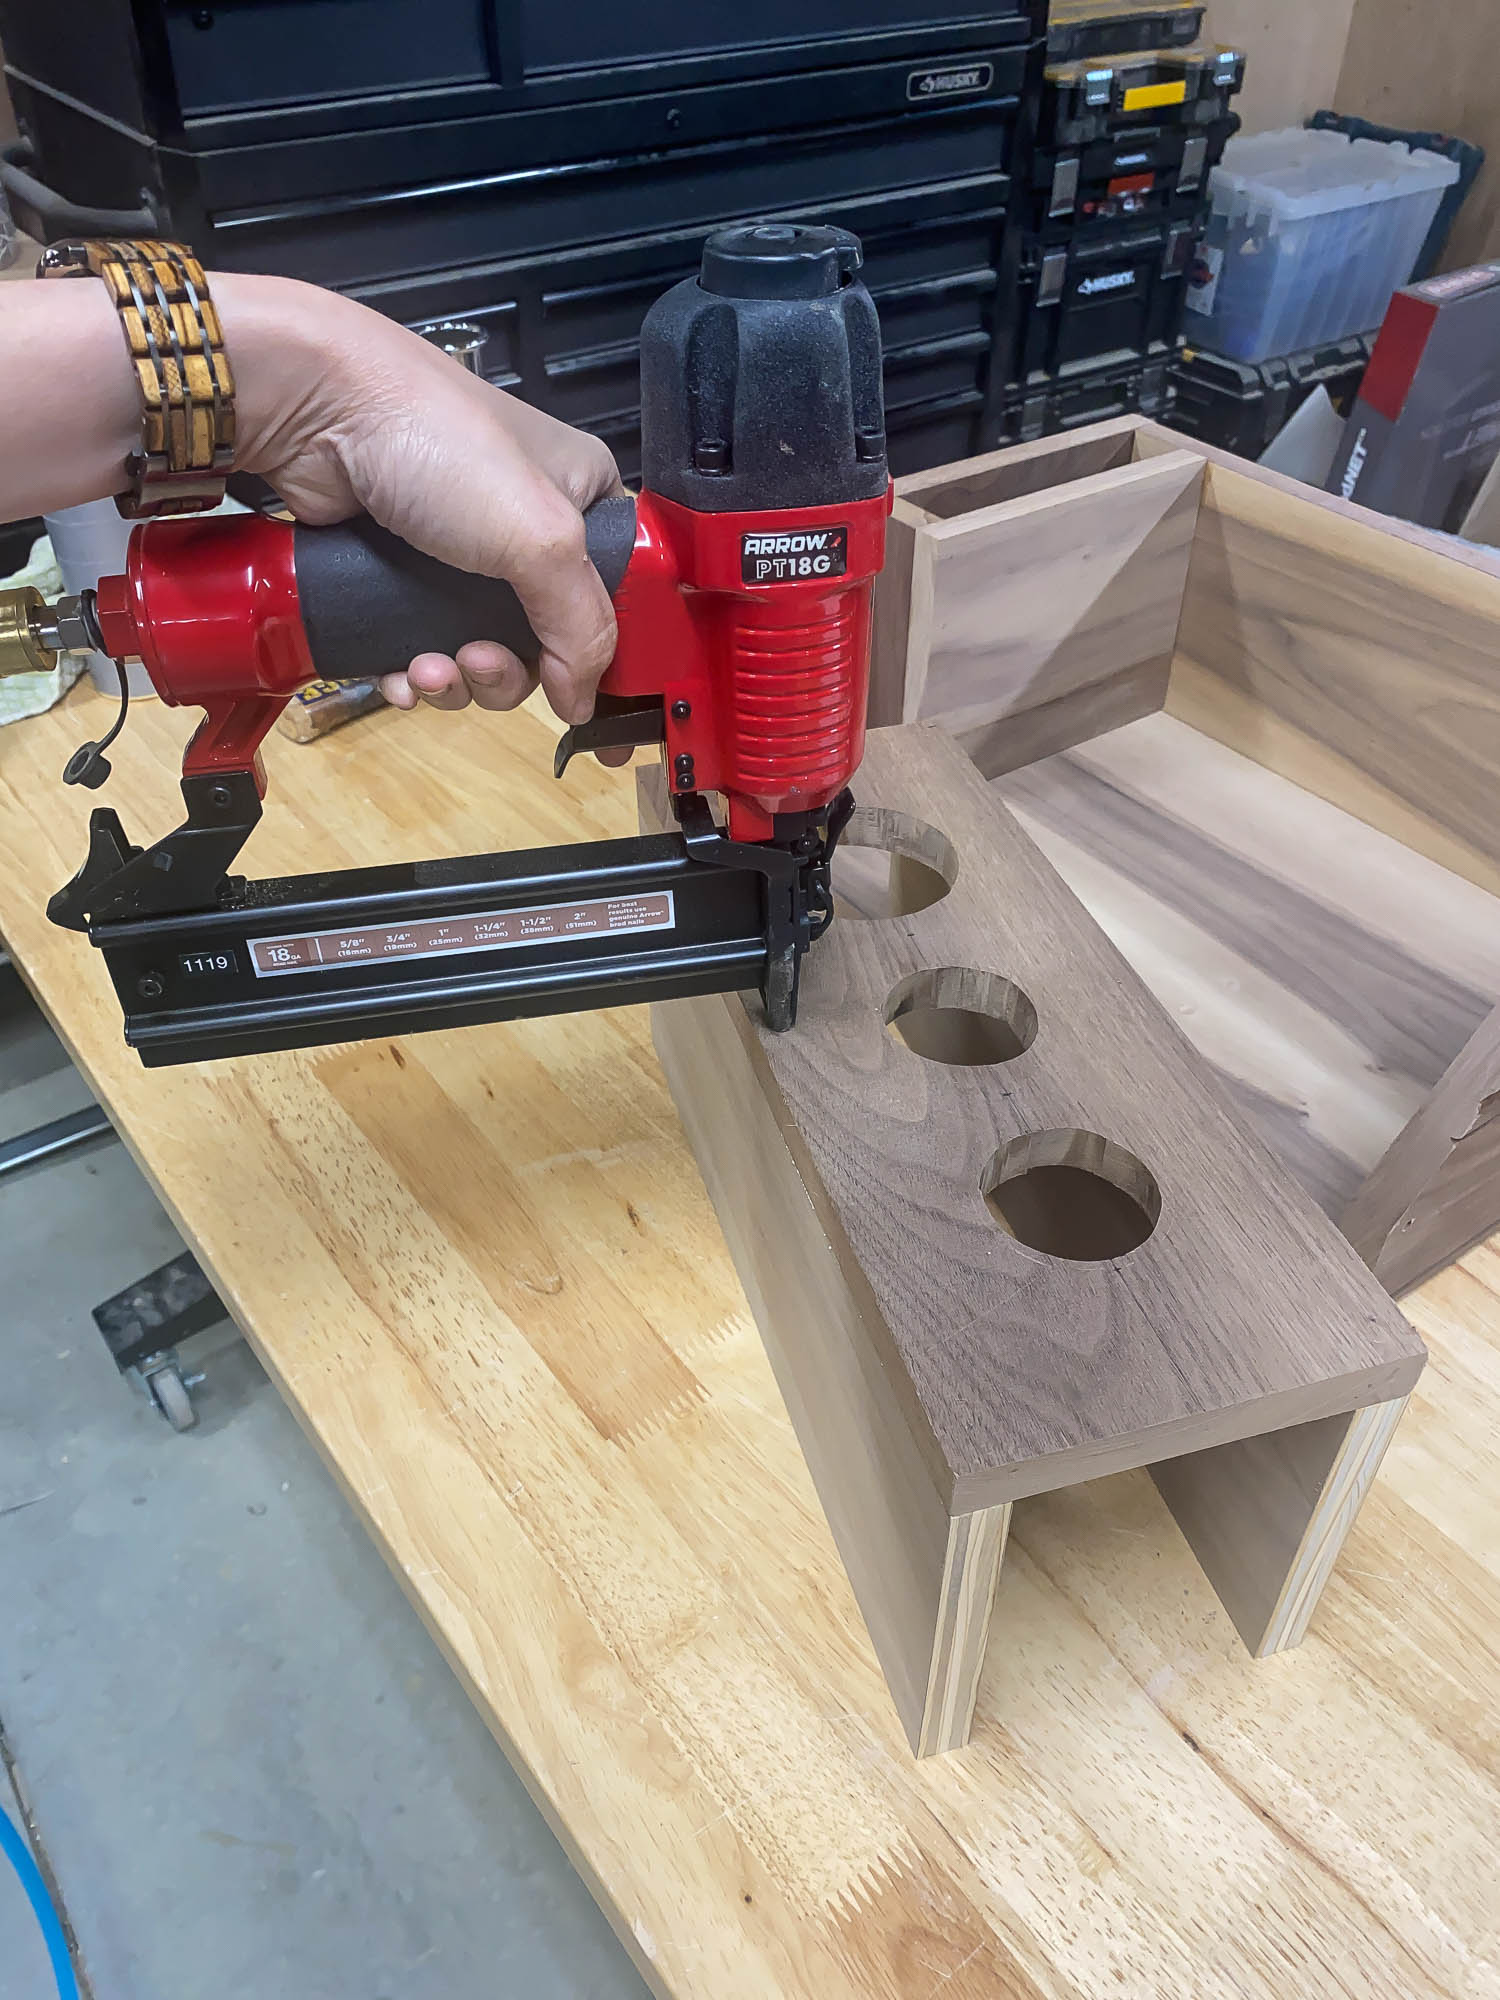
Next, I moved onto nailing the interior components together. Once constructed, I attached the interior parts to the hair tools organizer with more glue and nails. To ensure a strong joint, I always use wood glue when I’m using nails as a fastener.
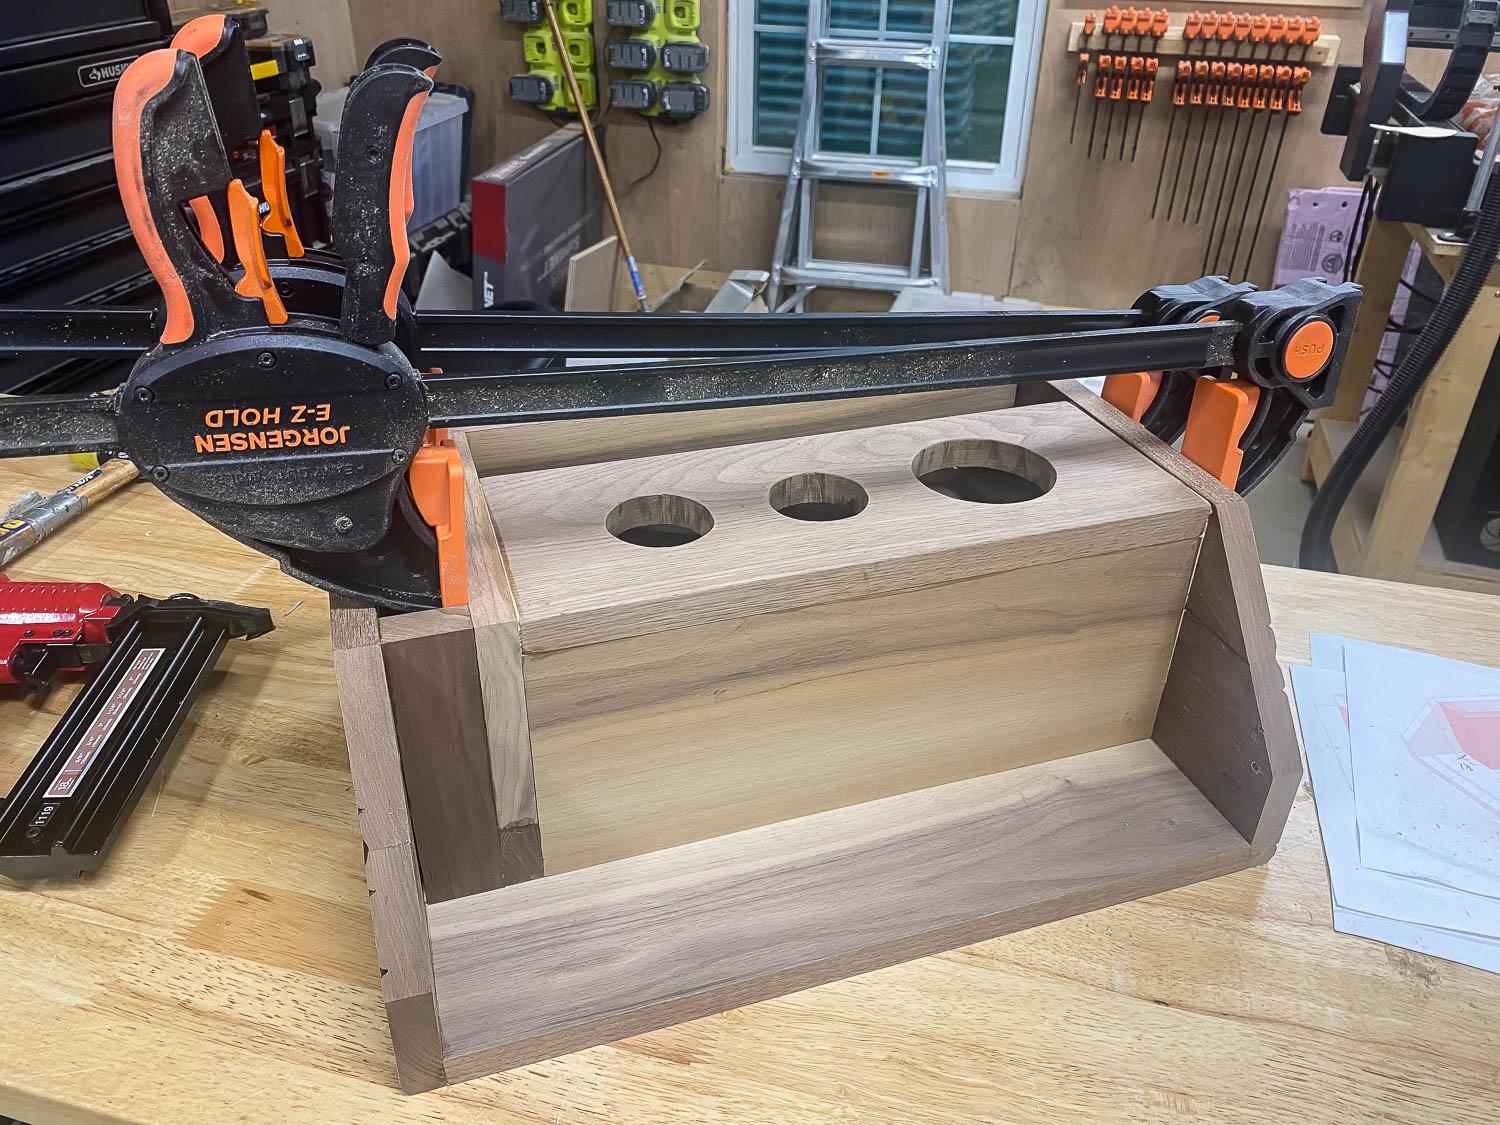
I couldn’t fit the nail gun into the little cubby on the left side of the organizer, so I just glued that part together, using clamps to hold the pieces together until the glue dried. More Pony Jorgensen clamps to the rescue!
Once the glue was dry, I gave the entire thing a quick sanding and a coat of Rubio Monocoat Oil Plus 2C in Pure. I added a brass rod and dropped the chrome holders in place. The brass rod is totally optional here – I had it left over from our recent kitchen remodel, so I decided to use it to dress up the project. Now I’m wondering if I should spray paint the chrome holders gold too…
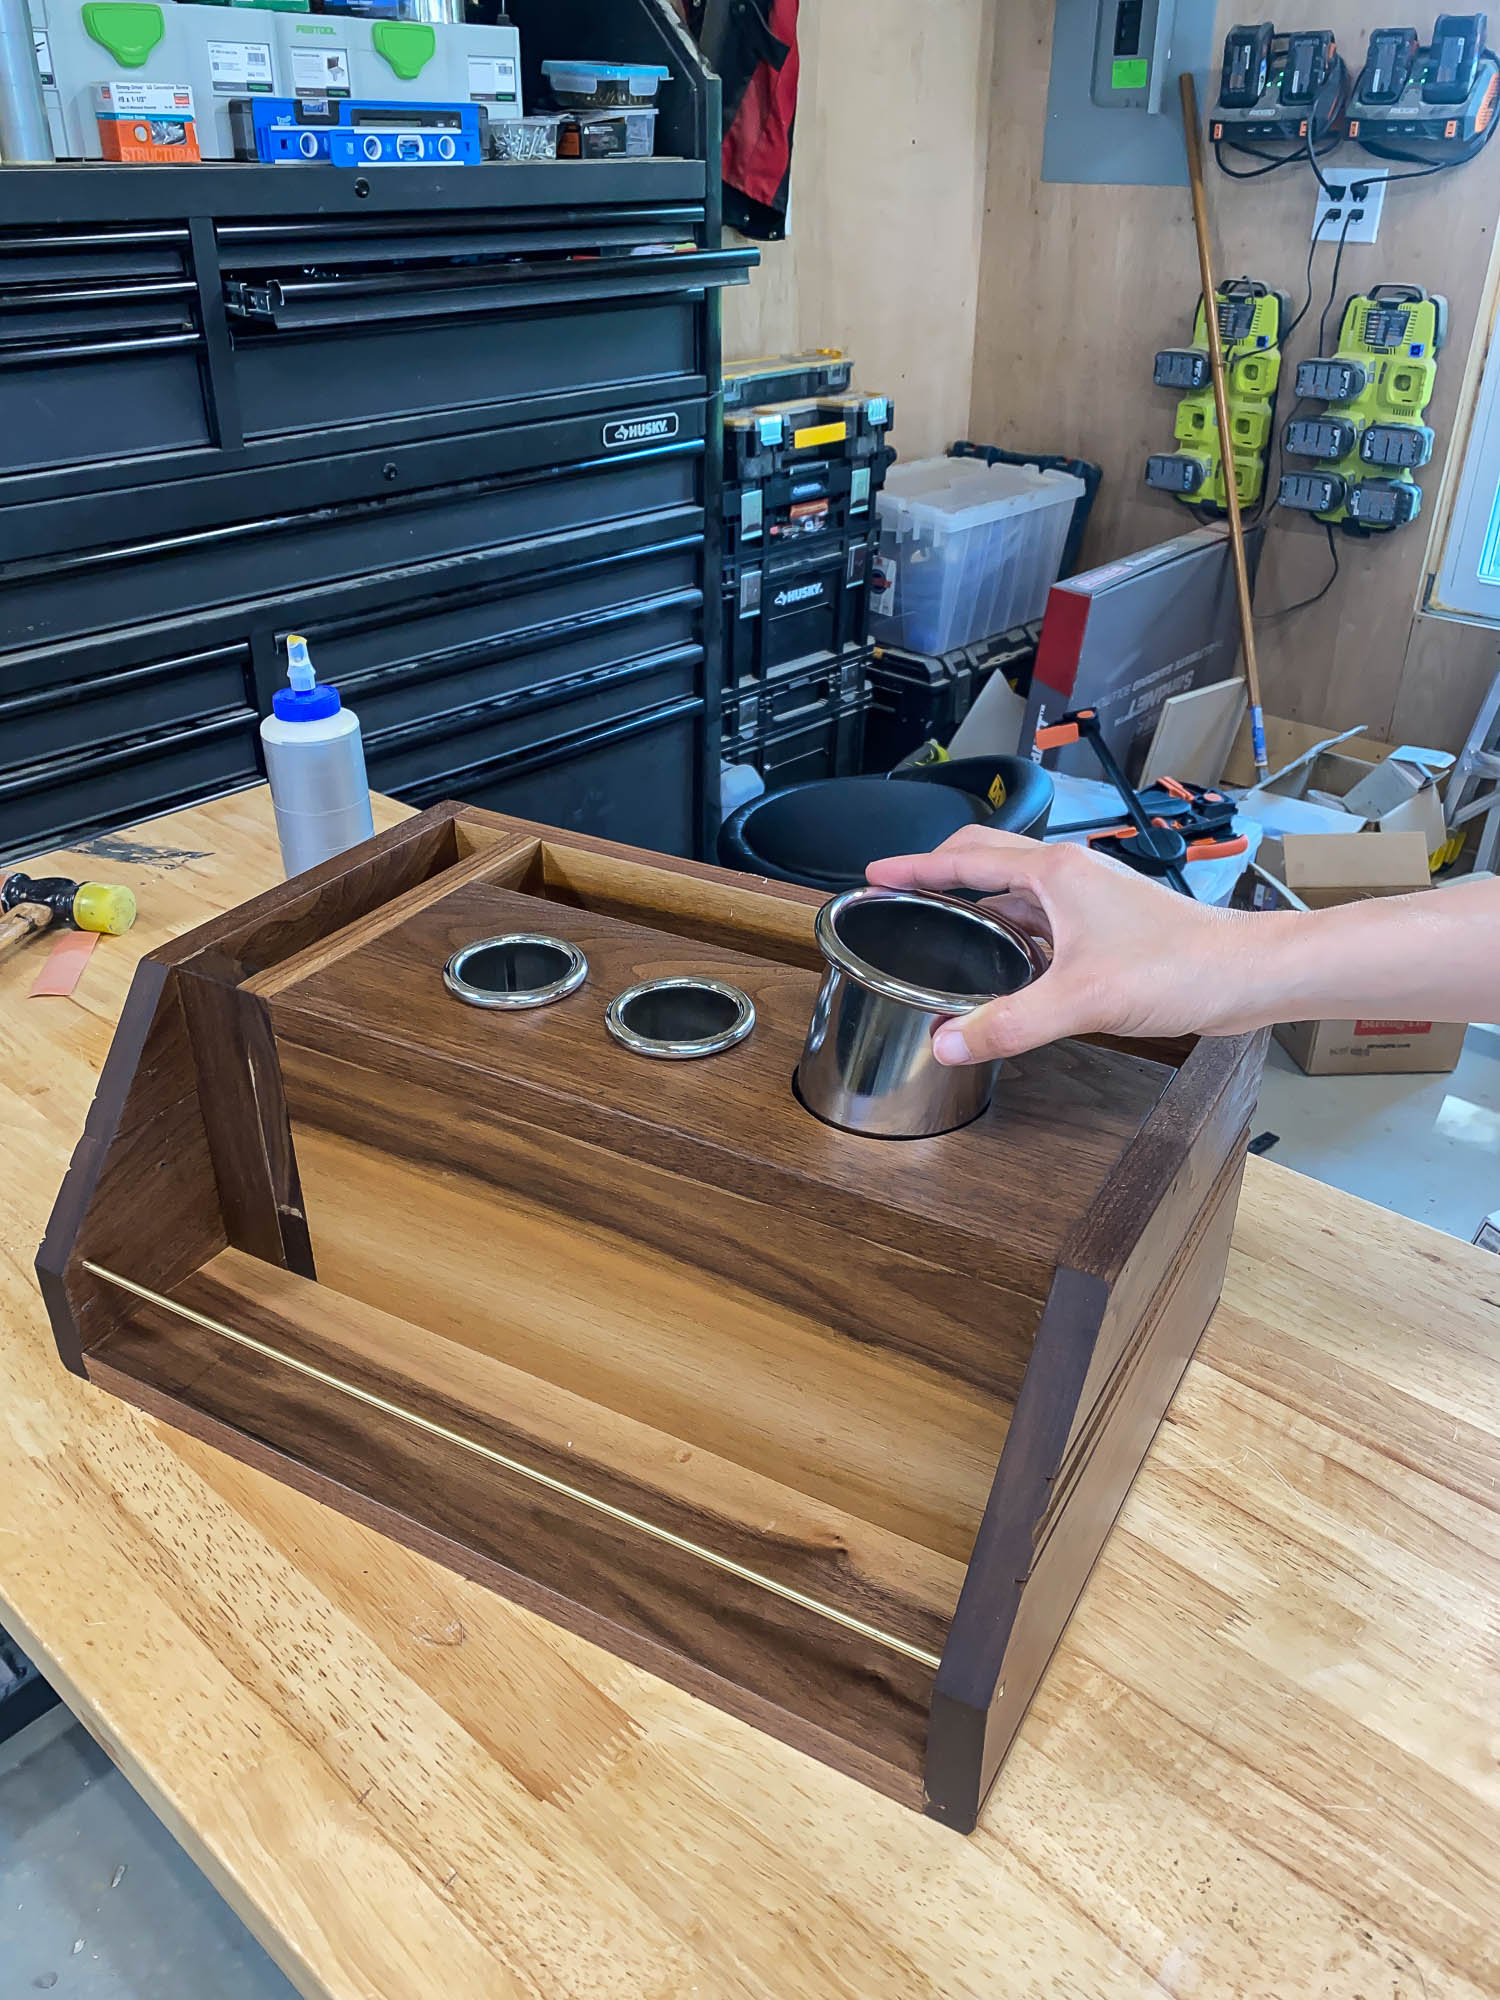
Didn’t it turn out great? So functional too. There’s even a place to store the electrical cords, a hairbrush or comb, as well as various hair products.
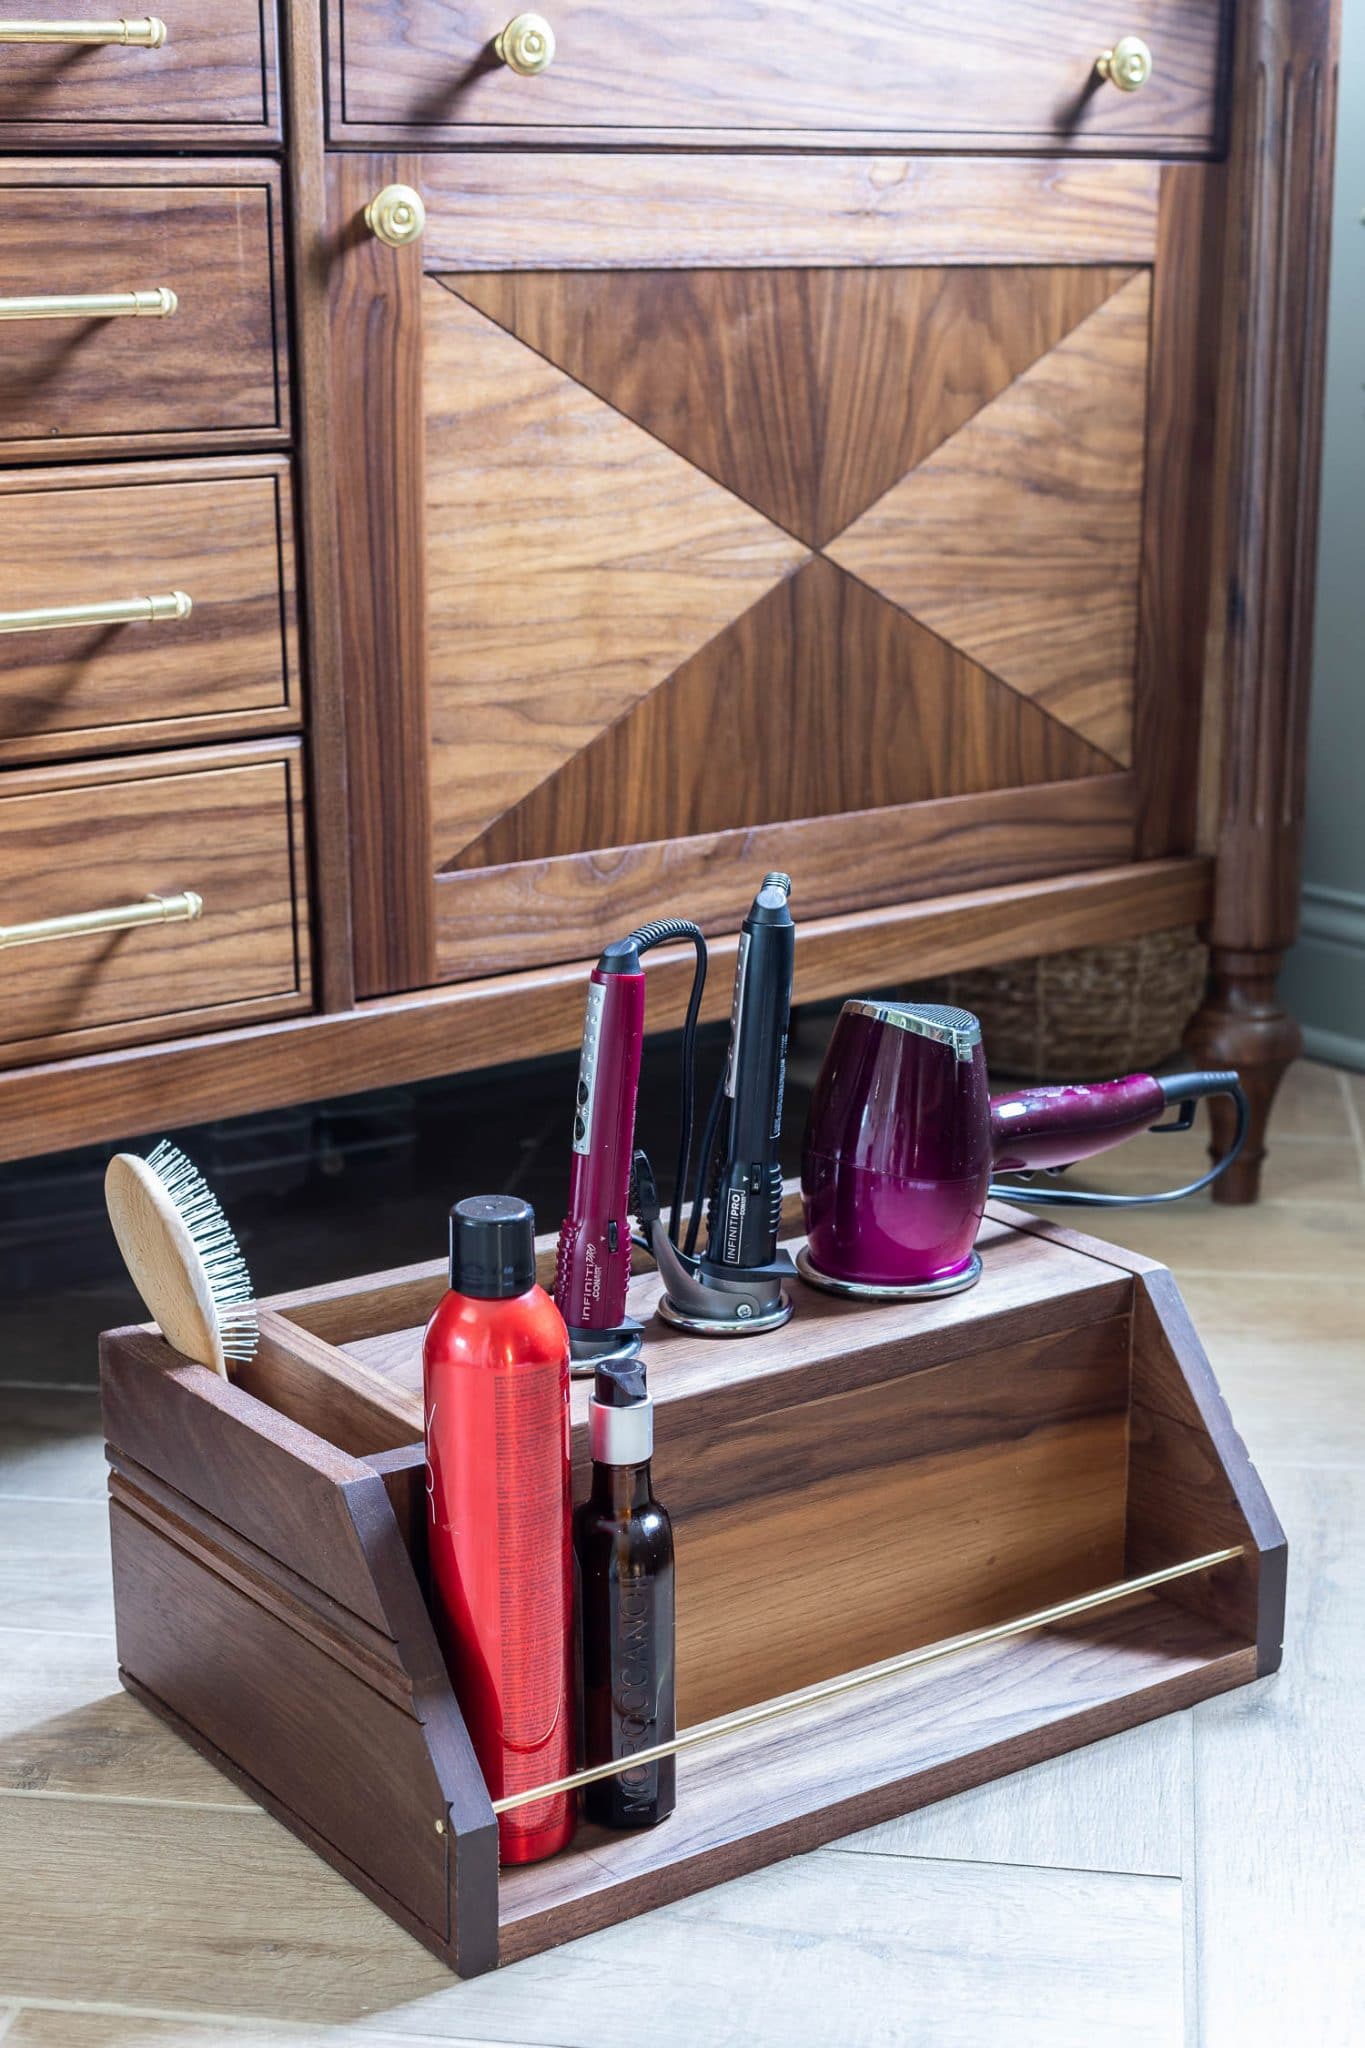
I designed this hot hair tools organizer so that it fits nicely under the sink in my DIY bathroom vanity cabinet. I may add a couple of metal drawer slides underneath so I can pull the whole thing out for easier access. For now, it’s does a great job organizing my hot hair tools and other hair necessities. A place for everything and everything in its place!
If you’d like to build this hot hair tools organizer for yourself, be sure to download the plans and tag me (@jenwoodhouse) on social media so I can see your handiwork!


Thank you for sharing your article. It’s very helpful for me. A must have organizer!
Thanks for giving a helpful guide on making this rack. The images made it easier to understand!
Thank You for the information. It will save time.
Almust read post! Good way of describing and pleasure piece of writing. Thanks!