*This post is in partnership with Starbucks®.
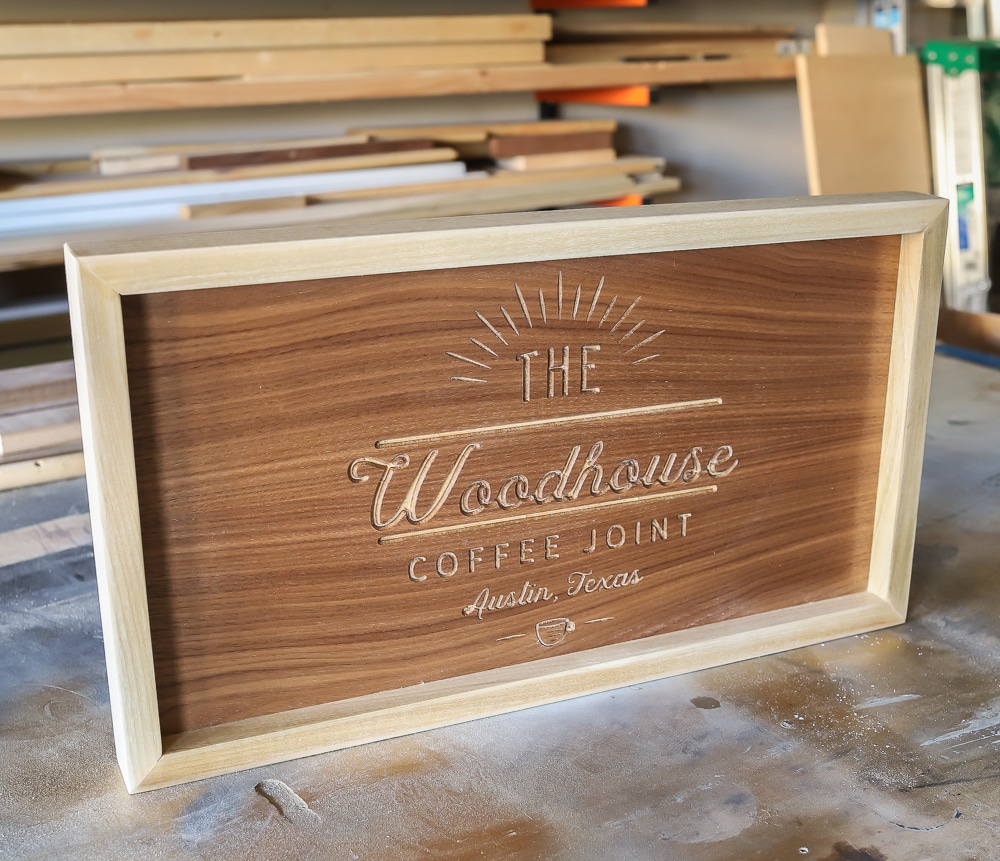
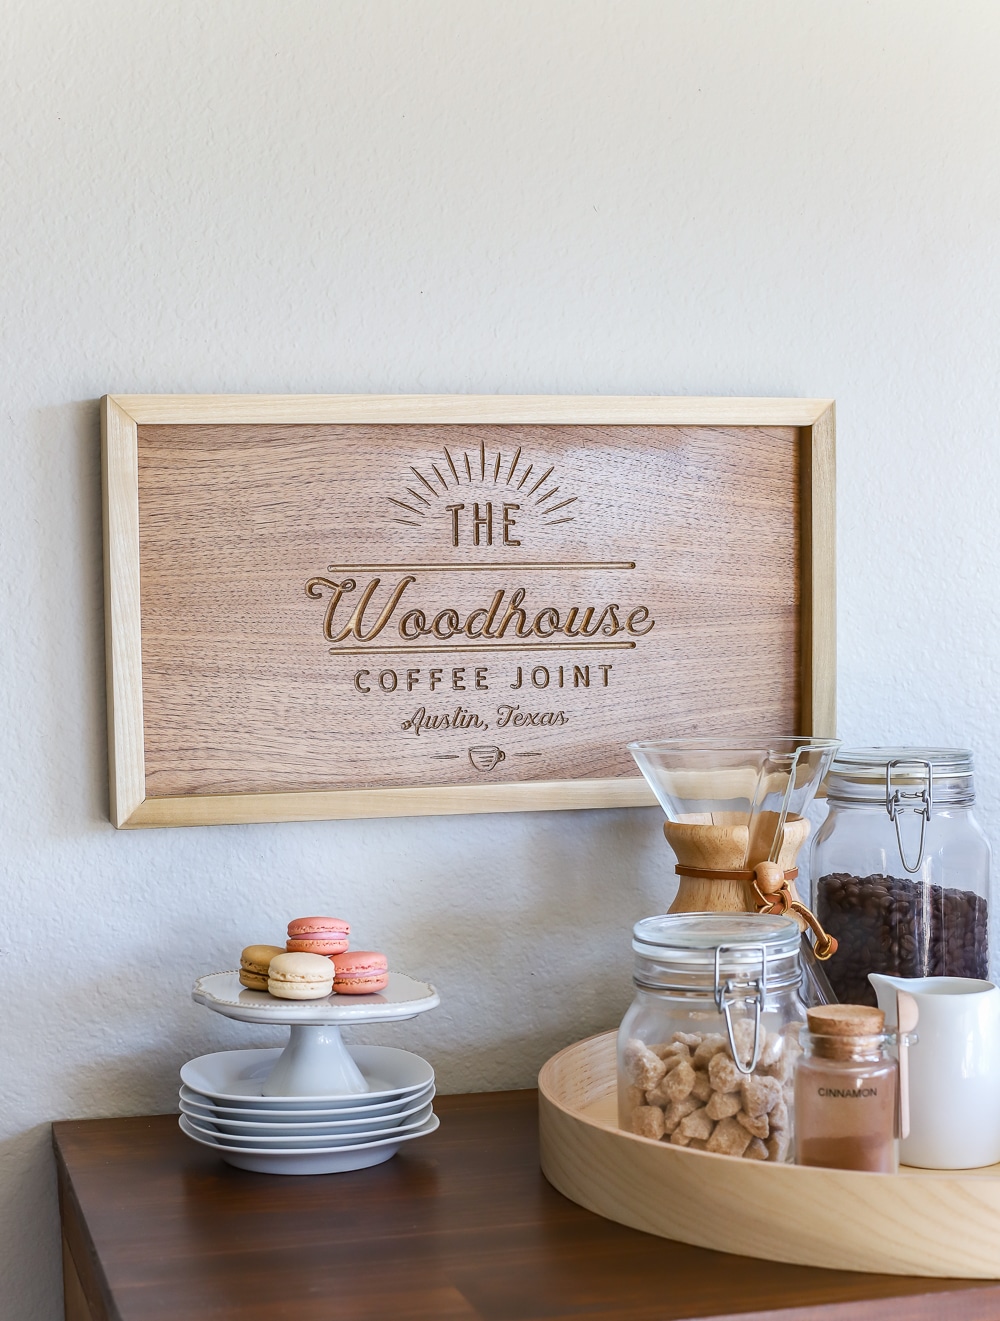
As a military family, we move around a lot (about every two years, sometimes less), so making our house a home wherever we go is a priority to me. Since we’re constantly living in rental homes or generic military housing, putting our stamp on things can oftentimes be challenging. In my extensive experience as a serial renter, I’ve learned over the years that landlords and “the government” frown upon knocking down walls and all that. So we military spouses must find other ways to make our space our own. Sometimes it can be as simple as making a DIY personalized coffee shop sign, like this one (and purchasing the supplies using our Starbucks Rewards® Visa® Prepaid Card):
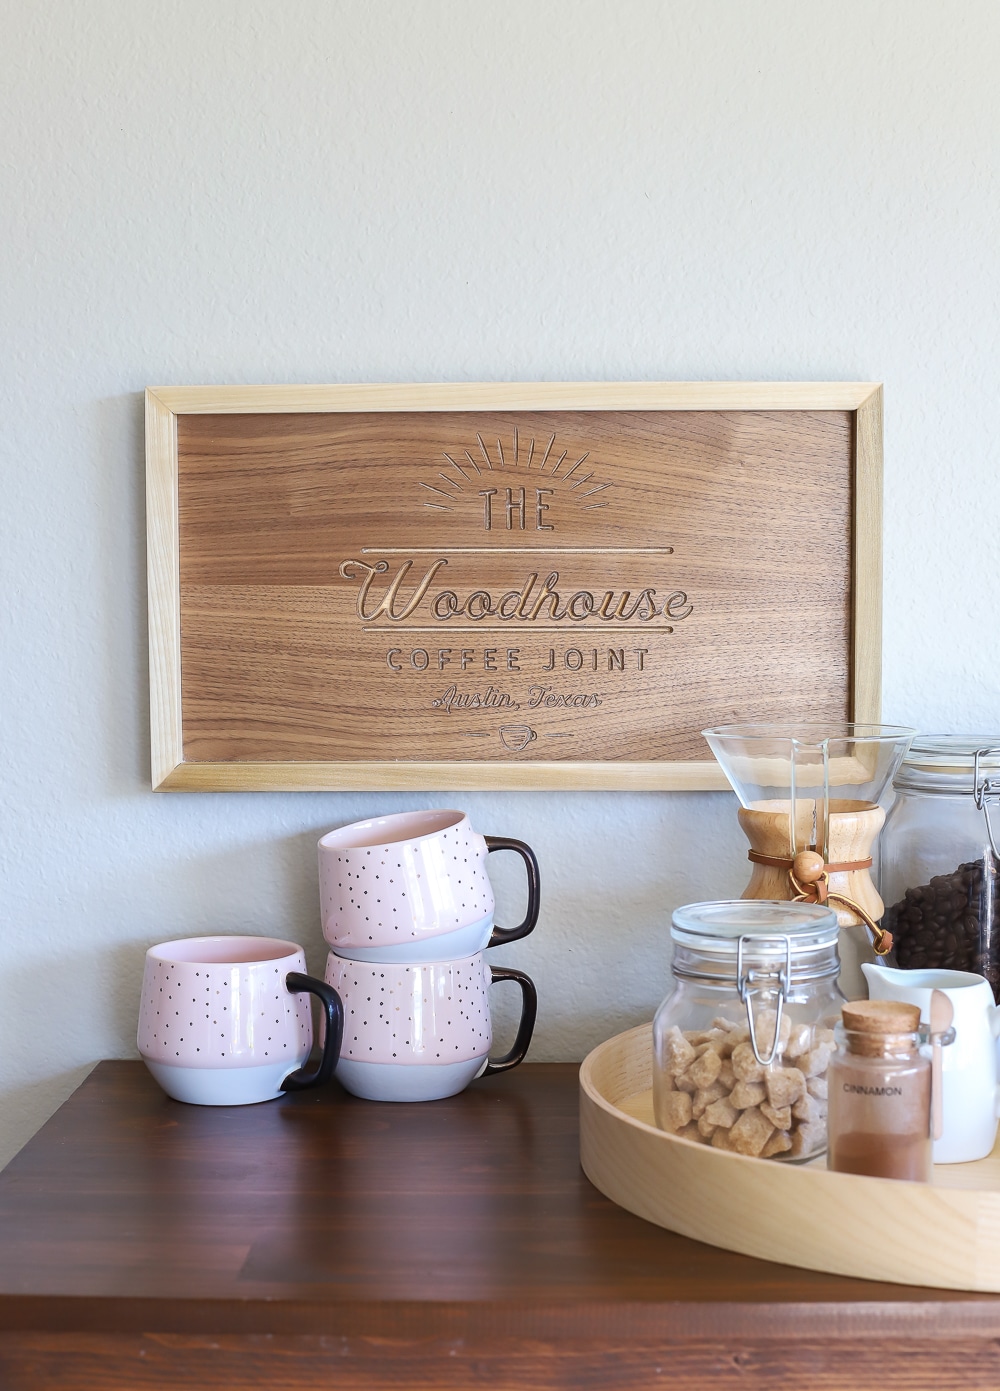
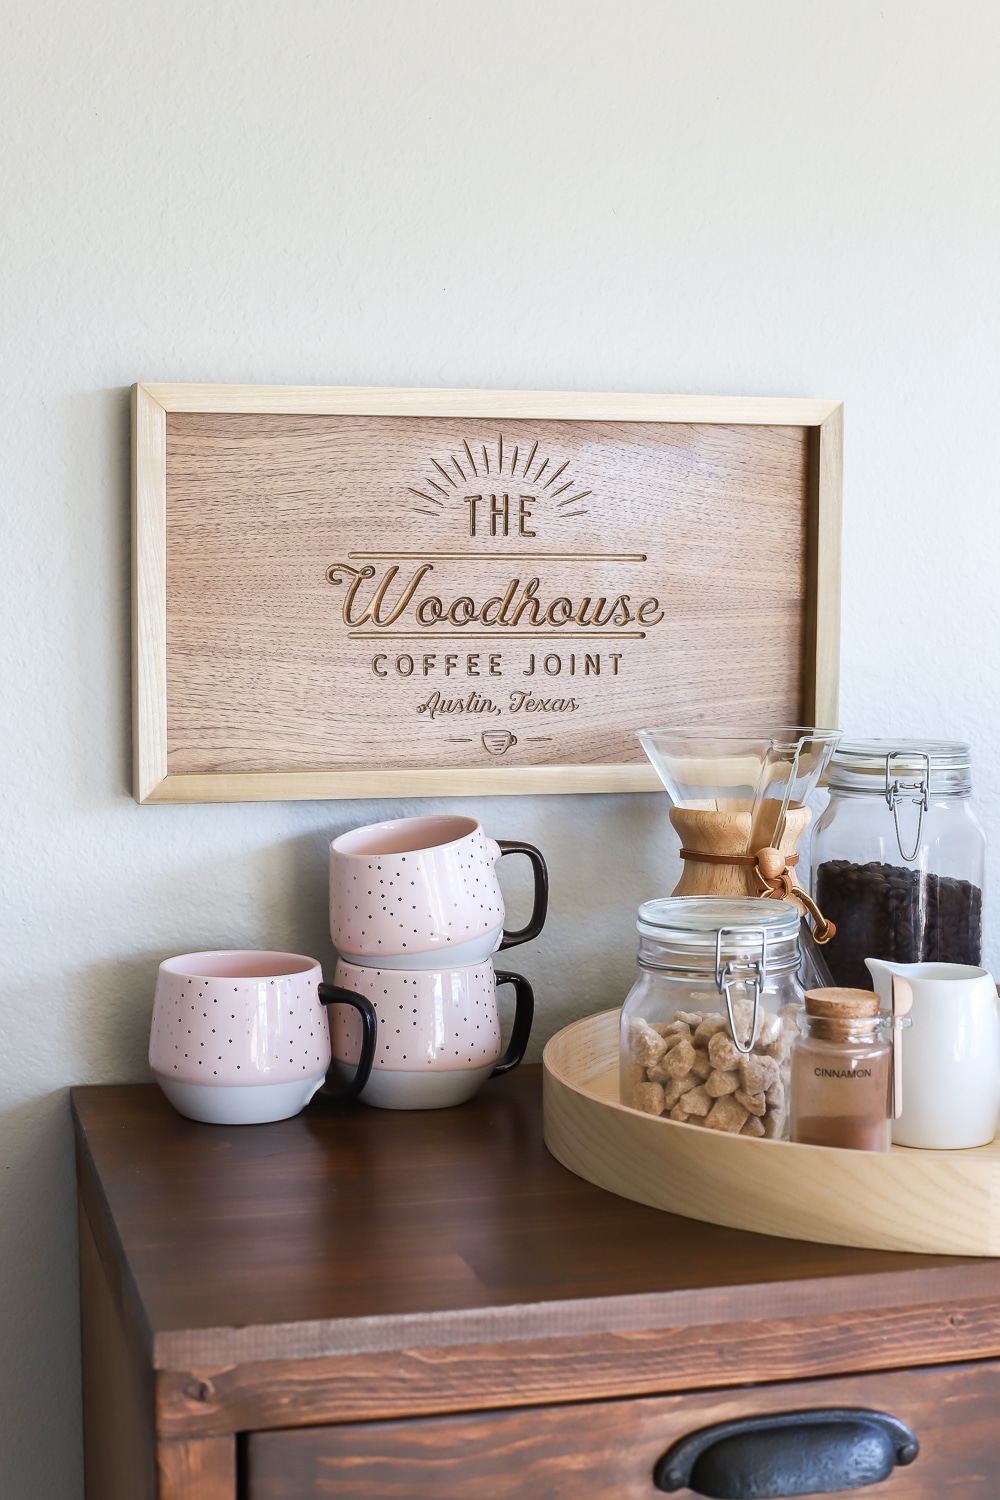
I love having a dedicated coffee station in our home for ourselves and for our many travel-weary house guests and this personalized coffee sign adds so much charm!
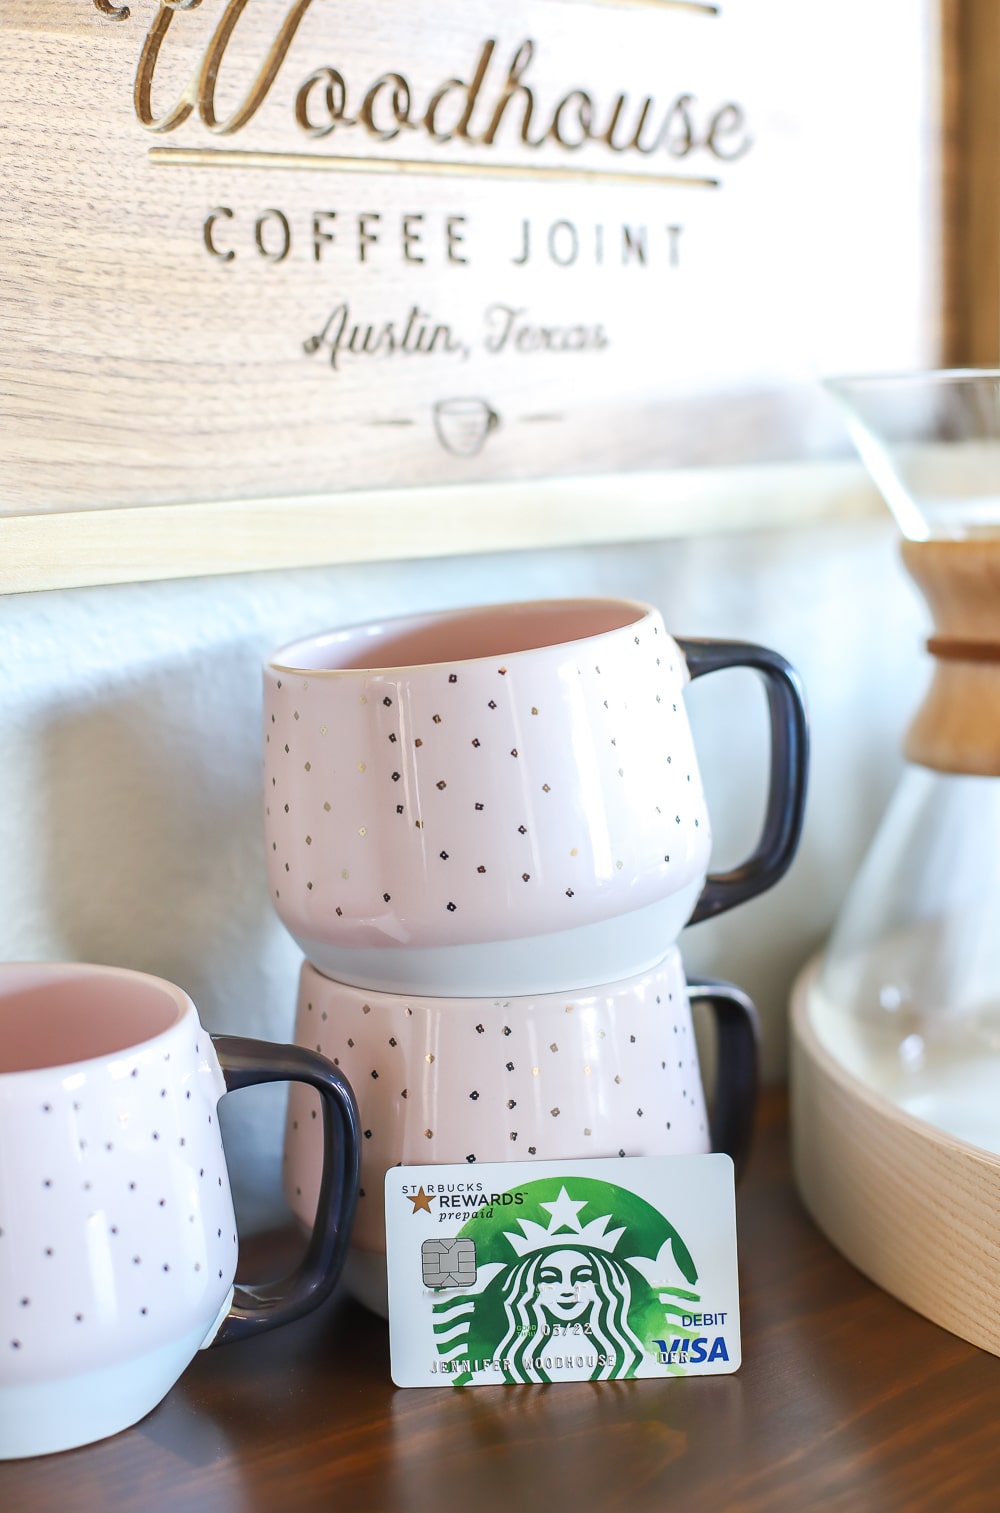
Speaking of coffee, we recently got a Starbucks Rewards® Visa® Prepaid Card and I’ve been earning Stars on everything I purchase, including supplies for fun DIY projects! I’m able to preload the card with a set amount of money, purchase all of my supplies, and stay within budget for any DIY project I tackle. This card isn’t a credit card – it acts more as a Visa® debit card or a refillable gift card – you simply load up the card and use it for any purchase, and earn Stars in the process! There’s no monthly or annual fee, nor is there a fee for reloading the card (other fees may apply).
You can learn more about the Starbucks Rewards® Visa® Prepaid Card here. And if you’re not familiar with the Starbucks Rewards® program, you can learn about that here, but the gist of it is, for every $1 you spend at Starbucks, you earn 2 Stars, and you earn 1 Star for every $10 you spend outside of Starbucks stores. Those Stars can quickly add up and you can redeem them for food and drink items!

How To Make A DIY Personalized Coffee Shop Sign
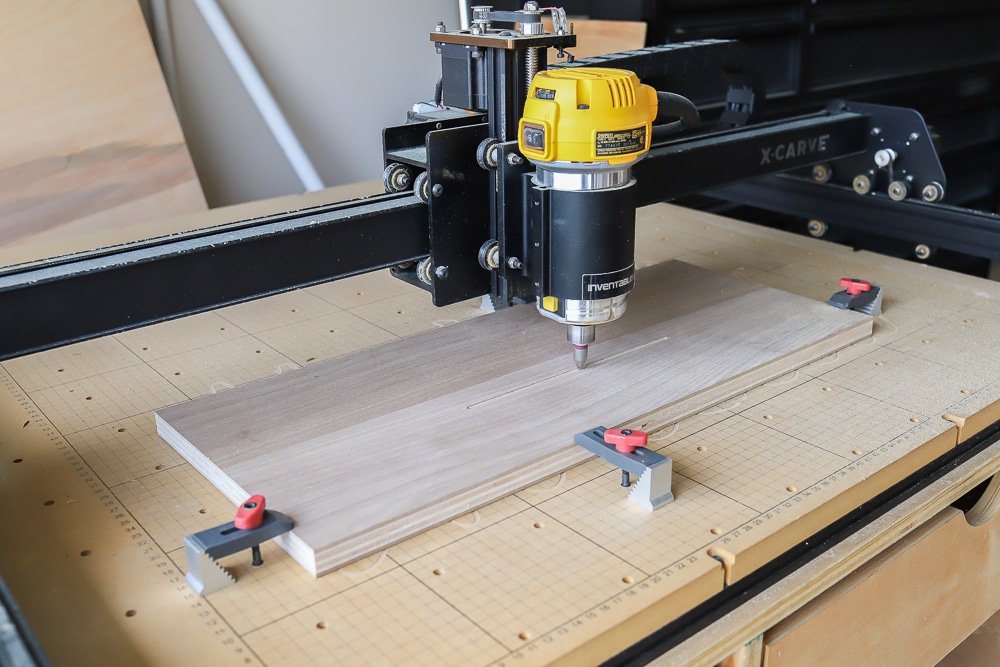
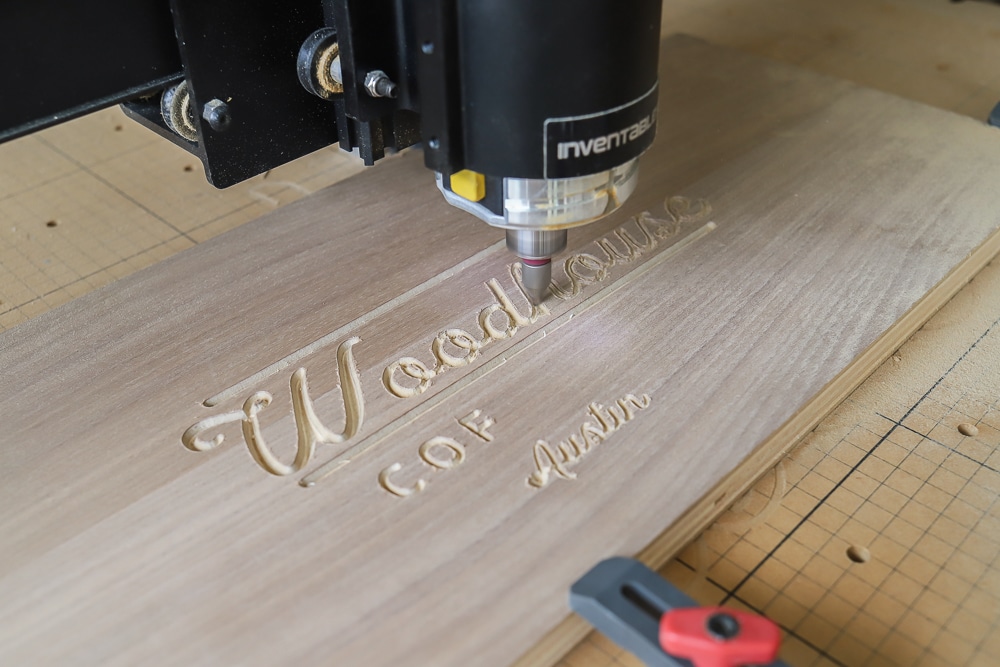
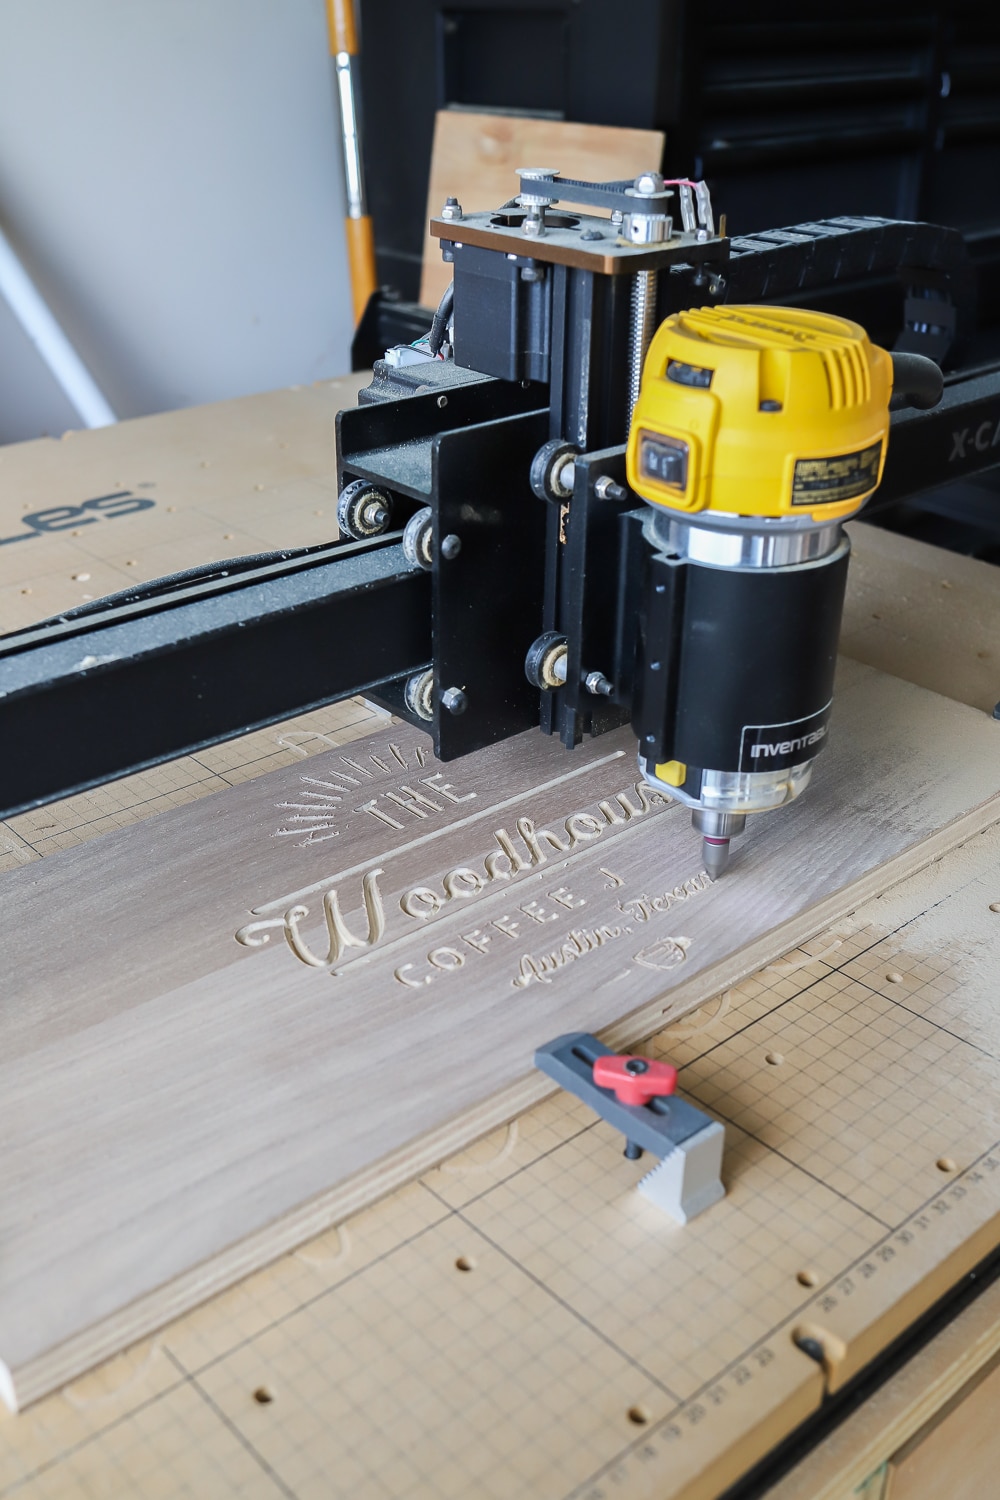
I had some walnut plywood leftover from the DIY entertainment center I’m building, so I used a scrap of it to make this sign. If you don’t have access to a CNC machine, you can certainly use paint and stencils to create your sign, but I used my X-Carve 3D carving machine because if the choice ever includes robots, you choose robots.
It took about 45 minutes to carve the design, so while the X-carve was busy working, I cut pieces for the frame.
I won’t provide my measurements here, because you can make your sign however large or small you’d like, but when you cut the mitered frame, I recommend that you measure your sign and then cut the frame pieces to fit. Cut your boards a little long and shave off a bit at a time to get the tightest fit. The miters are cut at a 45º angle with a miter saw.
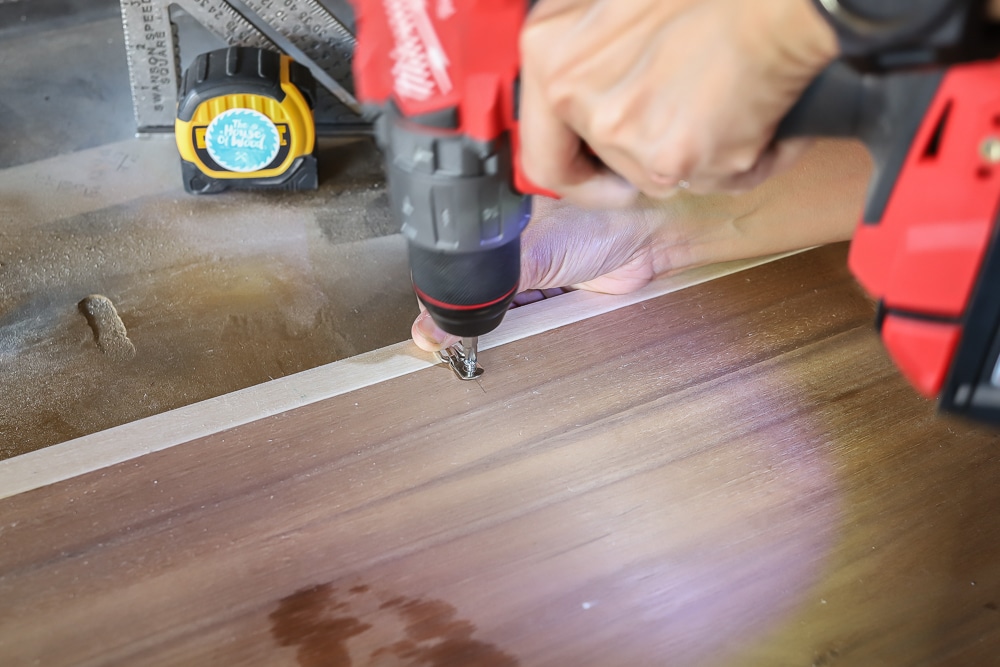
Then, simply glue and nail the frame to the sign. I like to use this wood glue and this battery-powered nailer. Next, I applied a couple of coats of my favorite satin finish to the sign and let it dry. Finally, I attached a D-ring hanger to the back.
And there you have it! Easy as pie, right?
Great. Now I want pie.
Okay, so we don’t have pie, but we have macarons! #nomnomnom
Welcome to The Woodhouse Coffee Joint. We’re glad you’re here.

*I have partnered with Starbucks® to help promote the Starbucks Rewards® Visa® Prepaid Card. All efforts, ideas, and opinions are my own. This post contains affiliate links. To read my full disclosure policy, please click here. Debit cards are provided by JPMorgan Chase Bank, N.A. Member FDIC.




What size X-Carve machine do you have?