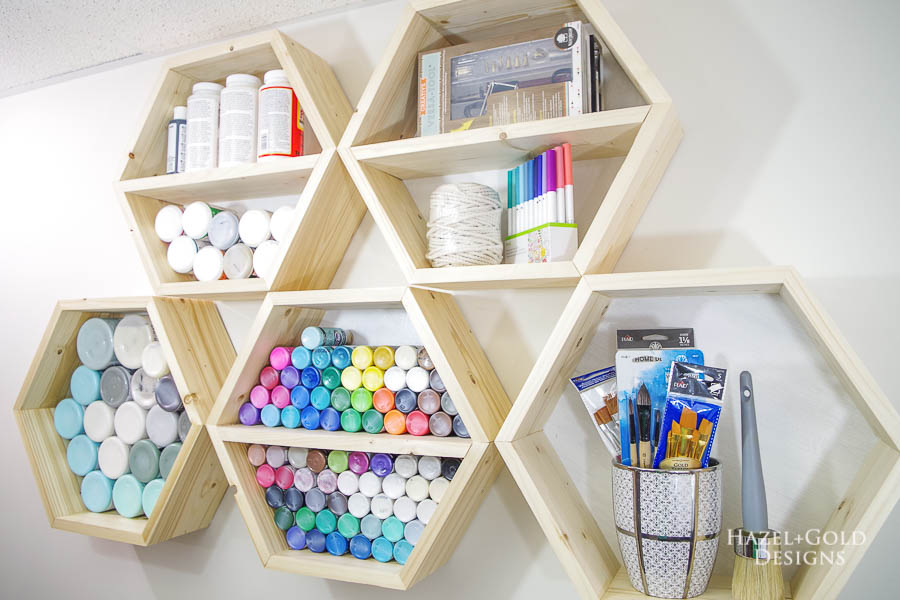
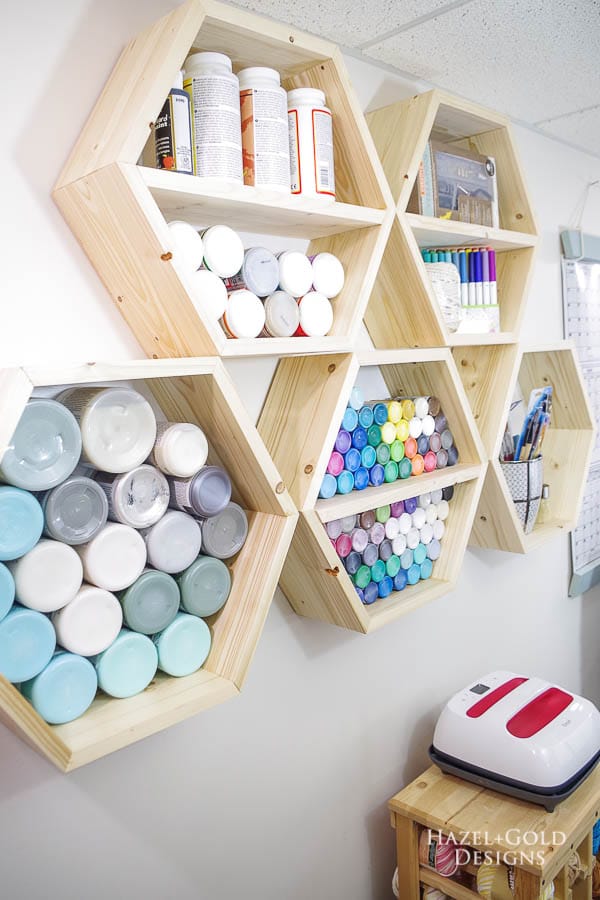
Hello friends! This is Sheri from Hazel + Gold Designs visiting again, here to share another free build project with you! These DIY Hexagon Shelves are the perfect, inexpensive way to store craft supplies or other items in your home. They’d really make a great shelf set in any room. However, I’ve been working on updating my office and making it more functional for my endless projects, so I’m going to show you how to build them and use them for craft storage. I made seven of these shelves, but you can make more or less, whatever fits your needs best.

Materials:
- (5) 1 x 6 Ft. Boards
- Wood Glue
- Sandpaper
- 1/4-inch Sheet of Plywood
- White Paint
- 3/4-inch Brad Nails
- Sawtooth Picture Hangers
- Polyurethane
Tools:
- Miter Saw
- Orbital Sander
- Safety Glasses and Ear Protection
- Strap Clamp
- Jigsaw
- Brad Nailer
How To Build DIY Hexagon Shelves
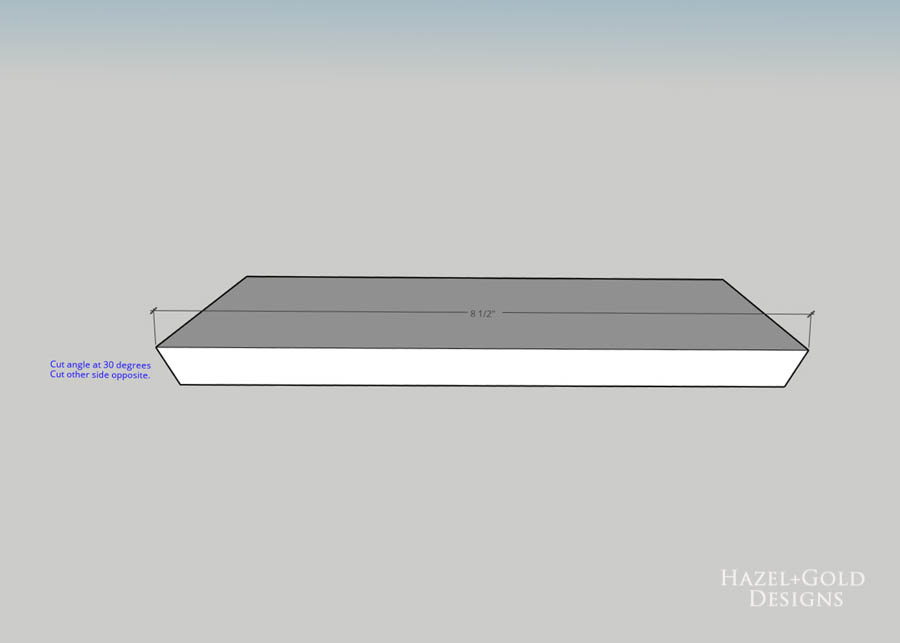
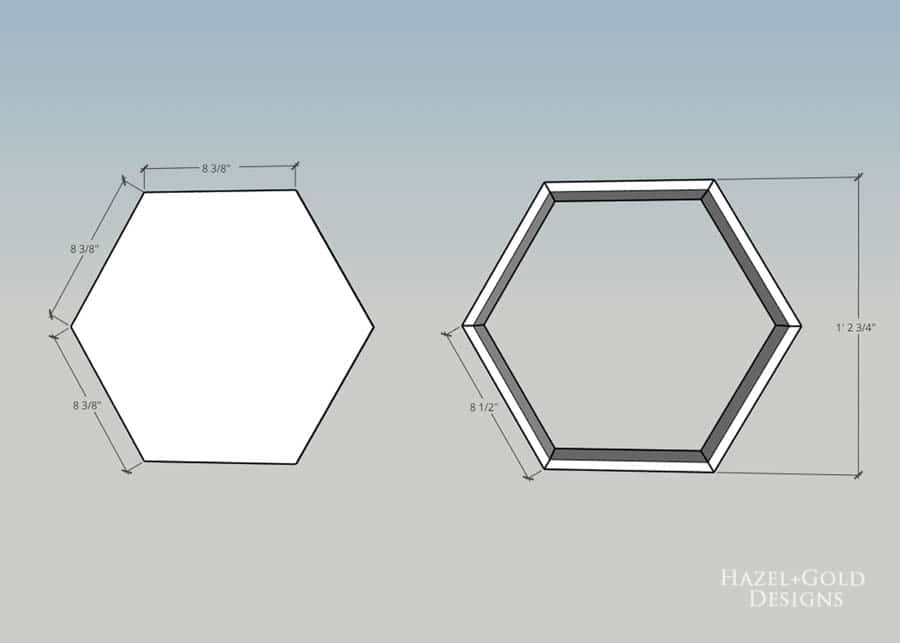
The first step is to sand your boards, then cut them down to size. All the cuts you will make will be at 30° so set your miter saw at that angle and leave it for all these cuts. I made each of my hexagon sides 8.5 inches. Really, you can adjust the size to be bigger or smaller if you need to, just leave the angle at 30°.
On my miter saw fence, I have adhesive measuring tape that makes it easy to cut the exact length I want every time. If you don’t have that, cut the end of the board at a 30° angle and measure the long edge at 8.5 inches. Cut the other angle at that mark but going to opposite direction. So there should be a long side and a short side, the long side being 8.5 inches long.
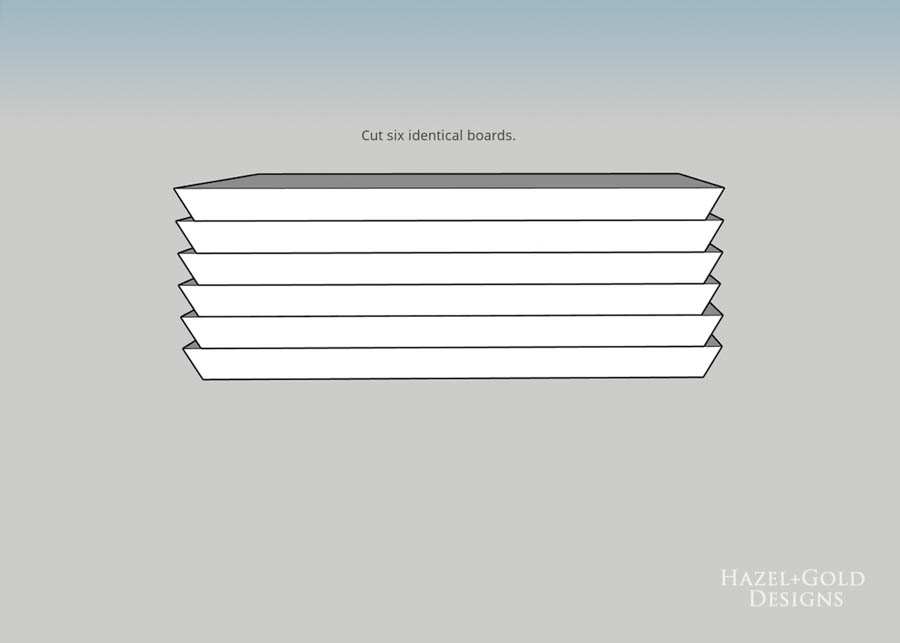
Cut six identical boards.
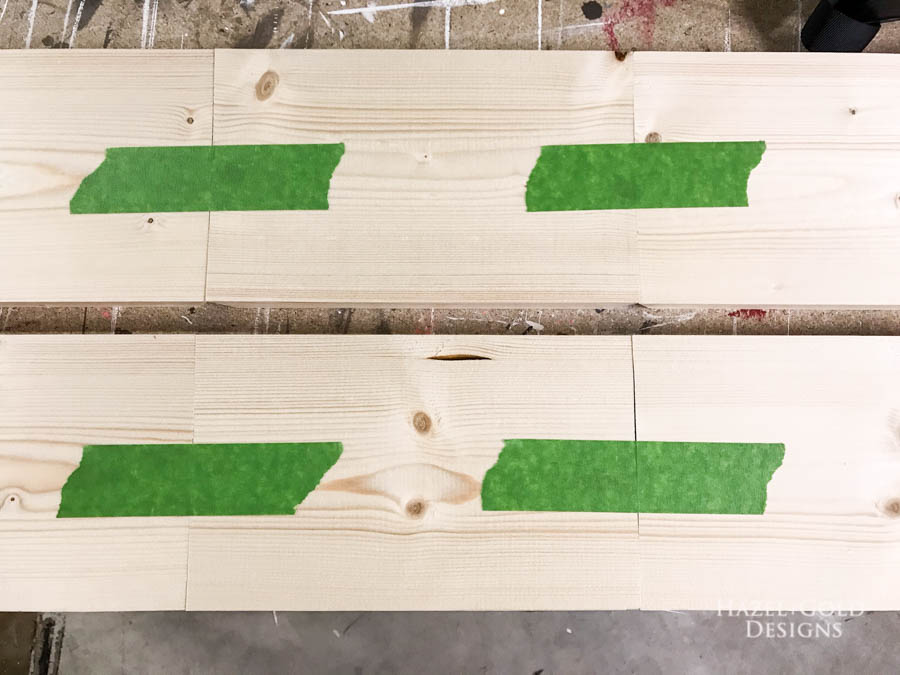
Time for glue up! My favorite way to do this is to use tape to hold the long edges together…
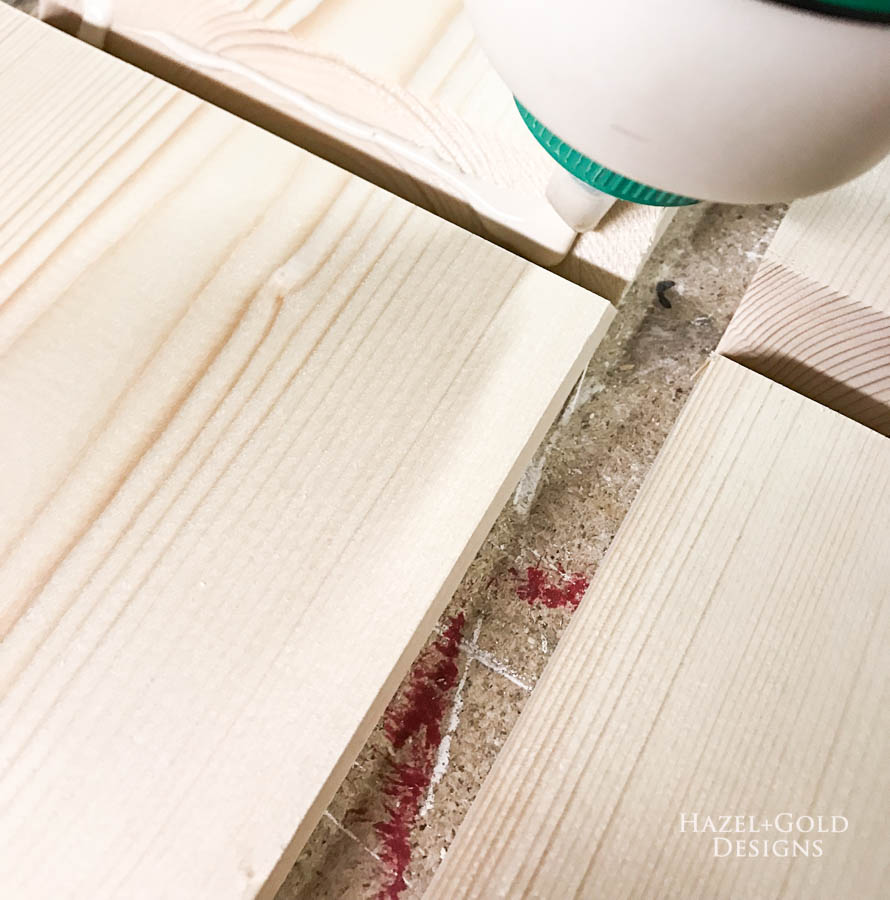
Flip them over and spread glue in between the boards…
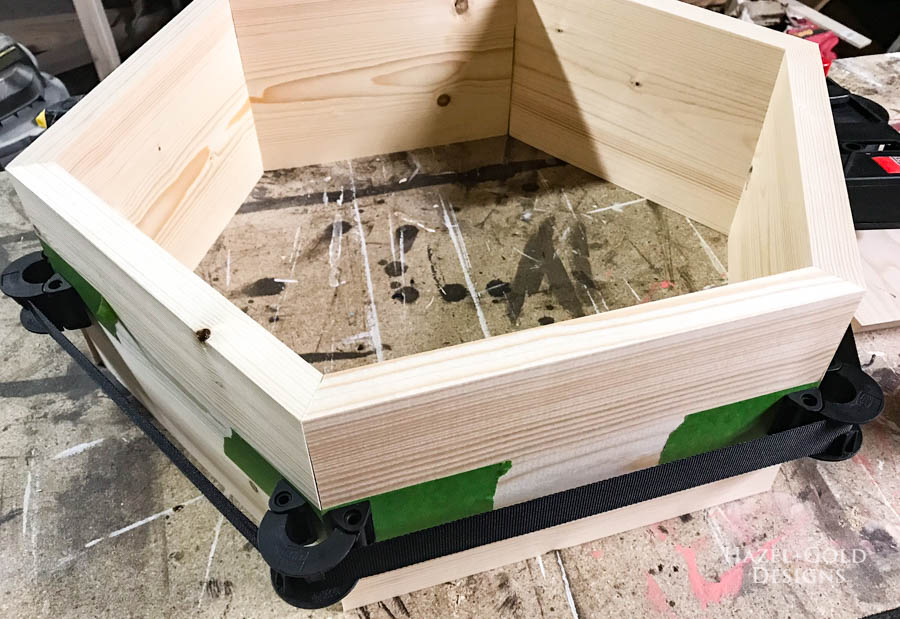
Then press the angles together and clamp it all up. You may need to adjust the corners until they match up as good as you can get them.
Once the glue has set, remove the clamp. Now it’s time to add the backing.
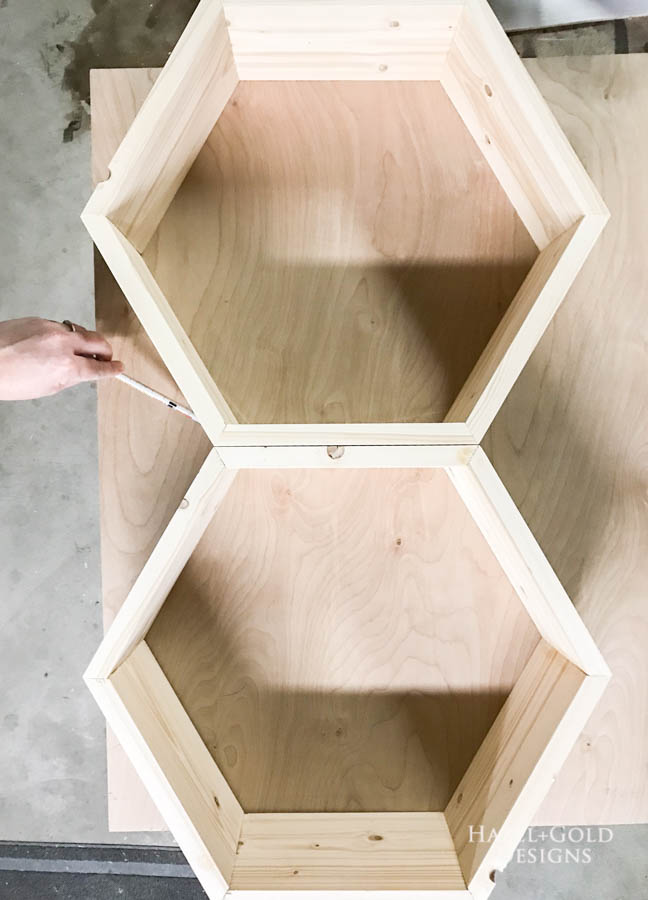
You can measure the size you need and cut out the plywood that way, OR you can choose the more efficient way and just trace the outside of the hexagons, then simply cut just inside that line with your jigsaw.
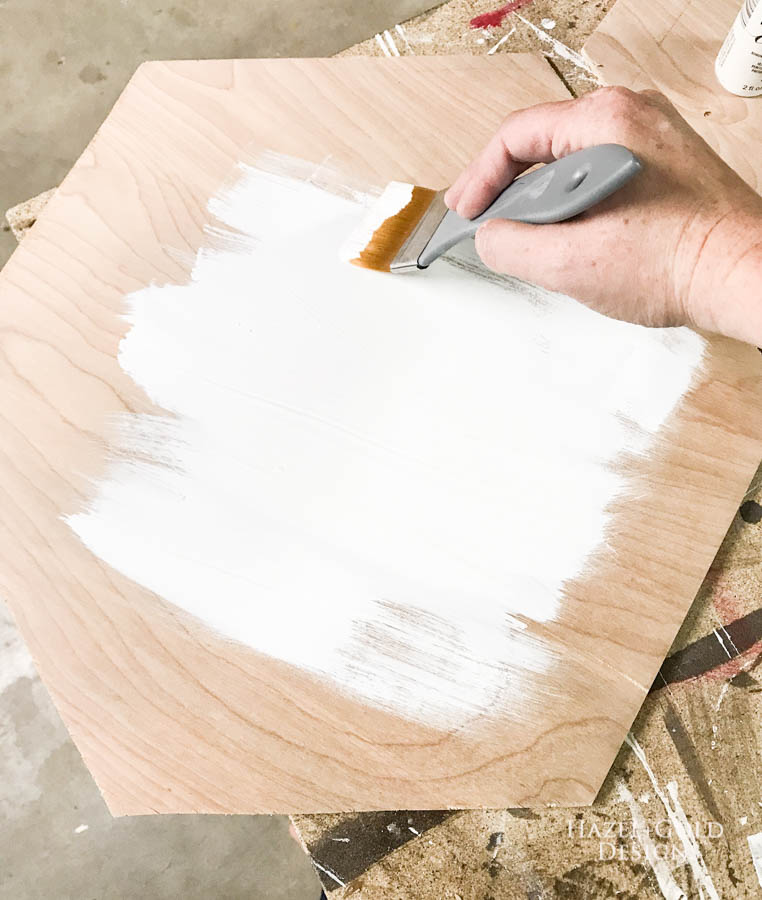
Once you have your backing hexagons cut, go ahead and paint them if you want to. I chose to paint mine white.
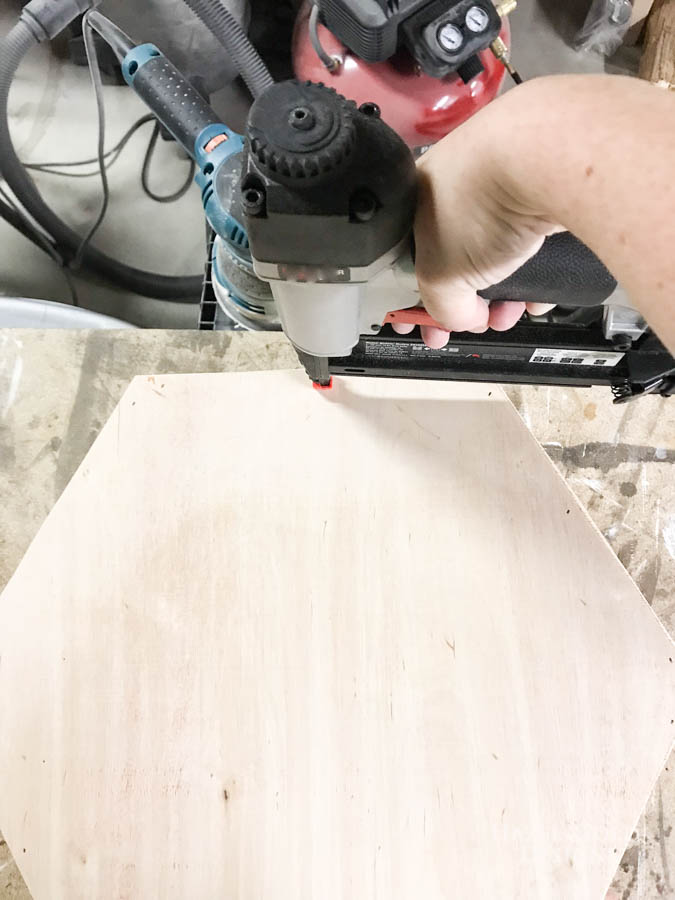
Once the paint has dried, use wood glue and a brad nailer to secure it to the back of the shelving frame.
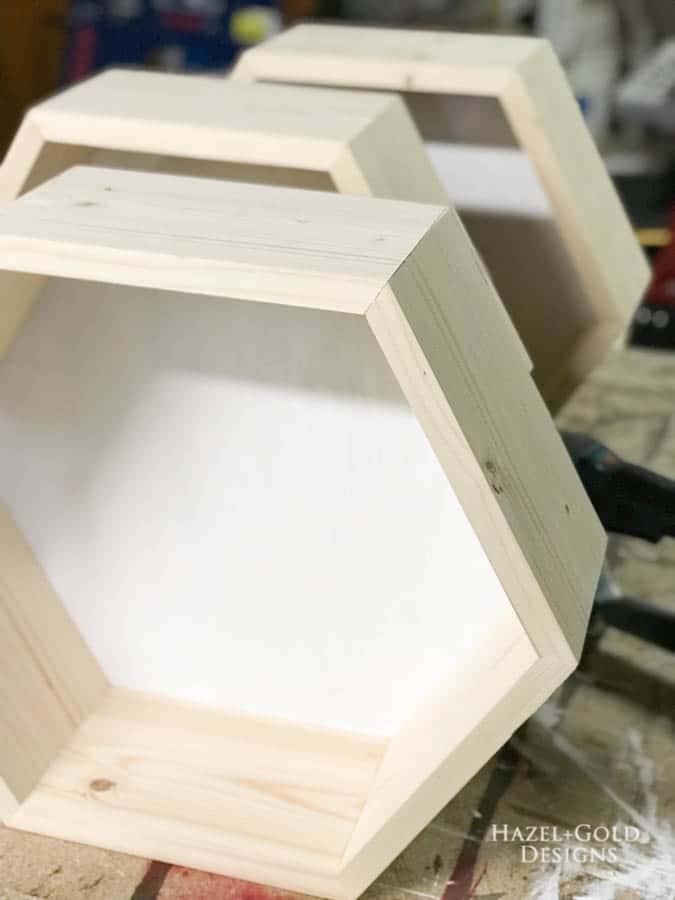
And there you have it, the shelves are built, well at least one anyway. These are definitely easier to make in bulk, so if you want multiple shelves to display together, complete each step for all the shelves at the same time.
Now you’ll want to add two or three coats of polyurethane to give it the perfect finish. I am loving the light color of the bare wood for my office, so I didn’t stain it.
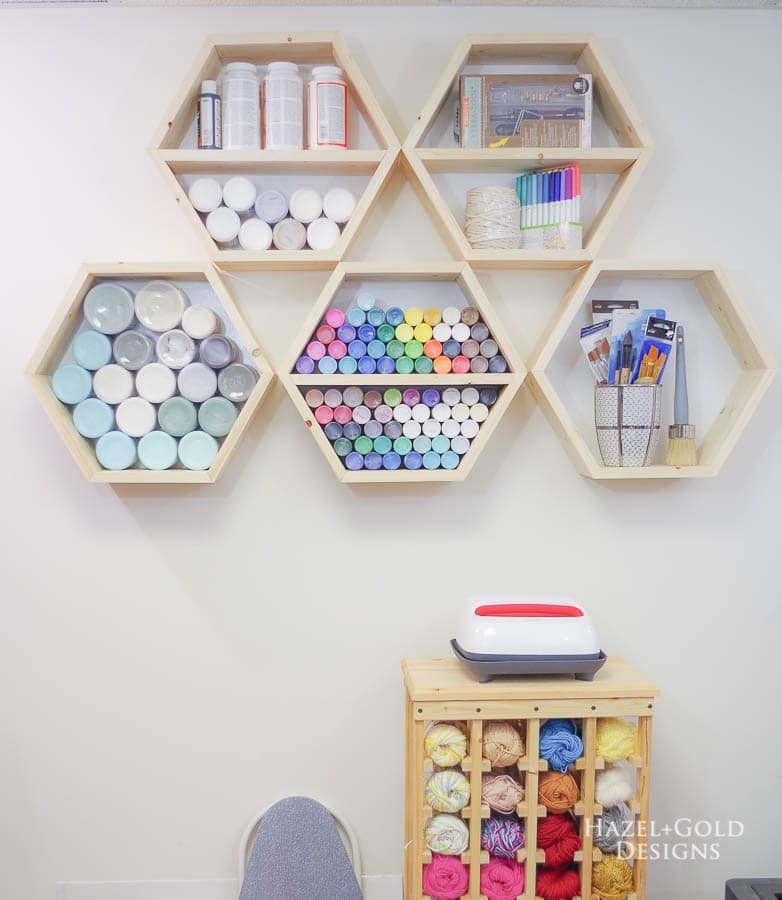
Here’s what they look like now that they’re finished!
The shelves are an easy addition as well, just cut a board with 30° angles on each side that will stretch across the entire hexagon. I didn’t secure mine simply because I wanted the option to remove them.
I also think it may be fun in the future to paint the backing inside a different pastel color if I get tired of all white. It would be an easy adjustment, but for now I like the bright white. My office is in the basement with no natural light so the brighter, the better.
I hope you like this project! Thanks for reading.


What is the best way or what did you use to mount them onto the wall? I don’t see that anywhere at the end of the post. Thanks!
How did you mount them to the wall?
You are so talented! Your very creative.
I love those Hexagon Shelves thank you.
Thank you for including measurements and dimensions! These made it so much more helpful than other sites. Thanks!
Could you tell me the height and length (at widest point) of the finished hexagon.
Love these shelves, they look amazing. I’m just curious how you attached them to the wall.
What kind of clamp is that?