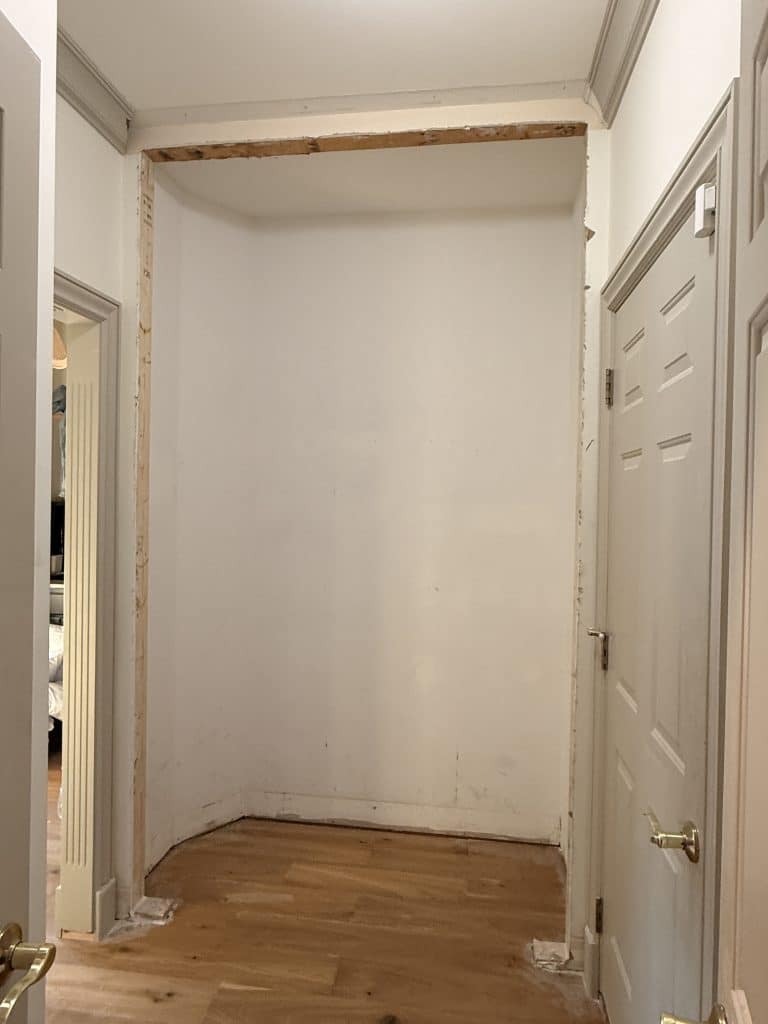
Welcome back to our built-in mudroom locker project! Last week, I walked you through how we reframed the opening for the built-ins, after realizing that my math was no longer mathing (grateful we caught that before building!). This week, we’ve officially entered one of my favorite stages of any project: cabinet construction! This is the phase where sketches turn into sawdust. Huzzah!
If you missed the previous posts in this series, you can catch up here:
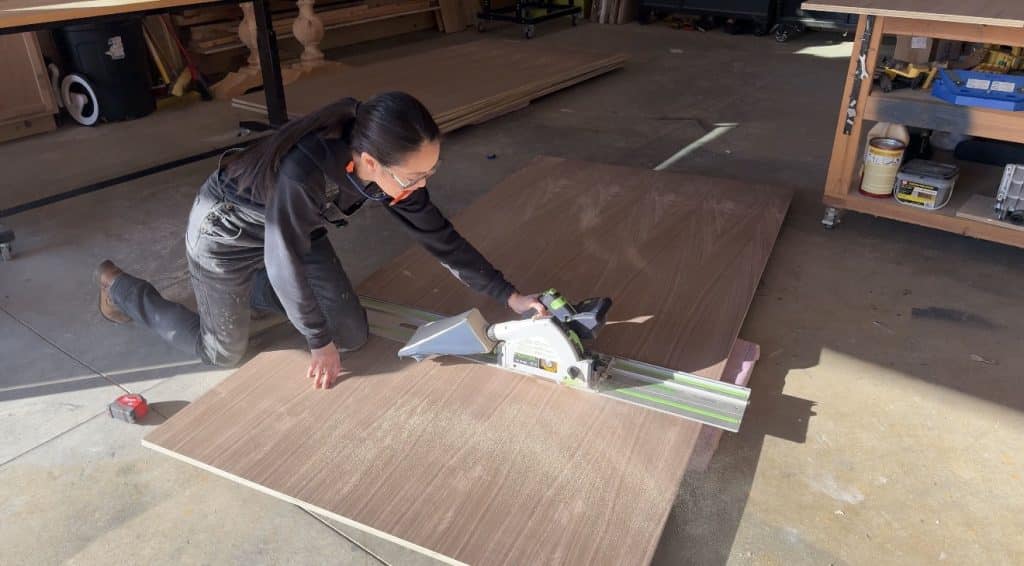
We’re using 3/4-inch walnut hardwood plywood, generously supplied by one of our sponsors, PureBond®. I’ve been using PureBond® hardwood plywood for years (as seen here, here, and here) and love that it’s formaldehyde-free and made from wood that’s responsibly harvested in North America.
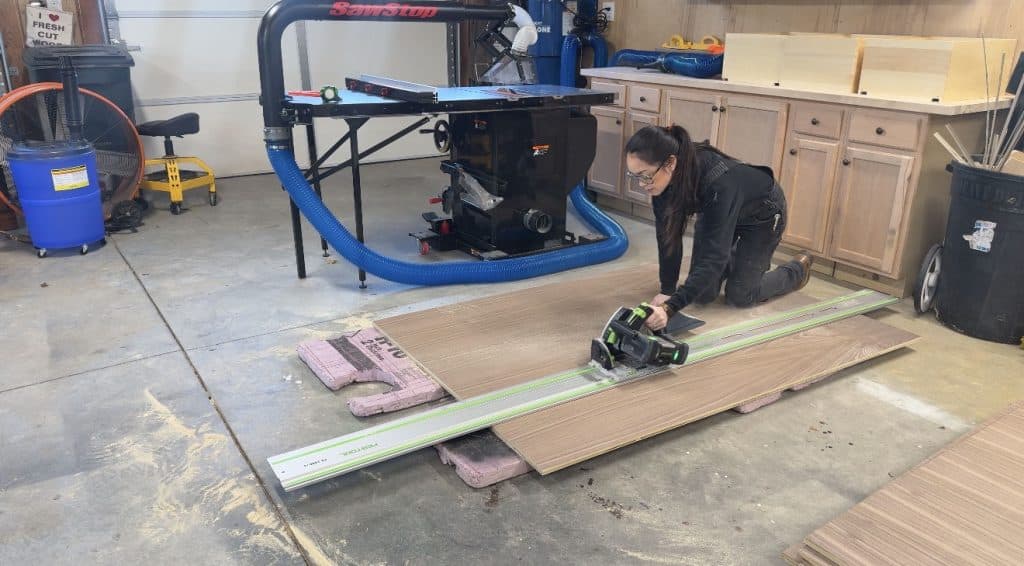
First, I used my track saw to break down the full sheets of plywood into smaller, more manageable pieces, then took those pieces to the table saw and cut them down to the final dimensions. Pro tip: Use foam insulation boards as your track saw cutting surface – they’re cheap to buy, easy to move, easy to store, and you can cut on them repeatedly – pretty sure I’ve used these same foam boards for the last 6 years.
When building, it’s best to cut the largest pieces first to maximize material efficiency. And because I had limited walnut plywood, I planned each cut carefully to utilize every square inch. I also wrote the plans so that these cabinets require the least amount of materials without compromising storage or function. Of course, I obsessed over the grain direction too, and called it out in the plans so that everything would look seamless (I overthink these things so you don’t have to).
By the way, I’m getting acquainted with the newest addition to my workshop – my dream saw, the SawStop Professional Cabinet Saw. It is a BEAST, and I feel super grateful to finally have one in my shop! So far, it’s been the workhorse of this project.
Building the Cabinet Carcasses
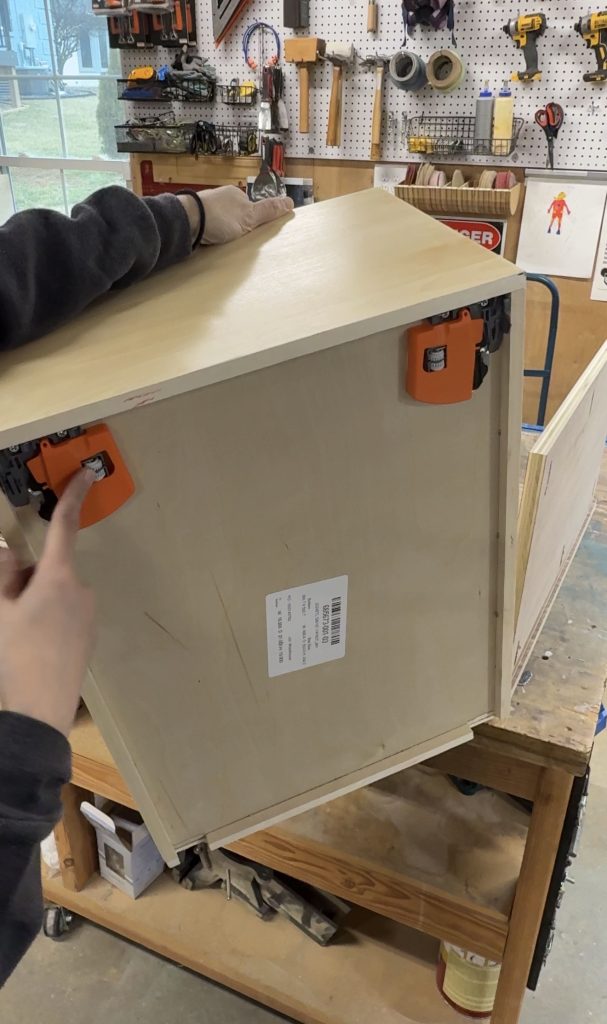
Once all the parts were cut out, assembly moved quickly. Honestly, building cabinets is just fancy box-making. If you can build a box, you can build a cabinet. Each component (in this case) consists of 5 parts: two sides, a top and bottom, and a back panel – that’s it!
Pocket hole joinery often gets a bad rap among woodworkers, but the truth is, it’s perfectly fine, efficient, and effective to construct your cabinet carcass with pocket screws. I used the new Kreg Rebel 20V Ionic Drive Pocket-Hole Joiner (did you know Kreg is making power tools now?!), and it’s been the best pocket-hole joiner I’ve used yet. It has a built-in drill that creates pocket holes with just one motion – super efficient. We drilled pocket holes into the plywood panels and glued and screwed them to make boxes: 3 boxes for the drawer base, 3 tall boxes for the mudroom lockers, and 3 smaller boxes for the upper cabinets. Easy peasy!
Drawer Slides That Will Change Your Life
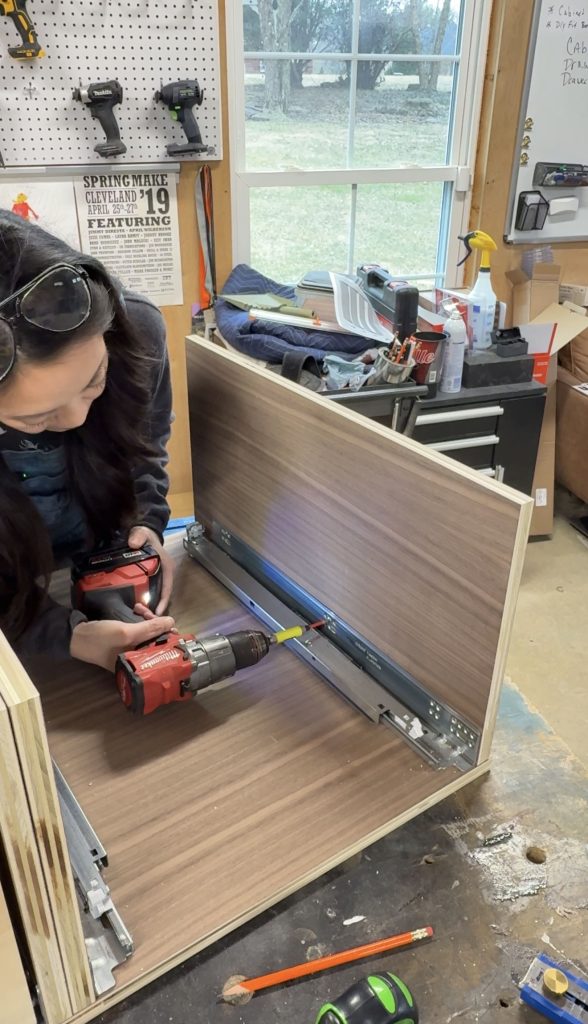
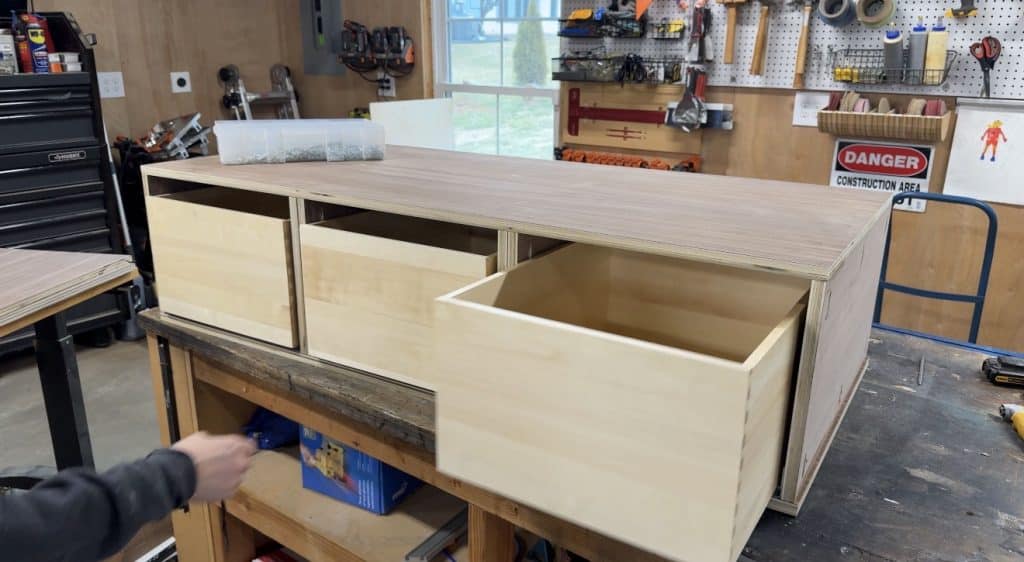
The bottom section of these mudroom lockers includes three deep drawer cabinets designed specifically for shoes and other larger items. To save time and effort, I purchased the drawer boxes online months ago; I was able to customize the width, length, and depth. They’re constructed with strong dovetail joinery and can be prepared to accept the specific drawer slides I use. You can also have them finished with a clear coat (which I did).
Okay, so let’s talk about these drawer slides. Once you install these under-mount drawer slides, you will never go back to side-mount slides. My buddy Jason Bent has an excellent video on how to install them here (I’ve watched it probably a dozen times). Basically, you screw the slides into the carcass, attach the clips to the bottom of the drawer box, set the drawer in place, push it closed, hear a click (where the clips connect to the slides), and that’s it. Drawer is installed perfectly!
By the way, we plan on publishing a full-length YouTube video on this project where I will show you how we completed each step, so don’t worry – you won’t have any questions once I’m done explaining all the things into oblivion.
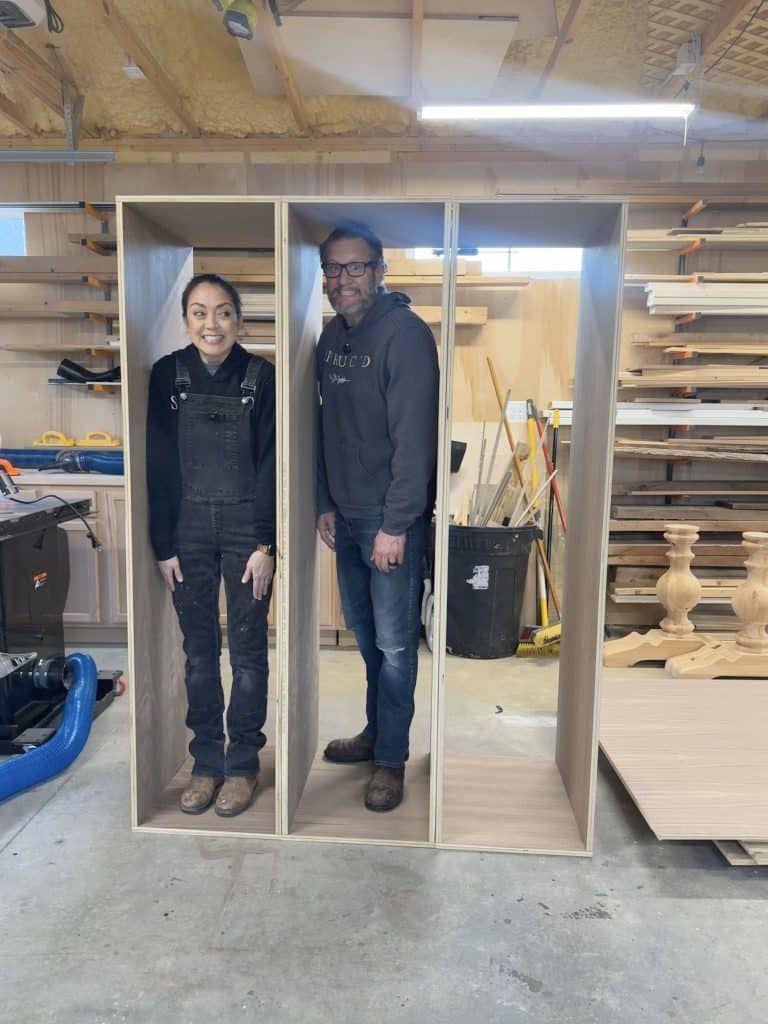
After the drawer base was complete, I moved on to building the tall lockers and, finally, the upper cabinet carcass. Same rigamarole here: drill pocket holes, join the top, bottom, and sides with pocket screws and wood glue (cheap insurance), add the back panel, and you’re done. The lockers will eventually include hooks for backpacks and coats, vertical storage space, and that lovely black walnut interior.
Also, I’ve never been stuffed into a locker… until now.
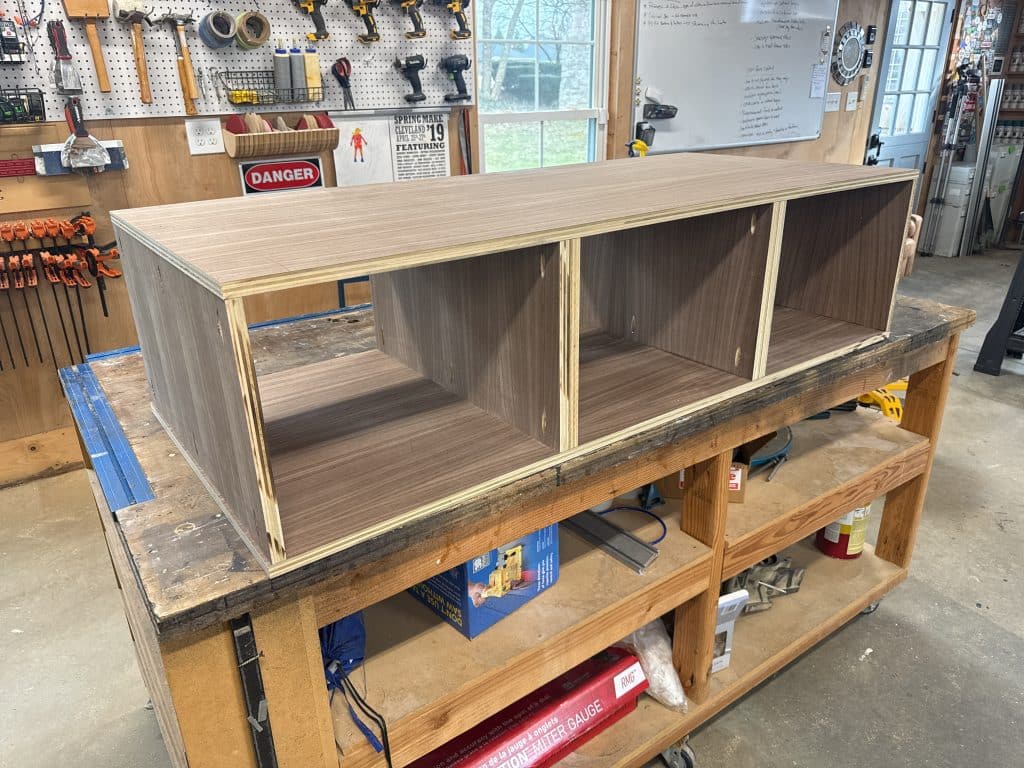
The upper cabinet carcass is also complete! Notice and admire my attention to grain direction, please and thank you.
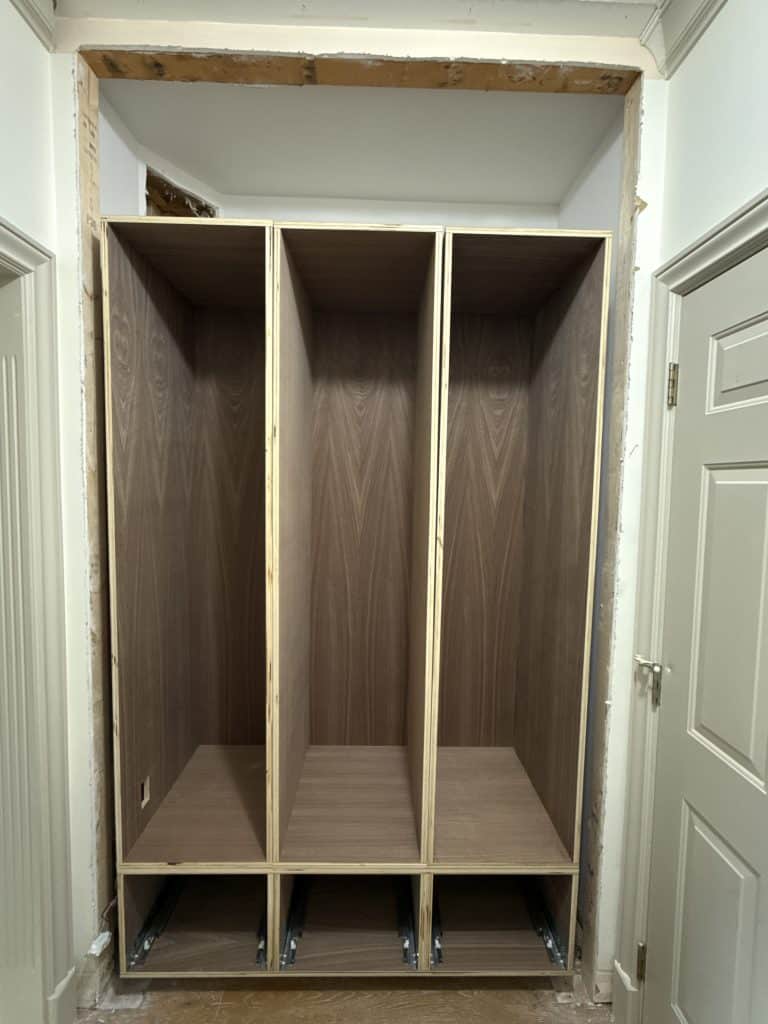
Dry Fitting the Mudroom Lockers
Before the actual installation, we dry-fitted the cabinet carcasses into the opening. This step allows us to check fit, spacing, level, and overall proportions. Seeing the lockers in place – even unfinished – is one of those milestone moments in a build.
What’s Next
With the cabinet carcasses built and dry-fitted, the next phase includes:


Leave a Reply