Welcome back to The Highland Study series, where we’re turning a long-neglected side of our basement into an office and library for Adam, inspired by his Scottish heritage. If you missed the kickoff, catch up on the full basement home office renovation plan here.
The Highland Study Series
- Part 1: Design Plan
- Part 2: Single Base Cabinet Plans
- Part 3: Double Base Cabinet Plans (you’re here!)
The Highland Study built-ins are coming together one cabinet at a time! Last time, I shared the single-door cabinet plans that bookend our wall of built-ins. Today, we’re building the double-door base cabinets – the 30-inch workhorses that flank the center drawer cabinet on either side. The free PDF plans are below, complete with a materials and cut list and step-by-step directions with 3D diagrams.
Just as a refresher, here’s a (somewhat inaccurate) visual mockup courtesy of ChatGPT:
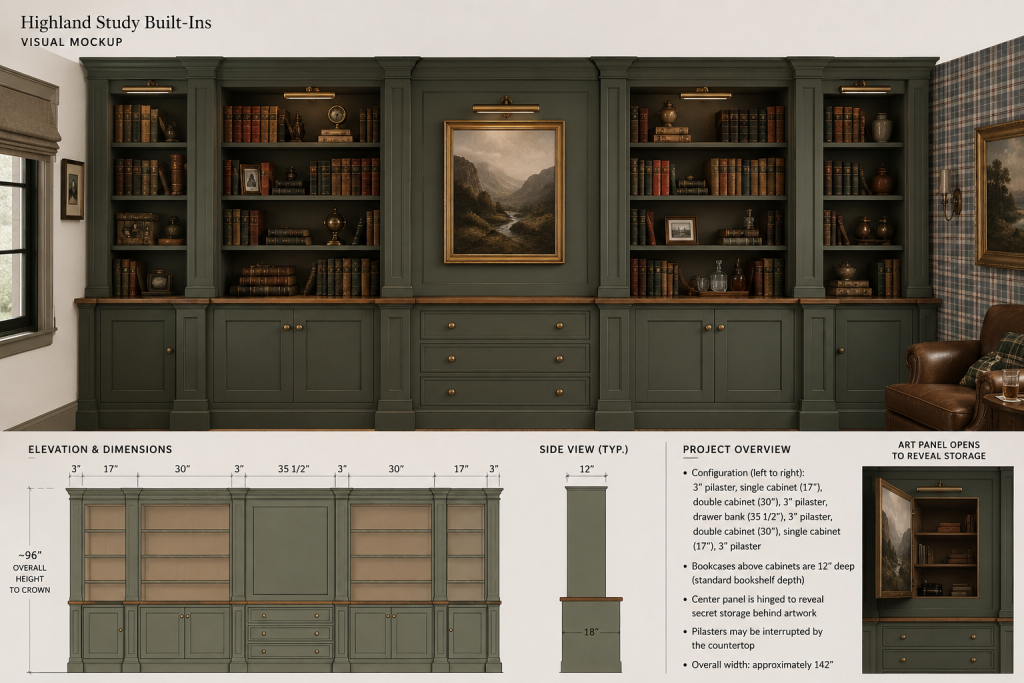
The Highland Study Built-Ins at a Glance
- A three-drawer cabinet in the center
- A pair of double-door cabinets flanking the drawer bank
- A pair of single-door cabinets on each end
Bookcases will sit above, and fluted pilasters and trim will tie the whole thing together so it reads as one piece of furniture.
Same Box, Different Dimensions
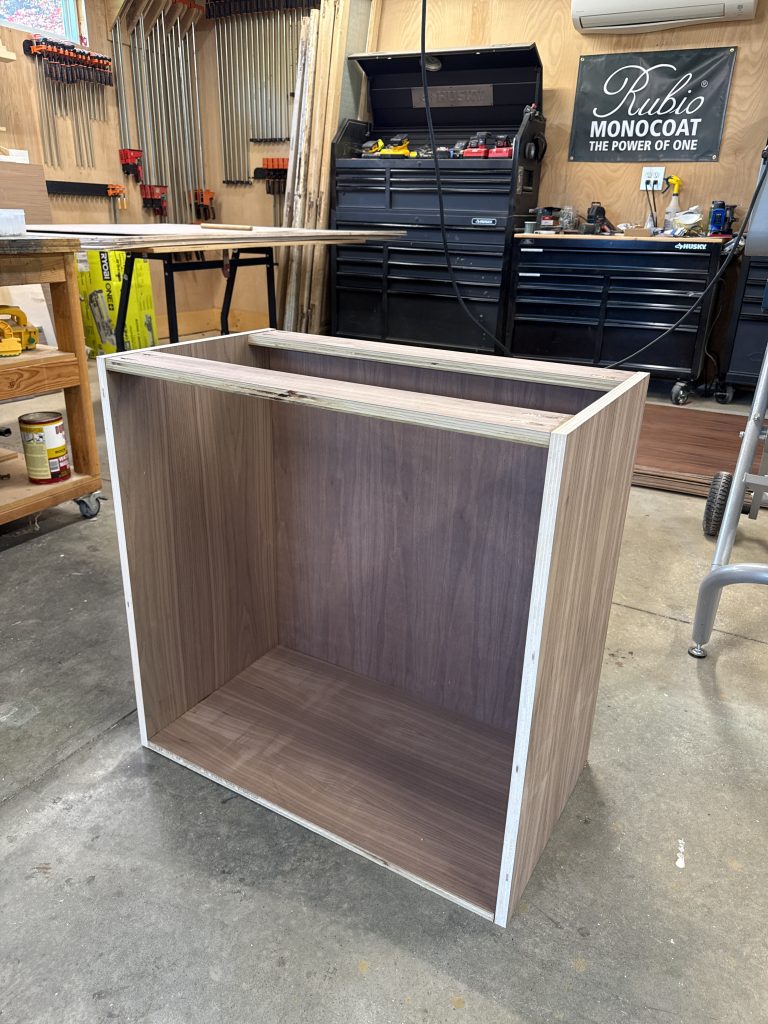
If you’ve built the single cabinet, you already know how to build this one. The carcass goes together the same way: pocket-hole joinery, a back panel that slides into grooves, nail strips for mounting to the wall, and stretchers at the top. The main difference is the cabinet width: 30 inches, with two cabinet doors.
Many double-door cabinets have a vertical board down the middle of the face frame (called a center stile) for the doors to close against. I chose to leave it out so that when both doors are open, we have a full 27-inch-wide opening to fit bulky things like a printer or storage bins.
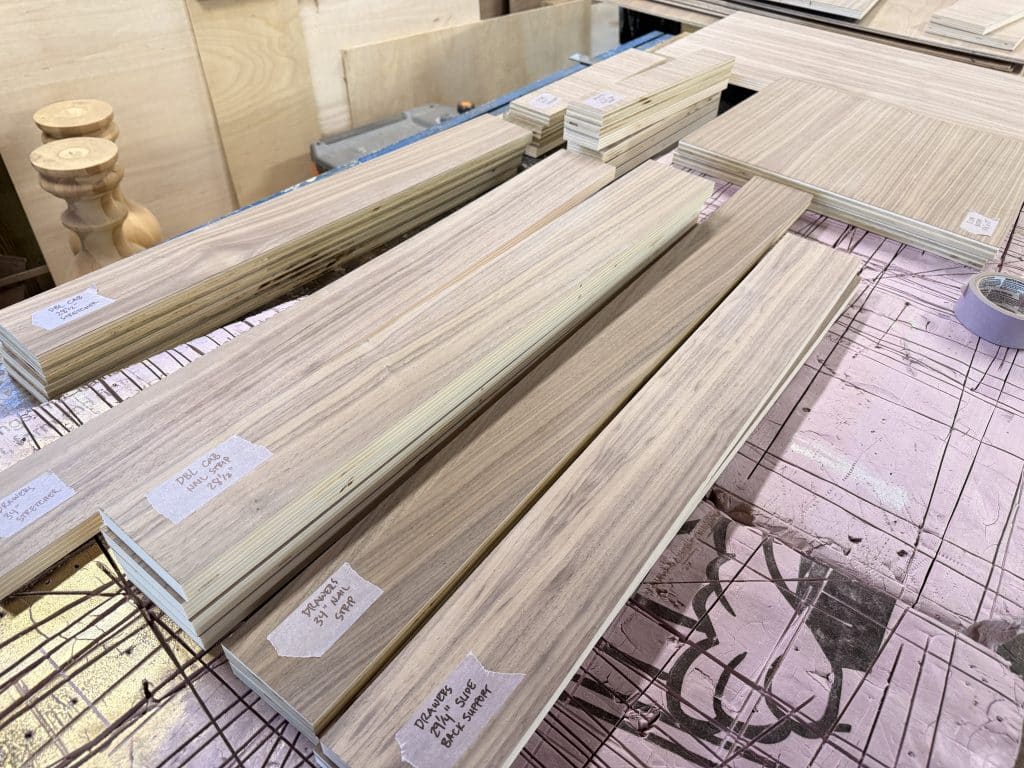
With an entire wall of built-ins, there are A LOT of parts, many of which are nearly identical. Every part gets a strip of painter’s tape with the cabinet, part name, and dimensions. It takes a few extra seconds per piece, but it’ll save you a ton of head-scratching when it comes time to assemble.
I try to place my pocket holes in places where they won’t be seen – like under the bottom panel and on the top of the stretcher (since the countertop will cover them up).
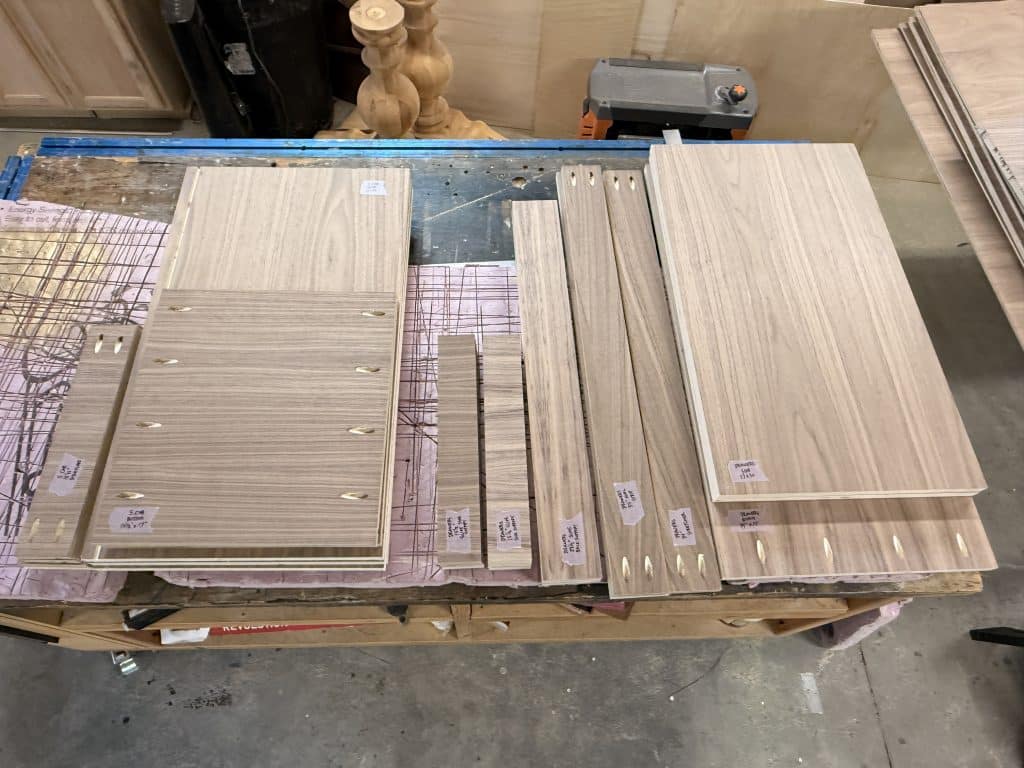
Instead of nailing a back panel onto the cabinet, I cut a shallow groove into the sides, bottom, and back stretcher so that the 1/4″ plywood panel slides into it. The grooves hold the cabinet square and hide the edges of the back panel.
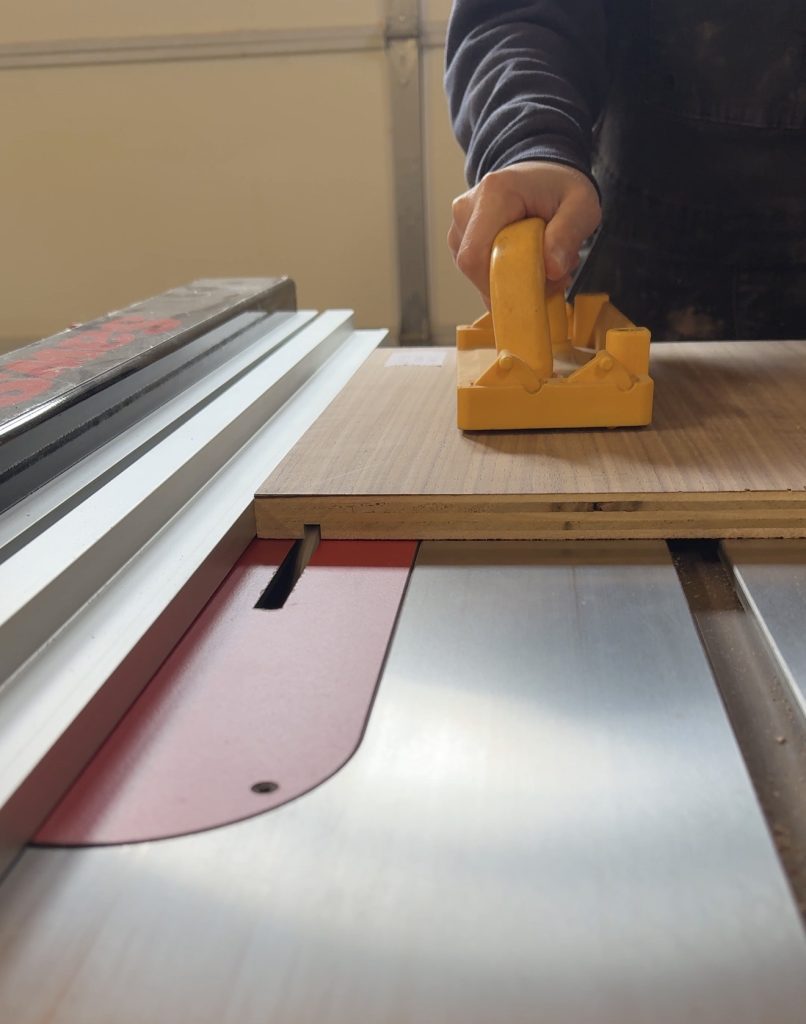
The PDF plans walk you through every step with 3D diagrams, but here’s how easily it came together in the workshop. First, I attached the bottom panel to the side panels (hiding the pocket holes under the bottom panel). Whenever possible, I flip my workpiece so that I can use gravity to my advantage and drill down.
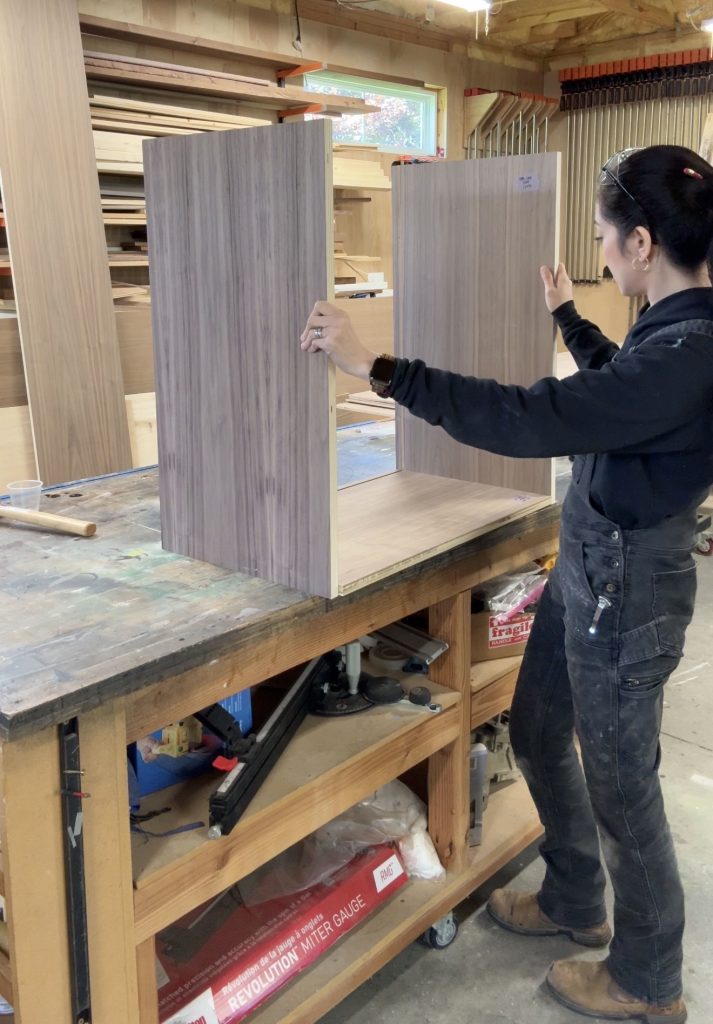
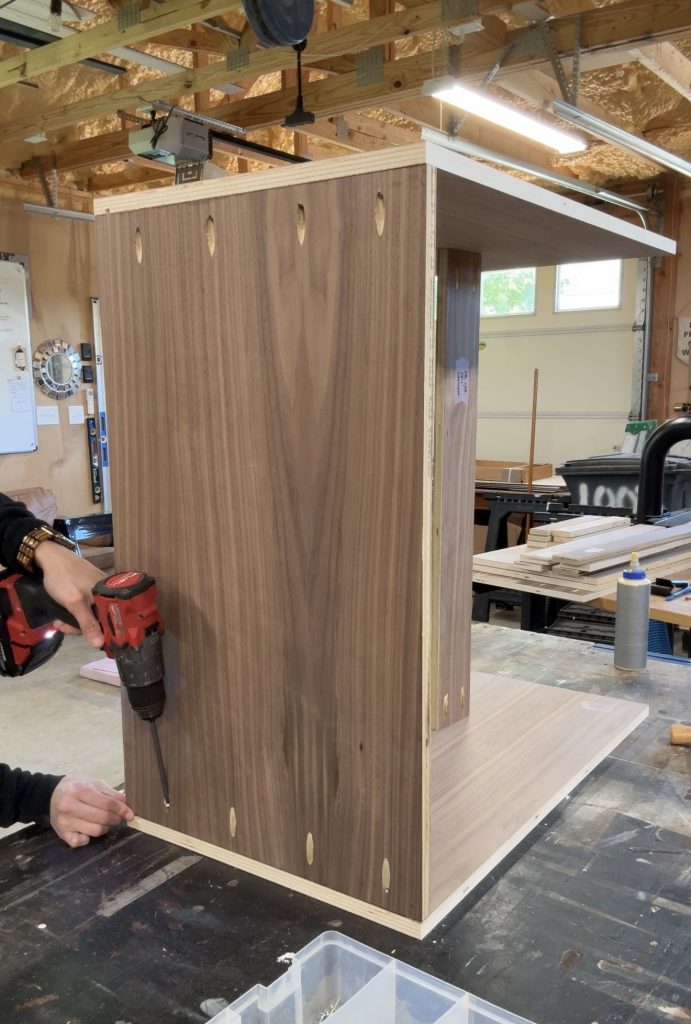
Once the sides and bottom are assembled, the back panel slides right down into the grooves. The back stretcher goes on last and captures the top of the back panel in its groove. The pocket holes go on top of both stretchers so that the countertop will hide them later.
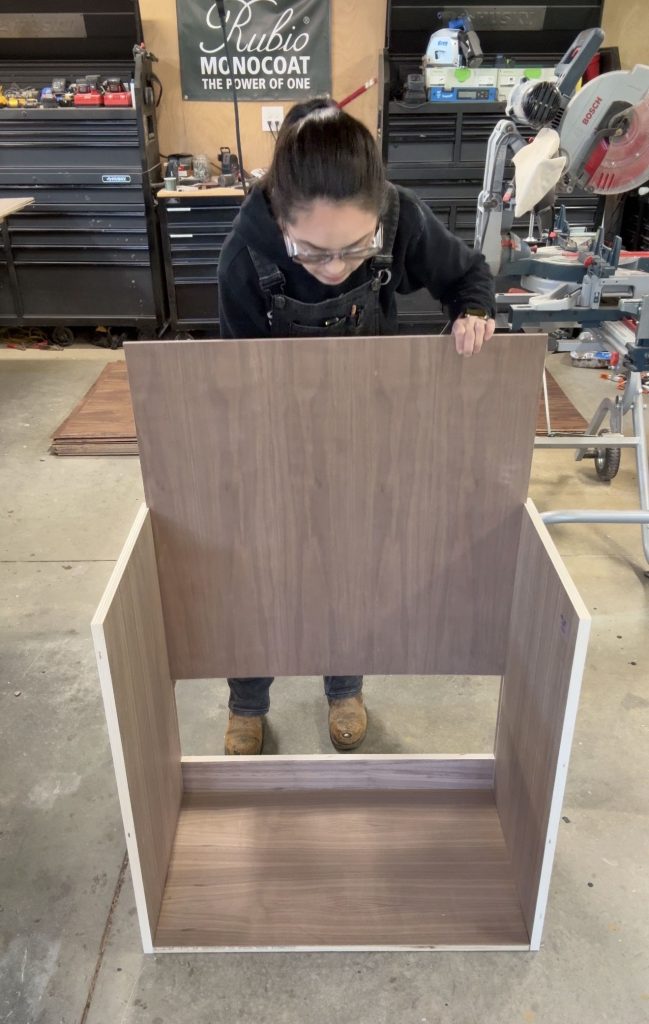
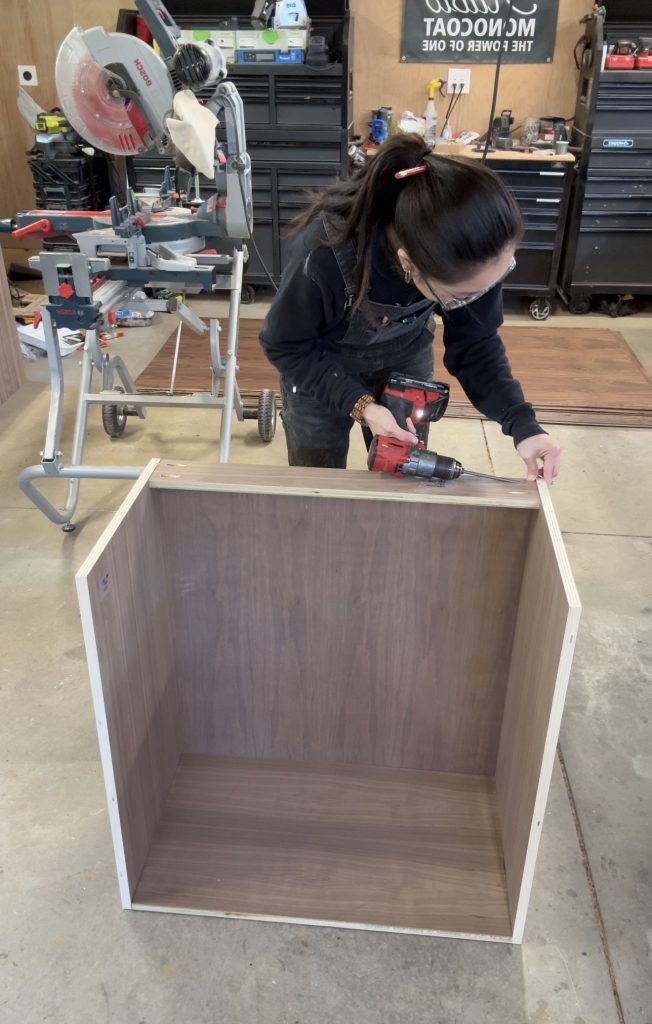
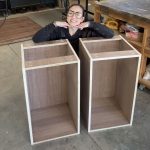
And just like that, two cabinet boxes are constructed and ready for face frames and doors! I ended up ordering my cabinet doors online, but you can build them if you’d prefer – the plans include a basic shaker-style frame-and-panel door assembly.
What’s Next
Next up, the three-drawer centerpiece! Then come the bookcases, trim, and yes, the secret storage feature. These double-door cabinets will be the workhorse of our Highland Study built-ins, and it’s a great project whether you’re making a whole wall of cabinets or just one. Follow along on Instagram, Facebook, and YouTube to see every step of the Highland Study come together!

Leave a Reply