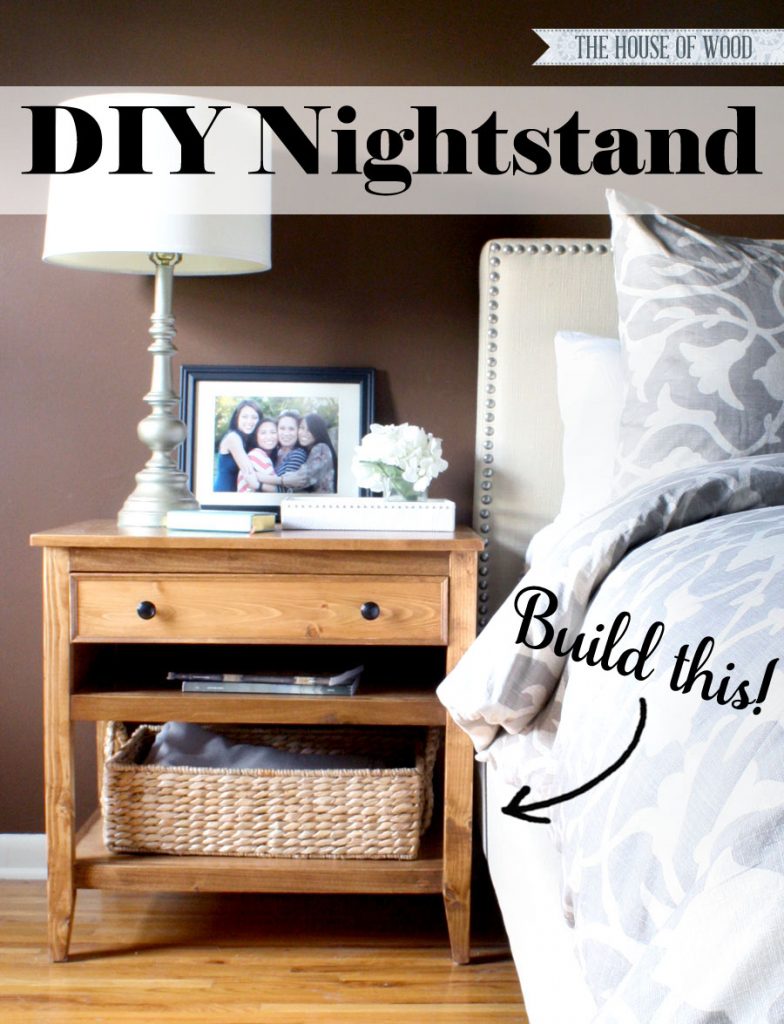
Okay, you guys. I actually built something without having to pester my good friend, Ana White for plans! Can you believe it? It was a little bit of ‘trial and error’ and a whole lot of ‘figuring things out as I went along,’ but I totally designed and built a pair of bedside tables for our master bedroom!
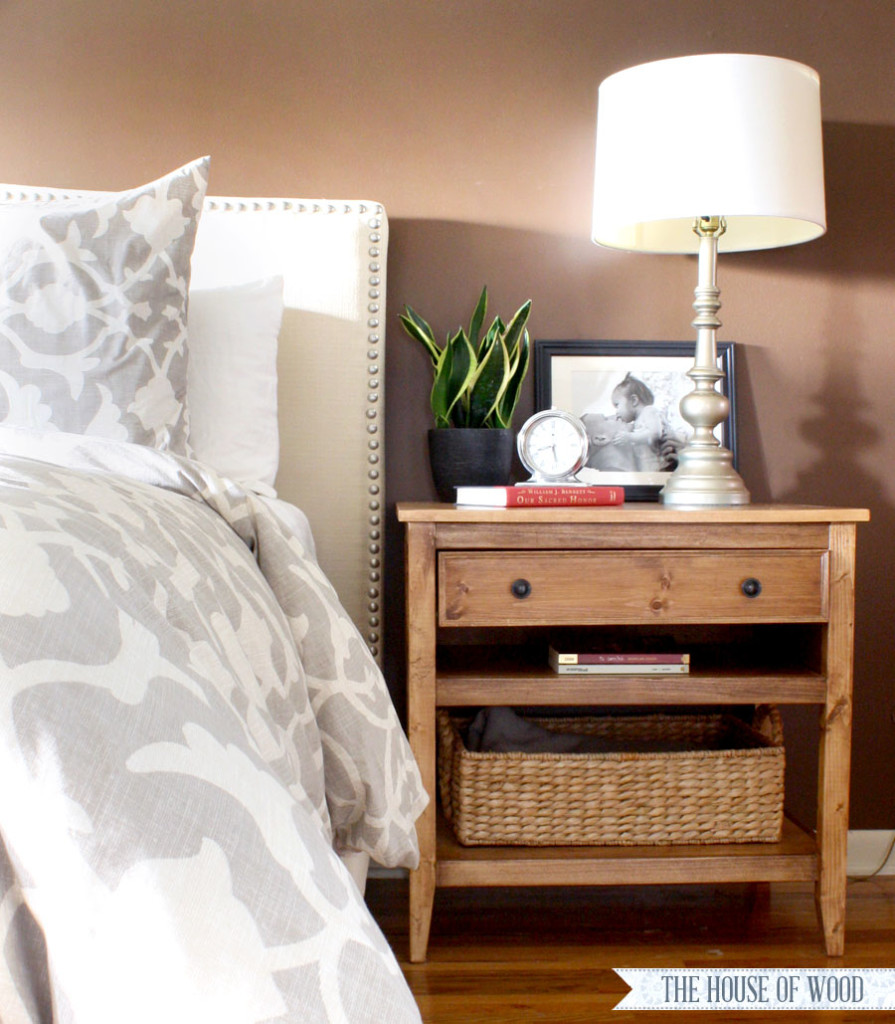
When I broke our old nightstands, I took advantage of the opportunity to build new ones. Actually, the conversation went a little like this:
Me: I broke one of our nightstands. Yours, actually. Not on purpose, I promise.
Hubby: So how about I watch the kids today so you can build us some new ones?
Me: *blink blink* Who are you and what have you done with my husband?
But seriously, you guys, my hubby is the jam. He not only hung out with the kiddos all day long while I worked in the garage, but mowed our (2.5 acre) lawn, filled up the gas tanks, washed the dog, cooked dinner, baked brownies, did the dishes, bathed the kiddos, put them to bed, and vacuumed. WHAAAAT! He’s a keeper, this I know. #backoffhesmine
While Adam was being all “Husband of the Year,” I spent my time hardly working working hard, hitting up Pinterest for some inspiration. I narrowed it down to these four:

I found that I was drawn to wide bedside tables with a classic silhouette, and ones that had both open shelving and a drawer(s). After sketching out some design ideas, I showed my stick figures priceless masterpieces to Adam to get his input. We opted for one drawer instead of two, with a middle and bottom shelf. Adam preferred having a narrow shelf underneath the drawer to slide magazines, his laptop, or books into, instead of a second drawer. The functionality of it made more sense to me, and it also meant I had to build only 2 drawers total, instead of 4! We weren’t losing any storage space, and it would make things more easily accessible. Brilliant idea, Dear Husband.
Another request Adam had was to build a hidden cubby into the nightstand, to stash a small firearm. Quit while you’re ahead, Honey, quit while you’re ahead. Maybe when the kiddos are older. Maybe. But probably not. Ever.
After Pinterest, my second stop was Ana’s site, to find similar plans that I could possibly modify. I ended up building my table using a few different steps from a few different plans of hers: the Farmhouse Bedside Table, Modern Patchwork Dresser, and Reclaimed Wood Bedside Table. To say it was a bit confusing meshing all these plans together would be an understatement. For Ana to be able to look at a piece of furniture and draw up flawless plans on how to build it, without having to physically build it herself is completely beyond me. I, however, have limitations. I have to build as I go and figure things out along the way, finding out what works and what doesn’t. This is why Ana is such a genius. My hat’s off to her.
Third stop: my local lumber yard and the Home Depot for lumber and supplies. The measurements of my table are 29″w x 21-1/4″d x 28″h so I figured up a quick shopping list and off I went. I built two nightstands for our master bedroom, but the supply and cut list is for just one nightstand.
You guys. You’re in luck. My aerospace engineer friend, Jamison from Rogue Engineer kindly offered to draw up some diagrams for me! And I’m so glad he did because, otherwise, y’all would be on your own with just my novice know-how and ‘here’s-what-I-did-hope-it-works-out-for-you’ mentality (sorry, but we have already established my limitations, remember?). Super generous of him, right? Check out his post here. Thank you, Jamison!
Download the DIY Bedside Table Plans here.
Okay, so here’s what I did… I hope this makes sense to you. Feel free to email me (or Jamison, if you want precision and accuracy. You know, if you’re into that sort of thing) if you have any questions.
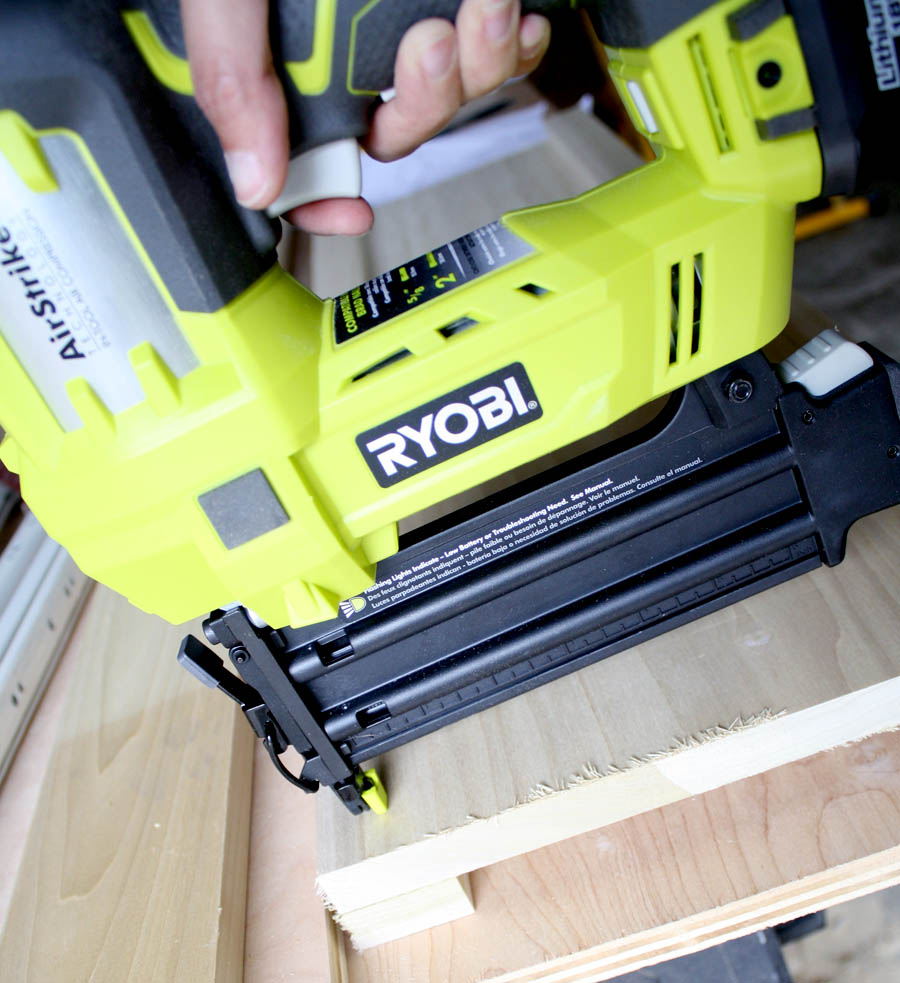
First, I built the two side panels by cutting a 1×12 board to 17″ long and then attaching a couple of 1x2s at the same length with wood glue and finish nails. I used my new toy, the Ryobi Cordless Brad Nailer to attach the trim to the sides. It made things so much faster and more efficient! I love that it’s cordless and doesn’t need a separate air compressor.
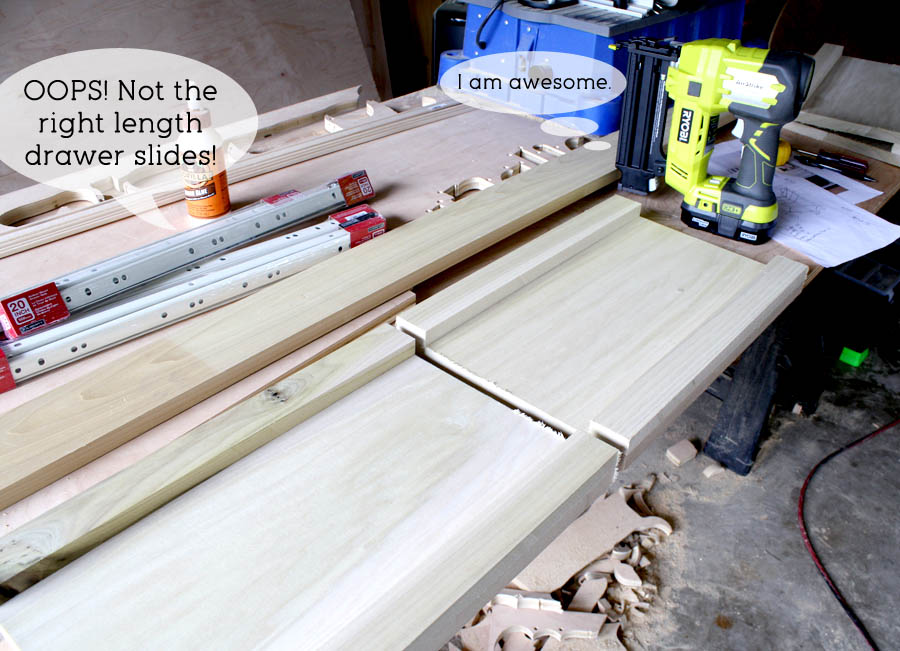
Pay no attention to the drawer slides in the photo below. I grabbed the wrong length and had to go back and exchange them for the 18″ long ones. Move along. Nothing to see here, folks. Oh, look! An awesome cordless brad nailer! Ooh… shiny!
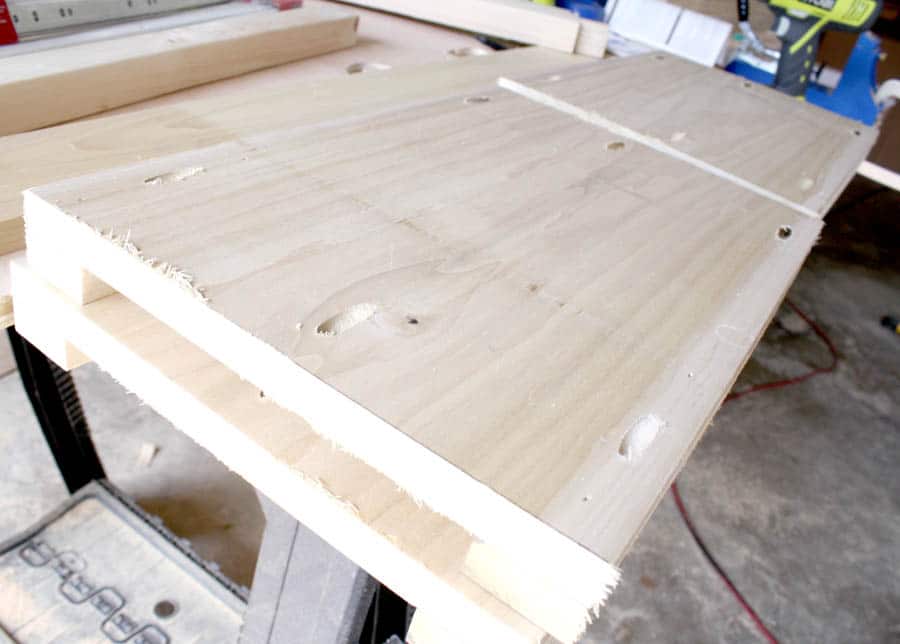
I drilled pocket holes on the other side of these panels to attach the legs in the next step.
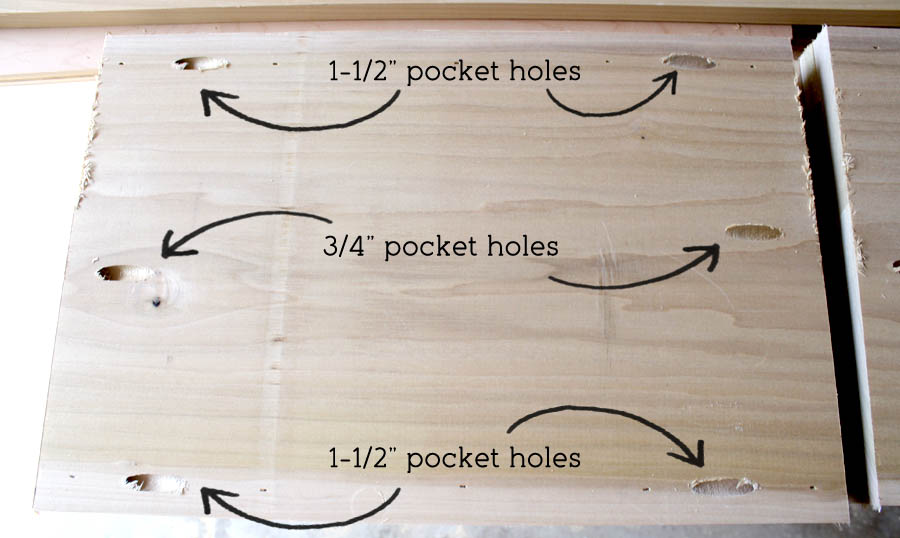
Next, I cut four 2x2s at 27-1/4″ long for the legs. I chose to taper the legs and cut the taper running about 6″ from the bottom edge. This step is totally optional. I just prefer the look of the tapered leg for this project. Always do a practice cut on a scrap piece of wood before you go in for the real thing, trust me. After I cut a scrap piece at the correct angle, I was able to use it as a template for the rest of my legs.
Then I attached the side panels to the legs with wood glue and pocket hole screws. I store my pocket hole screws in empty peanut butter jars. In unrelated news, we eat A LOT of peanut butter around here.
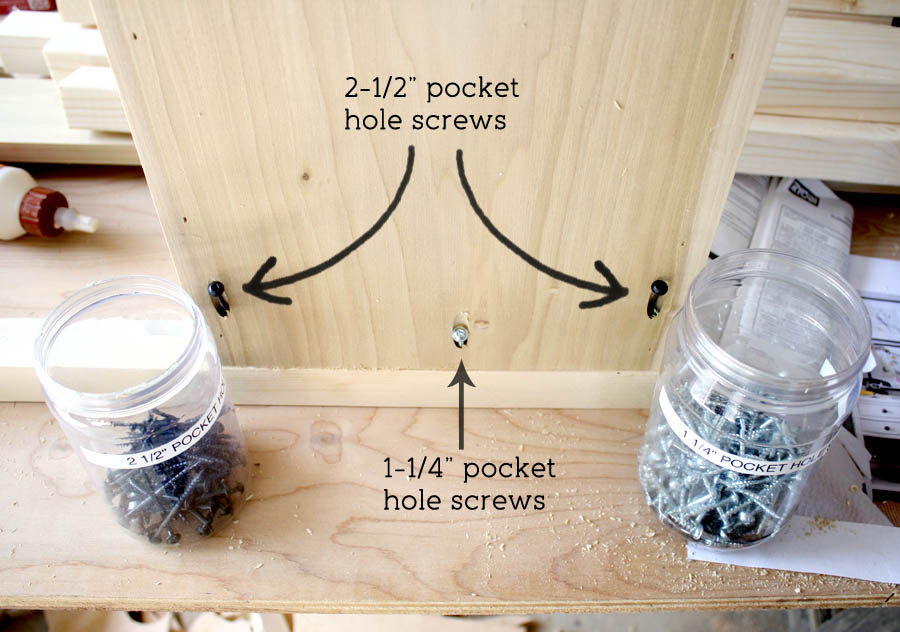
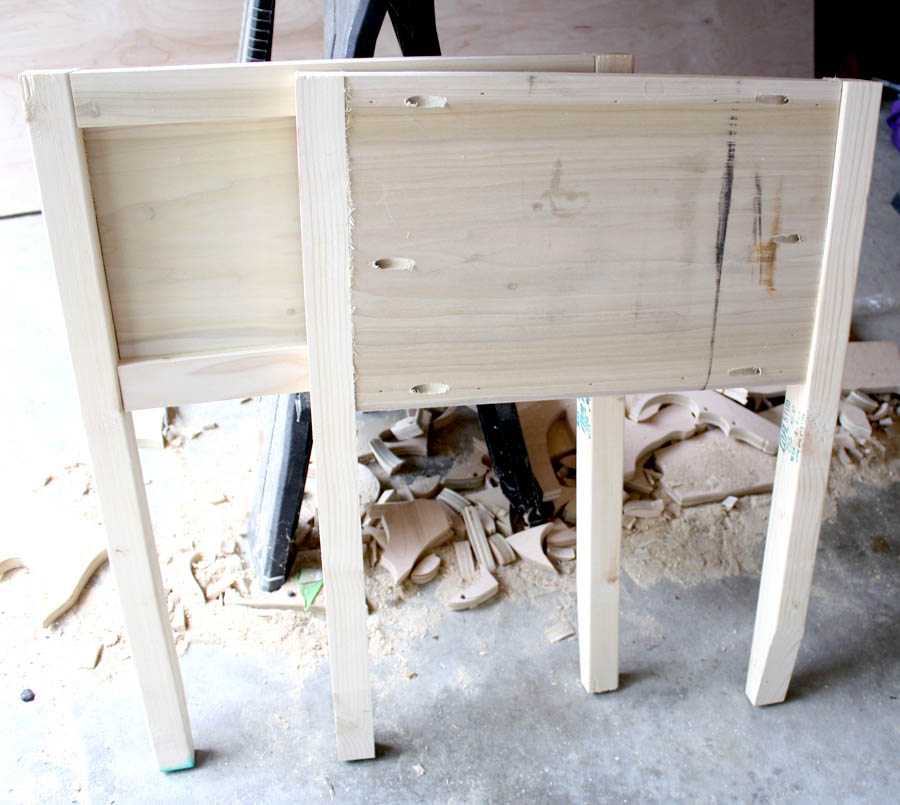
And here’s what the sides of the nightstands look like (outside and inside view):
*This post contains affiliate links. To read my full disclosure policy, click here.
Behold: the brand new Kreg Foreman. This machine is no joke. It is a pocket hole drillin’ NINJA. As you can see, I went a little pocket hole crazy. Just FYI, you don’t need this many boards to build these nightstands. I just couldn’t stop myself. Picture me laughing maniacally, screaming, “OH EM GEEEEEE!!! Drill it, baby, drill it real good!” And before I knew it, I had eleventy-seven 1x2s with countless pocket holes in them. My husband had to call in an intervention. I’m still in recovery.
“Hi. I’m Jen and I’m a recovering pocket hole driller.”
Of course, you don’t need this badass machine to drill your pocket holes. Yes, it makes drilling pocket holes much faster and more efficient, but the smaller Kreg models will work perfectly fine for the weekend DIYer. The K4 model is what I’ve always used. I still use it on smaller jobs. For about a hundred bucks, the K4 is worth its weight in gold. But if you’re not ready to drop a hundred bucks on a jig, the R3 model is another great choice at under $50.
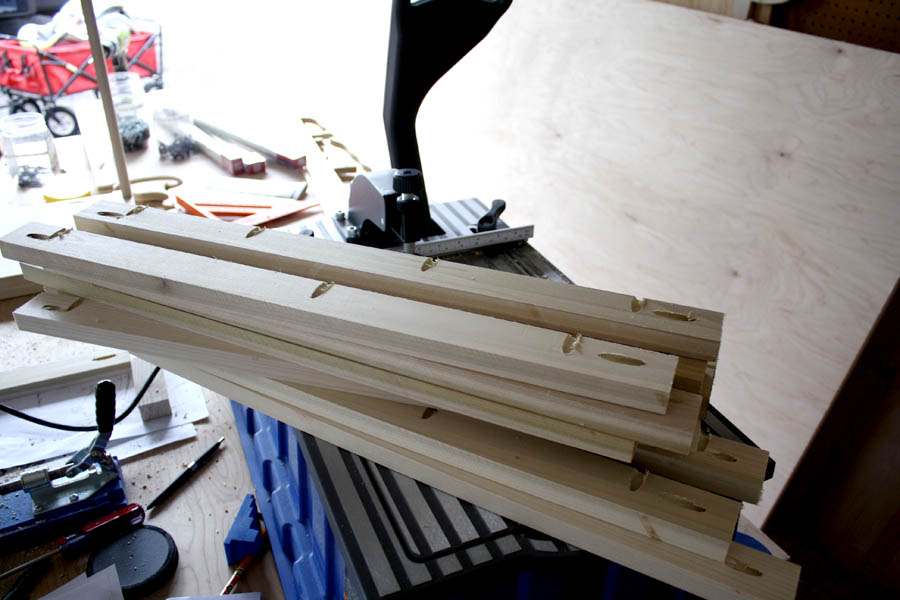
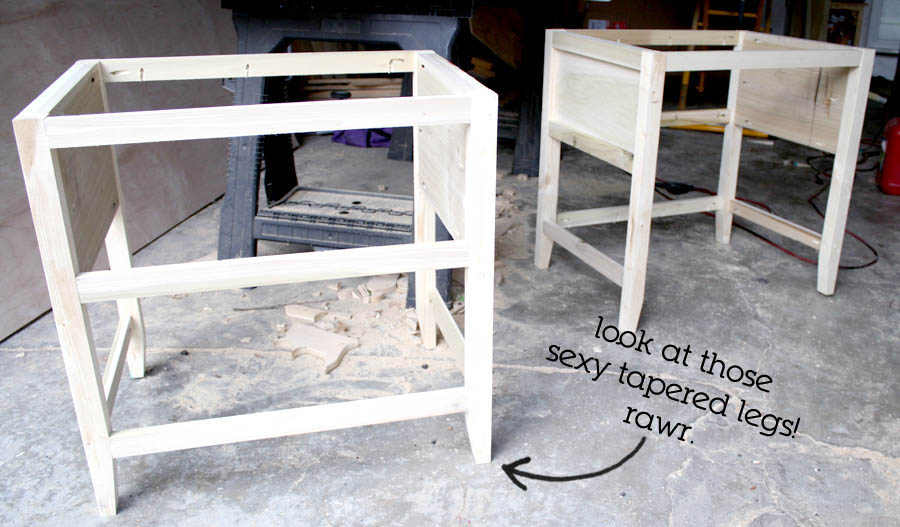
After my husband pried me away from the Kreg Foreman, I attached the 1x2s (cut at 24-1/2″) to the side panels to build the carcass. Look at those sexy tapered legs. Rawr.
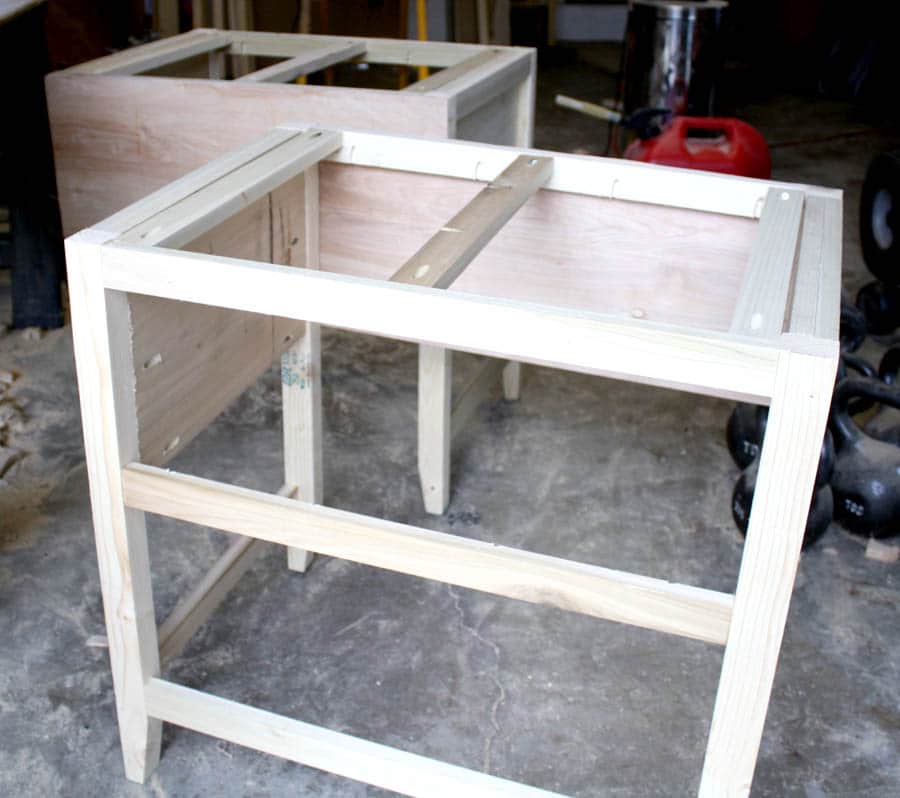
Next, I cut a piece of 1/4″ plywood for the back. I just measured and cut to fit. Mine measures 27-7/8″ x 11-1/4″. I used wood glue and finish nails to attach it to the back. Then I cut three 1x2s at 17″ and attached them to the top. These will not only support the top, but I’ll be able to attach the top to it by drilling screws from underneath.
And now it’s time to build the drawer. I cut two 1x4s at 23-1/4″ and two 1x4s at 17-1/2″ to build the drawer box. I drilled 3/4″ pocket holes and constructed the box with wood glue and 1-1/4″ pocket hole screws. Check for square.
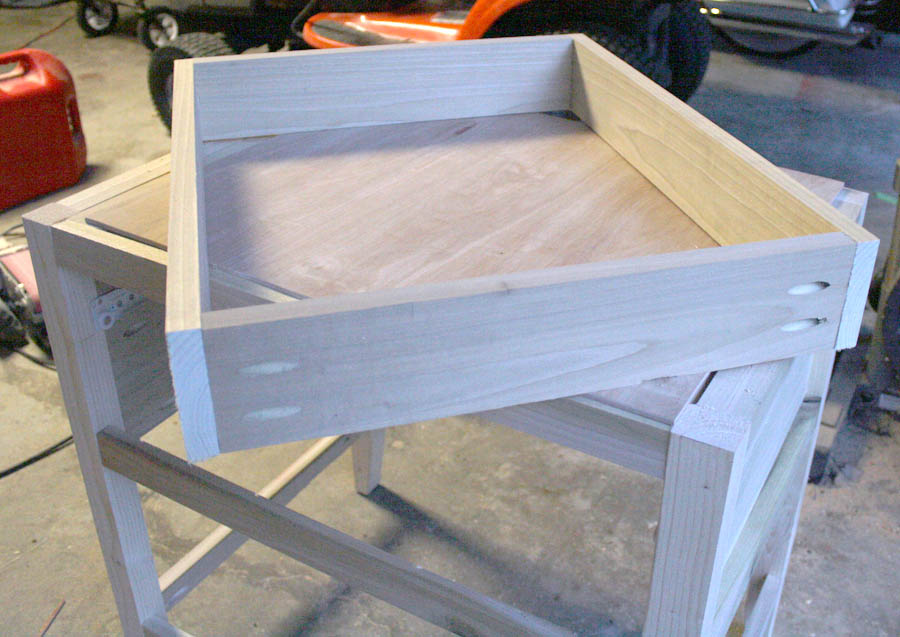
Then I cut a piece of 1/4″ plywood @ 23-1/2″ x 19-3/4″ to fit the bottom of the drawer and attached it to the drawer box with wood glue and finish nails.
By the way, does anyone else hate those teeny tiny screws that come with drawer slides? They’re too small to get a good hold of while drilling them in, I end up dropping every. single. one. and then spending half an hour searching for a needle in a haystack. Or, in my case, a teeny tiny screw in a pile of sawdust. Ugh. So frustrating. Whoever invented these teeny tiny screws… I hate them. I hate them with a murderous passion. I hope it burns when they pee.
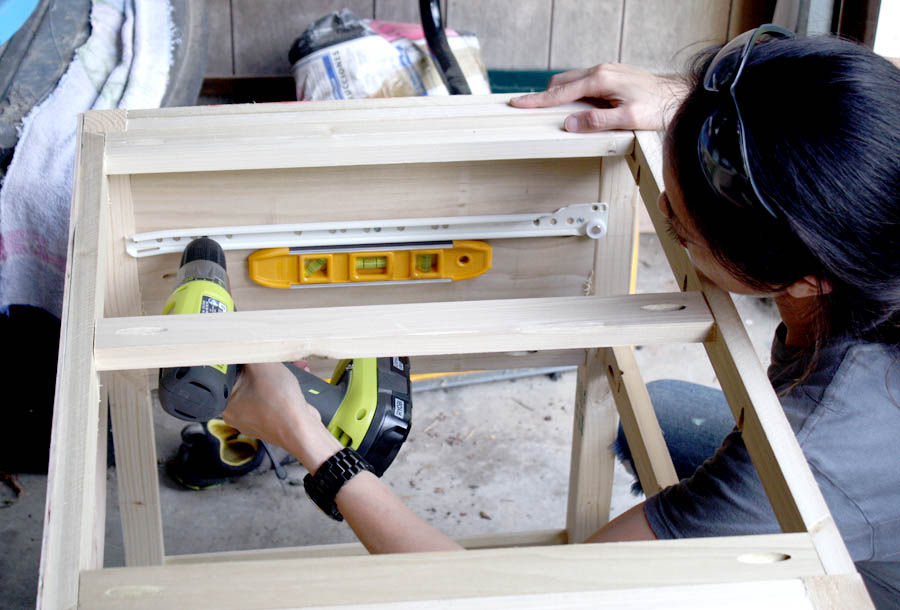
After the drawers were built, I attached the drawer faces onto the drawer box with wood glue and finish nails. I used a clamp to hold the drawer face in place while I made sure everything was level.
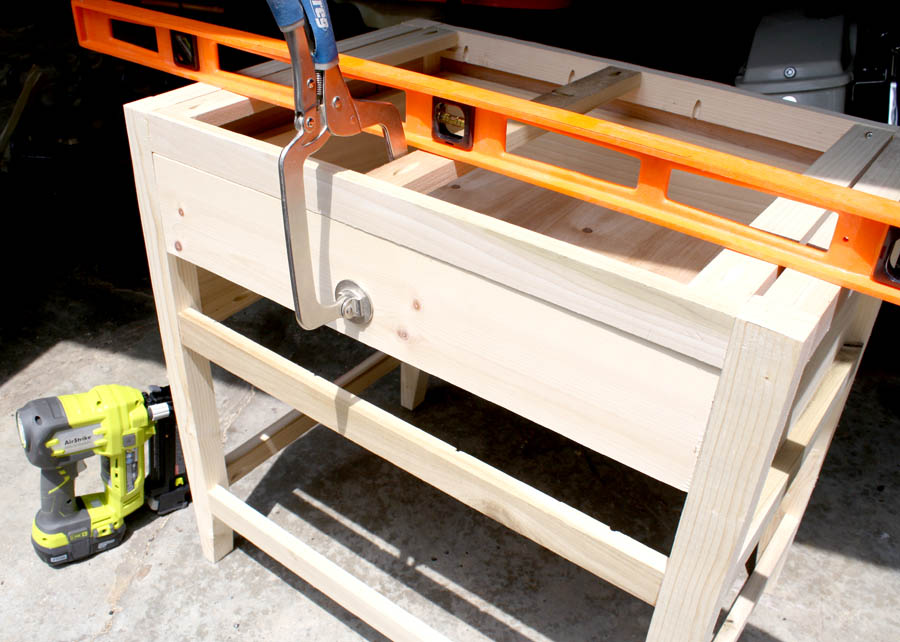
I’m happy to report my drawers are square, they fit perfectly, and slide like buttah! You should have seen it, I was all, “okay, cross your fingers for The Moment Of Truth” and in went the drawers, then sliiiiiide, and CLICK! And then I was all, “my milkshake brings all the boys to the yard!”
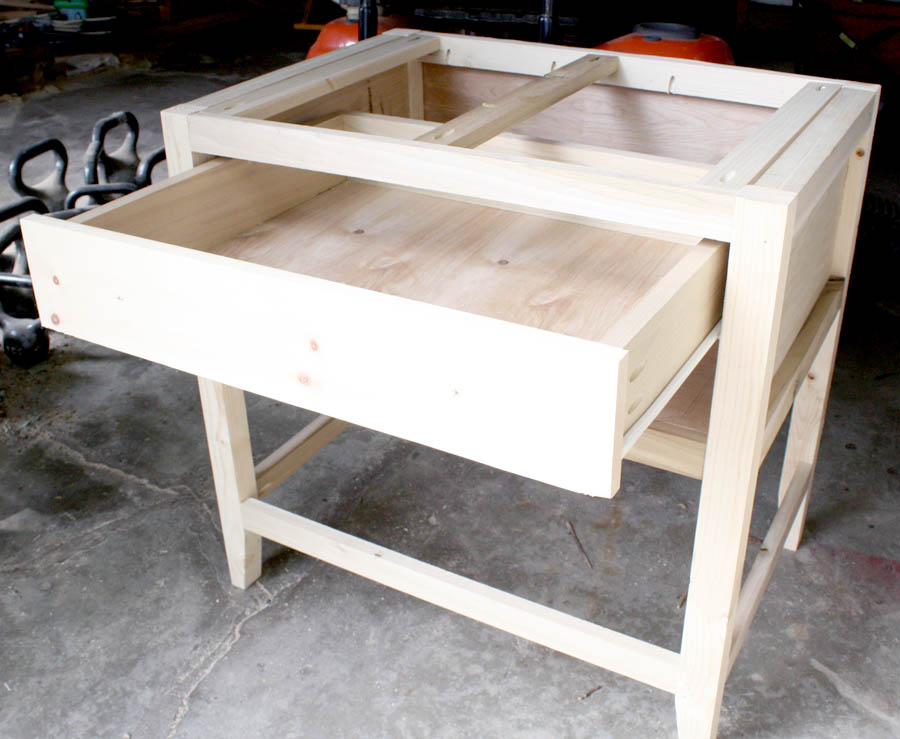
For the top and shelves, I chose to use my favorite 3/4″ plywood, Purebond Hardwood Plywood in maple. The Home Depot sells these beautiful formaldehyde-free panels. Read about why Purebond Plywood is the healthier alternative here.
Alright, y’all, excuse me while I go all ‘fan girl’ on you. If it’s possible to fall head over heels in love with a power tool, that totally just happened. My Ryobi cordless circular saw was essential in cutting my shelves exactly to fit. You guys. I cannot fully express how much I love this saw. And I wasn’t paid to say that, I just reeeeeally love this tool. With a 5-1/2″ blade, it’s lightweight and super easy to handle. The small size fits my hands so comfortably and it was so easy to maneuver and control. It has a laser. And it’s freakin’ cordless. It’s so cute, it’s like a little baby unicorn! #namethatmovie
Okay, back to the build. I cut my shelves to fit and drilled pocket holes all the way around to attach them to the carcass. I love how all the pocket holes are hidden from view. I used 1-1/4″ pocket hole screws and wood glue.
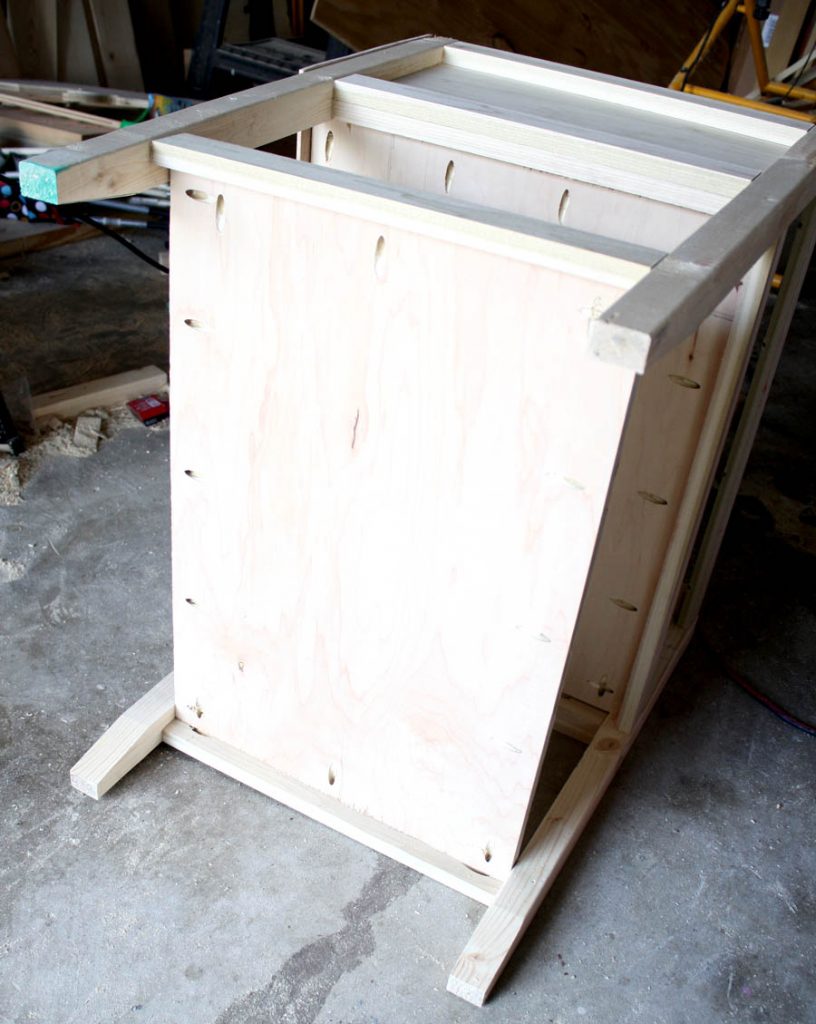
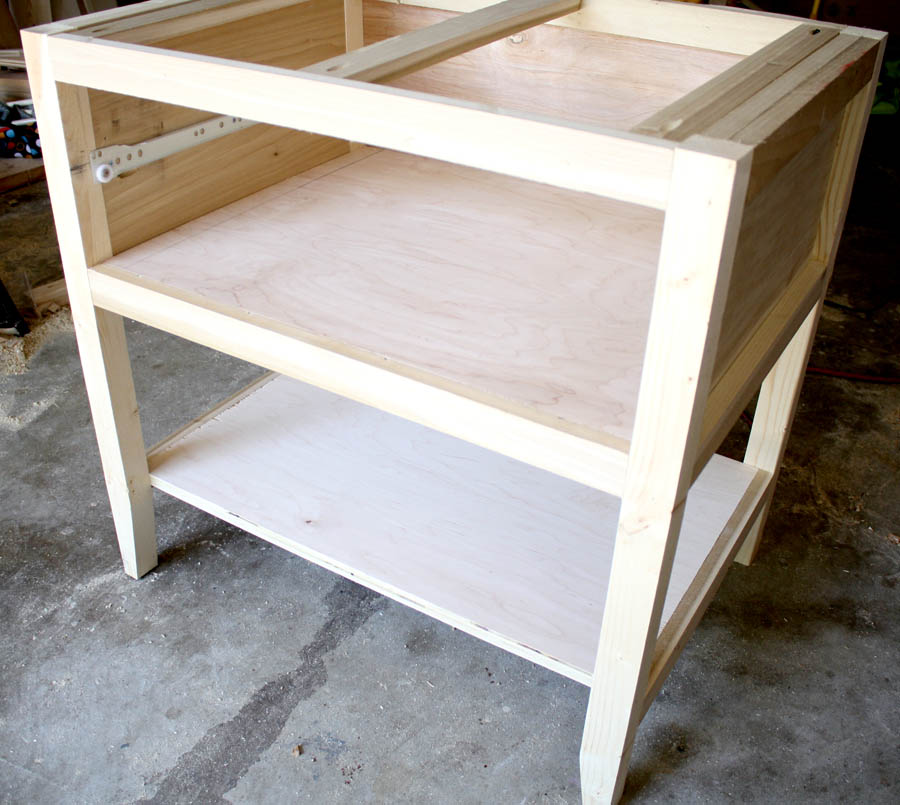
Next, I cut the top out of the plywood so that there would be about an inch overhang on all sides. To give the plywood a more finished look, I ironed on some veneer edge banding. It’s so easy: you just fire up your iron, lay the banding on the edge of the plywood and iron it on. The heat activates the glue and it sticks to the plywood edge. Then you can just cut it to fit using scissors and sand as usual.
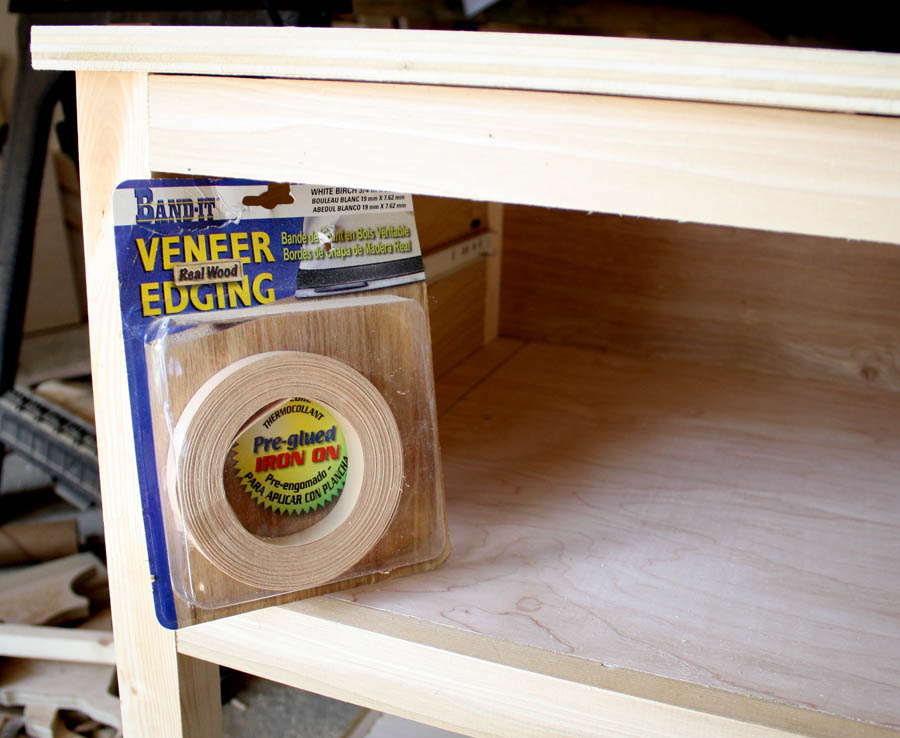
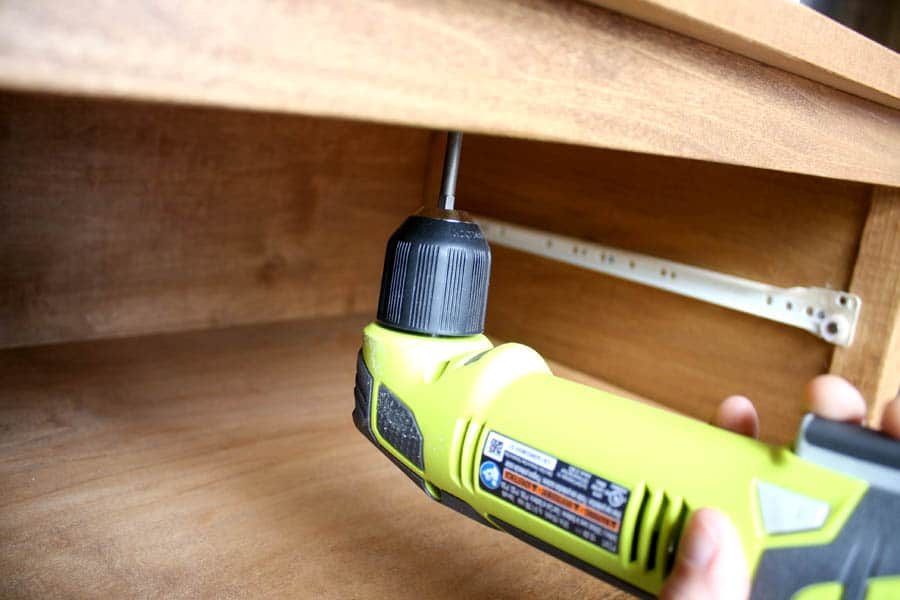
Okay, so here’s where it gets a little confusing. I initially planned on doing a two-toned finish, with the top stained and the bottom painted. Because of this reason, I opted to keep the top off so I can stain and paint separately, without having to bother with taping things off. Also because of this reason, I had to purchase a Ryobi right angle drill so I could fit my drill in to attach the top, since there was not enough clearance between the middle shelf and the top.
It would make more sense to attach the top before attaching the middle shelf so you have room to fit a standard drill in. Turns out, I changed my mind (big surprise) and ended up staining the whole thing, so leaving the top off was unnecessary. But I did get to justify buying a new tool to my husband, so I’m not complaining. Thank you, Honey!
And finally, I added some trim (measure and cut to fit, then miter the corners at a 45º angle) and glued it to the drawer face.
After sanding the whole thing down with 220-grit sandpaper, I used Rustoleum Ultimate Wood Stain in Early American to stain it. After that cured overnight, I used Minwax Wipe-On Poly in satin sheen to finish the piece, hand-sanding in between coats with 400-grit sandpaper. I highly recommend not skipping this step. It really makes the surface super smooth. I put three coats of poly on it then installed the knobs and voila!
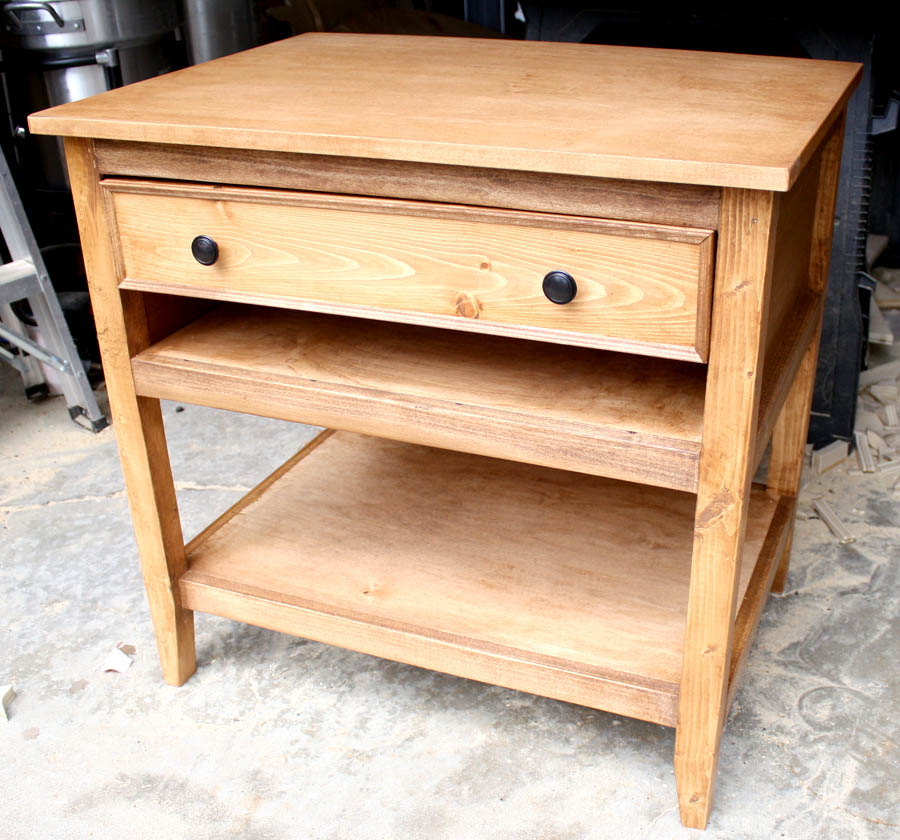
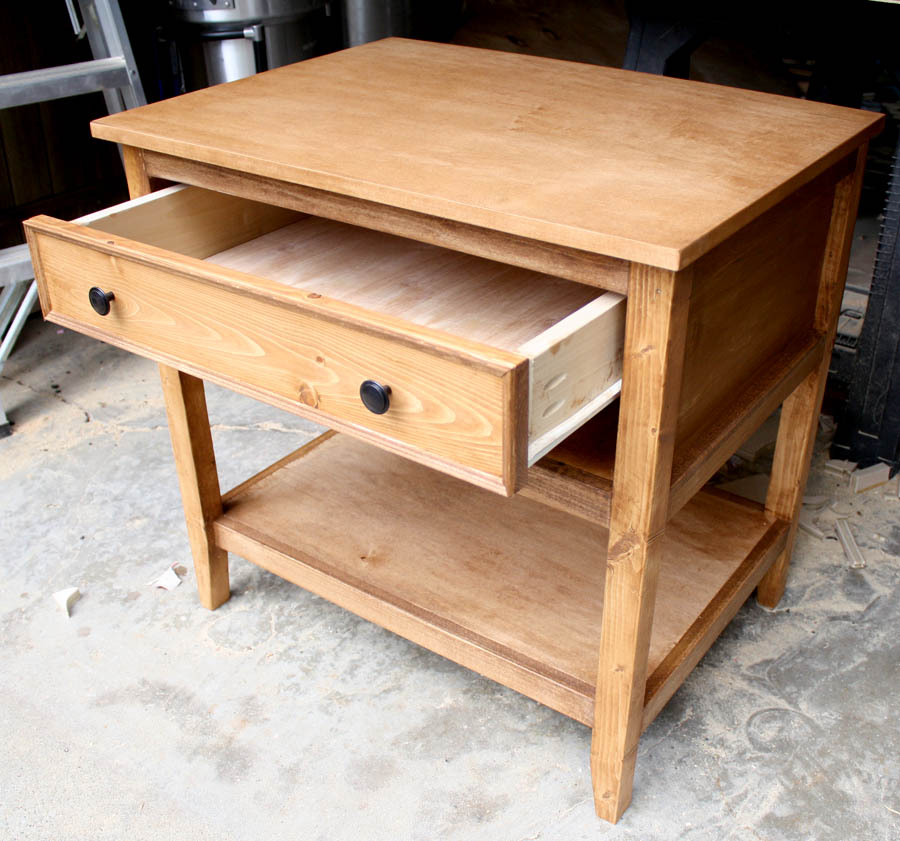
And there you have it! Brand spankin’ new nightstands built from scratch! The Hubby and I are really loving the extra surface and storage space. And I love that shallow shelf – it helps keep the clutter off the top, which is always a good thing.

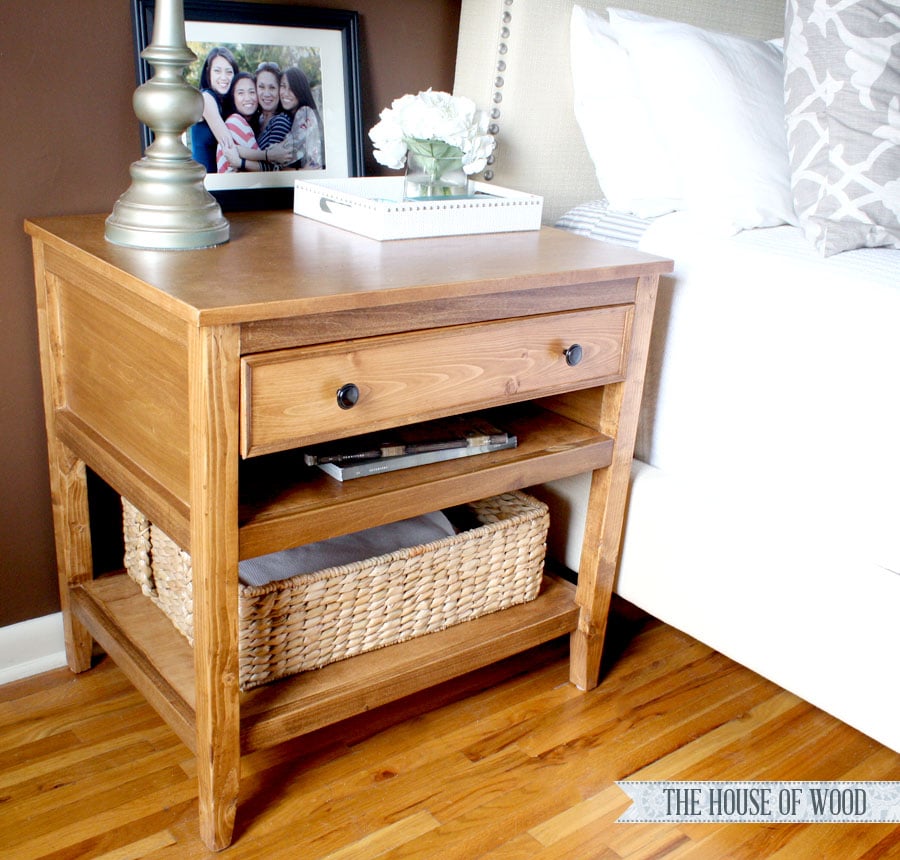
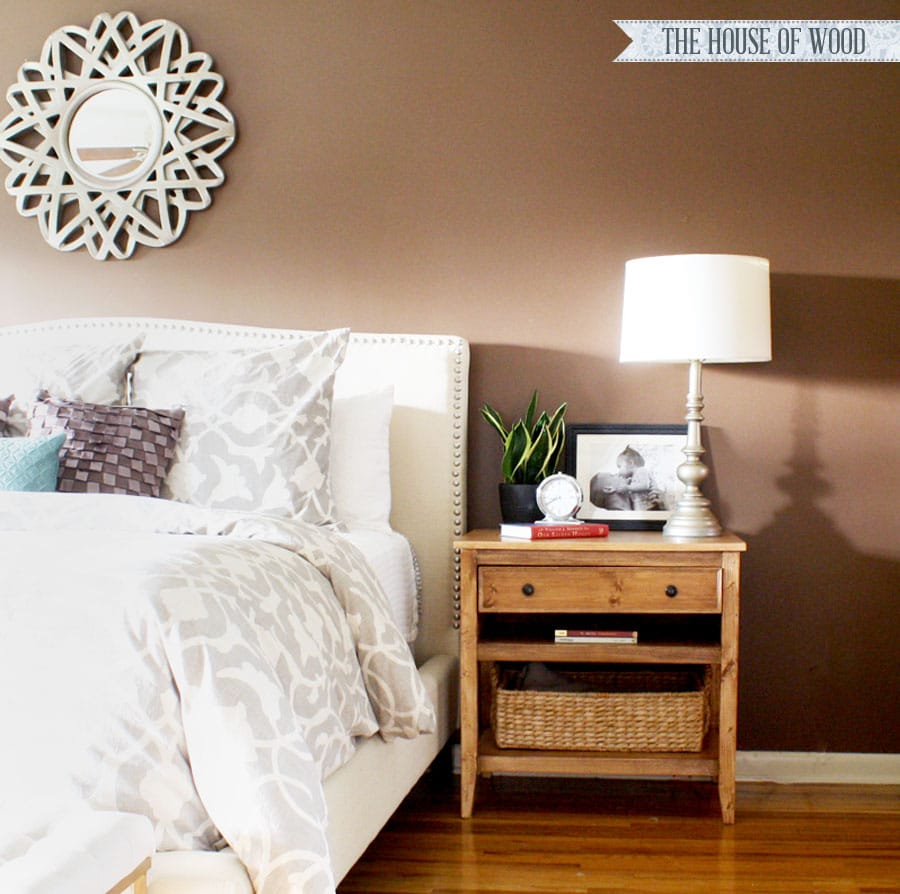
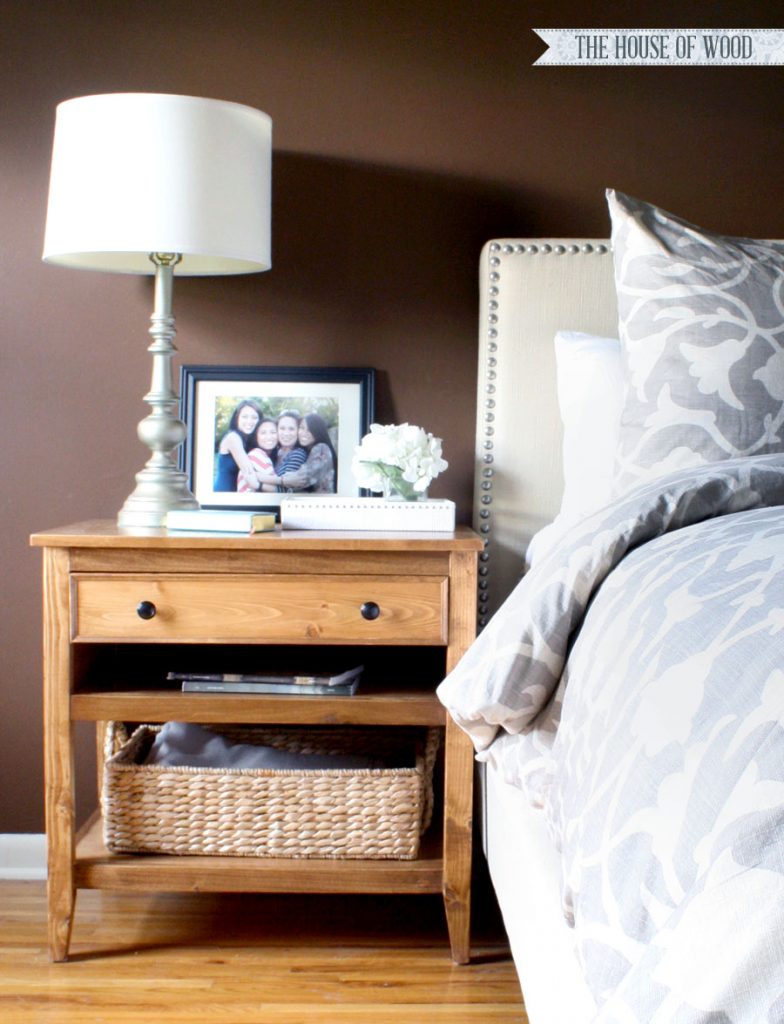
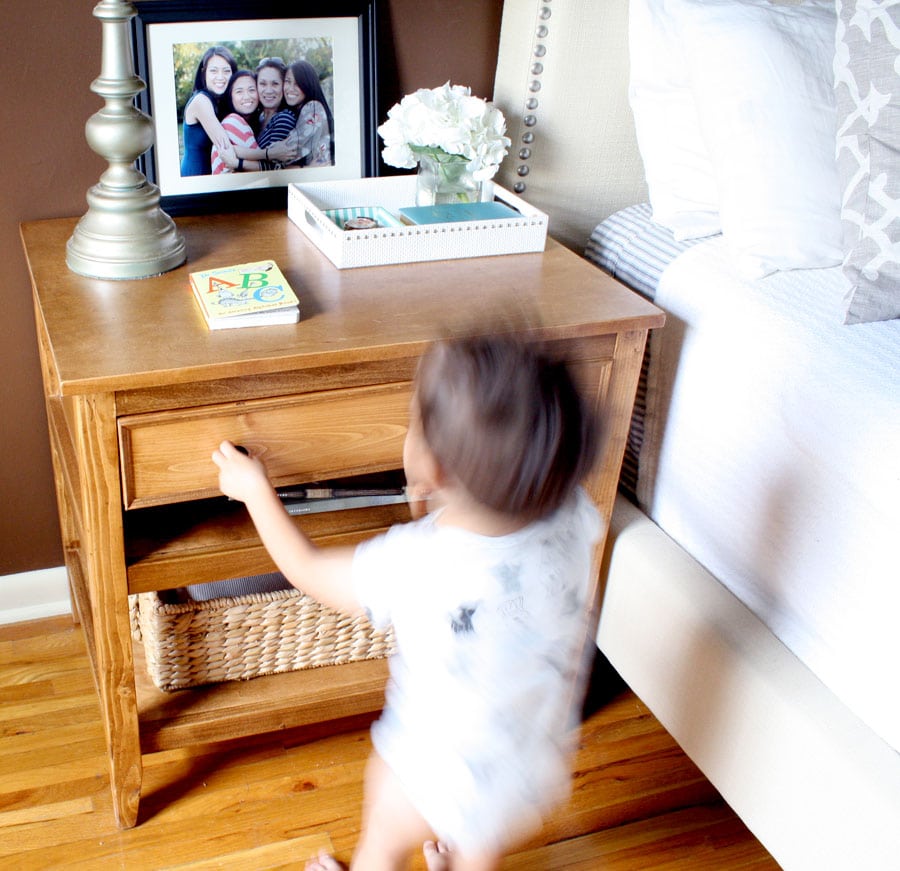
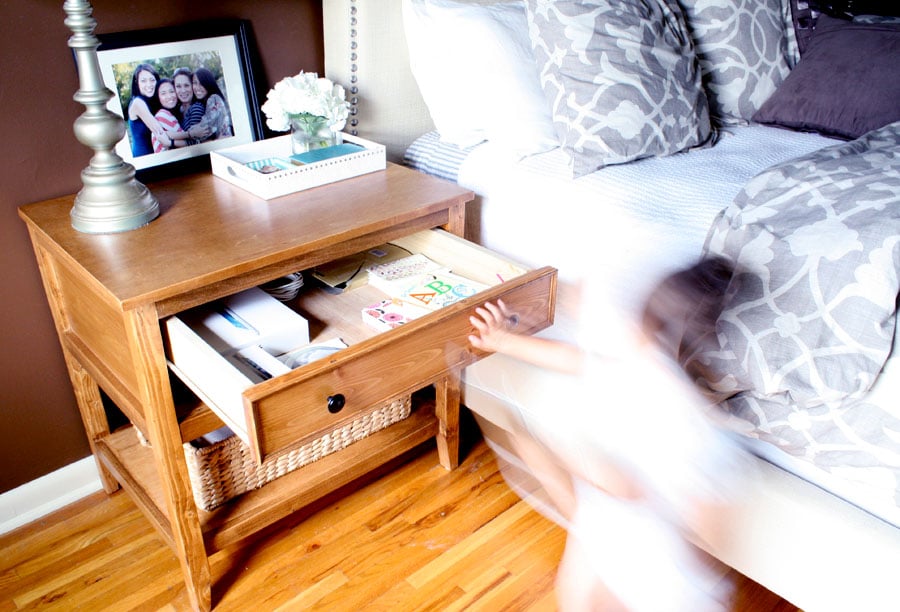
And here’s what happens when your toddler wants to photo-bomb every shot:
Thanks for reading, friends! If you liked this project, feel free to pin and share it. I’ll love you for it.




Jen they are beautiful and just to your liking! Up next – google sketch up – then you can do plans for both of us 🙂 Great work.
Thanks, Jaime! I’m YouTubing “how to use Google Sketchup” as we speak. Ha!
These are just gorgeous! I’ve been wanting to make some for our bedroom…just a little narrower as we don’t have much space. Love the basket on the bottom shelf, too!
Great job!
Kelly
Thanks, Kelly! You can totally modify them to fit your space – that’s the beauty of DIY, isn’t it?
They look great Jen!
Thanks, Briel!
They are beautiful! Your comforter also caught my eye. Would you mind sharing where it’s from?
Thanks, Nicole! The duvet cover is Barbara Barry Poetical from Bed Bath & Beyond! http://www.bedbathandbeyond.com/store/product/barbara-barry-poetical-queen-sham/1017759434?device=c&network=g&matchtype=&mcid=PS_googlepla_nonbrand_bedding_&gclid=CMv84POEpcACFScV7Aod0HAAFg
these are so beautiful! amazing how you made them! i wish i had the patience, tools and know how for this! 🙂
You can do it, Andrea! You could win a new circular saw to add to your growing tool collection 😉
Jen, I am absolutely IN AWE! These are fabulous… love the tapered leg! They are the one trait that makes them totally not look like a DIY! Swoon!
One question, Jen… did you DIY your master bed?
Thanks for the kind words, Sondra. No, I didn’t DIY the bed. It’s store-bought.
i LOVE these. the colour is beautiful – well done you 🙂
Sarah @ EDEA SMITH
www.edea-smith.co.uk
Thanks for stopping by, Sarah!
I love the night stand, I will have to make me one maybe next summer.
I love your bedding , and wondering if you would tell us where you got it at?
Thanks for the kind words, TJ! The bedding is from Bed, Bath, and Beyond.
Wow!!! These are absolutely beautiful!! I am definitely going to build some for my bedroom. Love, love, love them and the color is so beautiful. Glad you didn’t paint. It’s a refreshing change. I have one question: How did you do the tapered legs as they are so uniform and perfect? The tapered leg and drawer trim make this a real looker.
Thanks, Karen! I cut the tapered legs on a miter saw (using a piece of scrap as a template once I got the angle right), but this is the not the safest option. You can either use a bandsaw, table saw, or jig saw. I agree… little details like the trim on the drawer and tapered leg make all the difference in the world. Good luck and let me know if you have any questions as you’re building your nightstands! Can’t wait to see them!
Very great post. I just stumbled upon your blog and wished to mention that
I have truly enjoyed surfing around your blog posts. In any case I’ll be subscribing on your feed and I’m
hoping you write again soon!
Hello,
Found this DIY on pinterest and will use it as a great starting point for my upcoming project. I did want to comment on your technique for tapering the legs as I feel that is unsafe. The miter saw is not designed for this kind of rip cut. Although you appeared to have no issue, if not done just right, making this type of cut can lead to the board being pulled into the saw along with an unintended hand and nobody wants that. A table saw or band saw would be better choices for this or for the average diy’er, a jig saw and belt sander. Just the two cents of an avid woodworker and professional in the power tool industry.
Thanks for the tip, Vince! Safety first!
Hi Jen,
Wow, very professional. Your tables are amazing. Thanks for answering the questions about the bedding. I really like your comforter too! Also, I notice your bedside lamps have changed color and I love the muted silver. Is this spray paint too or is it a rub? Would like to do mine the same color.
TIA
Thanks! Yes, I spray-painted the lamps a metallic champagne color! I can’t remember the brand, but I think the color was called “Champagne” somethingorother. Ha!
please enter my name in to win (New Diy Bedside Tables and Ryobi Tools Giveaway The House of Wood Source). thank you mr tim grimes sr
I saw in the first comments that you were planning to do a sketchup of this plan- is that finished? If so, where can it be found? Also, could you compile a board/cut list for this project? Thanks!
Yes! The plans can be found at Rogue Engineer’s site – that link is in the post. Good luck!
Great job lady. Love it. I am a wood worker myself and I love to see what others do. Keep up the good work.
Jen,
These are great. Where did you get the trim that is on the drawer front? I looked at rockler and woodcraft, but they didn’t have it.
I got the trim in the moulding aisle at Home Depot.
Hi and thanks for the plans – I had a question about the drawer trim – did you have to account for the trim when cutting the drawer face? Or is it just attached on top of the drawer face? I am going to try and make this nightstand – hopefully I can do it! Thanks!
Hi Judy,
No, I just cut the trim to fit on top of the drawer face. Good luck!