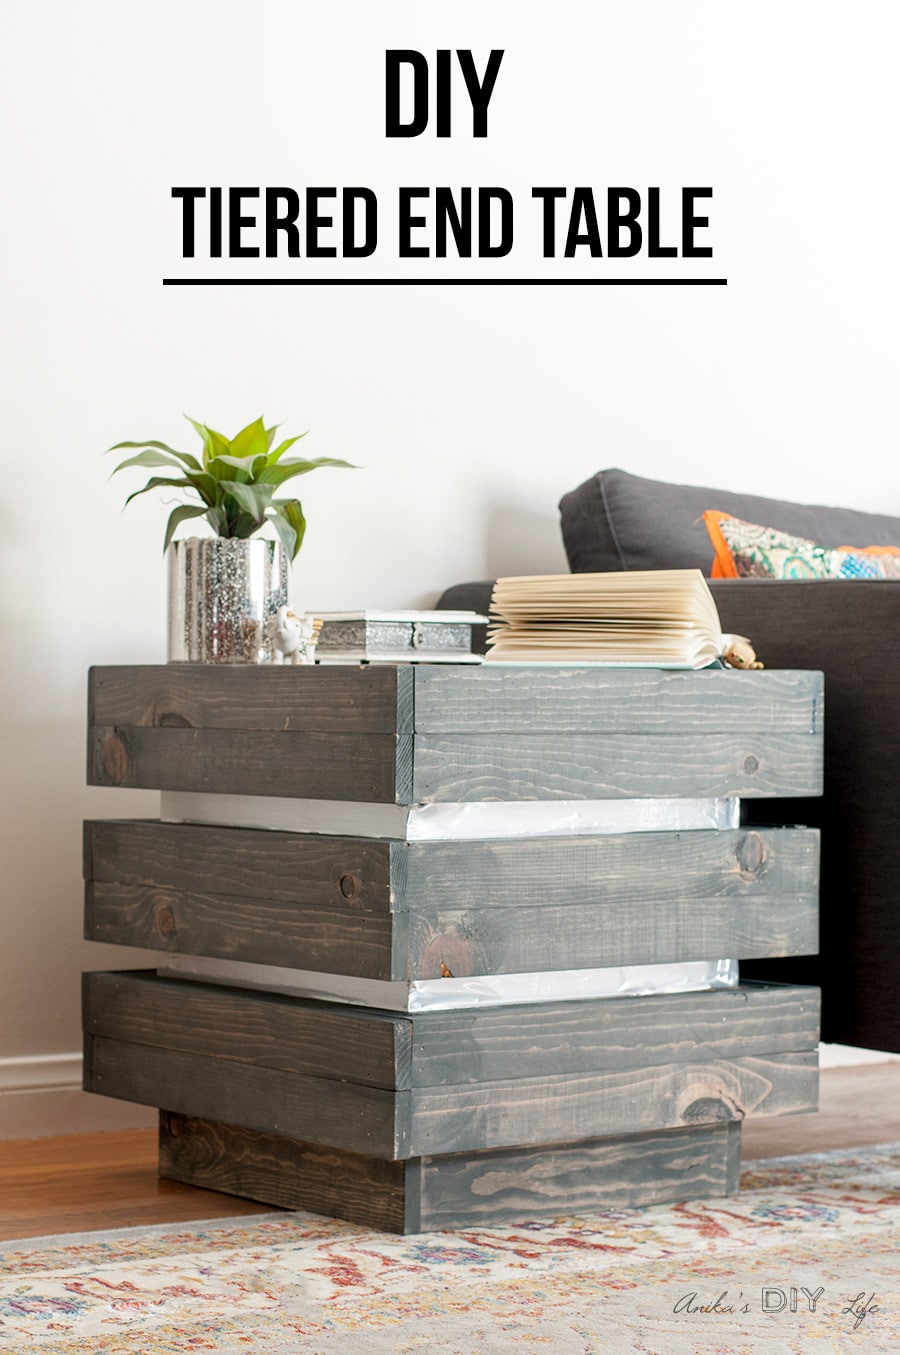
Hello, House of Wood readers! I am Anika from Anika’s DIY Life. Jen has been a major inspiration for me in my woodworking journey and I am beyond thrilled to be on her contributor team and be able to share my projects with you this year. Today, I’m going to teach you how to build a DIY Chunky Tiered End Table.
Exactly a year ago, I first worked with Jen on the Emerson Buffet. It is still one of my favorite builds. Also, it has me craving for more chunky furniture around the house. I came across this side table and instantly wanted to build one for our living room. I decided to change the colors and add metallic accents to fit in better with the decor.
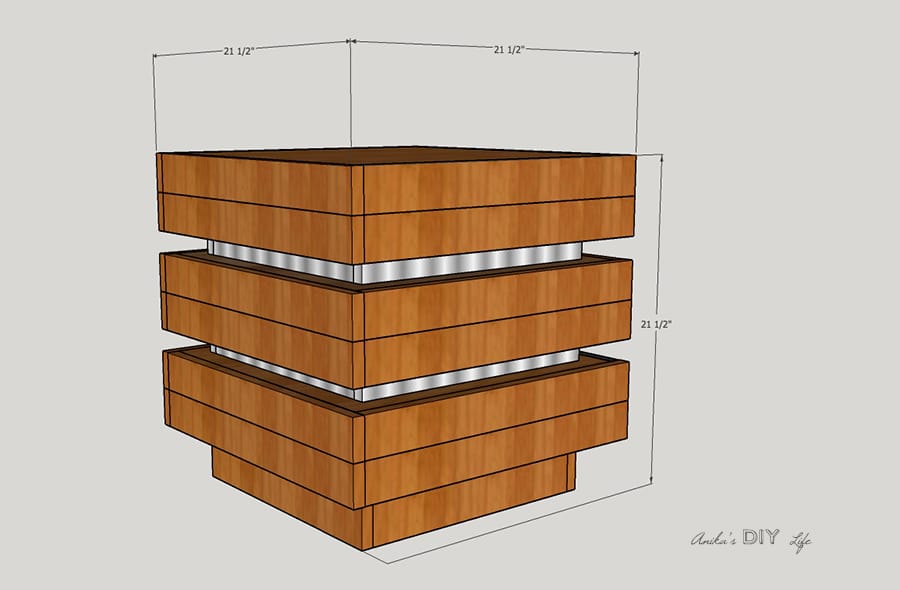
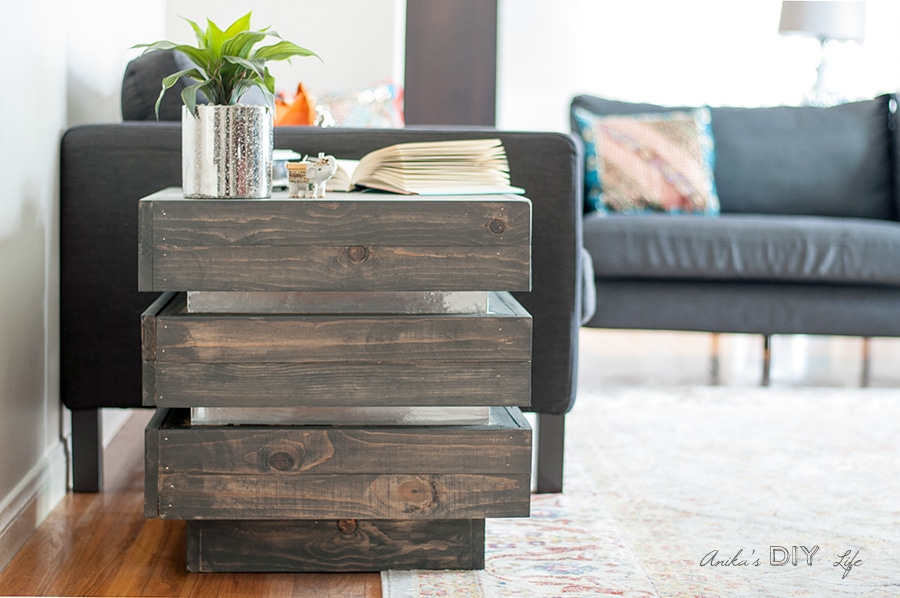
This DIY Chunky Tiered End Table is basically a cube with equal length, width, and height. It is a fairly straightforward build and I drew inspiration from Jen’s design of the Emerson Buffet to build this. Let’s get to the details.
I ended up using mostly scrap wood except having to buy a quarter sheet of plywood and a few 1 x 3 boards. I have listed below all the lumber needed for this project.
DIY Chunky Tiered End Table
Material List:
- (1) 1″ x 4″ x 8′ board
- (6) 1″ x 3″ x 8′ board
- (2) 1″ x 2″ x 8′ board
- (1) 2″ x 2″ x 4′ board
- (1) Full sheet of 3/4″ Plywood
Cut List:
- (2) 1″ x 4″ @ 17″ (long base apron)
- (2) 1″ x 4″ @ 15.5″ (short base apron)
- (24) 1″ x 3″ @ 20 3/4″ (outer planks)
- (4) 1″ x 2″ @ 17″ (long horizontal spacer)
- (4) 1″ x 2″ @ 15.5″ (short horizontal spacer)
- (12) 2″ x 2″ @ 3.5″ (vertical spacers)
- (6) 3/4″ plywood @ 20″ x 20″ (3-shell top, 3 shell bottom)
Tools and Hardware:
- Circular Saw
- Miter Saw
- Drill
- Brad Nailer
- Pocket Hole Jig
- Sander and sandpaper
- 1-1/4″ pocket hole screws
- 1-1/4″ wood screws
- 1-1/4″ finish nails
Instructions:
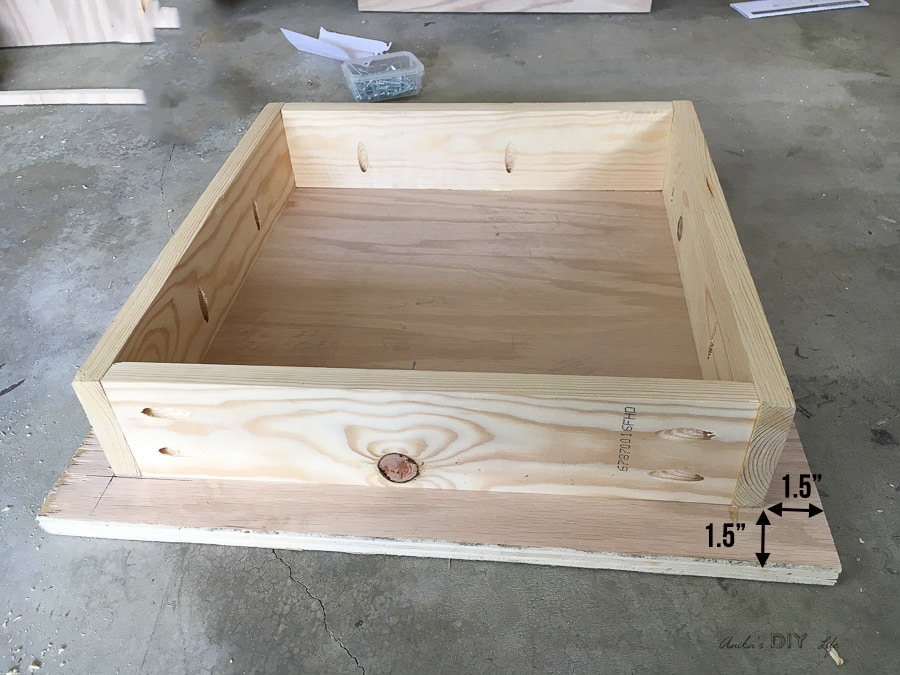
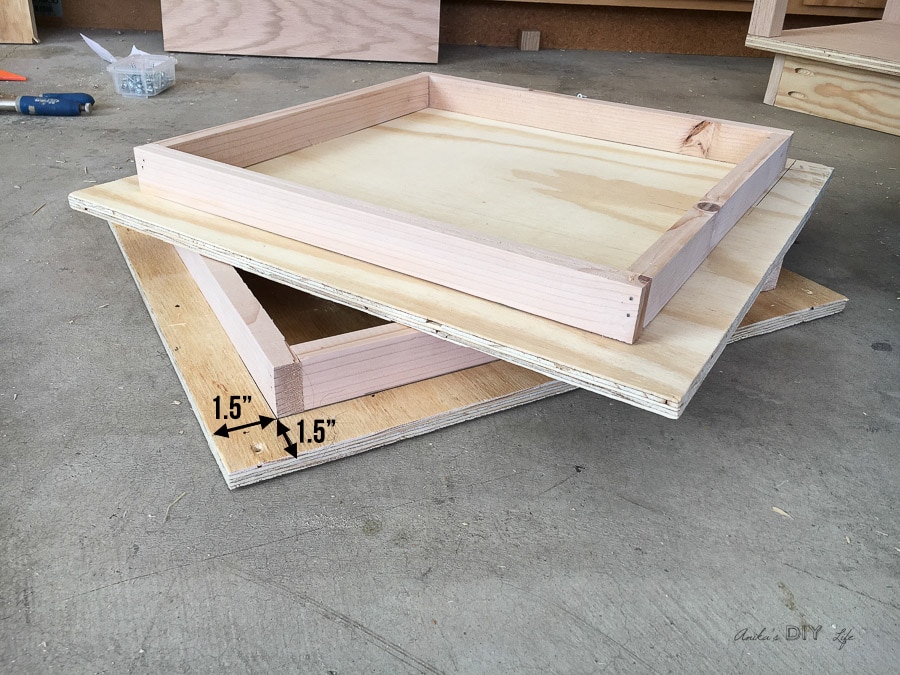
Step 1 – Build the base of the table.
Drill 3/4″ pocket holes on the ends of the short base apron and the insides of both the long and short base aprons. Attach using wood glue and pocket hole screws to a plywood square as shown below.
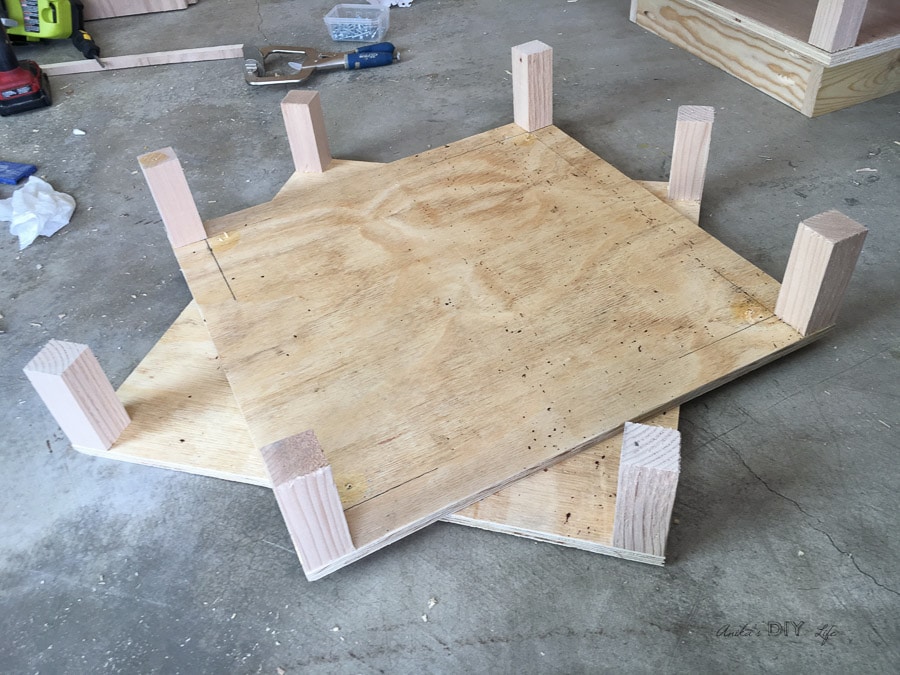
Step 2 – Prepare bottom for each tier shell.
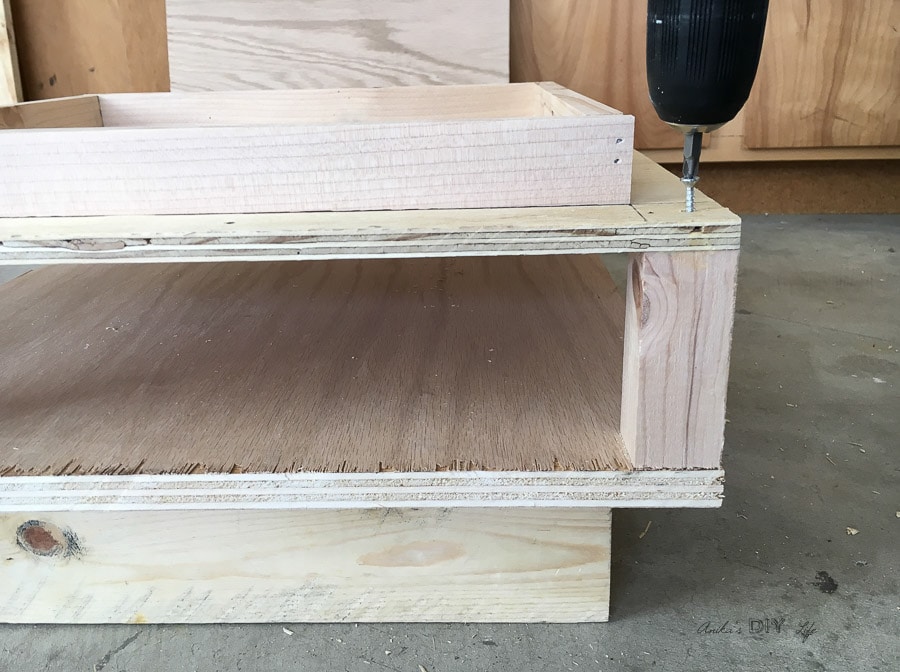
Attach 2″x2″ vertical spacers to the plywood from step 1, and 2 other plywood squares using wood screws and wood glue.
Step 3- Prepare the top of each tier shell.
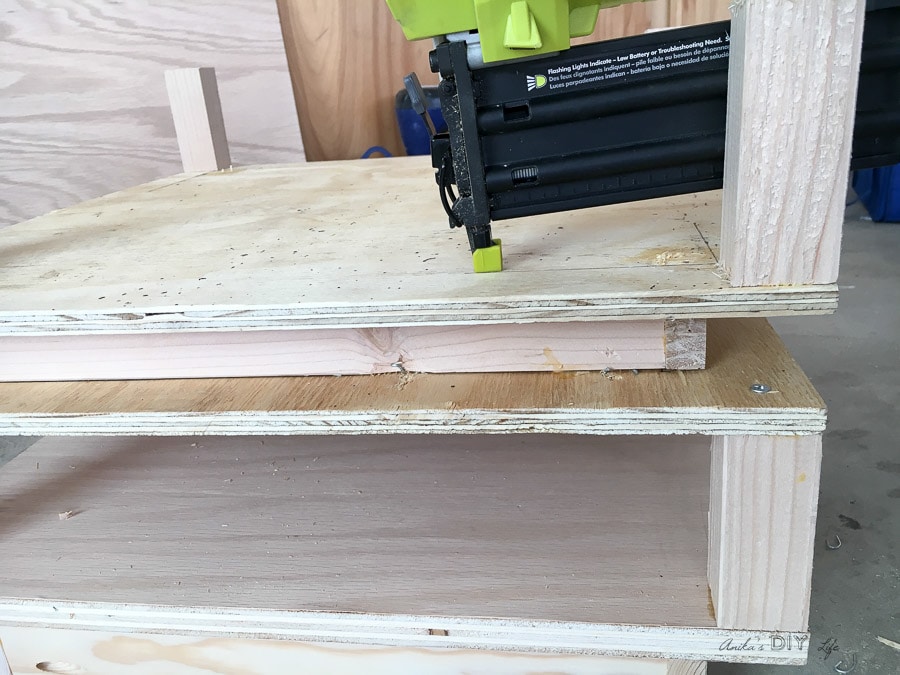
Attach the 1″x2″ boards to 2 plywood squares using wood glue and finish nails as below. I also added a few wood screws to make sure the joints are strong. You can also use pocket holes for this step.
Step 4 – Assemble the table.
Start from bottom up. Attach the top of the shell to the vertical spacers using wood glue and wood screws .
Attach the bottom of the next tier to the 1″ x 2″ spacers using finish nails and wood glue. I also added a few wood screws for good measure. Use the 2 “x 2” spacers as a guide to estimate where to add the nails and screws.
Step 5: Add the outer planks.
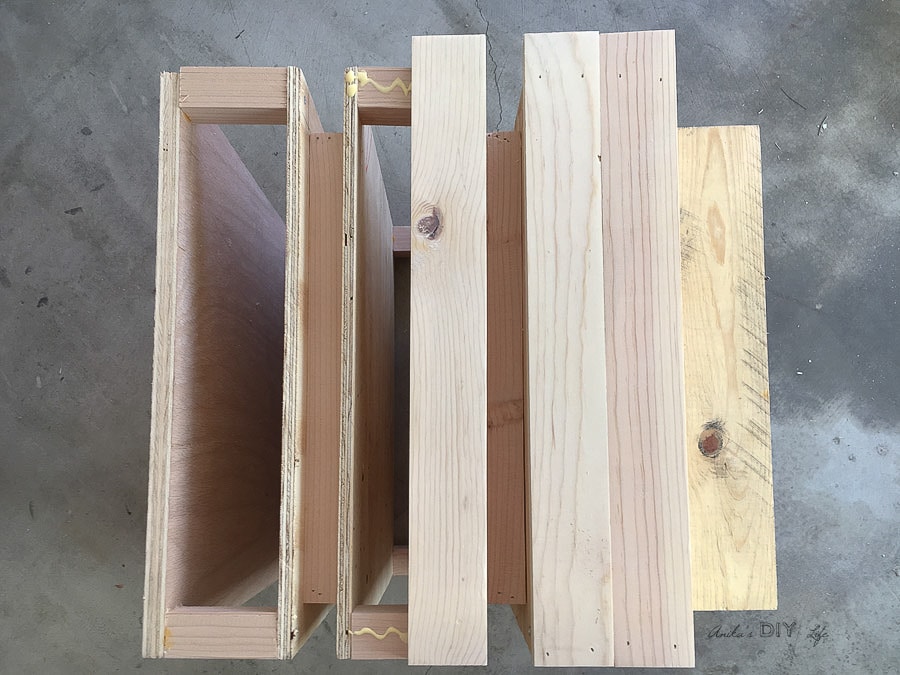
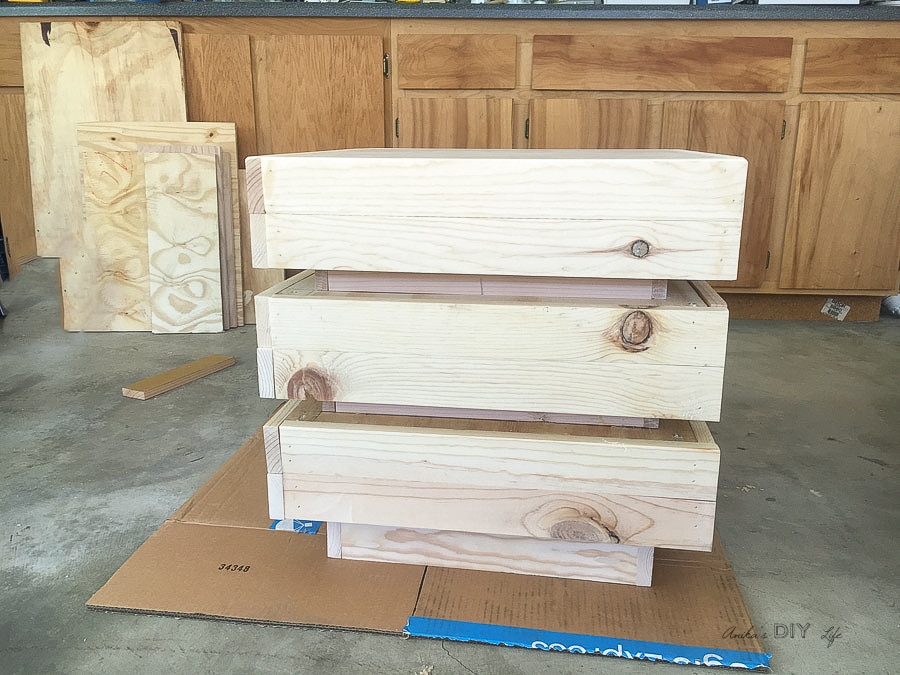
Once the skeleton is ready, add the outer planks on all four sides using wood glue and finish nails.
That’s it!
This DIY chunky tiered end table is ready for finishing touches.
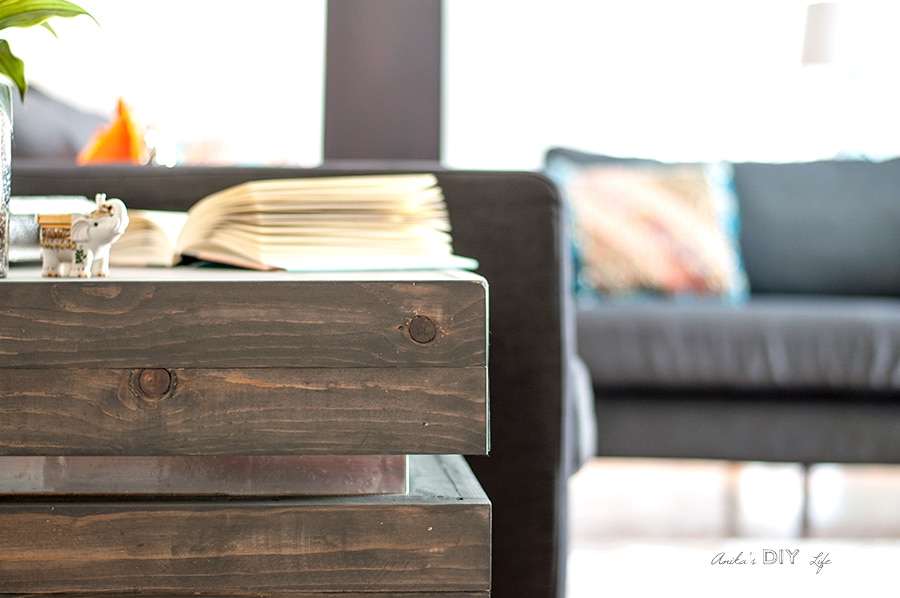
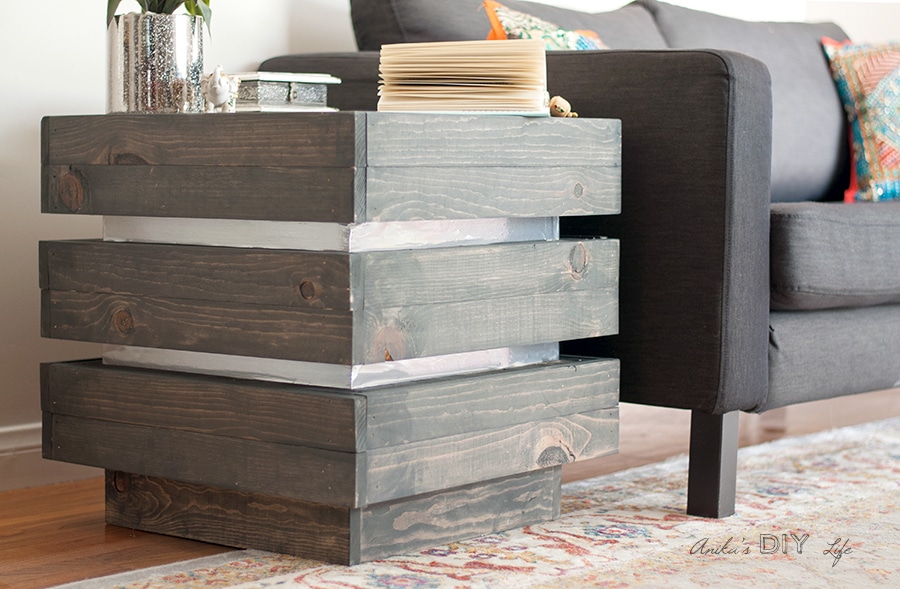
I decided to go with a gray stain and add a metallic touch to it using stainless steel contact paper on the 1″ x 2″ spacers.
It is the perfect end table to put down your book or cup of coffee.
The living room is still a work in progress but right now I am just going to ignore it and stare at my new end table. See you next time!

It would be fun too if you could use lexan for the back set parts and light it.
Looks nice, but sure seems like a lot of space not used. I may try to make the front panels a hinged drop down so the inside could bu used to put “stuff”
Great idea, Darrell! Thanks!
Hi! Just wondering if there’s some shots from the top we could see? I’m having a tough time visualizing!