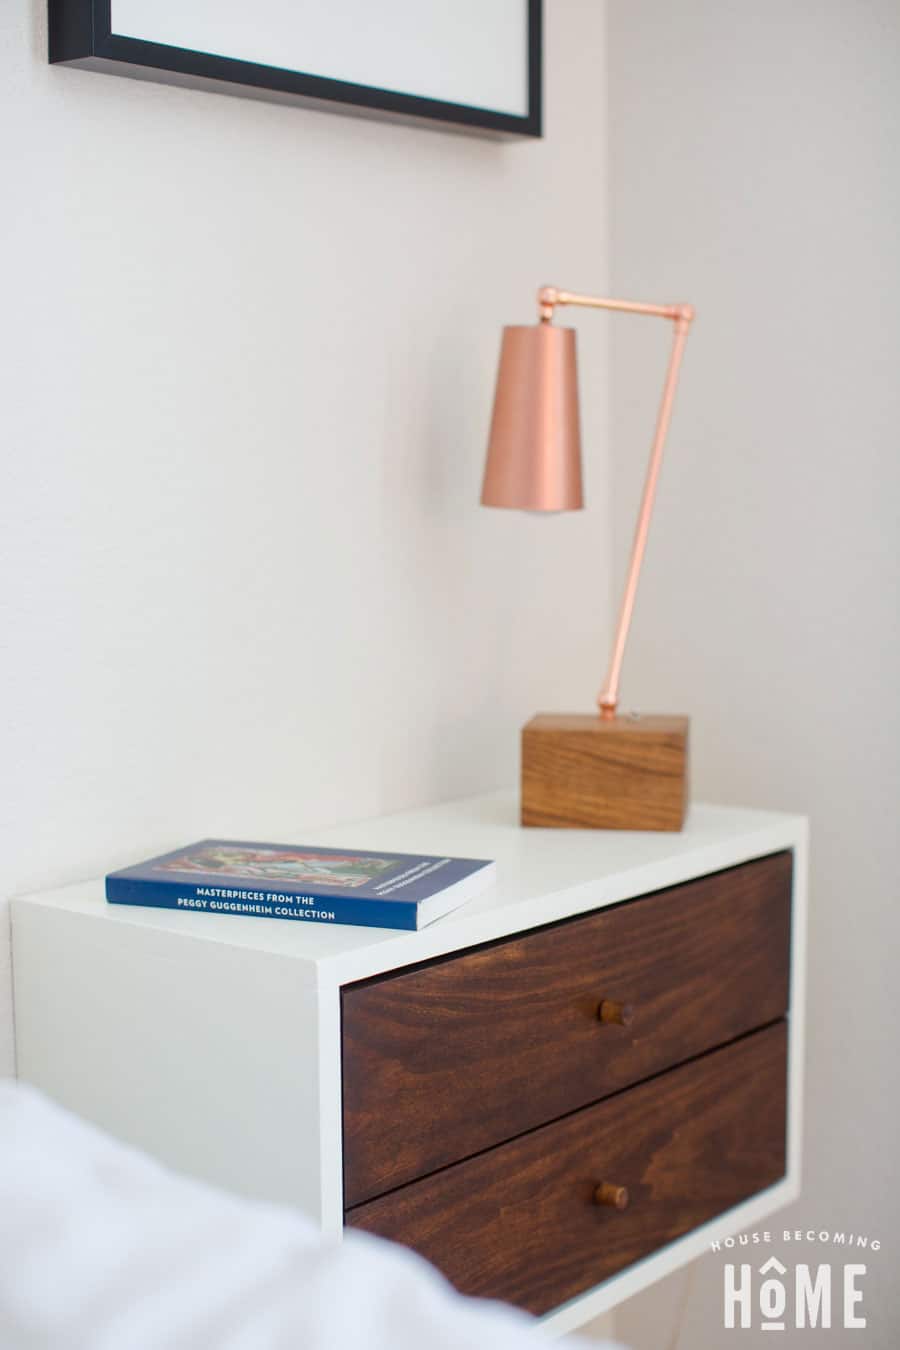
Hello, hello! My name is Angie from House Becoming Home–a blog that documents my DIY furniture builds and various home improvement projects. I’m thrilled to be part of the Jen Woodhouse 2018 creative team, and today I’m sharing photos and instructions for a DIY floating nightstand that I recently built for my husband Jim.
I’m not sure about you, but I always seem to ignore one or two rooms in my home. Ignore, as in, when it comes to decorating and “making nice,” they get very little attention. Our master bedroom has possibly been the most “ignored” room in our home since we moved in about three and a half years ago. We had so much going on at the time (renovating the kitchen, laying hardwood flooring, etc. etc.), that when it came time to move in, we set up our bed and a few old bookcases and called it good. No framed photos or artwork, no dresser, no nightstands. Last year, I finally found some time to build a huge eight-drawer dresser, and at the beginning of 2018 I decided it was time to add a DIY floating nightstand to Jim’s side of the bed.
>>>CLICK HERE FOR PLANS<<<
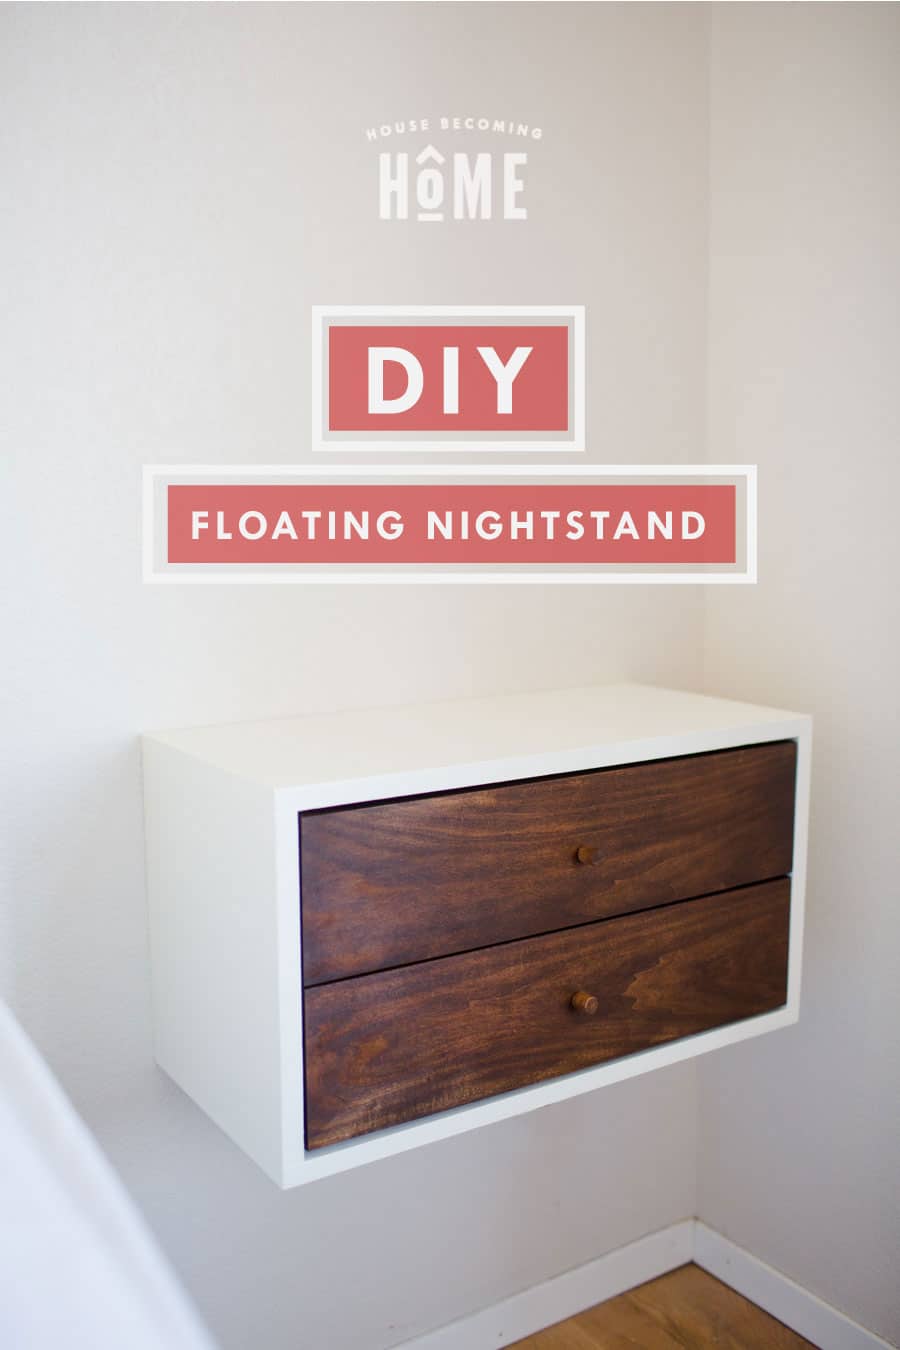
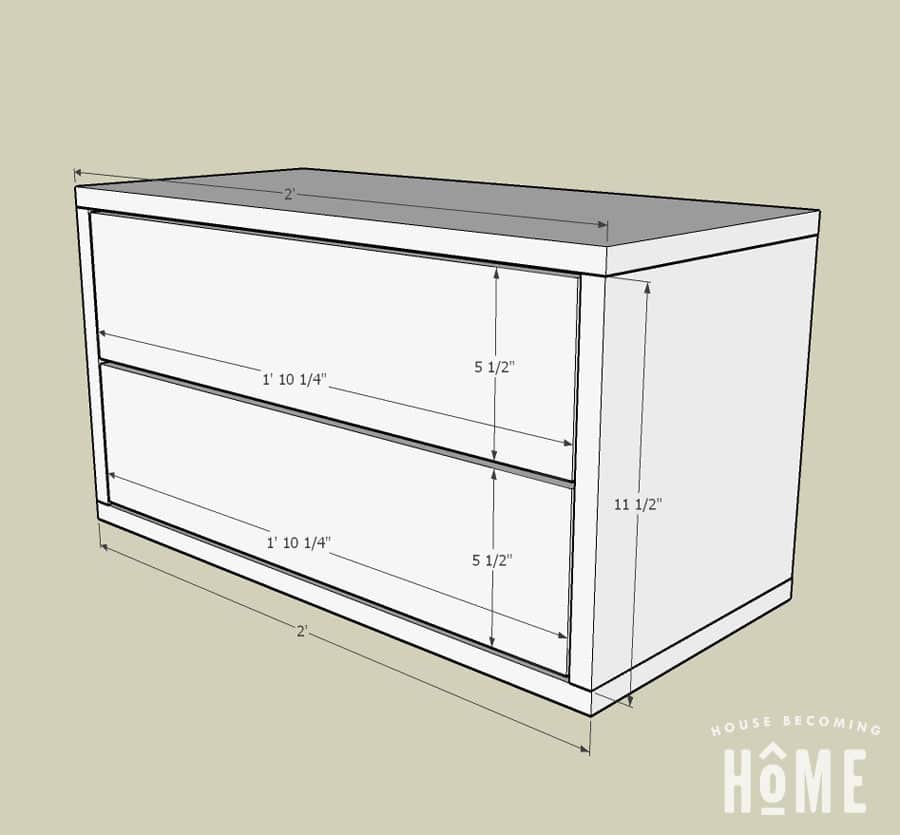
This DIY floating nightstand is a simple build that doesn’t take much time at all to finish. So let’s get to it.
Here’s how to build a DIY floating nightstand:
Tools:
- Miter Saw
- Table saw
- Drill
- Pocket Hole jig
- Sander + sandpaper
- Tools for finishing (paintbrush and rag for stain)
Materials:
*Note: because the dimensions of the nightstand are relatively small, I tried to use as many pieces from my scrap pile as possible. One of my drawers was made using a 1×4, but the other was made with leftover pieces of pine from a feature wall that my friend removed from her house. For simplicity’s sake, this list assumes you’ll only use 1x4s for the drawers, but if you have scraps, use them up! Just be sure to adjust the cuts if the thickness of your material isn’t 3/4″ like a 1×4.
Cut List:
- (2) 1×12 @ 24″ (nightstand top and bottom pieces)
- (2) 1×12 @ 11 1/2″ (nightstand sides)
- (1) 1×4 @ 22 1/2″ (nightstand back support)
- (4) 1×4 @ 20″ (drawer fronts and backs)
- (4) 1×4 @ 9 & 3/4″ (drawer sides)
- (2) 1/4″ plywood or hardboard cut to 9 3/4″ x 21 1/2″ (drawer bottoms)
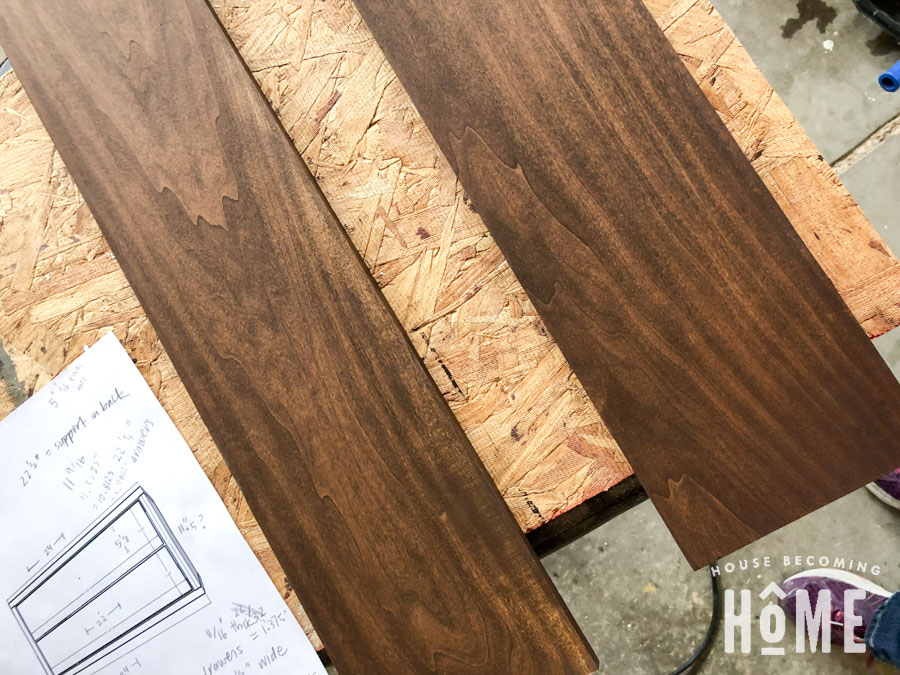
- (2) 1/2-in x 6-in poplar hobby stock @ 22 1/4″ (drawer faces)
Hardware and Fasteners:
- (2) 10″ full-extension drawer slides (each of my drawer slides was actually 9 3/4″ long and 1/2″ wide–if yours are more or less you’ll need to adjust your drawer sizes)
- 1-1/4″ pocket hole screws
- 1-1/4″ screws to attach drawer faces
- Wood glue
- Finishing products of your choice–stain, paint, wax, polyurethane, etc.
- Knobs or pulls
Instructions
1. Build the Nightstand Shell
Cut a six-foot 1×12 into four pieces: two @ 24″ (top & bottom) and two @ 11 1/2″ (sides).
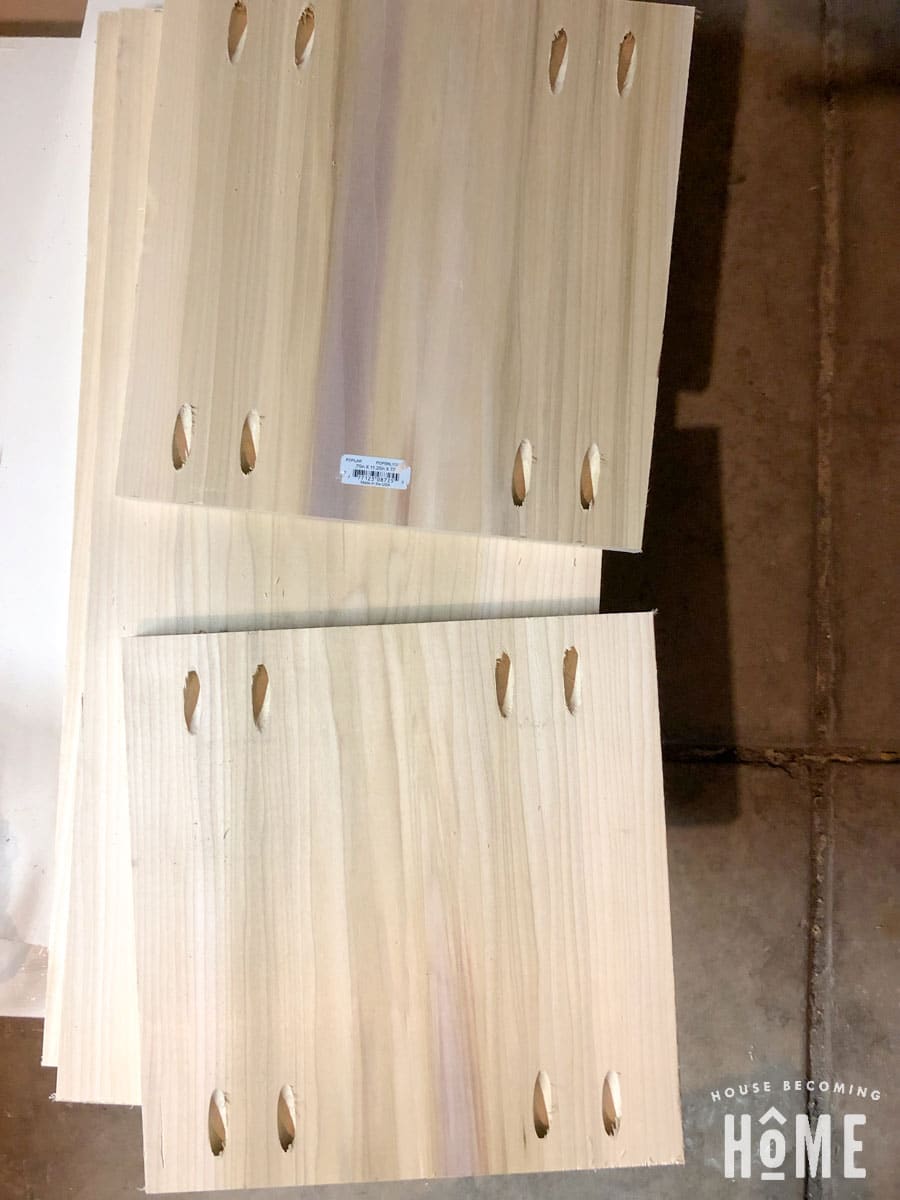
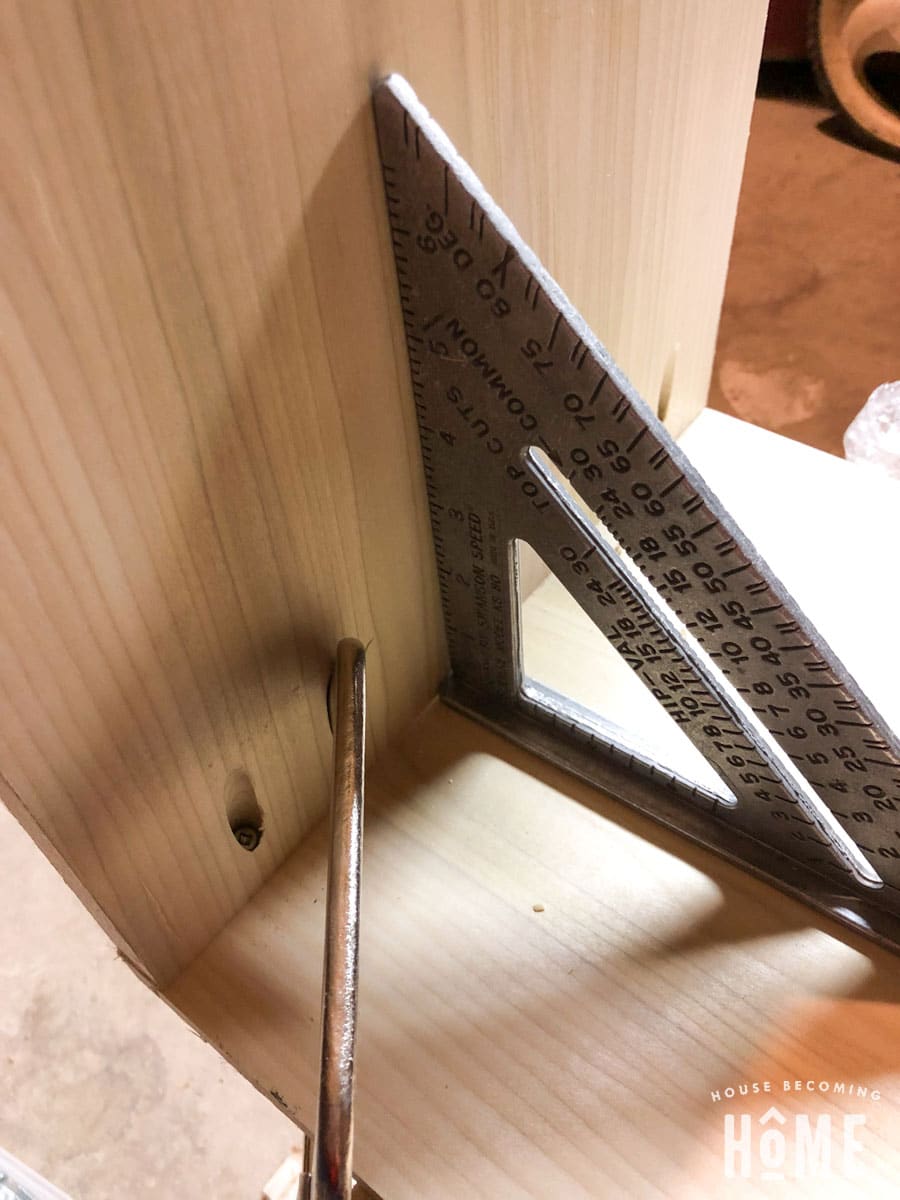
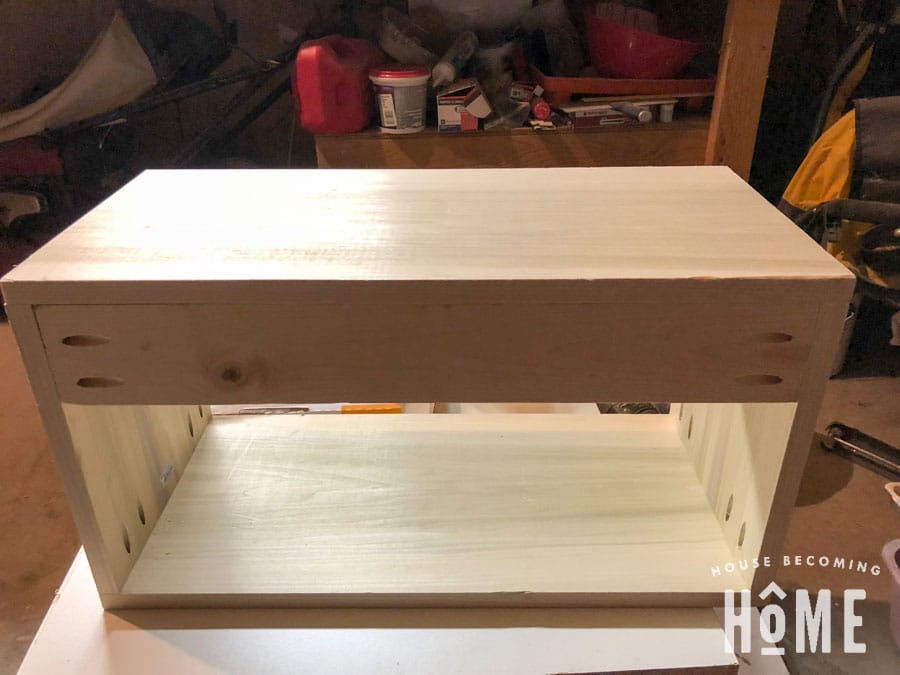
Make four pocket holes on the top and bottom of both of the shorter pieces (nightstand sides). With the pocket holes facing in, assemble the shell of the nightstand with 1 1/4″ pocket hole screws. Use a carpenter square to ensure you’re keeping everything square.
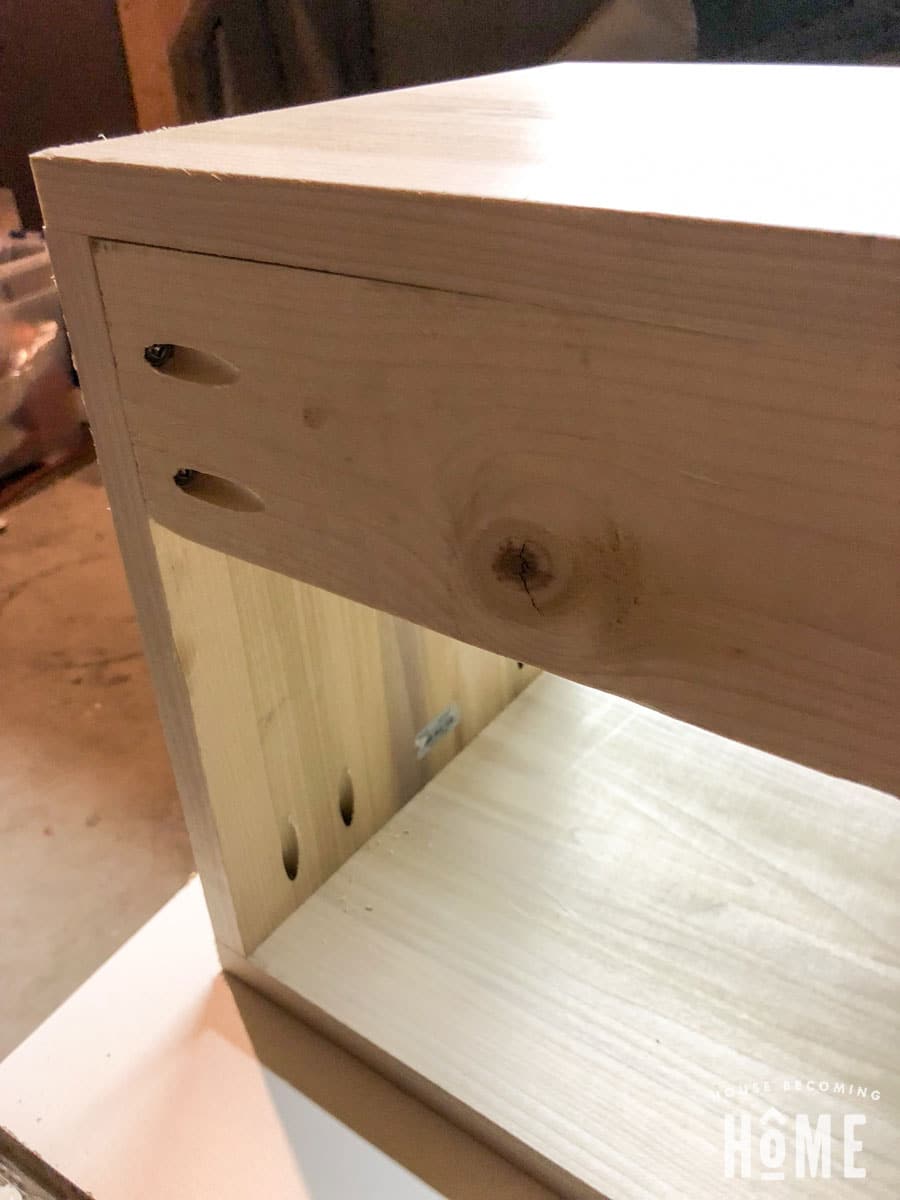
Cut a 1×4 to 22.5″ and attach to the back of the nightstand using pocket holes. The nightstand will eventually be screwed into to the wall from this piece, so make sure it is attached flush to the back:
2. Assemble the drawers
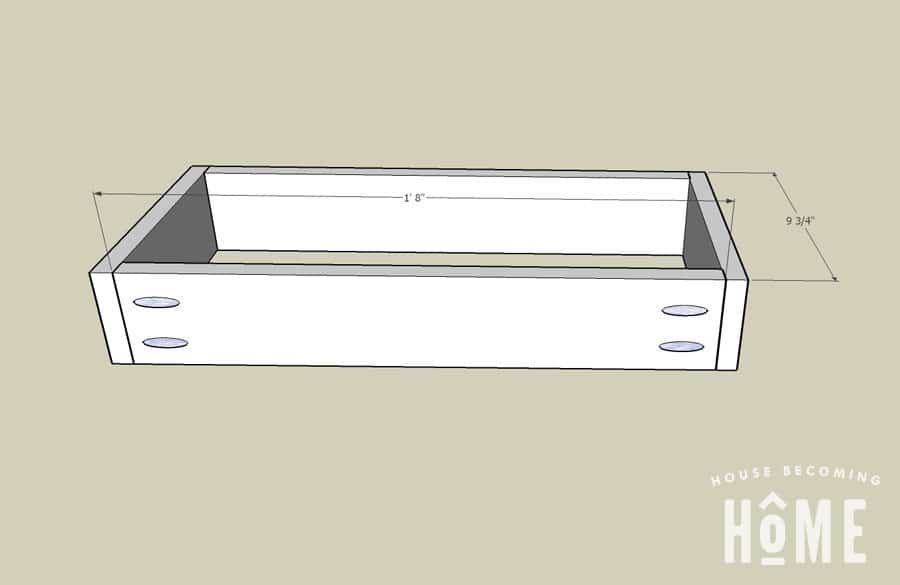
Build two drawers using the 1×4 cut to 20″ for the fronts and backs, and 9 3/4″ for the sides. I made pocket holes on the front and back pieces. The pocket holes in the back will never be visible and the pocket holes in the front will be covered by the drawer face.
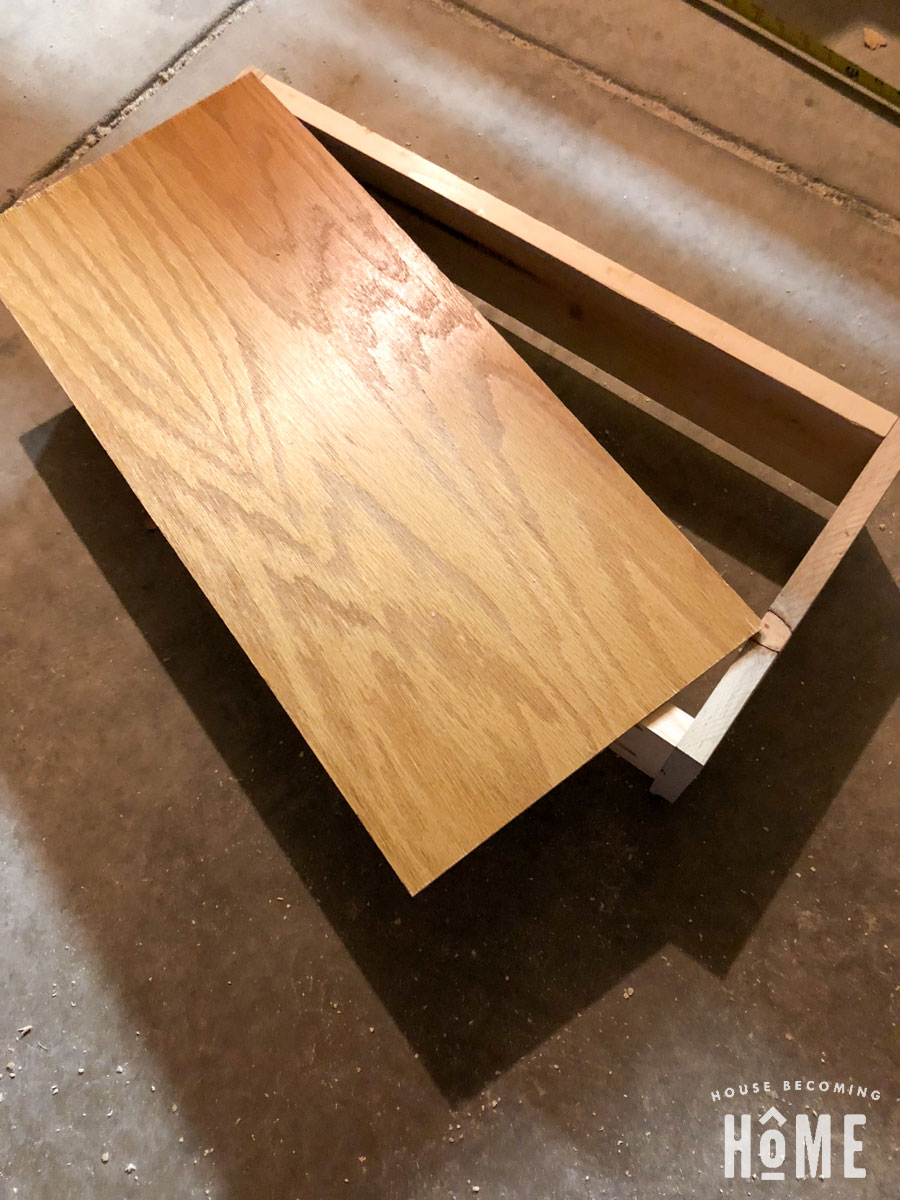
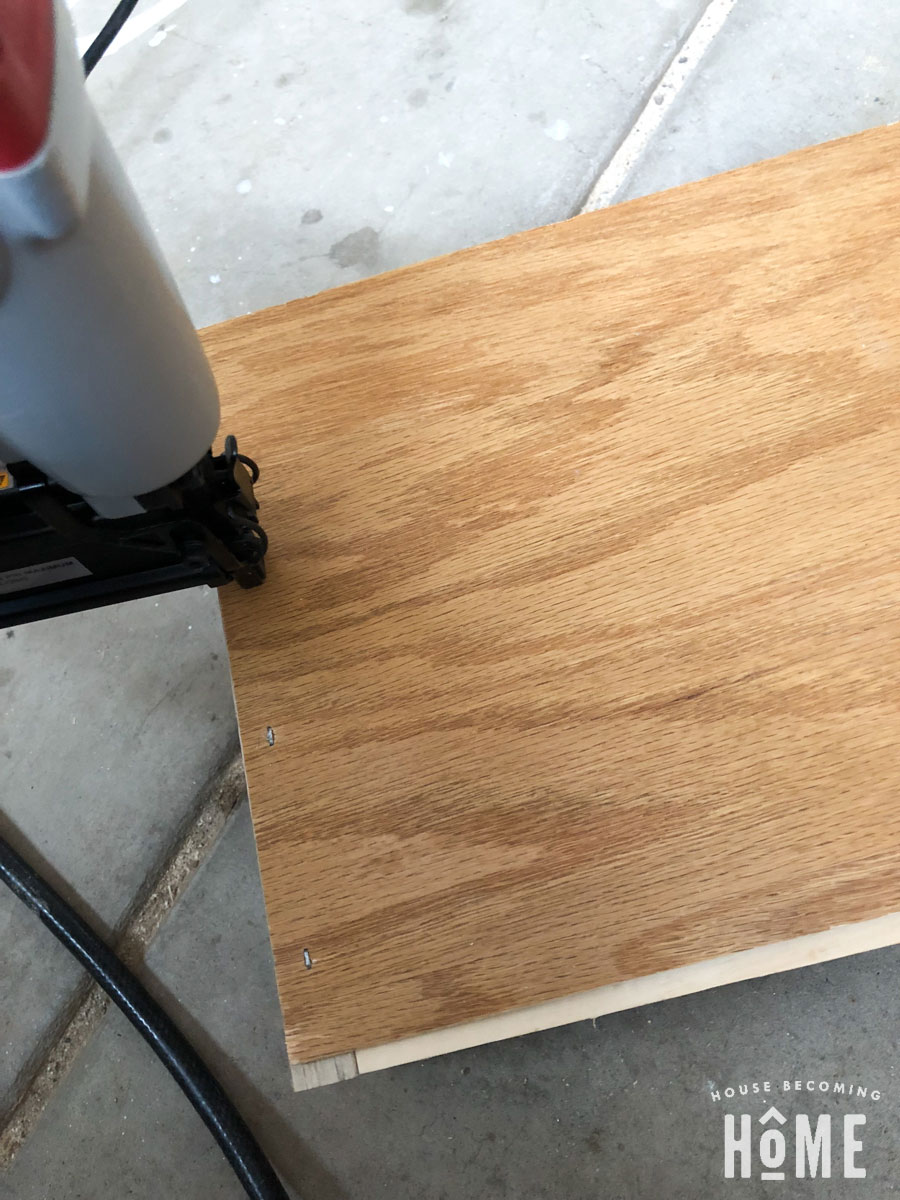
Attach the drawer bottoms (1/4″ plywood or hardboard cut to 9 3/4″ x 21 1/2″). I used my nail gun with 18 gauge staples and put one about every 3-4″ inches or so. That’s probably overkill, especially for a nightstand drawer that’s not going to ever hold a ton of weight, but I like to be sure it’s never going anywhere. 🙂
3. Attach Drawer Slides
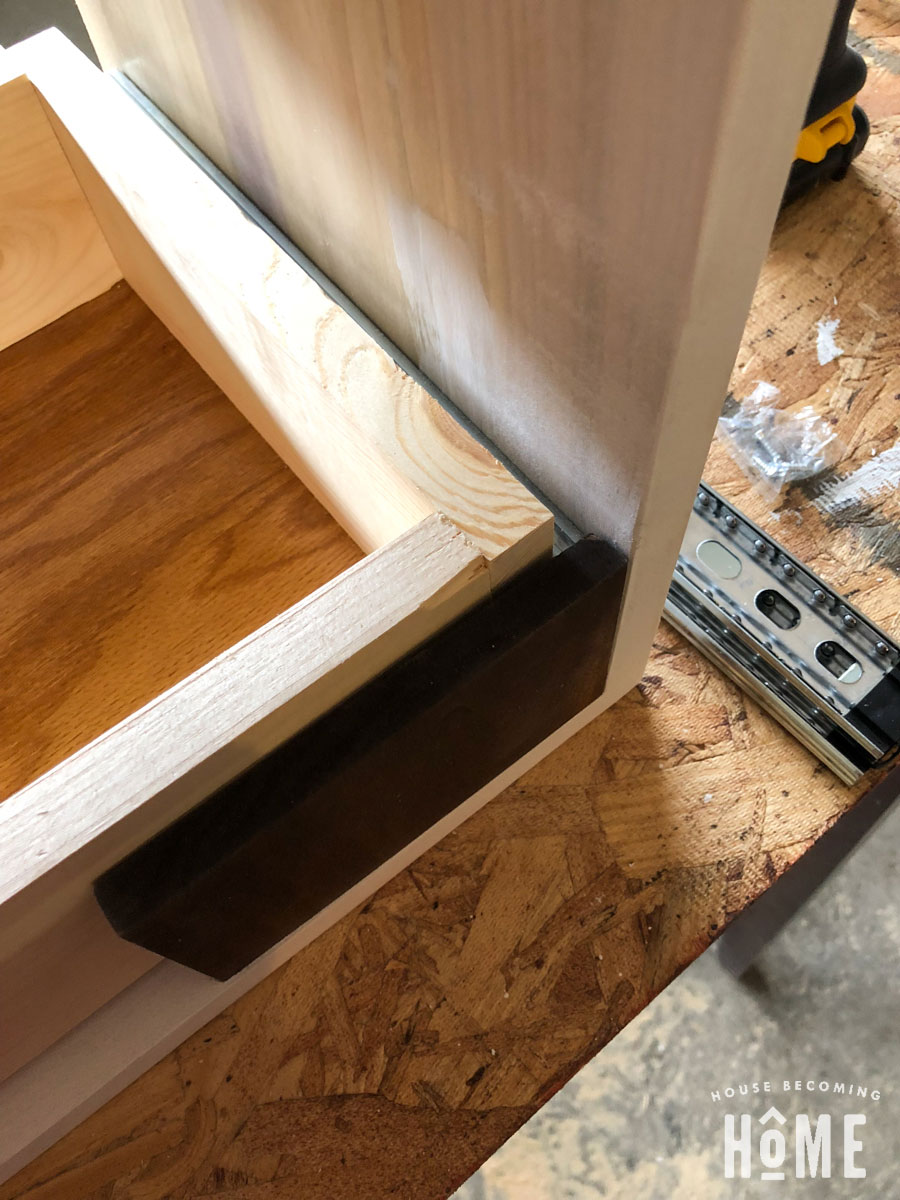
Screw drawer slides to the sides of the drawers and inside the nightstand. When fastening the slides inside the nightstand, be sure to leave room for the drawer face:
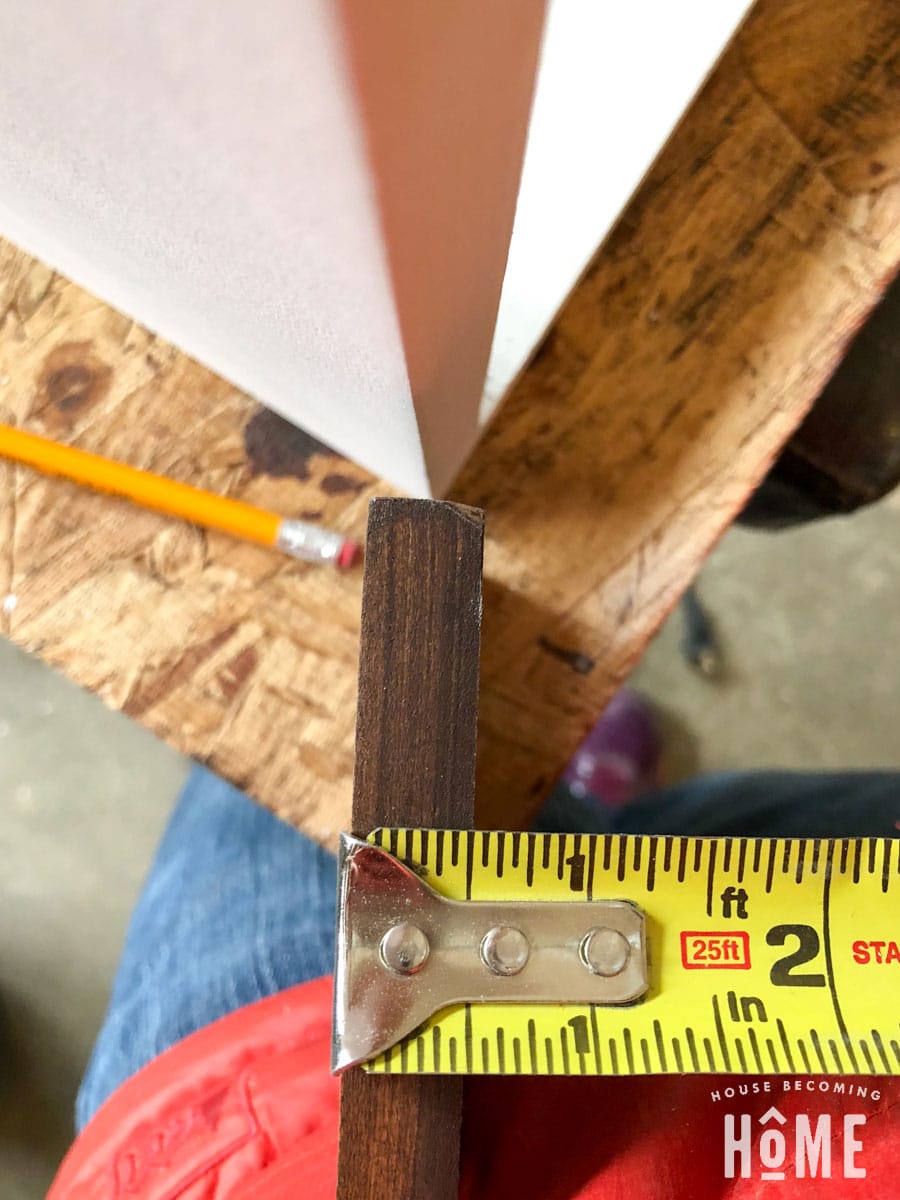
(Double checking the drawer face depth–1/2″)
Install slides 1/2″ back from the front of the nightstand. The oak here is just a scrap piece that I rest the slide on to ensure each slide is mounted at the same height.
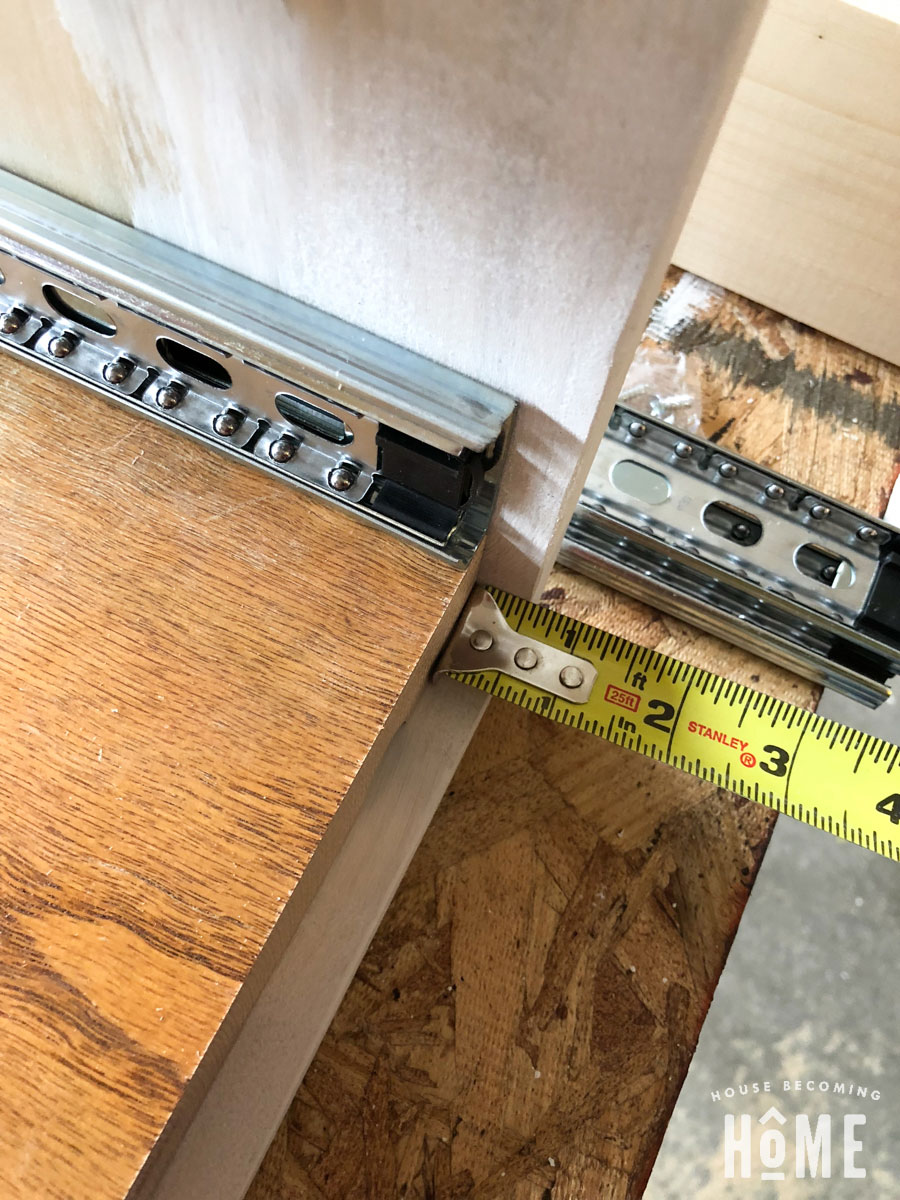
(I placed a scrap piece of 1/2″ thick wood against the drawer to make sure the actual drawer face will be flush to the front.)
4. Finishing Touches
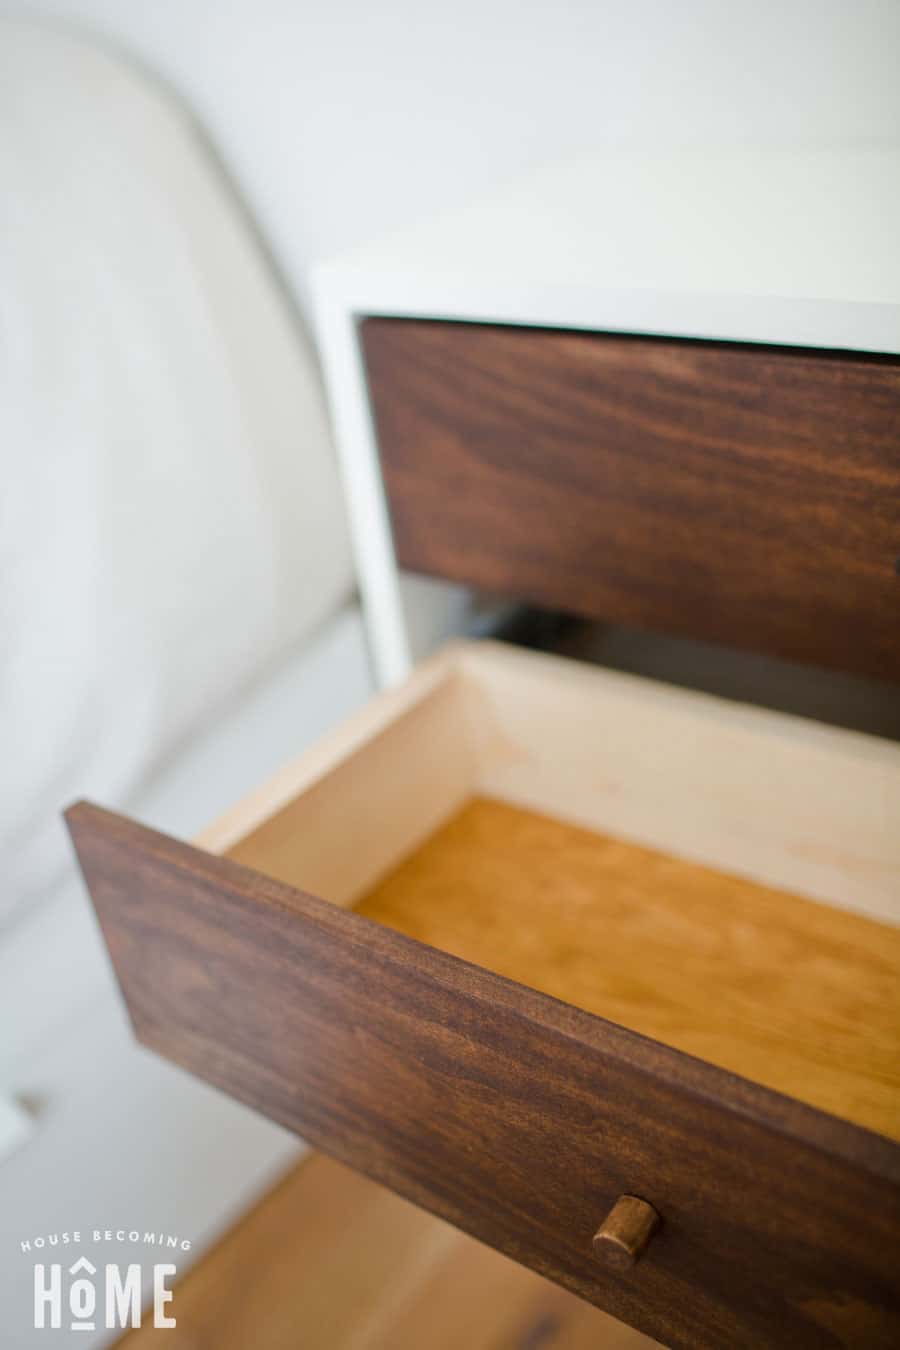
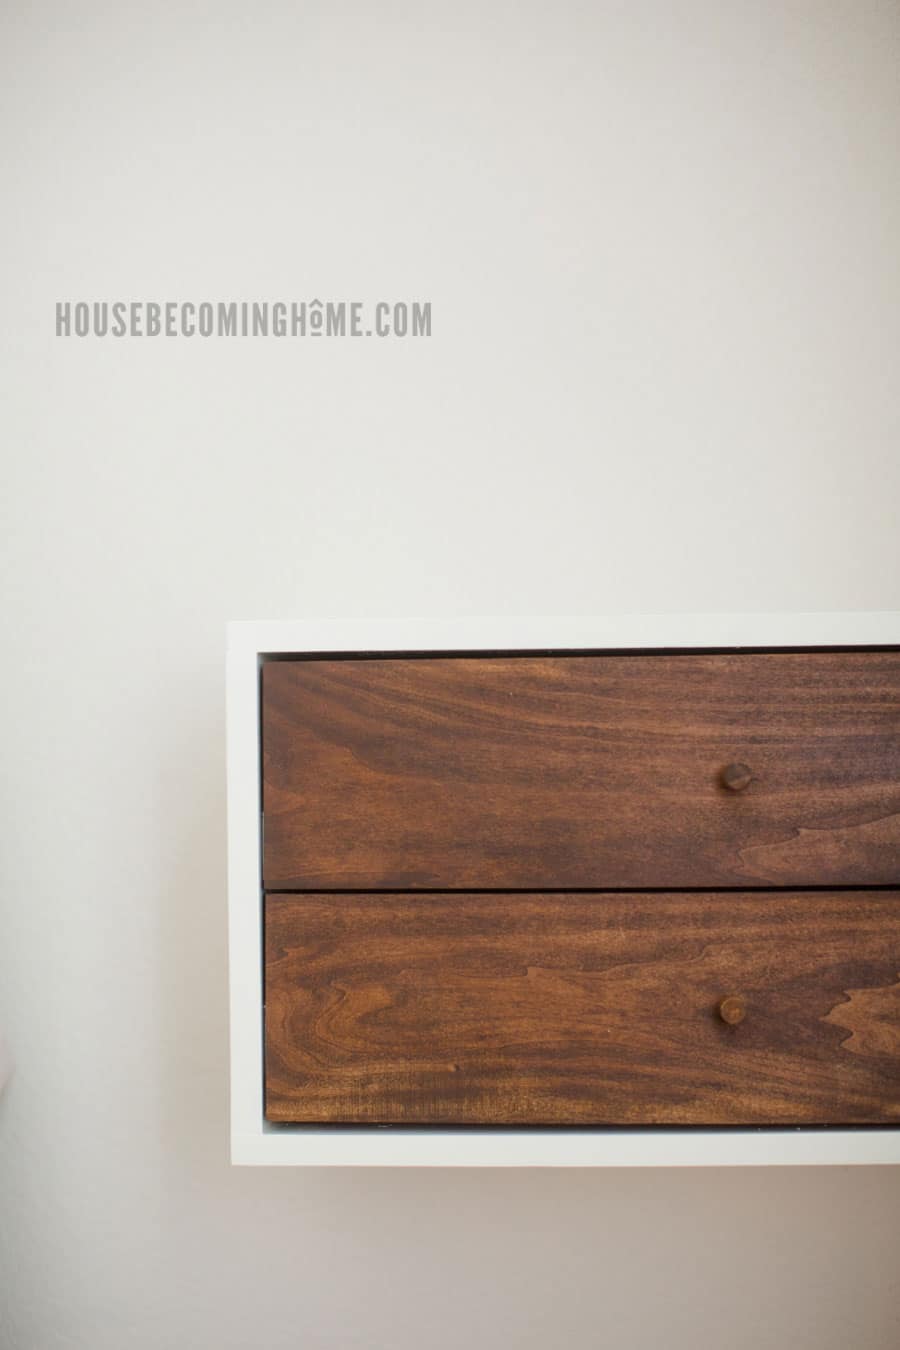
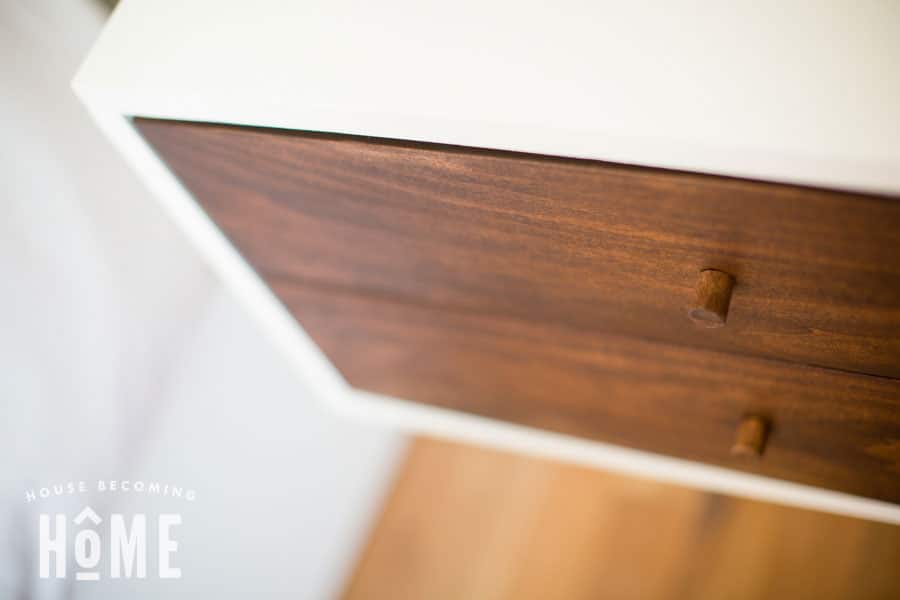
Cut two drawer faces to size (22 1/4″) and finish them to your choice–I used a dark stain followed by a protective coat of wax.
Sand the nightstand then paint or stain. I sanded, primed, painted and then sealed with a water-based polyurethane. Confession: I initially painted the nightstand light grey but decided it was a bad choice at the very end once I had it in our room, ready to hang . . . back to the garage for a re-sand, re-paint, re-seal… So. Much. Fun. 😉
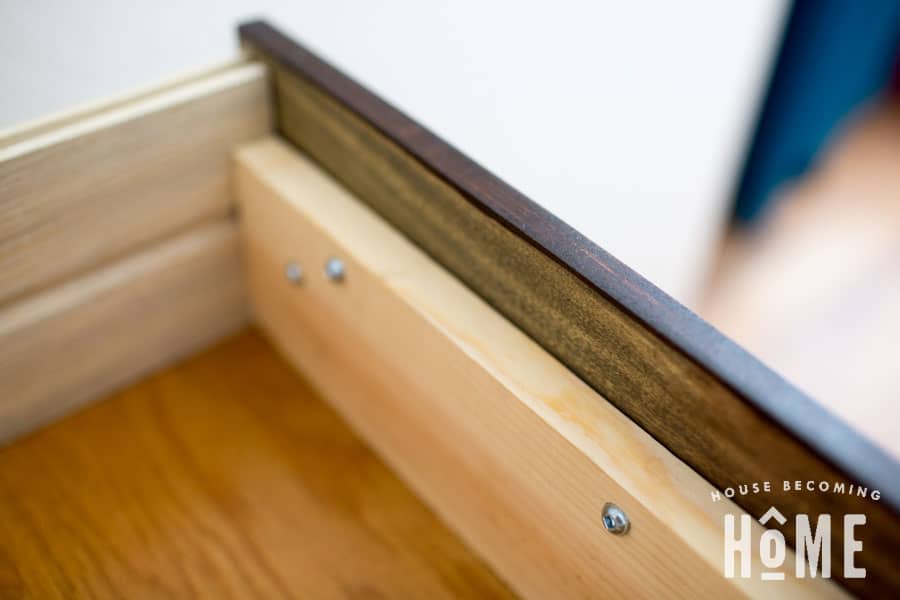
Attach drawer fronts to drawers with wood glue, leaving about 1/8″ gap on all sides. Once dry, secure with screws (screw from the inside of the drawer).
Mark the center of the drawer and drill a hole for a knob. You can buy them, of course, but I couldn’t find what I was looking for so I made some simple knobs for pennies. You can find my simple tutorial for that here.
5. Attach the Nightstand to the Wall
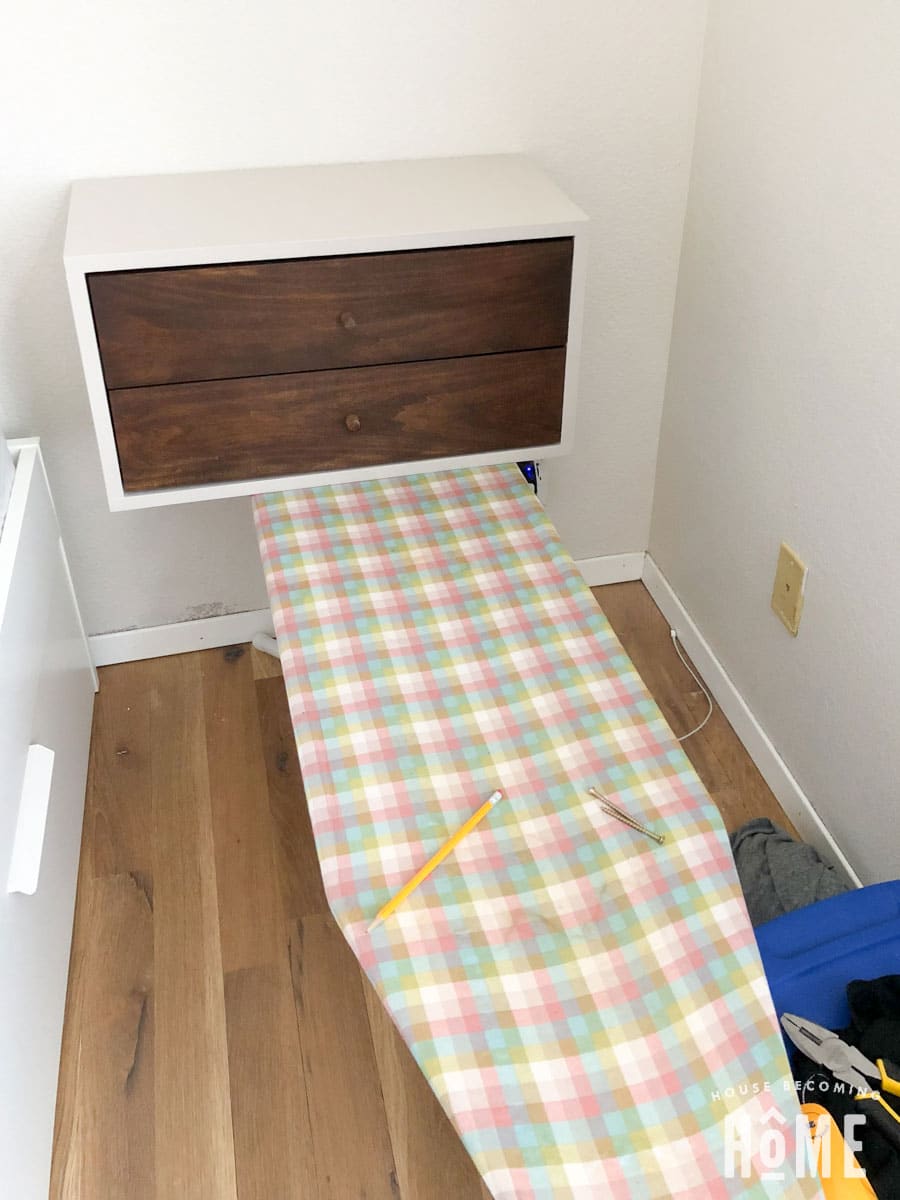
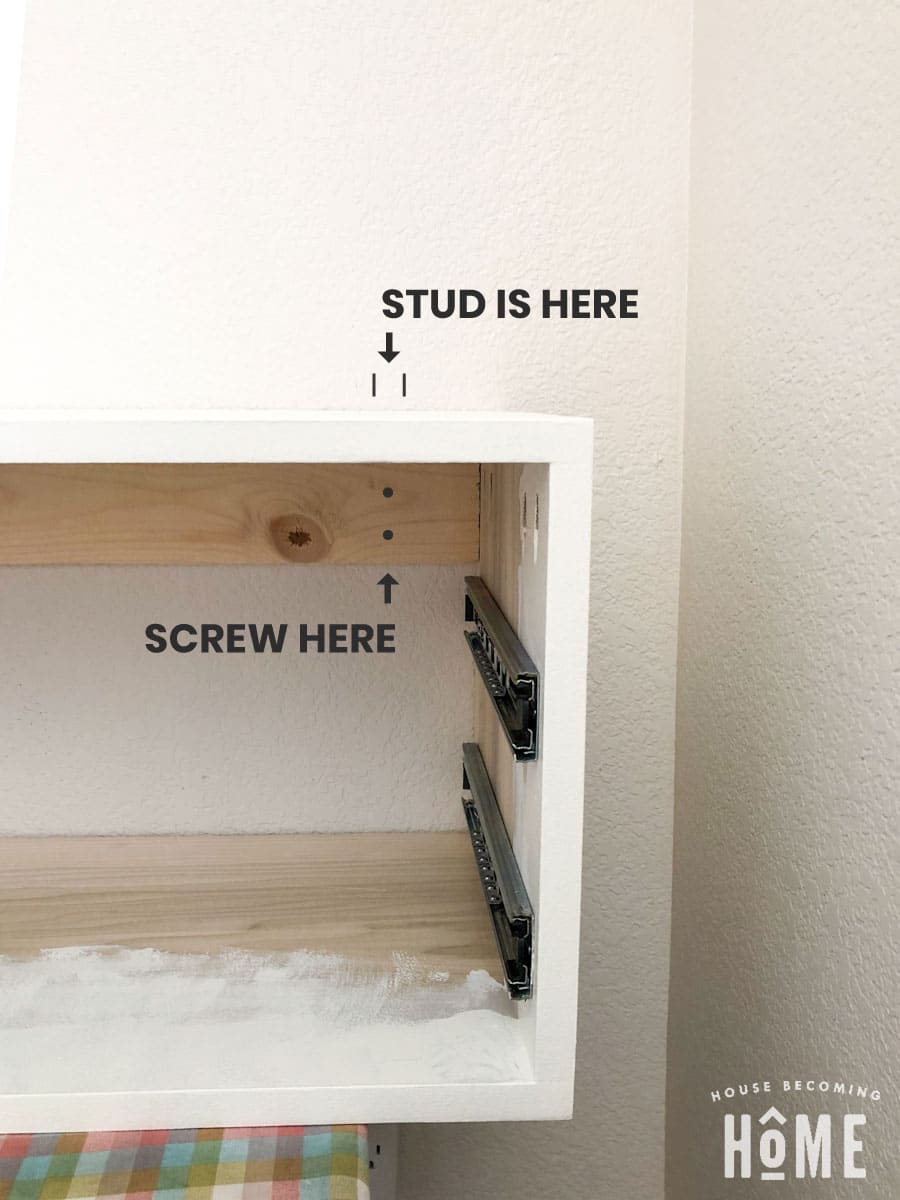
Place the nightstand on something sturdy to keep it at the height you want to mount it (I used an ironing board, adjusted to its shortest setting). Using a studfinder, find two studs in the wall and with a pencil, make marks right above the nightstand.
Remove the drawers. Drill several holes into the 1×4 at the back of the nightstand (reference your markings to be sure you are drilling into the studs, not just drywall) then use screws to secure into place.
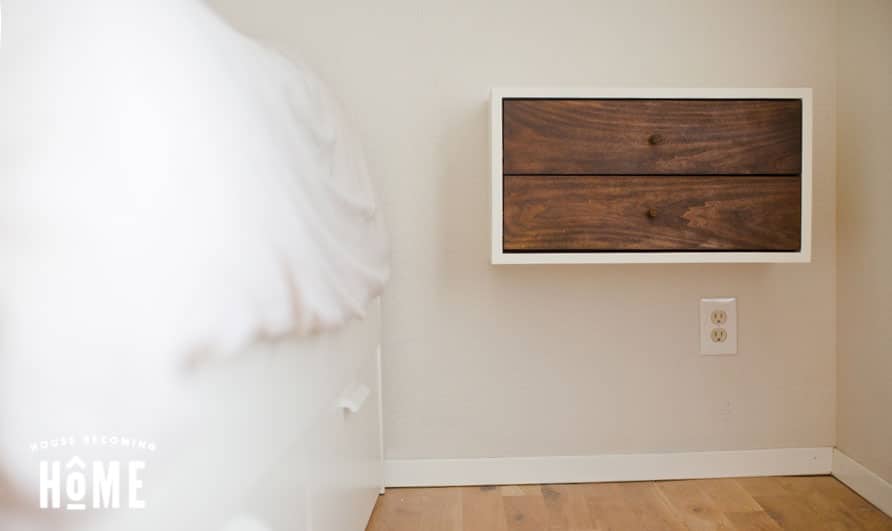
Put the drawers back in. This DIY floating nightstand is all done!
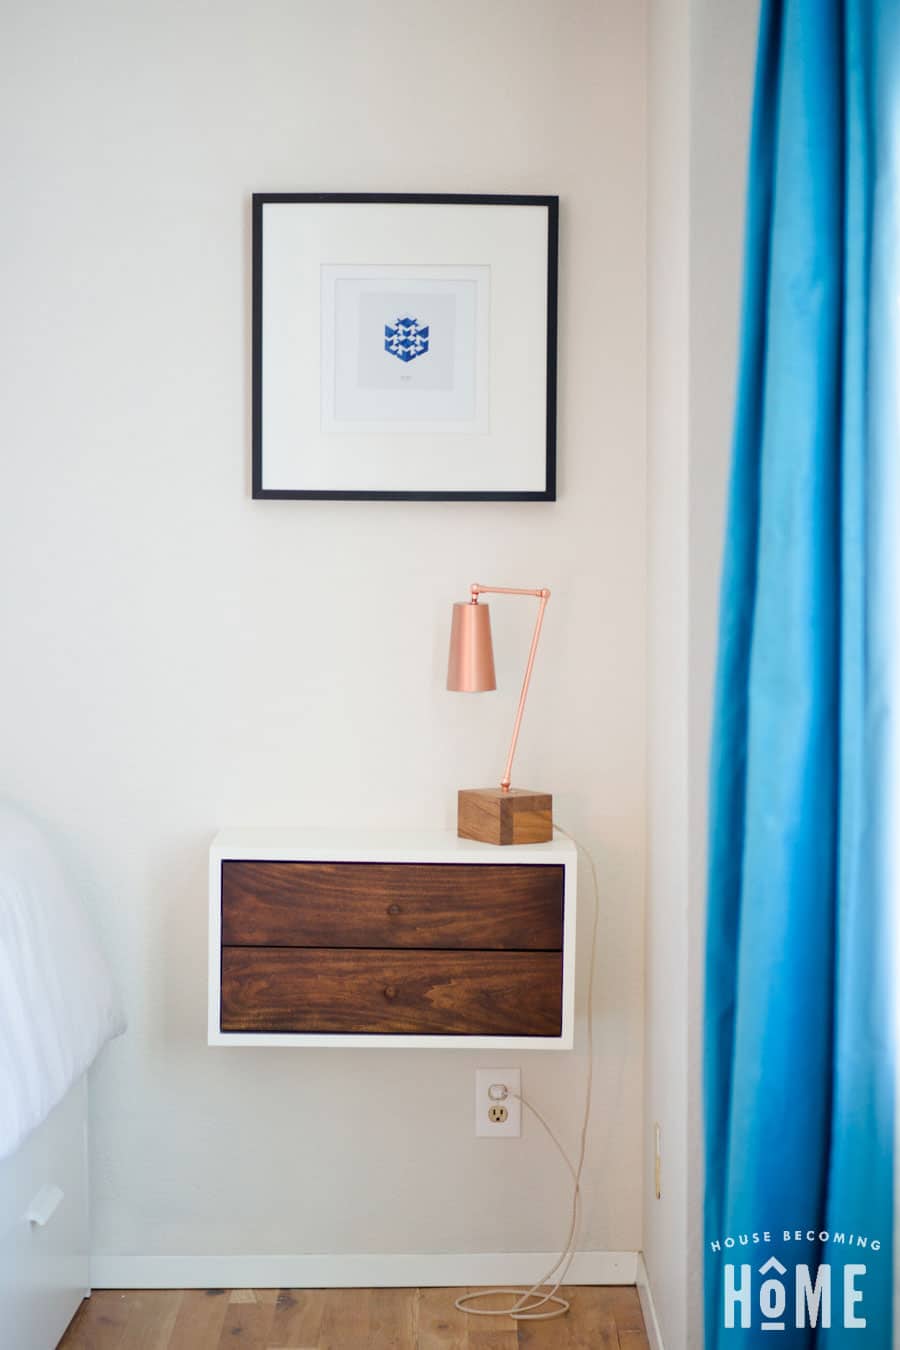
I had this DIY floating nightstand finished just in time to give to Jim for Valentine’s Day, along with the DIY copper light that sits on top (made from scraps of oak from our stair redo and a $0.25 cup I bought at the thrift store). Our room is still far from done, but I’m glad to be slowly taking steps towards a more finished, less ignored master bedroom. 🙂


Hello Jen can you send me the plans in email for the floating nightstand with two drawers X
Hi Kerri-If you’re still interested in building the floating nightstand, I’ve created a printable PDF you can find here: https://housebecominghome.com/build-a-simple-floating-nightstand/
Please send me the plans for the floating nightstand with drawers. Thank you.
Hi Mary-If you’re still interested in building the floating nightstand, I’ve created a printable PDF you can find here: https://housebecominghome.com/build-a-simple-floating-nightstand/
How do I print the plans?
Hi Irma- I’ll work on putting something together that can be printed easily!
Hi Irma-The plans are done! You can find the printable pdf here: https://housebecominghome.com/build-a-simple-floating-nightstand/
I have been looking for floating nightstands and am contemplating to attempt this. But, I am concerned as I have not really built anything like this ever. Can a newbie accomplish this? Also, wondering if this would work with just one drawer and leave the bottom open as a shelf?
Hi Vanessa! This is a fairly simple build that a newbie can probably do. It’s not the simplest place to start though, because making and installing drawers can be a challenge the first couple of times you do it. You may want to practice building a drawer with scraps before you build the real thing. You can definitely leave out the bottom drawer, and keep it as an open shelf!
I really love this!! we have been looking for night stands for my brother with limited space, but now Im wanting a set also. We have taller beds this makes for a perfect solution. Thank you for sharing this
how do you anchor them tothe wall and how much weight can it hold
Nice project. Using the ironing board for support – – GENIUS!! I’d have never thought of that, but looking back. . .would have been quite useful on several projects. THANKS FOR THE TIP!
Did you use wood filler or caulk to close all your seams? They look flawless!
Some great tips here! Thanks!
I would like the plans, if available.
The links I tried are for a reader but I haven’t found the actual file to open.
Maybe you can attach the plan file in an email. My address is: [email protected]
Thanks
Hi,
How can we improve the wall support/attachment to make the table a bit longer than 12″ (14″ would be ideal)
Thanks
This DIY floating nightstand tutorial is amazing! The step-by-step instructions are clear and easy to follow. I can’t wait to try this out in my bedroom to save some space. Thanks for sharing such a creative idea!