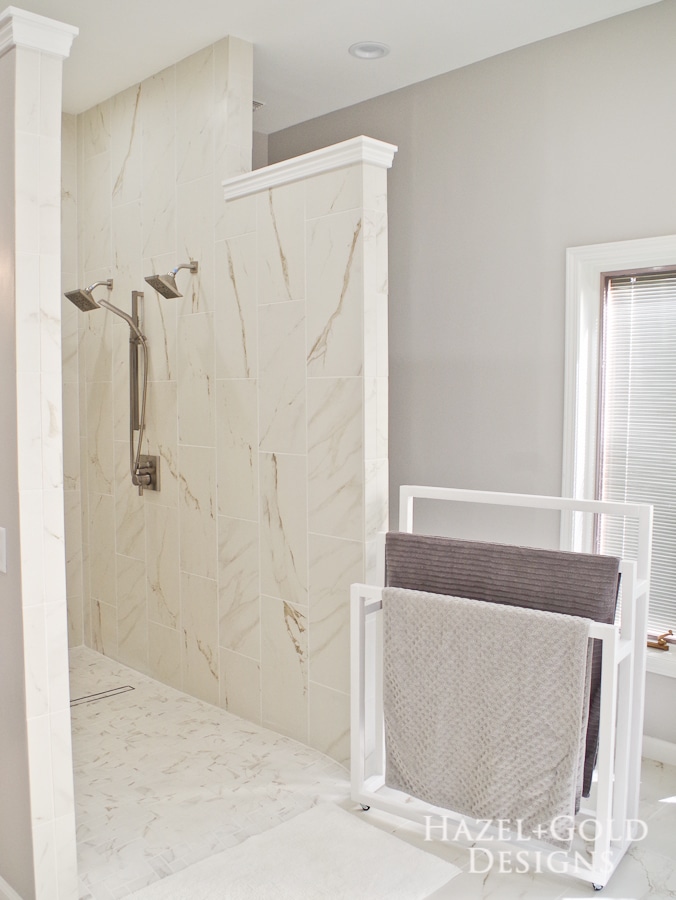
Hello! This is Sheri from Hazel + Gold Designs, here to share a fun building project with you! One of my favorite places in our house is our master bathroom. We had it renovated earlier this year and it is bright, beautiful and modern. However, it is missing one thing: wall space for towel racks. I love the amount of windows in this room but they leave very little bare wall space. There is not a single spot to hang towels. That is how the idea to build this freestanding towel rack came to be. I knew I wanted it to be able to hold a few towels at once, and also wanted to make it easy to move around the large bathroom so I added casters to the bottom. Here is all the information you’ll need to build one yourself!

Tools and Materials:
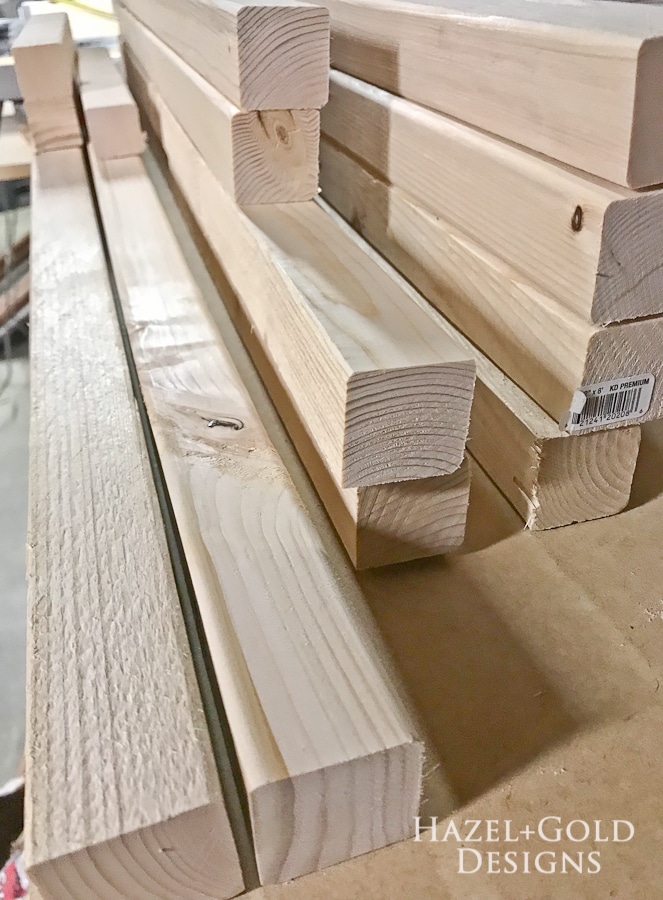
- (5) 2″x2″x8′ Boards
- Miter saw
- Sander and sandpaper
- Pocket hole jig
- 1 1/2″ Pocket screws
- Wood glue
- Paint
- Casters and small screws
Instructions:
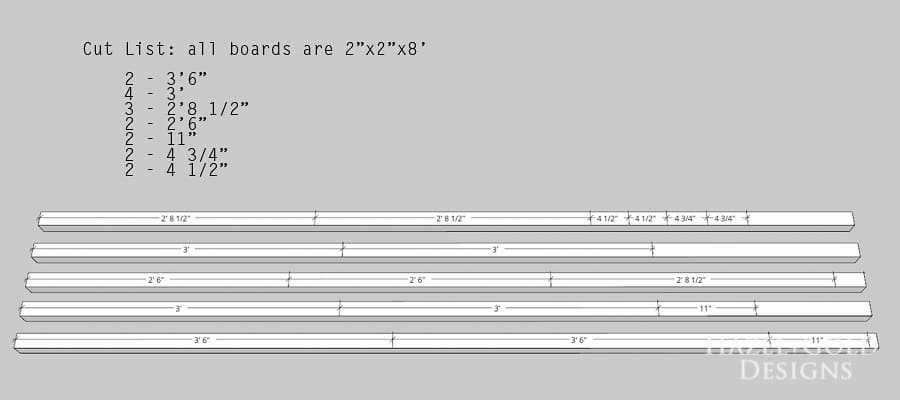
Here is a diagram of the suggested cuts you may want to make.
First, cut all of your boards to size. Sand them until they are smooth.
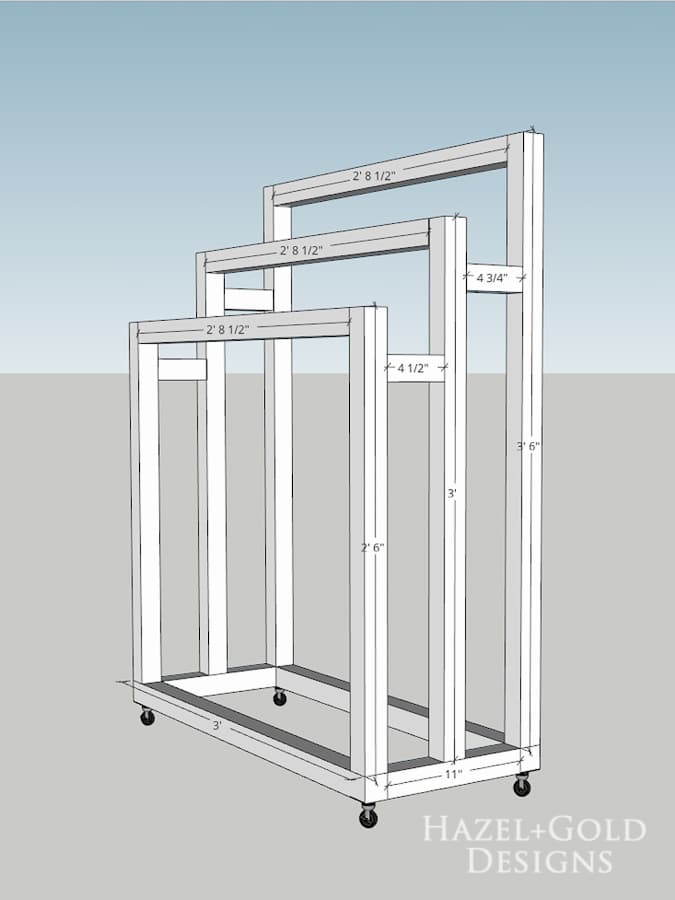
Here is the diagram of the entire freestanding towel rack assembled. Use pocket holes to assemble this project.
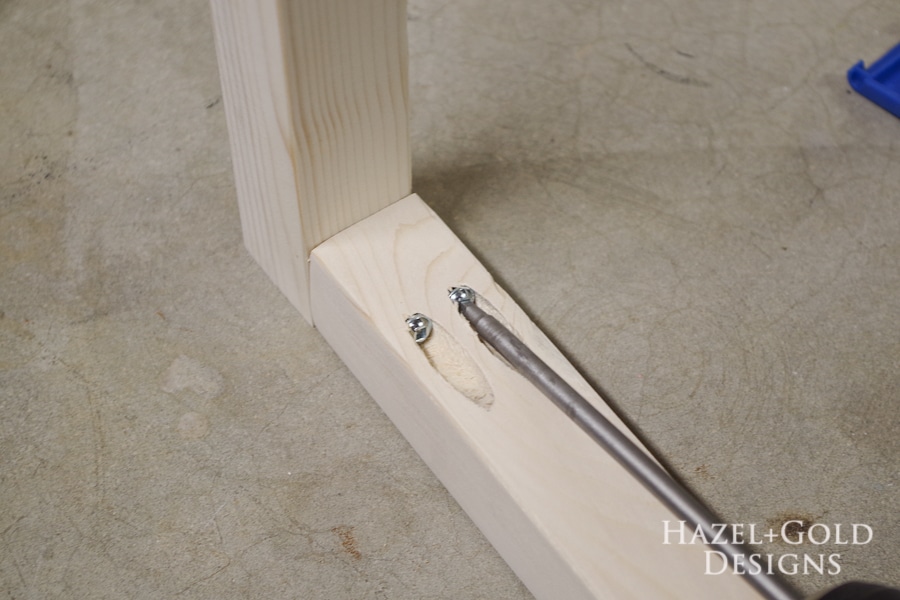
Join each board to the other by drilling pocket holes with a pocket hole jig and using pocket hole screws to attach them.
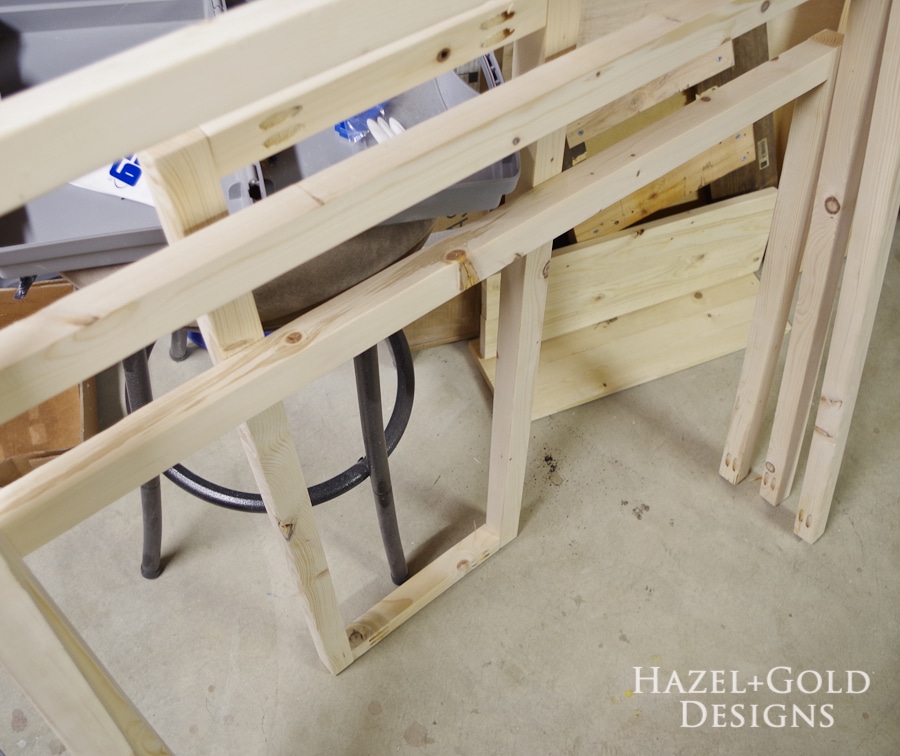
I assembled the bottom rectangle, then each horizontal rack to the side boards. Then I attached the racks to the base.
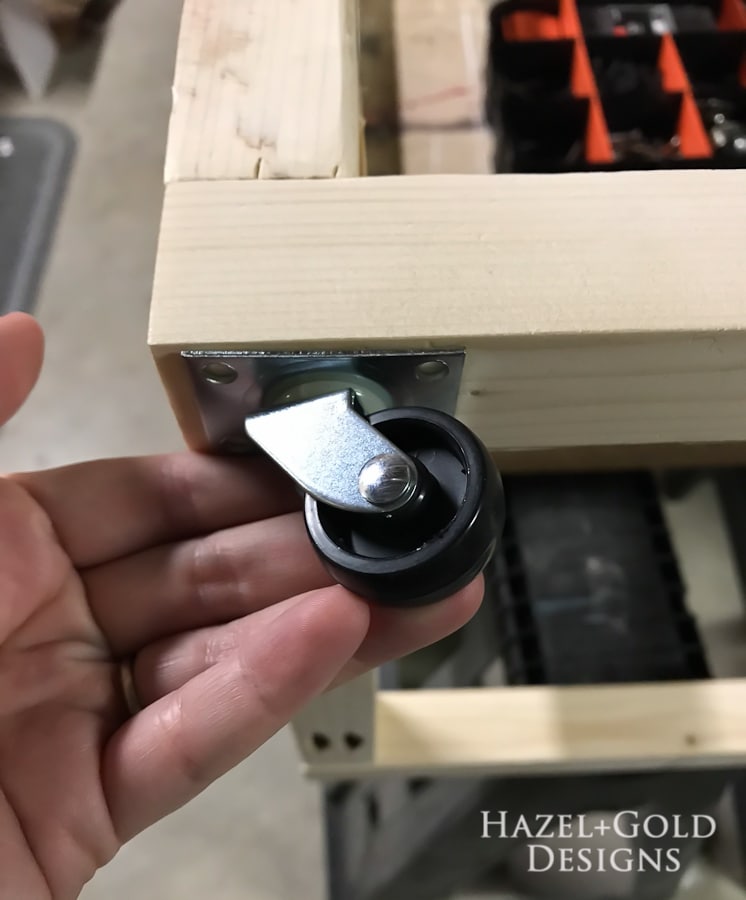
Attach casters to the bottom. This is not a heavy piece of furniture and will not hold a lot of weight, so I chose some smaller casters.
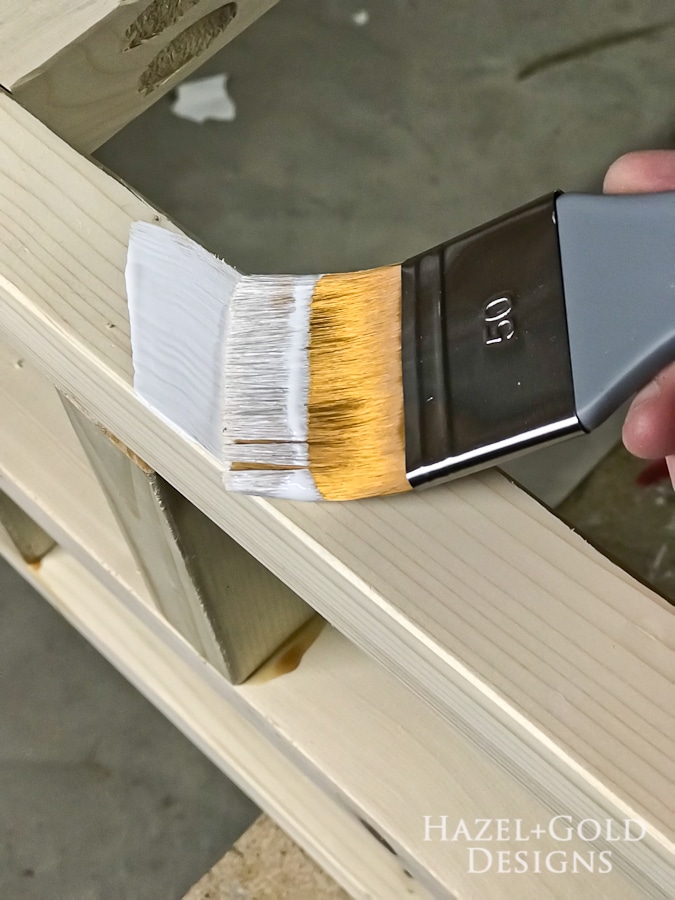
Once it is fully assembled like the diagram shows, paint your project. I chose to paint mine white.
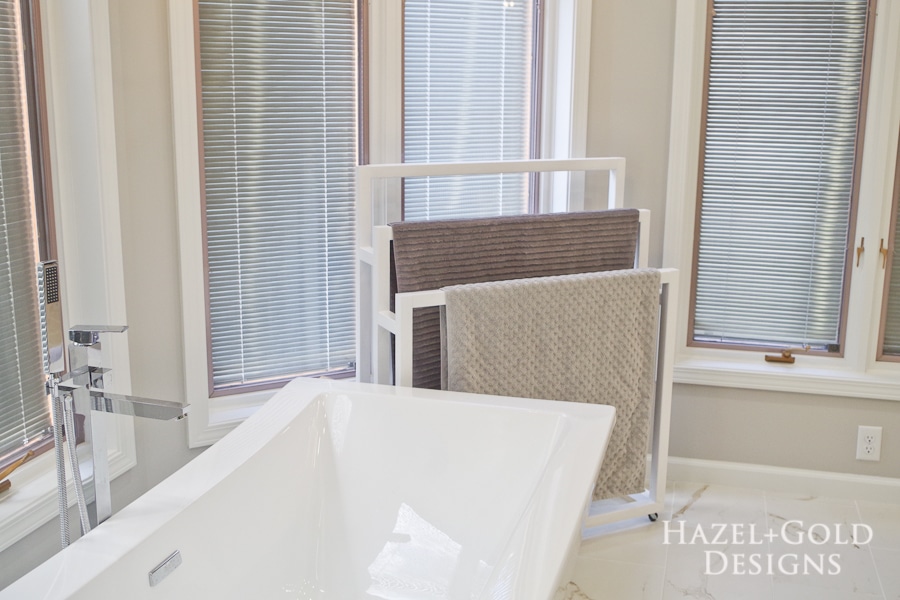
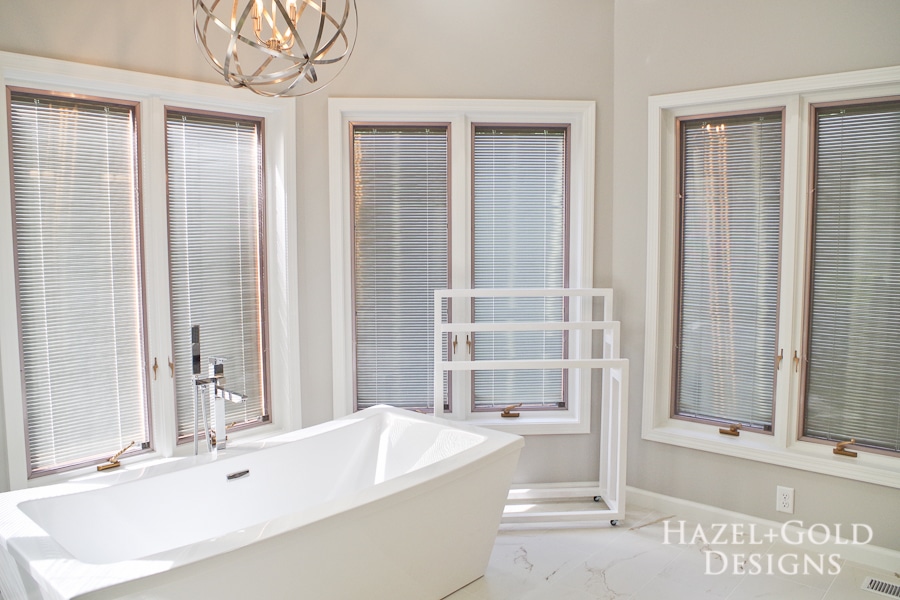
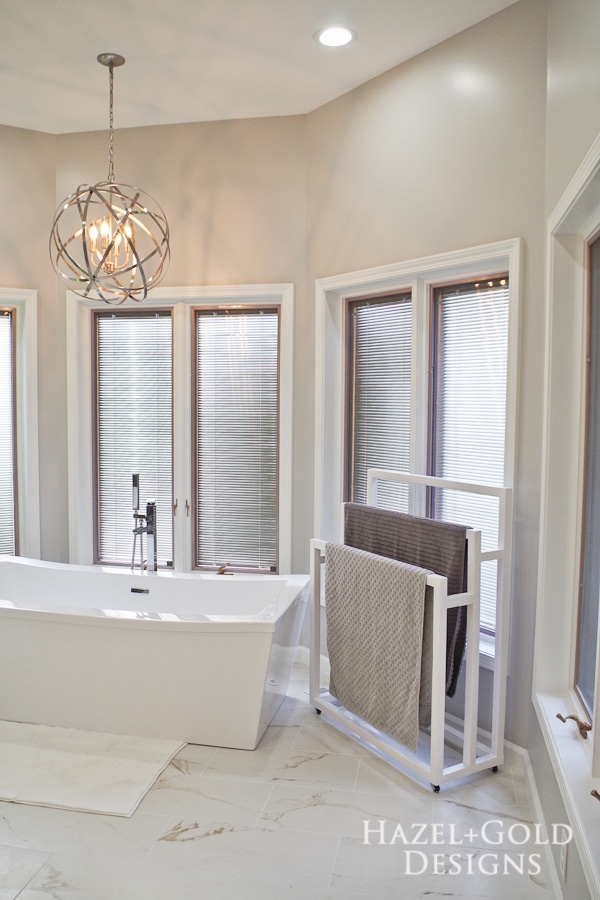
And there you have it! A beautiful, freestanding towel rack!
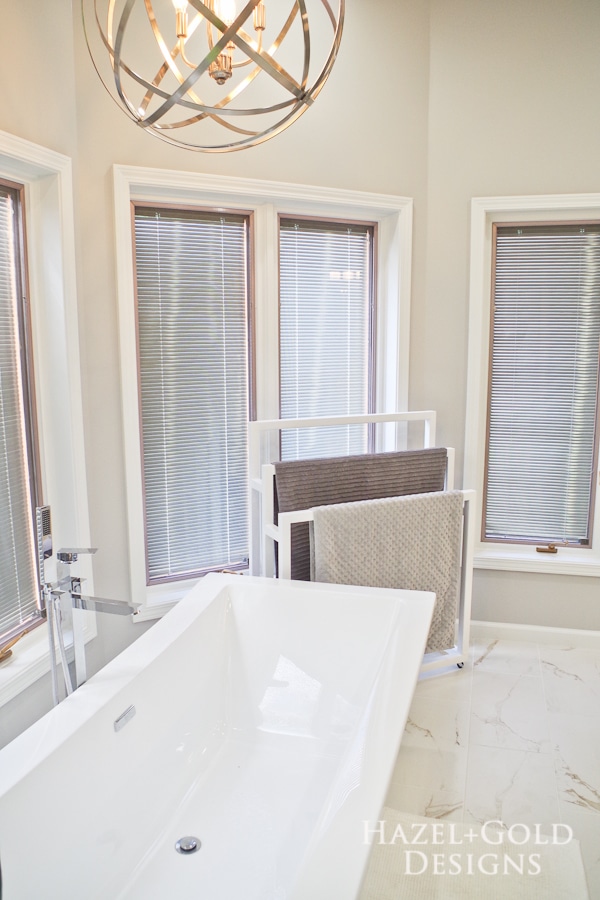
Now just add your towels!
It’s easy to move around the large bathroom, just as I’d hoped.

I hope you like this project! I’d love if you’d share it on social media.
Thanks so much for reading!
— Sheri



Hello, Thanks for sharing this project!
Are those 2×2 “real” 2×2 or are they 1.5″ x 1.5″?
Have a nice day!
-Eric