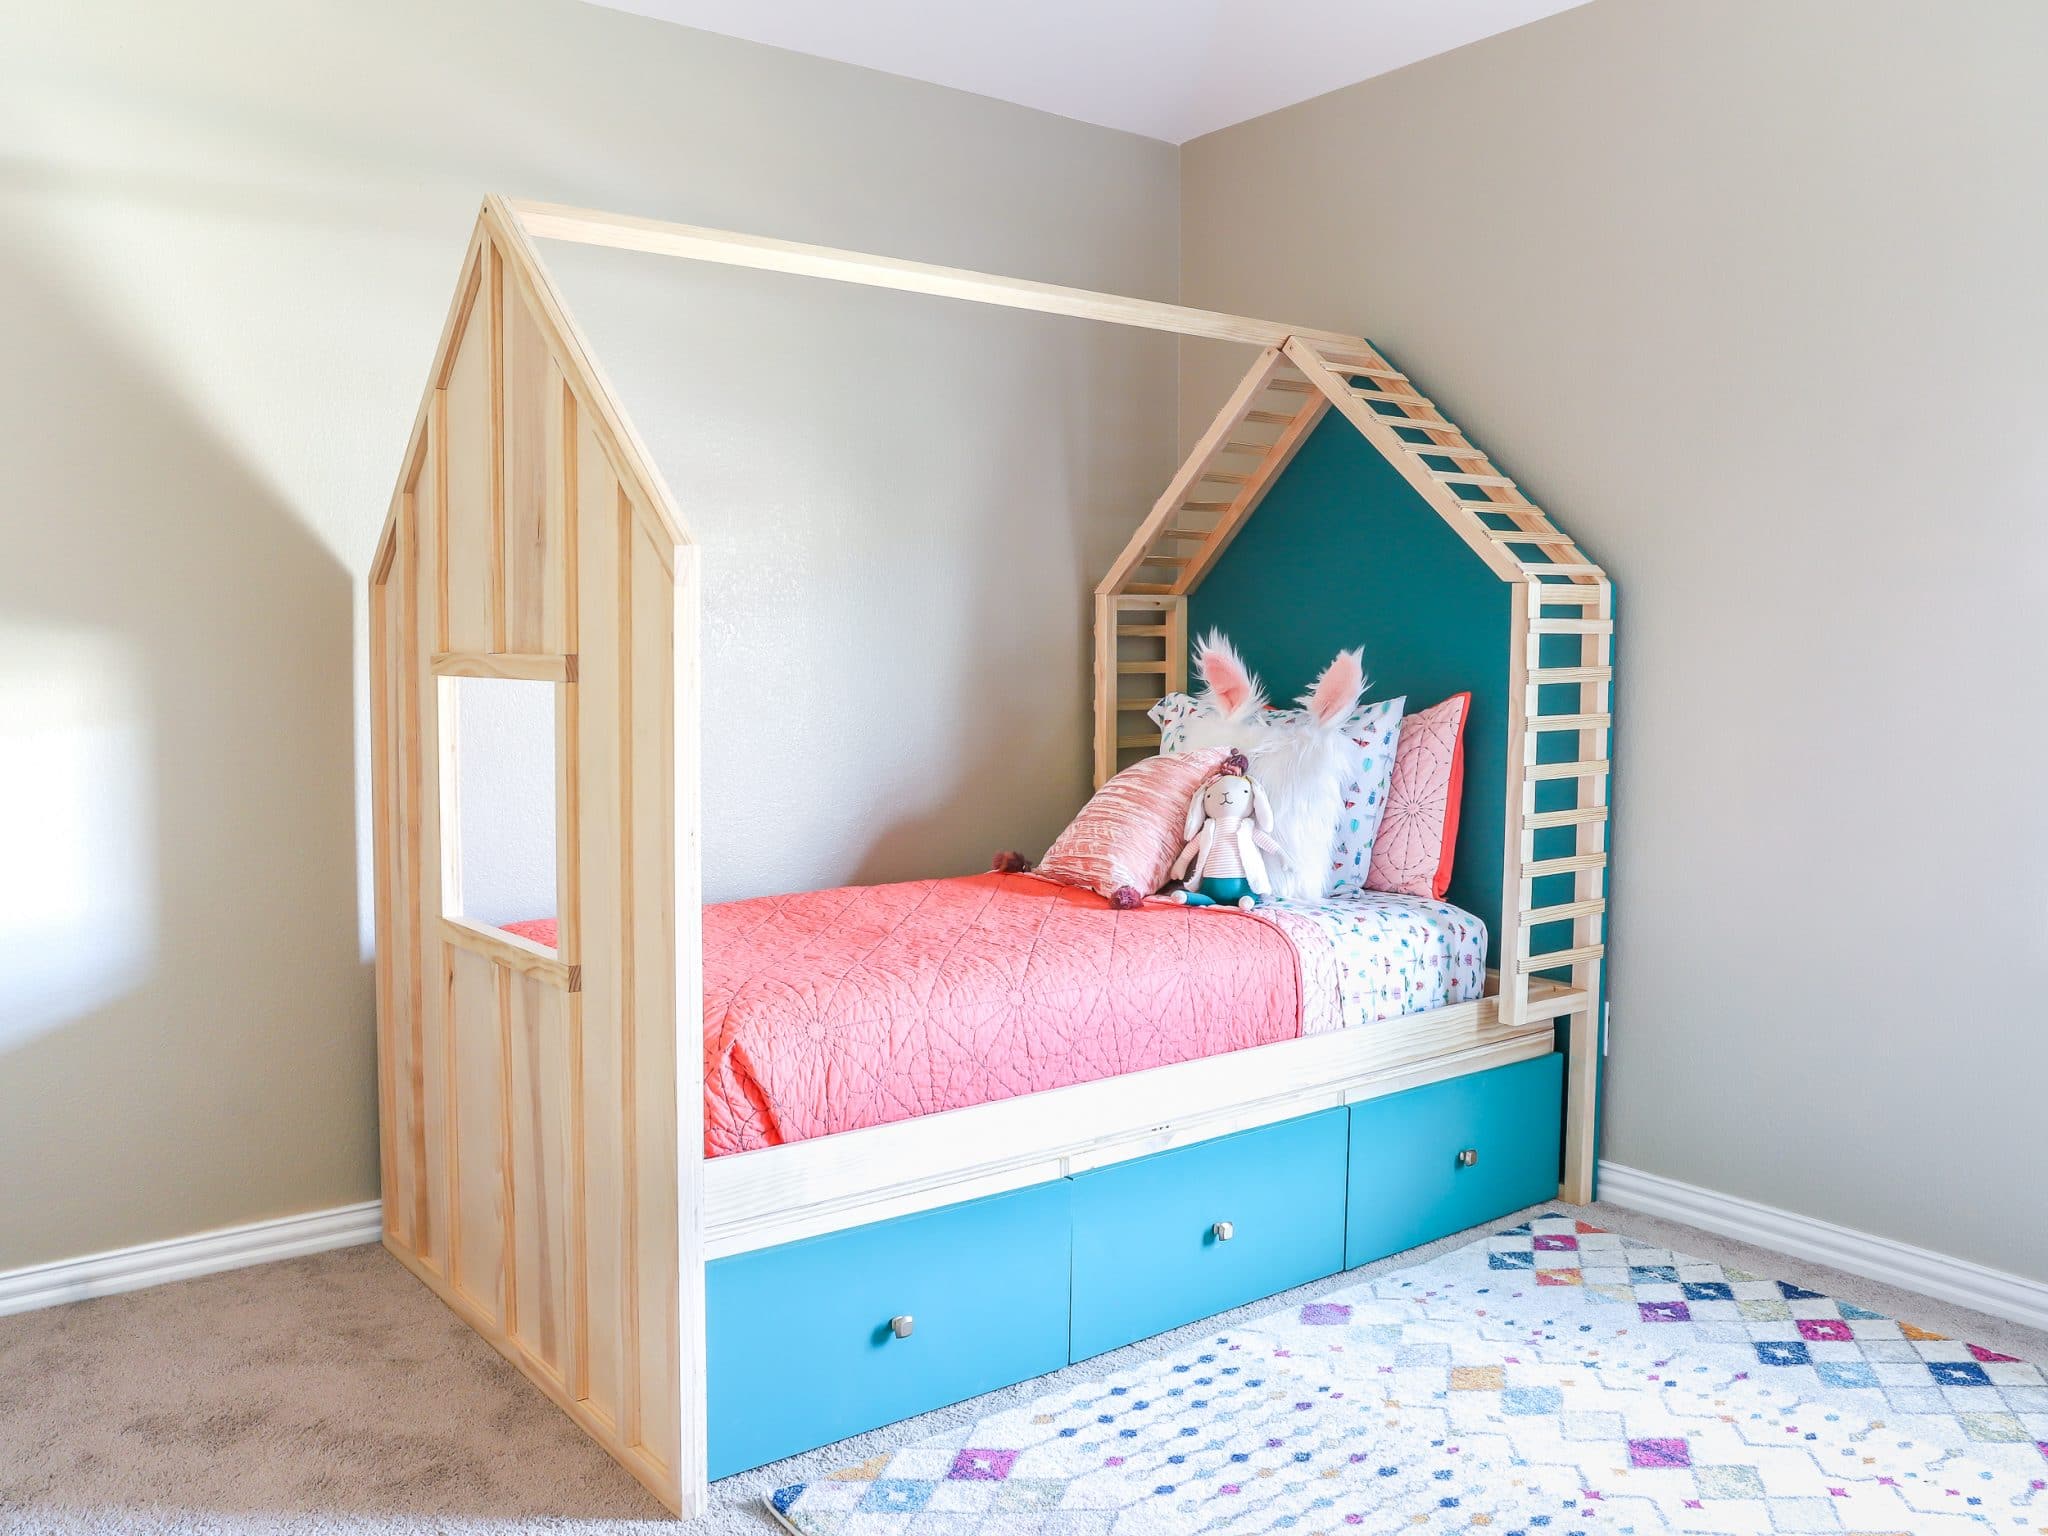
A tutorial on how to build a DIY Kids House Bed with Storage Drawers. This post includes detailed project plans, a step-by-step photo tutorial, and a video!
You might say I have a thing for building cute kid beds. I built this cabin bed for my son, this sliding barn door loft bed for my daughter, and this triple bunk bed for our triplet neighbors. Well, add another one to the list! This time, I built this DIY Kids House Bed with Storage Drawers for the triplets’ older sister! Isn’t it adorable? And don’t worry, if you’re intimidated by building and installing drawer slides, read on to see my clever work-around for this!
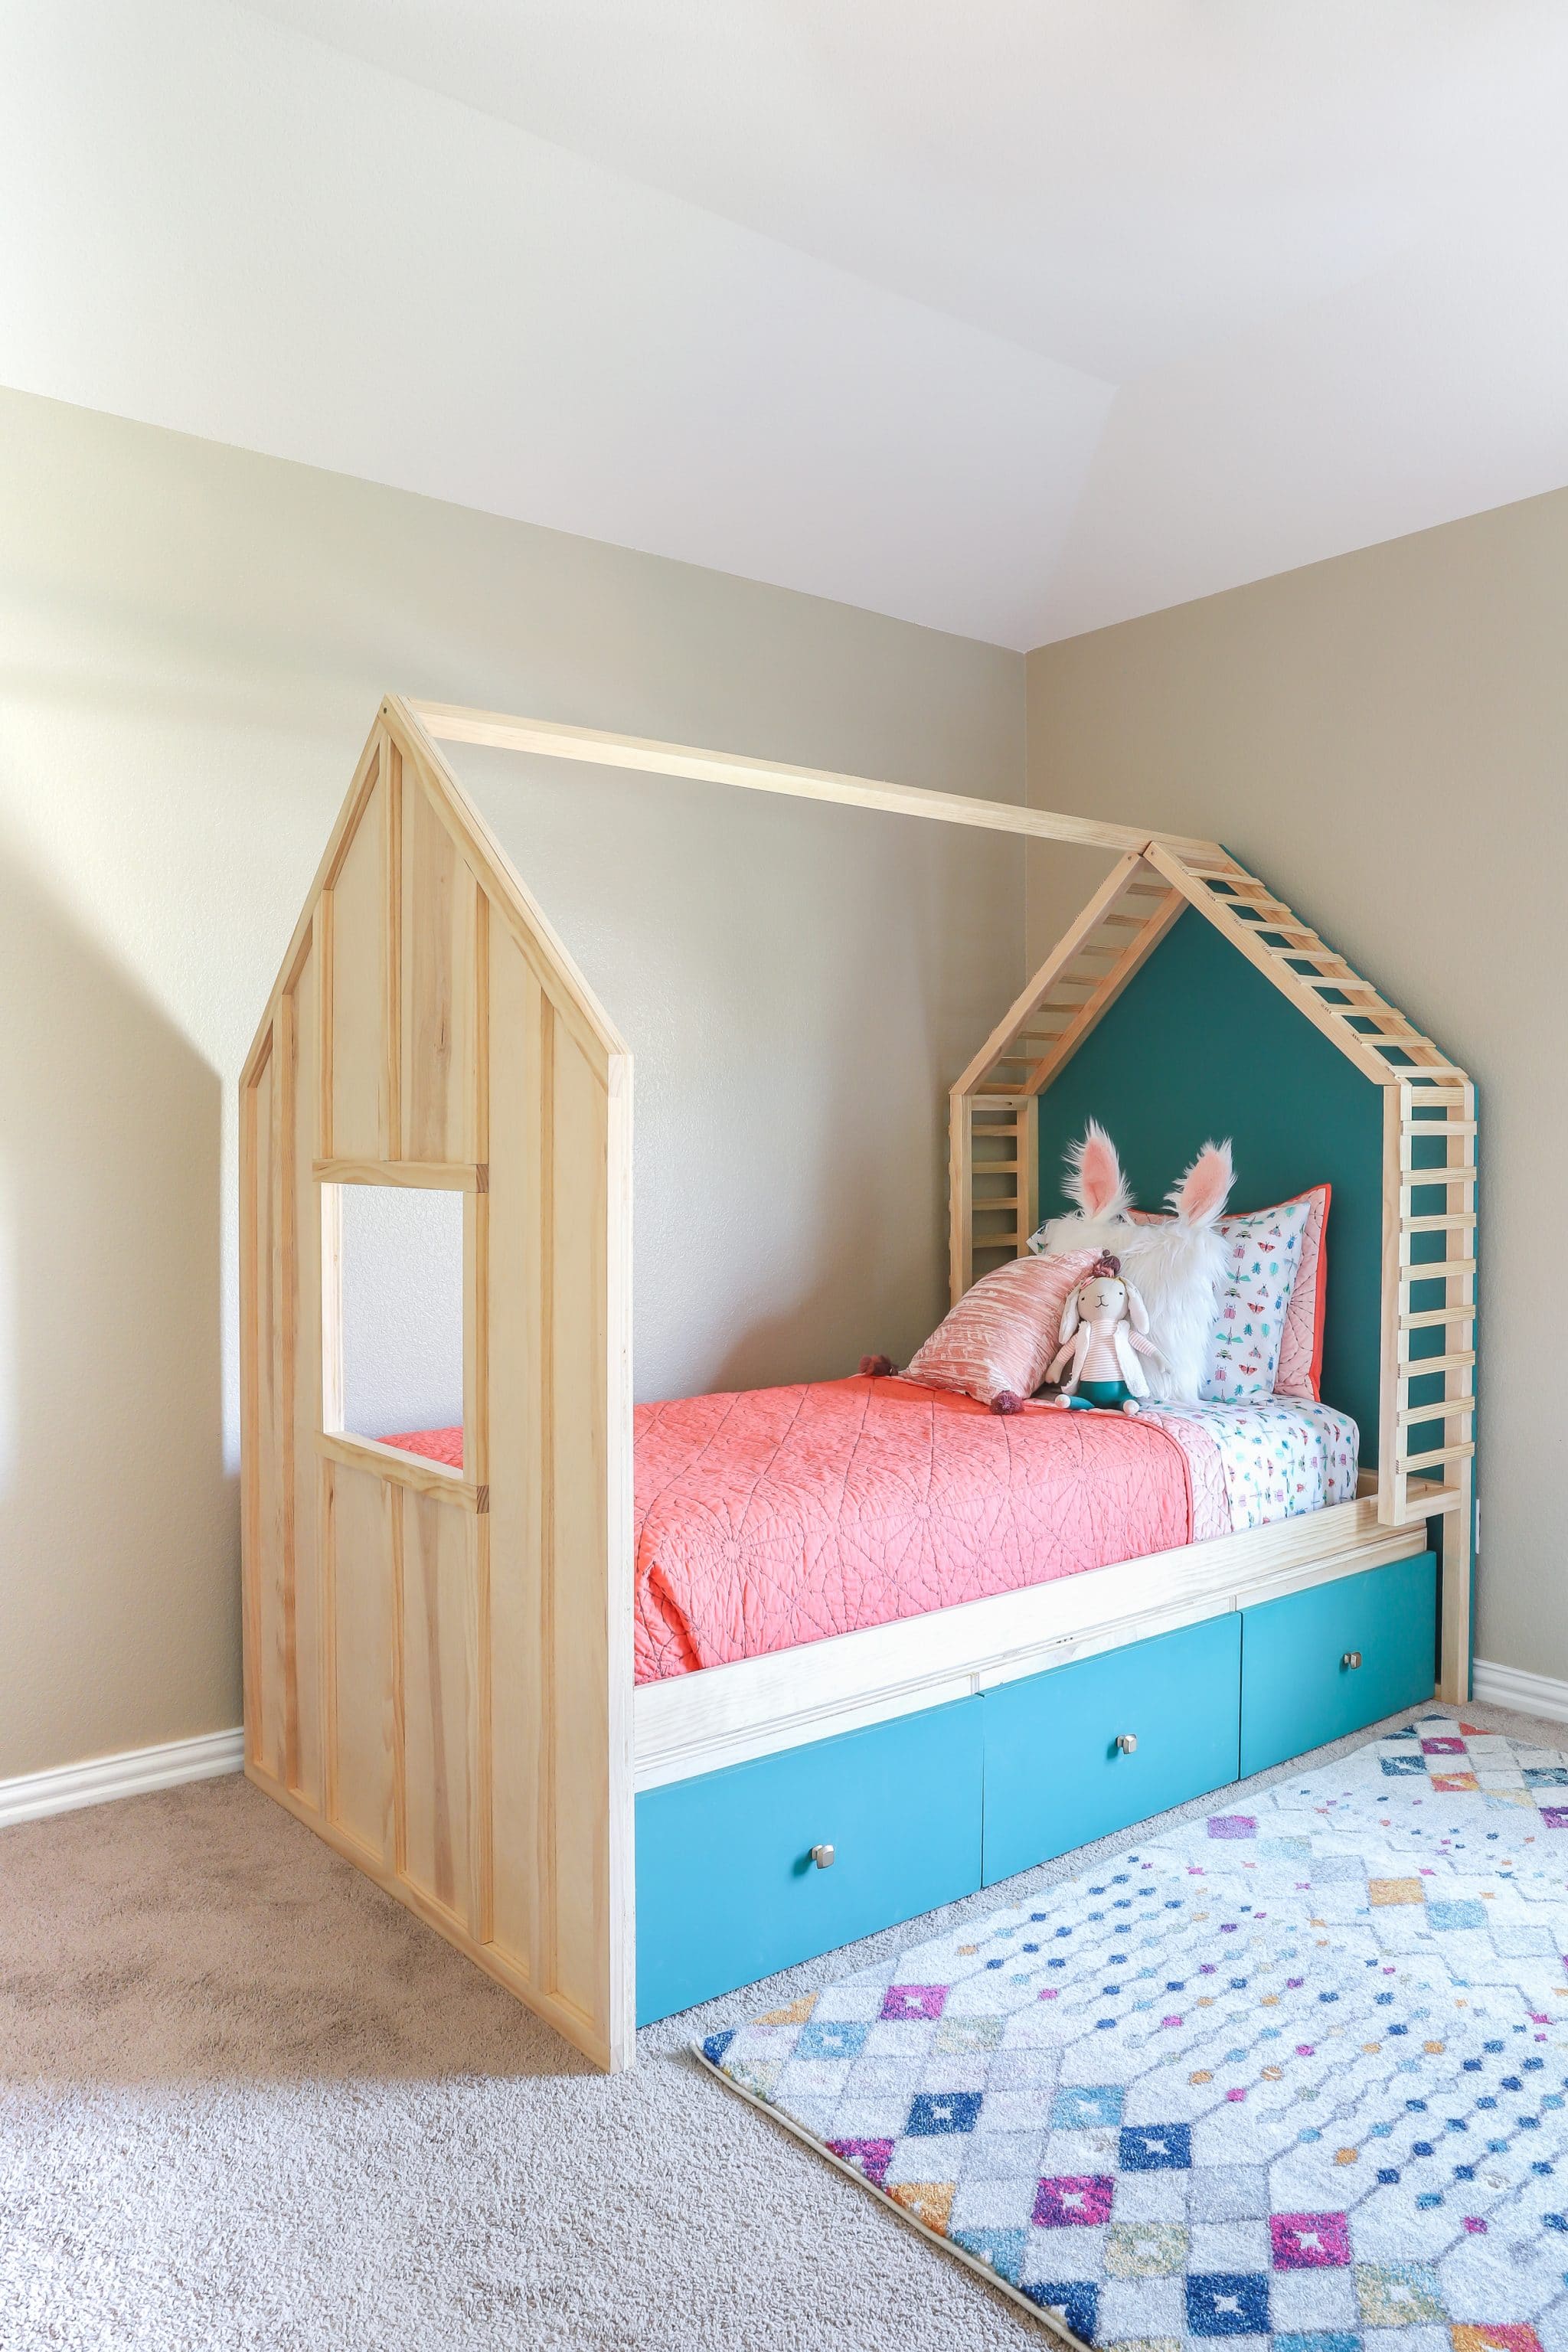
How to build a DIY Kids House Bed with Storage
Download the plans here.
➤TOOLS (affiliate):
- Tape Measure
- Carpenter’s Square
- Cordless Drill/Driver
- Table Saw
- Compound Miter Saw
- My Favorite Miter Saw Blade
- Cordless Circular Saw
- Plywood Circular Saw Blade
- Pocket Hole Jig
- Brad Nailer
- Pin Nailer
- Dremel Ultra-Saw
➤SAFETY GEAR:
Check out the step-by-step tutorial for this DIY kids house bed on HGTV.com! I include a few helpful tips and tricks in my video and I’d love for you to subscribe to my YouTube channel!
Build the platform
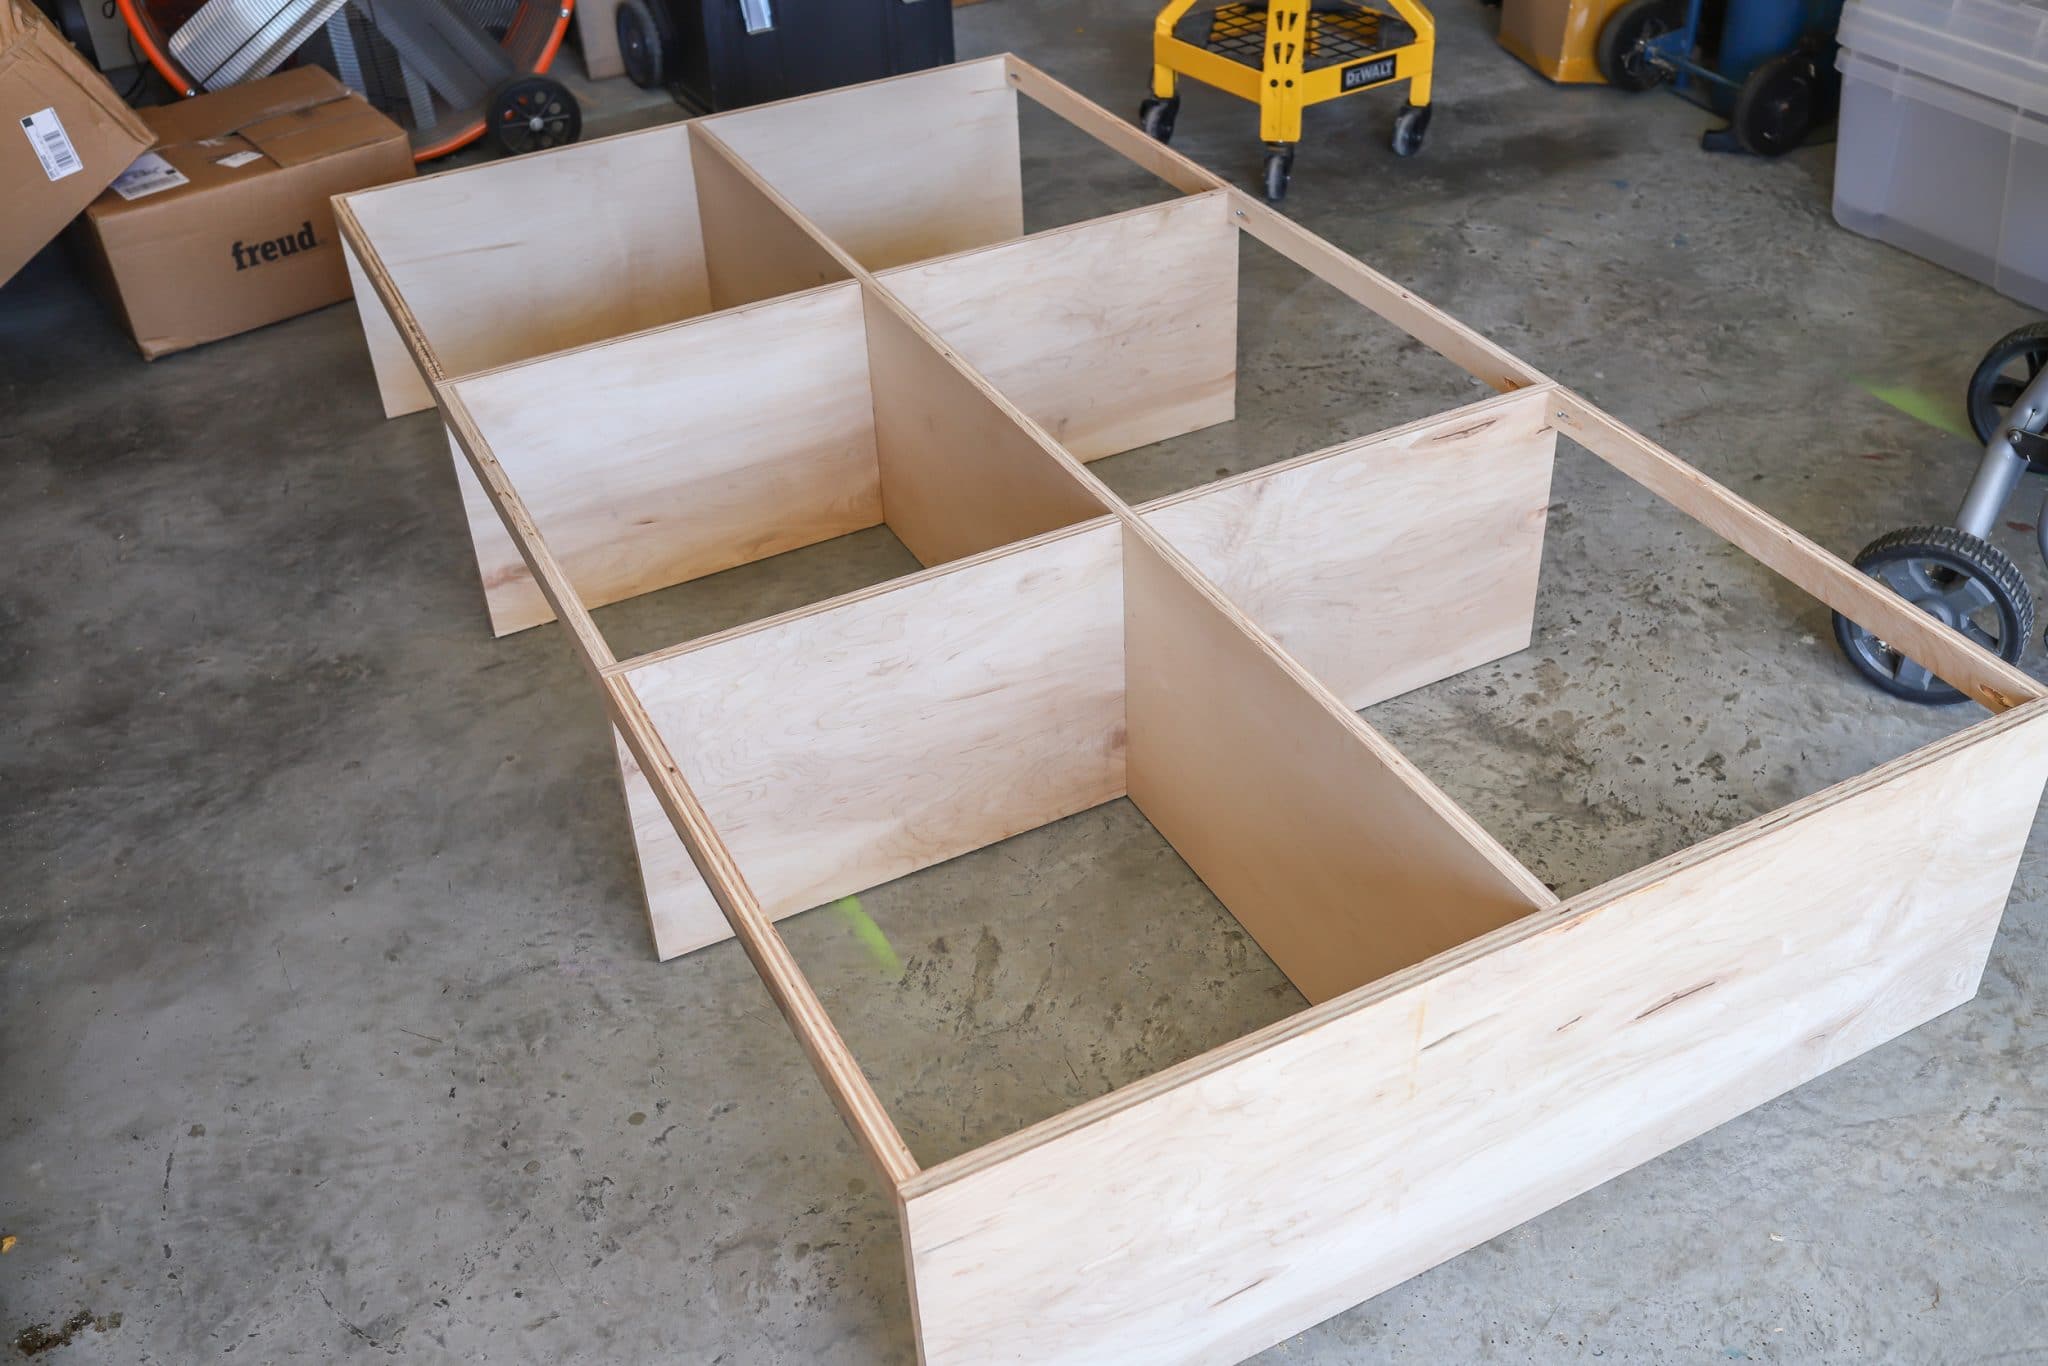
First, we’re going to build the platform part. This is where the storage drawers will go. We built just three drawers because the bed would be up against a wall, but there’s space for six. Gotta love all that storage!
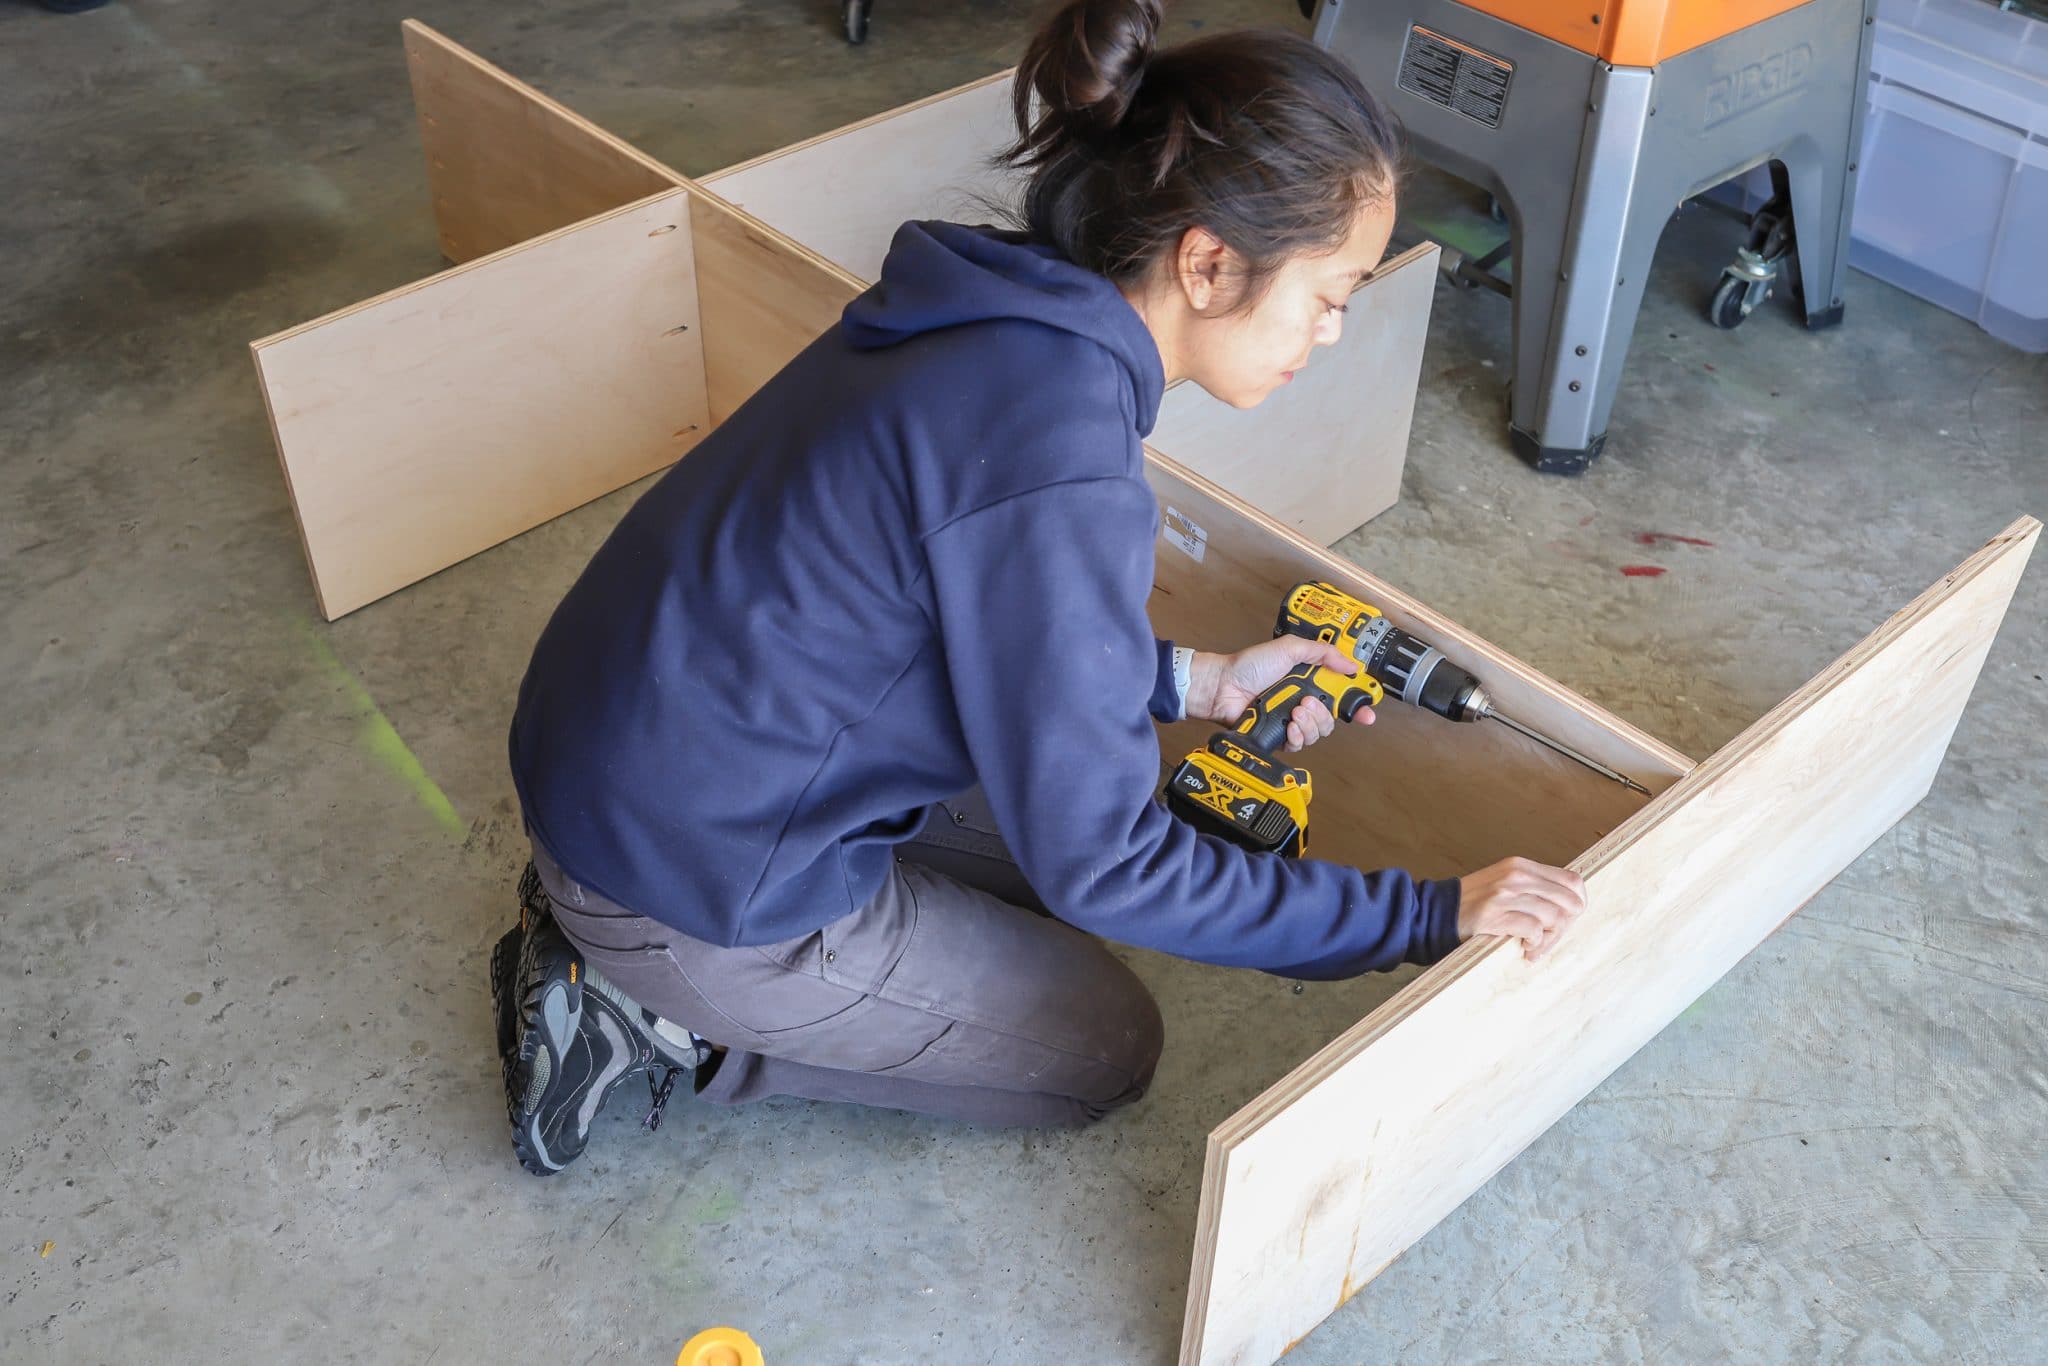
I love using hardwood plywood for projects like these – the maple wood grain is beautiful and the boards require very little sanding. My favorite! We’re going to be using 3/4-inch pocket holes and 1 1/4-inch pocket screws for most of this build. And as you’re building, don’t worry if the initial structure is wobbly – we’ll reinforce it with extra support along the way and it’ll get stronger as the glue dries as well.
Build the drawers
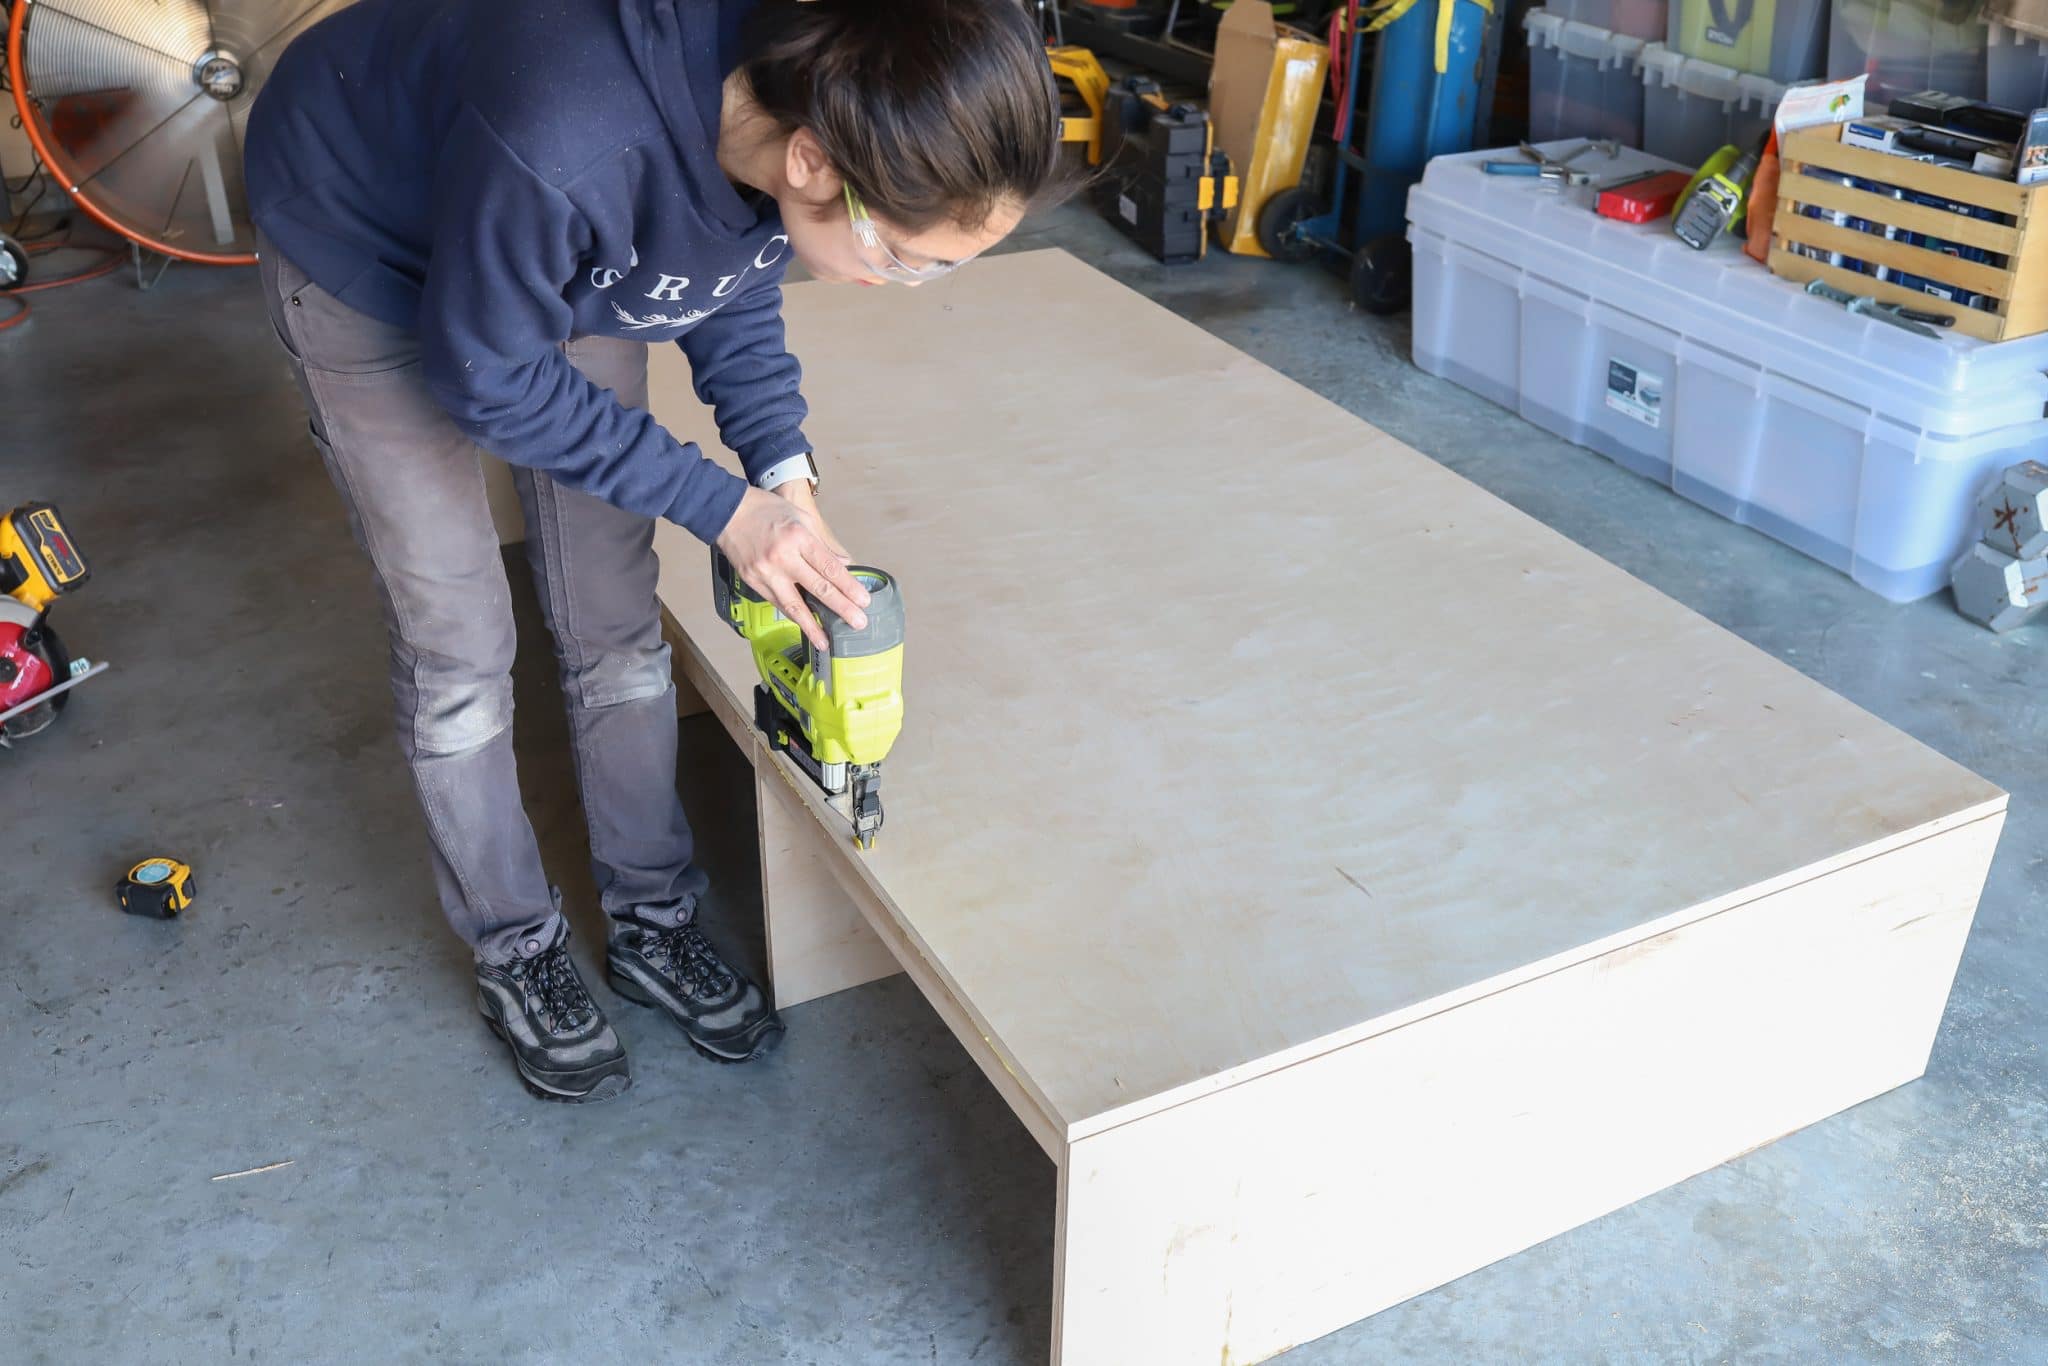
I’m using a brad nailer and wood glue to attach the platform to the base. Now that the platform is built, it’s drawer building time! I used brad nails and wood glue to construct the drawer boxes. Before I added the bottom to the boxes, however, I dry-fitted them to see if they fit into the spaces. I typically use screws when I’m building drawers, but I used nails this time. It saved me a lot of time and if you use plenty of glue, the drawer box should be strong enough for this application.
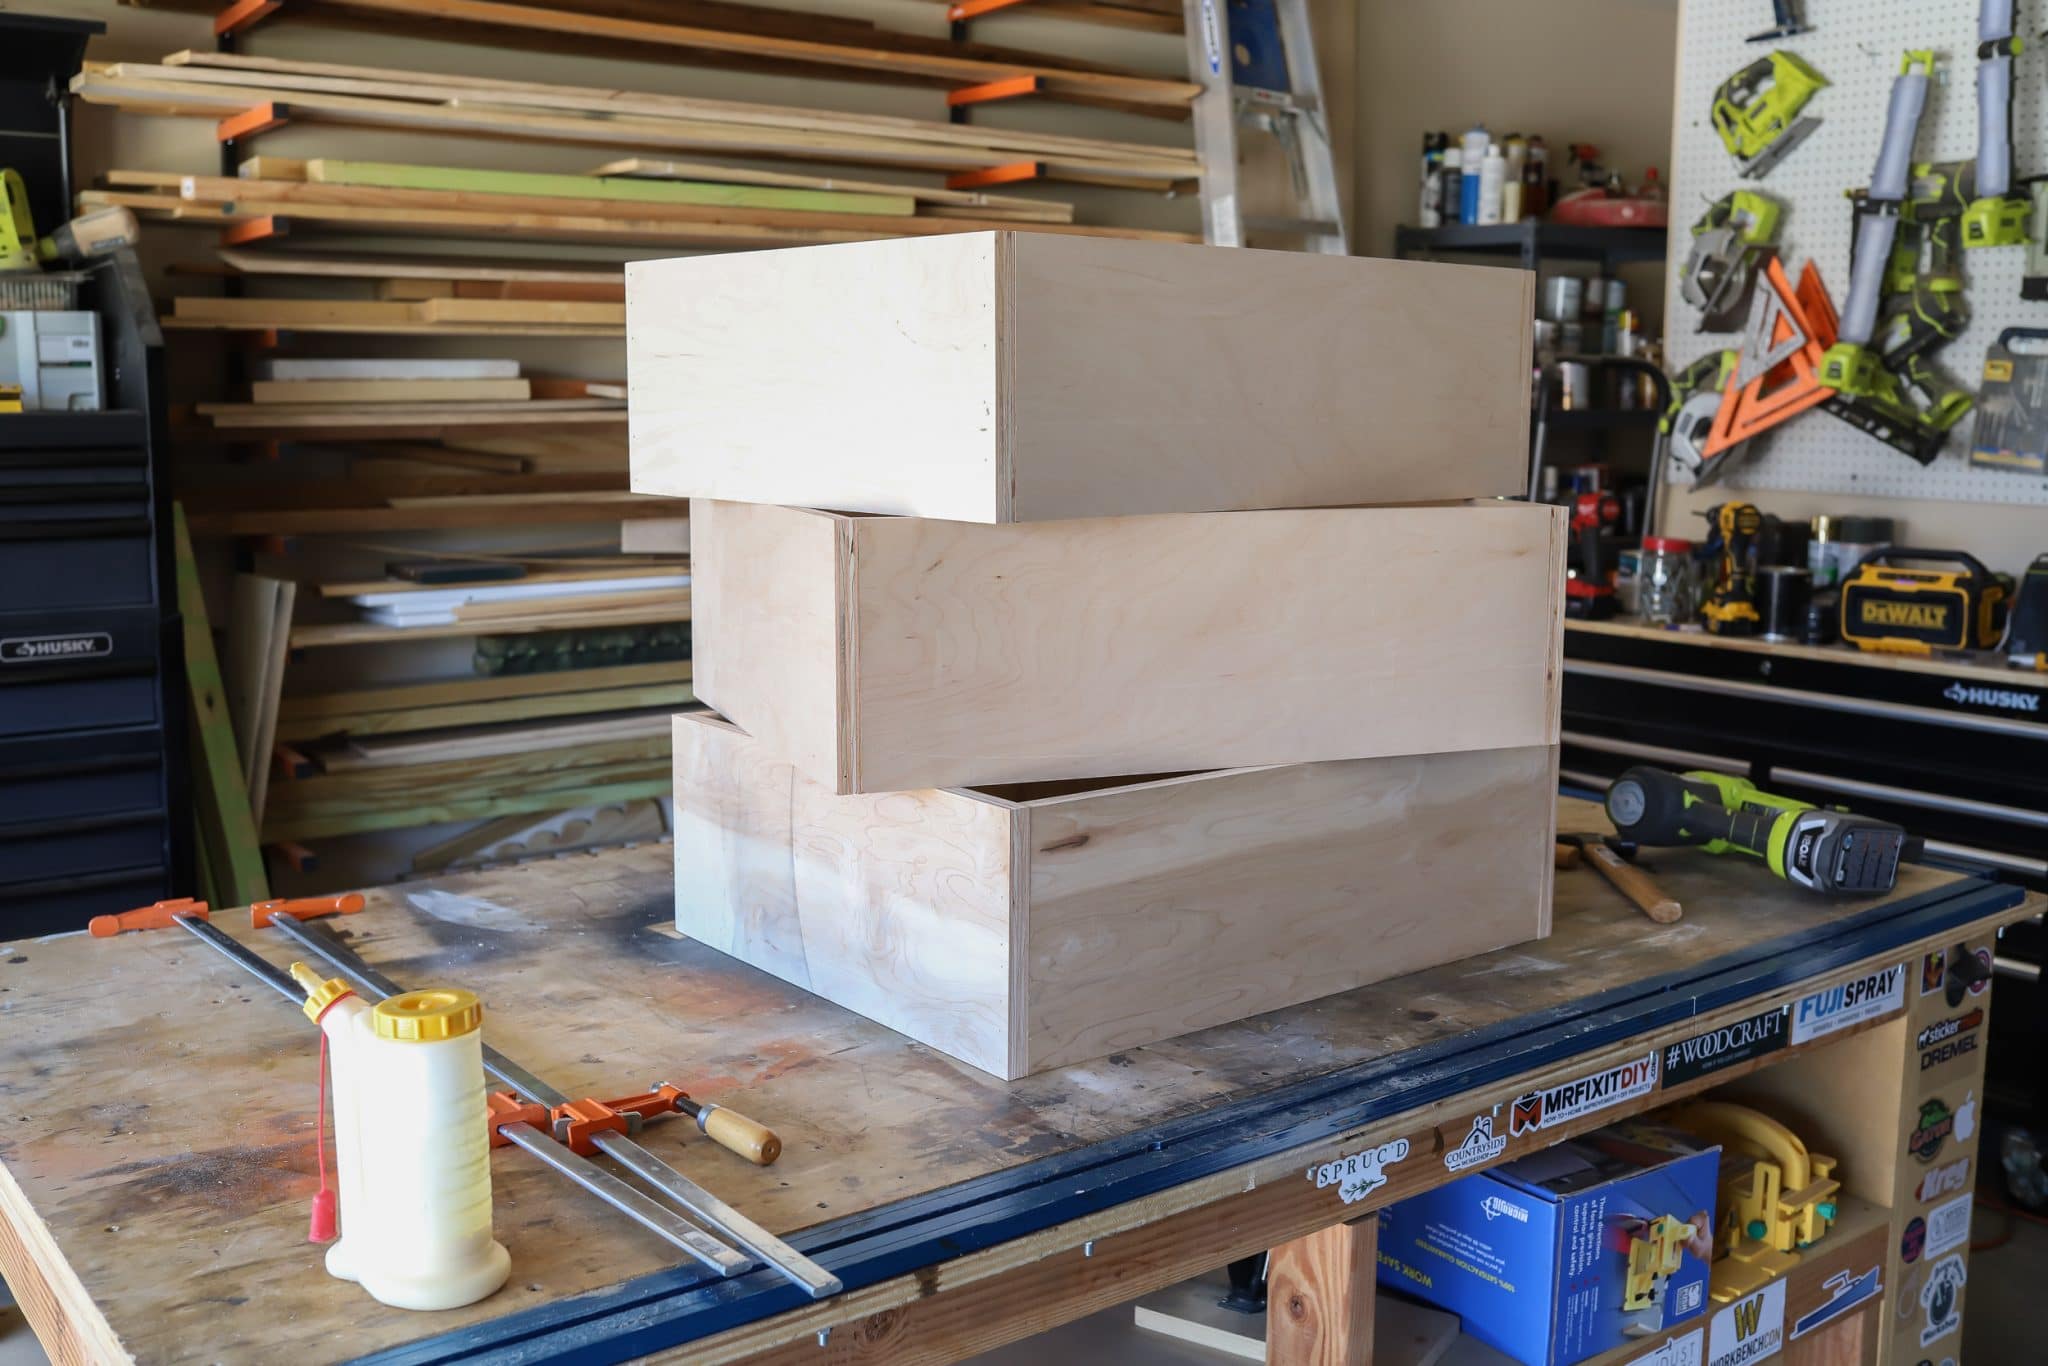
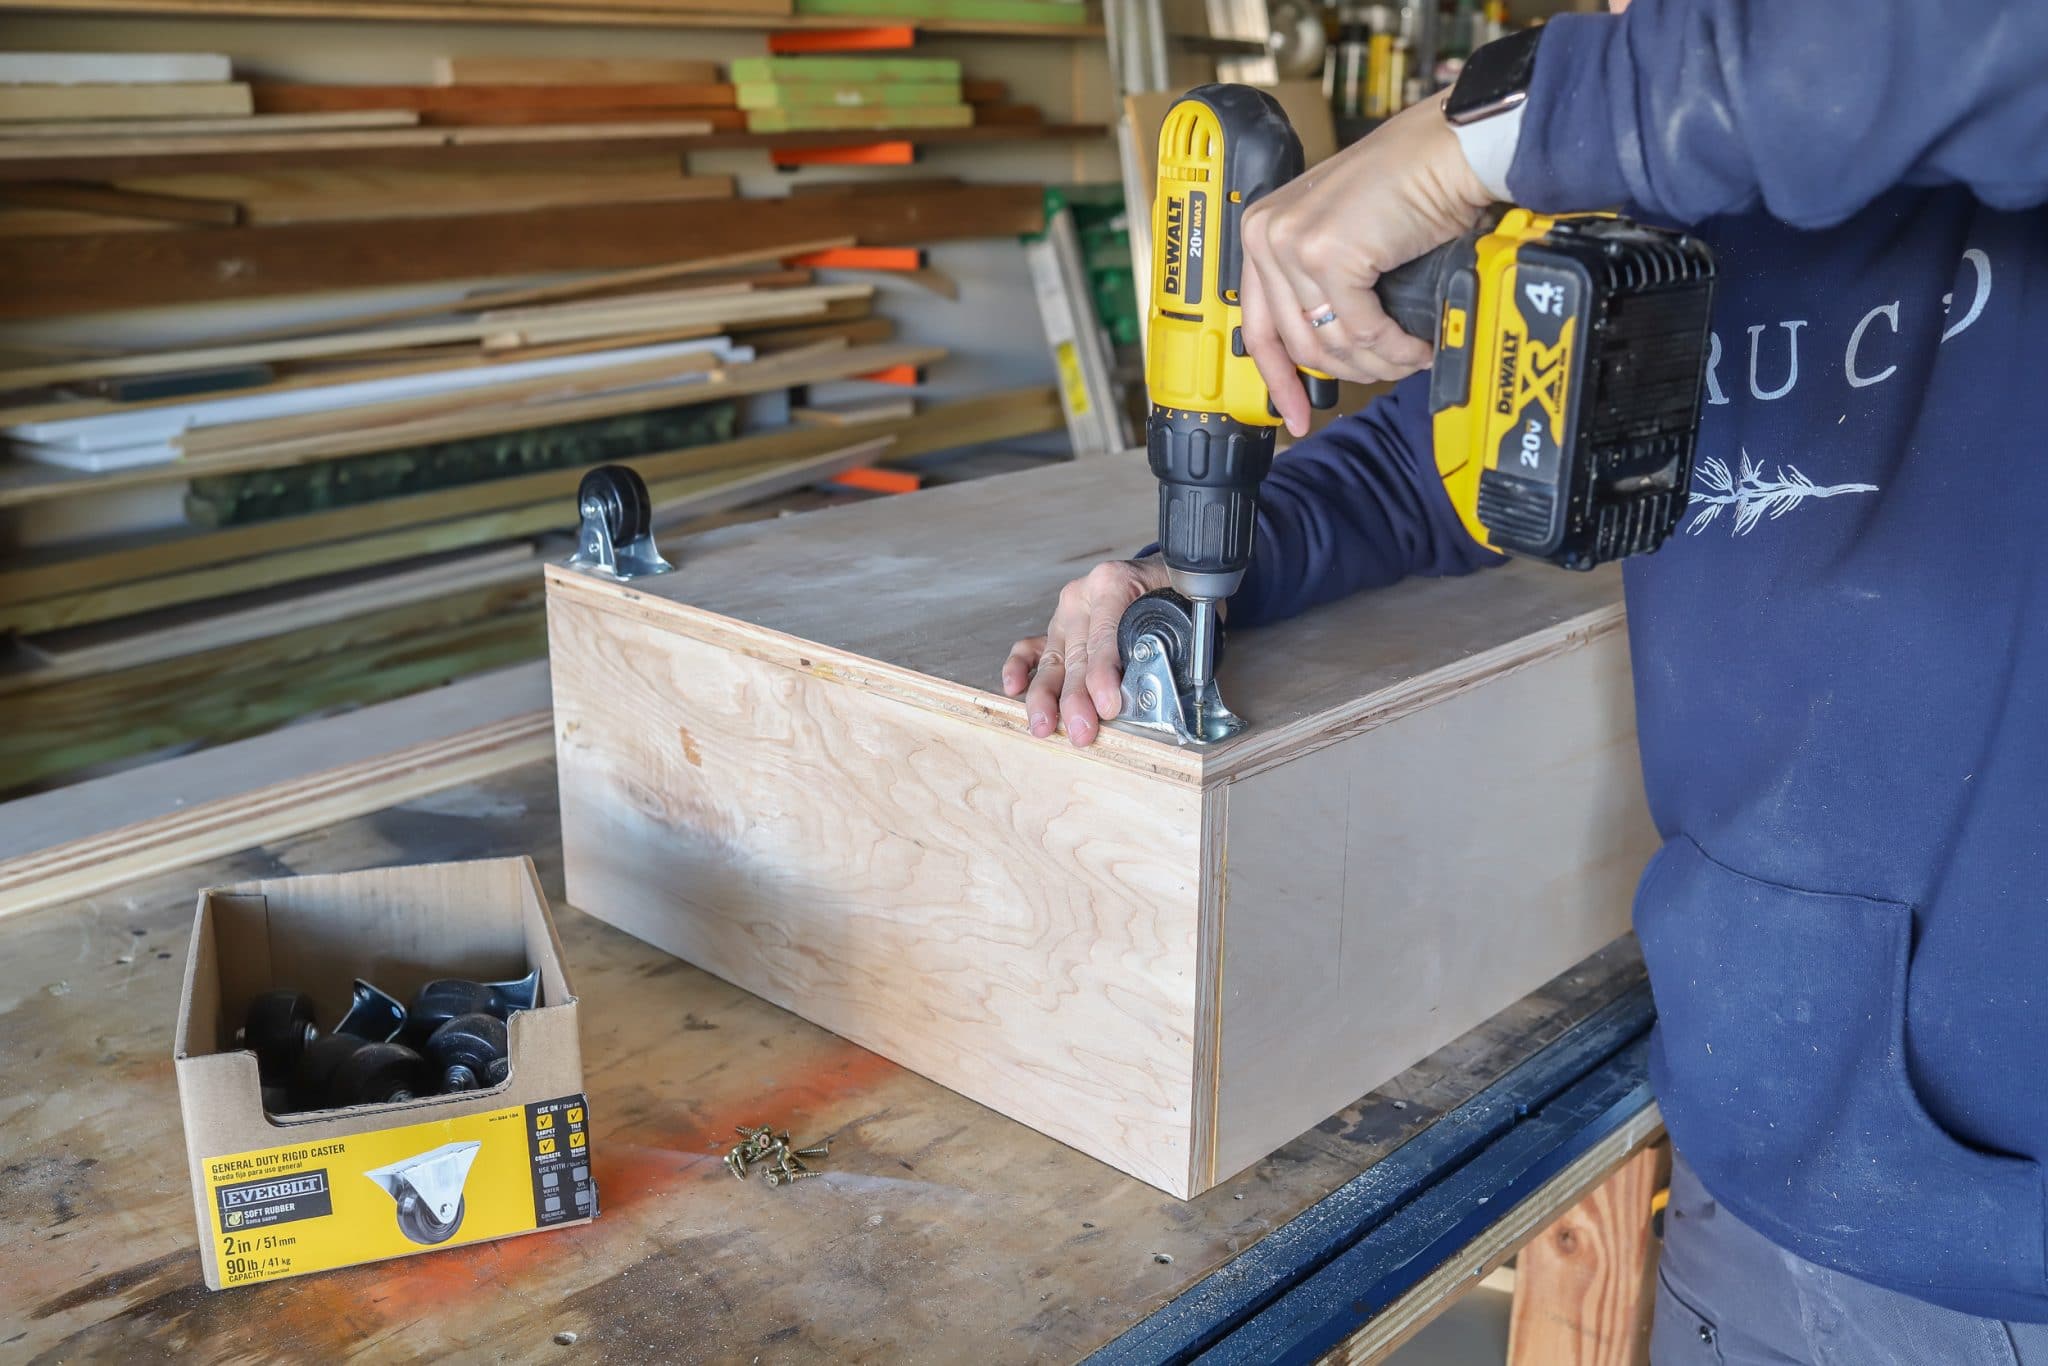
Remember how I told you I had a work-around for installing drawer slides? You’re gonna to love this. Instead of fiddling with drawer slides, I used rolling casters! I typically use 1/4-inch plywood for the drawer bottom, but I used 3/4-inch here so that the casters would have something more substantial to screw onto.
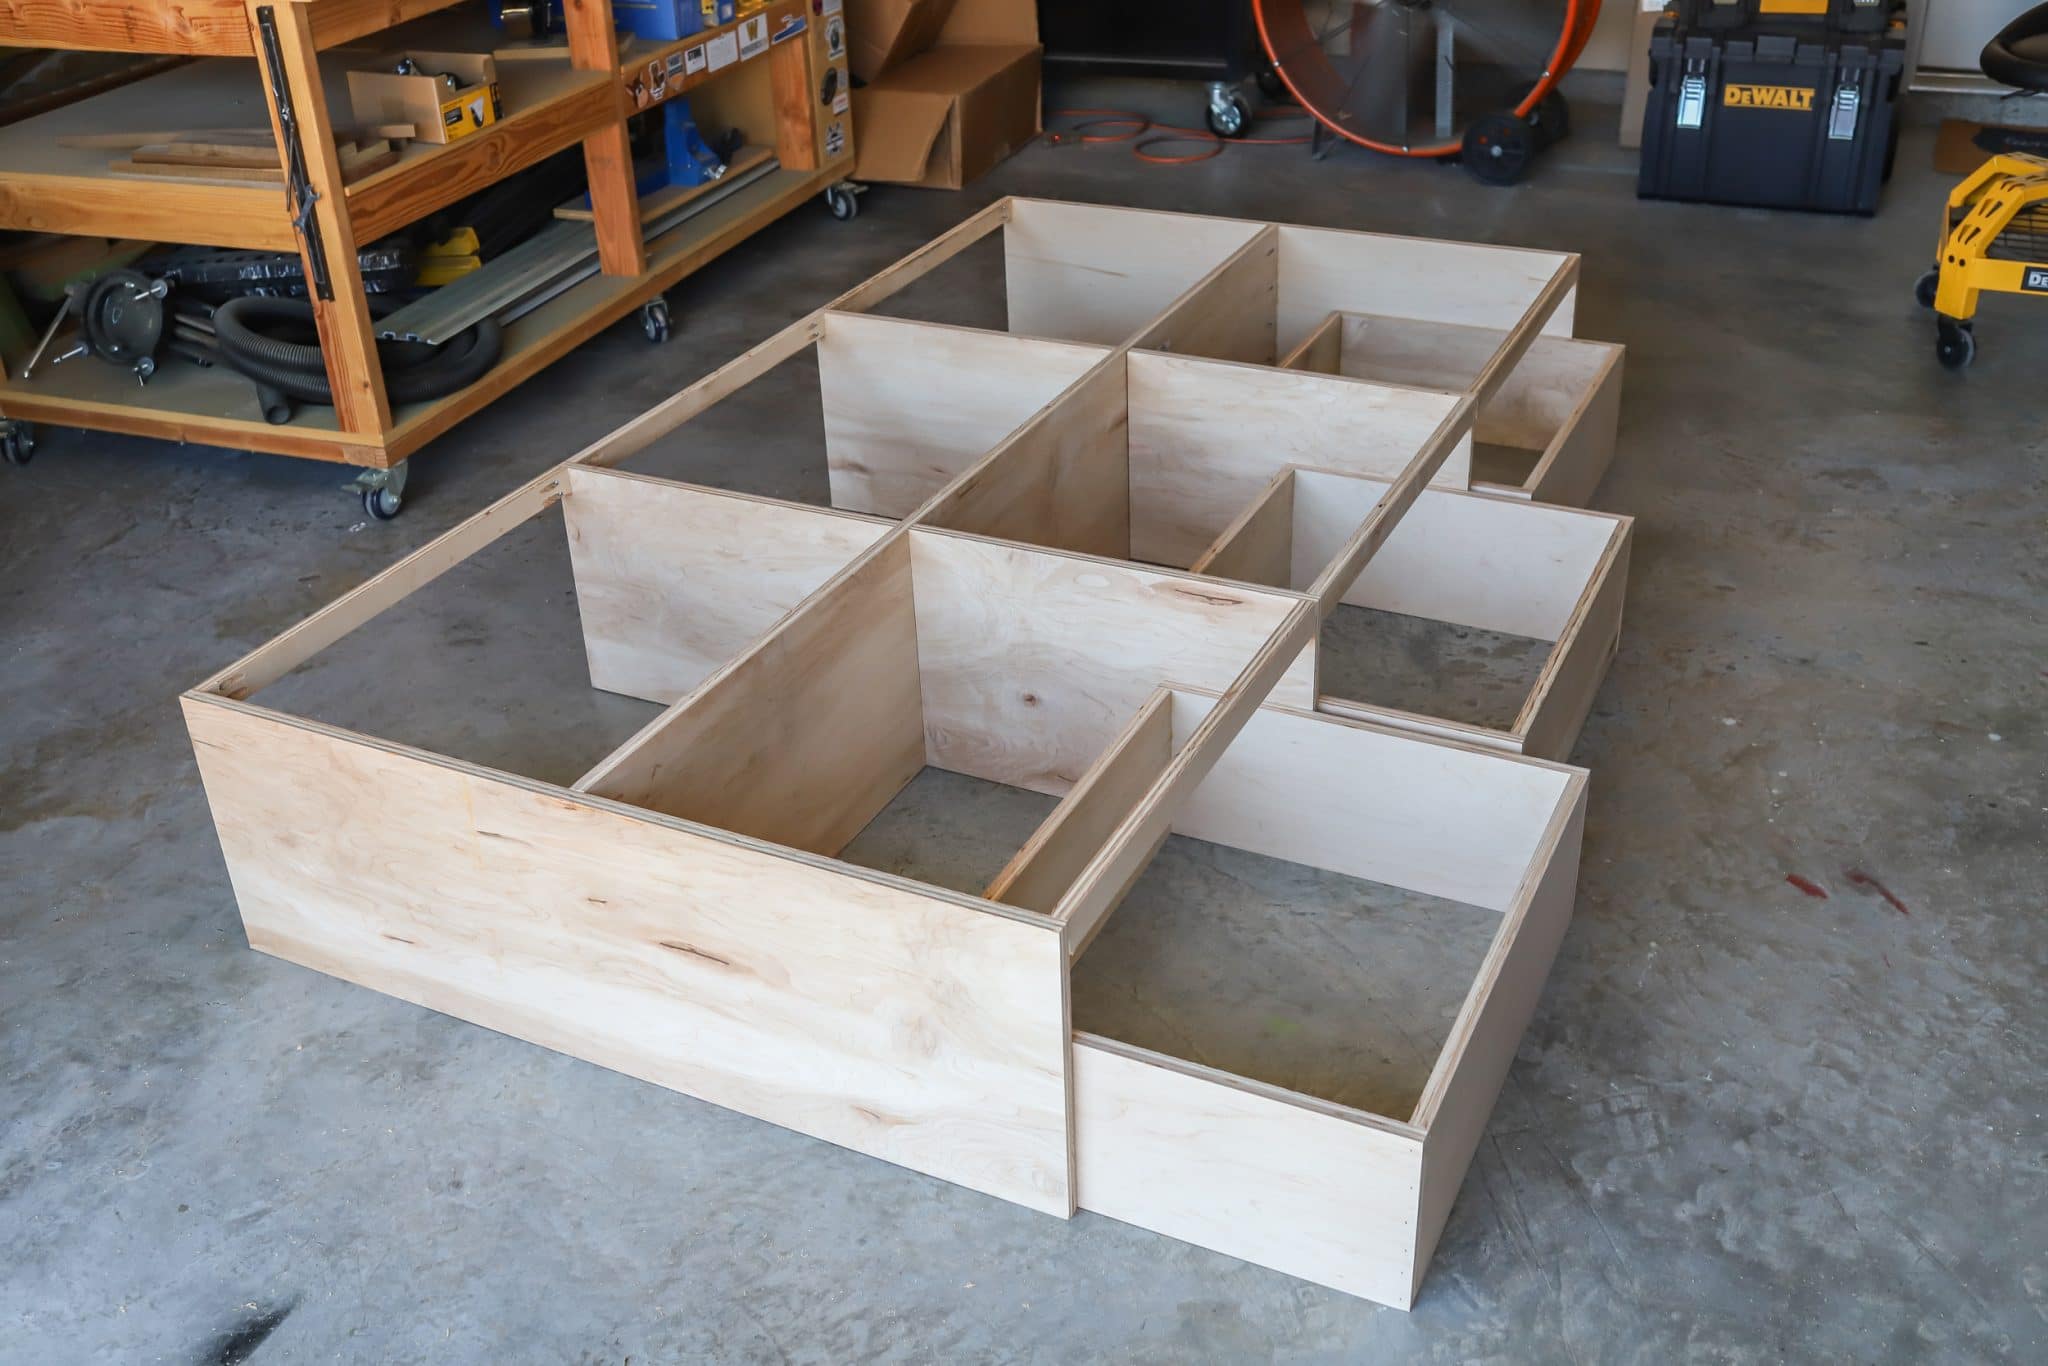
I chose casters over drawer slides for a few reasons: 1) they were cheaper, 2) easier to install 3) more forgiving if your project isn’t perfectly square, and 4) they create mobile storage. My neighbor’s daughter can stash her toys and treasures in the drawers, roll it out into her room for playtime, then roll it back in for easy cleanup! Drawer slides would not have allowed for this mobile storage solution. Brilliant!
Build the headboard and footboard
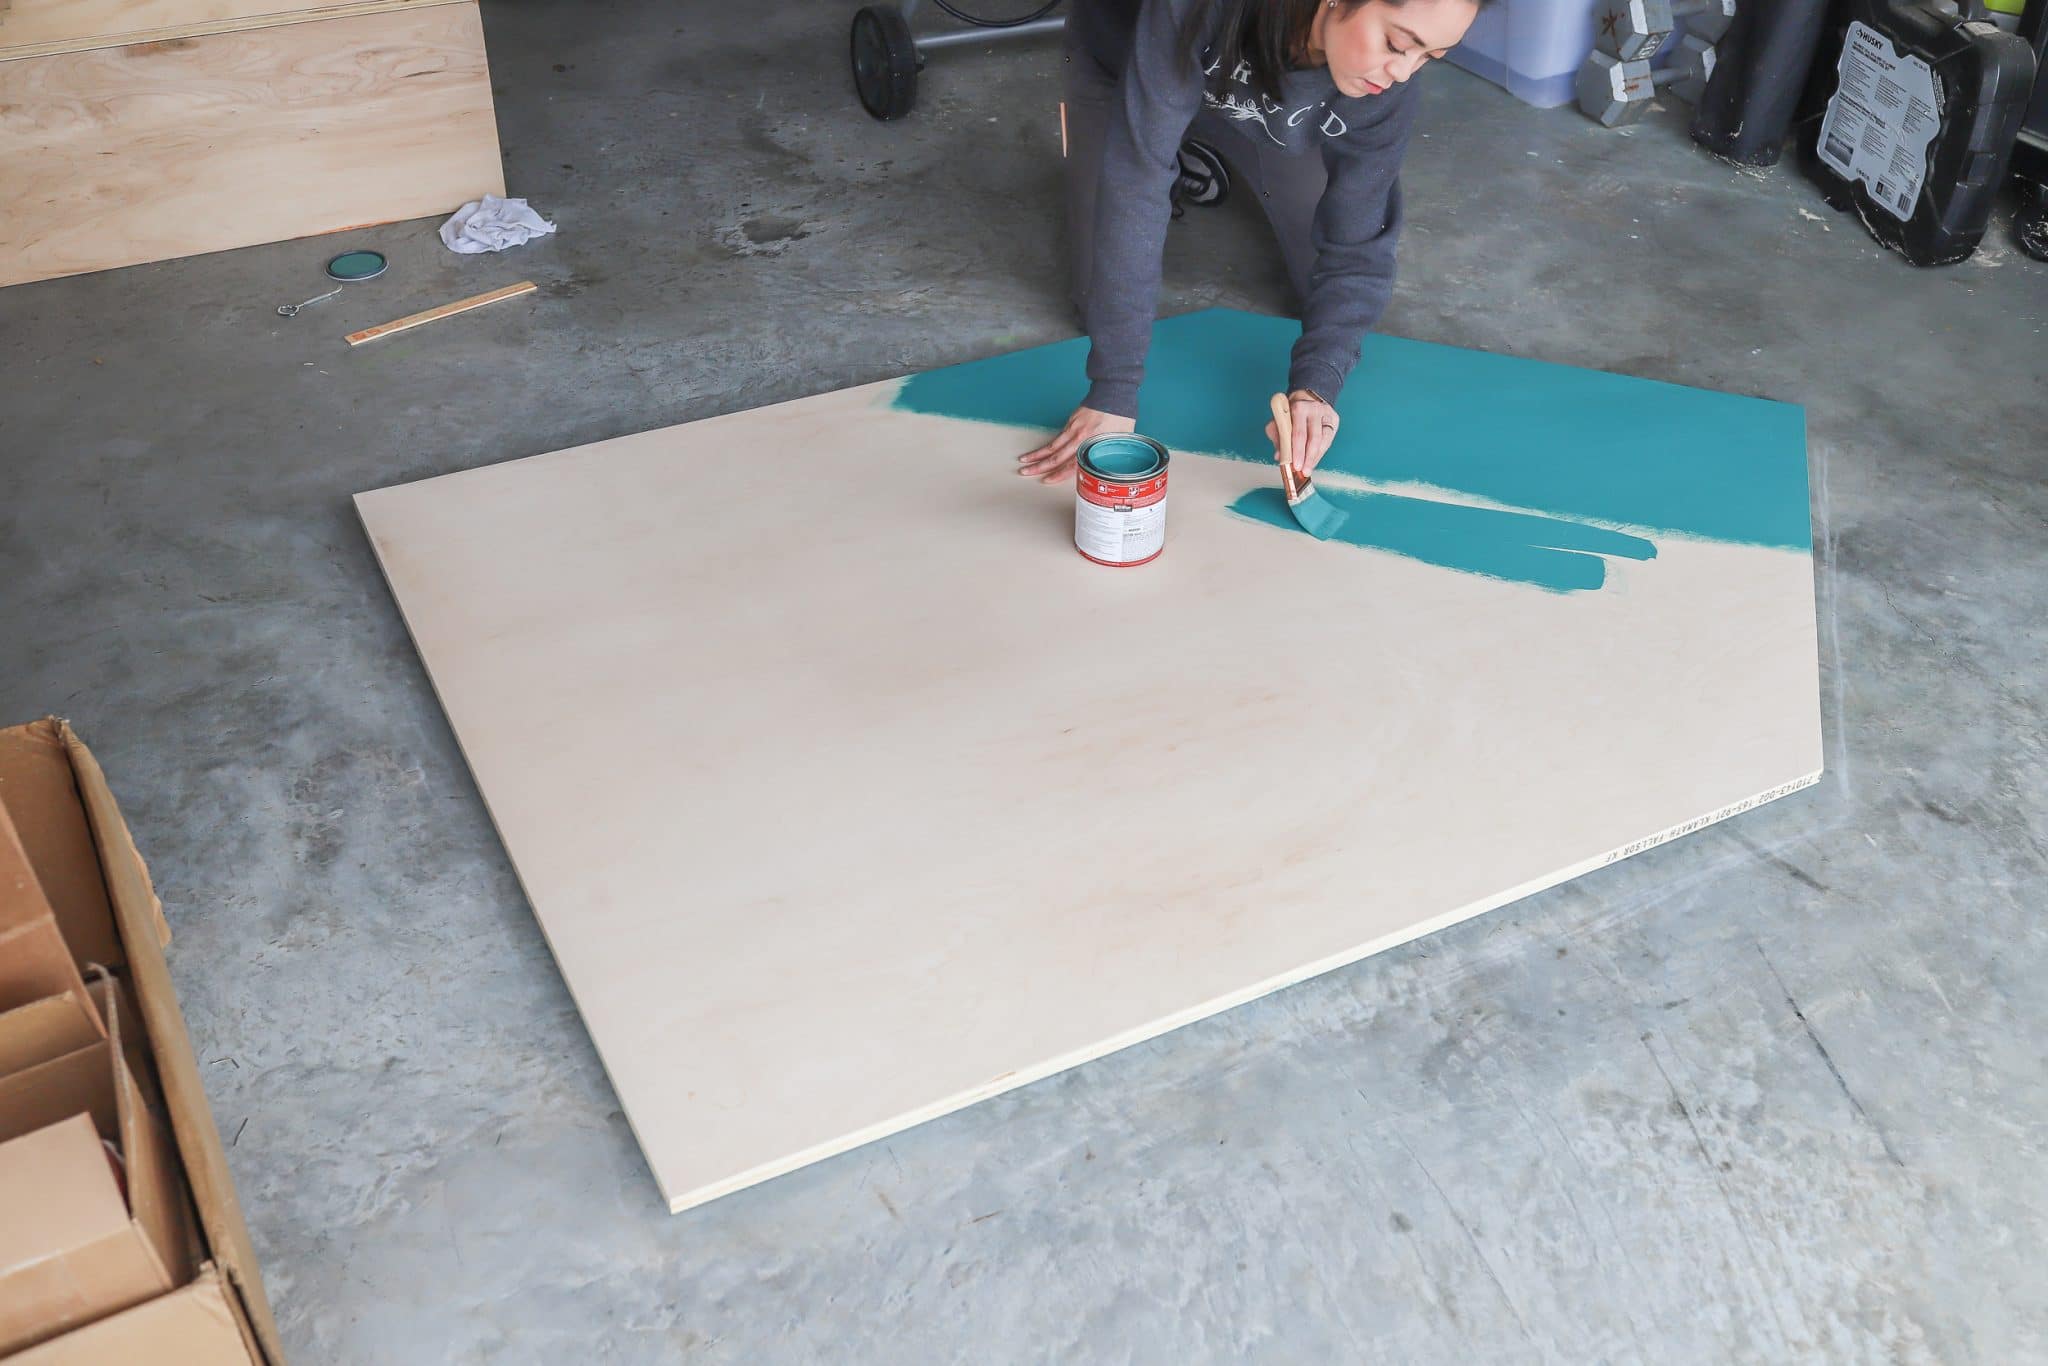
Now it’s time to add the house shaped panels – the headboard and footboard will be different, so pay attention to the plan when you’re building. I took my measurements and used a a circular saw with a plywood blade to cut out the house shapes. This plywood blade leaves a much cleaner cut on the plywood, so I highly recommend switching out your general purpose blade with a this one whenever you’re cutting or ripping plywood. General rule of thumb is: the more teeth a blade has, the cleaner the cut. This plywood blade will minimize the risk of tear-out and splintered edges.
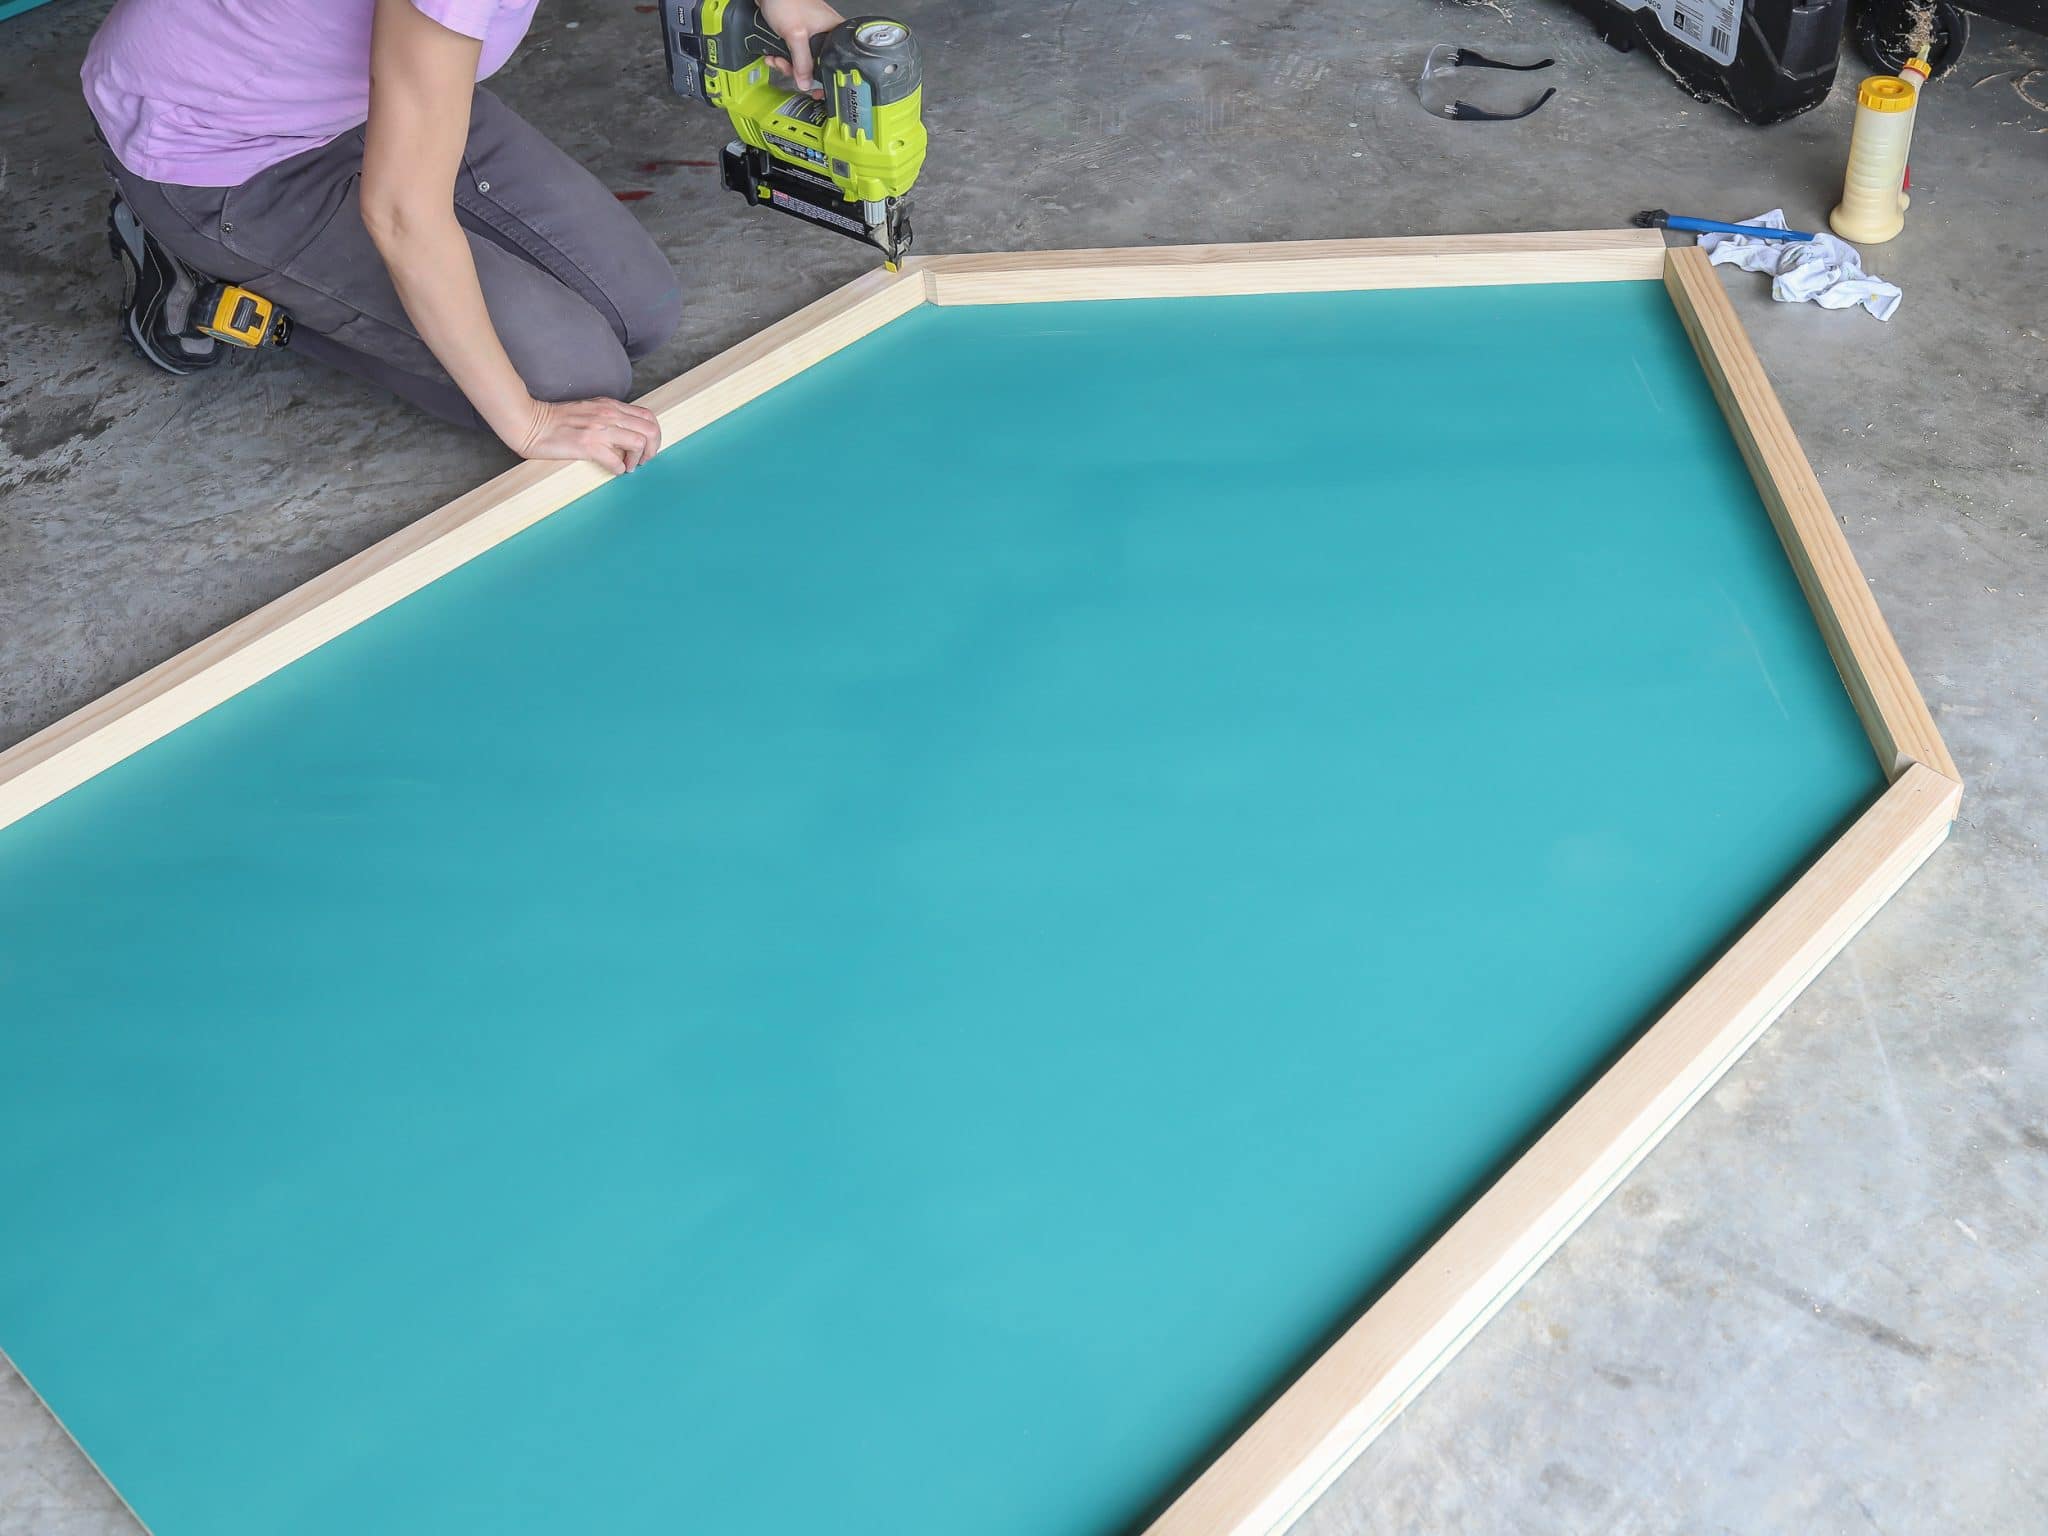
I opted to paint the headboard this fun color. It’s called “Bubble Turquoise” by Behr.
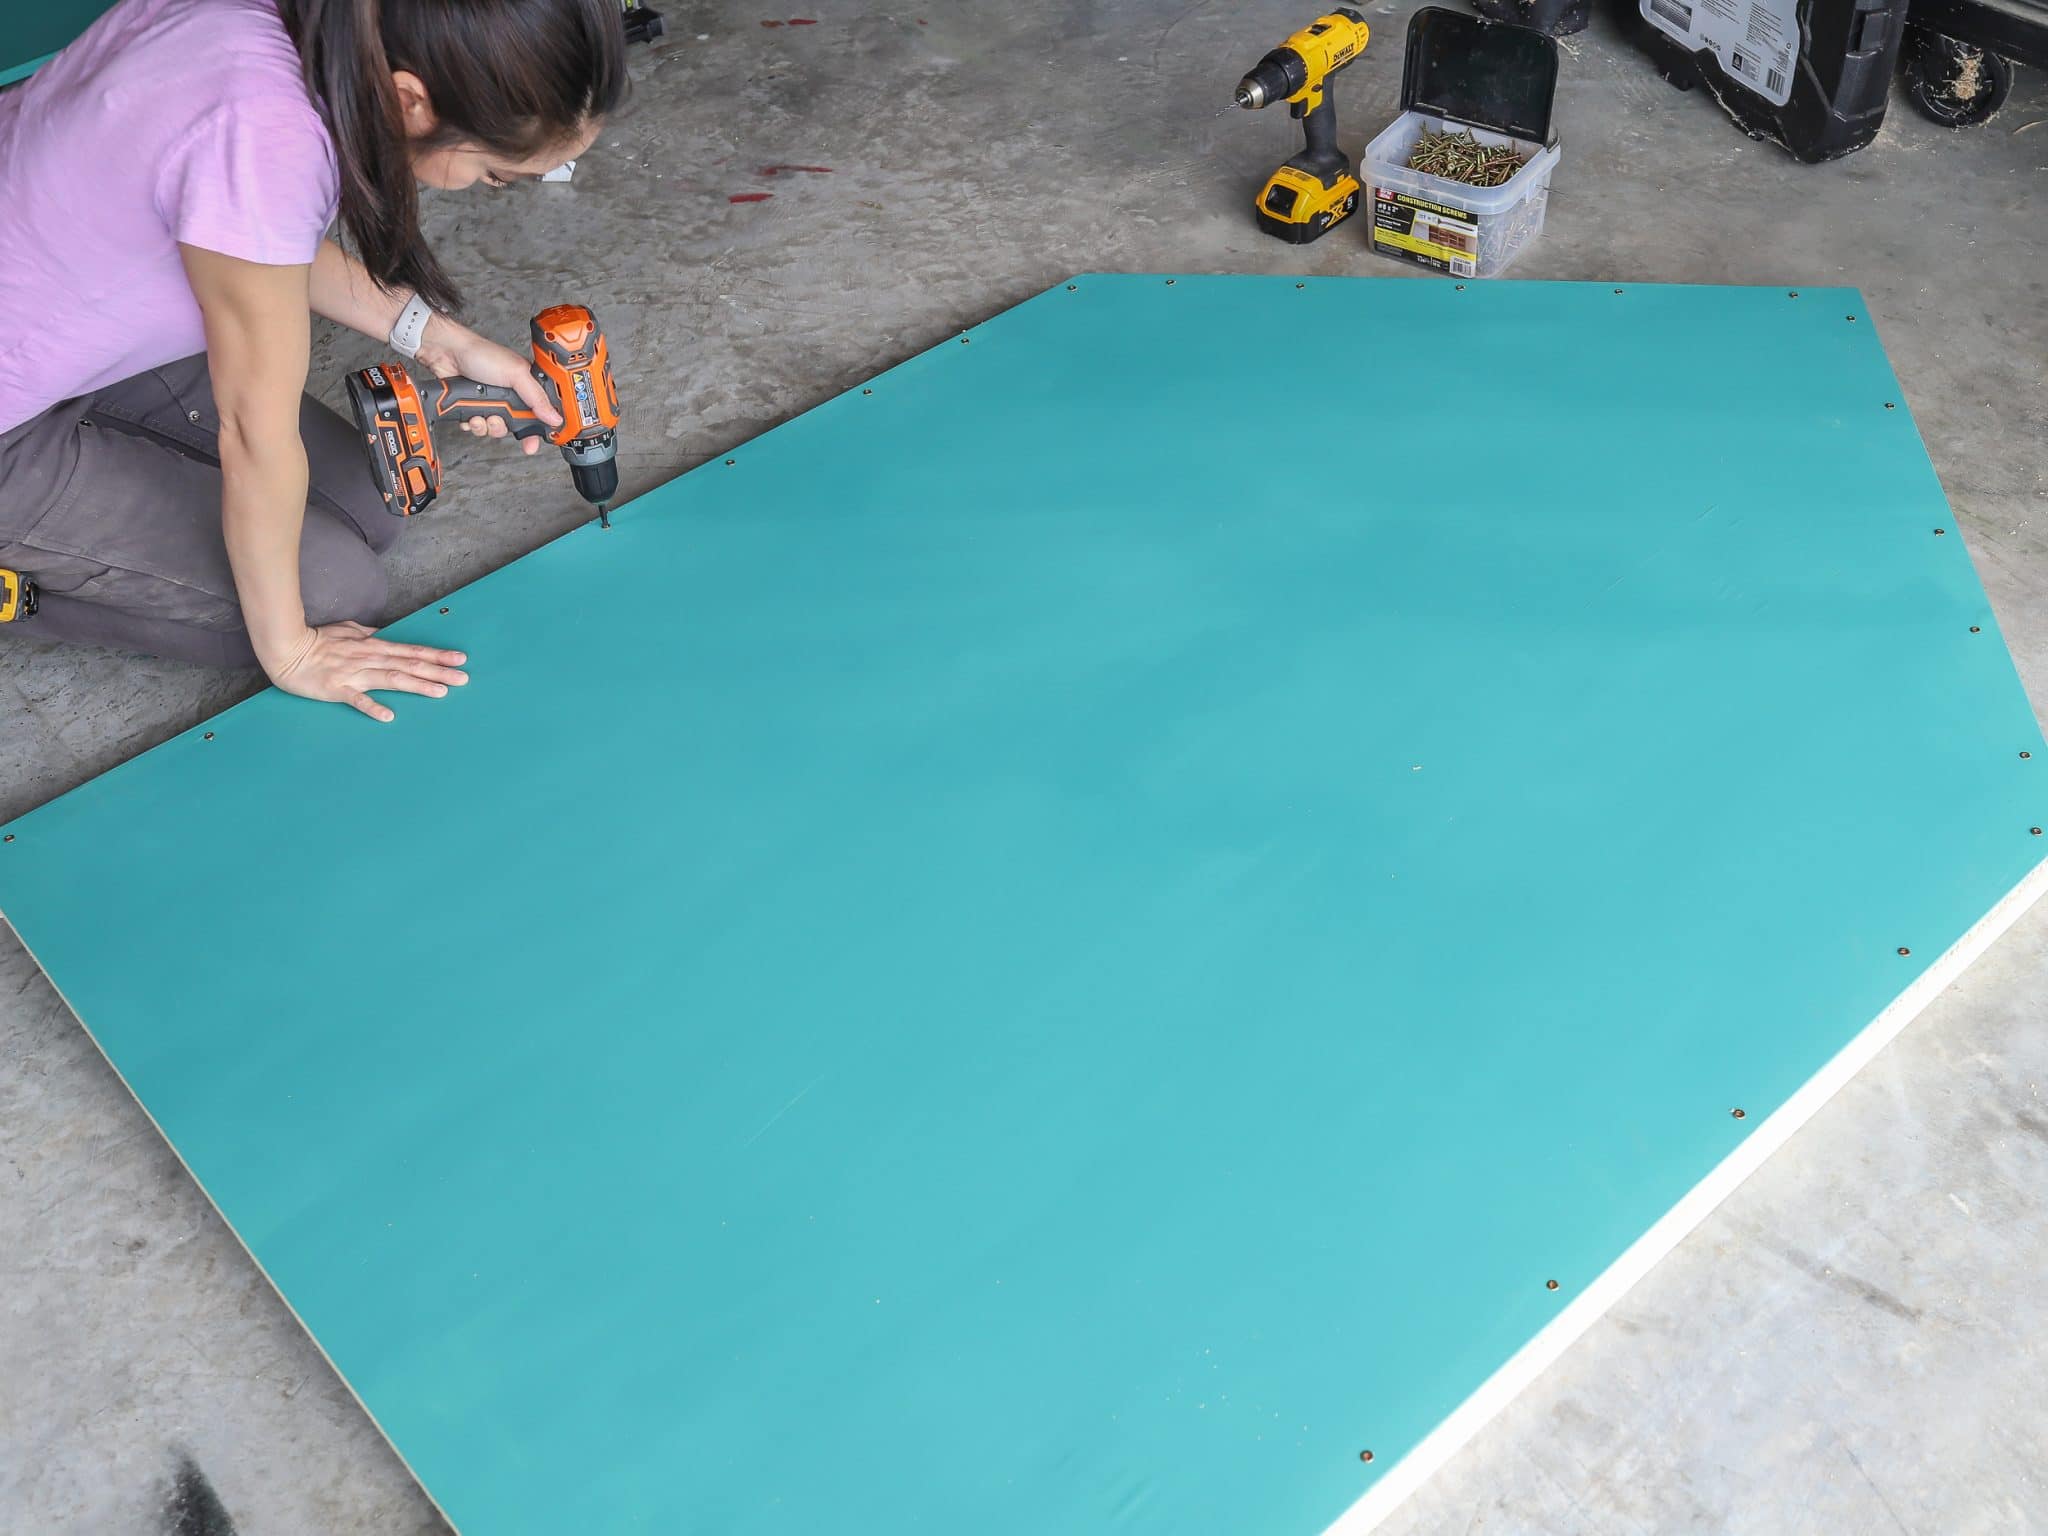
In the photo below, you can see that I’m using a brad nailer to temporarily attach these 2×2 pieces to the headboard. This is a great way to hold boards in place if you don’t have clamps. Then, I flipped the entire thing over and drove screws in from the other side. I’m pretty sure this is overkill, but why build when you overbuild?
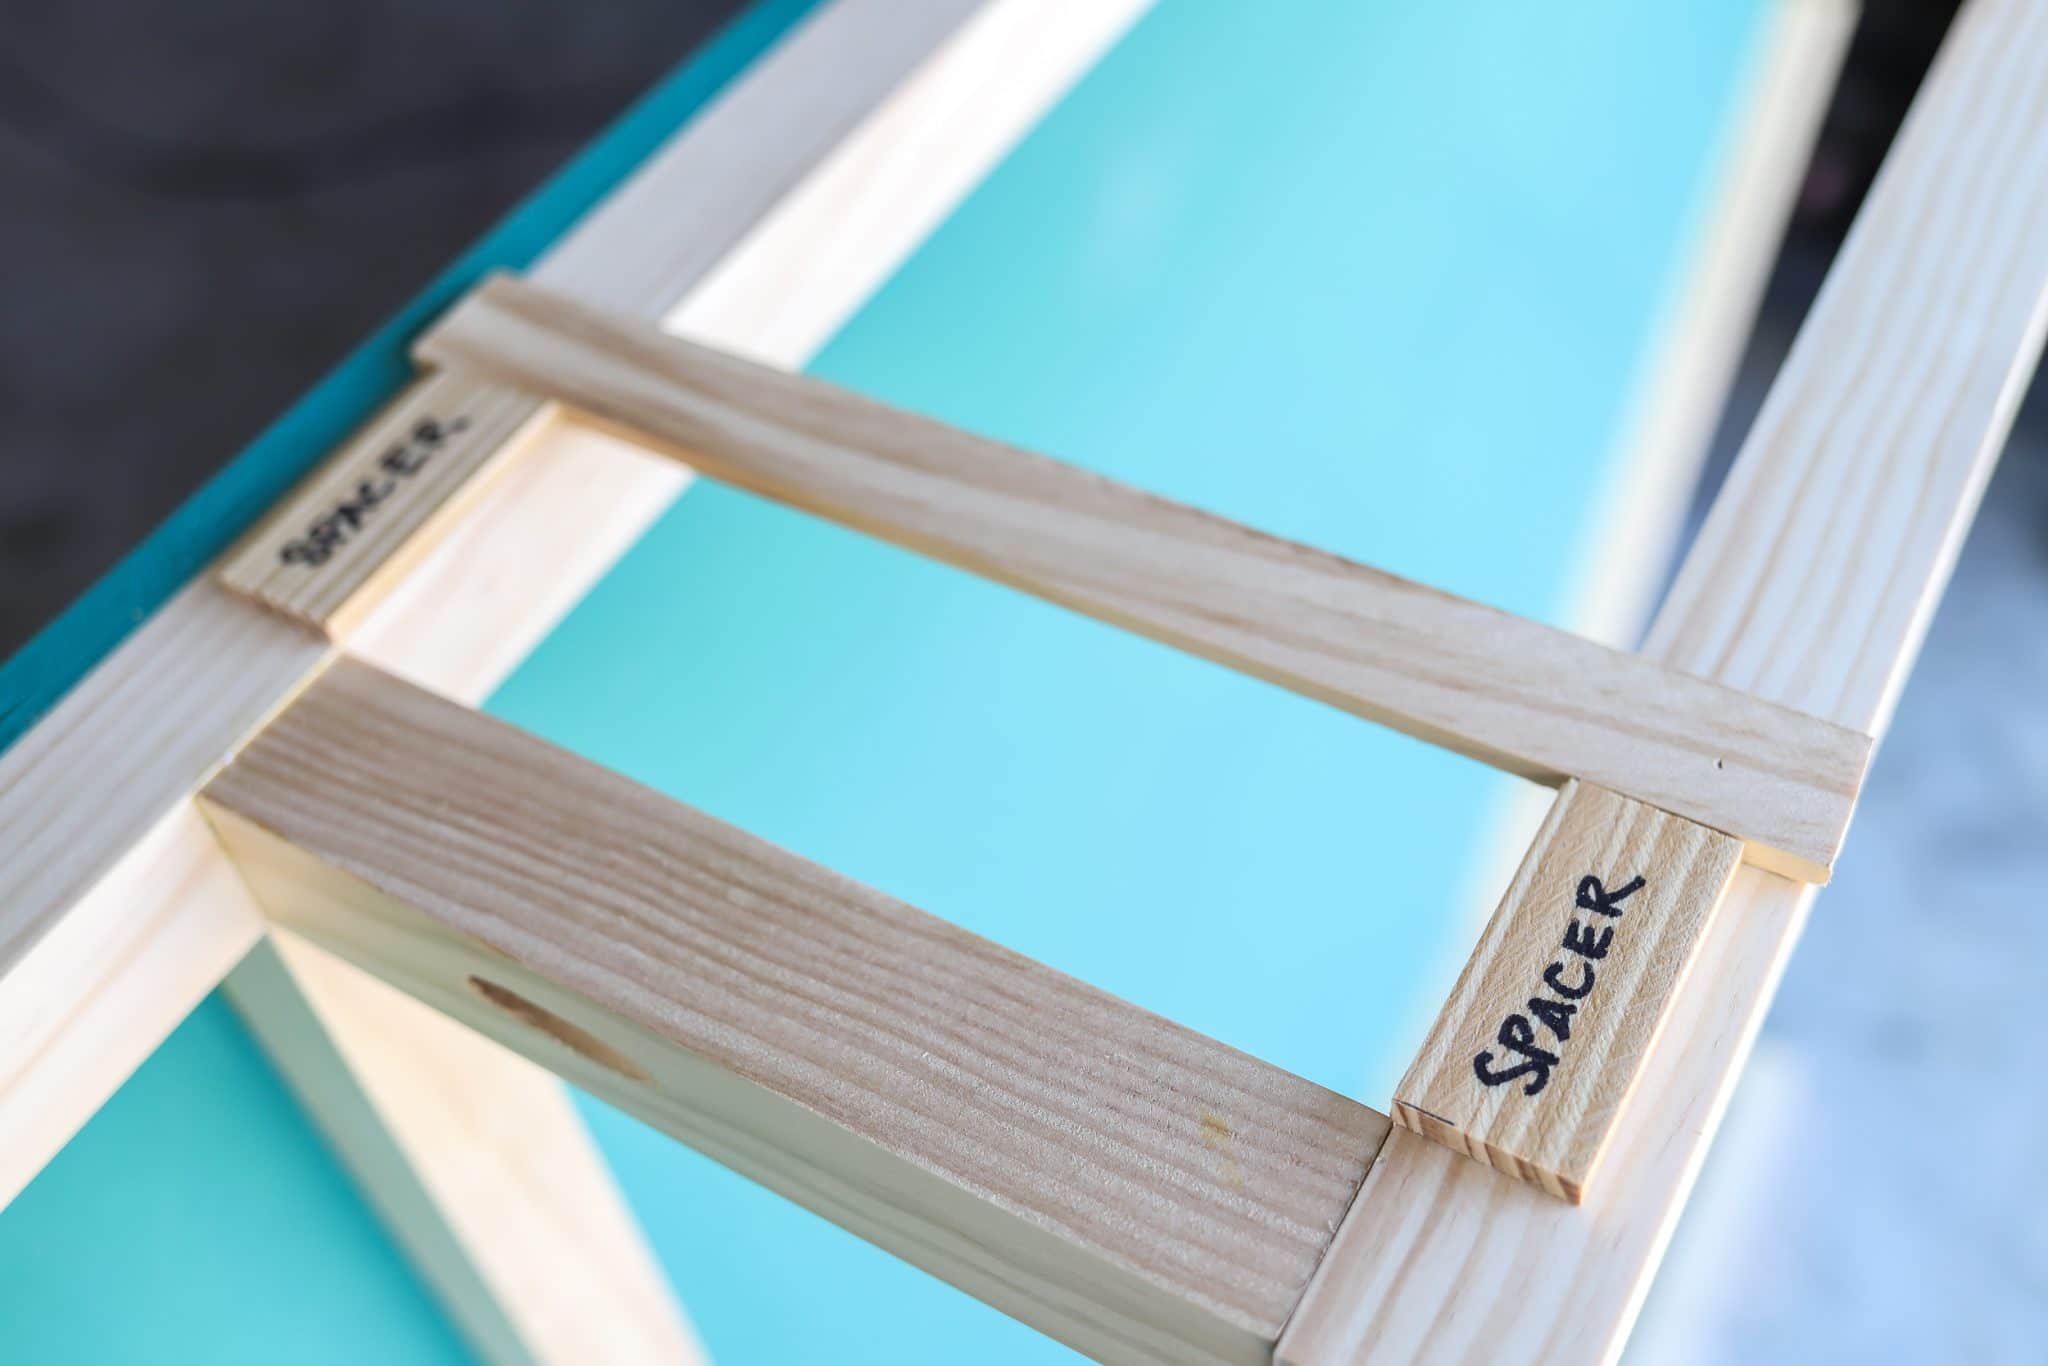
To add the cute lattice detail, I cut a couple of scraps to serve as spacers, so I could space the slats apart equally, without having to measure each time. #worksmarter This time, I used a pin nailer to attach the lattice slats because a brad or a finish nailer would have been too aggressive for these delicate pieces.
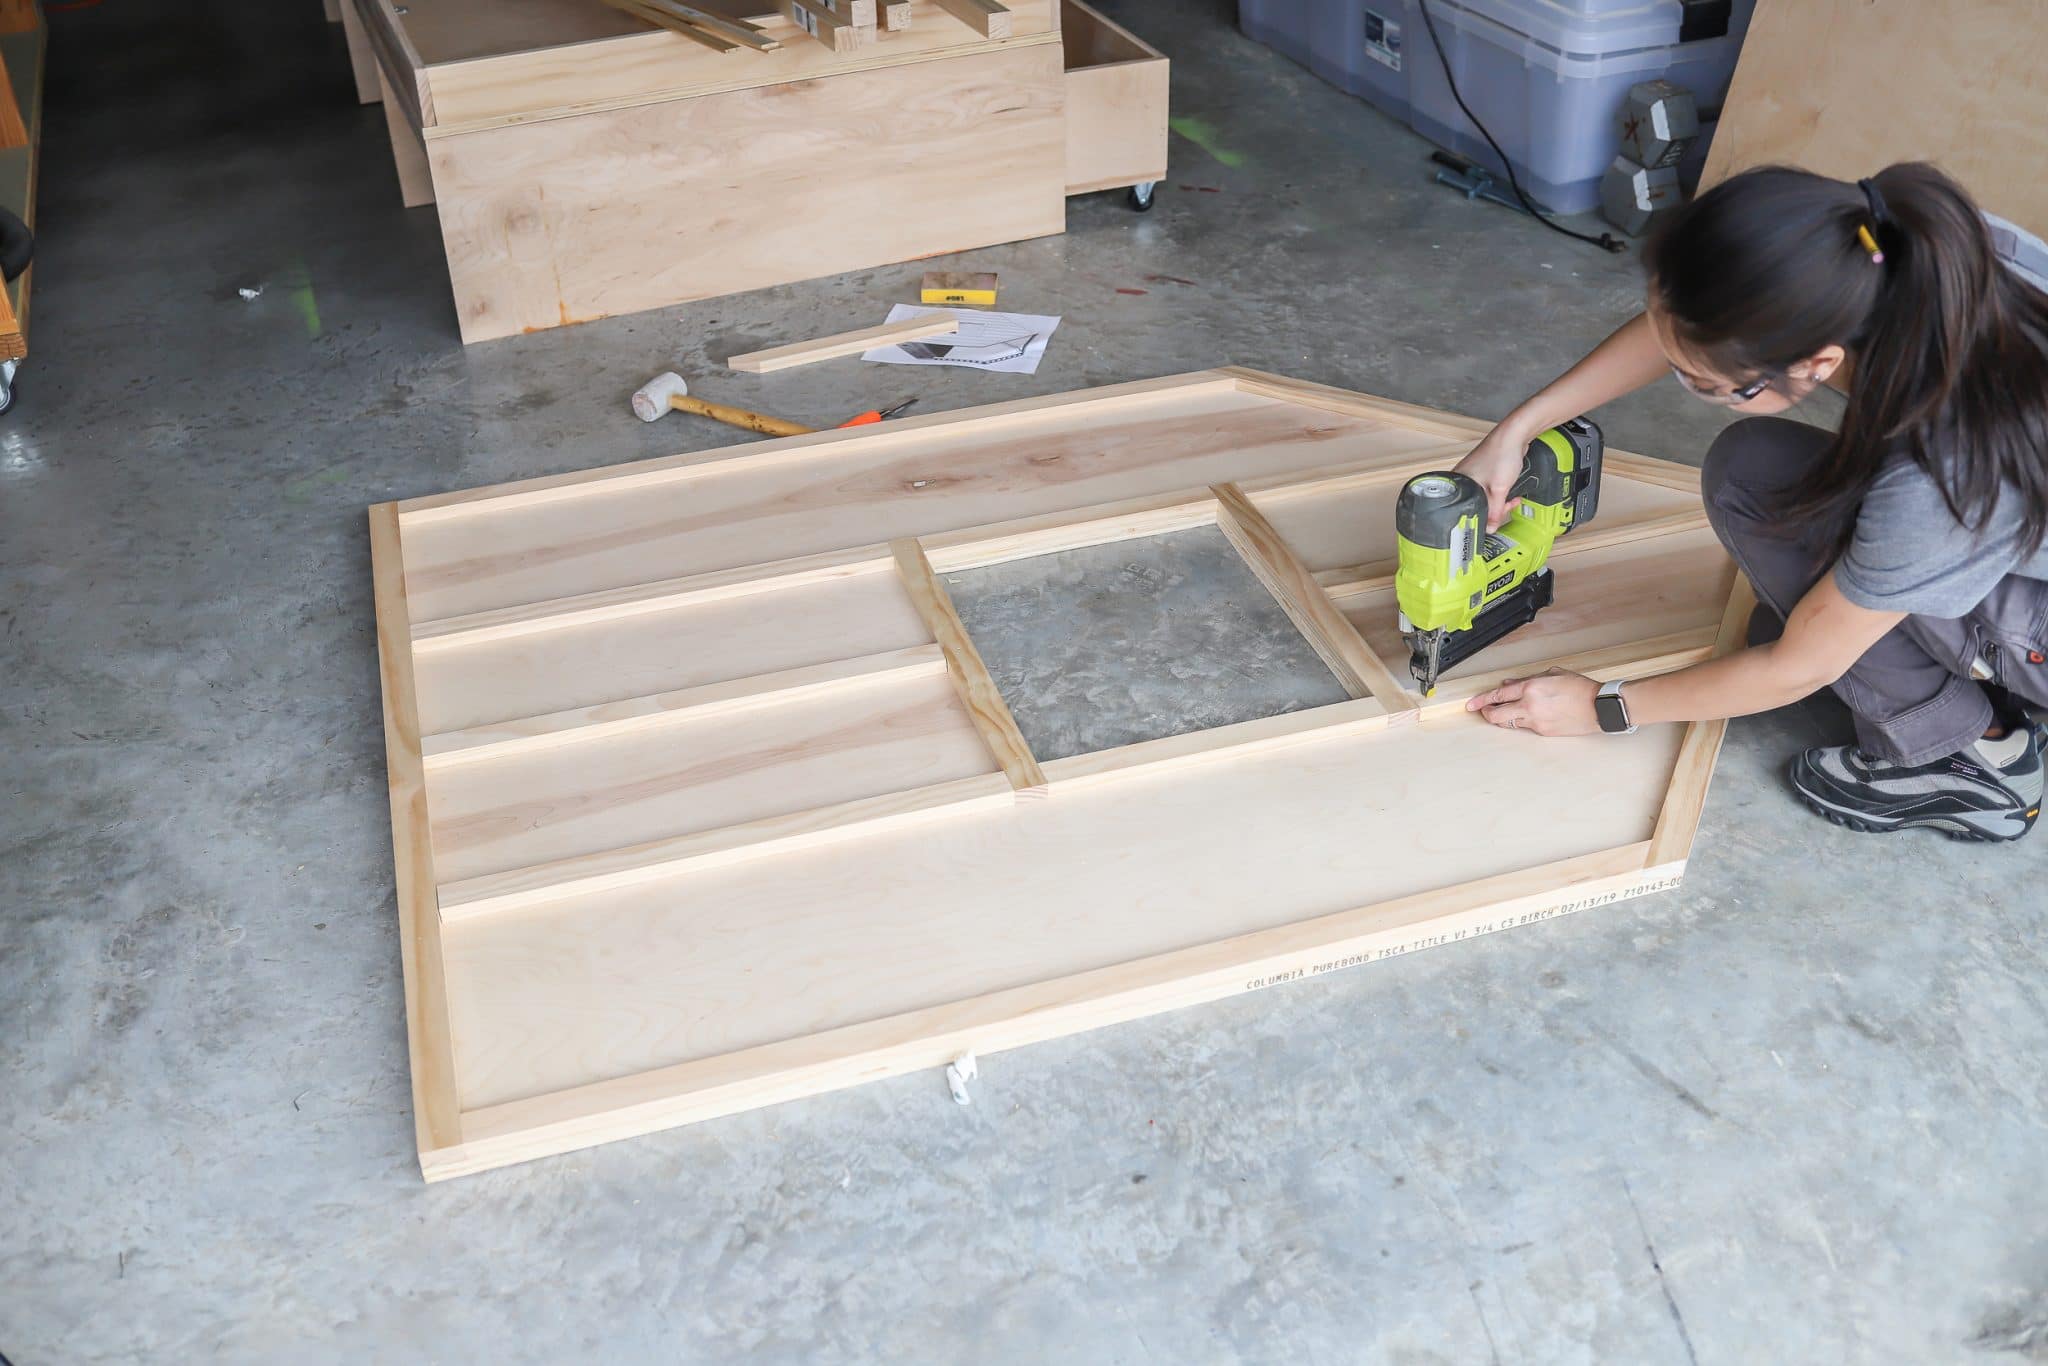
I left the footboard natural and nailed on a pretty board and batten treatment. As you’ll see in the video, I got a little ahead of myself and forgot to frame out the window first, so I had to go back and fix my mistake. Don’t be like me. Frame out the window before adding the board and batten.
Assembly
After all of the components were built separately, we took it all into her room for assembly. For more information on this DIY Kids House Bed with Storage Drawers, check out the step-by-step tutorial I wrote for HGTV.com and you can also watch the video on my YouTube channel! Don’t forget to download the plans while you’re at it – and if you build this project, I’d love to see it! Tag me @jenwoodhouse on social media for a chance to be featured!




Love it! Genius! Great work, thanks for sharing
Your tips and posts are always interesting and helpful!!! Loved reading this one. Thank you for sharing.
I really loved this! I’m planning to make like this for my daughter. You show us how it’s easy to make. Thanks!
Awesome DIY piece.
OUTSTANDING, such a unique and simple idea that makes such a difference! You continue to AMAZE! 🙂
Thank you for being thoughtful about sharing these very valuable and helpful pieces of information!
Wow, this such a piece of art. The cool and cozy ambiance it gives is so amazing and wonderful. This is my feeling when I wanna come home. thanks for this!
Gorgeous!! Love this edition.
This is such a cool idea to get a personal touch in your kid’s room.
Just wow! I love the style :”)
It’s so nice for kids that their bed looks like that especially now that they can be enticed to just play in bed
The good diy. It’s so good. I can follow this to make my kid’s room tidy.
Getting excited and staying excited is such a major key!
That turned out great! Hope who ever used it enjoyed the gift. Thanks for sharing!
This page is really interesting!
I super love the designs. Really cute. Thanks for sharing!
Thanks for sharing this great site here. I love the color combinations and the design itself. My nephews and nieces would surely love these. Thanks for sharing!
Very good tutorials, I like how you included to the necessary safety gears.
This kind a lot of work but it is worth it somehow. Will try this out at home. Thanks for sharing!
Great idea, this will be a huge space saver. Thank you for sharing! I will definitely try this too.