A few months ago, my sister asked me to build her a pair of nightstands. She wanted something similar to this but didn’t care to spend almost $800 for one nightstand. Insanity. So I sketched up a few rough drafts, she tweaked the dimensions to fit her space, and we came up with this:
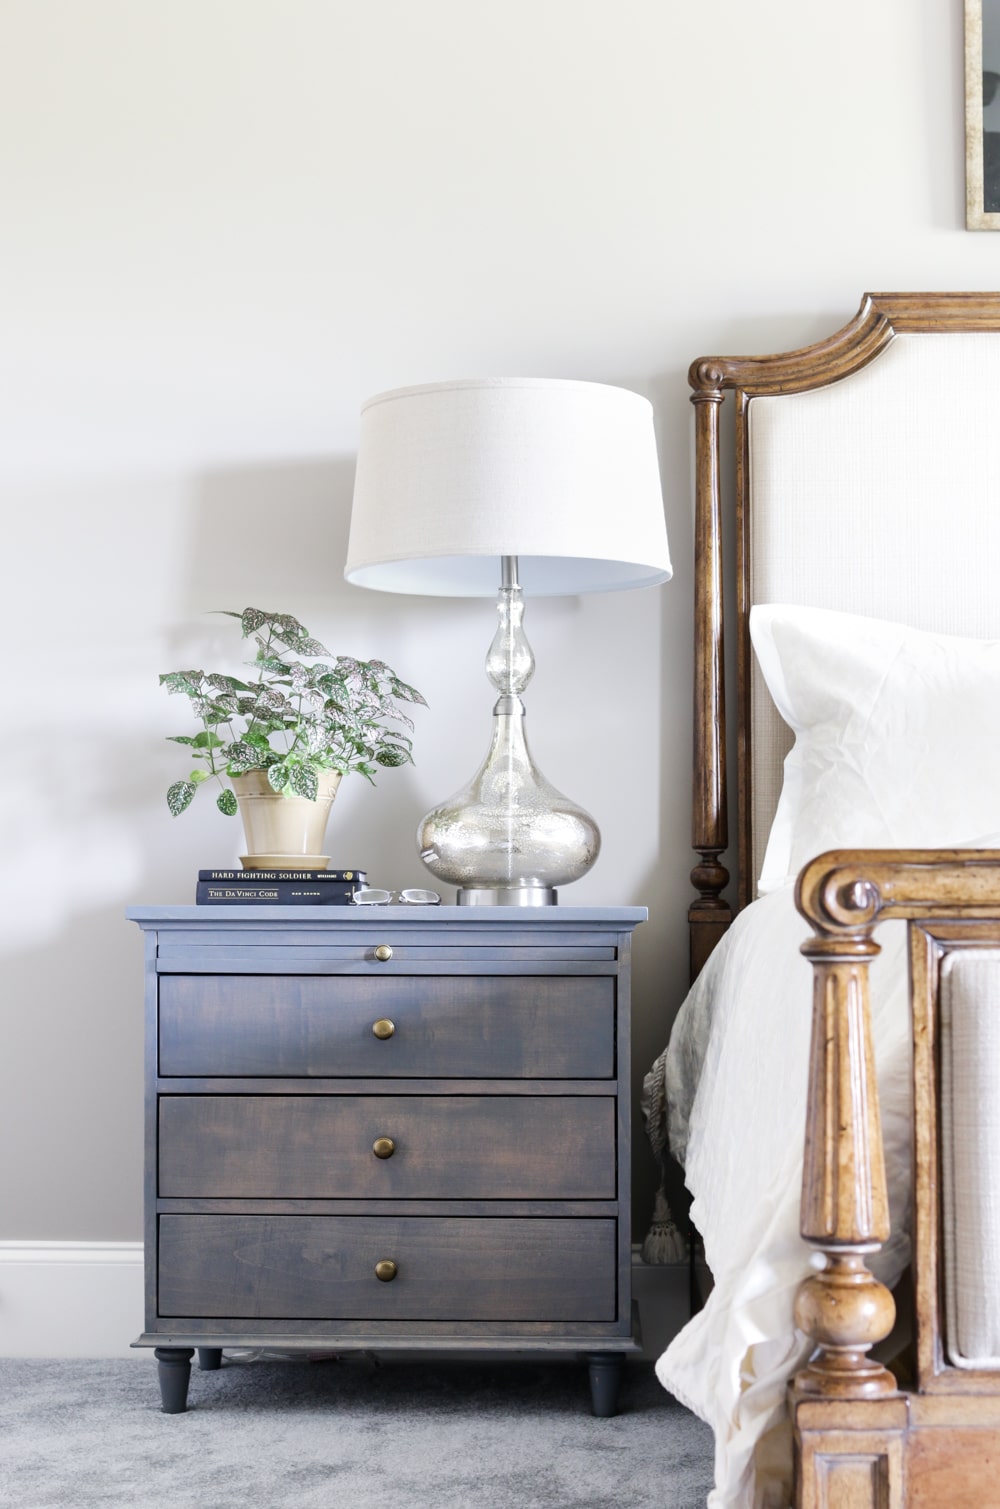
And the best parts? The cost was nowhere near $800 (x2 mind you) and she was able to customize it to her space and needs.
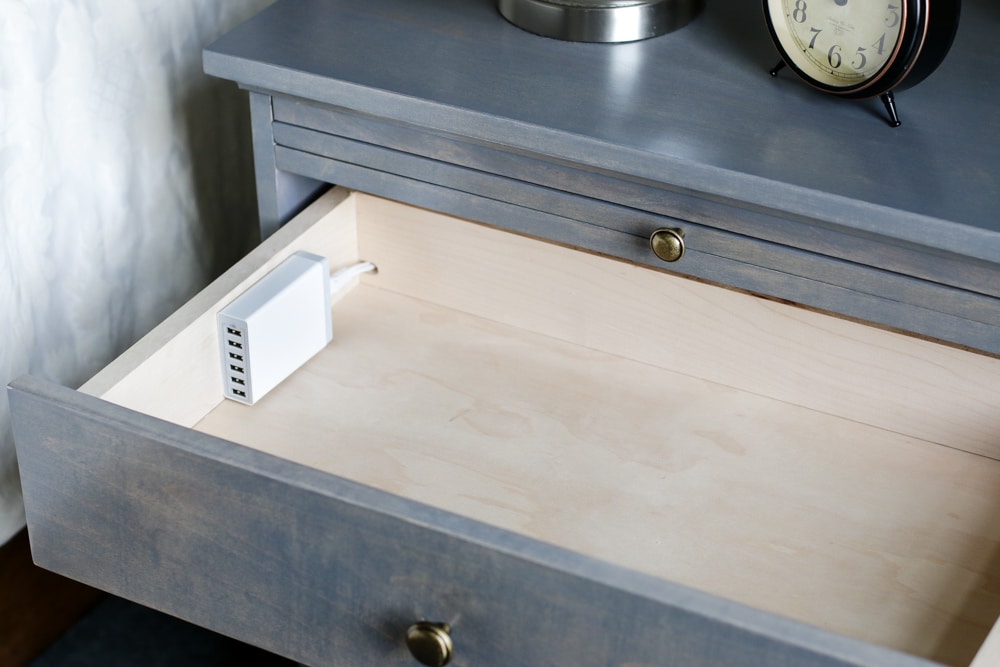
I especially love this hidden charging station feature. This is the USB charging station that I bought.
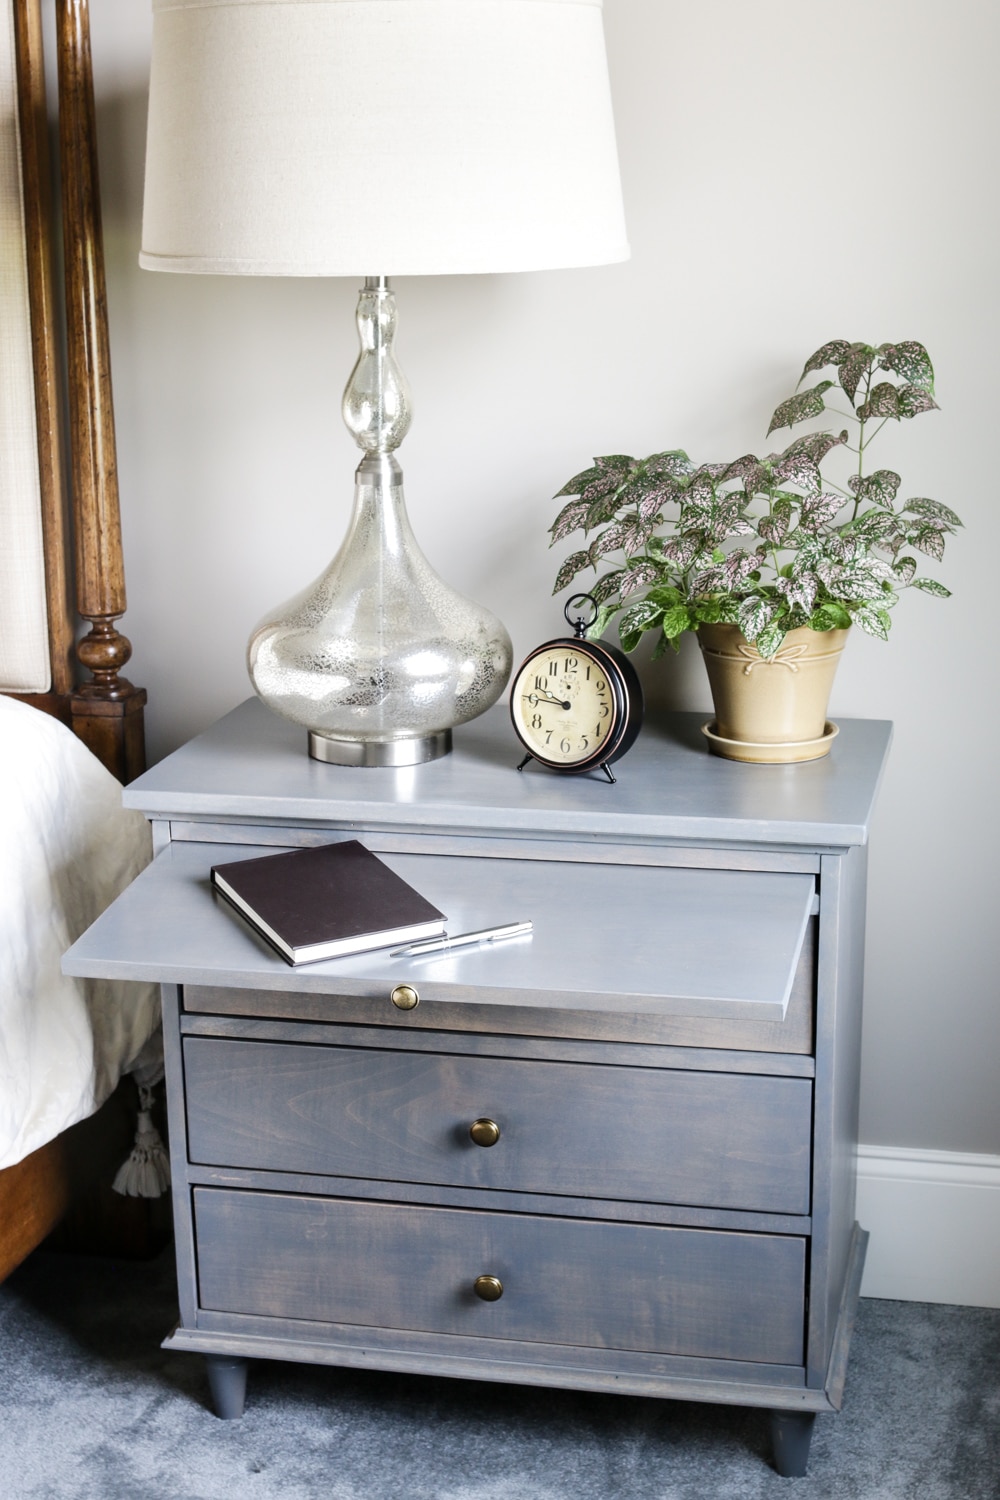
Oh, and not to mention the charming little writing tray…
Before we get started, I have to ask: who wants $300 worth of RYOBI power tools? You? Your mom? Well, good news: there’s a pretty awesome giveaway at the end of this post so be sure to enter for a chance to win. The entry form and details are below.
So are you ready to build your own DIY Nightstands with Charging Station and Writing Tray?
Alright. Let’s do this.
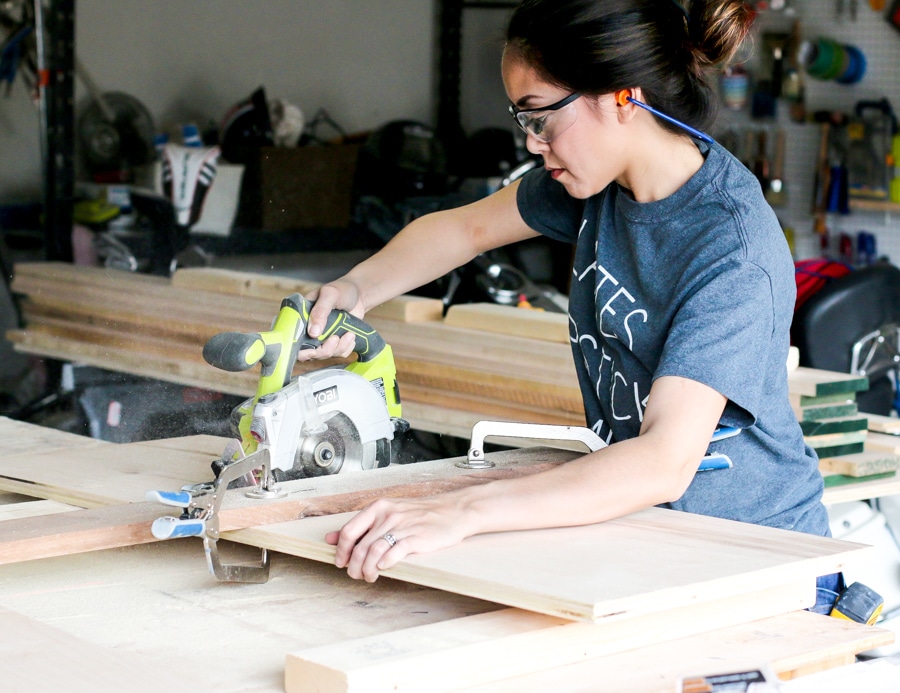
First, I used my cordless circular saw to cut the plywood pieces down to size. I love this little saw – it’s plenty powerful enough to cut through 3/4-inch material, yet small enough for my tiny lady hands to easily maneuver.
To minimize tear-out on plywood, I recommend using a plywood blade with the ‘good’ side of the plywood facing down. You can also run a strip of tape along the cut line, to help hold the fibers together as the blade passes through.
To cut a straight line, clamp a straight edge to the workpiece to serve as a fence.
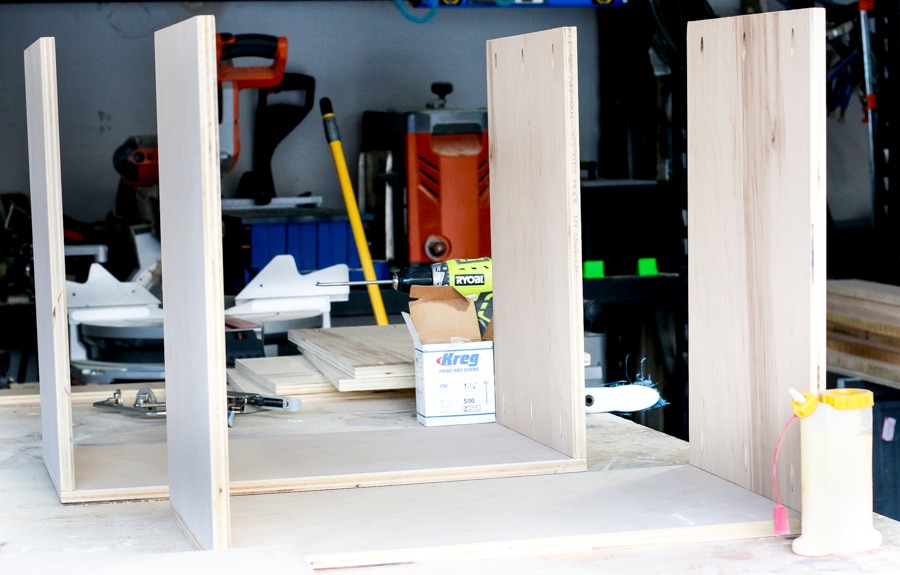
Next, I attached the sides to the base with pocket hole screws and wood glue. Use coarse-thread screws when working with plywood. I love this little glue bottle – you can squeeze the glue out upright, instead of having to shake it down to the spout.
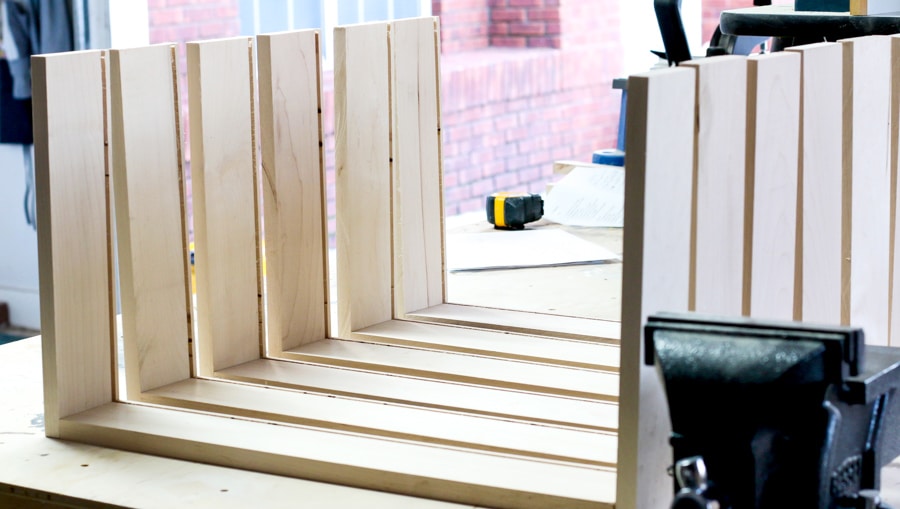
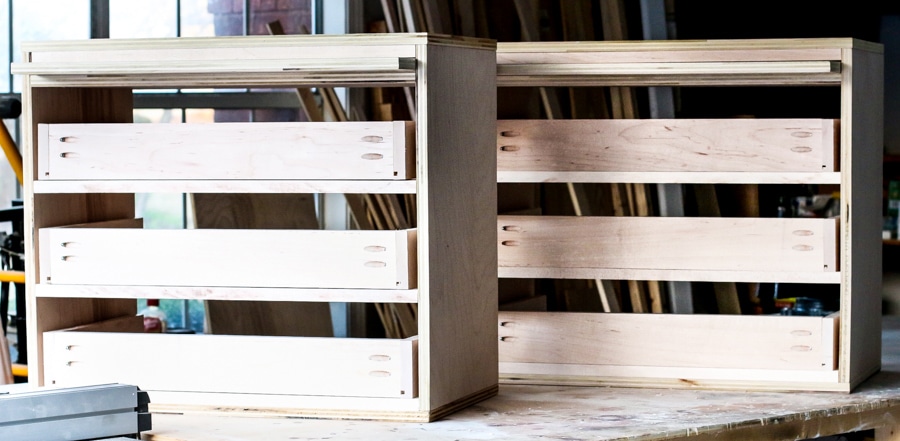
Then I constructed the drawer boxes. I used my router fitted with a 1/4-inch channel bit to route a groove in the front and sides of the drawer, then used pocket hole screws to attach the front to the sides.
Building a drawer with a floating bottom takes a little more time, but I like the more professional look of it. Alternately, you can simply staple and glue the bottom panel onto the drawer box if you don’t have a router or table saw.
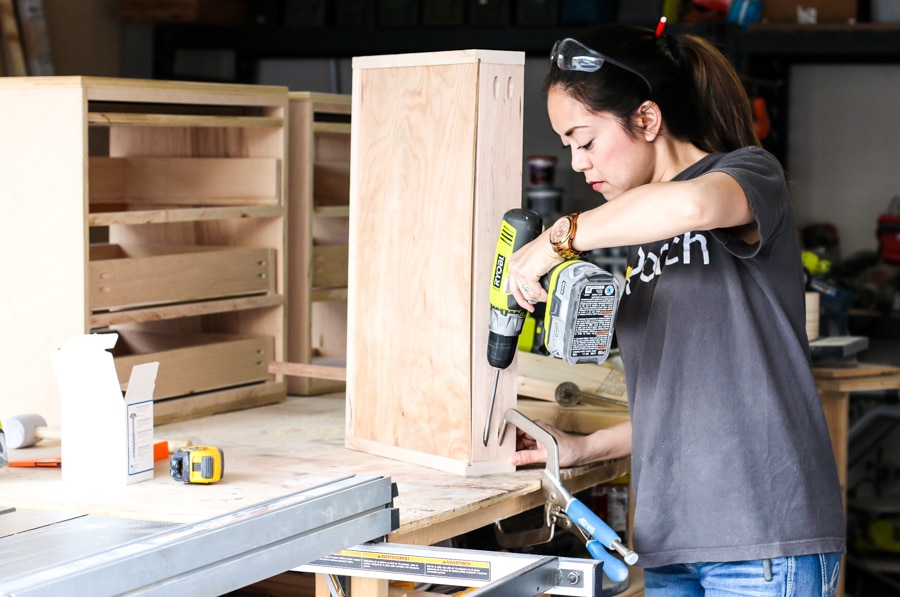
I cut the plywood bottom to size, slid it into the grooves, then attached the back of the drawer box with pocket hole screws. Take note in the building plans that the back 1×4 is ripped to 3 inches wide. This way, you can just staple and glue the bottom panel to the back 1×4.
We’re almost there! Are you still with me?
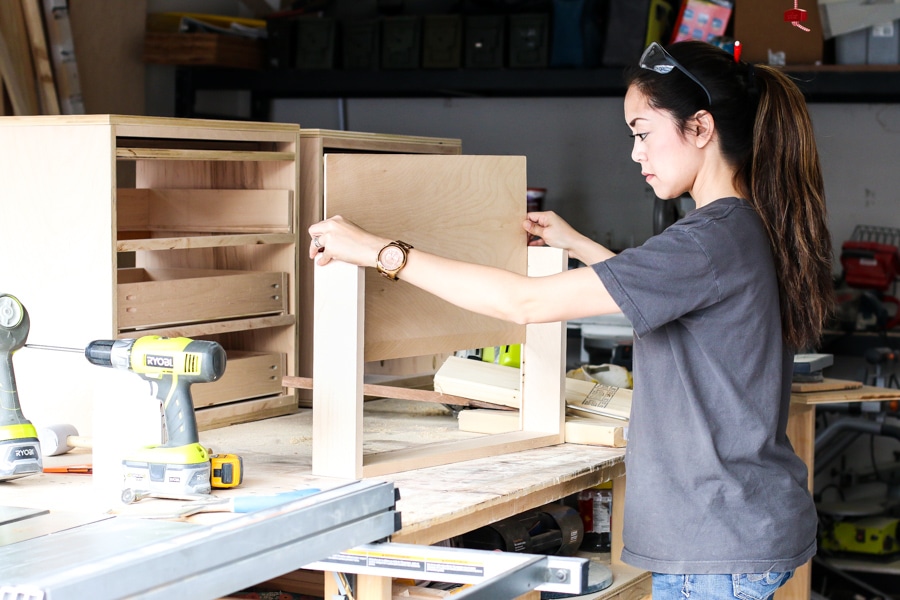
Great! Now we just have to install the drawer slides, attach the drawer faces, legs, top, decorative molding, and back panel. I used soft-close drawer slides in the top drawers and regular drawer slides for the bottom two drawers. Soft-close drawer slides are a little pricier which is why I chose to only use them for the top drawers.
Also, I want to touch on how I installed a charging station in the top drawer. I made a small cut-out in the back of the top drawer to feed the power cord through, slid the drawer in place, and marked where to cut out a small hole in the back panel. I bought these USB charging stations and tucked one in the top drawer of each nightstand so that my sister and brother-in-law would have a place to charge multiple devices out of sight.
I love this clever feature – I’ll have to build one for myself next time.
As for the writing tray, I had grand plans to build a dowel and track system in so that the tray wouldn’t slide all the way out, but I just… didn’t. Maybe next time. Alternately, you could attach a small chain to the back of the tray so that it doesn’t get pulled all the way out. But for now, my sister knows to take care when pulling the tray out so it doesn’t accidentally fall on her toes.
And there you have it: a DIY nightstand with generous storage, a pull-out writing tray, and a hidden charging station! Be sure to click here to get the building plans so you can build your own.
But wait… there’s more!
Be sure to come back and enter once a day for a chance to win $300 worth of RYOBI Power Tools! This giveaway is open to all U.S. residents and will end on August 26th. Good luck and happy building!
a Rafflecopter giveaway
*This post contains affiliate links. To read my full disclosure policy, please click here. Big thanks to RYOBI Tools for sponsoring this post. All efforts, opinions, and ideas are my own.




How much did this cost to build? I’m just wondering if I can afford it at this time. Thank you! It is beautiful!
Could you tell me the final product hieght, width and depth?
Thank you
So talented. I’ve always wanted to learn to build things. The entire thing has the right scale, dimensions, feet and the correct design. Wow.
This would easily cost you $800. Pull-outs are hard to find. Will you be my sister?
I was hoping to know the cost of building one of these nightstands excited to get the tools out and begin. I am having trouble with the pdf though.
I am gobsmacked with your talent, AND your historic furniture knowledge and aesthetics as well. If I were many years younger I would learn this skill somehow.
I’d love to have a three-drawer routed front (Gustavian influened or not) nightstand with pull-out tray.
1. What were the dimensions of the nightstand with the pull out, somehow i missed them? Height and length is important in this scenario.
2. The most important question–how much would this cost me to have someone make this?
Ordinarily, I don’t leave comments on blogs, but your article is so convincing that I can’t stop myself to say something about it. In this article, everything is very surprising you are doing a great job thanks for sharing this kind of information.
This is SUPER CUTE! I wonder if it would be possible to make this and have that little writing desk piece come out all the way (on purpose) and turn into a little “breakfast-in-bed” folding lap table…? Heighten the drawer gap, attach a wider piece for the front so it looks like a skinny drawer, collapsible legs on the table.