A few months ago, my sister asked me to build her a pair of nightstands. She wanted something similar to this but didn’t care to spend almost $800 for one nightstand. Insanity. So I sketched up a few rough drafts, she tweaked the dimensions to fit her space, and we came up with this:
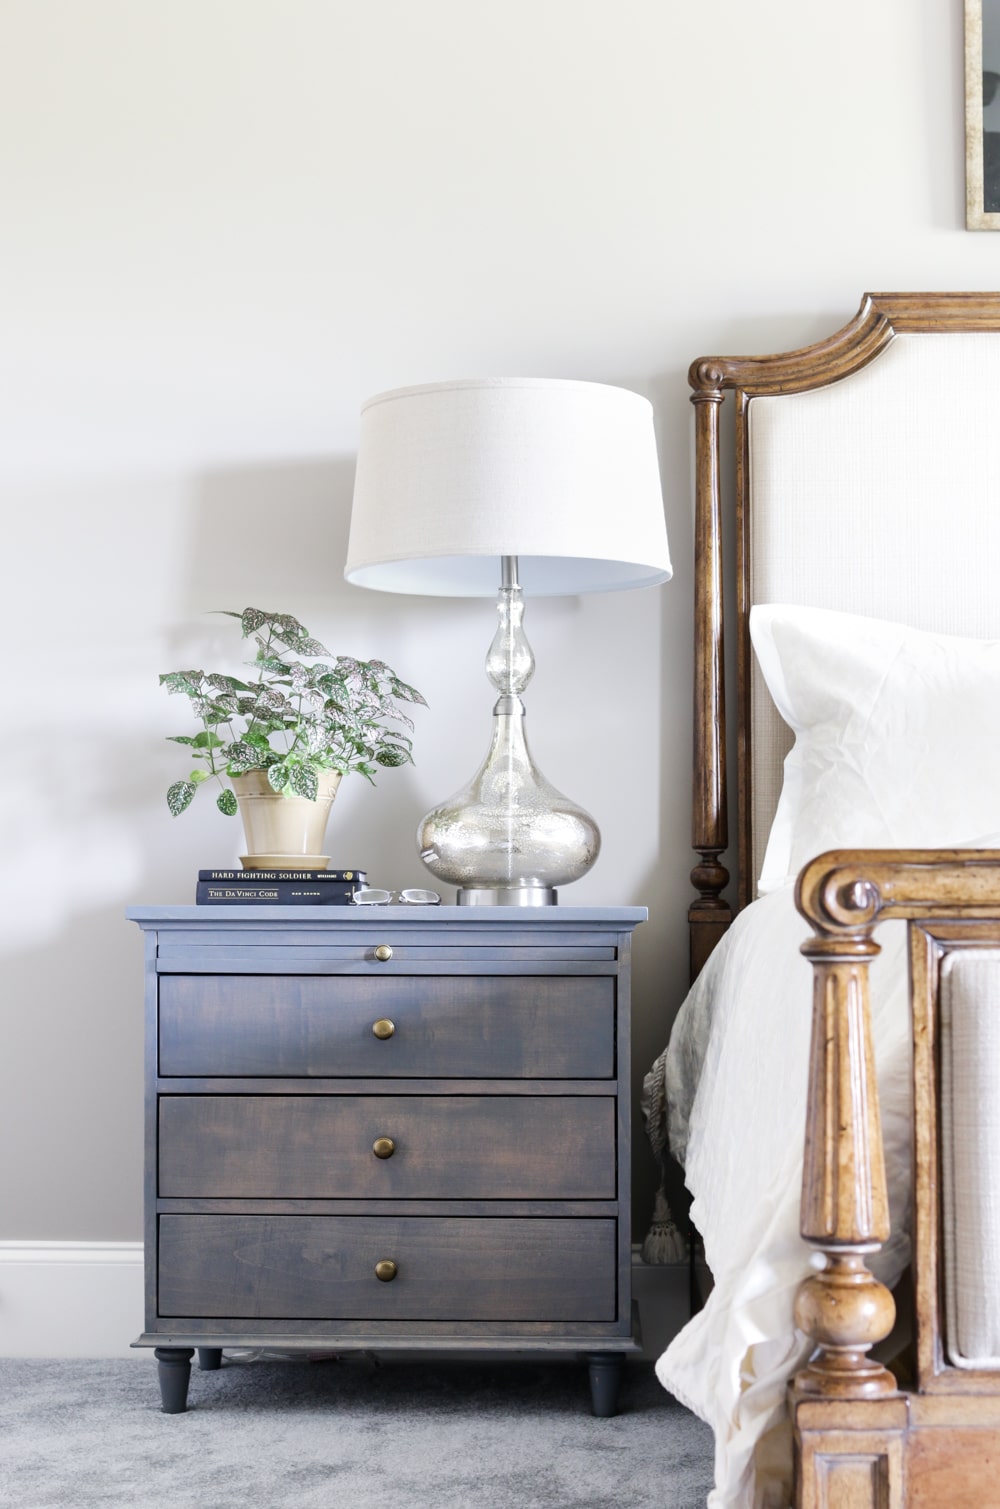
And the best parts? The cost was nowhere near $800 (x2 mind you) and she was able to customize it to her space and needs.
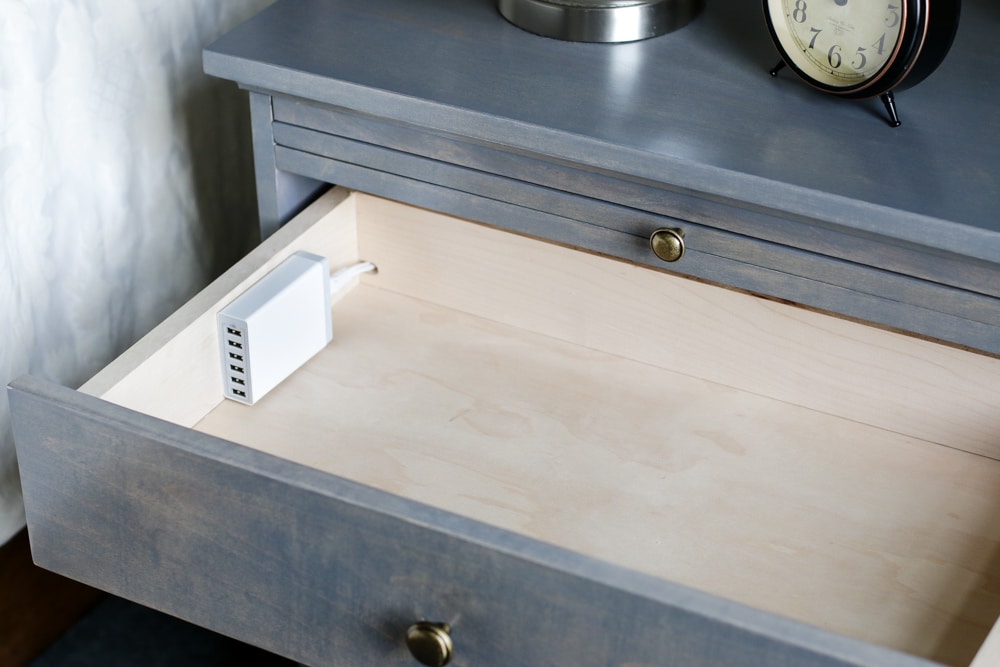
I especially love this hidden charging station feature. This is the USB charging station that I bought.
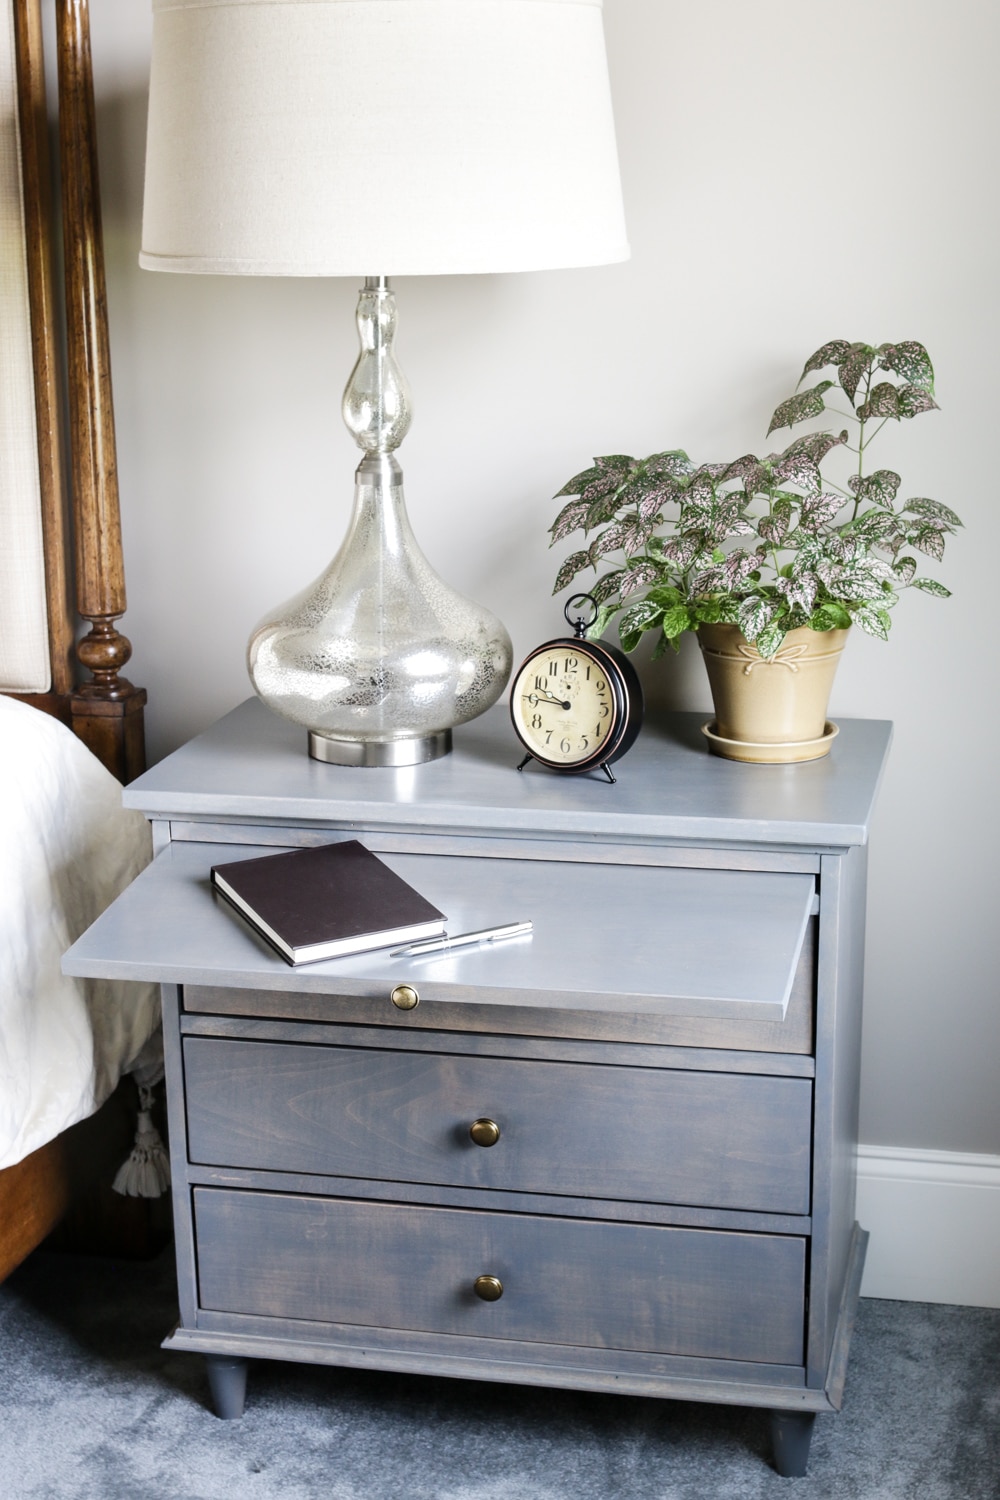
Oh, and not to mention the charming little writing tray…
Before we get started, I have to ask: who wants $300 worth of RYOBI power tools? You? Your mom? Well, good news: there’s a pretty awesome giveaway at the end of this post so be sure to enter for a chance to win. The entry form and details are below.
So are you ready to build your own DIY Nightstands with Charging Station and Writing Tray?
Alright. Let’s do this.
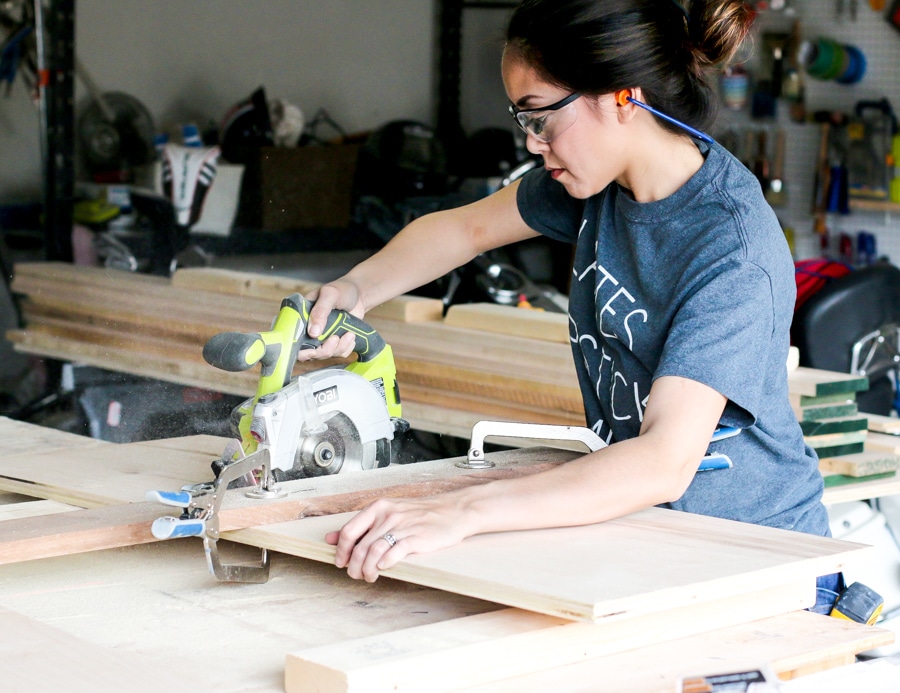
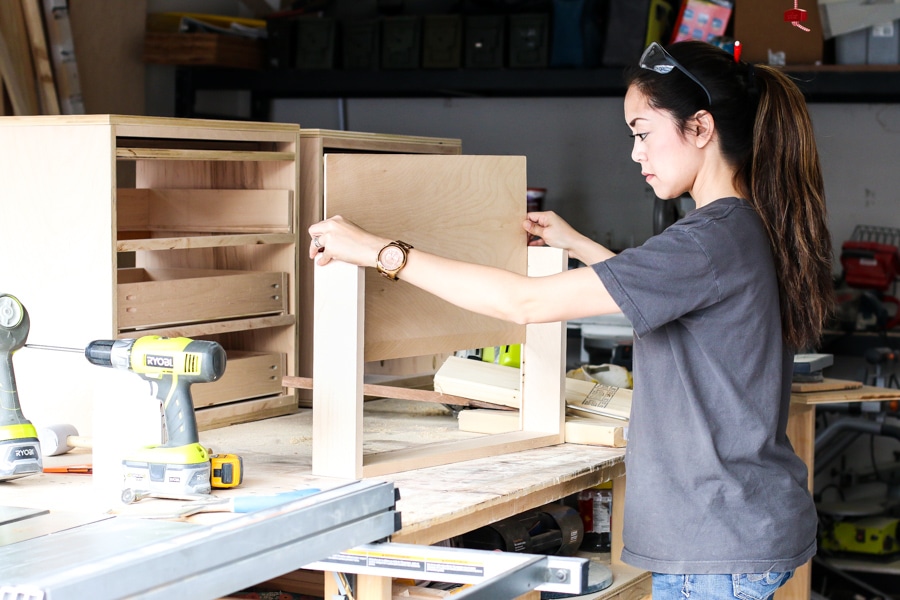
First, I used my cordless circular saw to cut the plywood pieces down to size. I love this little saw – it’s plenty powerful enough to cut through 3/4-inch material, yet small enough for my tiny lady hands to easily maneuver.
To minimize tear-out on plywood, I recommend using a plywood blade with the ‘good’ side of the plywood facing down. You can also run a strip of tape along the cut line, to help hold the fibers together as the blade passes through.
To cut a straight line, clamp a straight edge to the workpiece to serve as a fence.
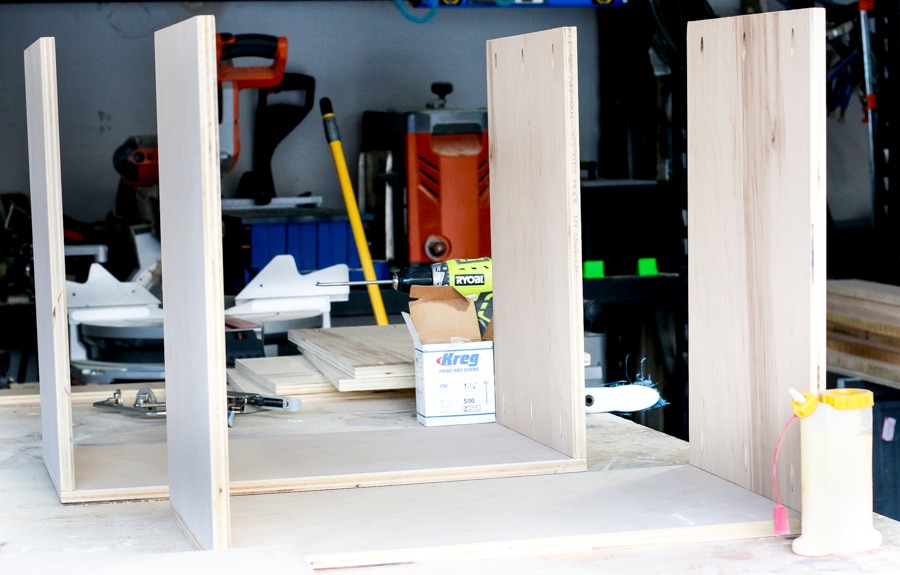
Next, I attached the sides to the base with pocket hole screws and wood glue. Use coarse-thread screws when working with plywood. I love this little glue bottle – you can squeeze the glue out upright, instead of having to shake it down to the spout.
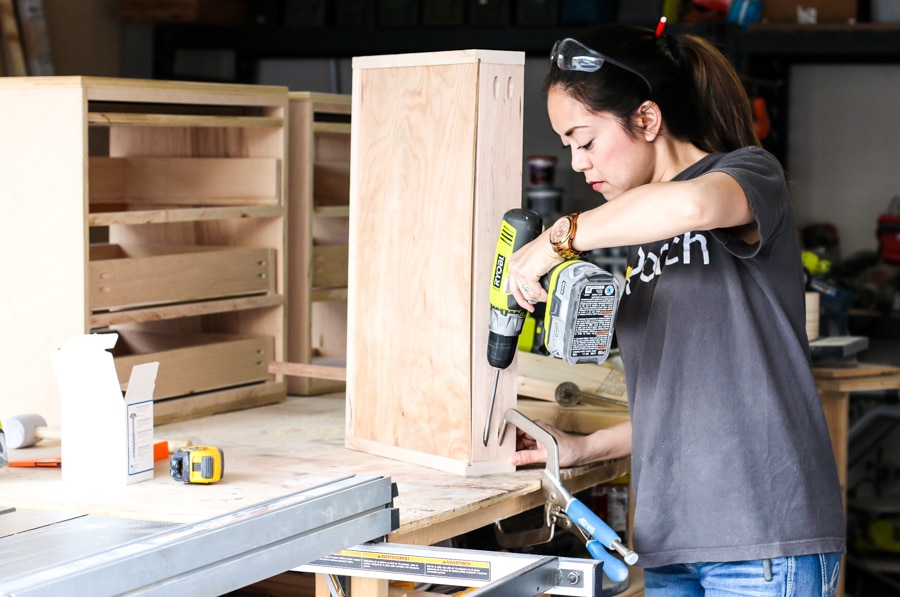
Then I constructed the drawer boxes. I used my router fitted with a 1/4-inch channel bit to route a groove in the front and sides of the drawer, then used pocket hole screws to attach the front to the sides.
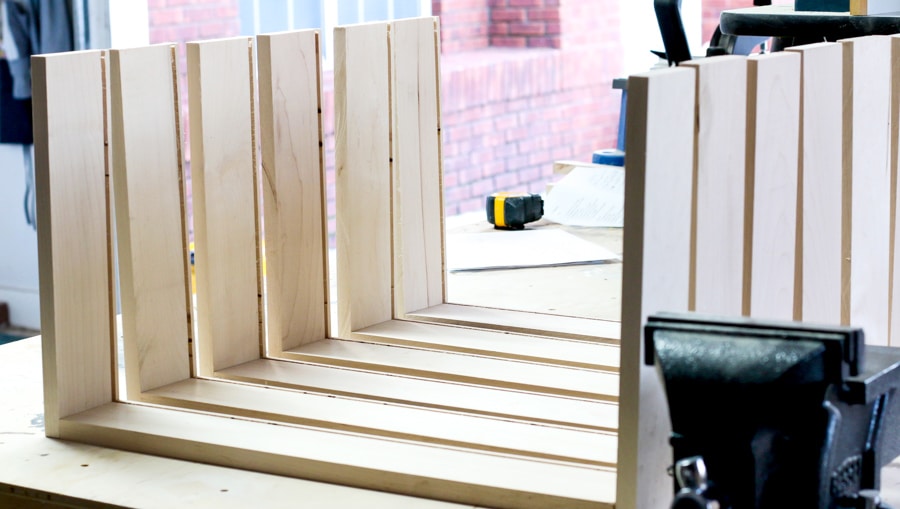
Building a drawer with a floating bottom takes a little more time, but I like the more professional look of it. Alternately, you can simply staple and glue the bottom panel onto the drawer box if you don’t have a router or table saw.
I cut the plywood bottom to size, slid it into the grooves, then attached the back of the drawer box with pocket hole screws. Take note in the building plans that the back 1×4 is ripped to 3 inches wide. This way, you can just staple and glue the bottom panel to the back 1×4.
We’re almost there! Are you still with me?
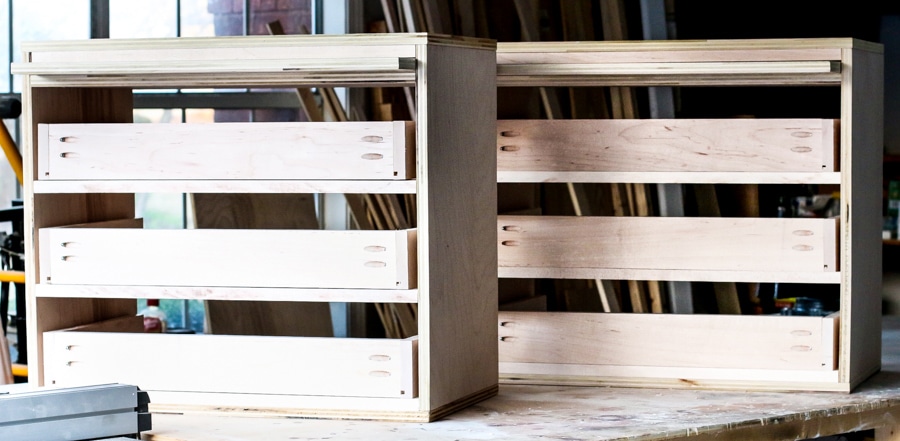
Great! Now we just have to install the drawer slides, attach the drawer faces, legs, top, decorative molding, and back panel. I used soft-close drawer slides in the top drawers and regular drawer slides for the bottom two drawers. Soft-close drawer slides are a little pricier which is why I chose to only use them for the top drawers.
Also, I want to touch on how I installed a charging station in the top drawer. I made a small cut-out in the back of the top drawer to feed the power cord through, slid the drawer in place, and marked where to cut out a small hole in the back panel. I bought these USB charging stations and tucked one in the top drawer of each nightstand so that my sister and brother-in-law would have a place to charge multiple devices out of sight.
I love this clever feature – I’ll have to build one for myself next time.

As for the writing tray, I had grand plans to build a dowel and track system in so that the tray wouldn’t slide all the way out, but I just… didn’t. Maybe next time. Alternately, you could attach a small chain to the back of the tray so that it doesn’t get pulled all the way out. But for now, my sister knows to take care when pulling the tray out so it doesn’t accidentally fall on her toes.

And there you have it: a DIY nightstand with generous storage, a pull-out writing tray, and a hidden charging station! Be sure to click here to get the building plans so you can build your own.
But wait… there’s more!
Be sure to come back and enter once a day for a chance to win $300 worth of RYOBI Power Tools! This giveaway is open to all U.S. residents and will end on August 26th. Good luck and happy building!
a Rafflecopter giveaway
*This post contains affiliate links. To read my full disclosure policy, please click here. Big thanks to RYOBI Tools for sponsoring this post. All efforts, opinions, and ideas are my own.




Can you please share how you finished the nightstands? Is it paint or stain? It’s beautiful!
Hi Jennifer,
I used Rust-Oleum’s weathered gray stain. Thank you!
I just downloaded and paid for the plans on your site but they’re free on the ryobi website. Is this intentional?
Hi Alicia,
Thank you for your support! Yes, the plans were free for the first year. I am now selling them via my website. You can still access the tutorial via RYOBI Nation, however it would appear that the plans are incomplete on their site and diagrams are cut off. I’m not really sure why this is – they may be revamping their site. Hope that helps!
What paint colors did you use to get the look?
Hi Michelle,
I used Rust-Oleum’s weathered gray stain on the nightstands.
This is such a great build. I really like the built in the USB charging station that you added. I’ll have to add something like that to the next night stands I make. Excellent choice on the Rust-Oleum weathered gray stain it looks terrific. Great post thank you for sharing.
-Fernando
These are absolutely what I’ve been looking for our master bedroom. New tools would be so nice, so that we don’t have to borrow from our parents!
I love how you linked to each piece that you used. You have made it virtually dummy proof. (I’m calling me the dummy)
I will be building two of these myself.
Awesome! Can’t wait to see your version, Bobby!
Love this inexpensive build! Especially the charging station…I think I see one of those in my future 😉
Re: the writing tray- couldn’t you just add 1 or two small stop blocks (no thicker than the support board) to them?
Great project Jen. Did a similar add-on to our night stands as well but instead of the USB charging unit, I installed a power strip inside the drawers. Works great.
I have a small woodworking business that I operate out of my garage, (cars belong OUTSIDE), and have built similar night stands.
One suggestion on drawer stops, might try installing a small piece of wood on the back, inside of the drawer that can rotate out of the way so the drawer can be removed if needed. It acts as a stop by hitting the cross member above it. Simple and effective . . .
Really enjoy your site and projects. Very nice work . . Keep it up.
Thanks so much for taking the time to comment, Dorald!
I love this nightstand! I haven’t done any serious woodworking for a while but your plan, materials, and cut lists are so straightforward that I’m inspired to pick my tools again.
I really love the extra functionality (charging station and pull-out tray) you’ve included.
Thnks!
Thank you Sophia!
I am thinking of making this nightstand and was wondering if you thought the bottom two drawers could be made as one drawer to use as a file drawer?? I would still to put two draw faces on so it looks like 3 drawers. Do you think this possible?? Thanks for your help.
Hi LB,
Yes, that sounds like a great idea! It would just be a matter of modifying dimensions to accommodate a file folder. Great idea – best of luck!
Where did you get your bed?
Hi Arellia,
The bed is from a local furniture store in Nashville.
Thanks. Do you know the name? Maybe they still have it or have one similar.
I can’t remember for sure, but I think the store was called Sprintz.
Thanks! I love it with the night stand.
“As for the writing tray, I had grand plans to build a dowel and track system in so that the tray wouldn’t slide all the way out, but I just… didn’t.”
Could you give some advice on how to do this?
I have been trying for over 2 hours to get the plans for the night table with charging station
what am I doing wrong an how do I get them
Do you sell this nightstand pre-built by any chance? I looked at the plan but am not crafty. I absolutely love this piece!
Hi Kerry,
No, I don’t typically sell my furniture pieces, but you can visit www.pineandmain.org and find a furniture maker in your area! Hope that helps!
Awesome job you did here! It looks so great, so professional, simply amazing!
I love this nightstand but when I click on the link to the building plans it says the items is no longer available. I was wondering if you had the plans still. Thank you, Christi
Hi Christi,
Thanks for the heads up! It looks like RYOBI changed the links, so I updated them to the correct links. It should be working now. Sorry about that!
I just love this idea. It’s so creative. I’m so glad I stumbled upon it in a Tailwind Tribe. Hopefully I can find a place to put these plans to use soon!
Hi , I checked the link but the photo of the material list is incomplete… can you help me with that … I really looking forward to build this to my bedroom…
thank you so much!!=)
Hi Gheila,
I’m so sorry about that! Please contact RYOBI regarding this issue, as I don’t have any control over their website. Thank you!
Hello Jen, this nightstand looks amazing! I would like to build this but the link that shows all the steps is blury and cut-off(on the Ryobi link). Is there a printable .pdf plan associated with this? Thank you for sharing this with us(the public)!
Oh, no! I’m so sorry, Daniel! I emailed you a PDF file of the plans. Hope that helps!
Would you be able to send me the pdf too? I LOVE this design!
Do you know where this bed is from? Love it!!