Hello House of Wood readers! It’s Kristi here from Chatfield Court and I’m so excited to share my last DIY project of the year with you all! I’ve slowly been working on a guest bedroom makeover and one of the last things I needed to do was to make a nightstand that I could put next to the bed. Like the rest of our house, this bedroom is tiny and has an awkward layout, so I couldn’t just stick a regular sized nightstand in there. We only have a sliver of space to use so I needed to get creative. Read on to see how I made this DIY nightstand from an old stool!
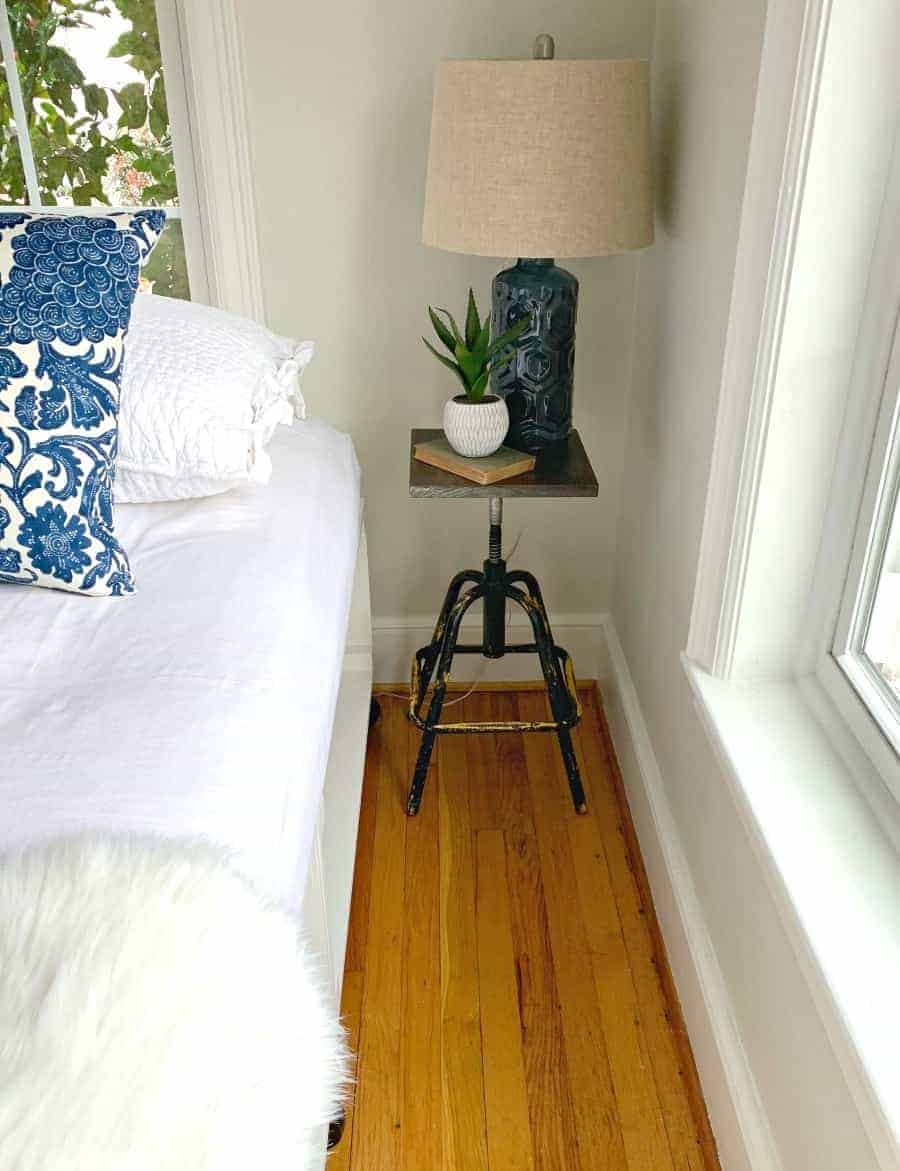
My first thought was to use an old crate. I knew that I could do better so, when I found a cool old metal stool at a thrift store, that’s adjustable, I decided to make a few modifications to it to make it more useful.
Supplies to make a DIY nightstand from a stool:
- old stool
- pliers
- scrap piece of wood
- old paint colors (I used 5)
- wood stain
- paint brush
- tack cloth
- rubber gloves
Tools:
- chop saw
- drill
- palm sander
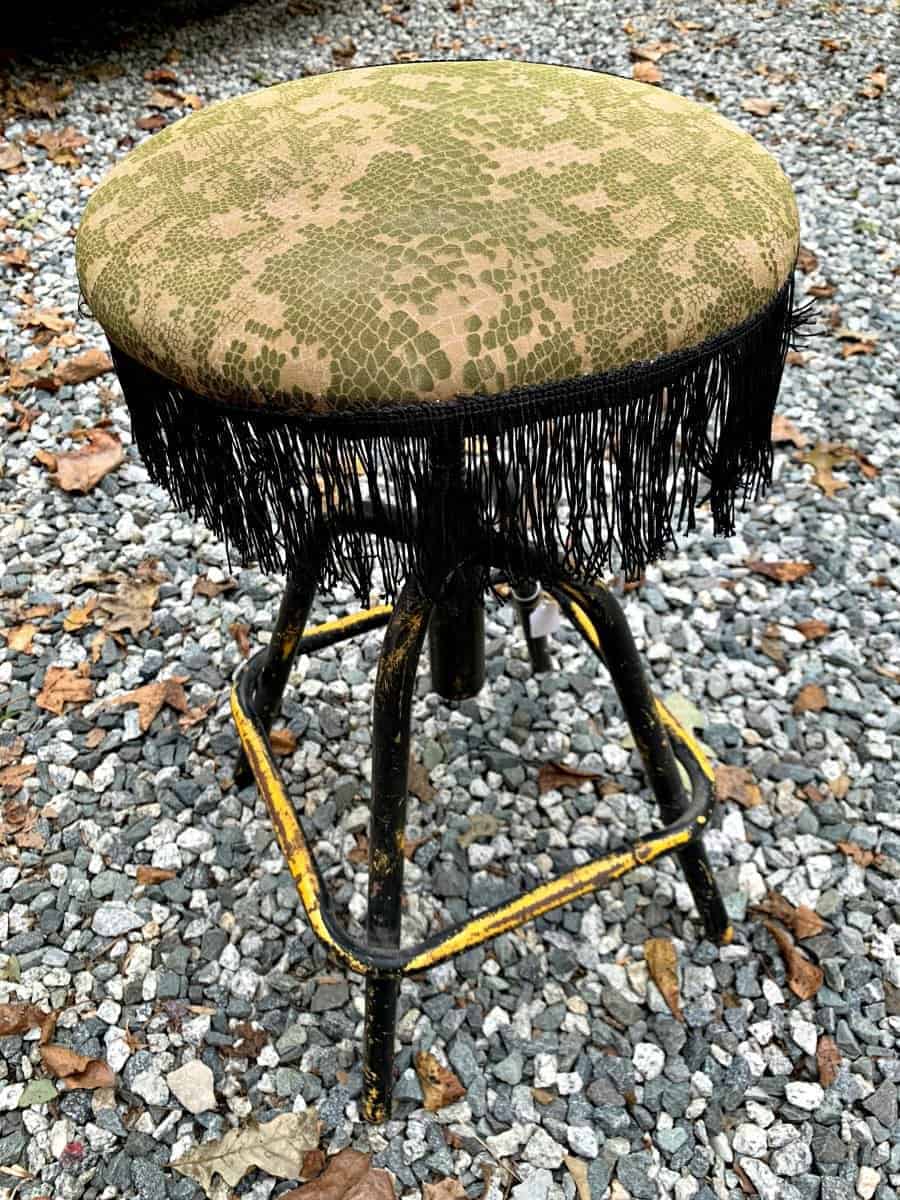
I loved the patina of the metal legs but the dirty fabric and funky fringe had to go. My plan was to give the legs a good cleaning and remove the fabric and fringe in the hopes that the wood underneath was usable.
I removed the screws for the seat and started to pull out the old, rusty staples that held the fabric on. Once I got far enough to see the wood seat, it was obvious that I couldn’t reuse it. It turned out to be a thin piece of particle board. So, instead of working to get the fabric off, I just abandoned the seat.
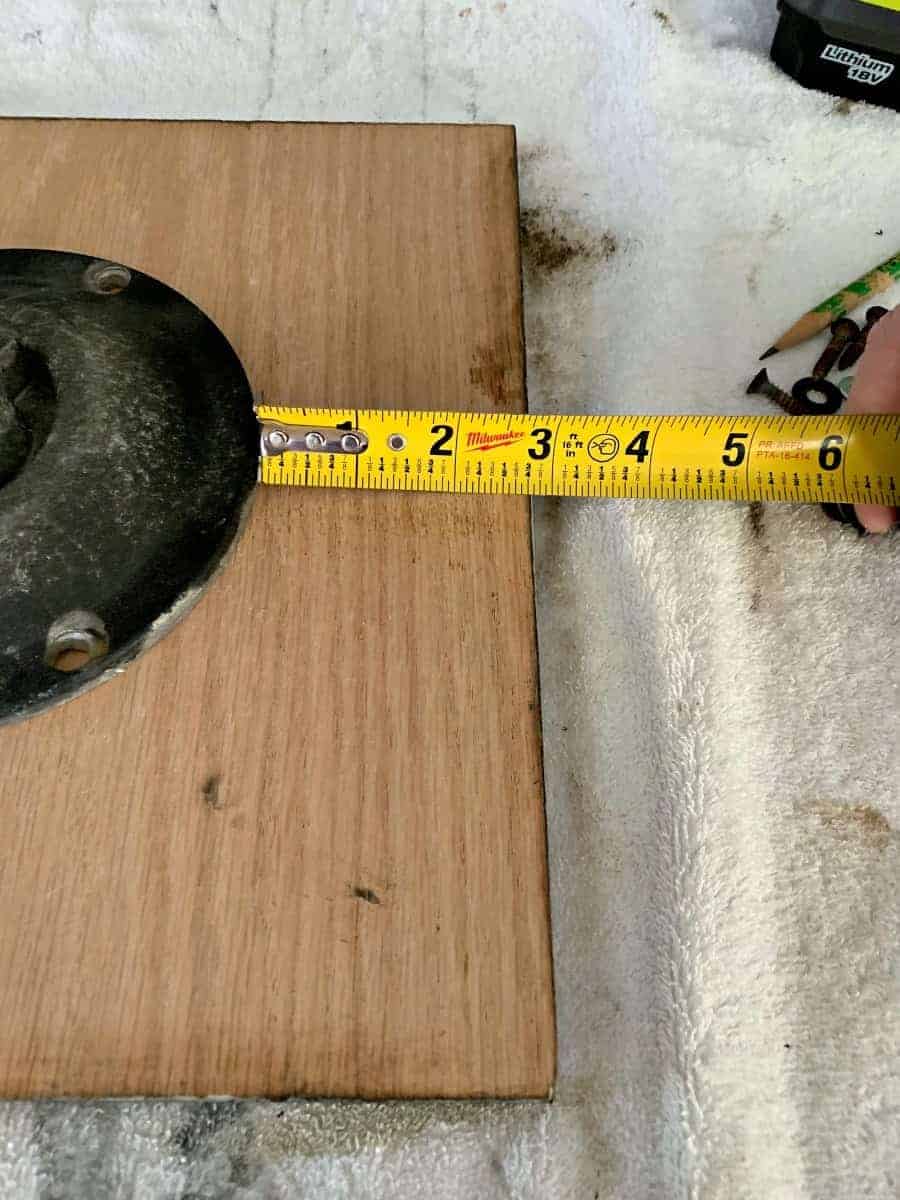
Because I couldn’t use the seat like I had hoped, I had to formulate a new plan. I rummaged around the basement looking for a suitable top and found a piece of oak in the scrap wood. It wasn’t round like I had planned, but I thought I could make it work. I made a few measurements and trimmed it up on my chop saw.
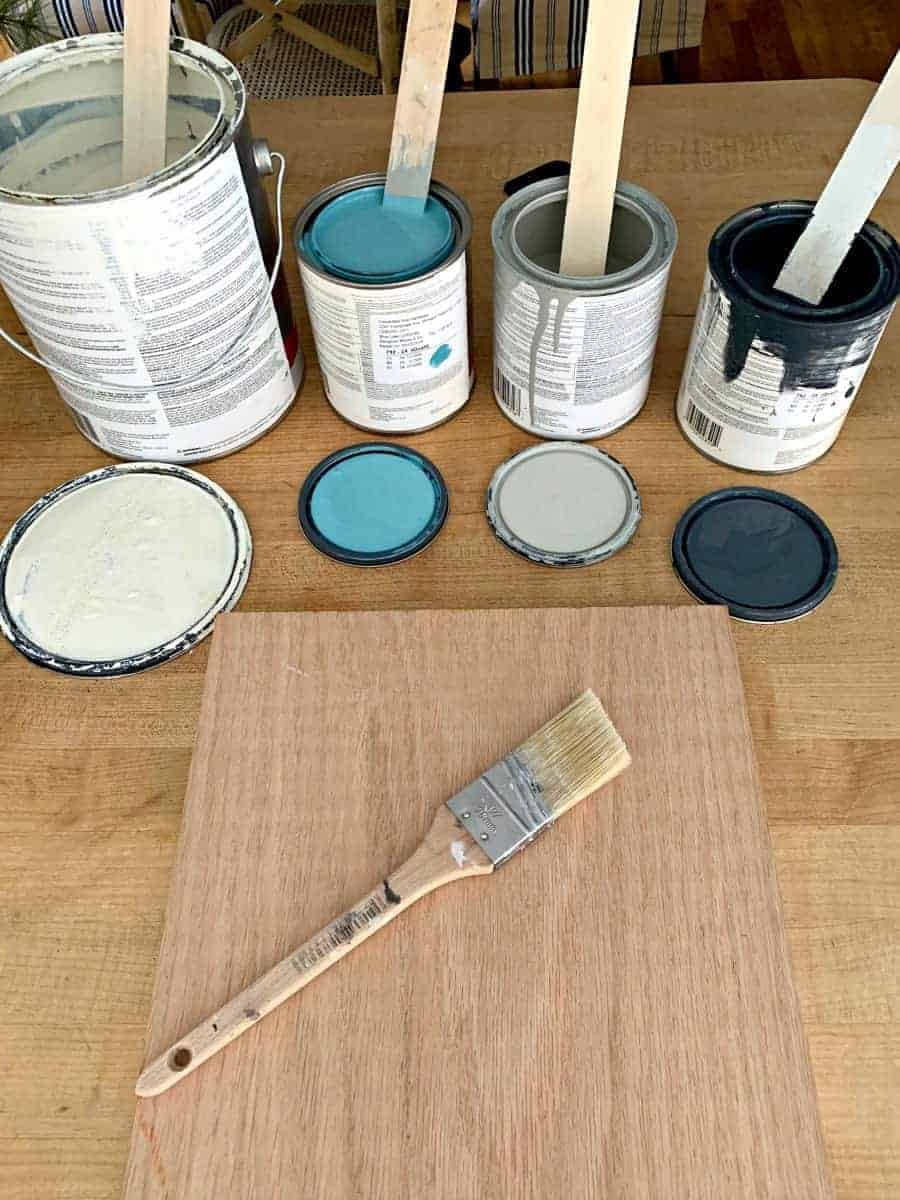
Once I had the wood to the size I needed, I went to work on the finish. The idea was to use some paint to make it look old and then I would stain it. After doing a bit of research I came across an easy tutorial by Bethany Sy, Reality Daydreams, and decided to give it a try. I pulled some of my favorite old paints from the paint cabinet to begin. I knew I wanted to use colors from the room, so I found the navy blue that I used on the dresser and the gray from the walls. White and turquoise paint , as well as black and yellow, were also added to the mix.
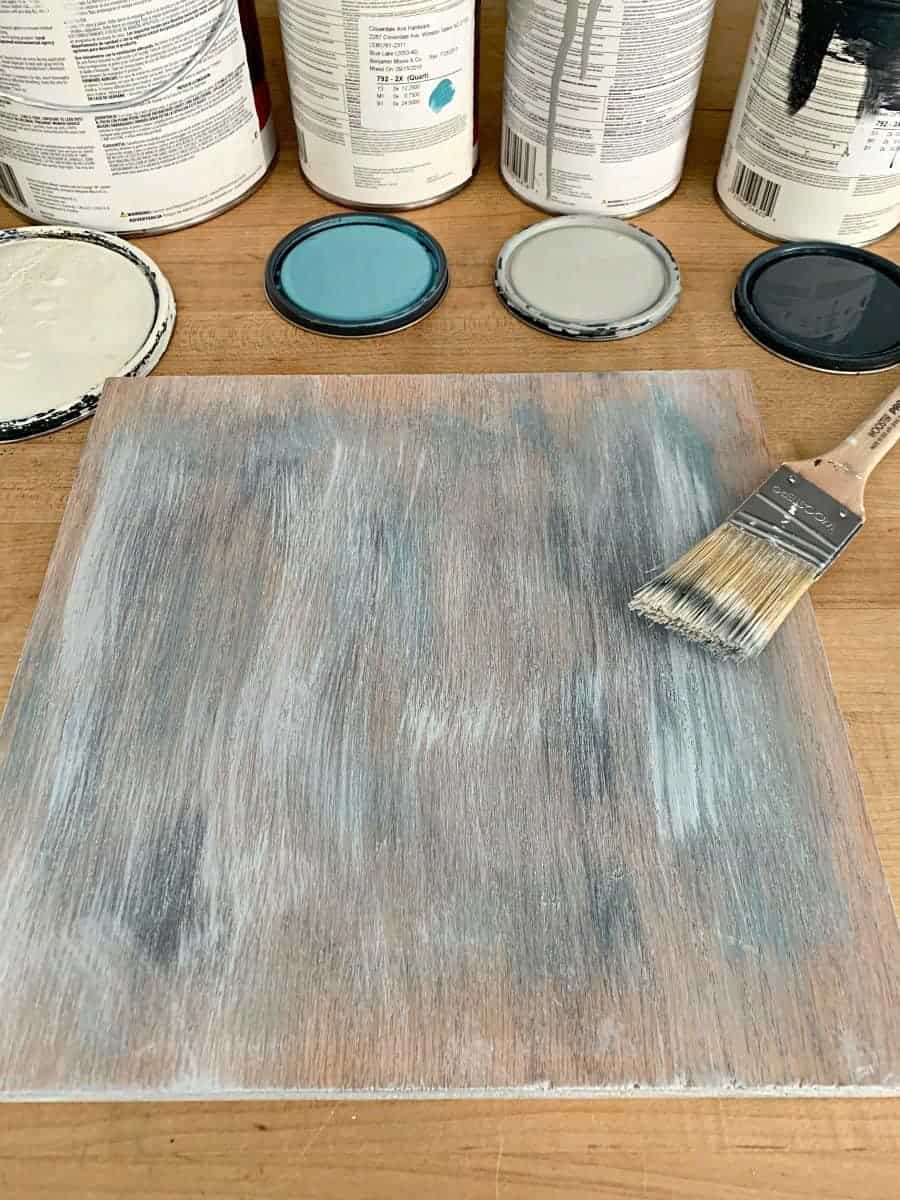
To begin, I took a small amount of one of my paints, the navy blue, and lightly dry brushed it randomly on the wood. I did that with each color, only adding a small amount and putting it in random spots. I stepped back several times to check my work and add where I thought I needed more.
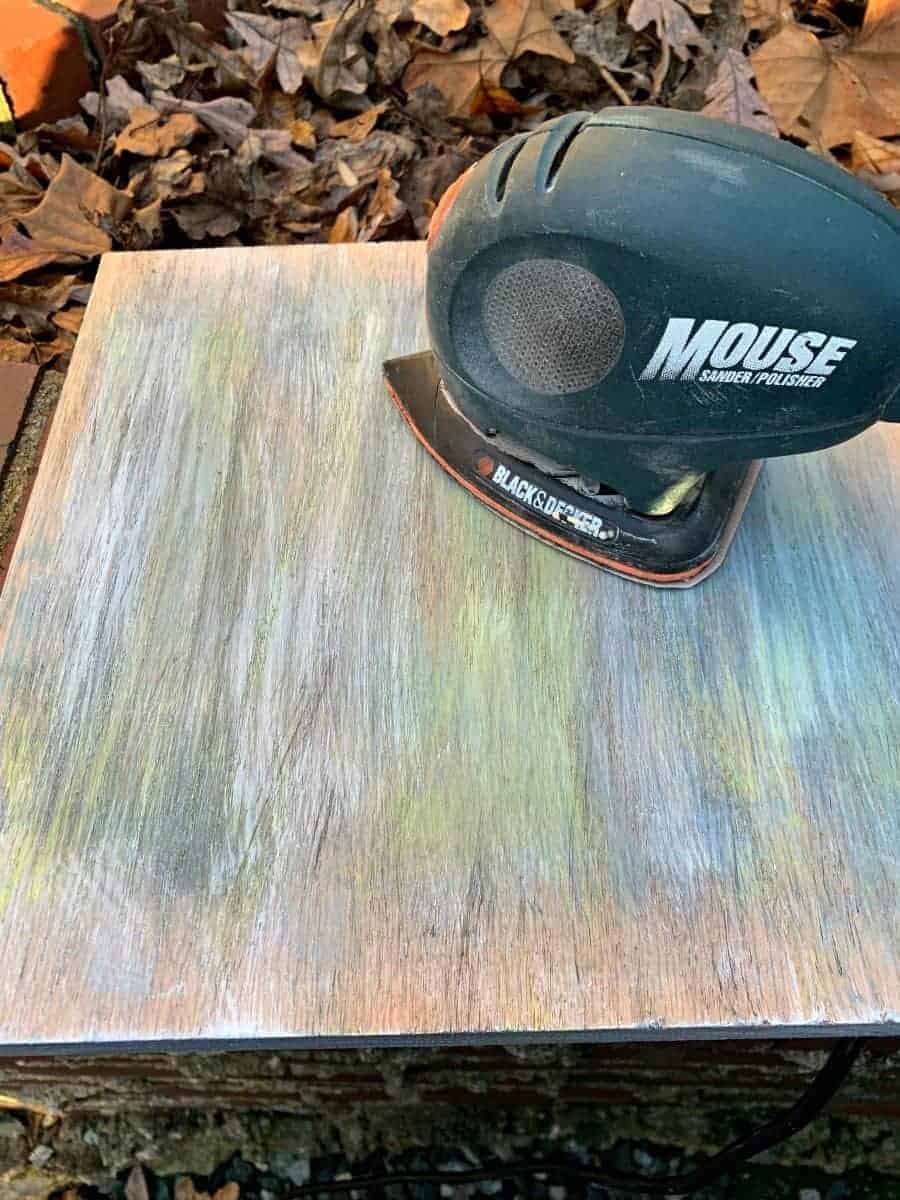
When I was satisfied with the look, I let the paint dry. Once the paint was dry, I took the wood outside so I could sand it down using my palm sander.
You can sand as little or as much as you want. I was only looking for a hint of color so I ended up sanding a lot of the color away. I used a tack cloth to remove all of the dust.
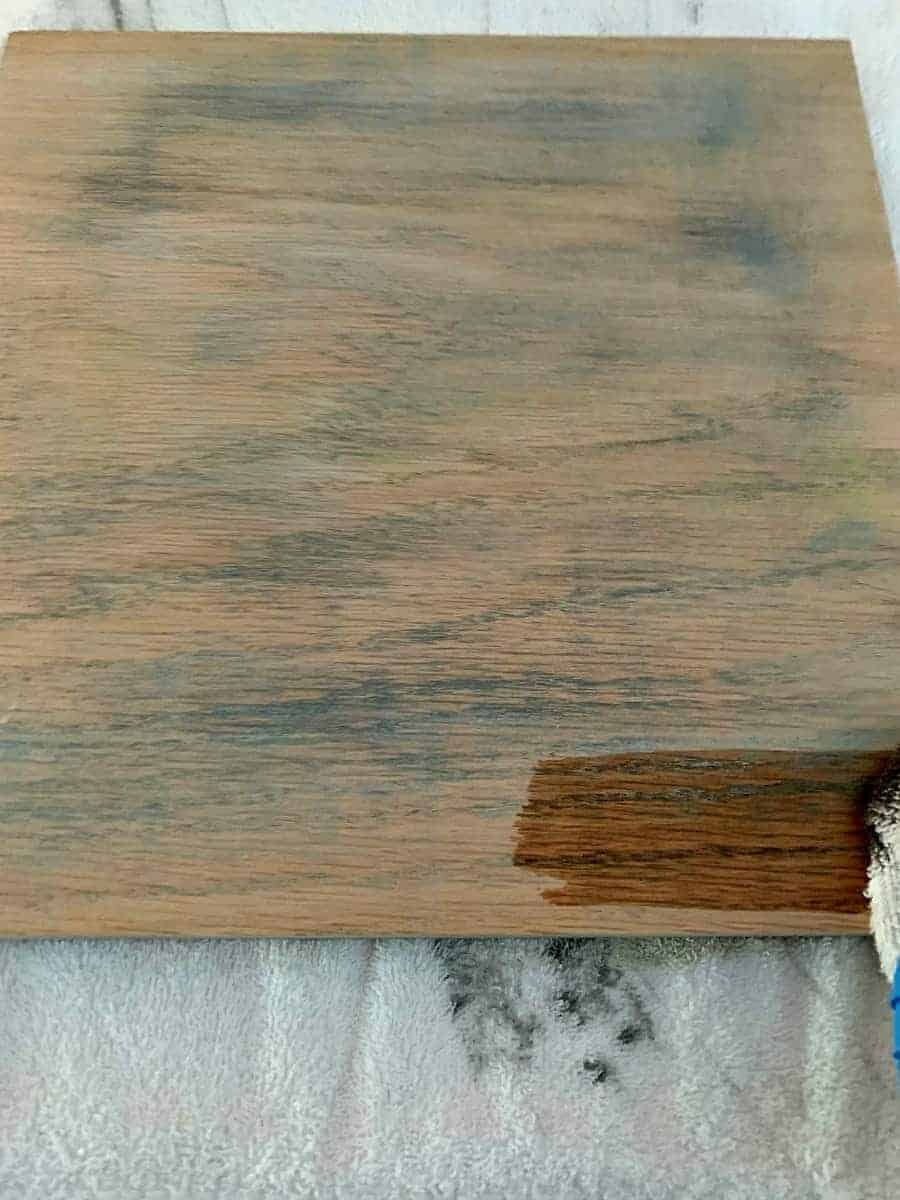
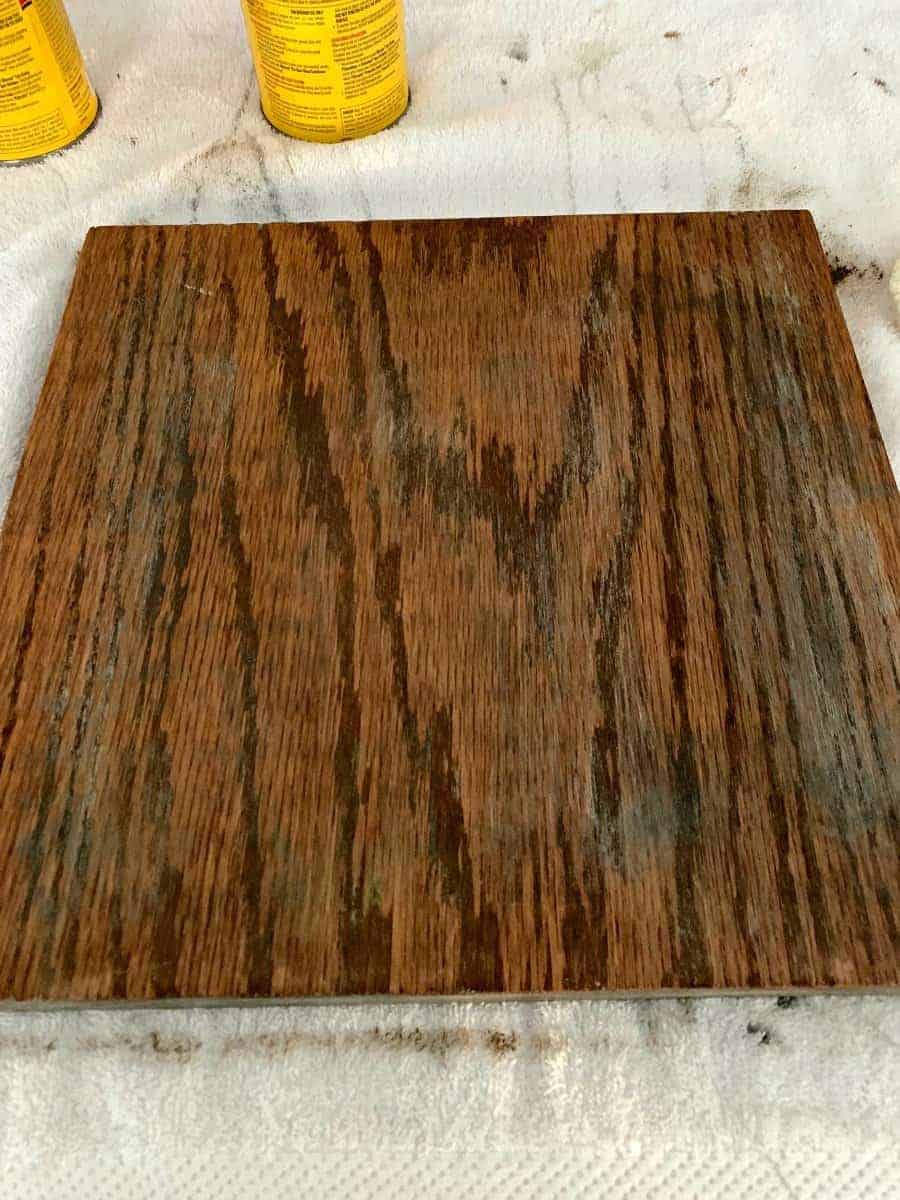
The next step was stain. I wanted a dark wood tone so I applied a dark walnut stain on the top and four sides. I just rubbed it on with a soft cloth and quickly wiped it off.
After the stain had dried, I realized that it wasn’t quite the color I was going for. I wanted the wood to have a darker tone, less golden brown.
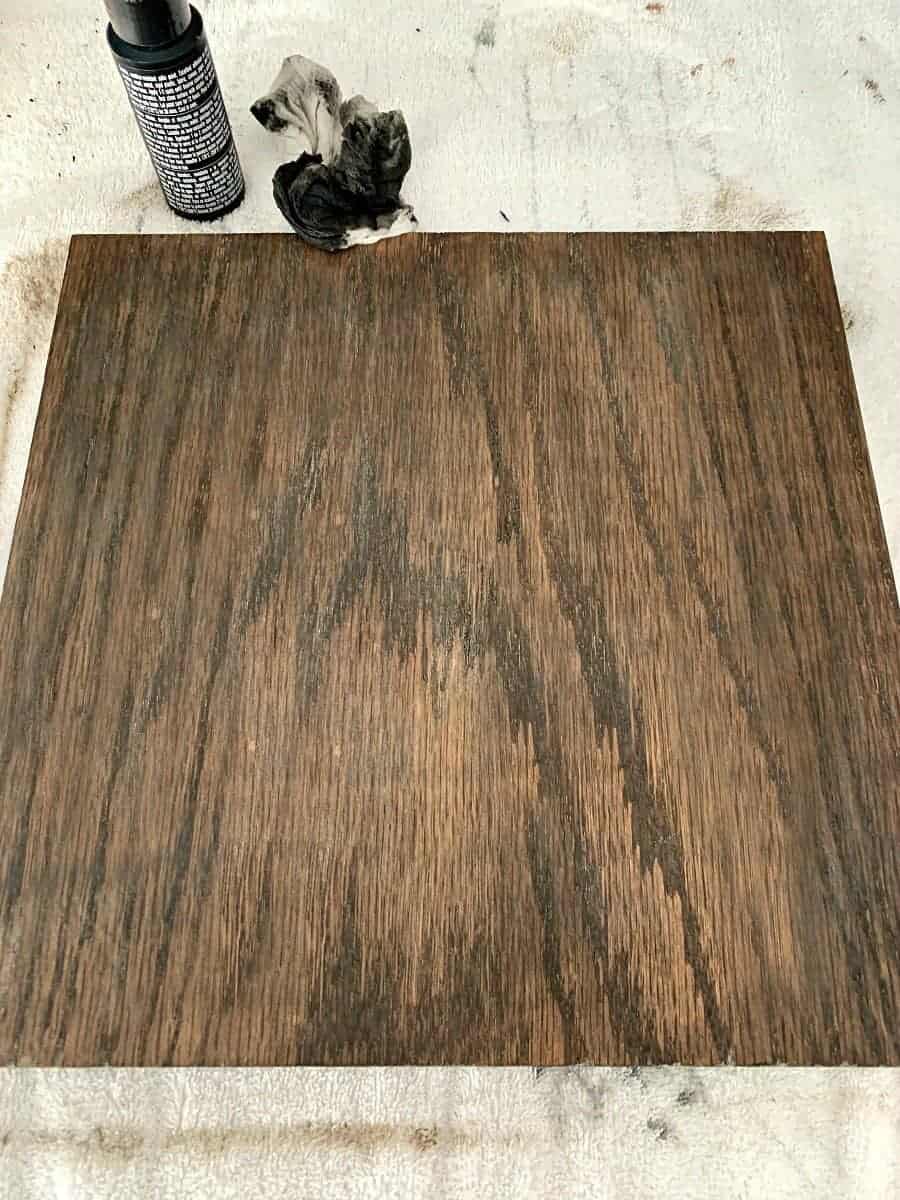
To fix the golden hue, I took some very watered down black paint and quickly wiped it on the wood over the stain. The black paint was the perfect solution. To finish off the antique look of the wood I applied two coats of a dark colored wax with a soft cloth. Not only does it look great (and adds depth to the piece) but it adds an extra layer of protection.
With the wood top complete, I attached it to the freshly scrubbed stool. First, I drilled pilot holes for my screws and then used the old screws and washers to secure the wood top.
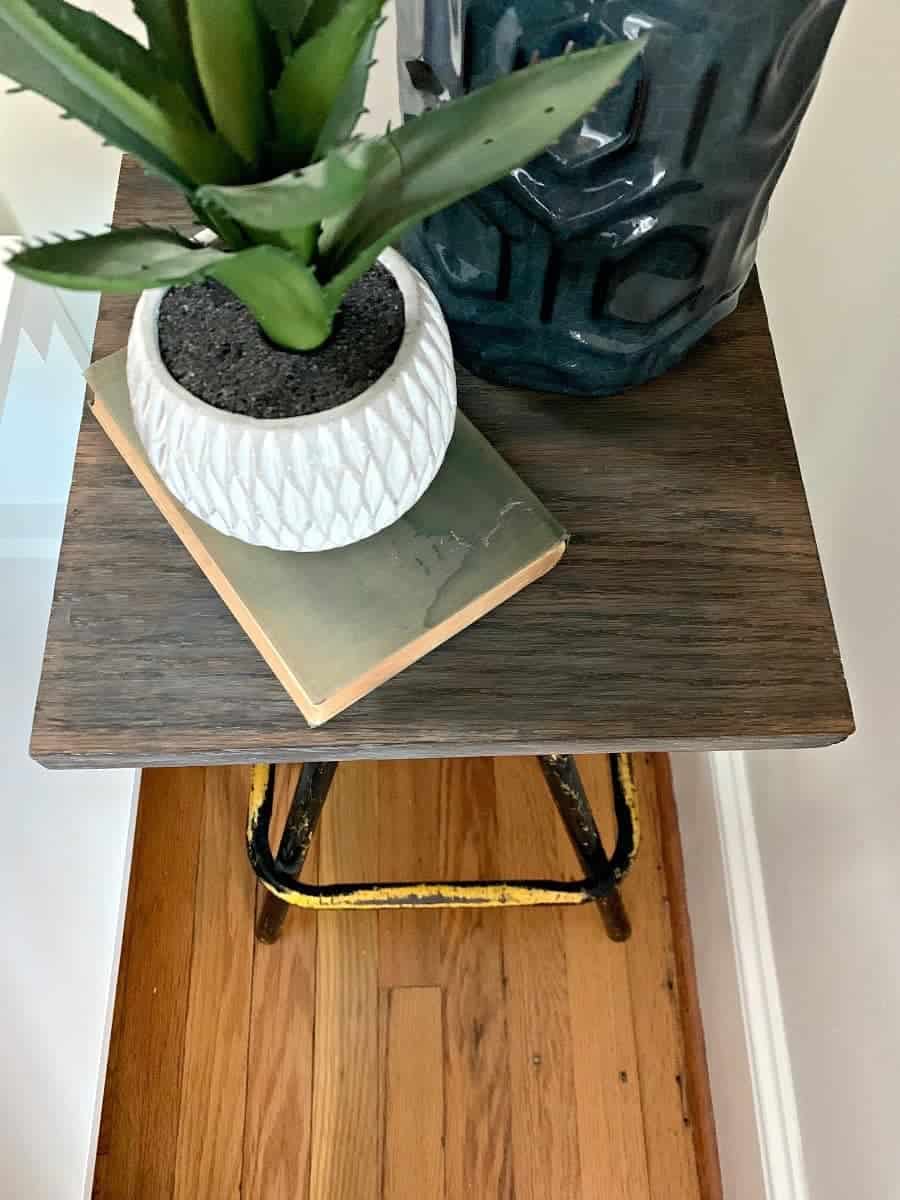
It’s the perfect size for the small corner in the guest bedroom with enough space for a lamp and a small plant. I also love that the top is adjustable, so I can put it at the right height for our DIY platform bed, and it’s very sturdy.
If you’re looking for more thrifty DIY ideas like my easy DIY curtain rods, head over to Chatfield Court. Don’t forget to stop by the comments and say hello!

Leave a Reply