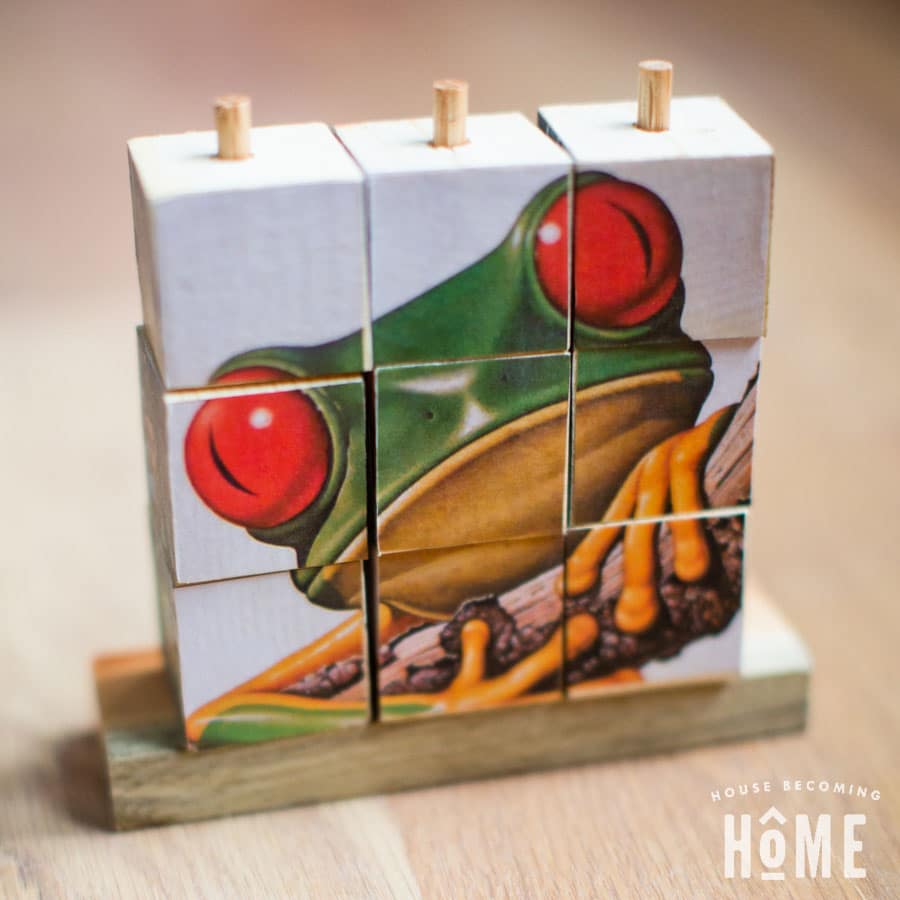
Hello, builder friends! It’s Angie from House Becoming Home, and if you’re like me, you’ve got a pile (or two or three) of wood scraps, growing bigger and bigger with each and every project you take on. Mine is getting embarrassingly large, so I decided this month to complete a project using only wood from the scrap pile, NOTHING new! I have an entire Pinterest board where I’m continually collecting ideas and inspiration for scrap wood projects, and after browsing there to get the creative juices flowing, decided to create a DIY Stacking Block Puzzle from 2×2 scraps.
My two preschool-aged kids LOVE puzzles. They really can’t seem to get enough of them. This stacking block puzzle is quick to put together, and if you use scraps like I did, it’s a practically-free-to-make gift for your puzzle-loving children. Here’s how to do it.
 How to make a DIY Stacking Block Puzzle
Materials
- A scrap piece of 2×2. If you’re making a puzzle three blocks high and three blocks wide, you’ll need about 15 inches of scraps
- (3) 5 1/2-inch pieces of ¼-inch oak dowel (you can use pine, if that’s what’s in your scrap pile, but oak is stronger and my kids are rough on their toys!)
- Wood glue
- A scrap piece of wood for the base (about 3”x5”) + paint, stain, polyurethane, or finisher of choice
- (4) Images cropped to a square, printed 4.5” x 4.5”
- Mod podge or any craft glue that dries clear
- Polyurethane spray
Tools
- Measuring tape
- Saw
- Drill & drill bits
- 1” foam brush
Instructions
1. Make nine blocks.
Cut 2×2 into nine blocks. A 2×2 is 1 1/2 inches in width, so make each block 1 1/2 inches high to ensure each block measures the same on each side. (You may want to cut a few extra blocks in case one gets ruined when drilling the center hole).
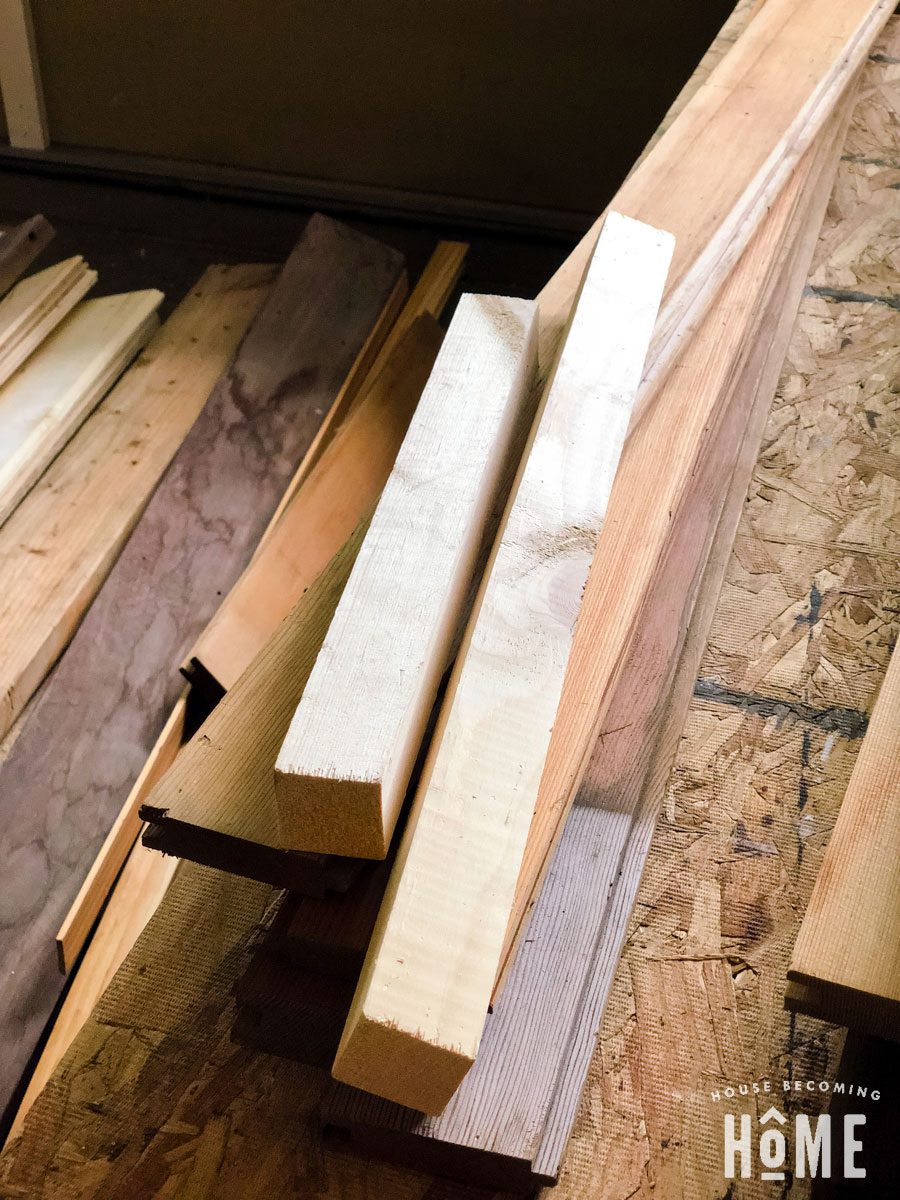
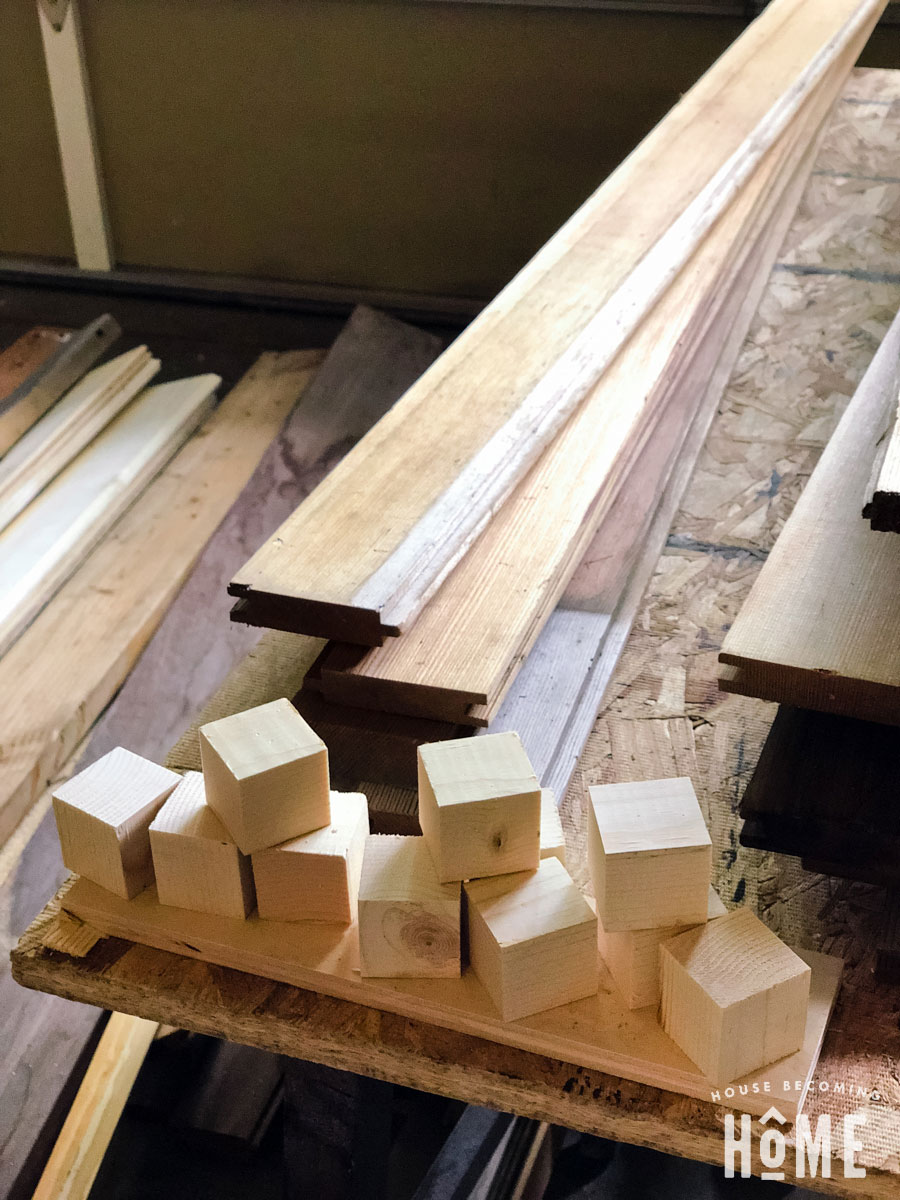
Here they are, cut into blocks, 1 1/2 inches on all sides. See all that other wood off to the side? Those were all finds from the free section of craigslist. My husband may or may not confirm that I am becoming a bit of a wood hoarder collector.
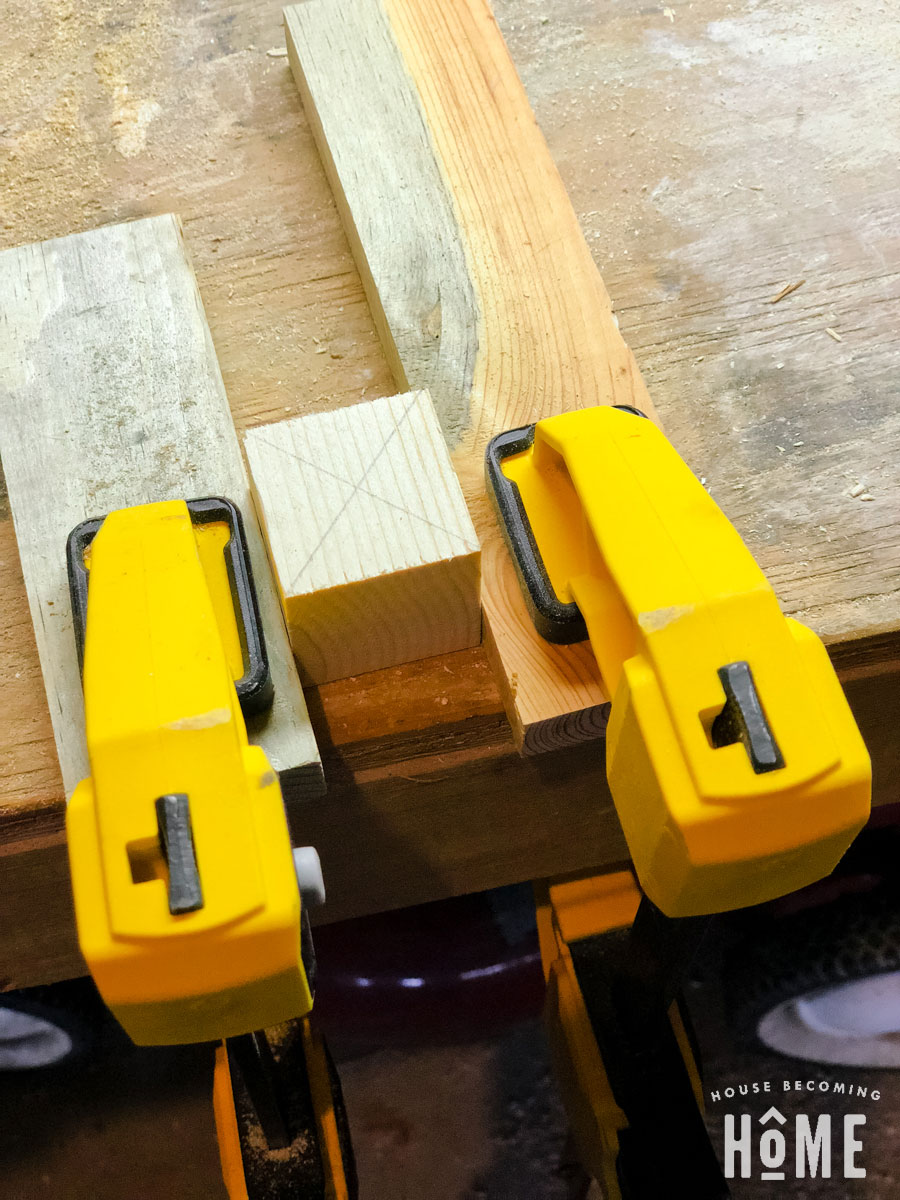
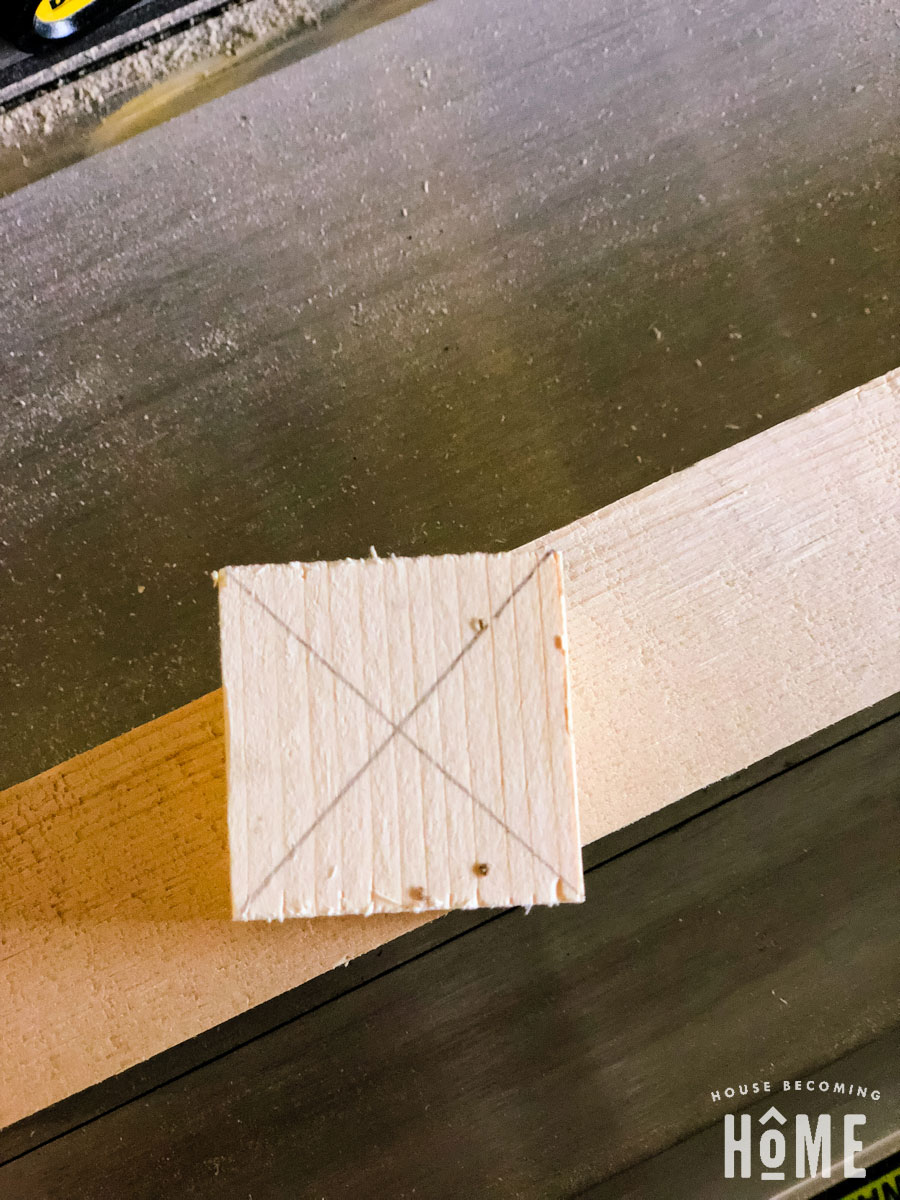 Draw an “X” on each block to mark the center. These are small enough that you could probably eyeball it, but making the X doesn’t hurt.
Clamp a few scrap pieces tightly against one of the wood blocks.
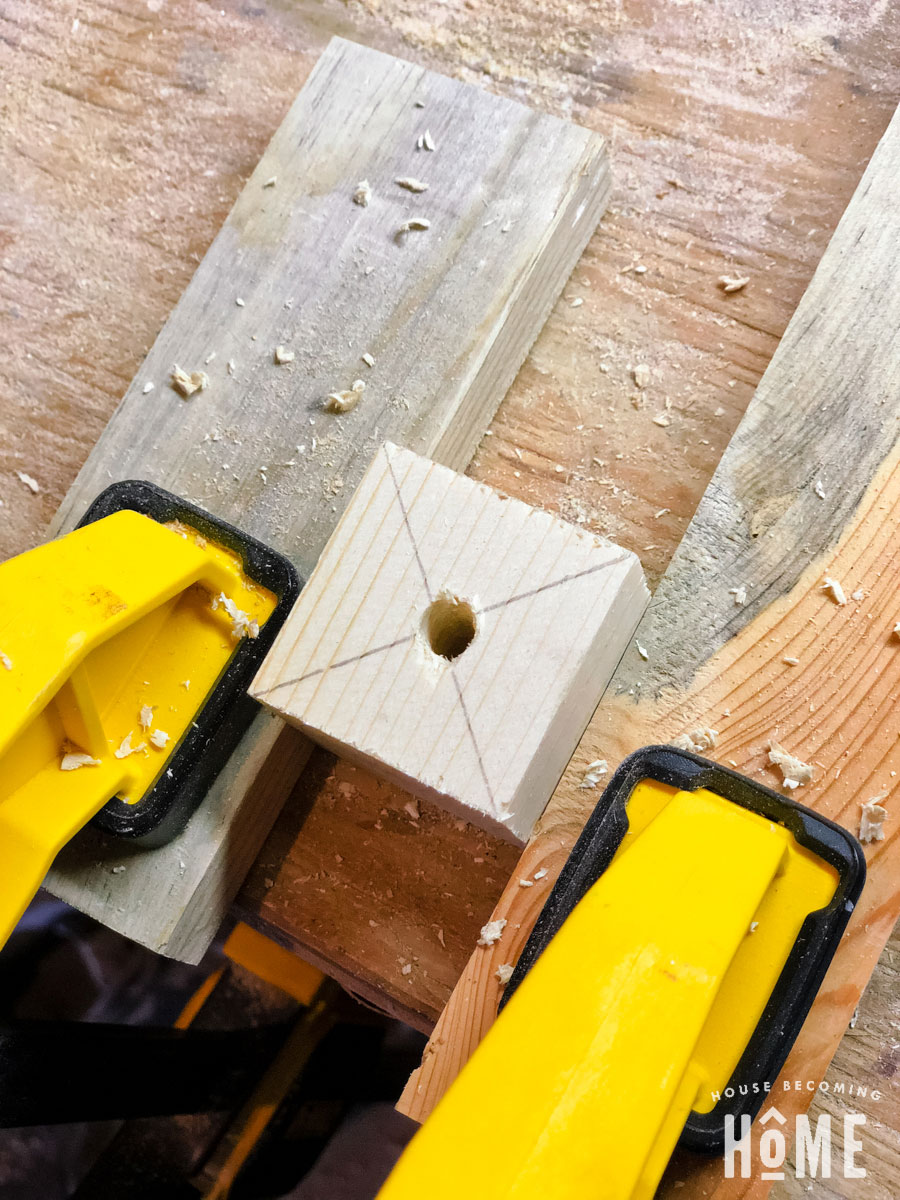
 Using a 19/64” drill bit (or a smidge larger if you don’t have that specific size in your collection), drill a hole through the block. Repeat until all nine blocks have a hole through the middle.
 Give each of the blocks a quick sanding to remove any rough spots.
2. Make the puzzle base
Dig through your scrap pile to find something that you can cut down to about 3×5” and act as the puzzle base.
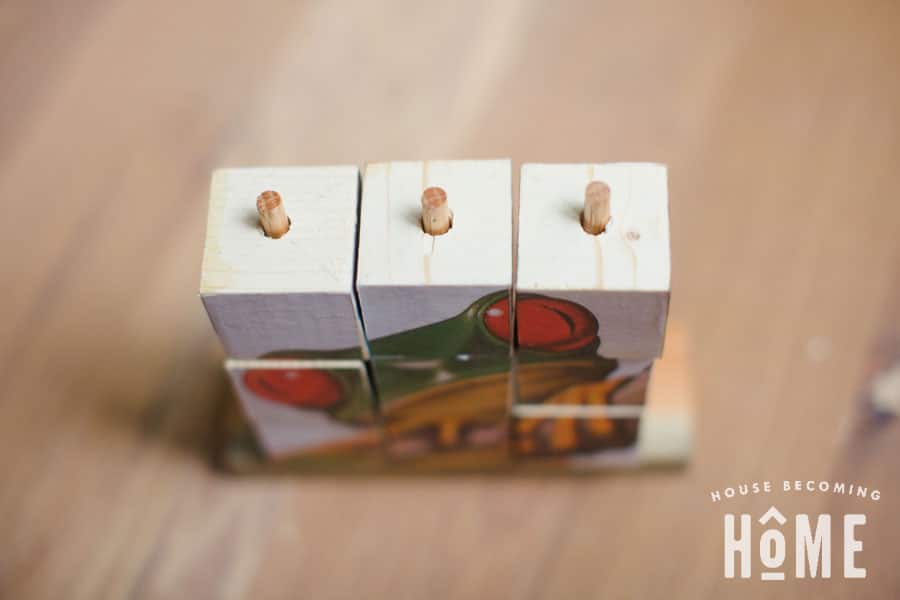
Make a mark exactly in the center of the base piece. Using a ¼-inch drill bit, make a hole about ½ inch deep.
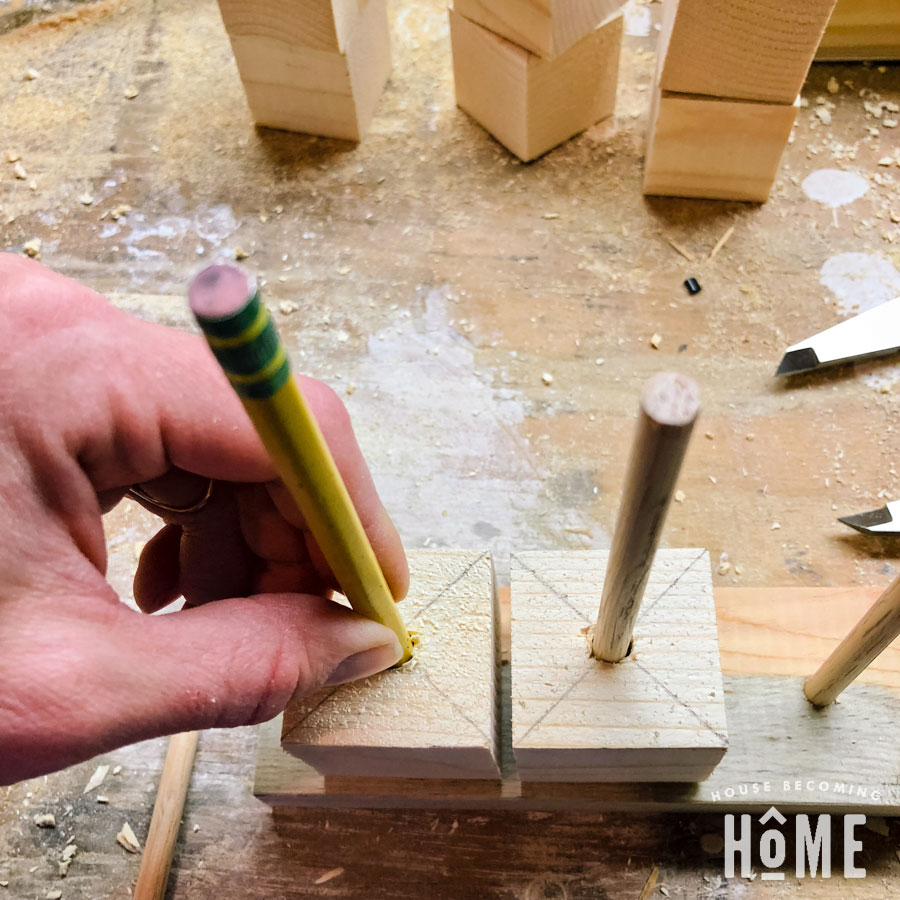
Cut a dowel to about 5 1/2 inches (more or less depending on how much you want to dowel to stick out once the blocks are in place). Twist the dowel into the center hole. Don’t glue it yet, you’re just putting this here now to gauge where the other two holes should be placed. Drop a block onto the middle dowel, then place a block next to it with about ⅛-inch gap in between. Drop a pencil in the hole down the middle to mark where the next hole will be drilled. Repeat on the other side.
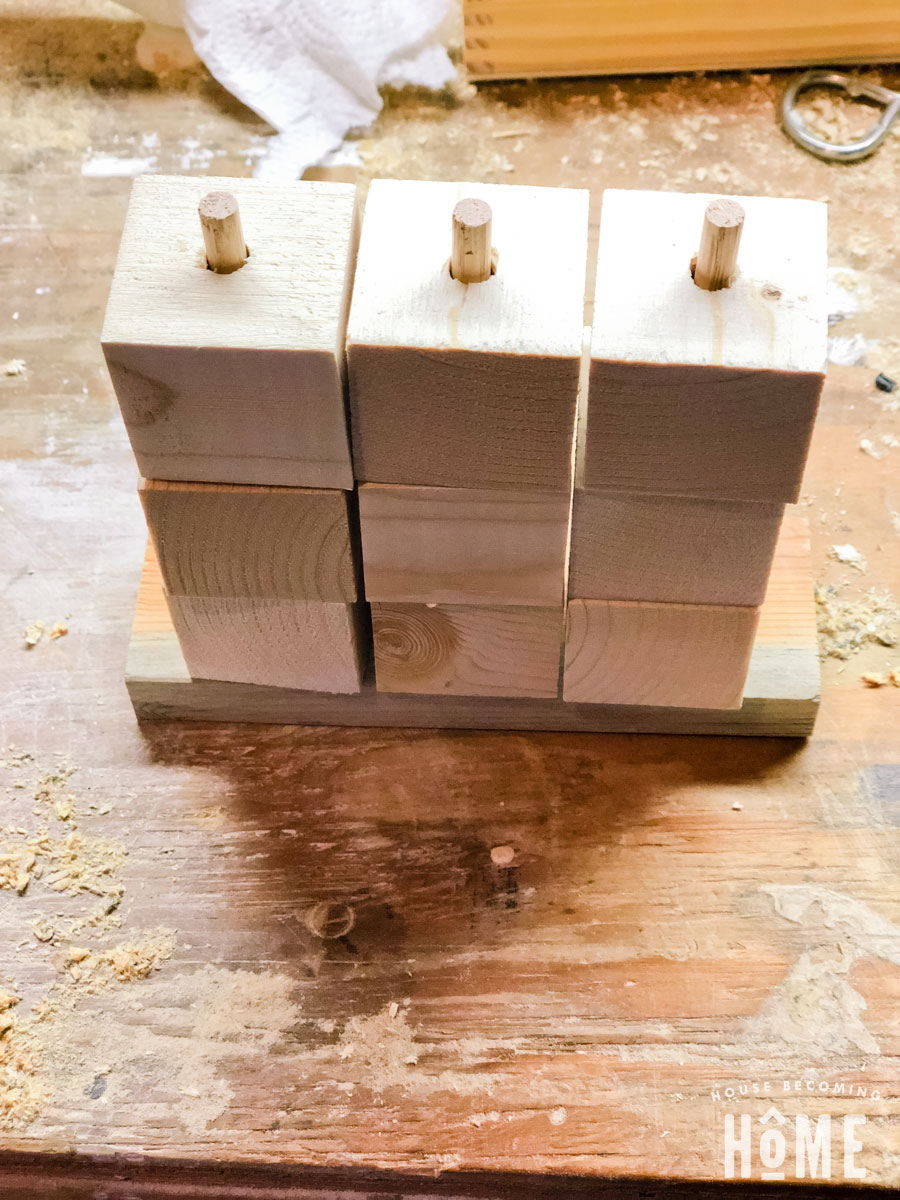 Using wood glue, secure each dowel into the base. Try your best to make sure the dowels are placed at 90 degree angles. If one is leaning in or out, even just a bit, the puzzle will look a little strange once put together.
After the glue has dried, protect the base and dowels with a finish of your choice–I used wax.
3. Make the blocks into puzzle pieces
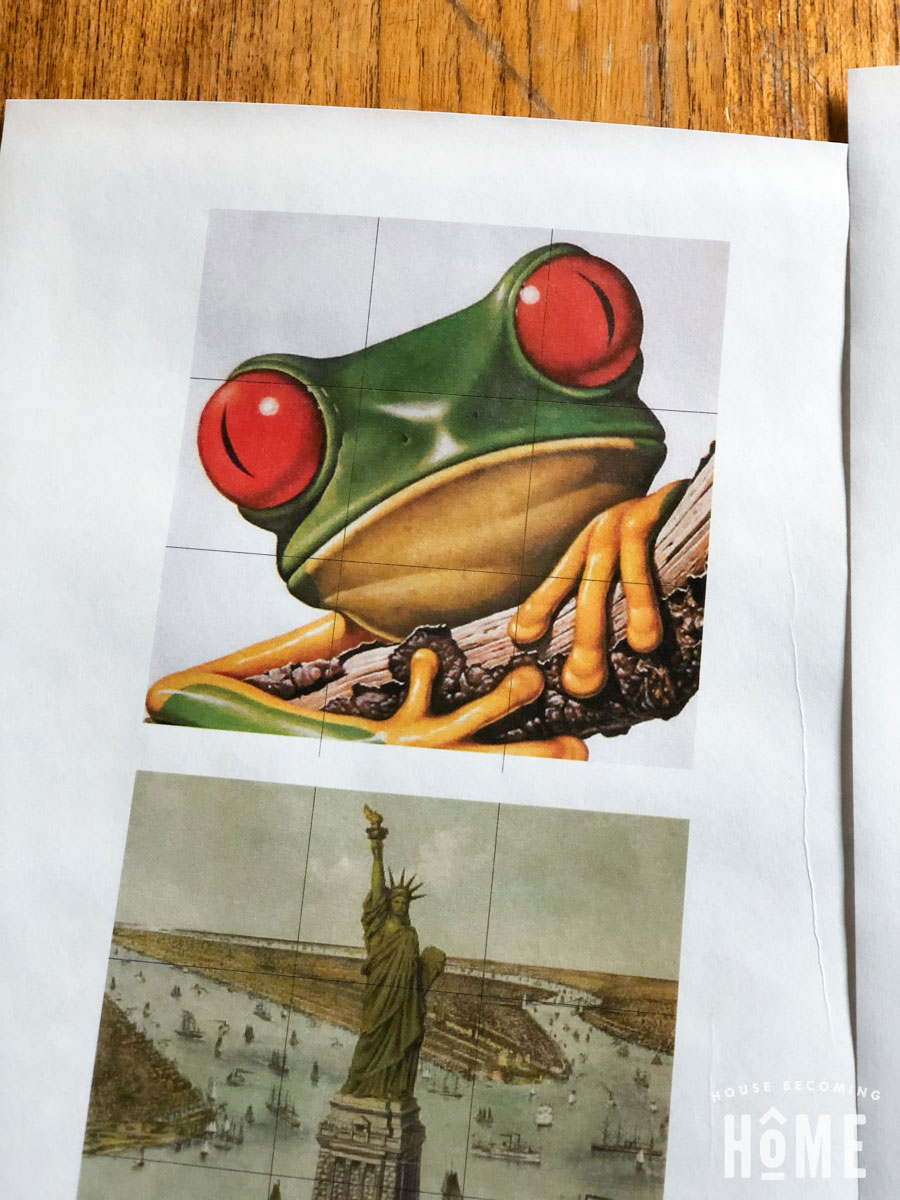
Browse the web for images in the public domain (not restricted by copyright). I found a random collection of images I thought my daughter might enjoy from this site.
Using photoshop or another image editing software, crop the images to 4.5 x 4.5,” then print onto standard office paper.
I drew the lines onto my images in Adobe Illustrator before I printed them off, but you can also do this using a pencil and ruler. You’re dividing the image into nine squares, to fit perfectly on each block.
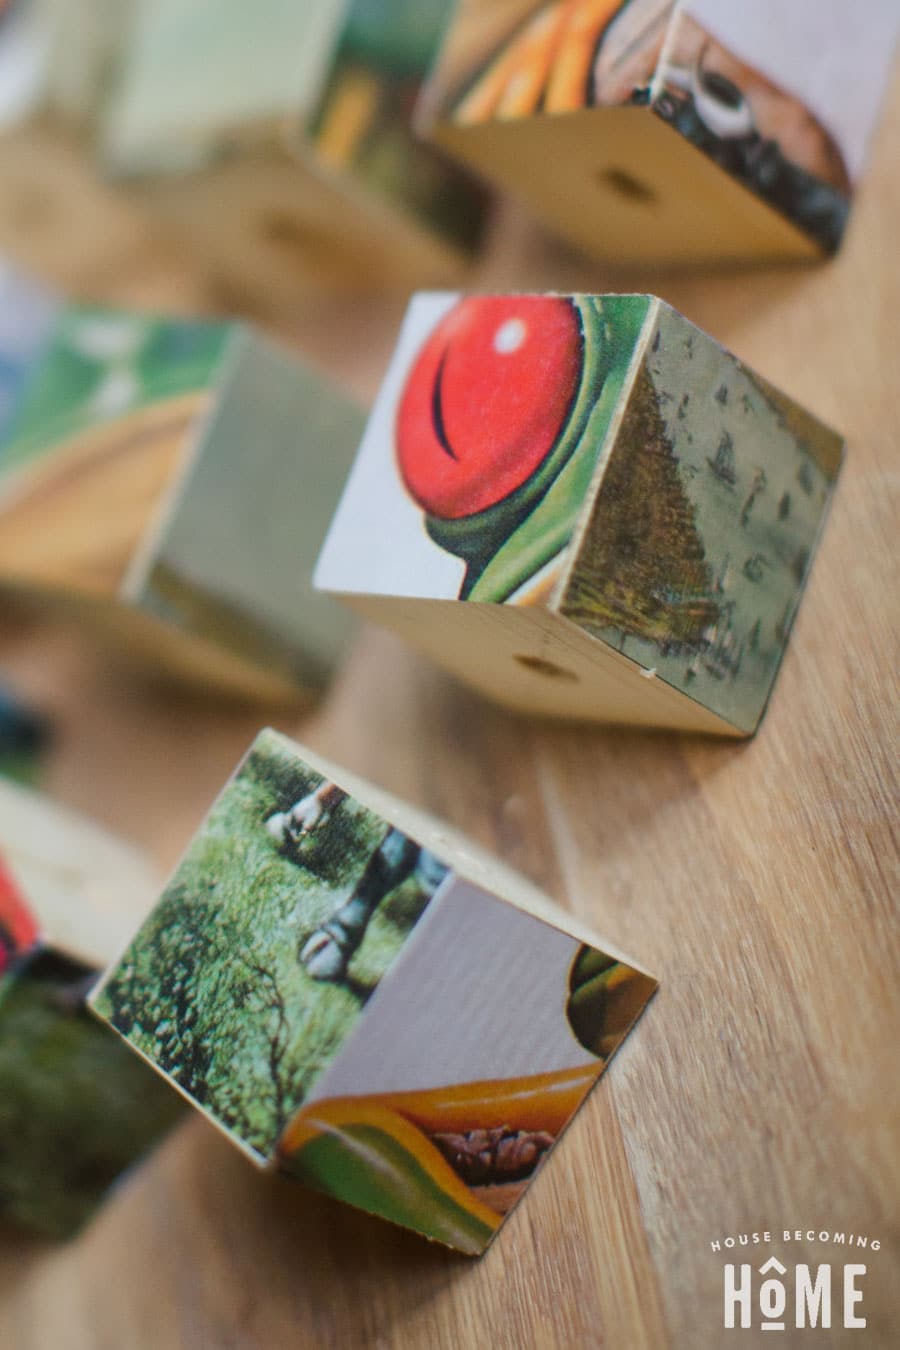
 Cut the image along the lines you’ve drawn, then place onto the wood blocks. I found some of the blocks were a touch smaller than 1 1/2 inches, so I trimmed off any bits that hung over.
 Use a foam brush to give each block a thin layer of Mod Podge. Then place one of the image squares and press down firmly with your fingers to remove any bubbles and to make sure the edges are sealed. Repeat until all nine blocks have images on all four sides.
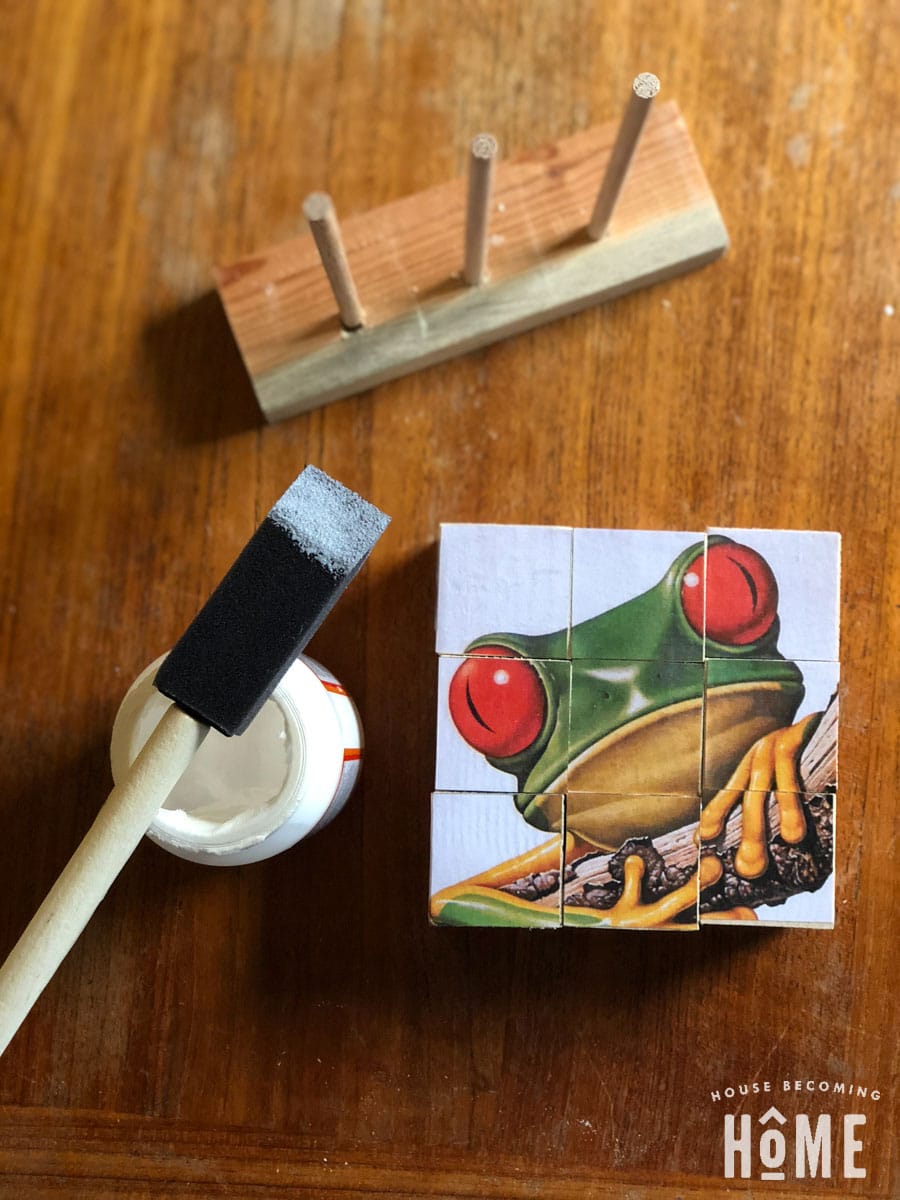 Once dry, coat each block with a light spray of polyurethane.
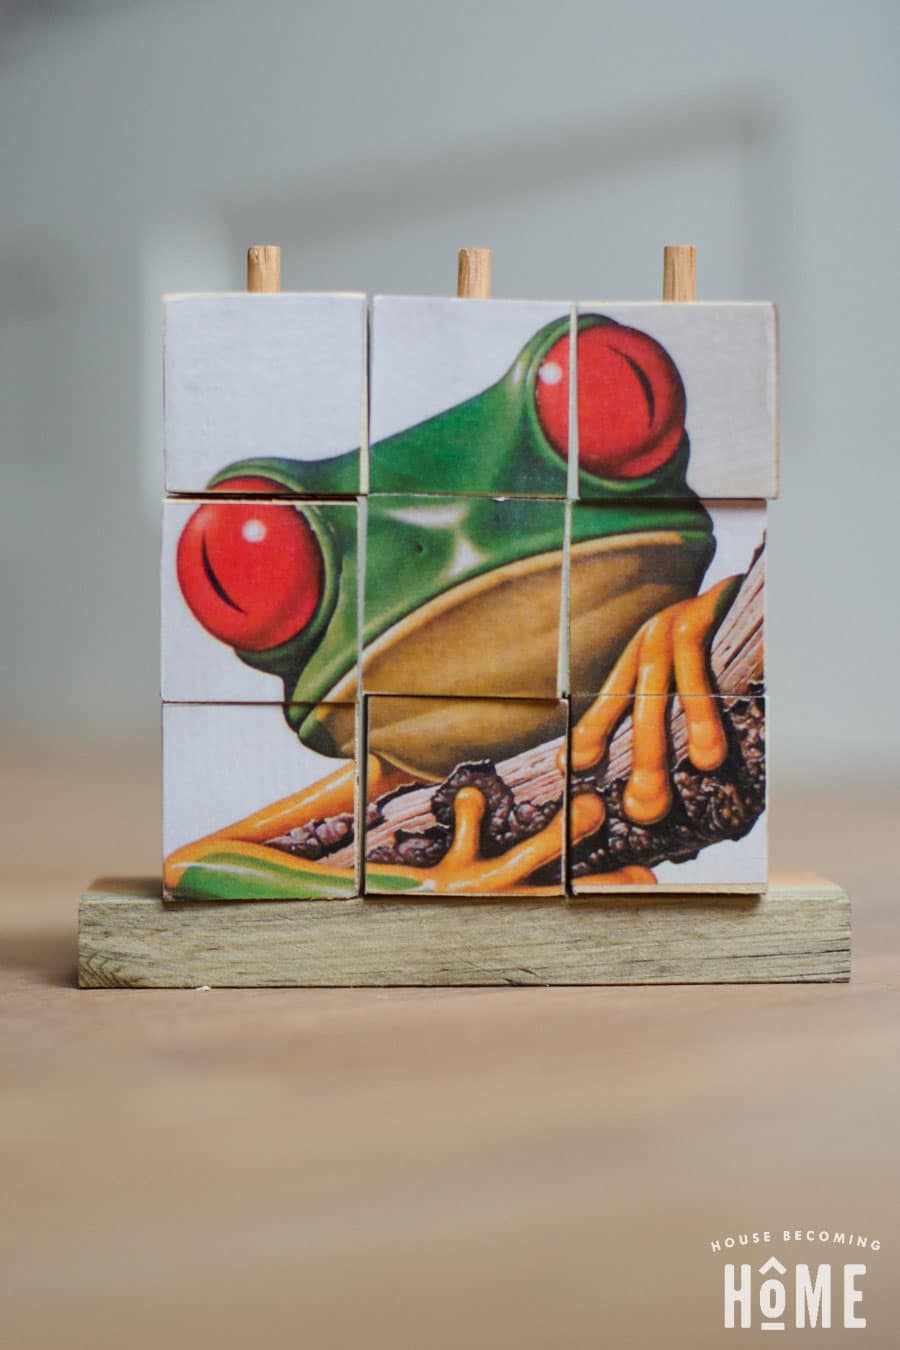
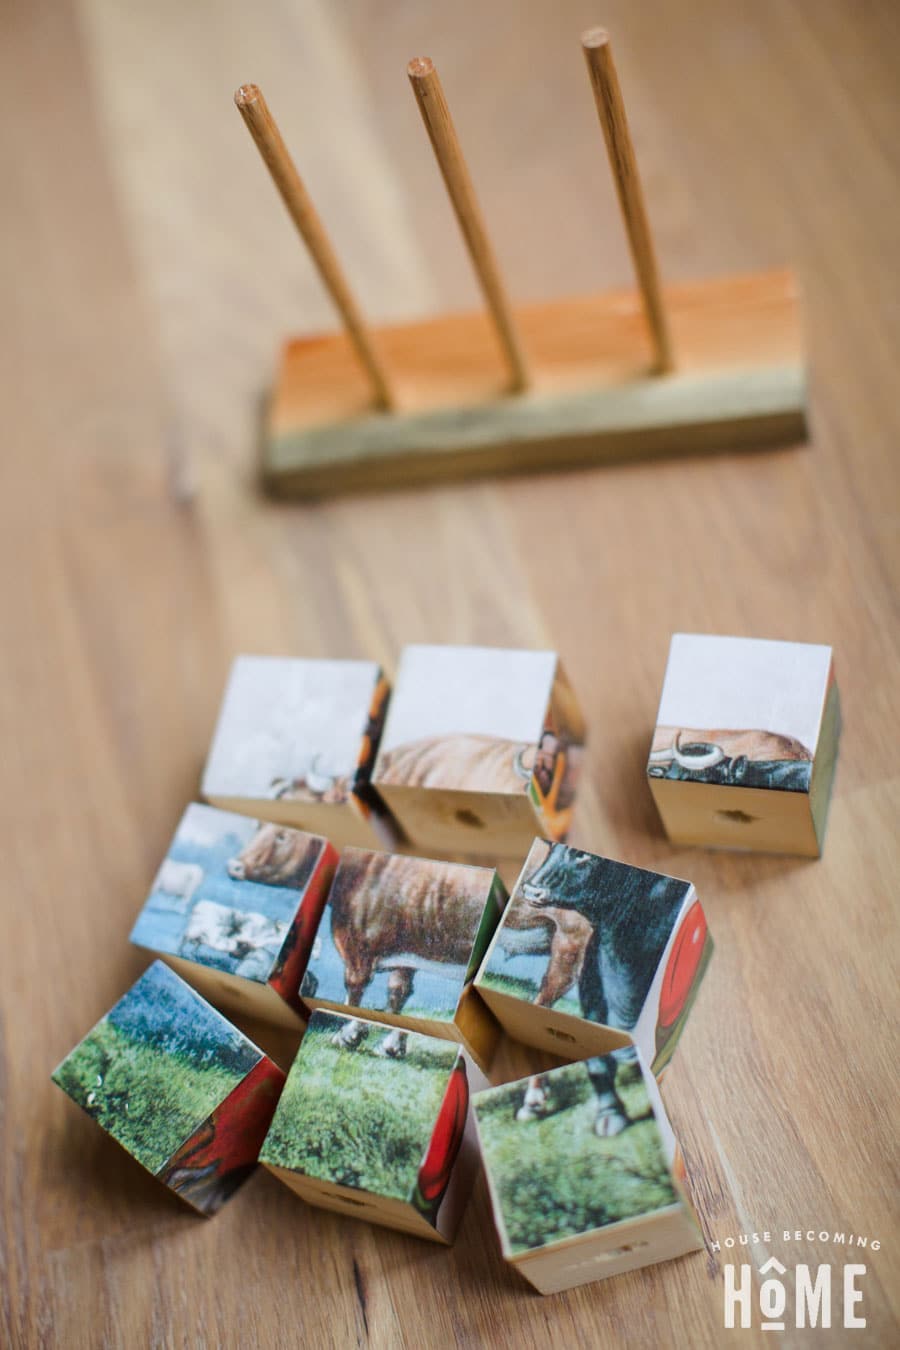
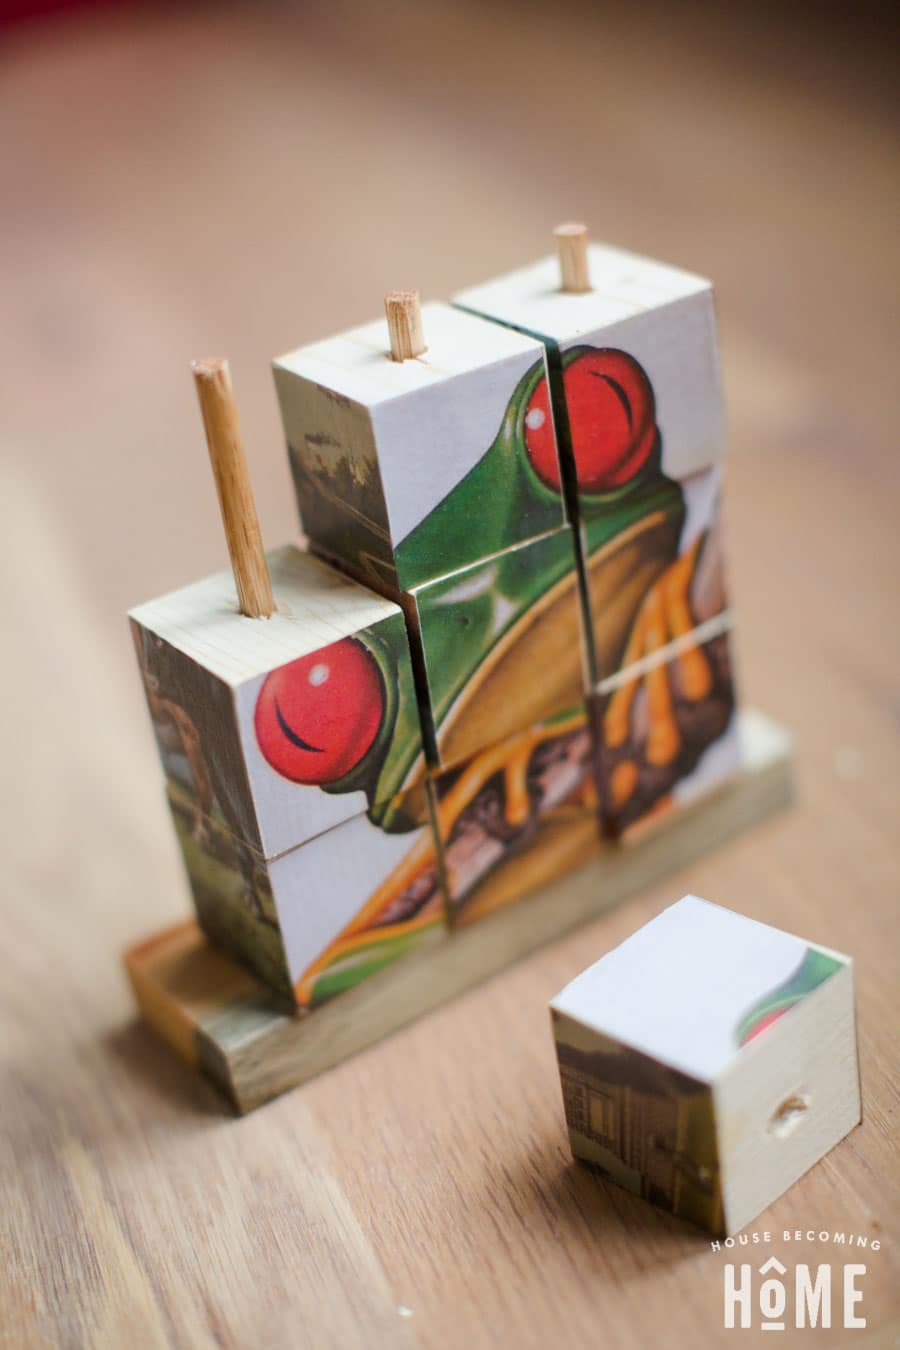
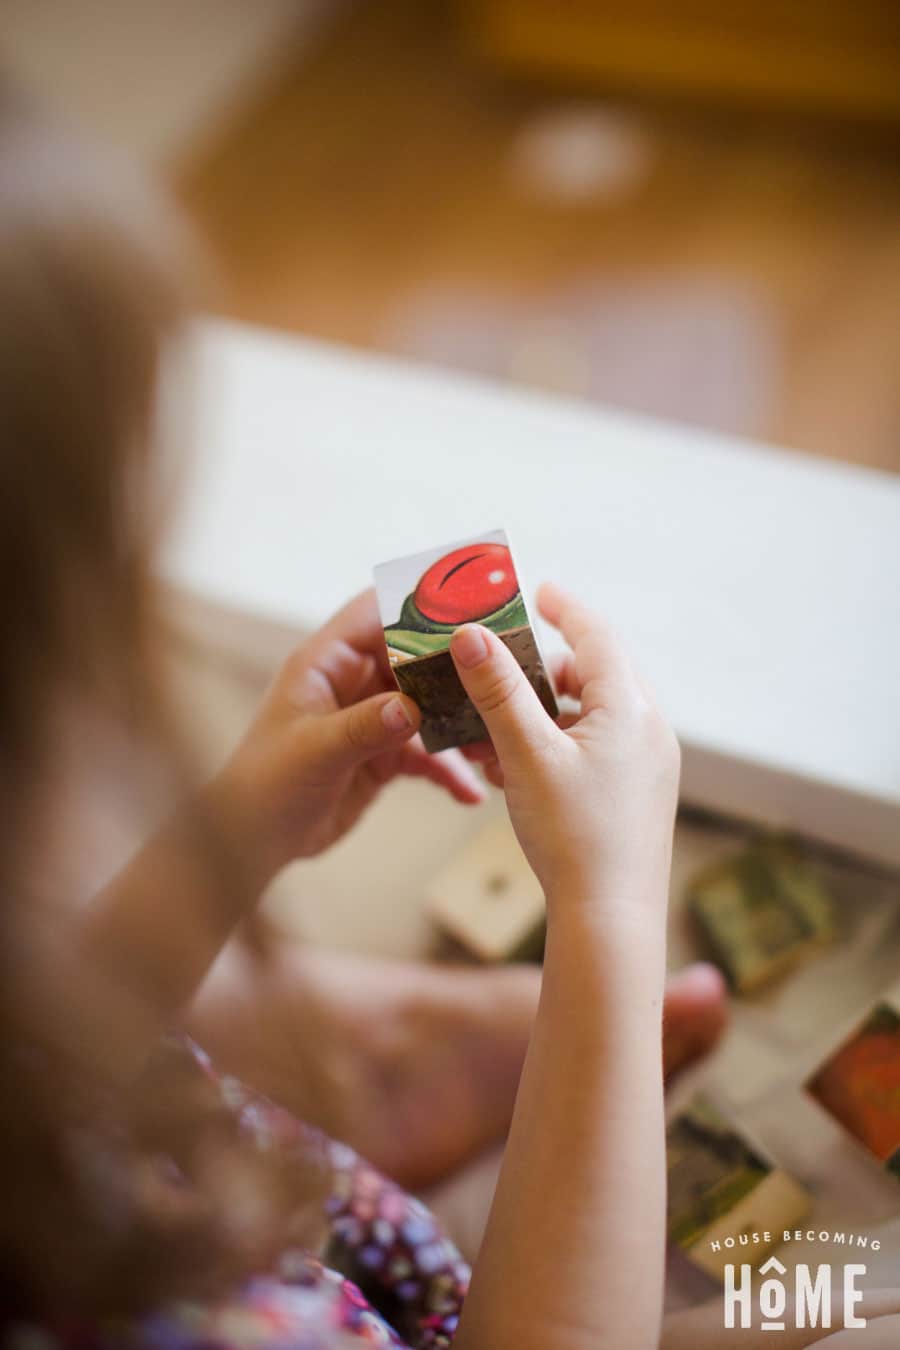
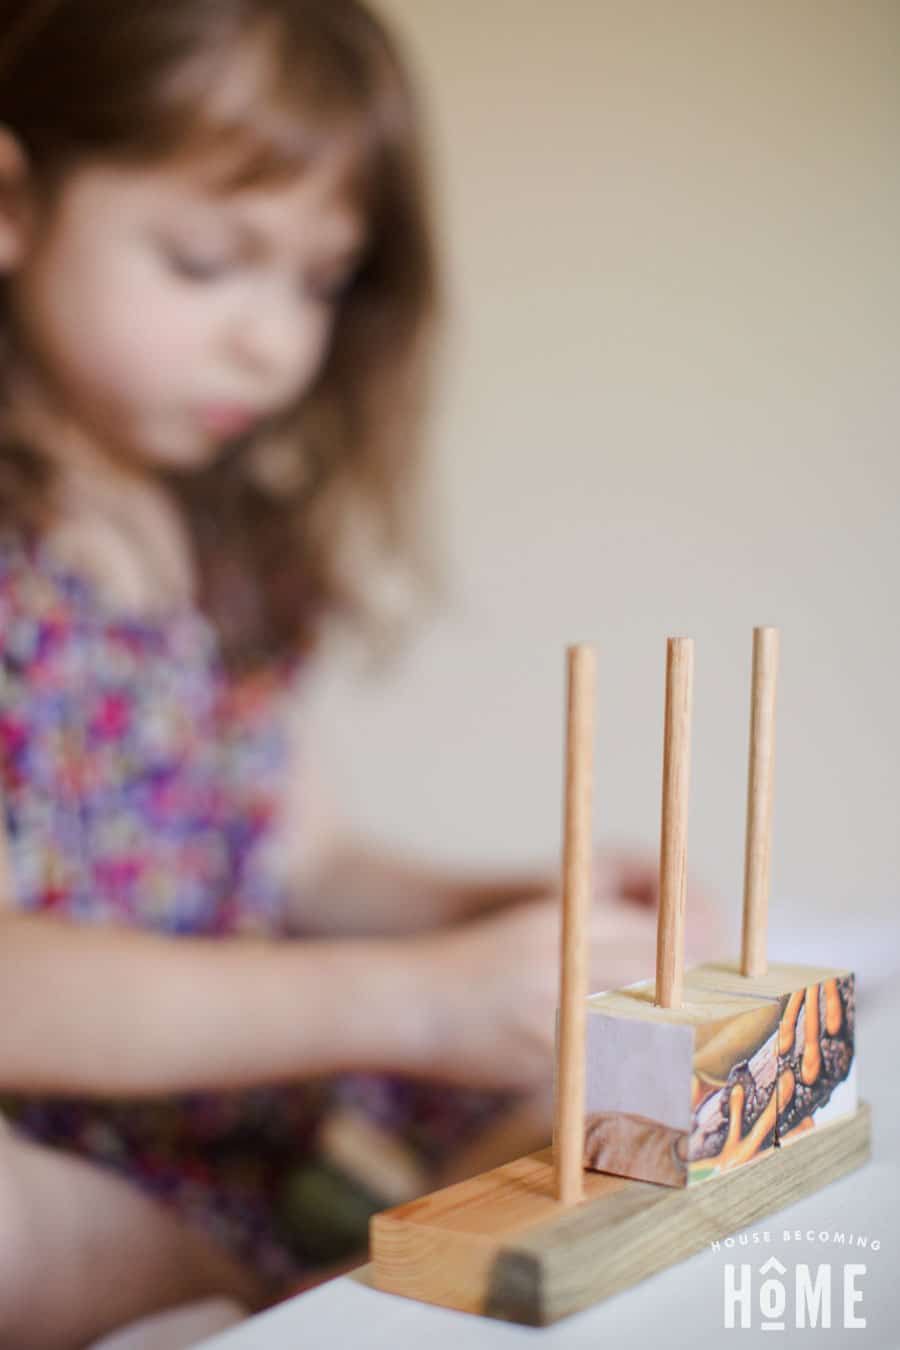
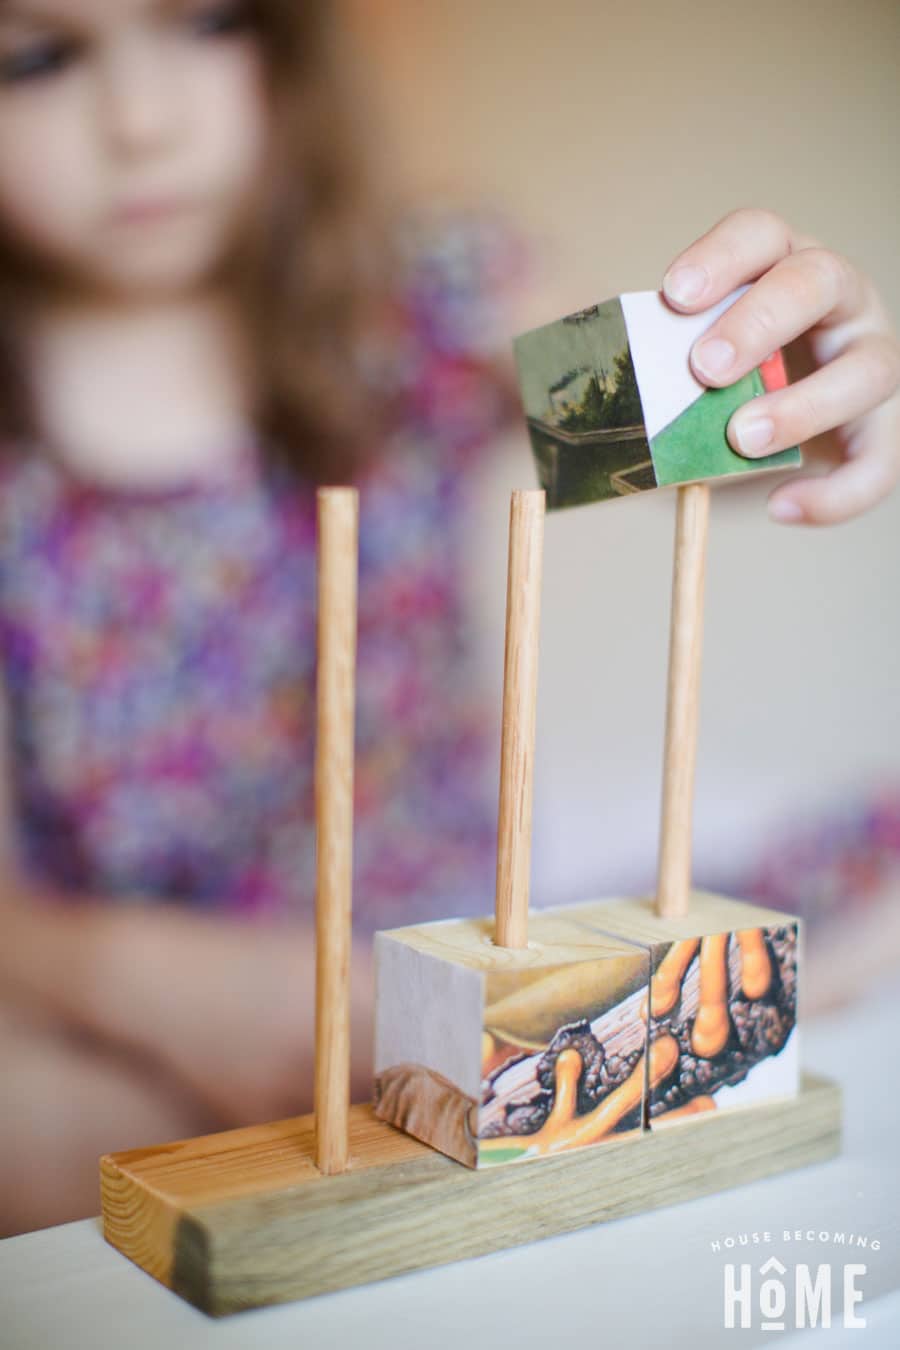
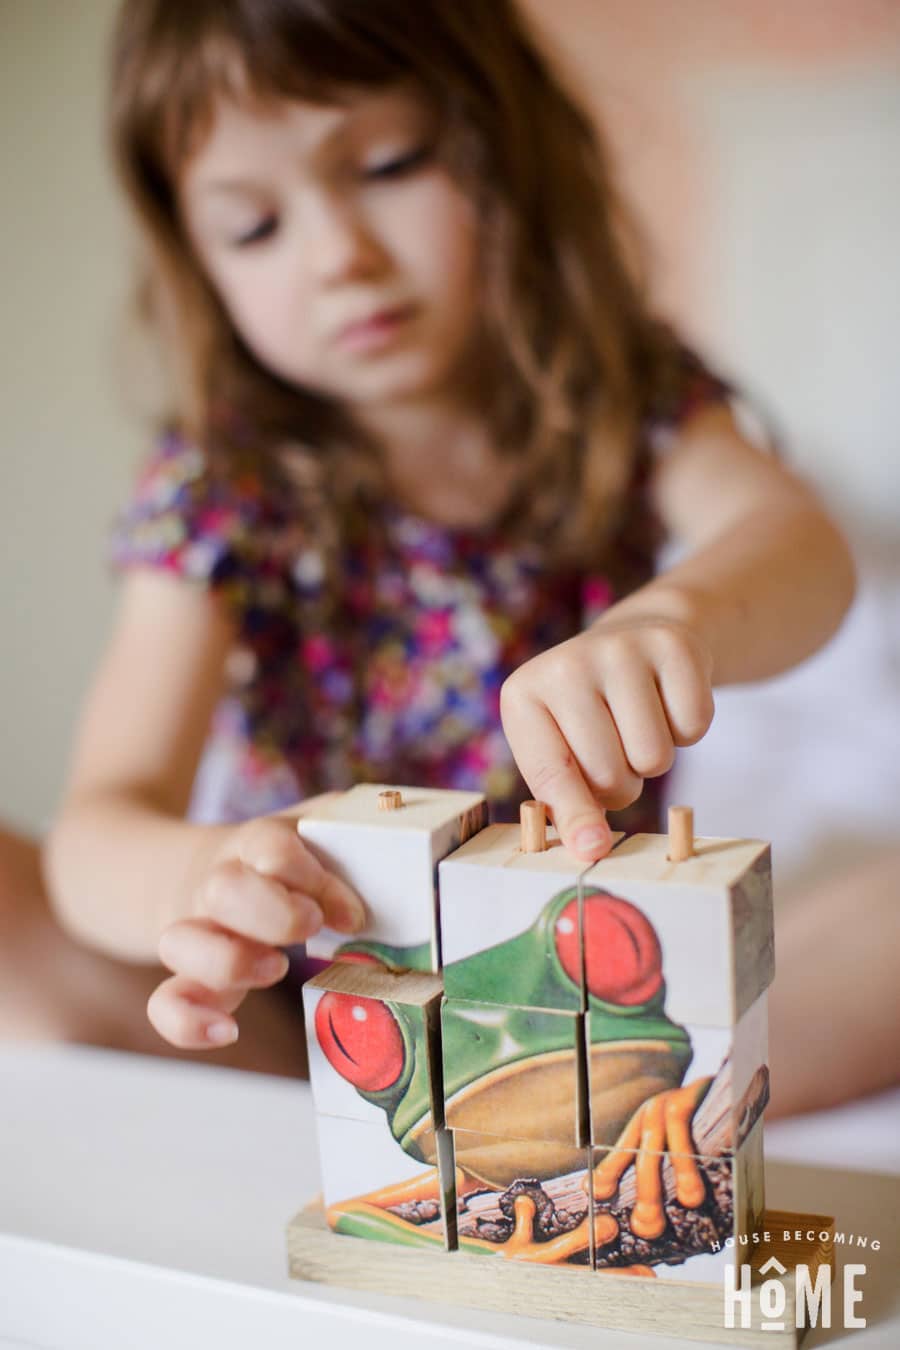
 Put your DIY Stacking Block Puzzle together and deliver it to your soon-to-be-thrilled preschooler! Here are a few images of the scrap wood puzzle before handing it over to Lucy and of course, in action being enjoyed:

I love this puzzle block so much! Thanks for sharing!