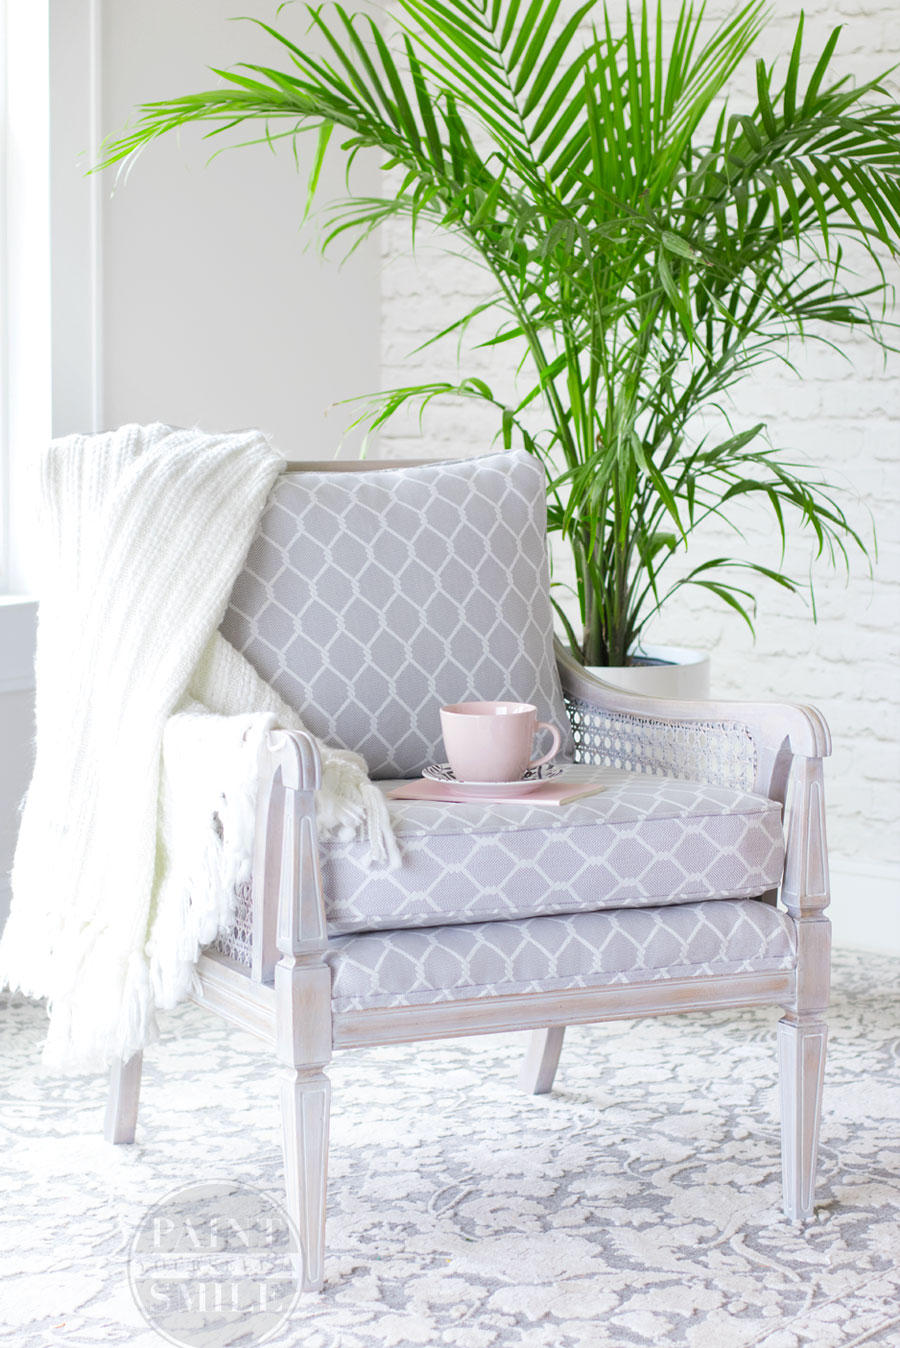
Hello, House of Wood readers! It’s Jenny from Paint Yourself a Smile! I’m thrilled to be hanging out with furniture-loving friends today because I’m a geek about refinishing furniture. I’m excited to show you how to whitewash furniture. An old thrifted cane chair gets a new lease on life with a new gorgeous whitewash finish.
 Introduction
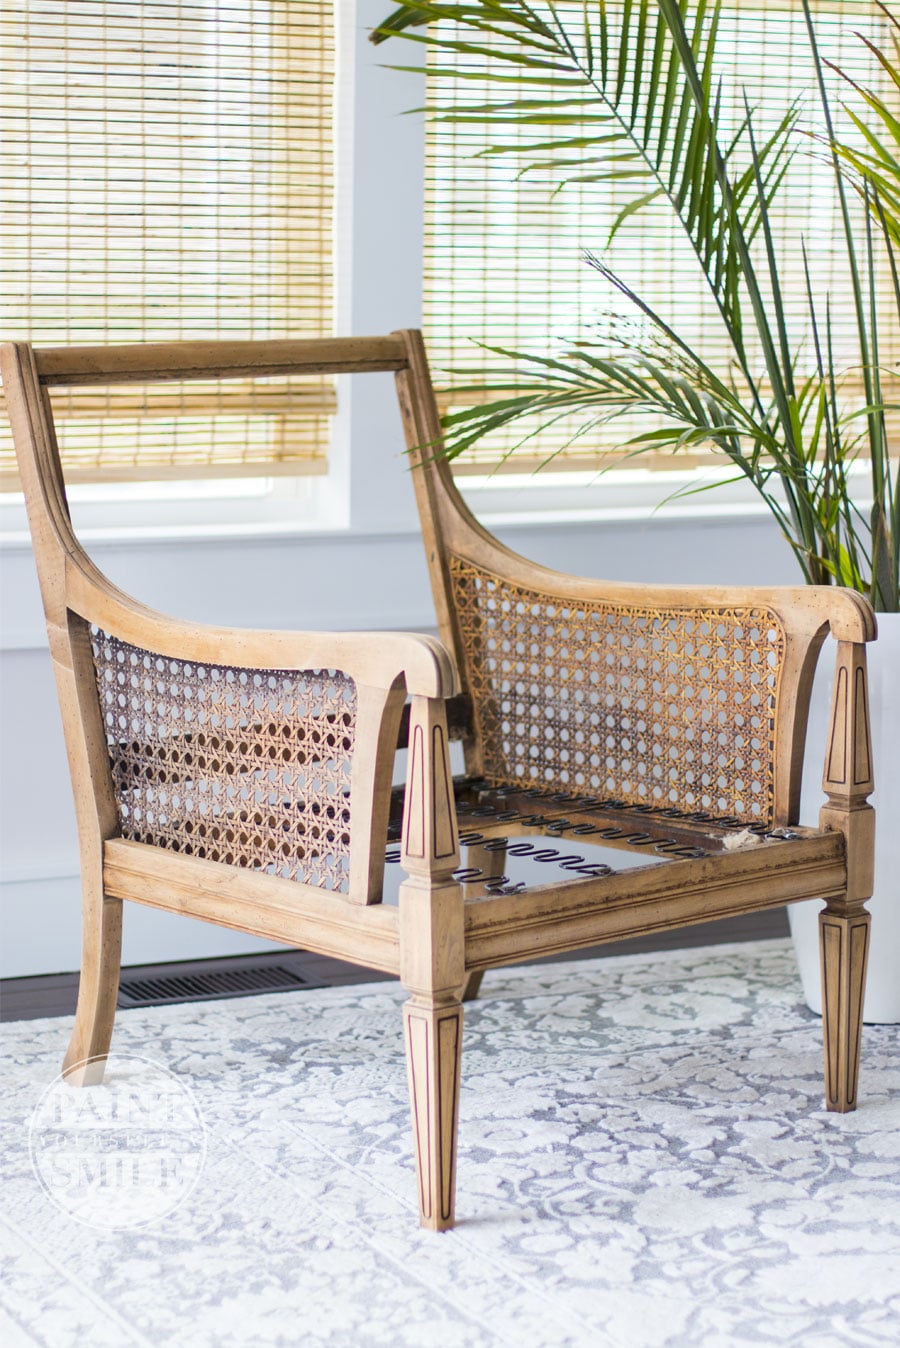
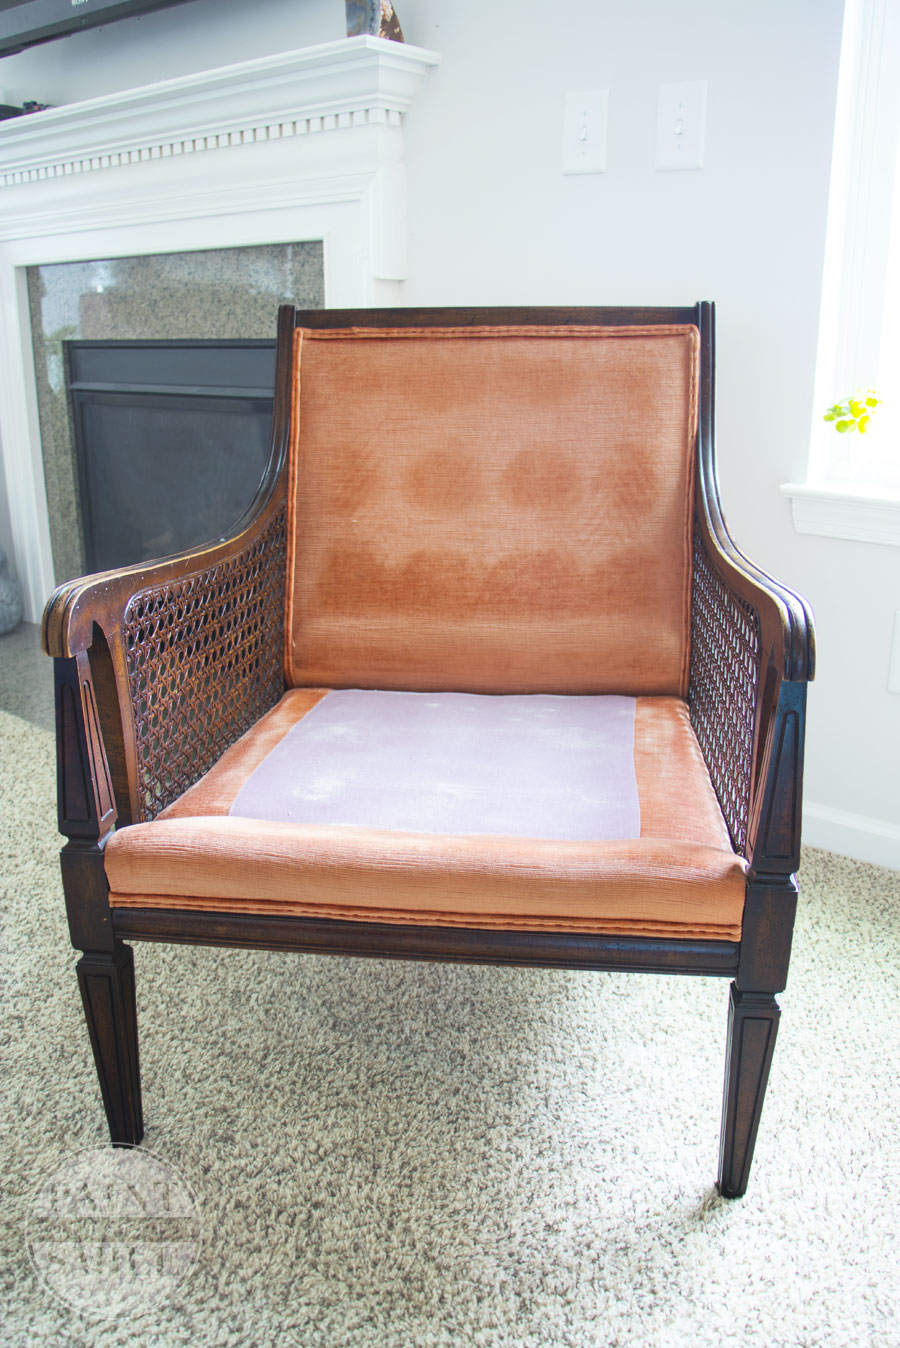
Allow me to introduce you to the makeover candidate – this ugly chair…
I’m not sure why I brought home this second-hand chair, but I did. I tried to tell my husband it followed me home like a stray dog but he wasn’t falling for it. After several eye rolls, would you believe he had many unflattering things to say about my growing ugly chair collection?
I know, I couldn’t believe it either. So just for grins, I doubled down and proudly displayed the obnoxious chair next to the TV in our family room. Ugliness this good deserved prime real estate.
(In case you are wondering, the chair did come with cushions, but I removed them because they gave off the pleasant aroma of a nicotine scented candle. No really, I’m certain that was the Yankee candle scent of the month once or twice back in 1977. I have the chair to prove it.)
It was good! But at the risk of taking a joke too far and despite my love for “poke your eyeballs out orange”, last week I caved and hauled this guy to the garage to give him a softer look. (I’m referring to the chair of course. The husband is already perfect, just ask him.)
Makeover Plan
This old cane chair was a great conversation piece, but I decided to switch things up by adding a light grey fabric and giving the wood frame a soft whitewashed finish. Whitewashing can mean different things to different people so for the sake of this post, I’m referring to whitewashing as a method to lighten the overall look of the wood without losing the wood grain.
Whitewashing is one of my favorite finishing techniques. Not only is it easy to apply, but unlike traditional stain, the thin layer of paint doesn’t soak deep into the wood which is nice if you ever want to revert back to the original finish. (High five to not spending dayssss in a hot garage trying to pull out stubborn stain)
PrepWork
Before I could apply the whitewash, I needed to remove the dark finish. The chair had that typical faux stain finish that much of today’s mass-produced furniture has. It’s simple to remove with nothing more than a can of acetone. Underneath was a light wood which is also common to this type of furniture.
Whitewash Supplies
- Acrylic White Paint
- Paintbrushes
- Rags
- Fine Steelwool
- Water-based Polyurethane
- Plastic Containers
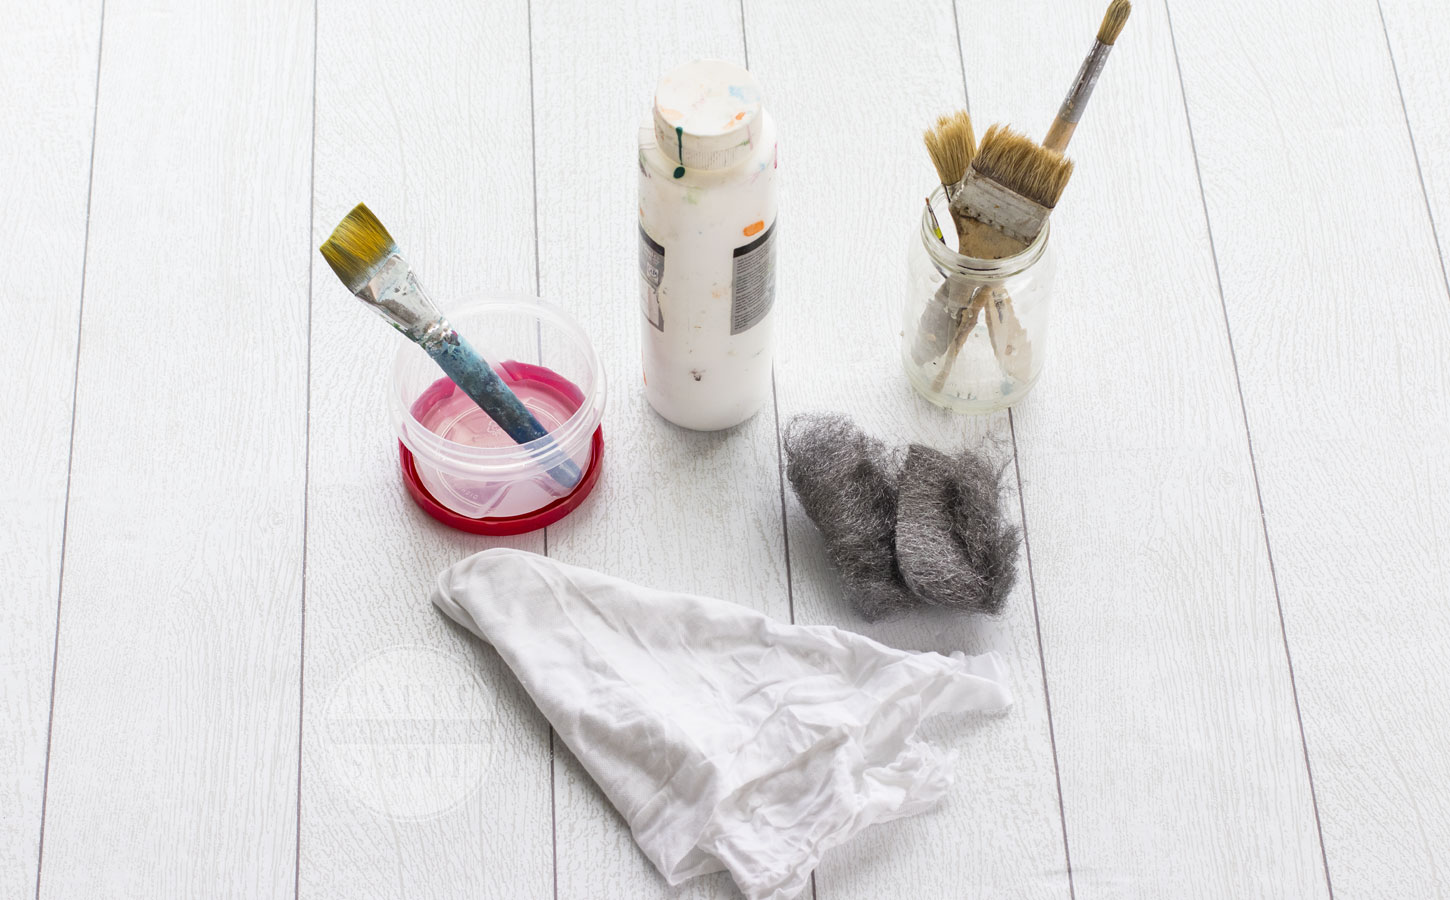
I use whatever paint I have on hand including regular wall paint. I prefer a flat or a satin sheen. A true white hue can produce a slightly gray finish. You may want to consider selecting a cream or ivory shade of white for a warmer tone. Ultimately, the final color will depend on the tones in the natural wood and how many wash layers are applied.
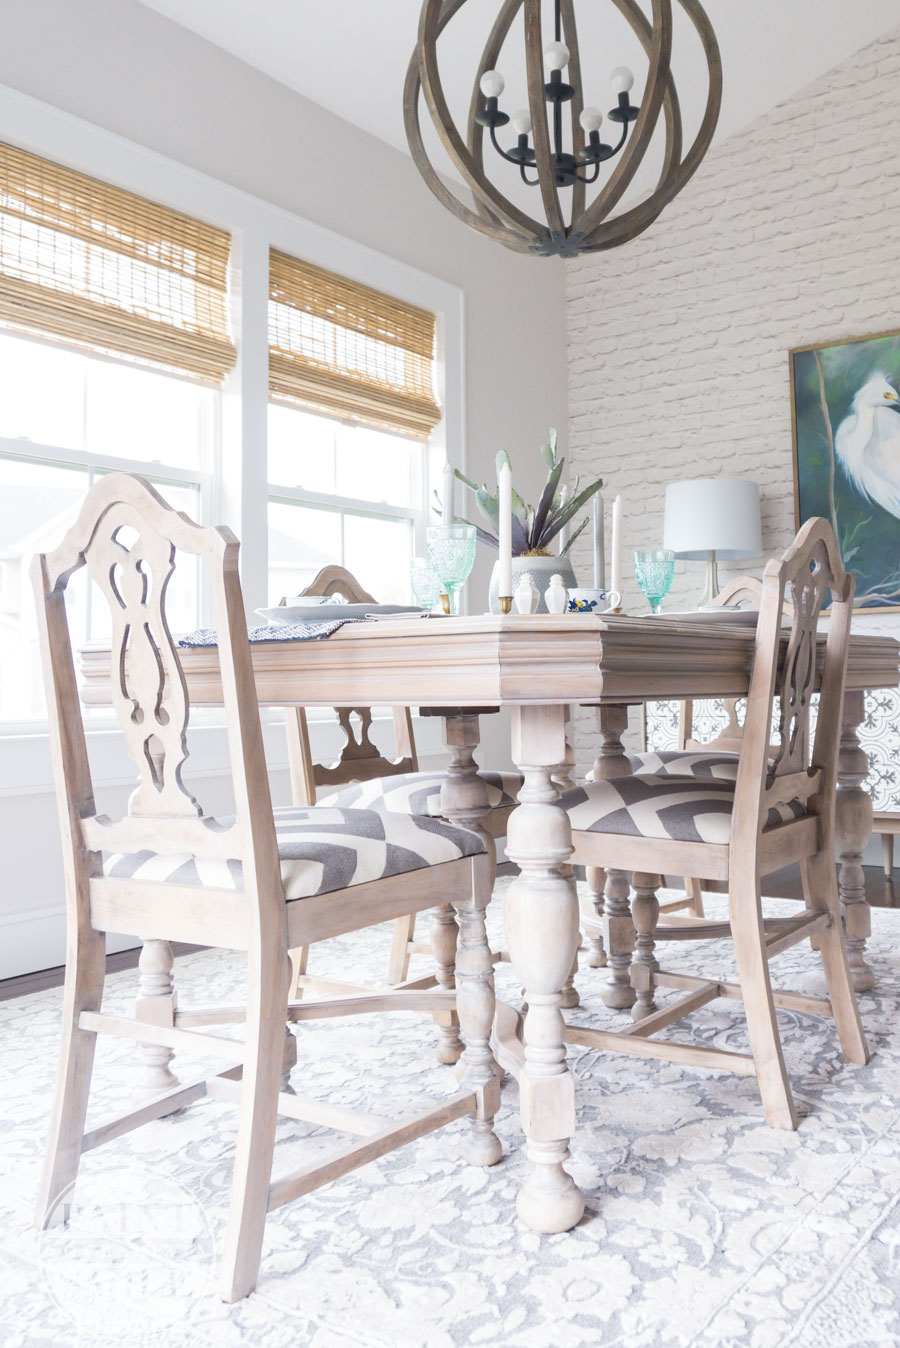
When I refinished my maple dining set last fall, the end finish came out with pretty soft pink undertones. This chair I just finished had greenish yellow tones and the final color was slightly different.
Easy Whitewash Technique
Step one: Mix
Mix a small container of watery white paint that is approximately 2 1/2 parts water to 1 part paint. A little goes a long way so start small, you can always mix more if needed. I also make a second slightly thicker mix (1 1/2 to 1) and work out of both containers.
Step Two: Apply and Remove
Using a paint brush, apply the thinnest wash mix to a small area and work quickly using a rag to wipe it off. It’s important to work in small sections because the thinned paint dries quickly and you don’t want it to dry on the wood before you have a chance to work with it. Don’t worry if the first coat appears too sheer for the result you want. That’s okay because unlike stain, you can add a second coat right away.
Once in a while, the first wash coat will cause the grain of the wood to raise and leave the wood rough. If this happens just sand the raised grain smooth again and you should be good to apply another coat of wash. I’ve only had this happen once or twice and it was when I was working with newer wood.
For small nooks and crannies that the rag misses, I take a completely dry paintbrush and lightly brush where the paint wash has pooled to feather it out. Other areas like the deep grooves in the legs of the chair, I used a small paintbrush.
Step three: Dry-brushing
Sometimes the brush on & wipe away method works perfectly, but other times you may want a little more control over select areas for more shading. In these cases, I go back with a dry-brushing technique.
If you are not familiar with dry-brushing, dry-brushing is when you add a very small amount of paint to the tip of a completely dry brush so when the paint is applied it’s more dry than fluid. After I dip the tip of my brush in the paint, I use a scrap piece of cardboard to brush off any excess before I apply the paint to the surface. Then I take a second completely dry paintbrush and blend that paint out even more. This will create soft flawless shading.
You can create a streaky look with dry brushing too. Add slightly more paint to the paintbrush and skip the second blending step.
I know that was wordy but trust me it’s super easy and when you get the hang of it you will love the control it gives you when applying the paint.
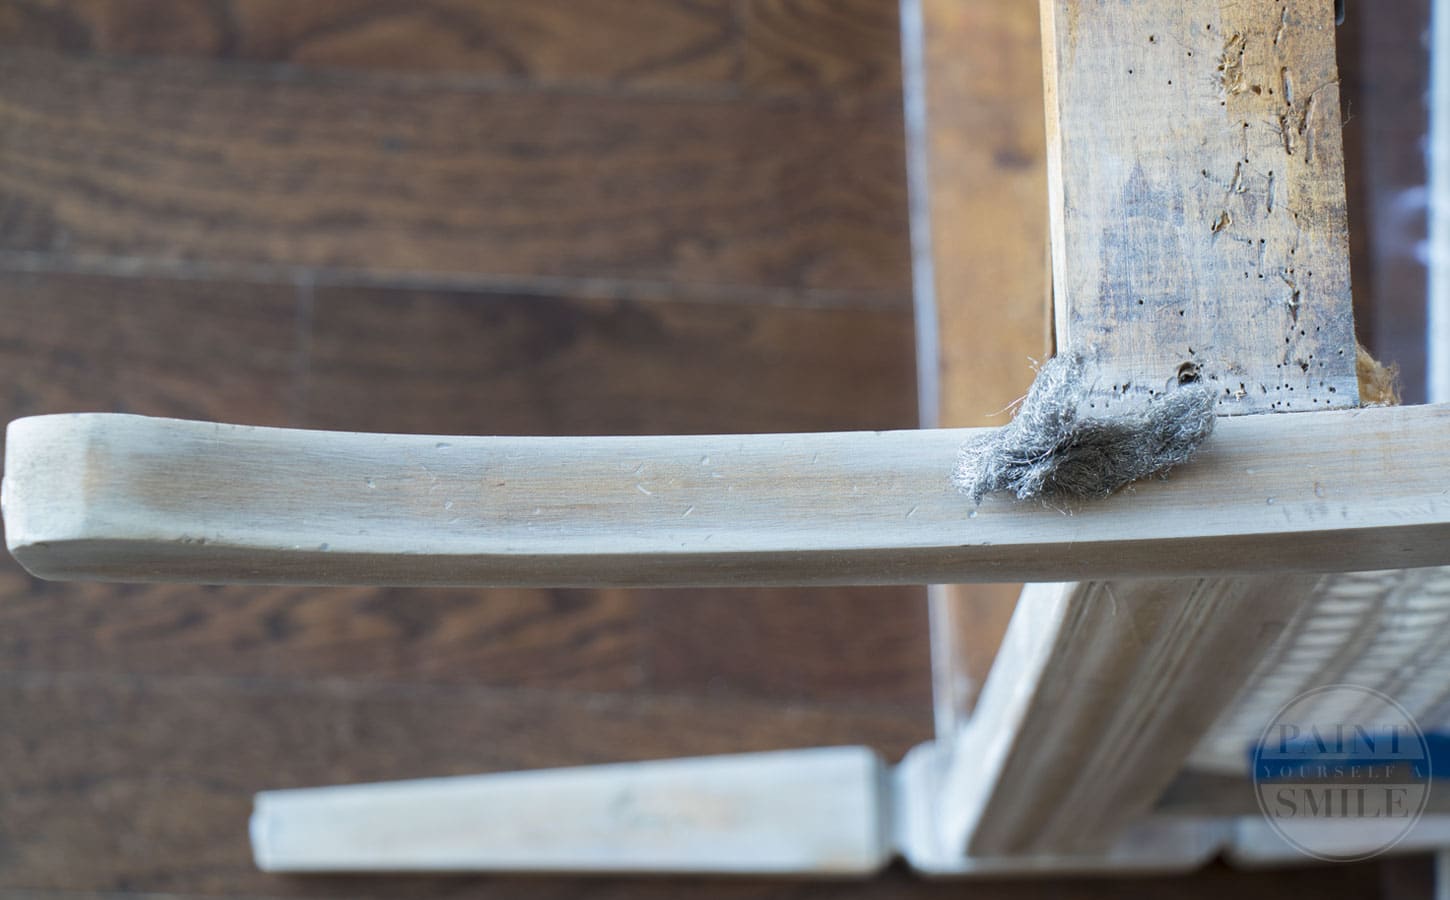
 Step 4: Steel Wool
Use fine steel wool to blend and remove paint in areas to show more wood grain. Sandpaper is not the same as steel wool and I would avoid it in this application. The whitewash coat is thin and sitting on the surface of the wood, sandpaper will completely remove it. Steel wool works like a champ – and it’s cheap!
 Step 5: Finish Coat
It’s up to you with how opaque or sheer you want your finish to be. To simply lighten the wood like I did when refinishing my dining set (see above photo), one coat will do it.
For the chair, I wanted a whiter finish so I applied a couple of coats.
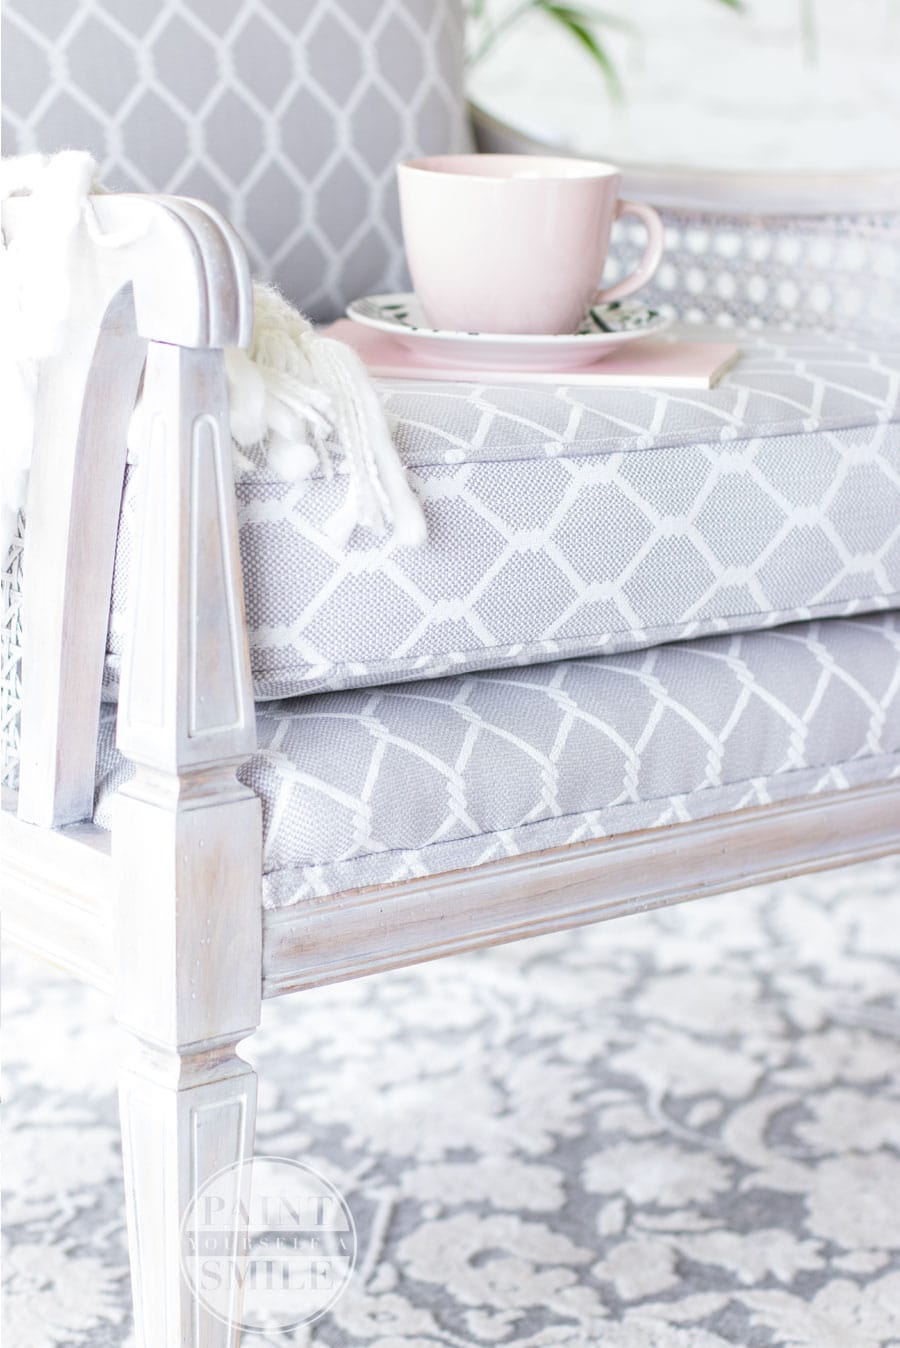
I hope this post inspires a few of you to try whitewashing! Now I’m off to enjoy my new (to me) chair.
Happy creating,
Jenny
 Step 4: Steel Wool
 Step 5: Finish Coat

I love the chair w the cane Did you do anything special to the cane to get the white wash to adhere.
I’d also love to know!
Thank you for the explanation. I found a padded chair thrifting, and needed some ideas on your technique. White wash is what i want to do to this chair. Thank you!
I would like to know about the cane on the chair as well. I am about to paint 8 chairs and think the white wash is the trick. Please answer as soon as you can, thanks so much great tutorial.
Jeri
It is beautiful! Did you use the same process to whitewash the caning?
Same question as the people above! How did you prepare the caning so that the whitewash would adhere?
You mentioned acetone but what if the acetone doesn’t produce a lighter wood underneath? If you have to sand or strip the chair, how do you do that to the cane?
what is the prep and finishing technique for the webbing please