Now that the weather’s finally cooling off (hallelujah!), we’re able to spend a lot more time outdoors. Fall is my favorite season because with it comes sweaters, scarves, boots, pumpkin spice lattes, s’mores out by the fire pit, and a stunning display of red, gold, and yellow foliage. And for us Alabamians, it also means we get to dine al fresco without melting our faces off from the heat and humidity.
Because we’re spending more time outdoors, I decided to turn my attention to our back patio. It was nothing fancy, just a concrete slab that got the mid-day sun like nobody’s business. You might remember seeing it when I made over my parents’ old patio set. Take a peek here. Go on, we’ll wait.
See? Nothing to write home about, right? Well, I’m going to change all of that starting now.
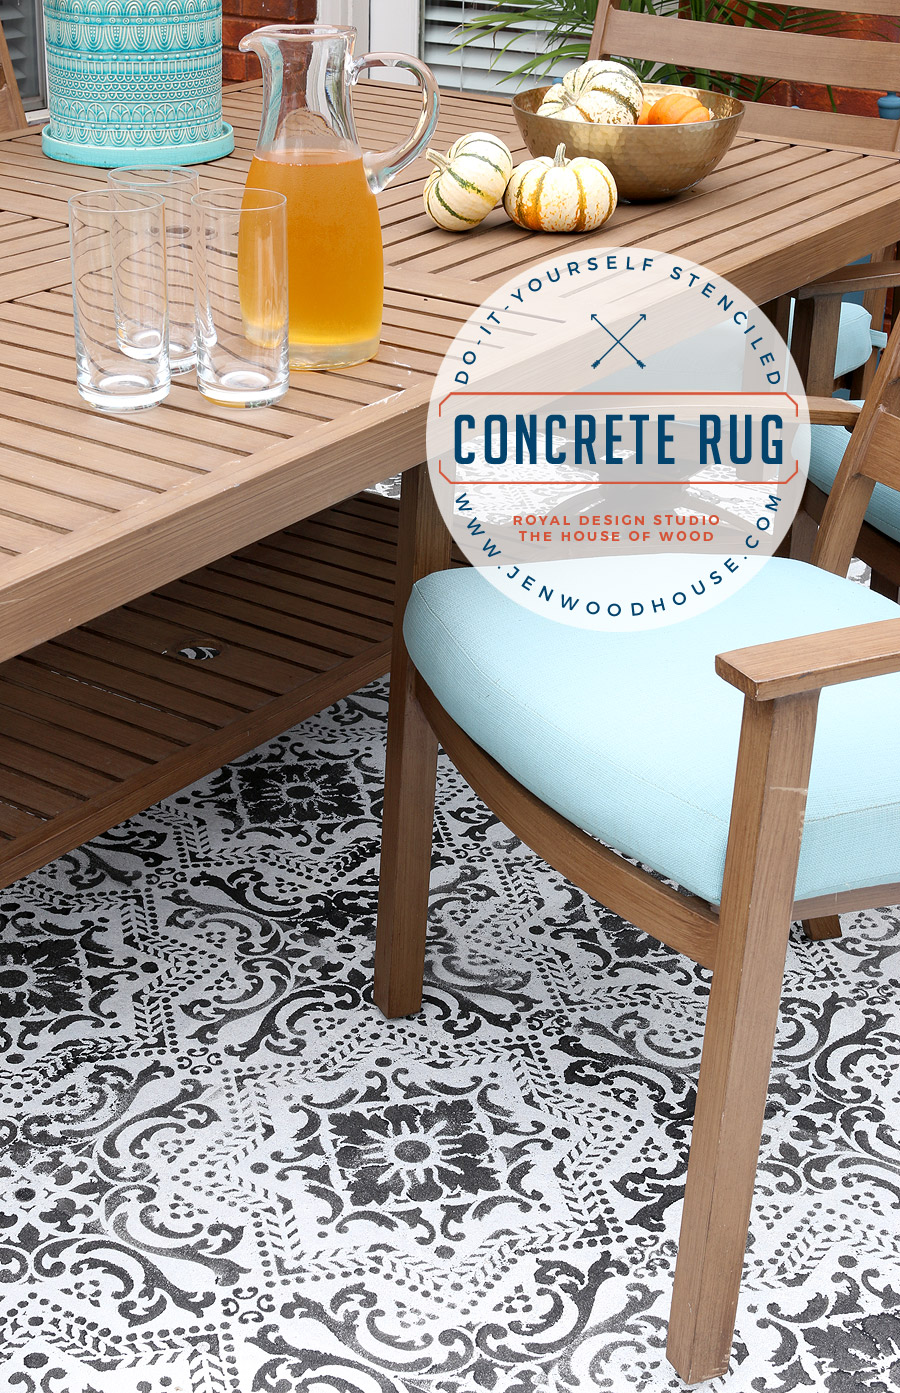 Outdoor rugs have never fared well on this patio because of the direct sunlight it gets. There is absolutely no cover, no shade from the house… just the blazing hot sun, beating down directly overhead, dry-rotting every outdoor rug that ever dared lay down on this patio.
The patio was old, cracked, and stained (and not in a good way) so simply covering it up (in lieu of major renovation) was always my quick fix. And since I have yet to find an outdoor rug that can take on the Alabama sun and live to tell about it, this stenciled concrete rug was the perfect solution. I teamed up with my friends at Royal Design Studio for this project.
On one of my daily trips to Home Depot, it just so happened that the Behr sales rep was in-store and I was able to assault him with my many questions seek his expertise. I told him what I was trying to do and he was chock-full of all sorts of helpful information. First, he recommended that I use concrete stain instead of concrete paint because paint can be slick when wet. Concrete stain can be tinted to any color, to whatever opacity you want, so it can be mixed to look like paint, but still act like a stain. Good to know, right?
I began by marking the perimeter of my “rug” with chalk. I used painter’s tape to tape off the edge, then I rolled on the white concrete stain. You don’t want to use a high quality roller here, since the concrete will tear it up quite a bit.
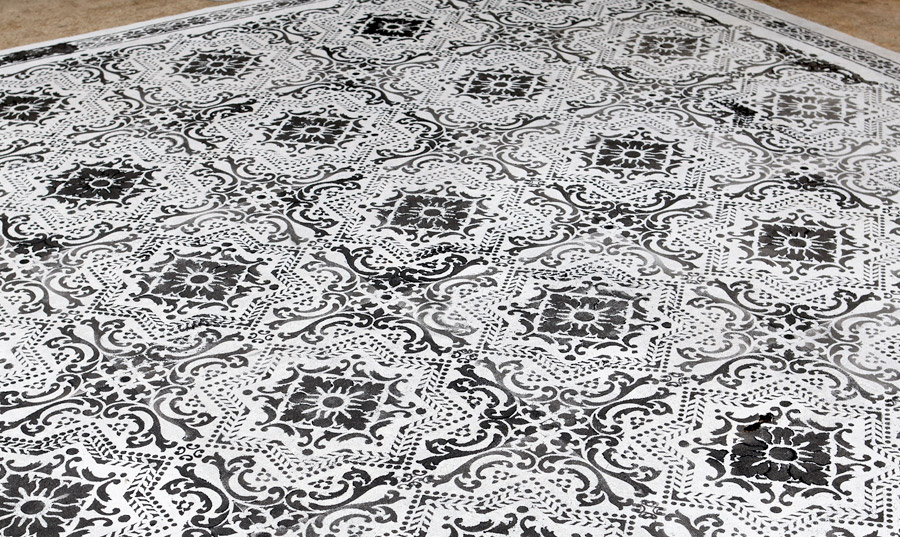
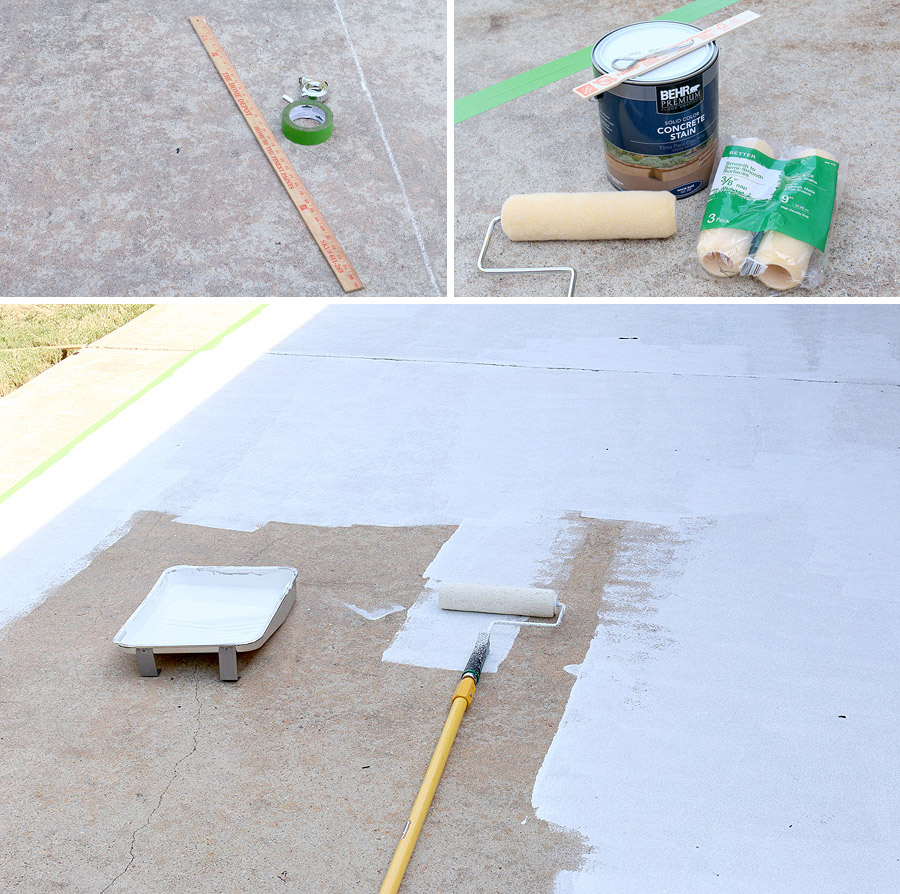 After the white stain dried, I used the Lisboa Tile Stencil by Royal Design Studio to stencil on this gorgeous Mediterranean pattern. I also used the Classical Border Stencil to create a border for my “rug.”
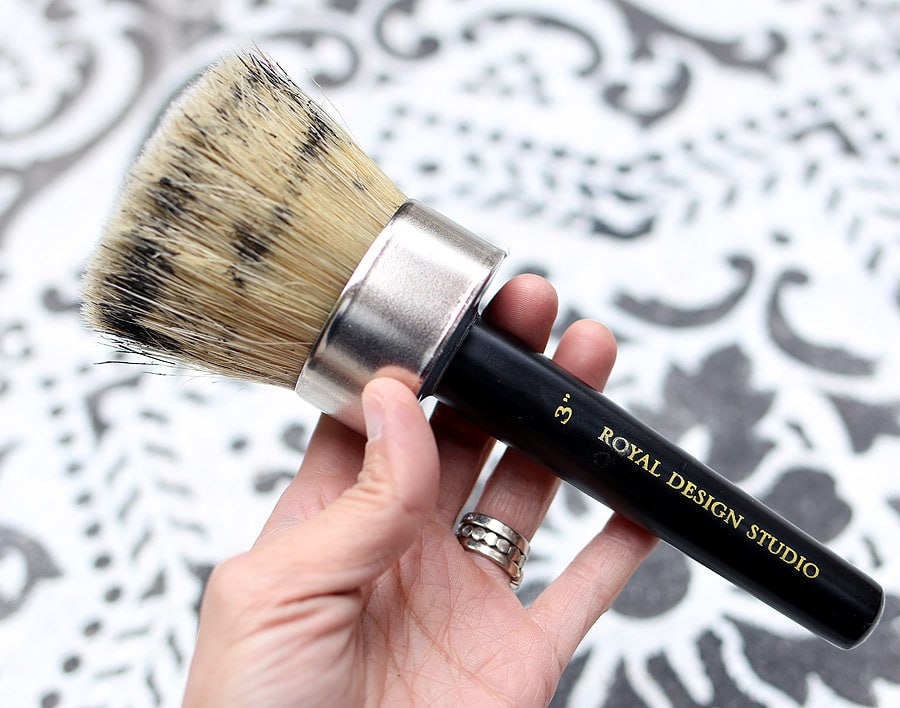
You guys, listen to me. If there’s only one thing you remember from this post, remember this: do yourself a favor and buy this stenciling brush. It made a world of difference – I cannot stress this enough. After trying a variety of different brushes and rollers (from different brands and price points), this 3″ stencil brush was my saving grace. It was the only brush that worked for this stenciling project. It made the job quick, easy, and effective.
I used the 3″ stencil brush because I had a big job to do, but if you’re stenciling a smaller area, you might want to choose the most appropriate size brush for your project, but do get the right tool because it will save your life.
Get the stencil brush. You’ll thank me later.
 Be sure to tape the stencil down so it doesn’t move while you’re working. I used painter’s tape and it worked perfectly. Dip the brush in the stain, then blot most of it out, so that the brush is almost dry. This is called the dry-brush method. Then, holding the brush flat, move it in circular motions, applying the stain all over the stencil. Here’s a great video with perfect stenciling technique.
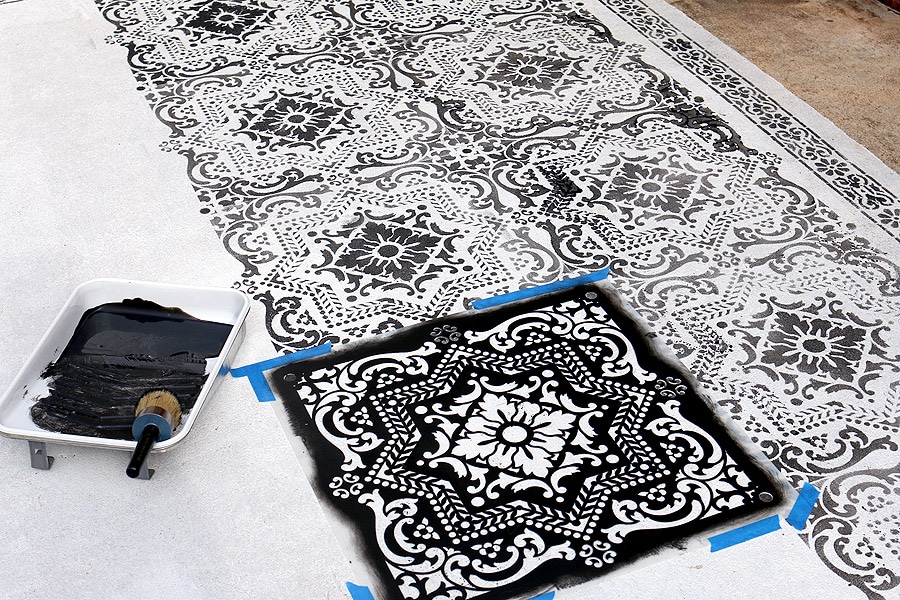 Periodically, you’ll want to wipe off the underside of the stencil, just to keep things nice and tidy.
Lather, rinse, repeat eleventy million times and just like that, I had my entire patio stenciled. My husband made a quick run to the grocery store (which is across the street) and I was finished before he got back! Crazy, right? I thought this project was going to take FOR.EV.ARRR, but it took less than an hour!
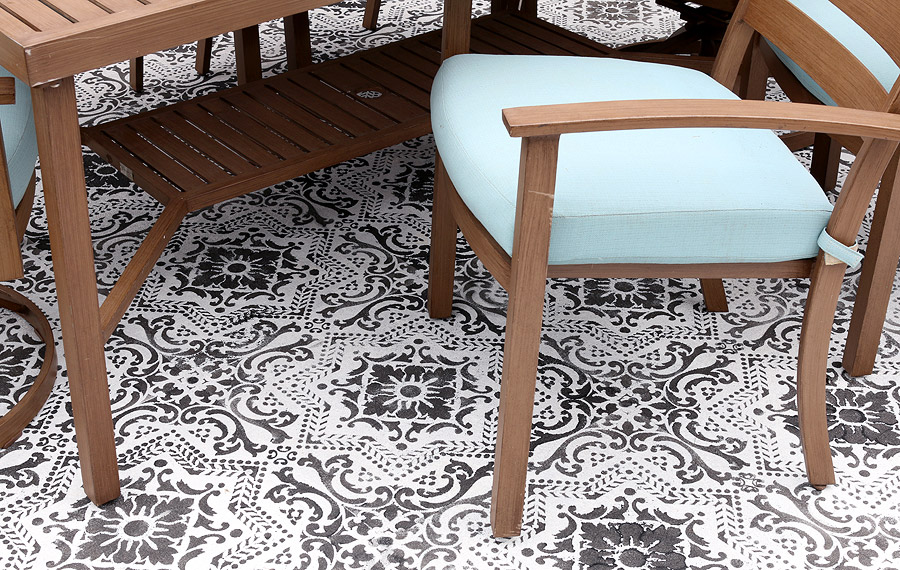
Do you see those imperfect parts? That’s what happens when you don’t use the right tool for the job. The good thing about this stencil, however, is that it’s very forgiving. If you’re looking at the “rug” as a whole, the imperfections in the pattern aren’t a glaring reminder of my own inadequacy that distracting.
 My mistakes are even less noticeable when you put a bunch of stuff on top of them. And aren’t you proud of me? I’ve been keeping those plants alive since this Summer. I think that’s a record for me.
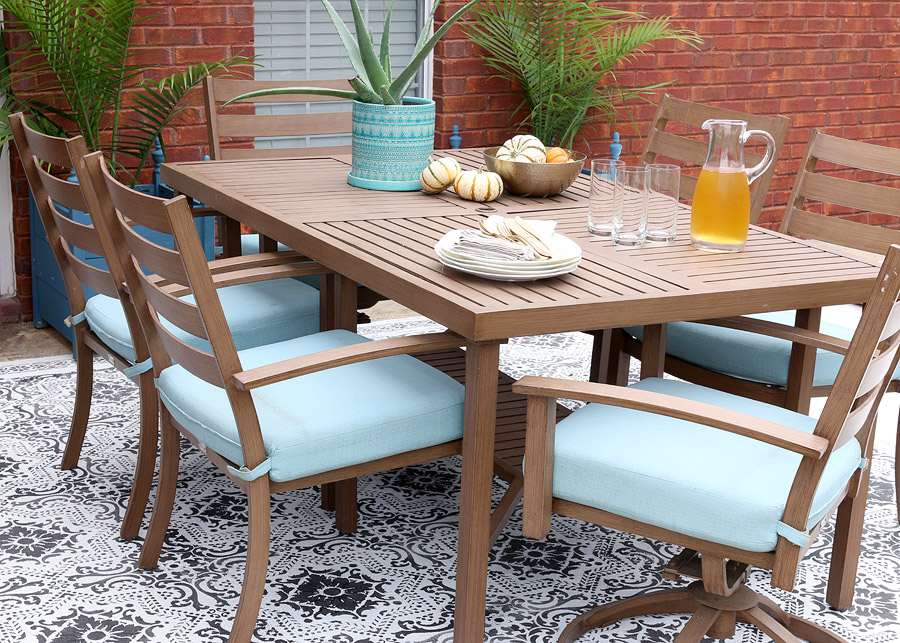 I love how the new concrete rug adds so much interest to my otherwise hum-drum patio.
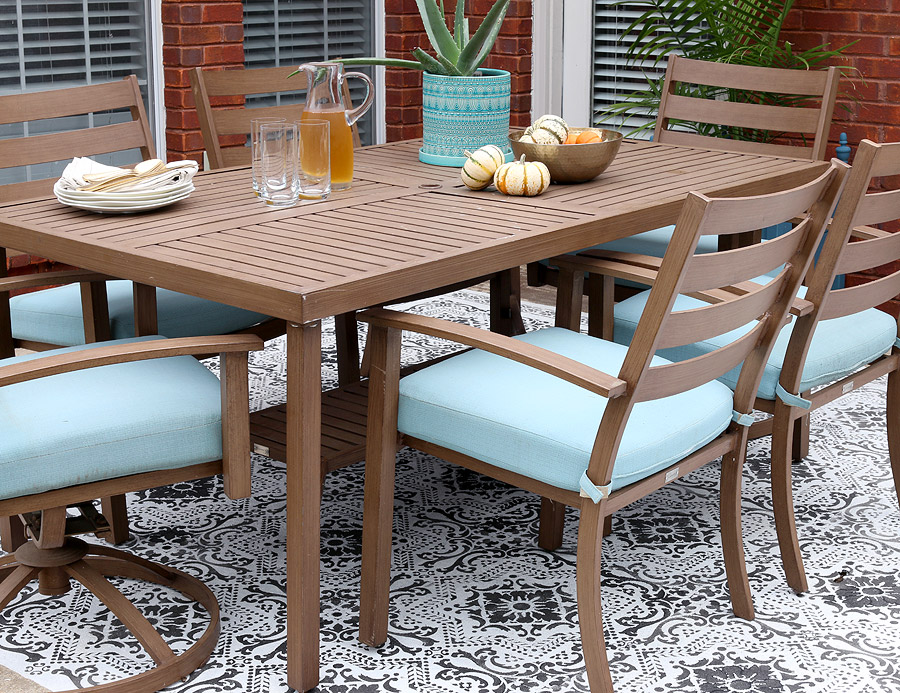 What do you think? Is stenciling concrete on your To Do list? Thanks for stopping by, friends! If you liked this project, be sure to PIN IT so you don’t forget it!
 *This post is sponsored by Royal Design Studio. While I received product and/or compensation to write a post using one of Royal Design Studio’s stencils, all efforts, opinions, happy dances, and professions of undying love for these products are my own.
That looks really nice. I’m scared to try anything like that on my concrete for fear that I’ll then be stuck with something I mess up forever. Can you stain over mistakes if you make them or will they show through another layer you put on top?
Great question Kevin! Let me check with the Behr sales rep and get back to you on that.
I love it! That seems like the perfect solution to my patio as well. Now to get the hubby on board. And then to get my lazy behind to the store and get a babysitter and just plain get this project done. Stage fright, I don’t need you!
You can do it Kara! And surprisingly, it didn’t take very long at all! If you’re doing just a single stain color (unlike my 2 color stain), it should only take an afternoon! Good luck!
This is beautiful well done! I did have a few questions. Did you do anything to prepare the surface before you stained it. What is that black color, is that also a stain, and did you use anything to seal it as well? I’m about to attempt this in my daughters room and not sure if I should use stain or paint! Thanks for any info!!
Hi Julie,
Thanks for writing! I pressure-washed the concrete, then rolled on the white stain and followed up with hand-stenciling the pattern with black stain over top. I chose to use stain because it penetrates into the concrete as opposed to sitting on top of it, like paint would. Paint tends to get slick when wet, so I decided stain was a safer choice and it comes in a variety of colors and opacities.
What Stencil Did you use?
The stencil is linked in the post.
Beautiful!Would you know when you have to etch the concrete before staining?Am planning on doing something similar on our patio.Thank you for the inspiration and instructions!
Thanks Sam! I’m not sure – it would depend on whether or not your patio is sealed. Mine was not, so I didn’t have to etch the concrete or prepare it in a special way before I rolled on the concrete stain. Sorry I’m not much help, but I found the folks at the hardware store where I purchased the stain were very knowledgeable in this area. Good luck!
Oh my, I am subscribing because you make me smile and I can’t wait to read more of your projects. Love both your style and your attidude. I have been noodling on what to do with our boring patio ever since the HOA jackhammered up our tile to replace the concrete and would not compensate us for the price of tile so we could redo it. I love how yours turned out. This is an A+ project. Like, really exquisite. Call me crazy but I love the imperfections. It adds the farmhouse, antiquey feel and promises the observer that this showpiece did not arrive from Ikea or China. One of a kind! LOVE
Wow, thanks so much for taking the time to leave such a lovely comment, Amy! Glad to hear you liked the project – we rented the home and it was an easy fix when it came time to move out: I just re-stained it a solid gray and the patio was like brand new again. Best of luck with your patio!