*This post is in partnership with Starbucks®.
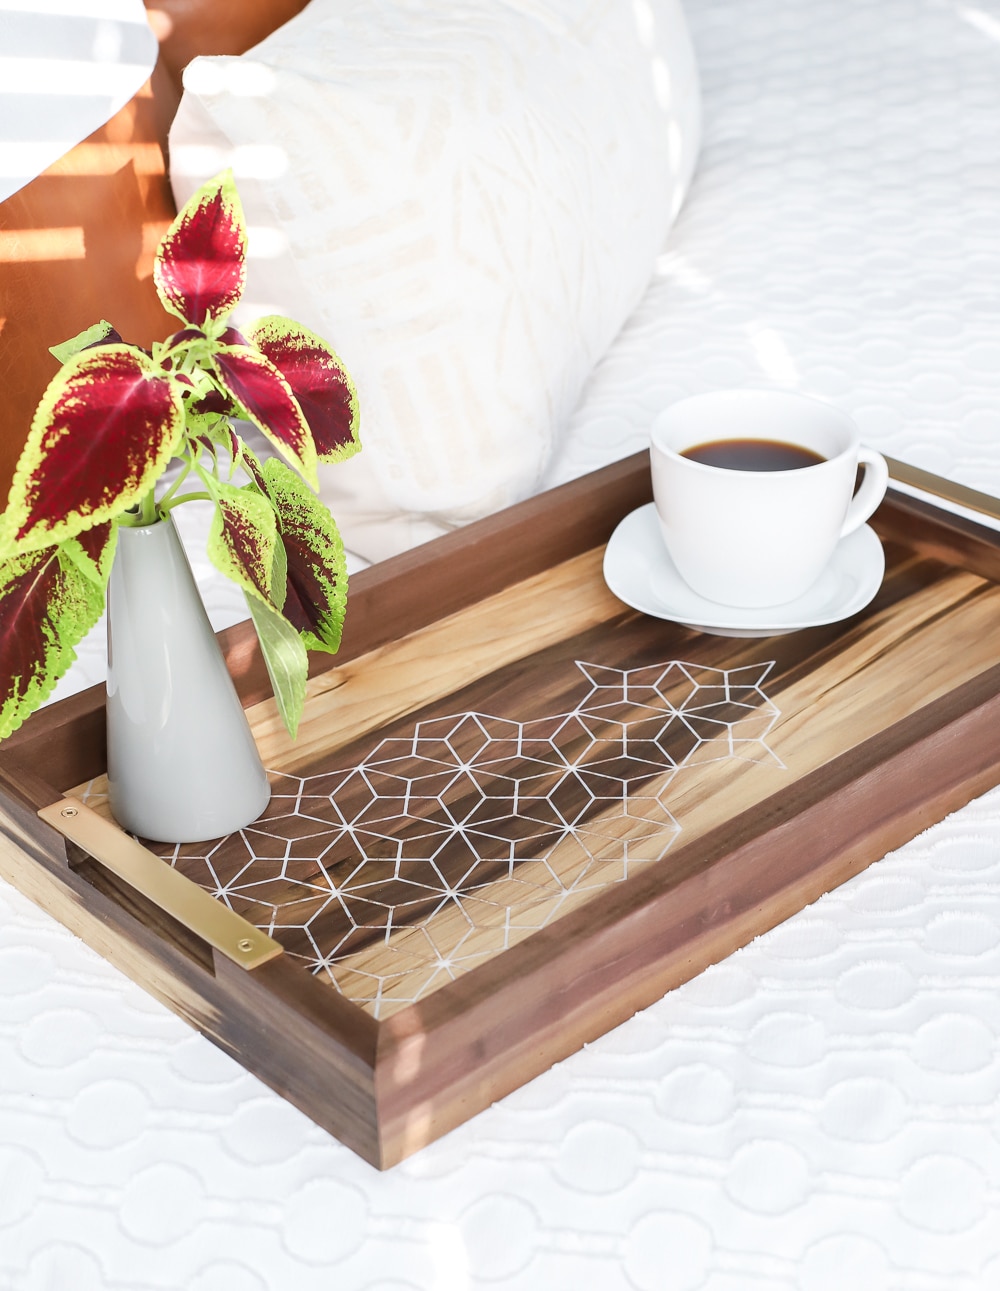
Hi everyone! I’m excited to share my latest DIY project with you: a wood and epoxy resin inlay coffee serving tray. I partnered with Starbucks to bring you the tutorial for this project. Starbucks is pretty much our second home (after Home Depot) and we just got the Starbucks Rewards® Visa® Prepaid Card, so when I was brainstorming project ideas, this DIY coffee serving tray seemed like a no-brainer!
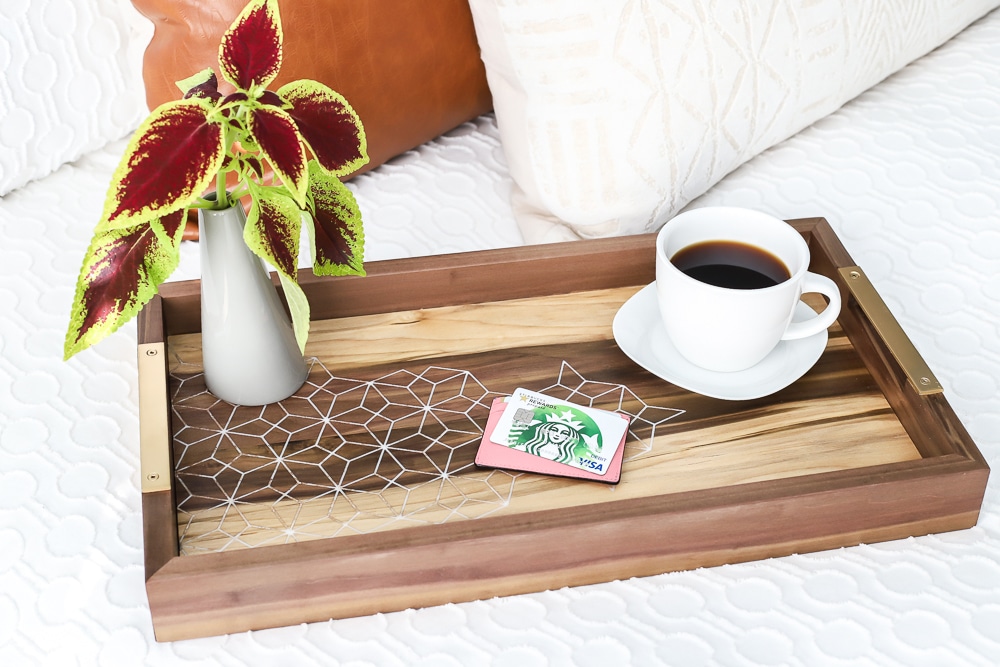
We recently got the Starbucks Rewards® Visa® Prepaid Card. Now, if you know us at all, you know that we’re Dave Ramsey disciples here at The House of Wood. We don’t own any credit cards, we don’t carry any debt, and we live well below our means. In fact, we just purchased a replacement car for Adam and paid cash! Papa Dave would be so proud. We certainly were.
That being said, the Starbucks Rewards® Visa® Prepaid Card is not a credit card. You load your money onto it, so you’re not ‘borrowing’ money, like you would a credit card. There are no monthly or annual fees (other fees may apply), and you certainly don’t get charged for reloading the card. Plus, you can earn Starbucks® food and drink Rewards, which is awesome.
As a Starbucks Rewards® member, you earn 2 Stars for every $1 spent in the store with your registered Starbucks Card, but the cool thing about this Starbucks Rewards®Visa® Prepaid Card is that you can earn 1 Star for every $10 you spend outside of Starbucks stores on whatever you buy. So that means when you use it to buy groceries or gas, you’re also feeding your Starbucks craving! Whaaat! Pretty stinkin’ cool, right? More Starbucks Rewards® for everyone! You can click here to learn more. With this card, I’m able to budget for my projects, purchase supplies, and earn Starbucks Stars in the process!
Alright. Let’s jump into this tutorial, shall we?

How To Make A Wood and Epoxy Resin Inlay Coffee Serving Tray
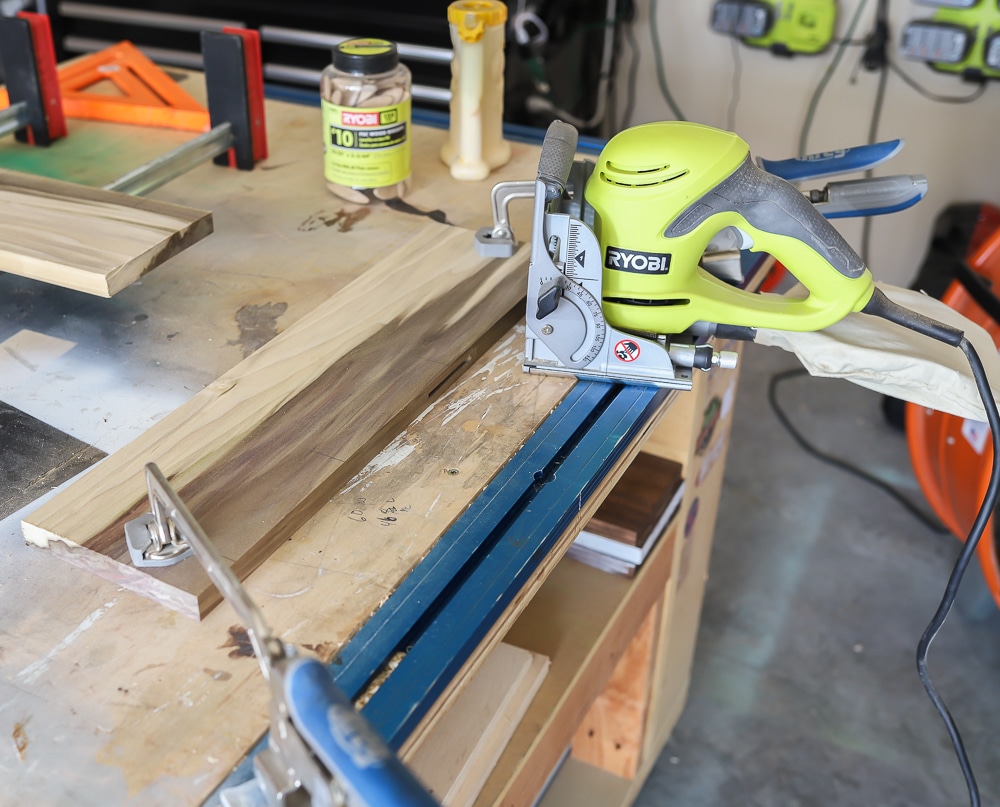
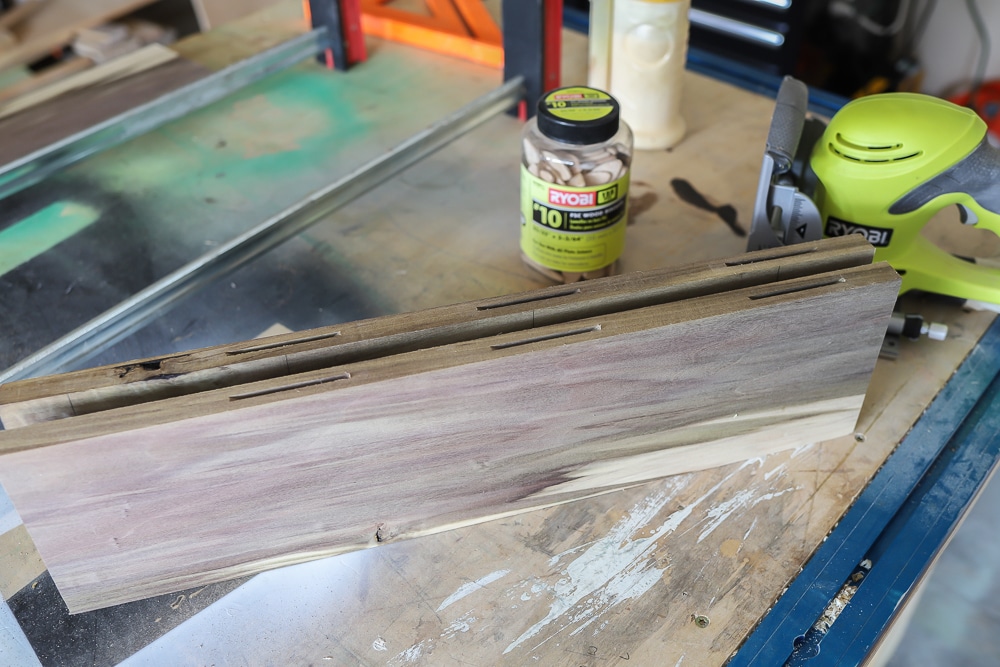
My serving tray measures about 22 inches by 12 inches overall. I dug through my scrap wood pile and found some poplar with a really interesting grain pattern on it. I had to join two boards together edge-to-edge, to make a wider board, so I used my biscuit joiner to cut slots into the edge of each board. The biscuits will help when aligning the boards as we’re doing the glue-up.
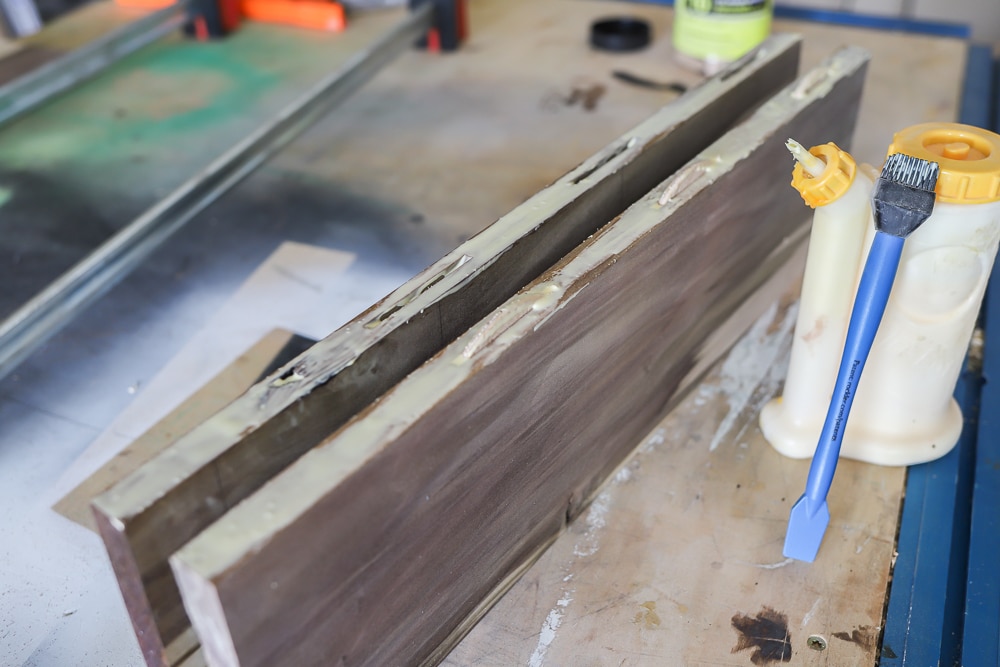
Just add wood glue, insert the biscuits, then clamp the boards together.
This wood glue is my favorite, and I use this glue applicator and silicone glue brush.
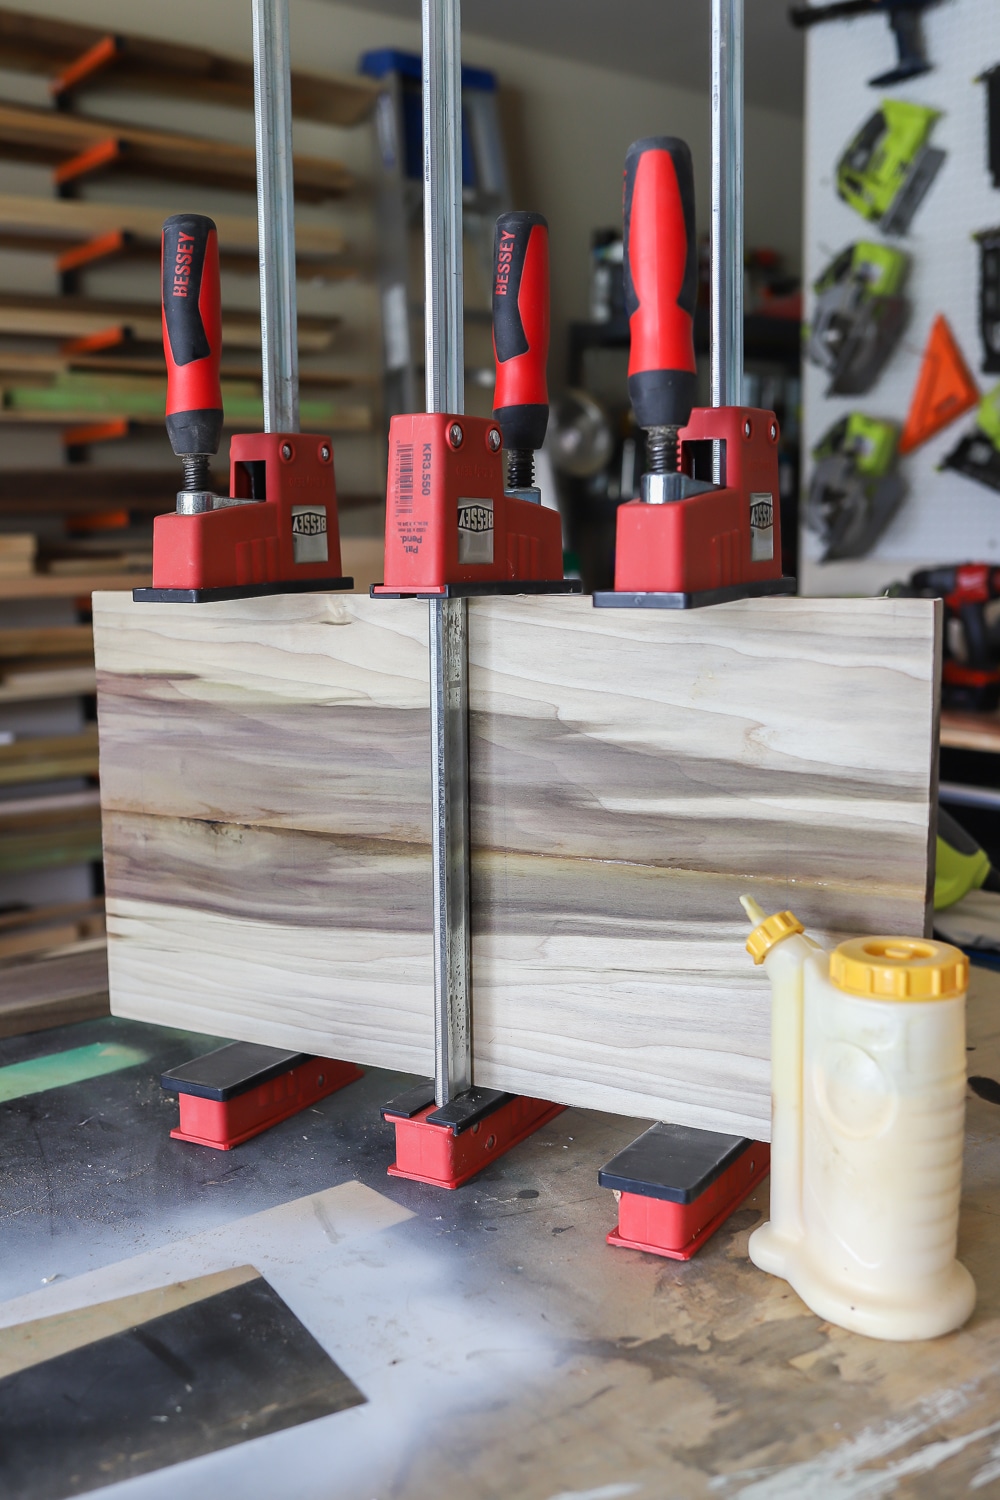
I let the glue dry for about an hour before removing the clamps. A few of these Bessey parallel clamps are great to have in the shop. They’re a bit pricey, but so worth it.
By the way, can we just have a moment for this poplar? Check out that beautiful grain! It’s like Poplar decided that parts of her wanted to be Black Walnut.
Hey that’s cool, Poplar. You do you, girl.
Next, I squared up the ends on my miter saw, then my sweet husband sanded the board (because sanding is the bane of my existence). The board measures about 20 1/2 inches by 11 inches.
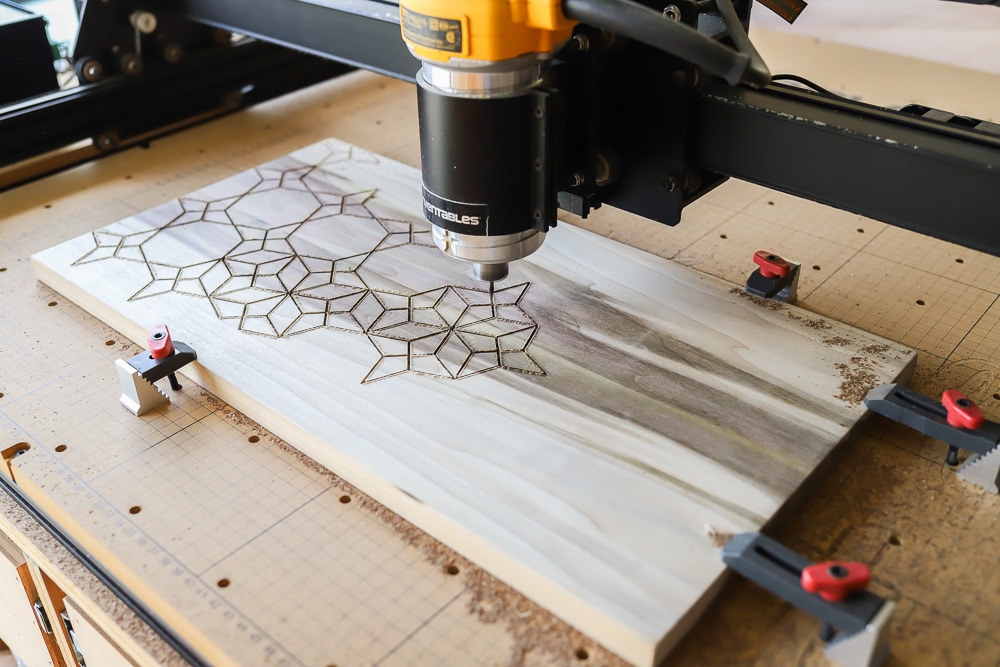
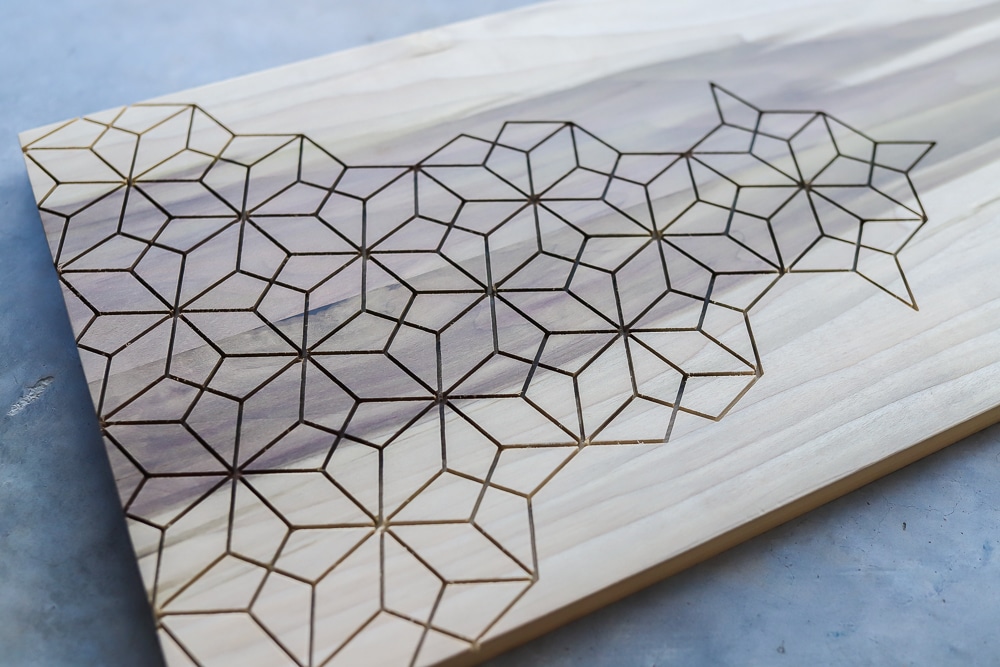
Now it was time for my X-Carve 3D carving machine to get to work. I clamped the board to the machine and let it do its thing. My good friend, Ben Uyeda designed this inlay pattern and he’s made it available for download here.
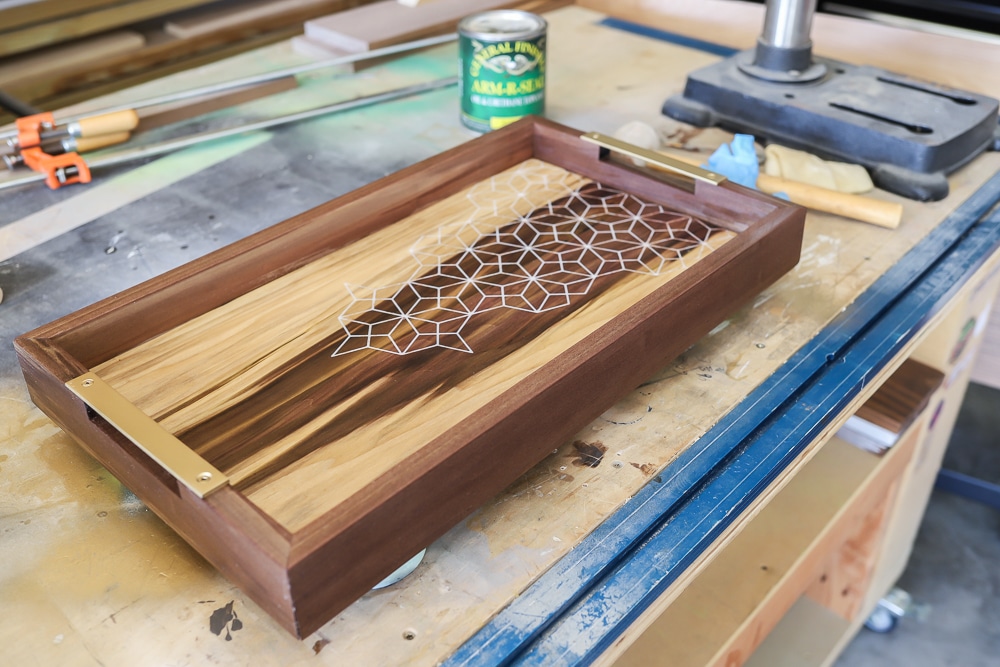
Here’s what it looks like after the carving – isn’t it striking?
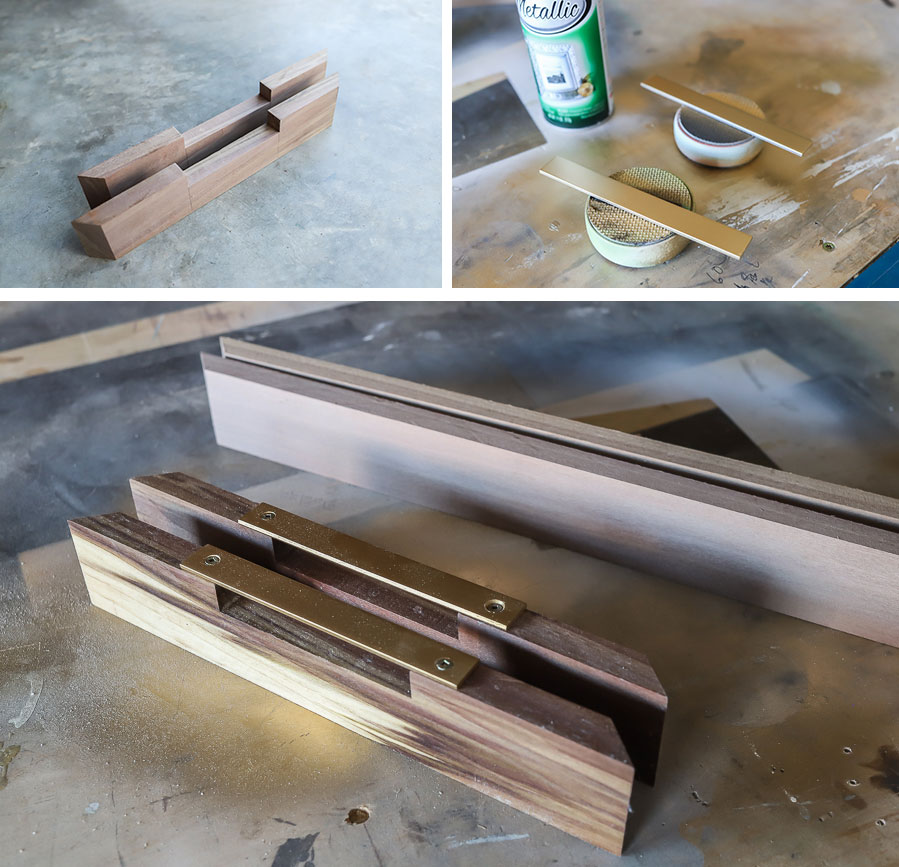
While the X-carve was busy carving out the pattern, I cut out the pieces for the frame, mitering the ends at 45º with my miter saw. I recommend measuring and cutting the miters long, then shaving off a little bit at a time to get the tightest fit.
To get the cutouts for the handle, I made several passes on my table saw then chiseled out the remaining material, but you can also use a jig saw or a band saw to do this.
I wanted to incorporate metal somewhere in this tray and so I cut a few scraps of steel to about 6 inches with an angle grinder with a metal cutoff wheel and drilled holes for the screws. I countersunk the holes so that the screw heads would sit flush to the surface. Then I sanded any rough spots or burrs and spray-painted the handles gold. Be sure to pre-drill the pilot holes on the wood too, to minimize any risk of the wood splitting.
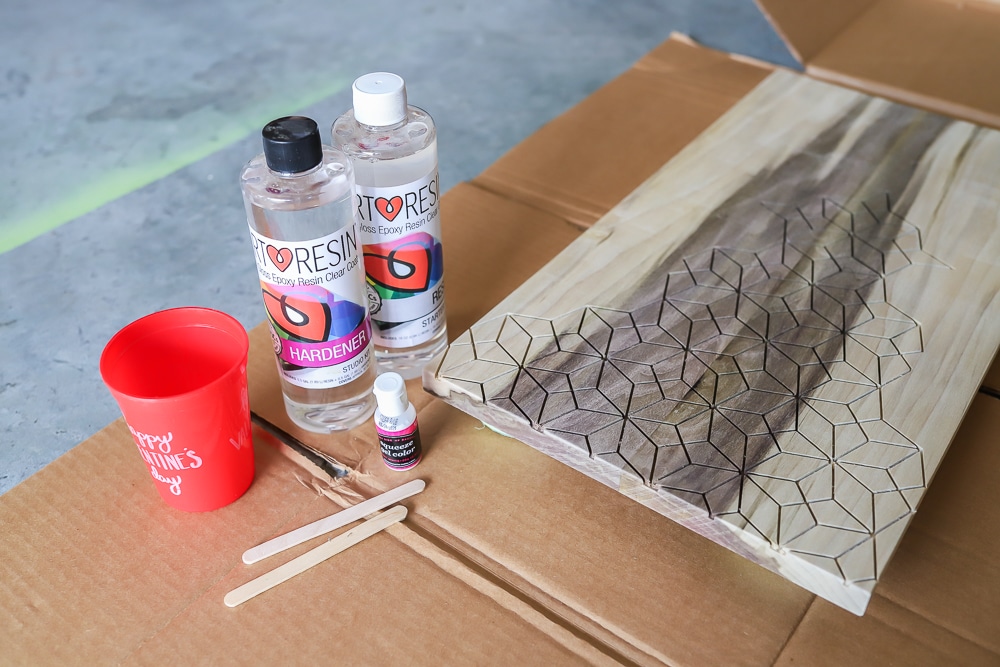
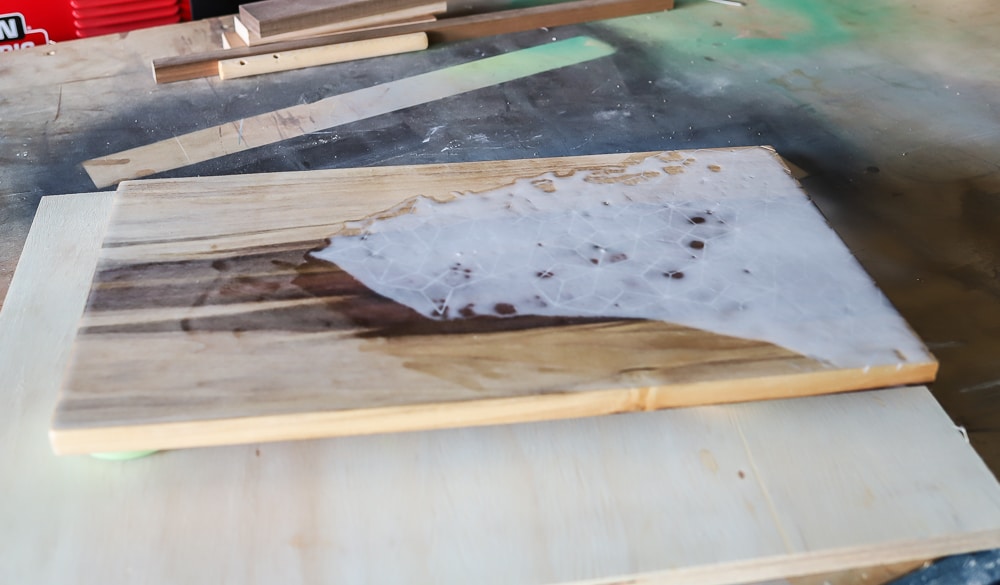
Now for the fun part – filling the carving with epoxy resin! I used this epoxy resin because it’s food-safe, and I added food gel coloring to tint the resin white. Per the instructions on the bottle, I mixed a 1:1 ratio in a plastic cup and added a couple squirts of the food coloring until I got the level of opacity I was looking for. Use a popsicle stick to stir the mixture for about 3 minutes and be sure to wear gloves – this stuff is super sticky!
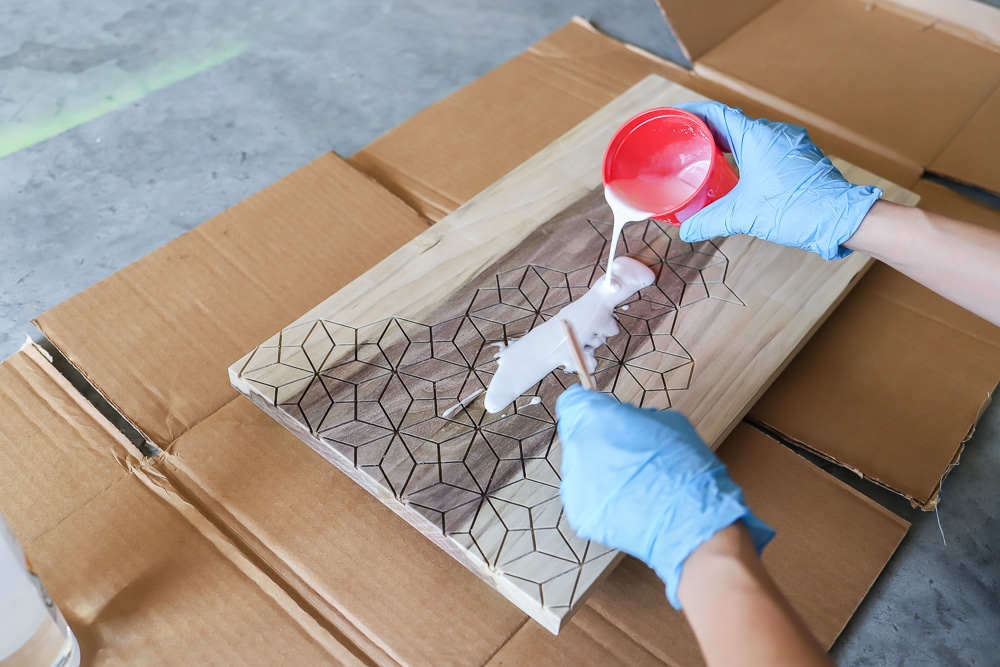
I poured the epoxy resin onto the board, working it into the carving. The resin is self-leveling, but I did my best to spread it evenly across the surface. Use cardboard to catch any drips then let the resin dry and harden (in a dust-free area) for a minimum of 24 hours.
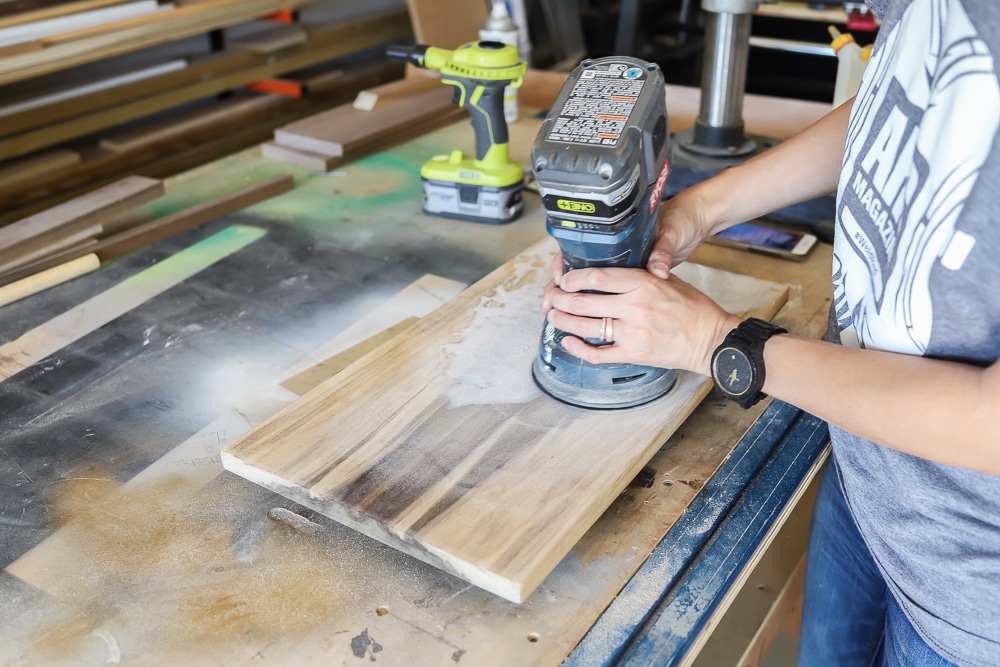
The next day, I sanded the remaining resin down. I used 80-grit sandpaper and worked my way up to 320-grit.
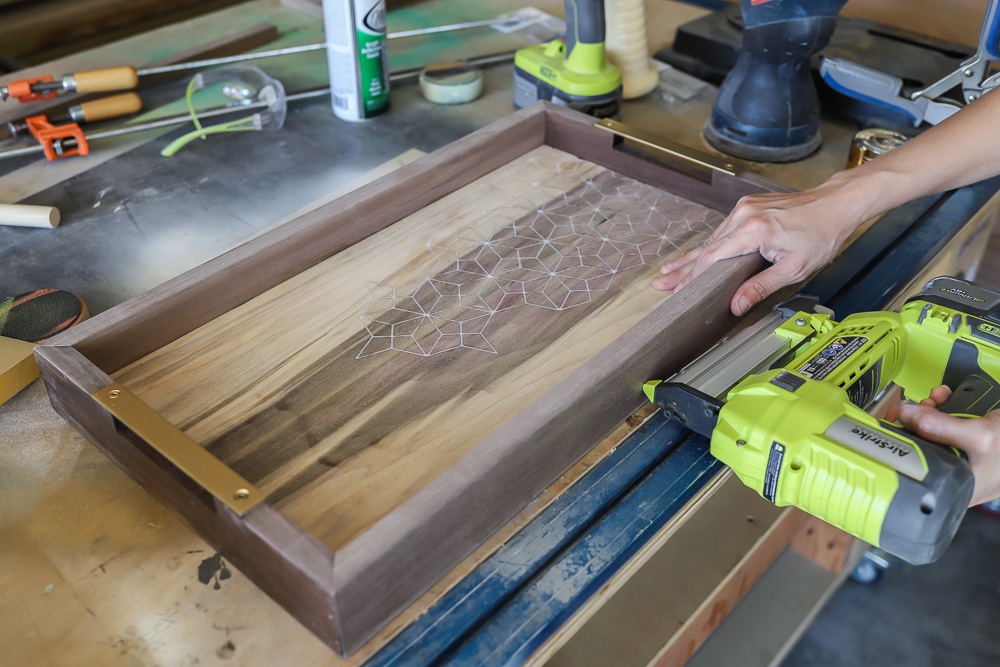
Then I glued and nailed the frame pieces on. I love this new cordless pin nailer – it leaves the tiniest nail holes, you can hardly see them!
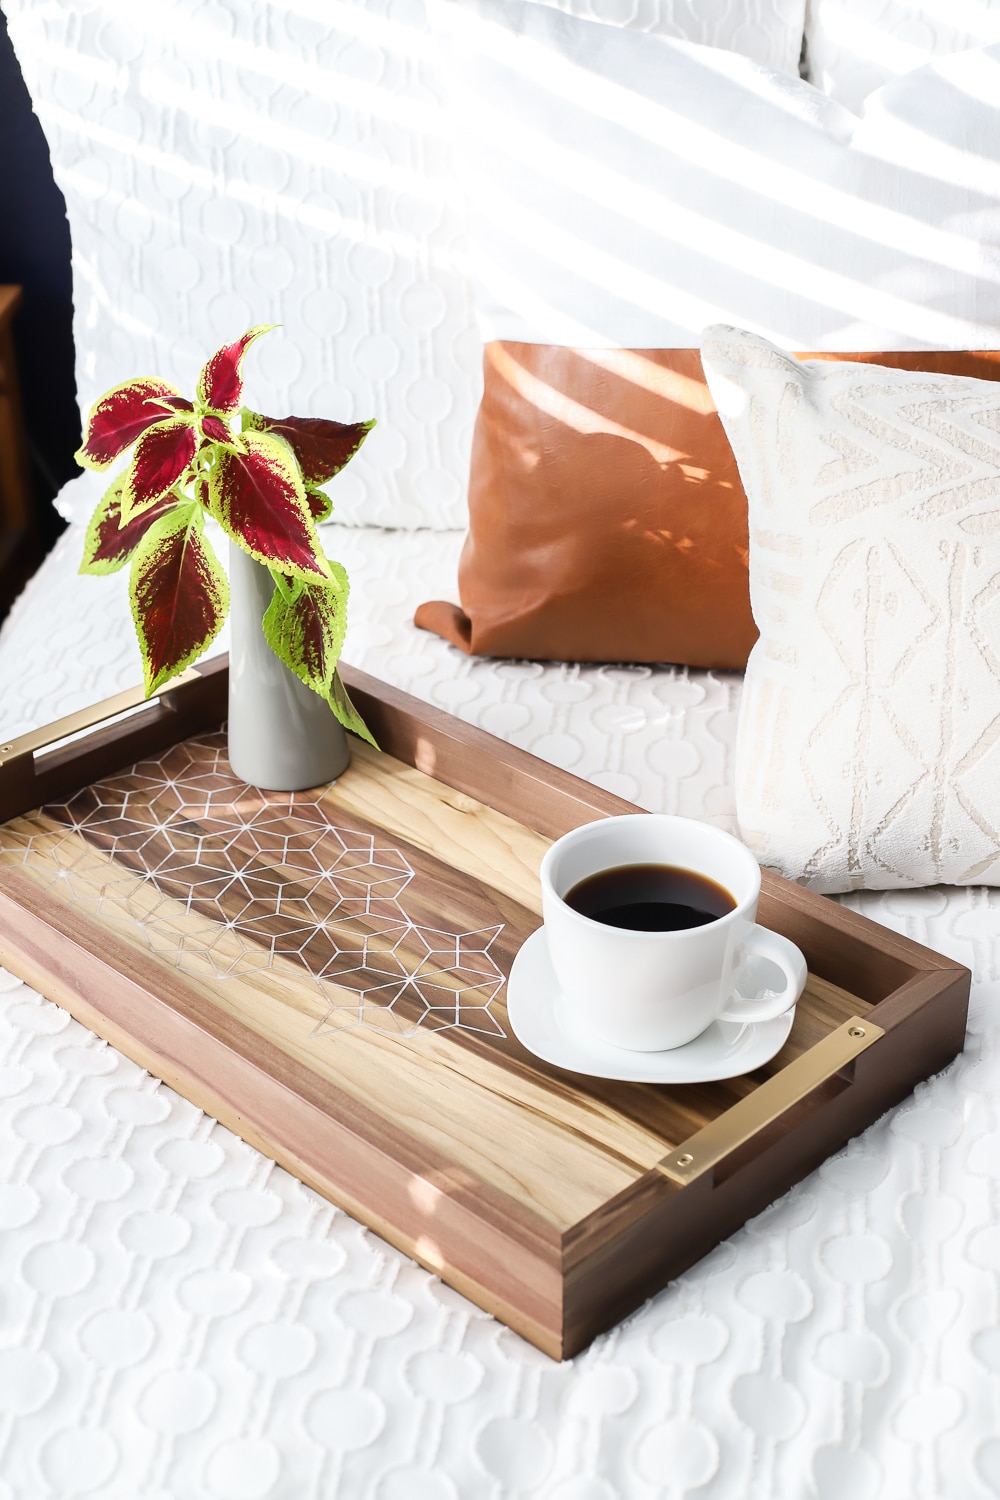
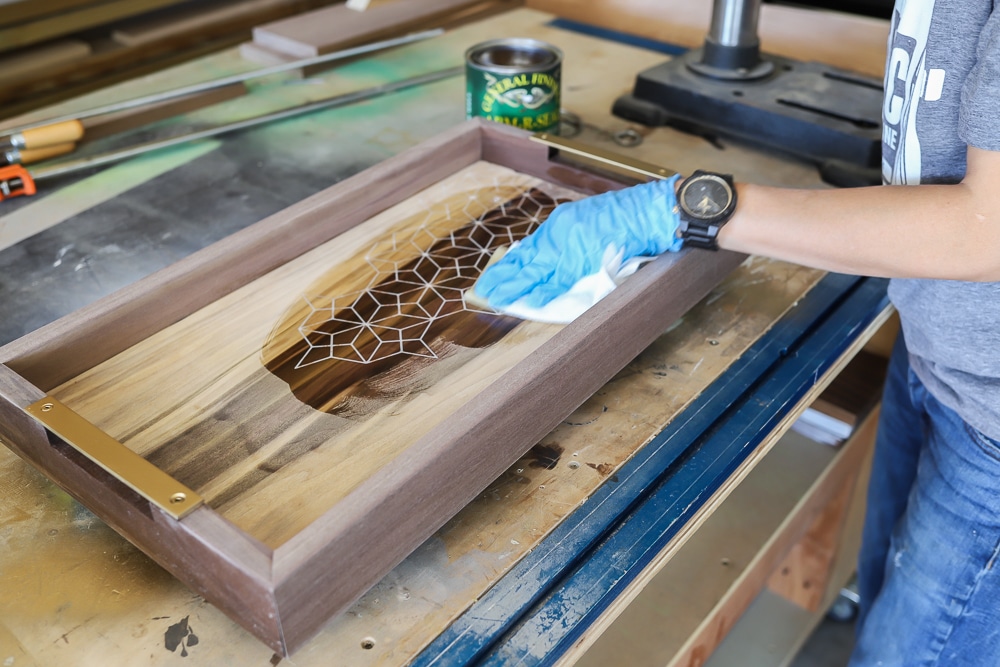
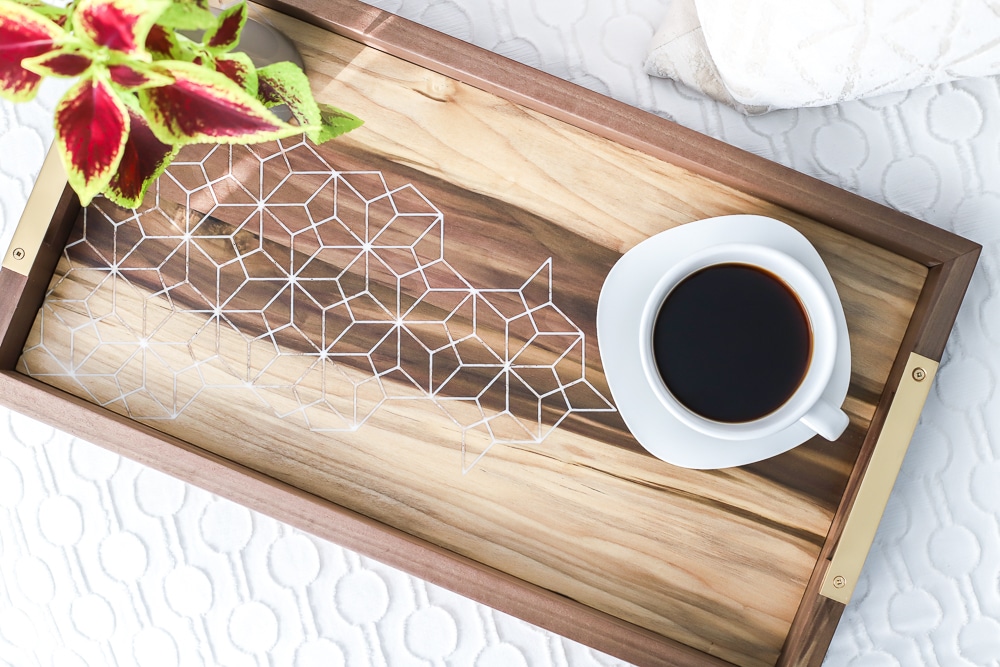
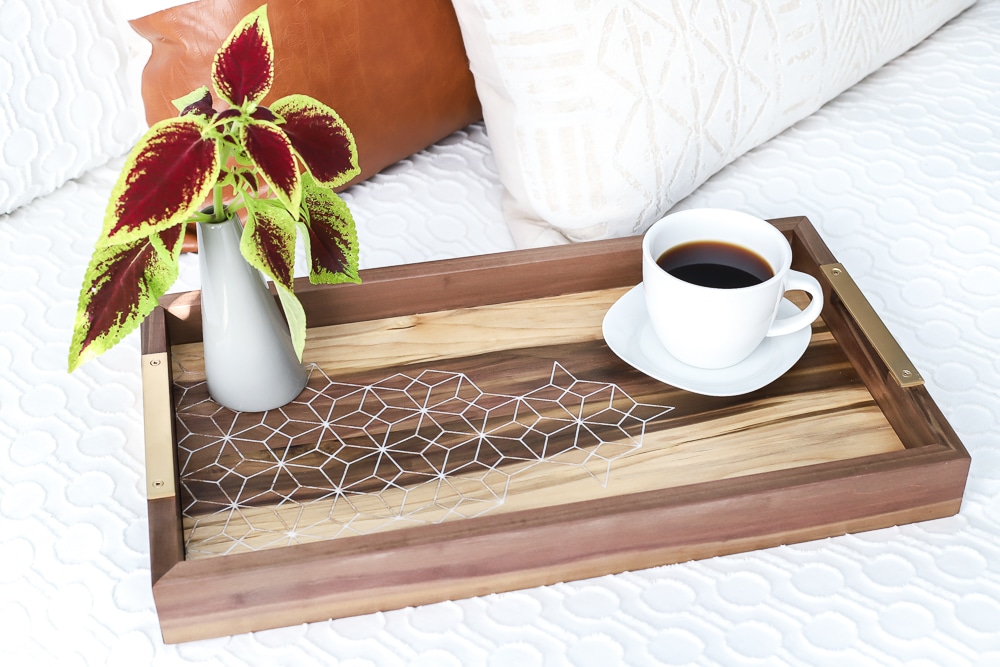
Finally, I finished the serving tray with a couple of coats of my favorite satin finish. Watch how that grain and that inlay pattern just pops! Ahhh… so beautiful.
Allow the finish to cure overnight before using the tray.
Yep. I’m madly in love with that beautiful, unexpected poplar wood grain! What do you think? Hope you enjoyed this DIY wood and resin inlay coffee serving tray tutorial – tag me on social media @jenwoodhouse if you make one of these for yourself!
*I have partnered with Starbucks to help promote the Starbucks Rewards® Visa® Prepaid Card. All efforts, ideas, and opinions are my own. This post contains affiliate links. To read my full disclosure policy, please click here. At participating Starbucks® stores. Some restrictions apply. See Starbucks.com/terms for details. Debit cards are provided by JPMorgan Chase Bank, N.A. Member FDIC.



What a BEAUTIFUL tray . Thankyou for the great directions. Can we add color to that resin?
Thank you Bess! Yes, absolutely! I’ve seen many epoxy resin projects with added color and even sparkle!
Thank you . I love your projects I am 84 and still love doing wood items. Have worked with Myrtle wood most of my life and a lot of wood burning. Have a great
Christmas.
What a cool project! What did you use to sand down the burrs in the metal? I have a similar step coming up in my own project.
Thanks Cindy! I used a metal file to remove the metal burrs.
Love the epoxy inlay! Beautiful piece of poplar and great pairing of the grain pattern with the CNC pattern.
One suggestion for the epoxy resin inlay. Next time try a squeegee to wipe most of the epoxy off. It doesn’t eliminate the sanding, but does cut the time down you have to do it.
Great tip, thanks John!
Great tray Jen, well done.
Thank you Keith!
Hi Jen,
Very lovely work and thanks for all your great tips and illustrations. Just curious what type of metal/handle did you use on the tray? Do you have a link to where we can get it? Because I don’t think we ever seen this in Canada lol.
Have a wonderful Christmas and a blessed new year ahead ?.
Ruth & Michael
@Almondpairfurniture
Hi Ruth and Michael,
It’s just a piece of scrap steel – flat bar that I bought from Home Depot.
It’s beautiful. My only question is why use the food grade resin if you are using a non-food grade satin finish? Am I missing something in the directions?
Hi Rhonda,
Great question! All finishes are considered food safe once they’re fully cured. In choosing this resin, I was worried that it might possibly degrade over time, so I wanted a food-safe resin just in case some pieces broke loose (not that we would eat them, but I tend to overthink things). However, it’s extremely hard, and I haven’t had any issues with the resin so far. Hope that helps!
Hello Ronda, thank you for explaining your method of using resin with wood, I have been a woodturner / carver for many years and existed the resin experience. Now I am an enthusiast going through a steep learning curve.
In my initial trials I experienced leakage into the wood that was not part of the resin infill. My supplier said coat board to give light sealing coat . Do you have any other suggestions for sealing.?
I live in Melbourne Australia where we have an abundant supply of great Timbers and I use my CNC machine regularly, I have enclosed my Instagram handle and website for you to. Look at
Kind regards
Chris
@chrisdrysdale42
www.craftedbychris.com.au
This is really cool. I found a tray recently at a yard sale. It called out to me, but looks rather rough. Not only is the top kind of unappealing, but it does not have legs. I’ve been trying to figure out how to make it beautiful and you have provided me with a solution! Thank you.
Hello Jen my apologies for calling you Rondha in my previous email to. you
Regards Chris