One day – it was a Wednesday, I think – I was minding my own business, browsing around the interwebs looking at pretty things I can’t possibly afford when I ran into this gorgeous marble tray:
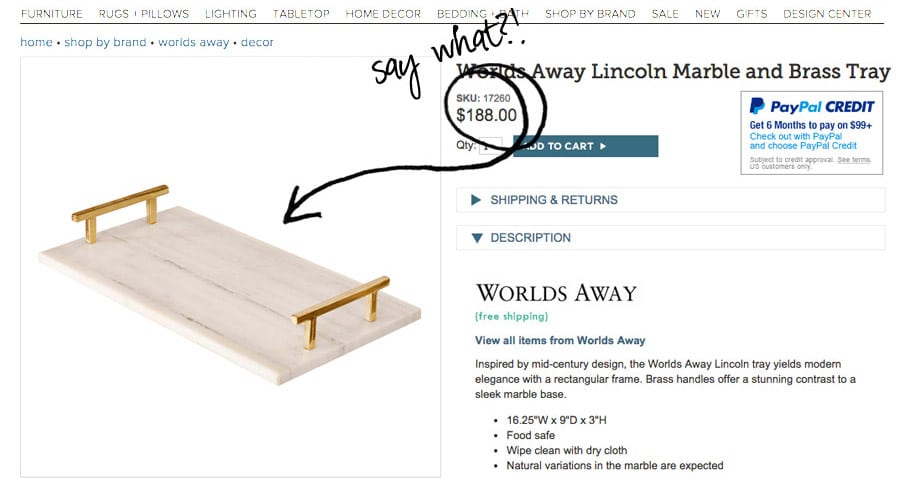
Did you peep that price tag? $188. That’s one HUNDRED eighty-eight DOLLARS. No. No. NO. Click away. Click away. Don’t look back. But I just couldn’t get it out of my head. That marble! Those brass handles! You see, I kind of have a thing for pretty trays – useful, practical, and they’re a dream to decorate with. Trays are so stylish, yet they corral clutter like it’s nobody’s business and they just generally make your life look like you’ve got everything under control.
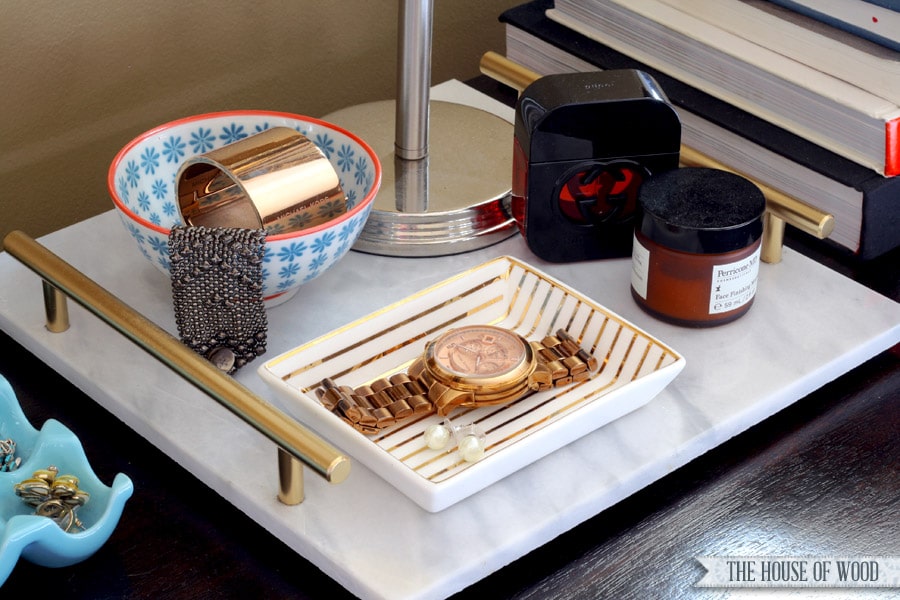
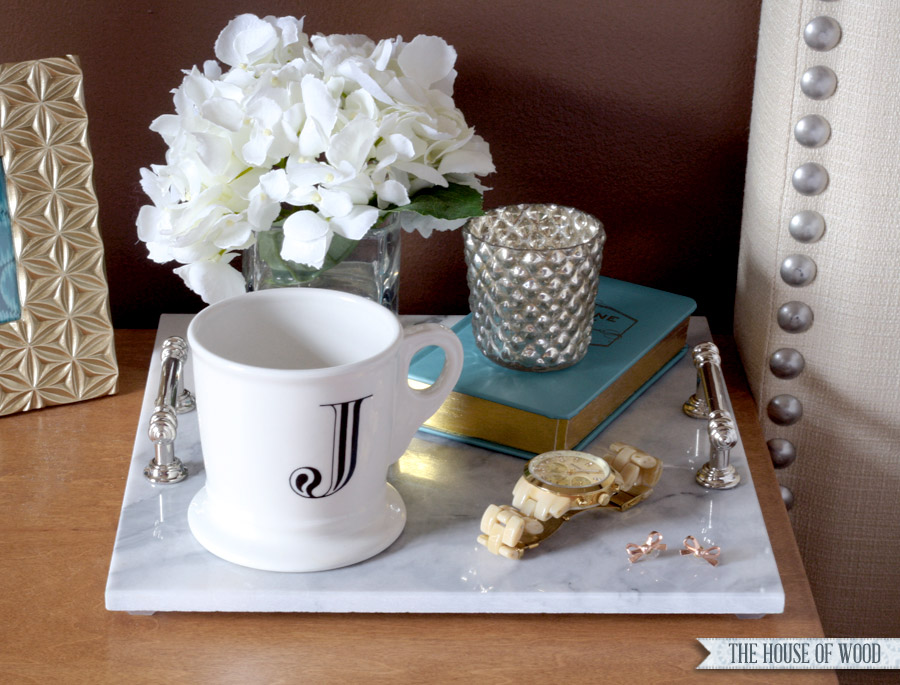
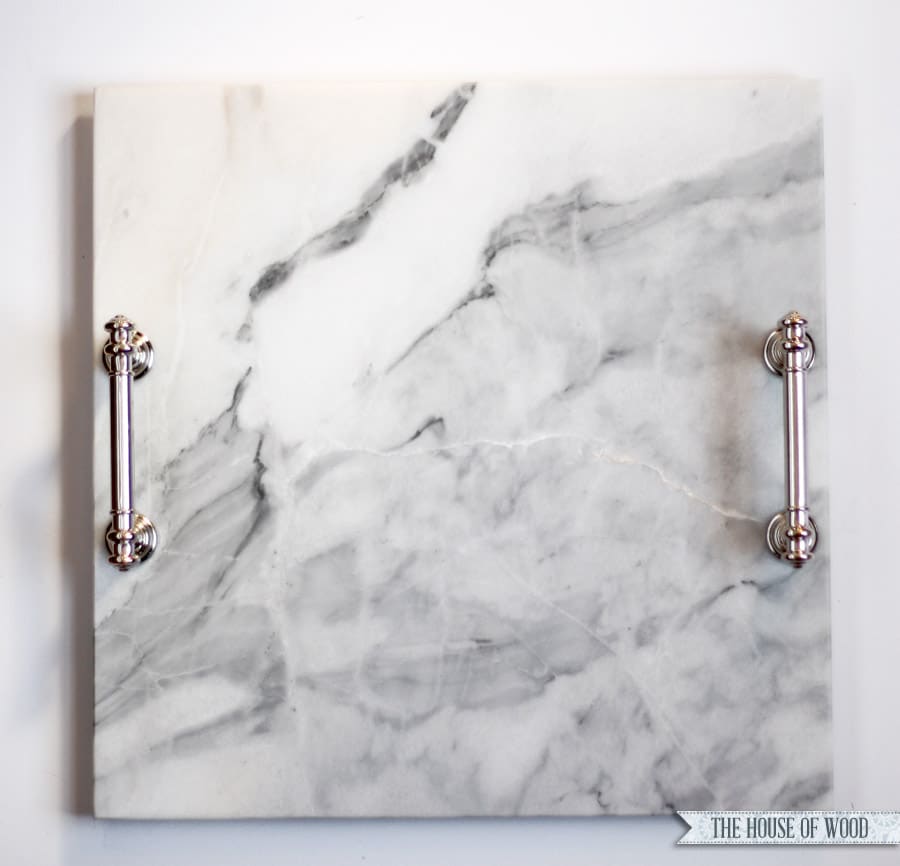
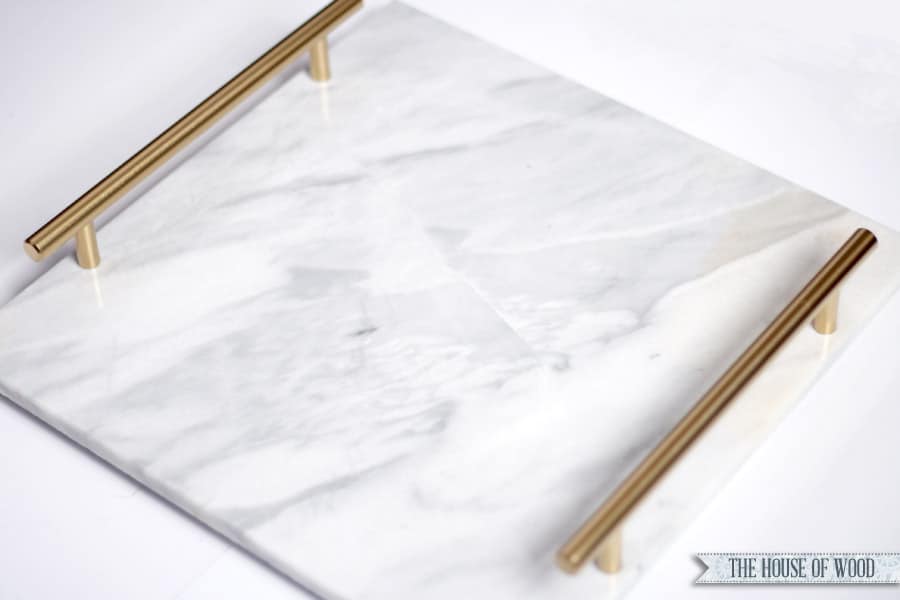
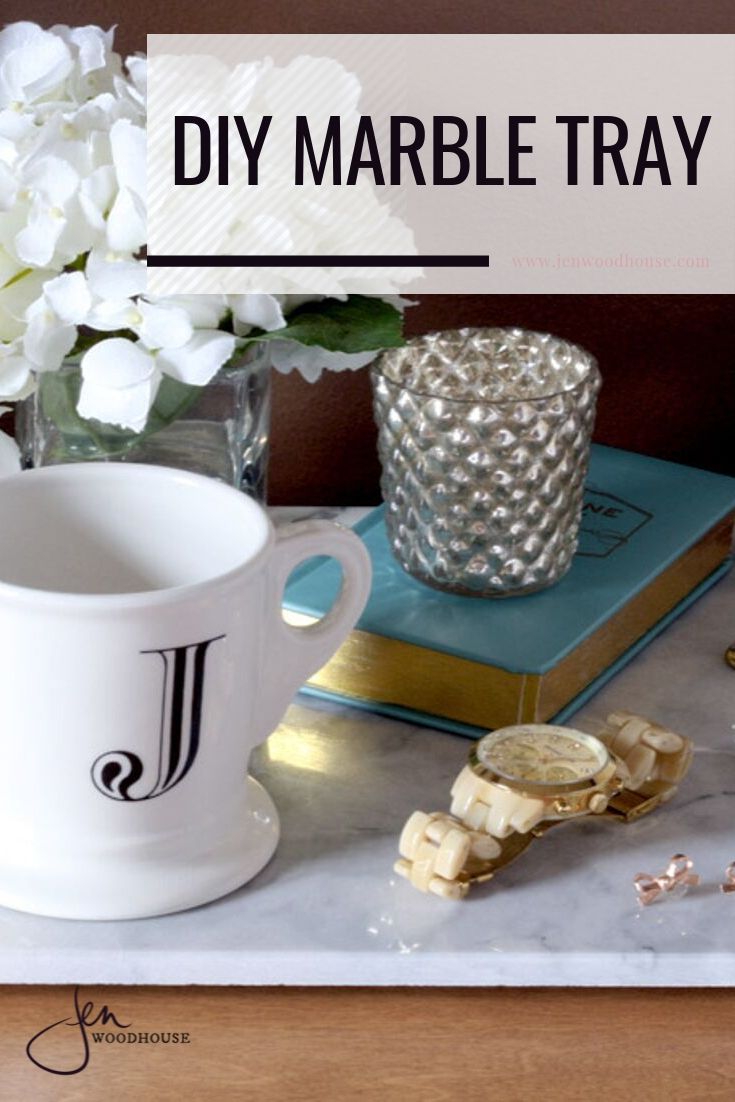
So let the records show that this is the easiest DIY ever done. So easy, I made two! See?
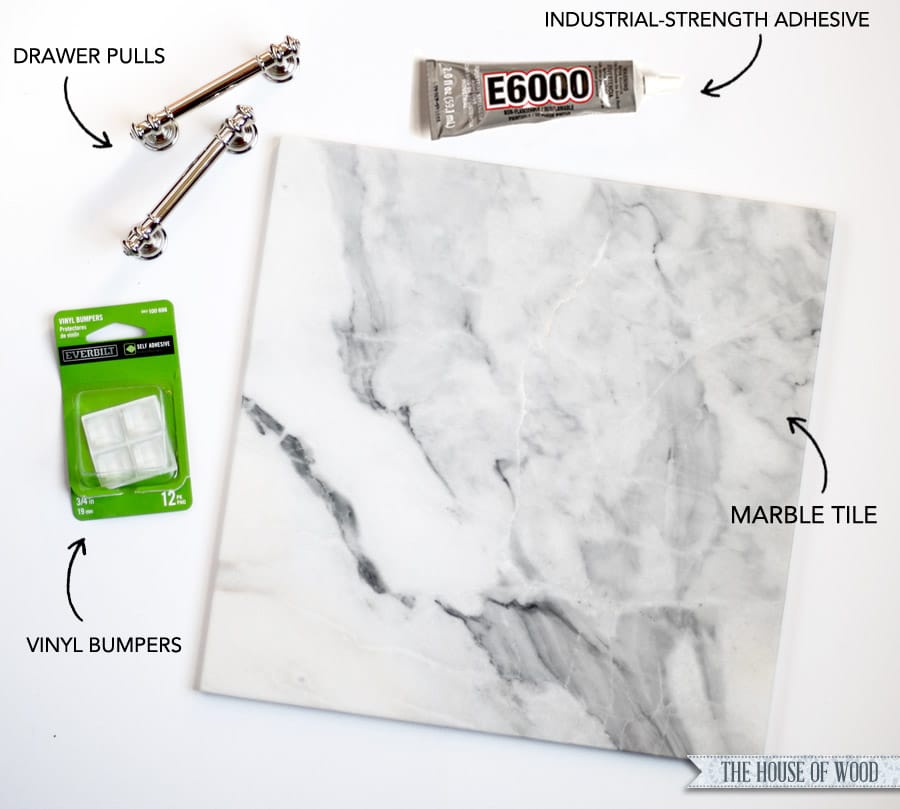
Here’s what you’re gonna need:
Materials:
- 1 Marble Tile
- Industrial-Strength Adhesive
- 2 Drawer Pulls
- 4 Vinyl Bumpers
In my neighborhood, marble tiles run about $3.99/square foot from the hardware store. I’d guesstimate you’re going to spend anywhere from $10-$25 on this project. And I can pretty much guarantee that you won’t be spending anywhere near $188 on it. You’re welcome.
Of course, your cost will vary depending on which drawer pulls you choose, the size and price of your marble, and if you have supplies already on-hand. I had the glue and drawer pulls on-hand from previous projects, so the tray with the chrome handles ended up costing me less than $10. Ten bucks! For a beautiful, luxe vanity tray. Can’t beat that, amiright? The way I see it, I saved $178.00, so logic dictates that I can spend $178 on something else, like a pair of shoes, right? Somehow my husband doesn’t understand my logic.
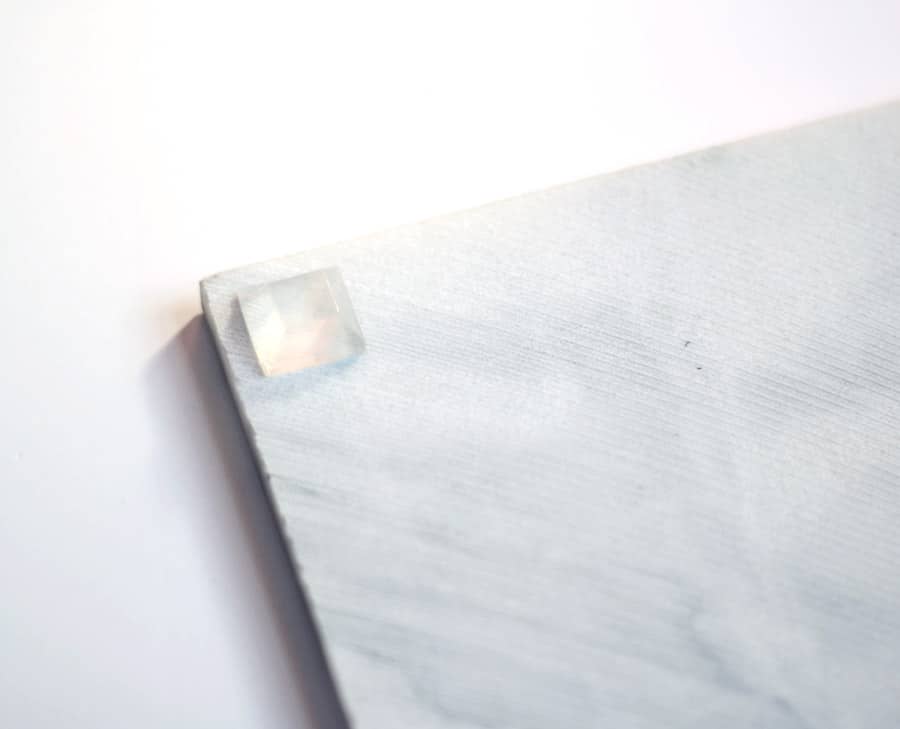
Alright, well, let’s get started. First, you take these self-adhesive vinyl bumpers and you peel the stickers off the backs and stick ’em onto the underside of your marble tile. They give the marble little ‘feet’ to stand on and help protect whatever surface you’re going to place your tray on.
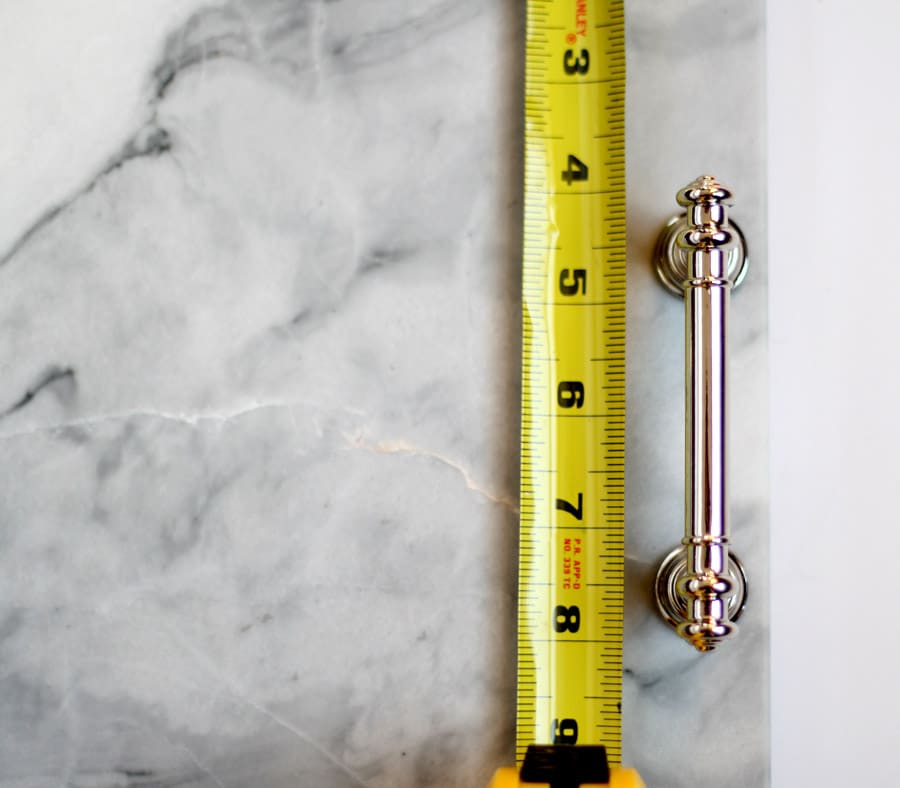
Then flip the tile over so it’s right side up and measure where to place the drawer pulls.
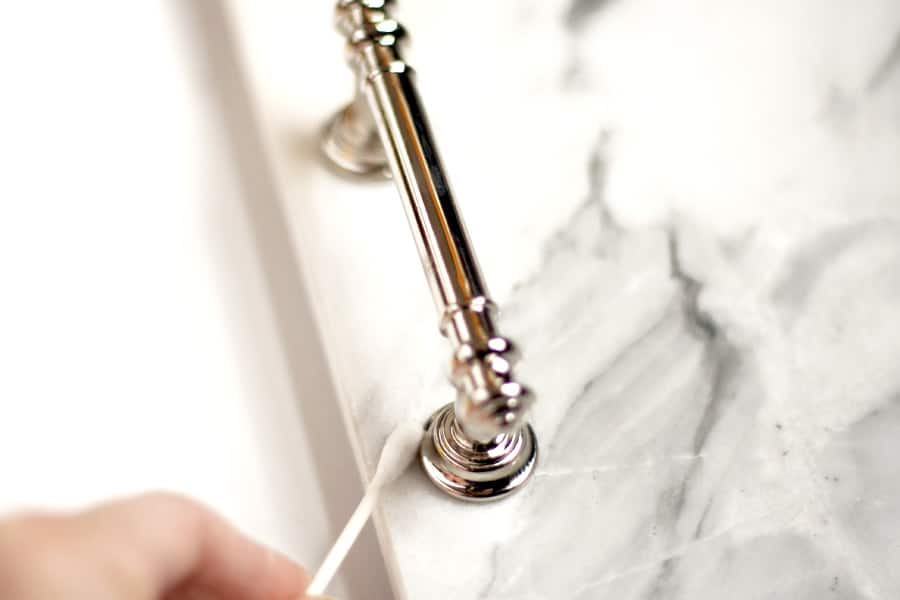
Then you squeeze a dab of adhesive on the pulls, wait a minute or two and let the glue get a little tacky, then carefully place the drawer pull onto the marble. With a cotton swab, clean up any excess glue that may have seeped out, then let the whole thing cure for at least 24 hours before messing with it.
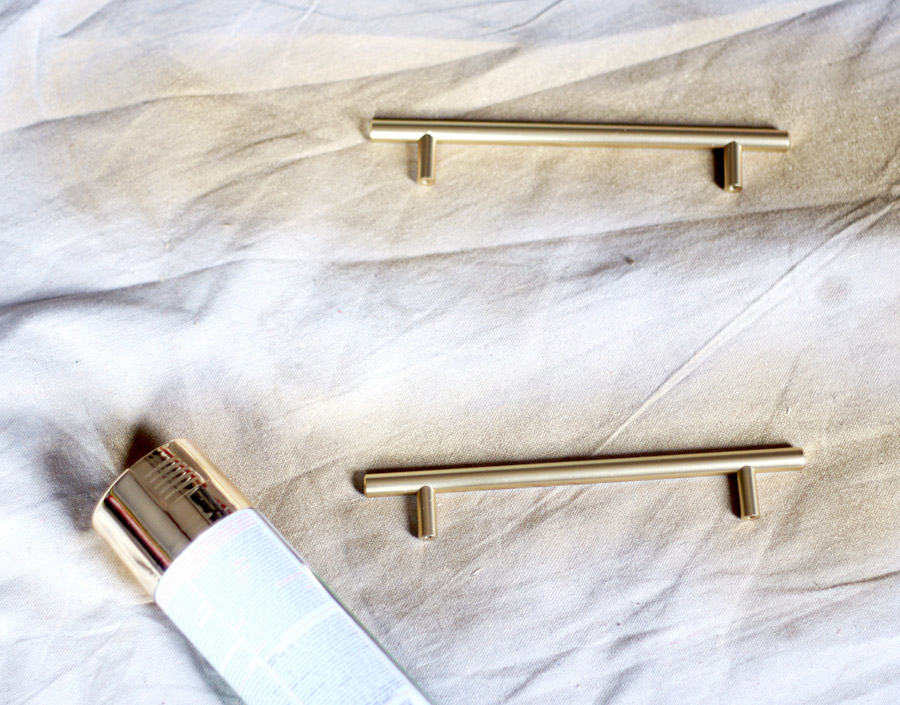
I liked my marble tray so much, I made another one, this time with gold handles. I found these chrome handles at the hardware store. They were a bit pricey (about $10/pull) and I couldn’t find them in gold or brass, so I spray-painted them. I do have a favorite gold spray paint, but the company is not affiliated with me in any way, shape, or form, nor are they sponsoring this post, so I’ll just give you a hint: it rhymes with Crustoleum. You do the math.
Then I repeated the same dealio: dab of glue, let it set for a couple minutes, measure the placement, then place the handles onto the marble tile. Let it cure overnight before handling.
And yes, while I can carry the tray by the handles, I don’t feel comfortable doing so. I’m a bit skeptical of the strength of the glue. Though it claims to be ‘industrial’ (whatever that means), I still don’t feel confident carrying this thing by the handle. Maybe I have trust issues. The marble is pretty heavy and I wouldn’t want the handle to pop right off, sending my beautiful piece of marble crashing to the floor. Or worse: on my bare feet. Yikes. P.S. I will not be held liable for death by marble tray.
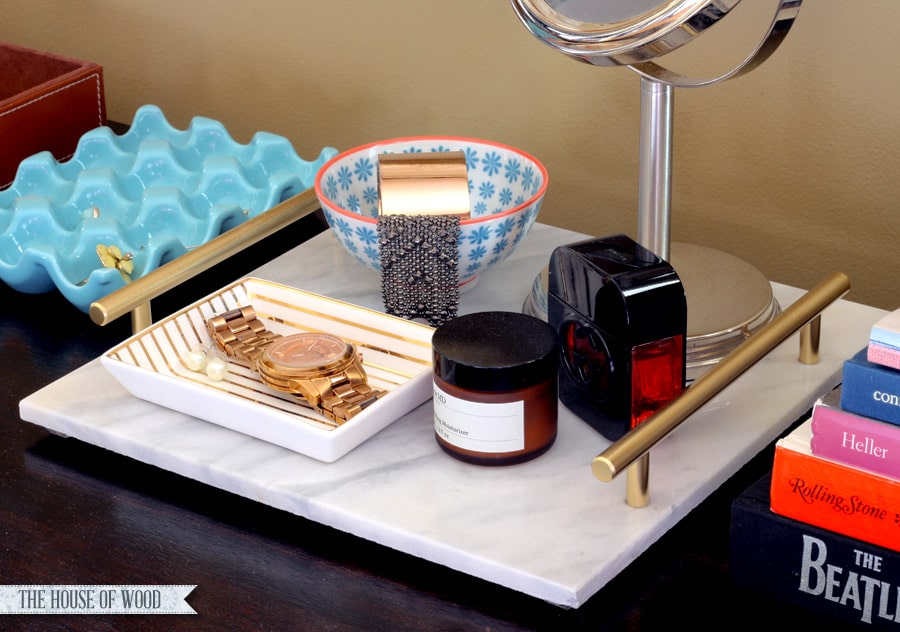
Display your beautiful new tray on your bathroom vanity, dresser, or coffee table and let it corral your clutter and look gorgeously glam in the process. Seriously, is that the greatest bang for your buck or what? So luxurious and elegant, with very little effort and cost. Boom.
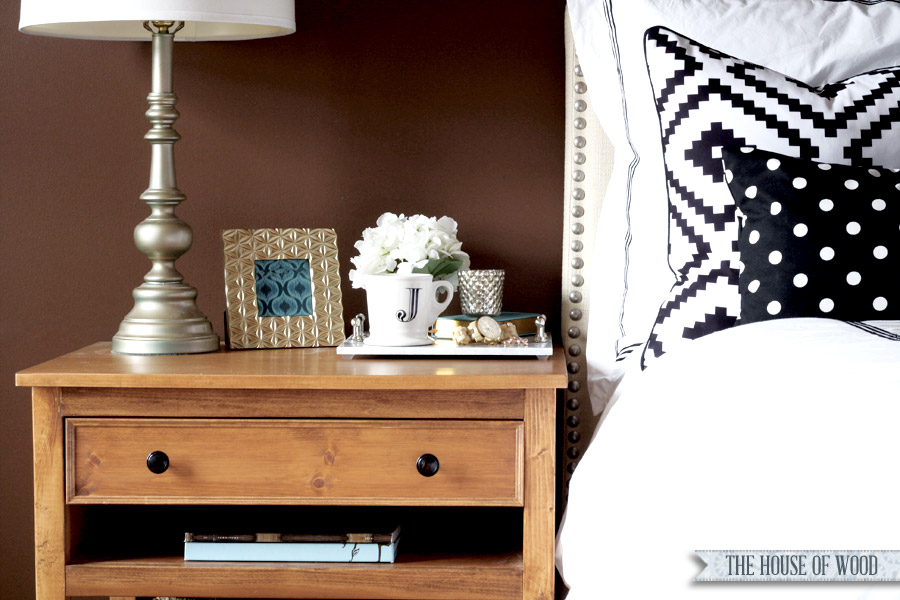
Did you spy that DIY bedside table? It was my very first furniture design and the tutorial on how to build it can be found here.
I’d love for you to try this project out for yourself – if you do, please come back and share! Oh, and as always, I would love for you to spread the love and pin the image below. Thank you – I heart you.






such a clever idea! Here in Brazil, decor is very expensive. DIY is always welcome, specially the easy ones. Love the idea!
As a jewelry designer I can attest to the strength of E6000 industrial glue. Pieces of jewelry I’ve designed I have put through a full cycle in the washing machine to make certain that what I am selling will hold up. I never last one piece, the glue held and yes I dried it with t he clothes too. You can not beat E6000 or the price. Walmart has the best price.
Perfect idea!! <3
Thanks for idea! !<3
Love this lux idea, thanks so much for sharing! Also, where did you get those cute little striped trays (shown here as gold-striped and then teal-striped in your “organizing jewelry collection” post)??
Thanks for the kind words, Rio! The striped jewelry trays are from J.Crew.
Love your marble trays! I have the “big handles” on my kitchen cabinets so I’d love to have a tray for the kitchen like that. Like the idea of using it as a jewelry or nightstand tray also. Gorgeous! Thanks for sharing!
Where can I find the instructions for attaching the handles using a drill?
Was wondering what size is your marble tile? I couldn’t find nothing. Similar at Home Depot sadly..
Hi Cindi!
I believe the tile was 12″x12″. I found it at Home Depot!
Did you polish/file the edges? My husband insists I need to do that.
I want to make several extra marble pieces I have from re-doing a bathroom and make them into cheese trays etc… please let me know how the drill ones went when you do them. Thanks!