*Friends, last week, I introduced you to Linn, the gal behind Darbin Orvar, the popular DIY/Woodworking channel on YouTube. Linn is sharing her current built-in bookshelf/cabinet project with us, every step of the way! What a treat, right? If you missed Part One, here it is. Welcome back, Linn – thank you for sharing Part Two of your built-in bookcase project with us!
I love the part when you’ve done your thinking, planning, and preparing, and it’s time to just get started…
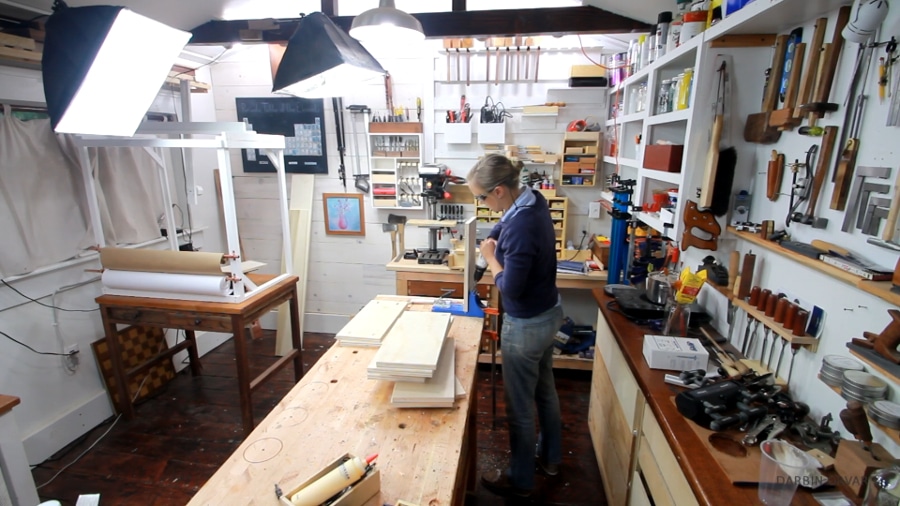
The first thing I like to do is take some careful measurements and get a cut list together. My wall wasn’t exactly even (like most walls, especially in old houses!), so I just went with the smallest dimension I found on the wall. Then I got out my graph paper and made some drawings to scale and created my cut list.
It’s so much easier to get working when you have everything planned out, that way you can start and get all your cuts ready ahead of time. I’m using my table saw to create these cuts, however you could always use a circular saw, or you could even have the people at the big box store cut them for you – sometimes they charge a little extra if you want a lot of cuts, but it’s an option if you don’t have a saw yourself.
Once I had all of my cuts, I decided to start with the upper shelving unit. I decided to build two basic units and then connect them with shelves in between, creating the illusion of one big bookcase cabinet. I like doing it this way because it’s a lot easier to handle and move around.
In terms of joinery, I connected the basic two boxes with glue and screws and connected the shelving in between with pocket hole joinery. Using pocket hole joinery really makes it rather easy to connect everything, so it’s a great option.
To help hold everything, I’m using some corner clamps to give me an extra hand. This also makes a huge difference when it comes to lining everything up. There’s nothing quite as annoying as not getting your corners square!
Once I had two sections created, I put some nailing strips on the back so I can connect everything to the wall. Then I moved onto the base cabinet where I need four basic pieces of plywood which will create the separate sections for the drawers. Out of each piece, I marked and cut out sections for the baseboard and support pieces. Then it was simply a matter of screwing everything together, making sure the distance between the four pieces of wood was even on the bottom as well as the top.
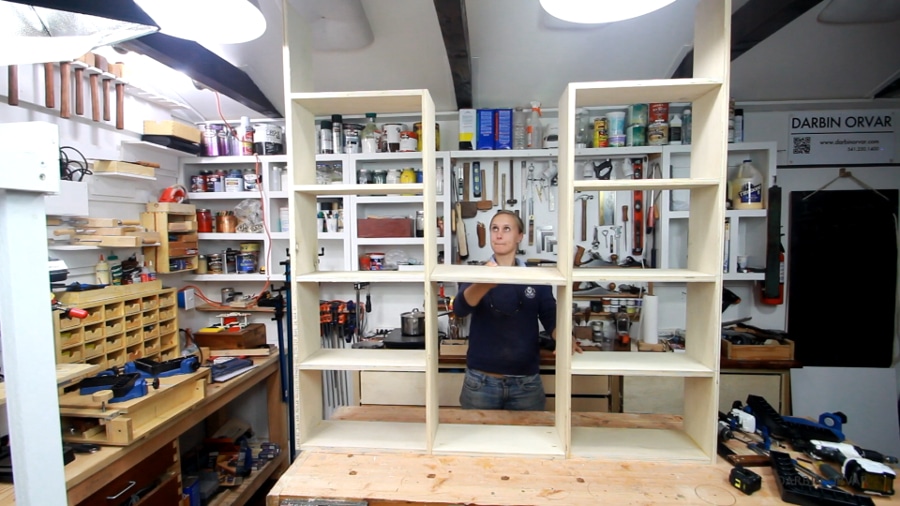
At this point, I have the upper shelving created as well as the base cabinet (no drawers so far!). Before I go any further, I want to make sure everything fits so I brought everything into my office and dry-fitted it. This is great because it’s an opportunity to make sure everything fits and also that I like it (nothing is glued so it would be easy to change something).
Now that the top and the base are built, it really feels like I’m moving along on this project! I love it in the room already after the dry-fit; since the shelves go all the way up to the ceiling, it makes the whole room feel taller and I’m so looking forward to all the storage this unit will provide.
If you’re interested in the steps and techniques I used, please check out the video below for a much more comprehensive and in-depth point of view!
Next time, I’m going to go over building a countertop using rough-sawn maple and all the steps that go into preparing and creating that. If you have any questions about this project, please feel free to ask. I think these concepts are applicable to any built-in project – as we know, they’re all different since no rooms are the same!

 It’s so much easier to get working when you have everything planned out, that way you can start and get all your cuts ready ahead of time. I’m using my table saw to create these cuts, however you could always use a circular saw, or you could even have the people at the big box store cut them for you – sometimes they charge a little extra if you want a lot of cuts, but it’s an option if you don’t have a saw yourself.
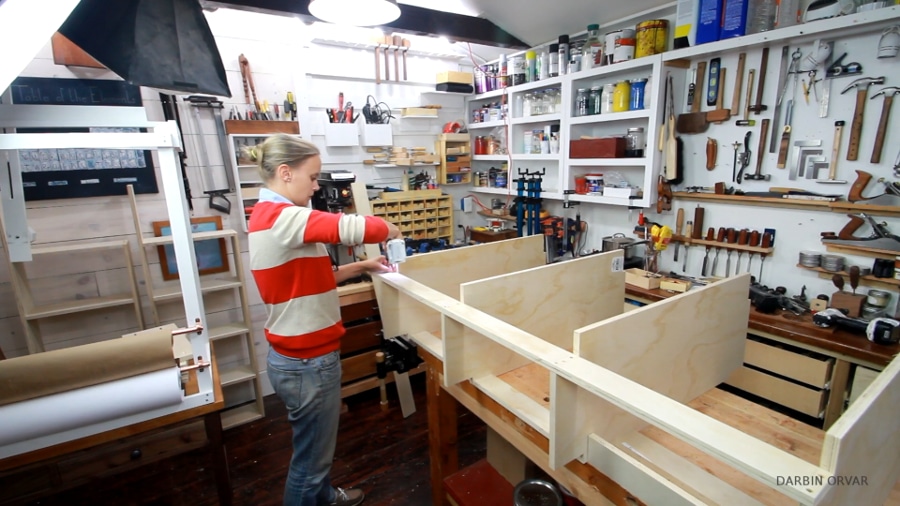 To help hold everything, I’m using some corner clamps to give me an extra hand. This also makes a huge difference when it comes to lining everything up. There’s nothing quite as annoying as not getting your corners square!
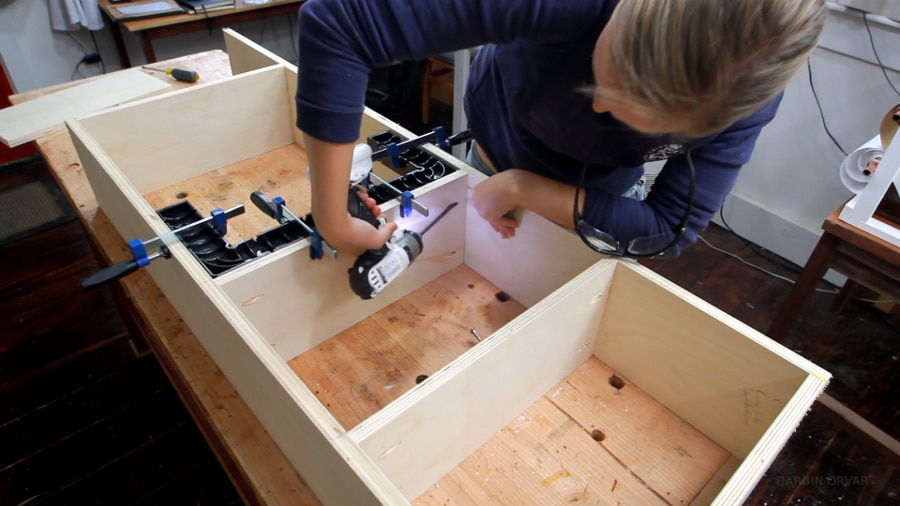 Once I had two sections created, I put some nailing strips on the back so I can connect everything to the wall. Then I moved onto the base cabinet where I need four basic pieces of plywood which will create the separate sections for the drawers. Out of each piece, I marked and cut out sections for the baseboard and support pieces. Then it was simply a matter of screwing everything together, making sure the distance between the four pieces of wood was even on the bottom as well as the top.
 At this point, I have the upper shelving created as well as the base cabinet (no drawers so far!). Before I go any further, I want to make sure everything fits so I brought everything into my office and dry-fitted it. This is great because it’s an opportunity to make sure everything fits and also that I like it (nothing is glued so it would be easy to change something).
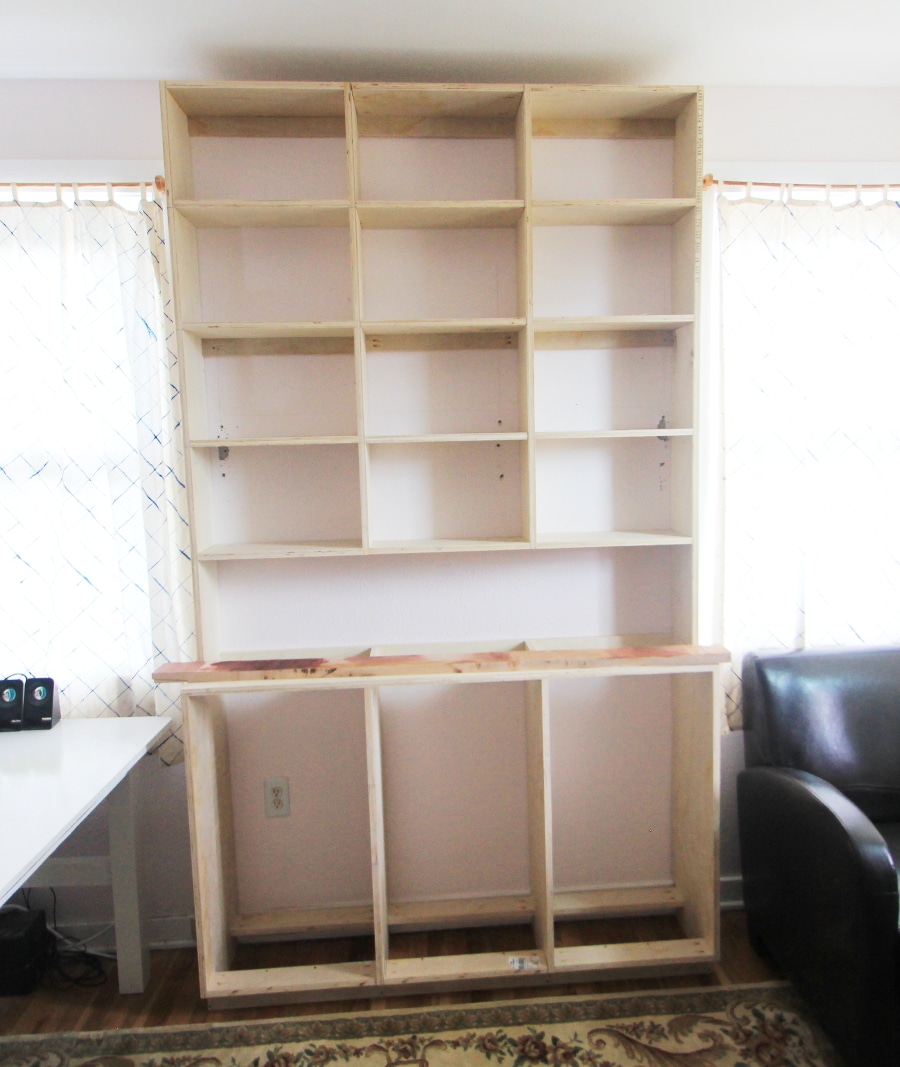 Now that the top and the base are built, it really feels like I’m moving along on this project! I love it in the room already after the dry-fit; since the shelves go all the way up to the ceiling, it makes the whole room feel taller and I’m so looking forward to all the storage this unit will provide.
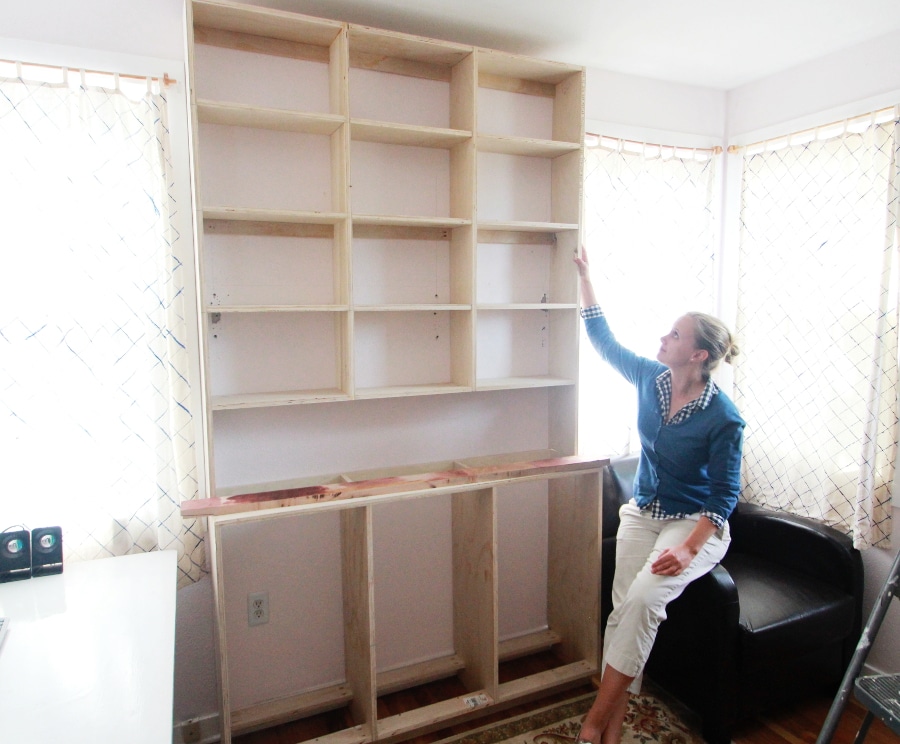 If you’re interested in the steps and techniques I used, please check out the video below for a much more comprehensive and in-depth point of view!


Do you have the plans for this available?