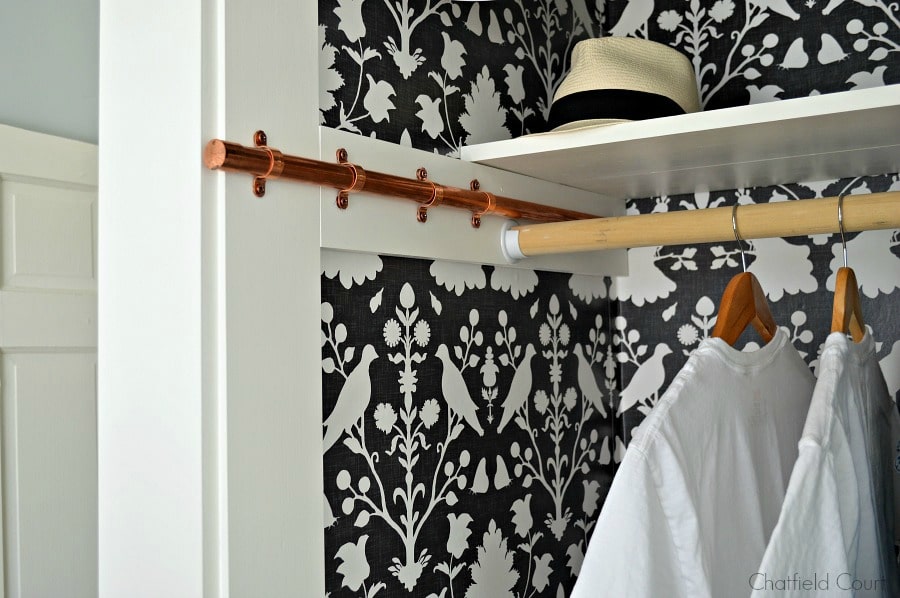
Hello everyone! Kristi here from Chatfield Court and I’m so excited to be part of The House of Wood team this year! Like Jen and the rest of the team, I have a true passion for home and creating. DIY, home improvement, and home decor on a budget are my specialty. I especially love the challenge of taking an everyday item in my home and creating a budget-friendly, one-of-a-kind alternative. Which is just what I did with my latest project: a DIY Copper Sliding Clothing Rod.
I like to hang most of my clean clothes up to air-dry. My so-called laundry room is in a small corner of our unfinished basement, not exactly the best place to dry clean clothes, so I thought a sliding rod would work well. We just finished building our new closet and it seemed like the perfect place to put one.
I was just going to order one online but they can be pricey, so I thought I’d try to make my own for less money. Not only would it be cheaper but I could make it longer than the ones you find already made. A huge bonus!
I did a quick search around the hardware store and came up with with the perfect material to use: copper.
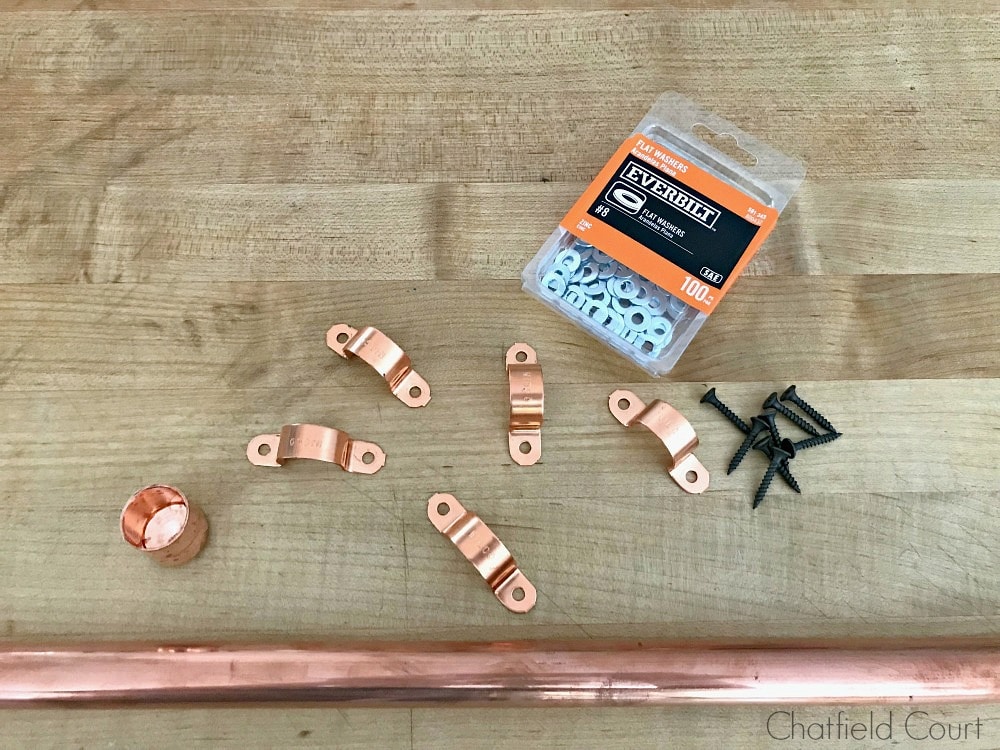
Supplies:
- 3/4″ copper pipe (60 inches in length)
- 4 copper tube straps
- 3/4″ copper tube cap
- 3″ wood screws
- #8 flat washers
- pipe cutter
- file
- drill
- copper spray paint
 Step 1:
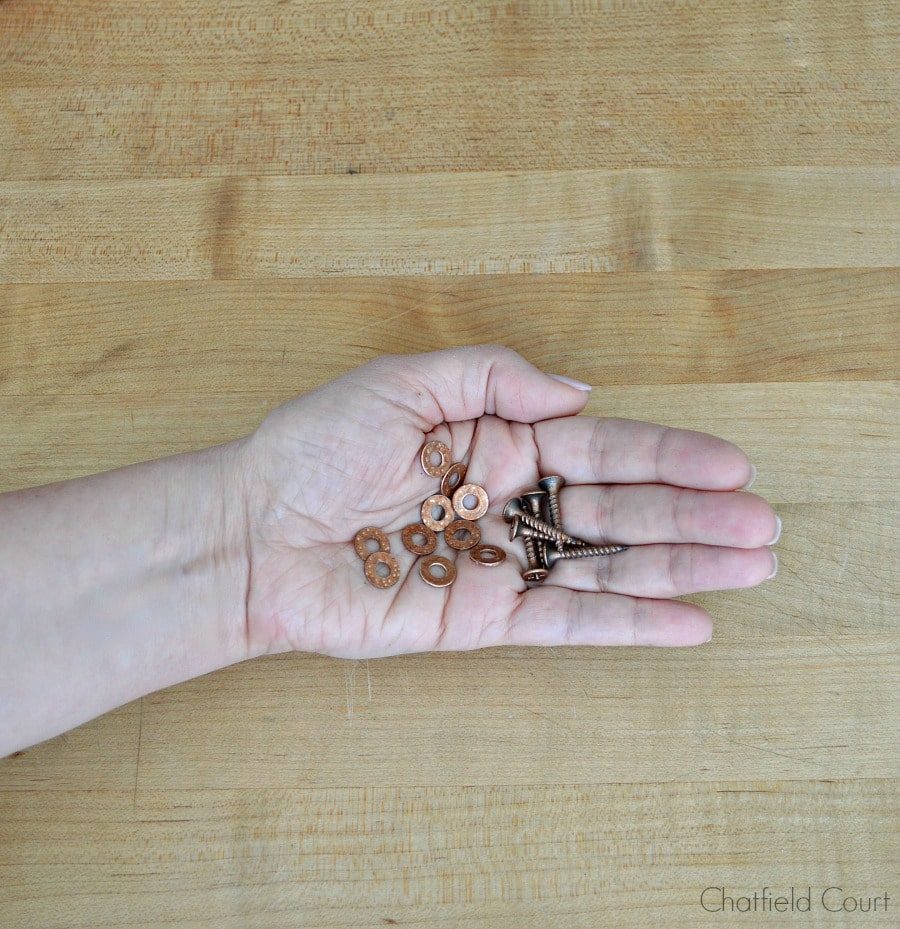
I couldn’t find copper washers and wood screws in our hardware store so I simply spray-painted them. It was so quick and easy to do. Once they were dry, I was ready to start the process of hanging the DIY Copper Sliding Clothing Rod.
 Step 2:
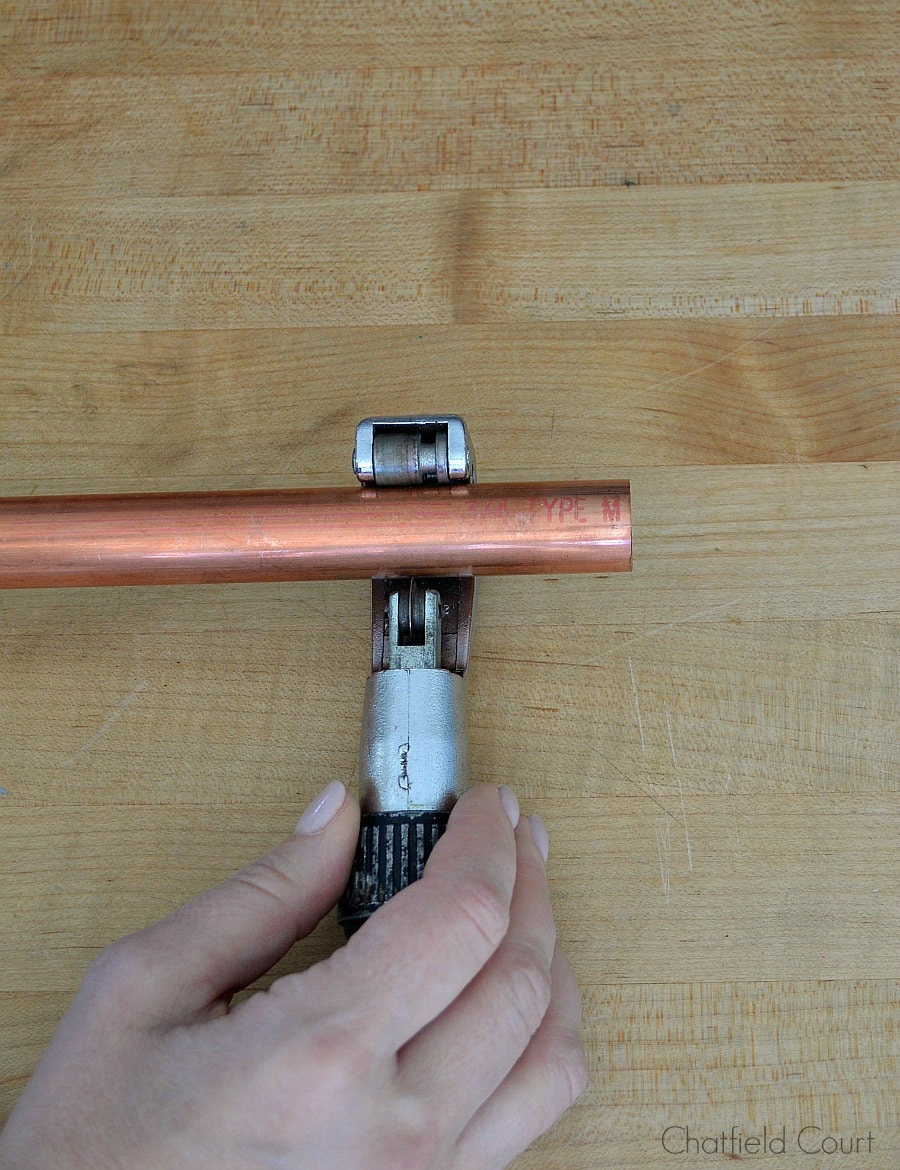
To determine the length of the rod, we took the measurement from the back wall of the closet to the outside trim. Our measurement was 30 inches so I used a pipe cutter to cut the copper pipe down to size. You may have a few sharp burrs on the cut end of your pipe but that is easily fixed by using a file.
 Step 3:
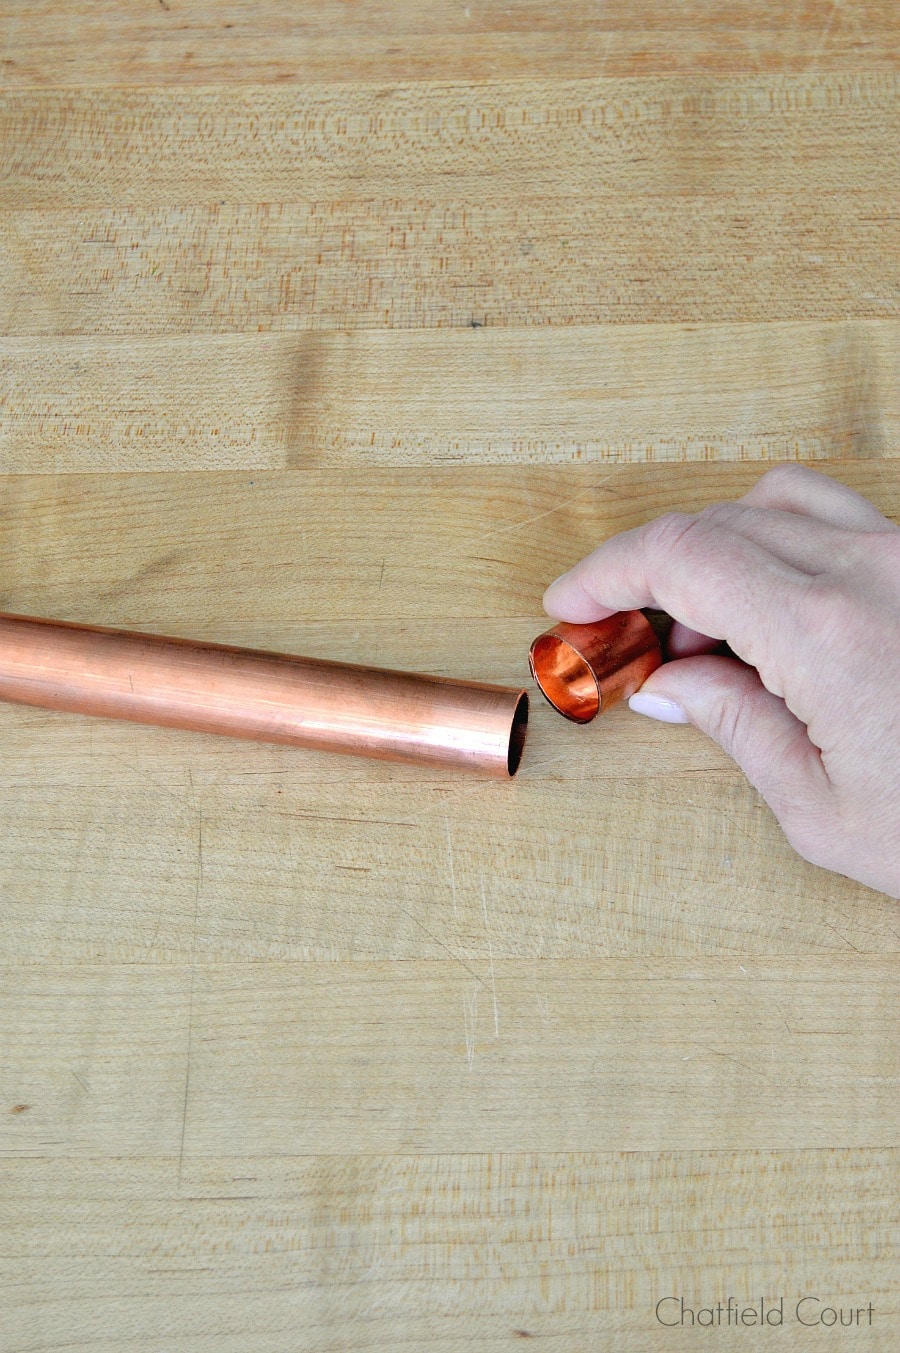
Next, I attached the copper tube cap on the end of the pipe that was going to be sticking out of the closet.
 Step 4:
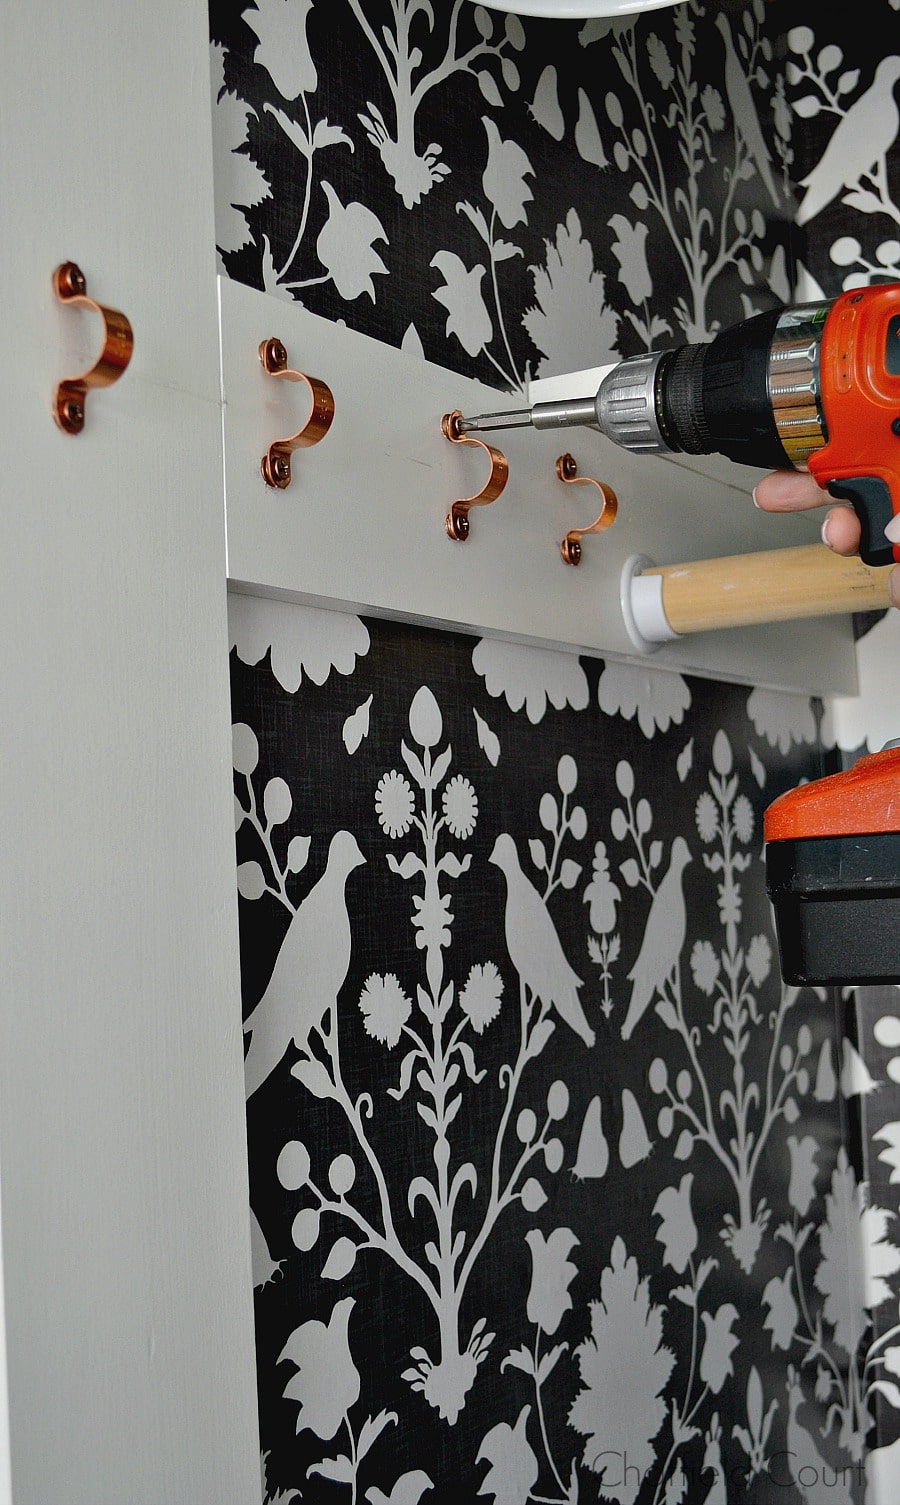
Mounting the copper tube straps was our next step. The first strap, the one closest to the outside of the closet, was screwed in place about an inch back from the front edge (with our copper painted wood screws). We did this so that the wood wouldn’t split. The next strap added was the one closest to the back of the closet. It’s important for the rod to be supported when it’s pulled out so we took half the distance of the pipe length(15″) and mounted that tube strap 15″ from the front strap. It’s important to make sure that the back tube strap is level with the front strap.
Next we put the copper pipe in the tube straps and mounted 2 more straps between the the front and back strap. These were mounted equal distance between the front and back strap, they also need to be centered up and down so that the pipe could move freely. After we mounted all the straps, we realized that the pipe was a little snug sliding in and out. To fix this we added spacers under the tube straps, which were our copper painted washers. We ended up using between 2 and 3 washers under each side of each strap.
 Step 5:
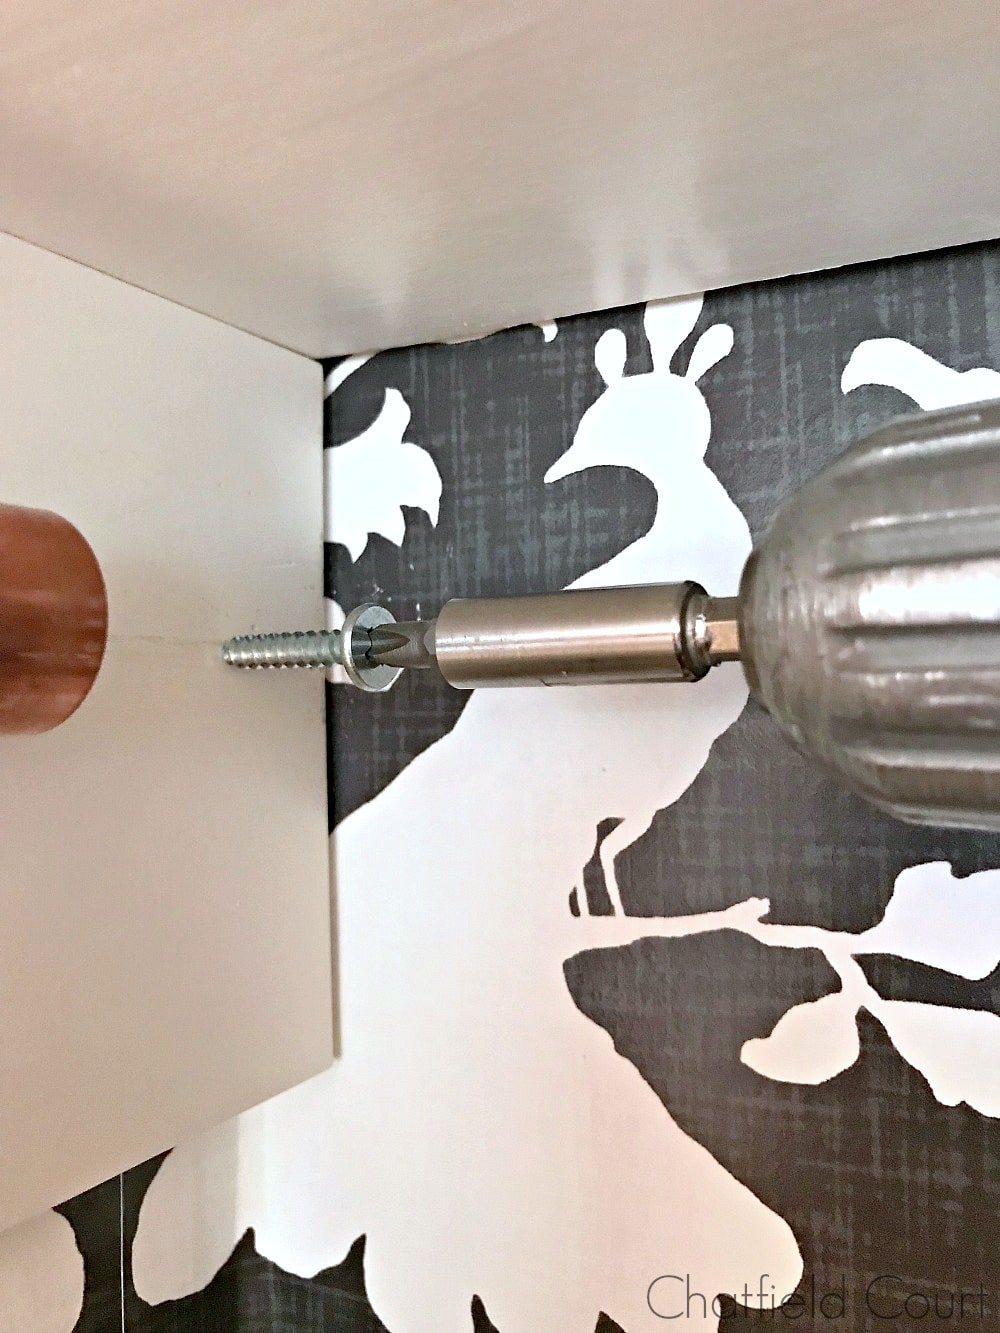
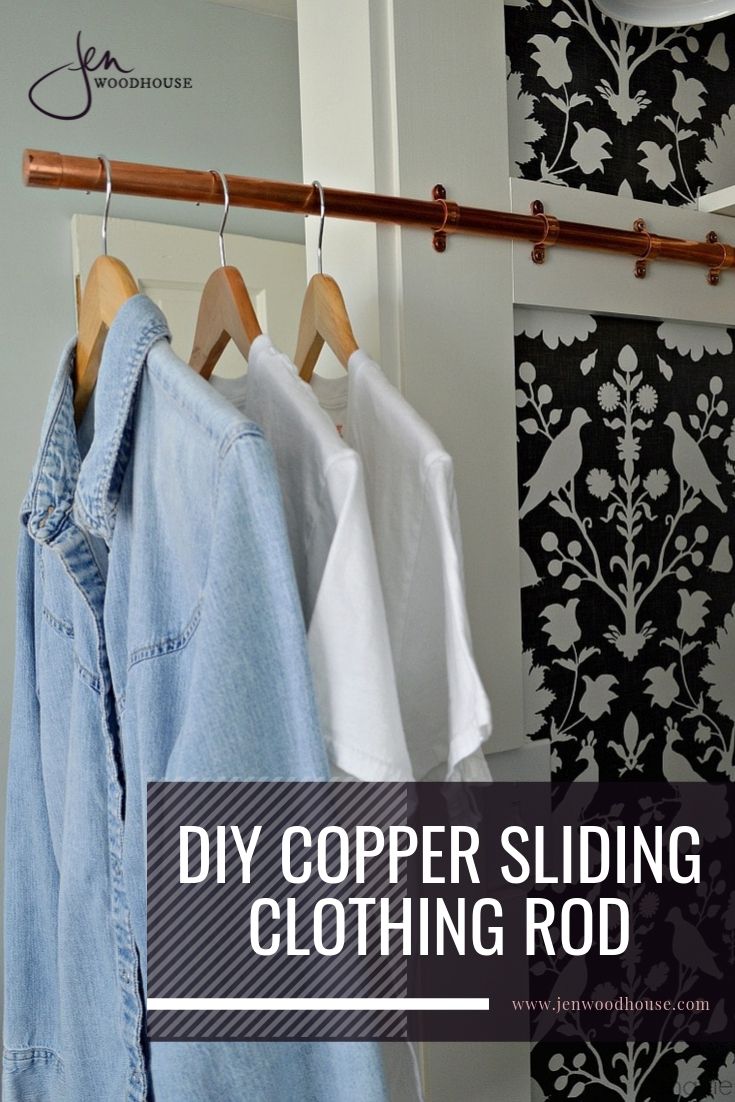
We thought we were done but found that the copper pipe kept hitting the back wall when it was pushed in. Not good for my pretty wallpaper, so I added a small screw as a stopper. With the addition of the screw, the pipe ended up sticking out of the closet. A quick trim and it fit perfectly.
Pin it for later!
I hope you enjoyed this DIY Copper Sliding Clothing Rod tutorial. I’ll be back to share more DIY projects with you throughout the year. Please stop by Chatfield Court to check out our latest projects and don’t forget to say hi!
 Step 1:
 Step 2:
 Step 3:
 Step 4:
 Step 5:



Kristi I just love this project!! So clever and useful!!
Thanks so much Lisa, I appreciate it! 🙂
Can you please give the source of the wallpaper used in the closet?
Hi Melinda! The wallpaper is from Spoonflower and it is the Oiseaux in Dark Charcoal. Hope that helps.