Hellooooo, Gorgeous.
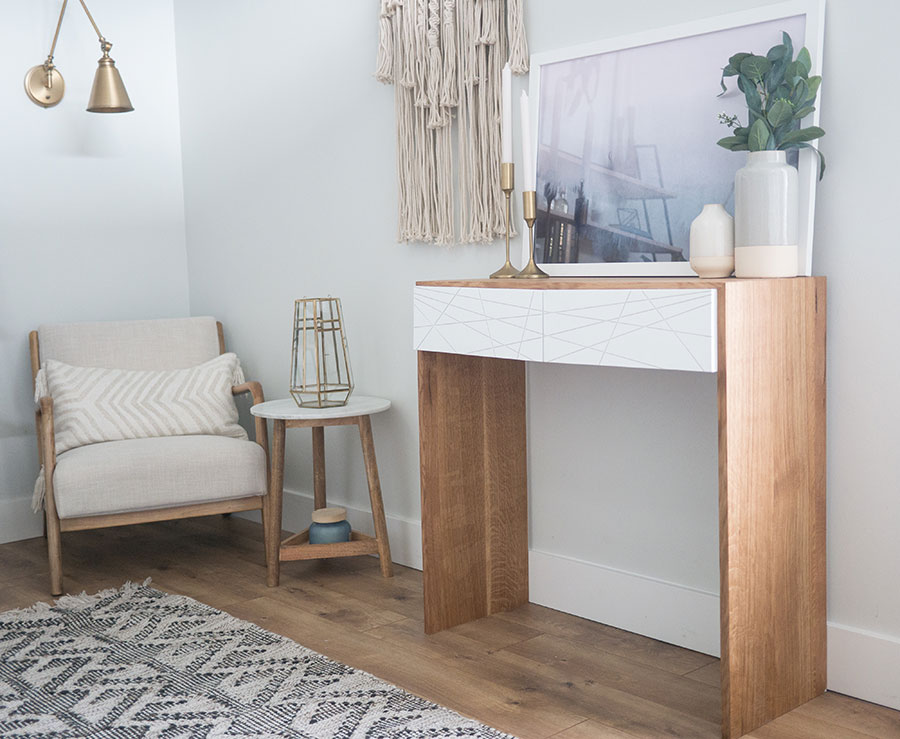
Oh, hi to you too. Sorry, I didn’t see you there because I have gigantic hearts in my eyes for this stunning DIY waterfall console table. I mean, can you even with this beautiful thing? Sleek. Modern. Minimal. Sexy.
(I’m still talking about the table)
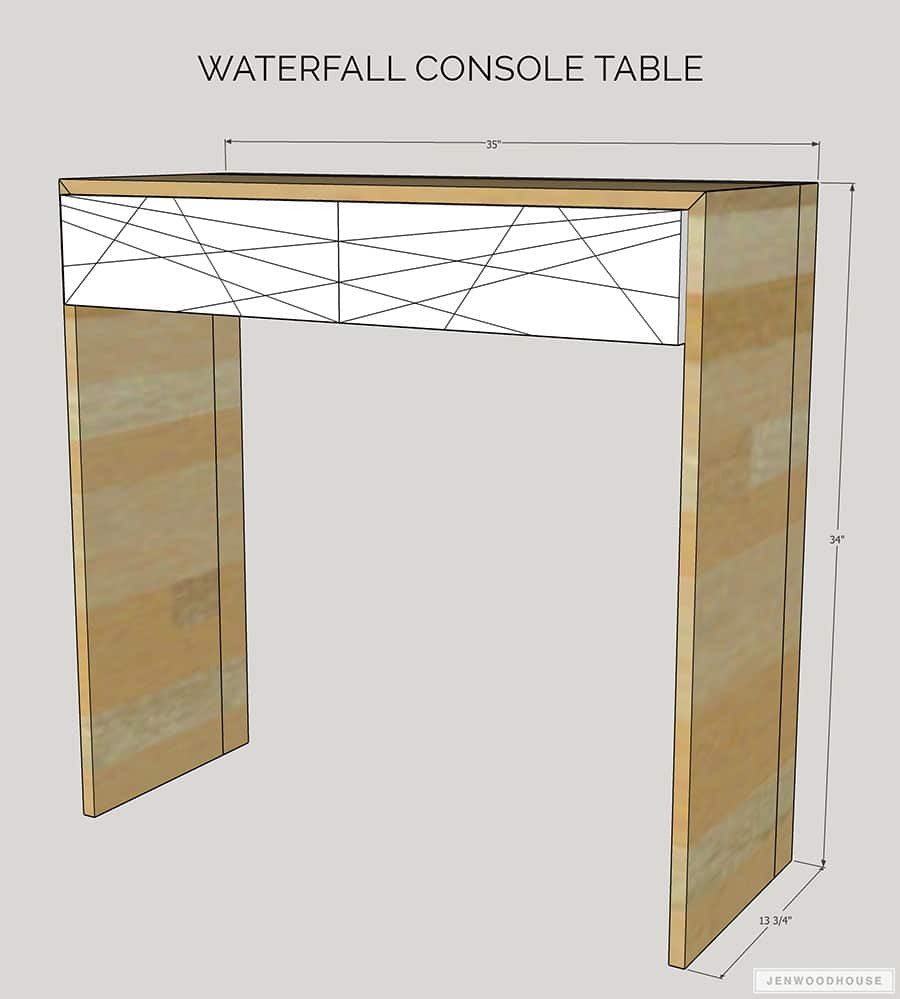
This spectacular entryway table was designed and built by my good friend and rockstar maker, Alex Mazhukhin, aka Mr. Build-It. I was so excited when he reached out to me to draw up the plans to share with you all – we’d love for you to be able to build this entryway table for your own homes! You can download the plans by clicking the gray button below, but be sure to stop by Mr. Build-It’s YouTube channel and blog, where he shares his entire step-by-step building process.
Alex milled his own boards from rough sawn lumber, but I’ve drawn up the plans so that you don’t have to. The plans are written in such a way that you can build this DIY waterfall console table with off-the-shelf lumber from the big box stores. However, if you’d like to mill your own lumber, even better! In fact, you’ll likely find a larger variety of wood species at a local lumberyard than you would at the home improvement centers. But for those of you without a table saw or jointer, the plans reflect standard nominal width boards.
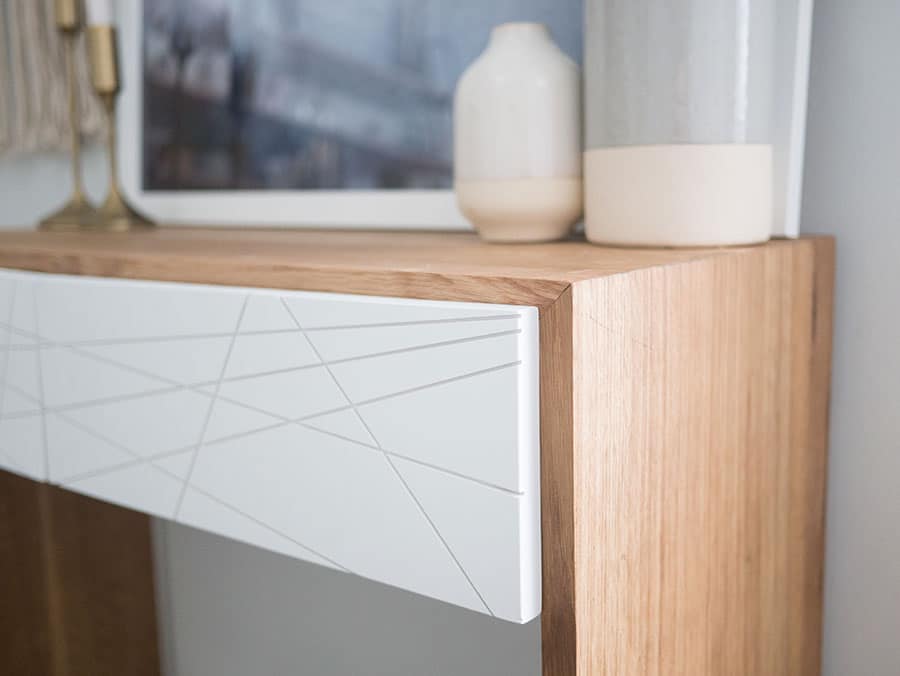
Alex used mortise and tenon joinery on this project, but I wrote the plans with pocket hole joinery to make it easier and more accessible for most. He also used white oak for the table and poplar for the drawer faces and he’s showing you how he created that cool geometric pattern on the front as well – check out his YouTube video. And while you’re there, hit that subscribe button so you can keep up with more of his stunning projects, like his DIY modern dining table, leaning ladder bookshelf, and hexagon coffee table. I mean, seriously? Can he just go ahead and come out with his own furniture line already?!?!
Thanks for stopping by, friends – as always, if you build this DIY waterfall console table, we’d love to see it! Post photos of your projects and tag @jenwoodhouse and @mr.build_it on Instagram!





Hi, love the console table. I have a question. How well do the pocket hole joints hold with these bevel cuts???
Great Post!! Absolutely amazing.
I appreciate your post and instructions for the waterfall console table. I am attempting this but I’m having trouble with the pocket holes. I’ve used these before when I built my kitchen cabinets (tongue and groove shaker style with panel) but I am not sure why they are not working so well here. I have the single Kreg pocket hole jig where you set the drill bit to a certain spot based off of material thickness. They also have different placements for where you put the actual jig piece, again based off thickness of material. I’ve tried a. Inch of different placements but They are of seeking to hold properly. So what is the distance your pocket hole boring is from the top and bottom bevel? Maybe this would help me. Thank you. If I can’t get this to work do you have any other ideas on how I can join these boards? I really want this to work, it’s perfect for my renovations.
I’m no Jen Woodhouse, but I think I might have a solution to join your beveled edges! (Wish I had some pictures)
– Skip to step 3 of Jen’s plans and don’t attach the sides. Start with the top
– Attach the top to the backer/divider
– Now cut two additional pieces the same size as the divider. These two new pieces will be your faux sides
– Lay the top so that the bottom and divider are facing up. Attach each of the two new faux sides so that the outermost edge touches the top edge of the triangle of your beveled cut. Use kreg screws
– Now attach your new sides to these faux sides using either a lot of wood glue and nails or wood screws. (I’d probably err on the side of wood screws that will sit flush against the wood)
I hope this helps!
Highly appreciate your content.
I absolutely love the design of this waterfall console table! The step-by-step instructions are incredibly clear, and the materials list is super helpful. Can’t wait to try this DIY project in my living room. Thanks for sharing your creativity!