A quick and easy tutorial on how to make a DIY pin board / design mood board / bulletin board. Includes step-by-step photos and instructional video!
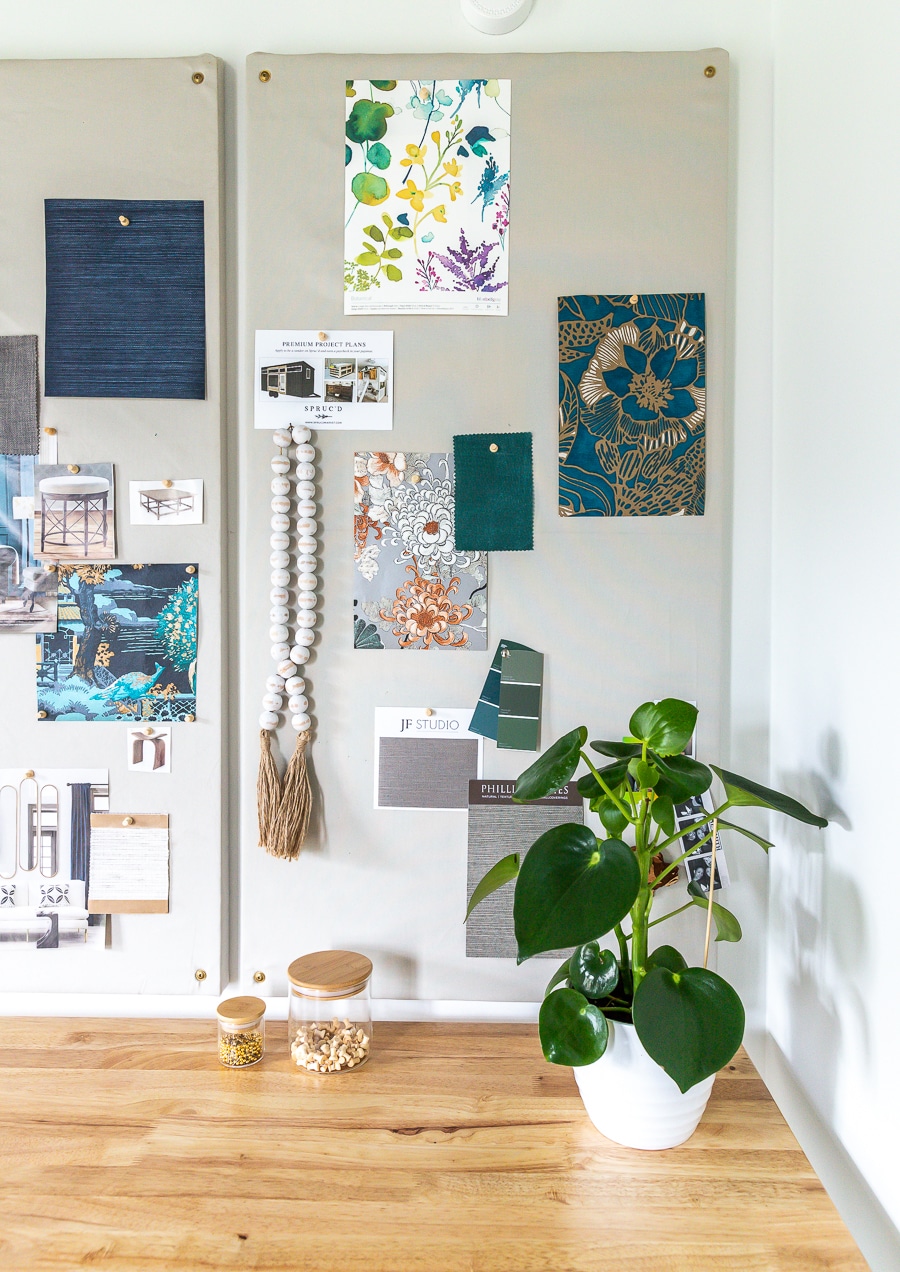
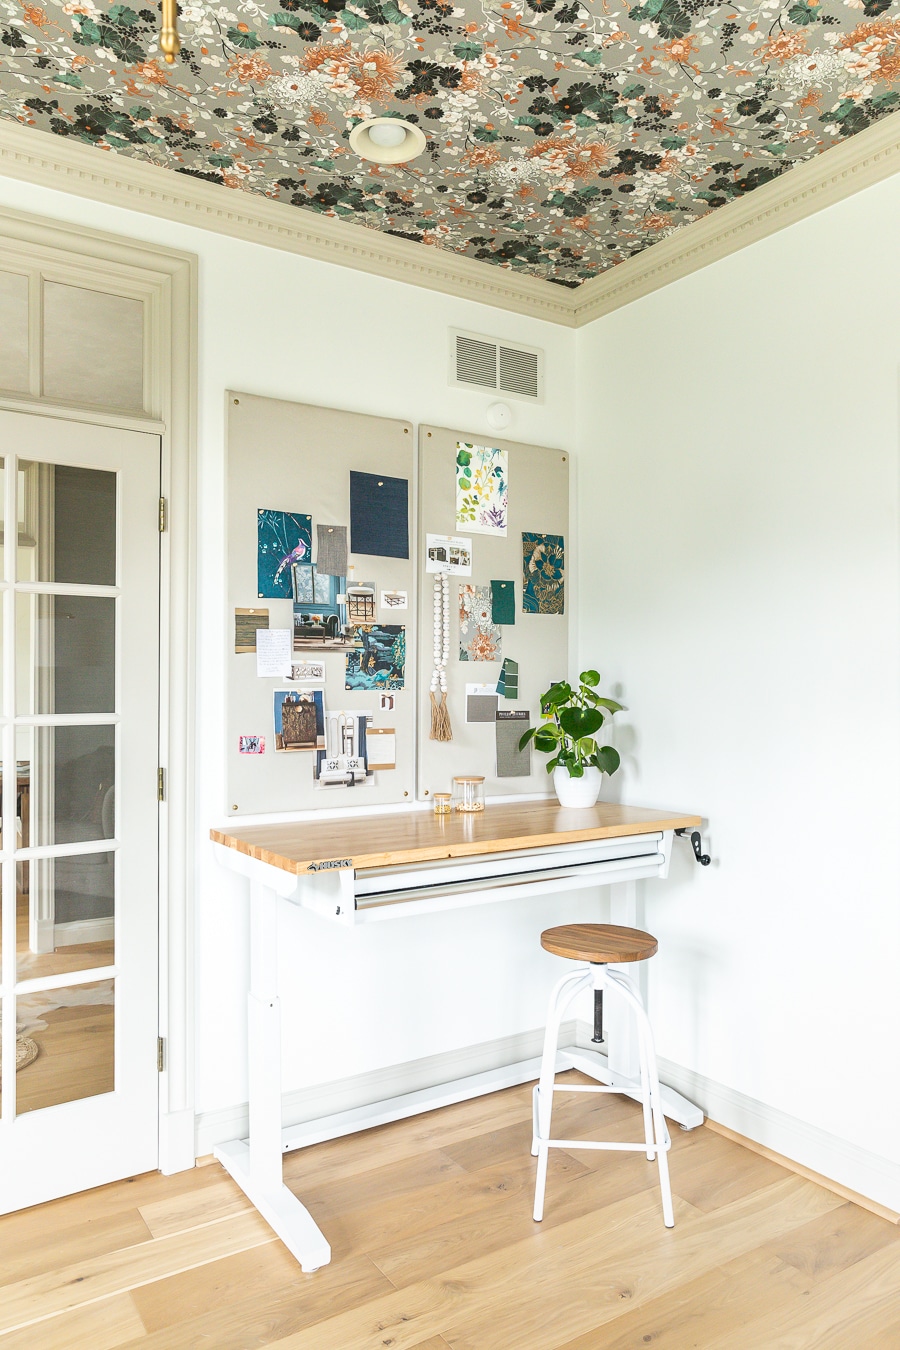
I’ve got a fun and easy project to share with you today: my DIY Pin Board! I love to use this pin board when I’m designing a room or brainstorming a project. I’ll put all of my ideas and inspiration up on this board just to see how everything works together. I’m a really visual person, so I like to lay out various design elements and see them all in one place. Think of this DIY Pin Board as “Pinterest in real life.”
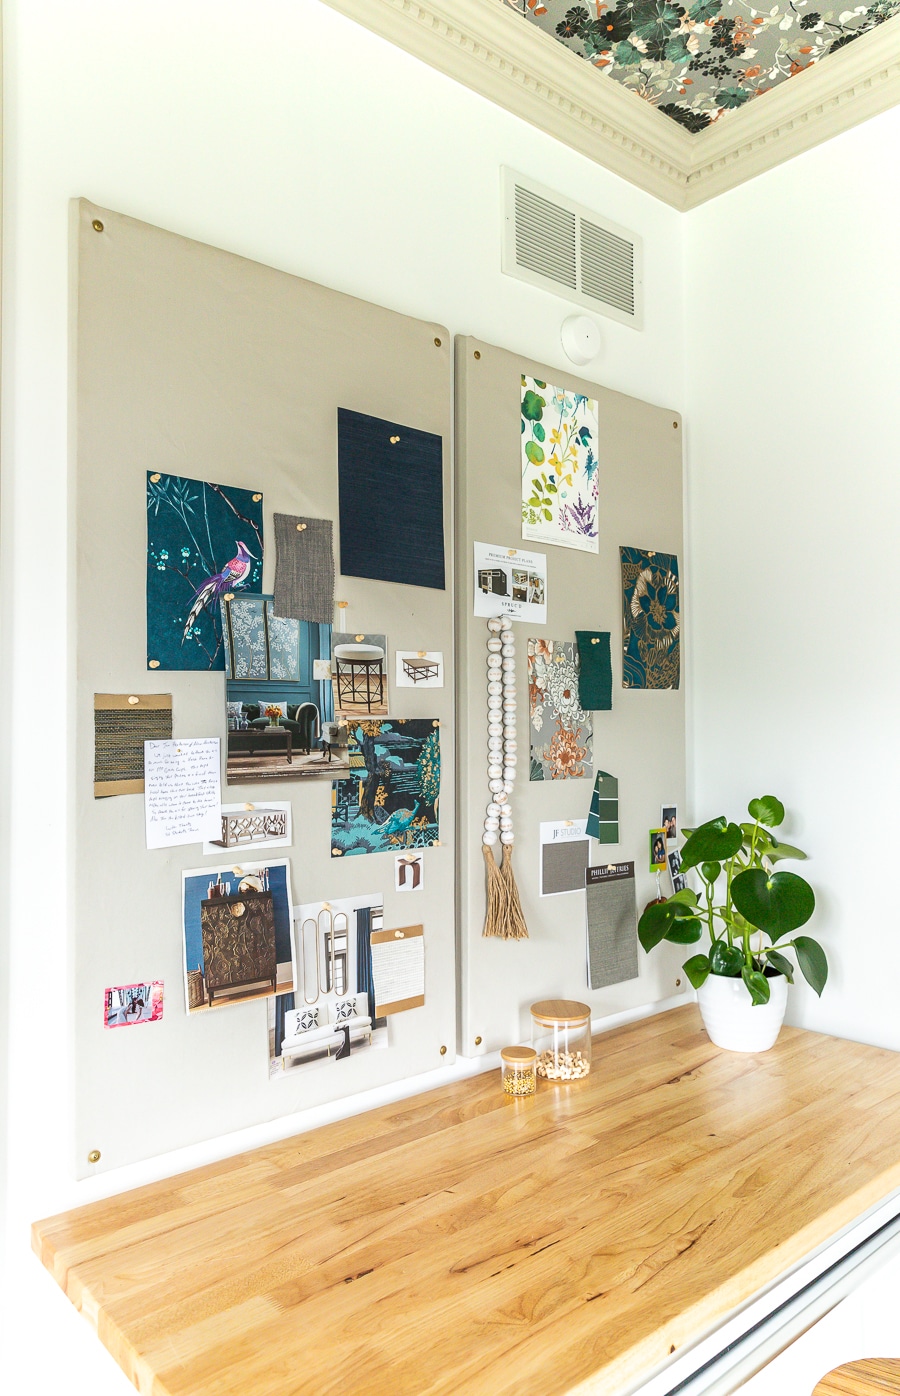
And if you’re not a designer or decorator, you can still use this as a bulletin board to pin up your photos, daily reminders, and inspirational messages. Hopefully, you’ll still find this DIY Pin Board tutorial useful to you!

How To Make a DIY Pin Board / Design Board / Bulletin Board
TOOLS:
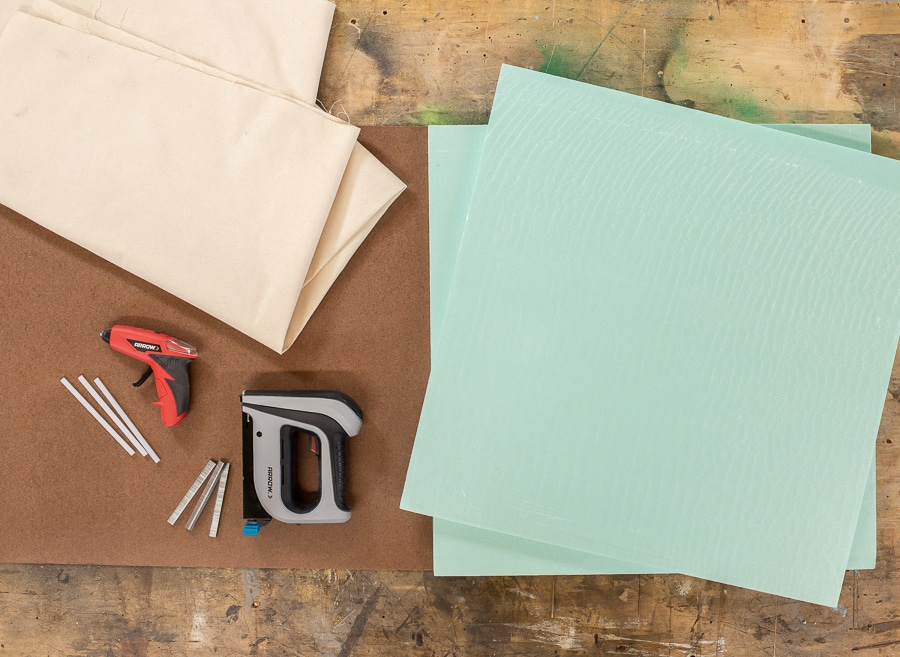
- Arrow cordless hot glue gun + glue sticks
- Arrow cordless staple gun + 1/4″ staples
SUPPLIES:
- (1) 24″ x 48″ x 1/4″ MDF board ($7.75)
- (2) 24″ x 24″ x 1″ foam insulation board ($5.90 each)
- 1 1/2 yards of medium- to heavy-weight utility fabric, such as muslin ($4.79/yard)
Approx. cost of materials: $26.75
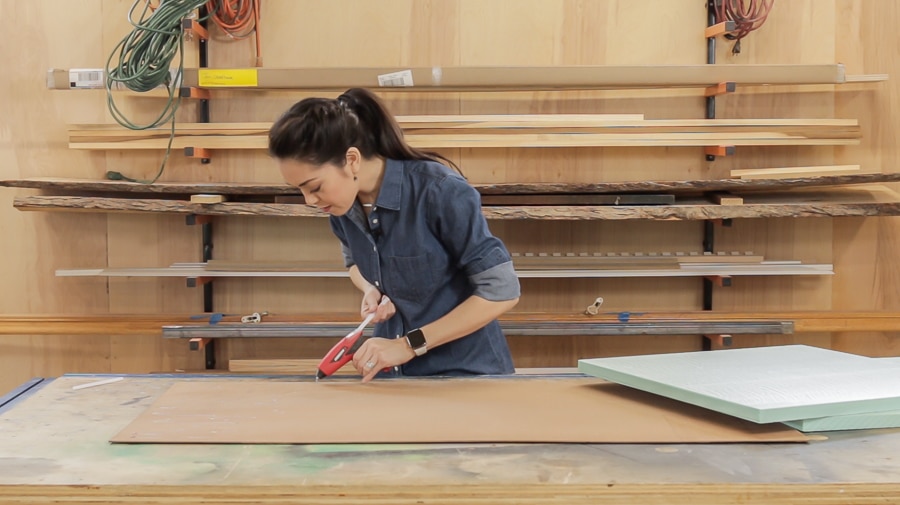
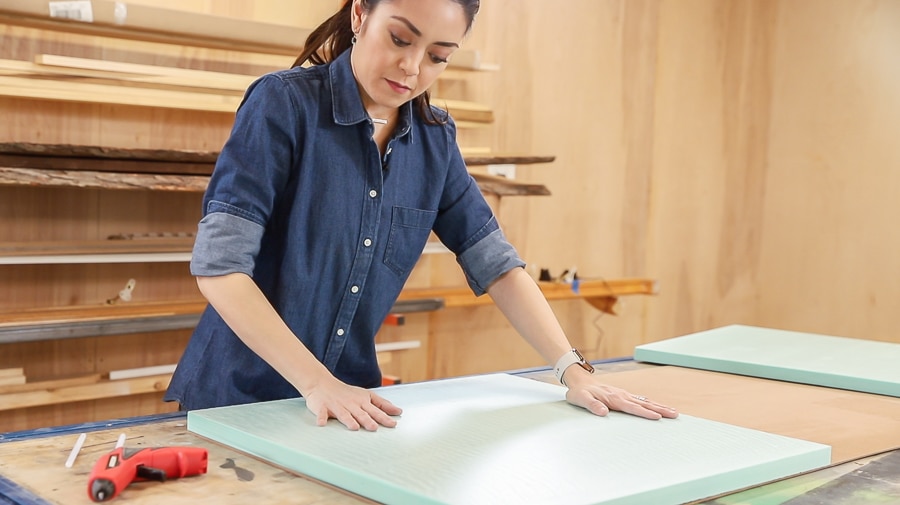
First, you want to stick the foam panel to the MDF board. Use a hot glue gun to apply some hot glue and place the panel on top, making sure all of the edges are flush. Press firmly to adhere the panel to the MDF. If you don’t have a hot glue gun, you can use a spray adhesive or whatever kind of adhesive you have on-hand – you just want the foam board to stay in place long enough to wrap the fabric around it.
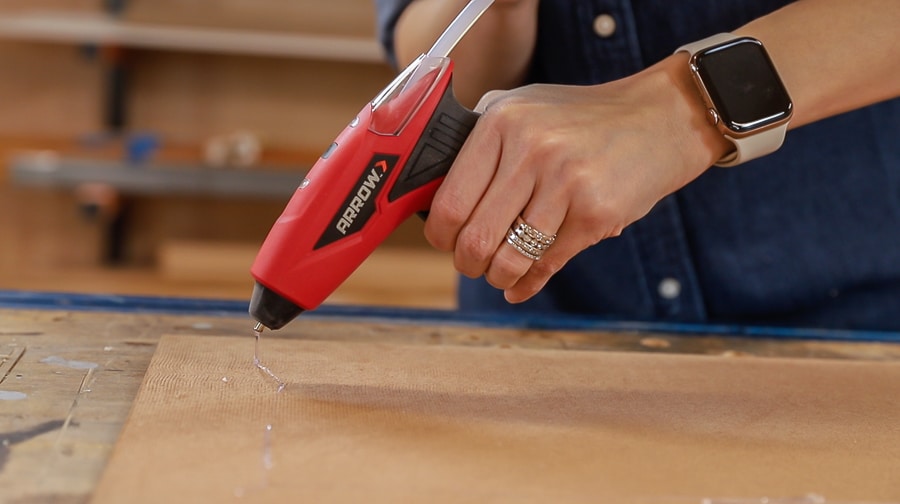
This is the cordless USB rechargeable hot glue gun from Arrow Fastener. I’m thrilled to be working with them this year to bring you a few fun DIY projects for 2020!
Once the foam panels are adhered to the MDF, set it aside and move onto the fabric.
I picked up some muslin fabric at the craft store for about $5/yard. You can use any kind of medium- to heavy-weight fabric – you just want a fabric that’ll be sturdy enough to withstand thumbtack holes. Lay the fabric down and smooth it out. Now lay the board on top with the MDF side facing up.
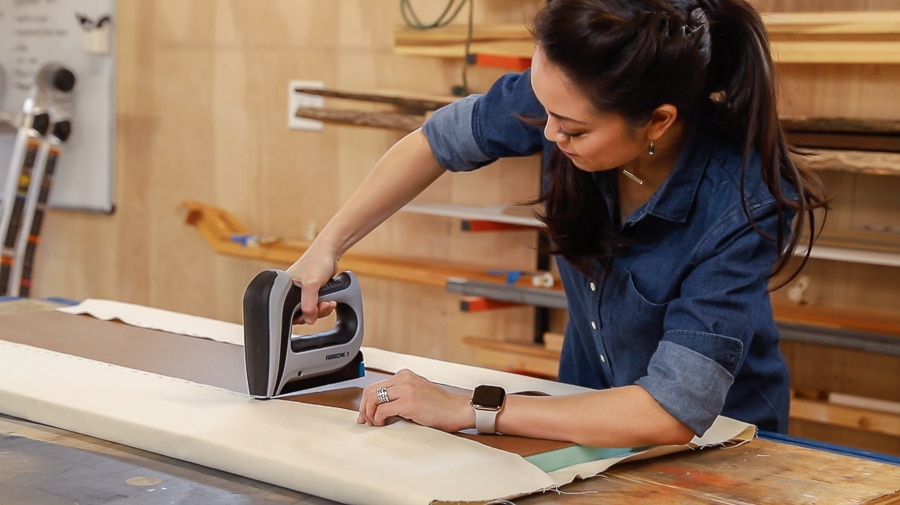
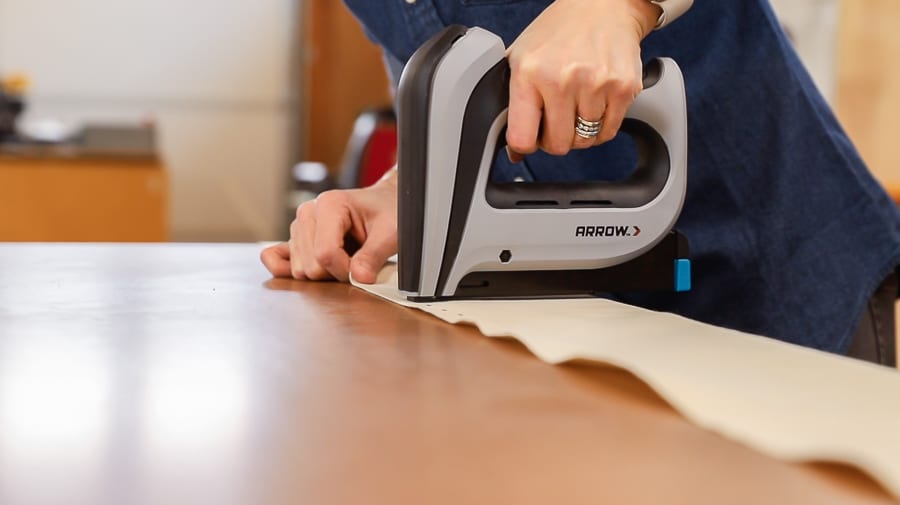
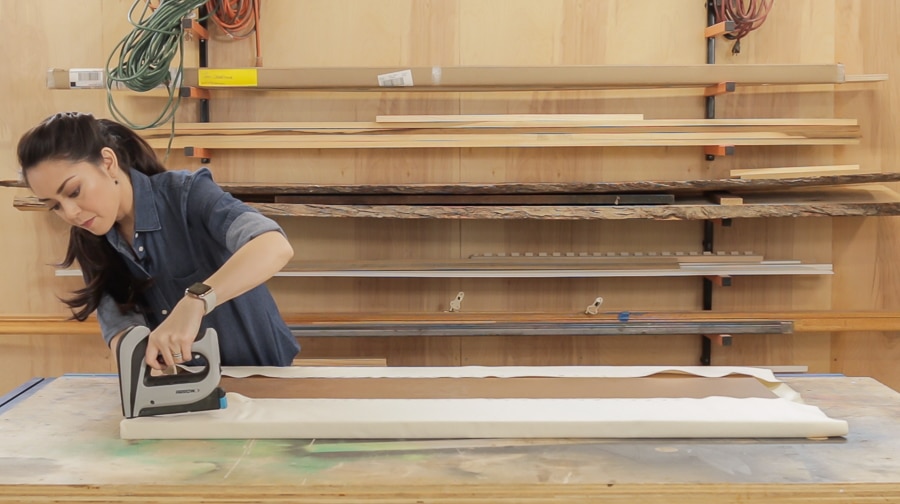
I used the Arrow Fastener cordless stapler with ¼-inch crown staples. Of course, you can use a manual stapler – I just prefer this power stapler because I have literally zero hand strength! It makes quick and easy work of this. Make sure you use staples that aren’t too long that they shoot straight through the board. These ¼-inch staples will be able to go through the fabric and into the MDF, without punching all the way through.
I pulled up the fabric taut, and started stapling in the middle on the long sides. Then I continued stapling the fabric to the board, moving outward. Repeat on the other side, then move to the ends.
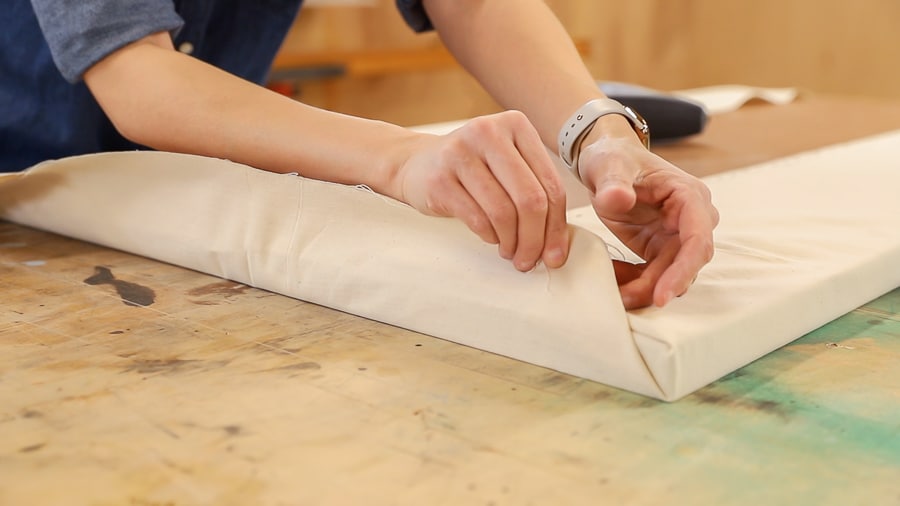
Before stapling the fabric all the way to the edges of the board, I folded the ends up. You’ll do this just like you’d wrap a Christmas present – just tuck the fabric in and secure it with staples. Try to keep the fabric flat so that when you go to hang it on the wall, you don’t have a lot of bulkiness behind the pin board.
Wrap and staple the ends, then finish stapling all around the perimeter. Repeat for the other end and then you’re done! Super simple!
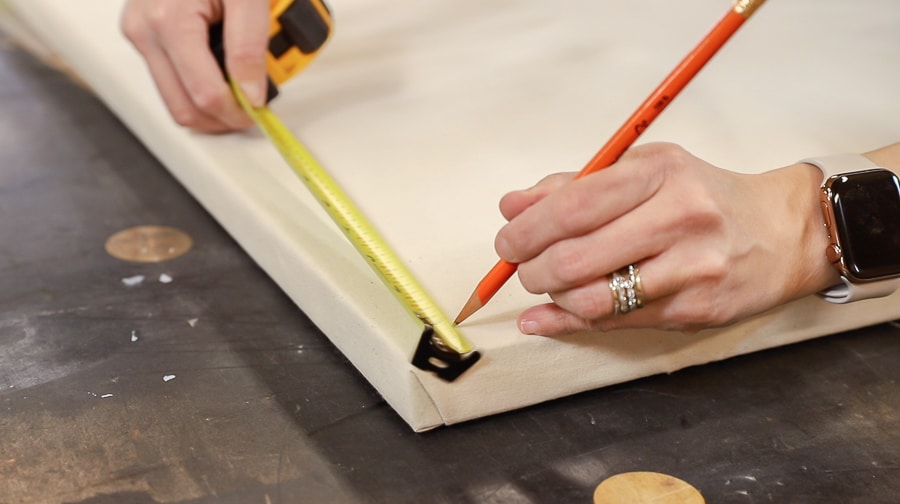
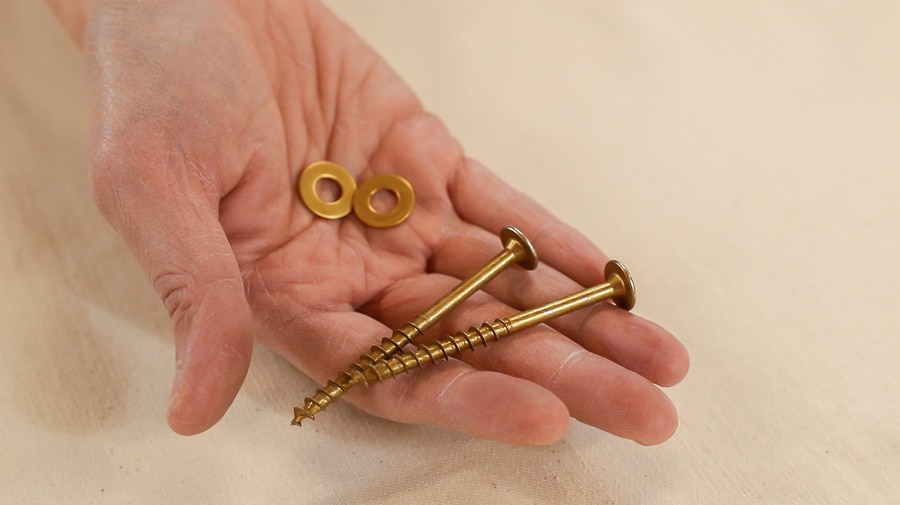
Next, I measured and marked 1 inch from each corner just so I know where to drive the screws when I go to hang it on the wall. I used 2 ½” screws with flat washers to hang the pin board up. I didn’t bother with anchors or screwing into the studs because this pin board is super light – it should be fine without it. Be careful not to drive the screws too far in that they sink into the foam board. The washers will help with this.
And there you have it! It’s that quick and easy! Store-bought bulletin boards start at around $50 and up. Bananas! Not only did I make two for the price of one store-bought one, but I was able to customize it to my needs. Just another reason why I love DIY.
I love being able to see all of the different patterns and samples up on this pinboard; it not only helps organize and focus my creative ideas, but it adds such beautiful visual interest to my home office! I love that it’s always changing.
Speaking of my home office, it’s coming along nicely! I’m halfway done with the space and recently shared the room makeover on The Home Depot blog. I still need to build a desk and a couple of built-in cabinets, but we’re making great progress!
*This post is in partnership with Arrow Fastener and contains affiliate links. All efforts and opinions are my own. To read my full disclosure policy, please click here.





Loved Jen! Thanks a lot!
This is just what I need for my studio! Thank you for sharing your beautiful idea!!
Hi, do you have links to the foam board? I purchased the wrong thing that seemed more like styrofoam. Would love more specific name and links. Thanks!