A tutorial on how to use a CNC machine to make a DIY Stacked Side Table
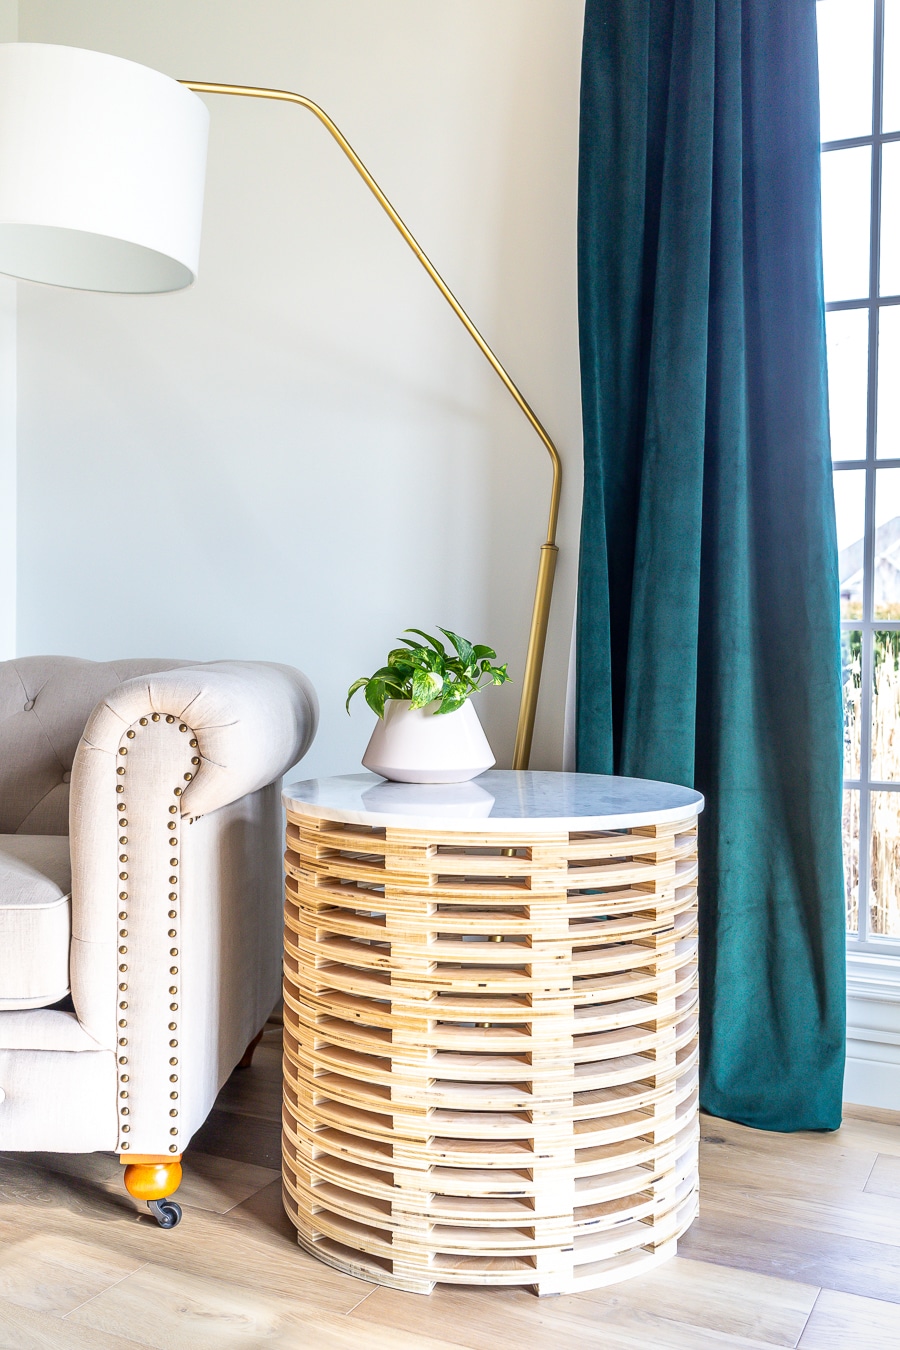
Hi friends, I’m super stoked to share my latest DIY project with you today. I’m partnering with Inventables to show you how I used my X-carve 3D carving machine to make this DIY Stacked Side Table. I used the X-carve to cut out all of the plywood pieces, which made this repetitive process precise and nearly effortless. This round accent table features such a simple design, yet the visual impact it adds to a space is astounding!
If you’ve ever wanted to know what it’s like to work in an assembly line, then this project is for you! 😉 The process is super simple, albeit tedious and repetitive. So put on your favorite jams, tune out the world, and get to work!
How to make a DIY stacked SIDE TABLE
TOOLS AND MATERIALS:
- Inventables X-Carve 3D Carving Machine
- Easel Design Software
- 1/8″ straight bit
- Cordless Brad Nailer or Hammer
- (1) 4 x 8 Ft. Sheet of 3/4-inch Plywood
- Circular Saw with a plywood blade (to cut the plywood down to size)
- Wood Glue
Creating the design file
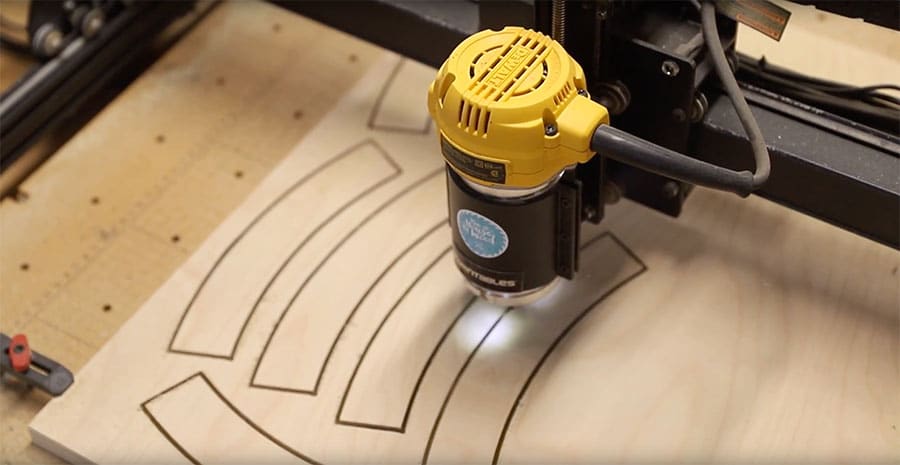
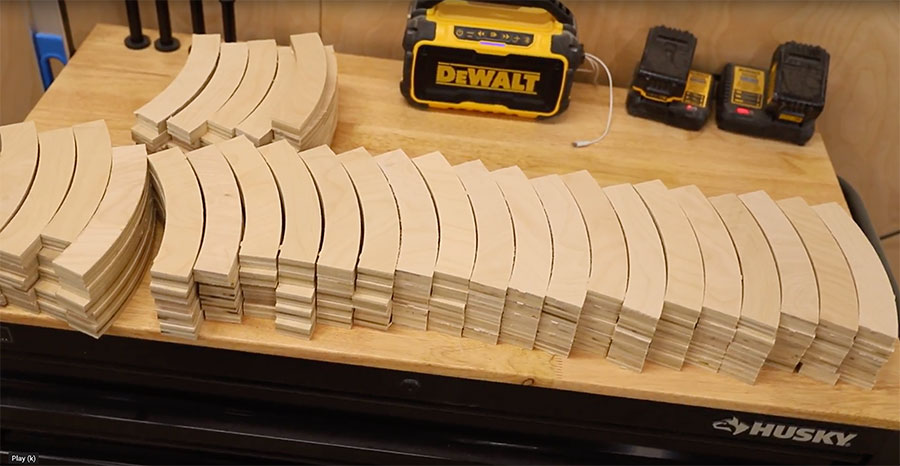
You can find and download the design file for this DIY stacked side table here. I used a full sheet of 3/4-inch thick maple plywood for this project. First, I used a circular saw to rip and cut my plywood down to about 24 inches x 24 inches, so that I could fit the panel onto my X-carve. I have the largest model, so you may need to modify your panel size to fit your machine if you have a smaller CNC. I was able to get eight panels out of a single sheet of plywood, which allowed me to carve 160 of these curved slats total. This table measures about 24 inches in diameter, so it’s pretty spacious! After all was said and done however, I realized that I would have preferred a smaller table so I could use it as a nightstand. Ah, well… hindsight is 20/20. I guess this is my excuse to make another one, this time maybe I’ll shoot for closer to 18 inches in diameter.
Cut settings
Also worth mentioning, I played around with the cut settings in Easel, thanks to the encouragement of my friend, Katie from Addicted 2 DIY (she’s an X-carve genius!). If you use the recommended settings (which are very conservative IMO), the carve time is almost 3 hours per panel (multiply that by 8 panels and you’ll be carving these slats for the rest of eternity)! I tweaked the settings until I found a happy medium: aggressive enough to reduce the time, but not so aggressive that it broke my bits. It took a few tries (and a few broken bits) before I found that sweet spot.
These were the cut settings that worked for me:
- Feed rate: 60 inches/min
- Plunge rate: 15 inches/min
- Depth per pass: 0.08 inch
With these settings, I was able to cut my carve time more than half! Each panel now took a little over an hour to carve. I found that the cuts weren’t as clean, but I didn’t mind having to sand a little if it meant saving valuable time. You can certainly cut these pieces on a scroll saw or jigsaw, but unless you’re a wizard with those tools, the X-carve will ensure precise, identical pieces. And you can do other things (like clean up your workshop or host a sweet dance party) while the machine is carving. Just don’t leave the X-carve unattended, just in case something goes awry mid-carve.
Assembly
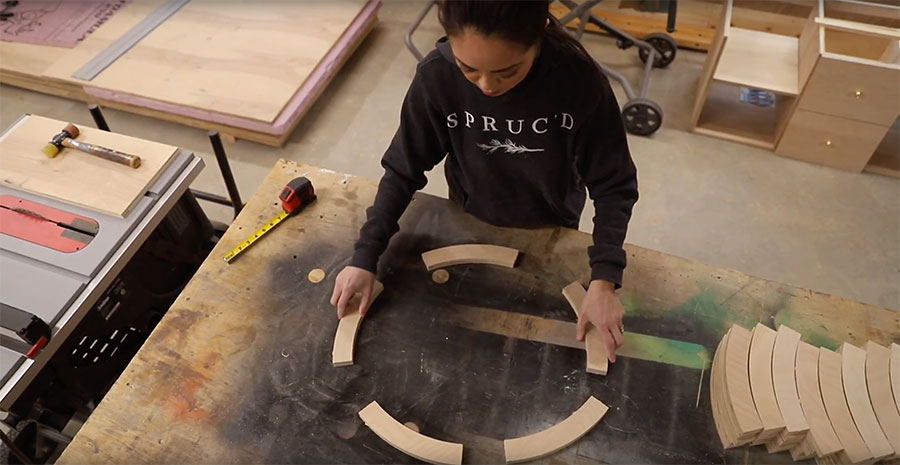
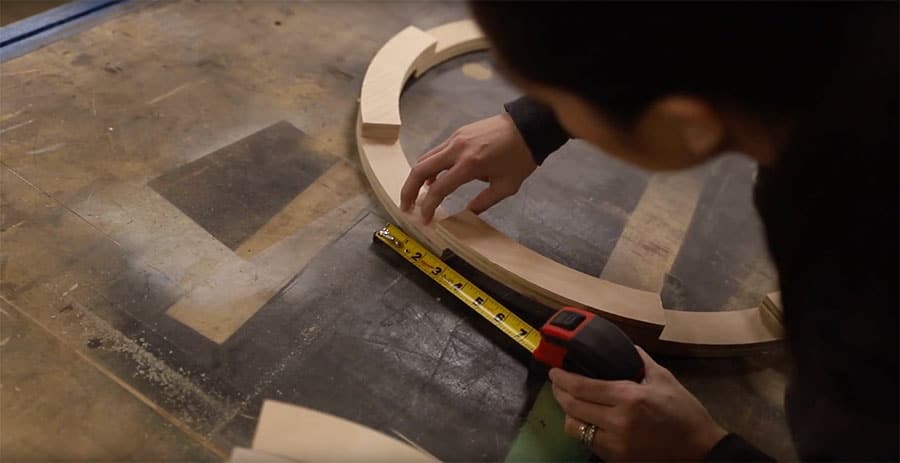
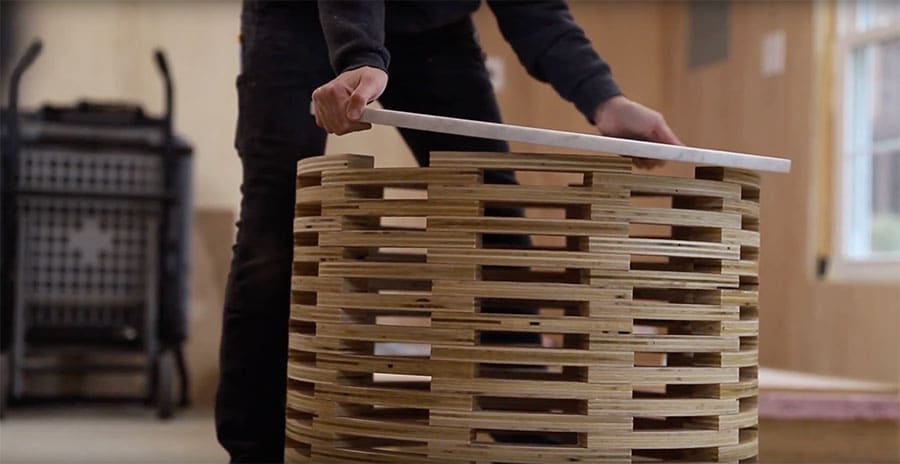
After all of the slats are cut out, it’s assembly time. There are 5 pieces to each layer. When you’re laying out your pieces, try to achieve equal spacing – I found that about 2 inches overlap for each stack worked well. I’m sure there’s some mathematical equation that will give you the exact spacing, but math is my nemesis and I try to avoid it at all costs. Eyeballing it worked well enough for me. It’s like my husband always says, “good enough for government work!”
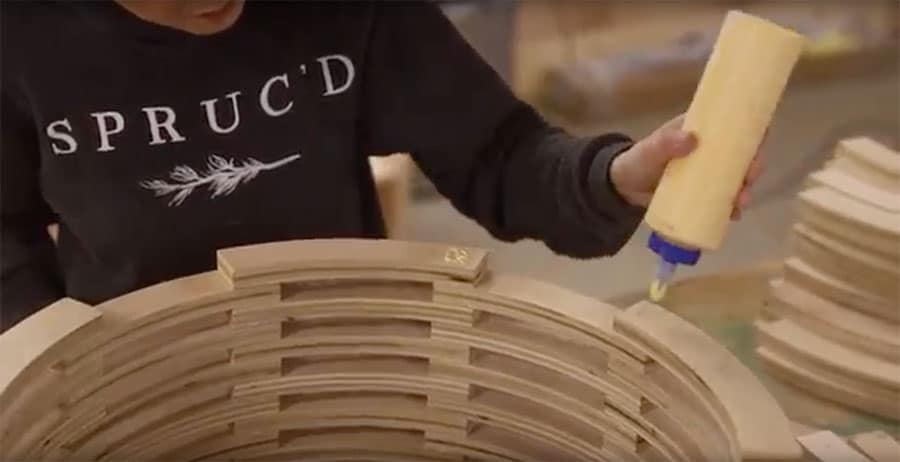
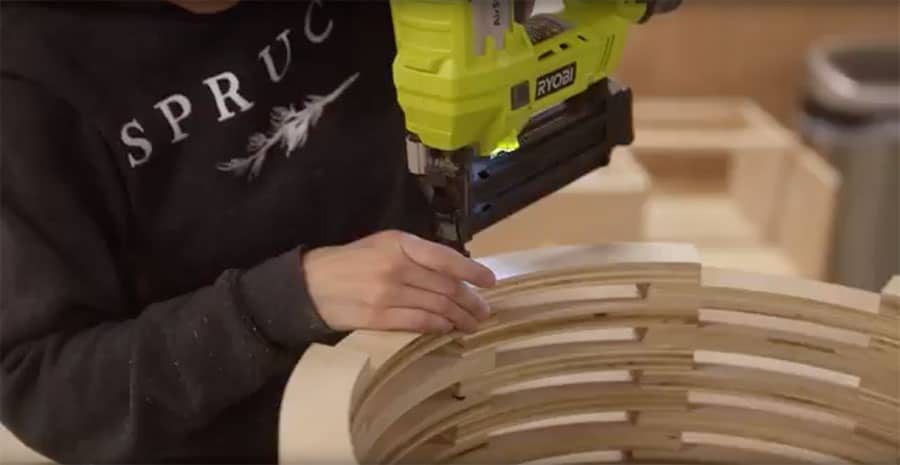
Once I figured out the spacing, it’s time to rack ’em and stack ’em. I used wood glue and brad nails here. Lather, rinse, repeat times a gazillion.
Add the tabletop
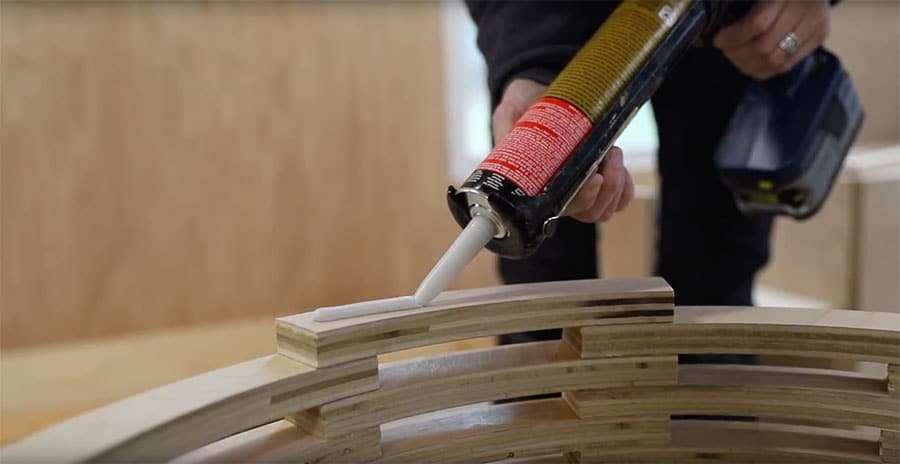
I had some carrera marble left over from another project (DIY cabinets for my home office – tutorial coming soon!), so I had my local stone supplier cut a 24-inch circle from the slab. I used construction adhesive to attach the gorgeous stone top to the table base. I just love the mix of marble and wood on this DIY stacked side table!
Of course, if you don’t have some extra marble laying around, you can use the X-carve to cut out a wood top for this DIY side table. There’s also a store-bought option. (Wow. Didn’t mean for that to sound quite so pretentious. I mean, I don’t know about you, but I always have extraneous marble just laying around. It’s next to my enormous pile of money.) #eyeroll You know what I mean – you can make the table top out of any material: wood, metal, the tears of your haters, whatever.
final thoughts
So… what do you think? This DIY stacked side table was totally worth the time and effort, right?! Here are my takeaways (I’d love to make this project again, this time with black walnut! #drool): I’d reduce the size so the table is closer to 18 inches in diameter and I would figure the exact measurement for spacing and overlap – it kind of bugs me that the stacks don’t line up perfectly. Other than that, I’m pretty happy with how it turned out. If you have any questions about this project, leave them in the comments section! Thanks for reading, friends!
Want to check out more Inventables X-carve projects? Take a look at my giant Scrabble board, carved entryway cabinet, bunny napkin rings, or epoxy inlay cutting board!


Turned out great Jen! ???????
Thanks Fred!
Great info thanks buddy! Will surely utilize your research resources.
Hi Jen, thank you for this. It’s so inspiring.
Thanks for the info, I always enjoy your blogs very Inspiring… ❤️ I love DIY
You have amazing skills. I found that stacked table useful and eye catching. I am in search of a table on which I can put some small pots, and you have solved my problem. I am going to place a light brown colored granite as the top of the table. What do you think about that?
Great project, Jen. I believe my wife will be pleasantly surprised with this very attractive side table. I greatly admire your talents in woodworking, Thank you for the blogs.
This is a wonderful article!!