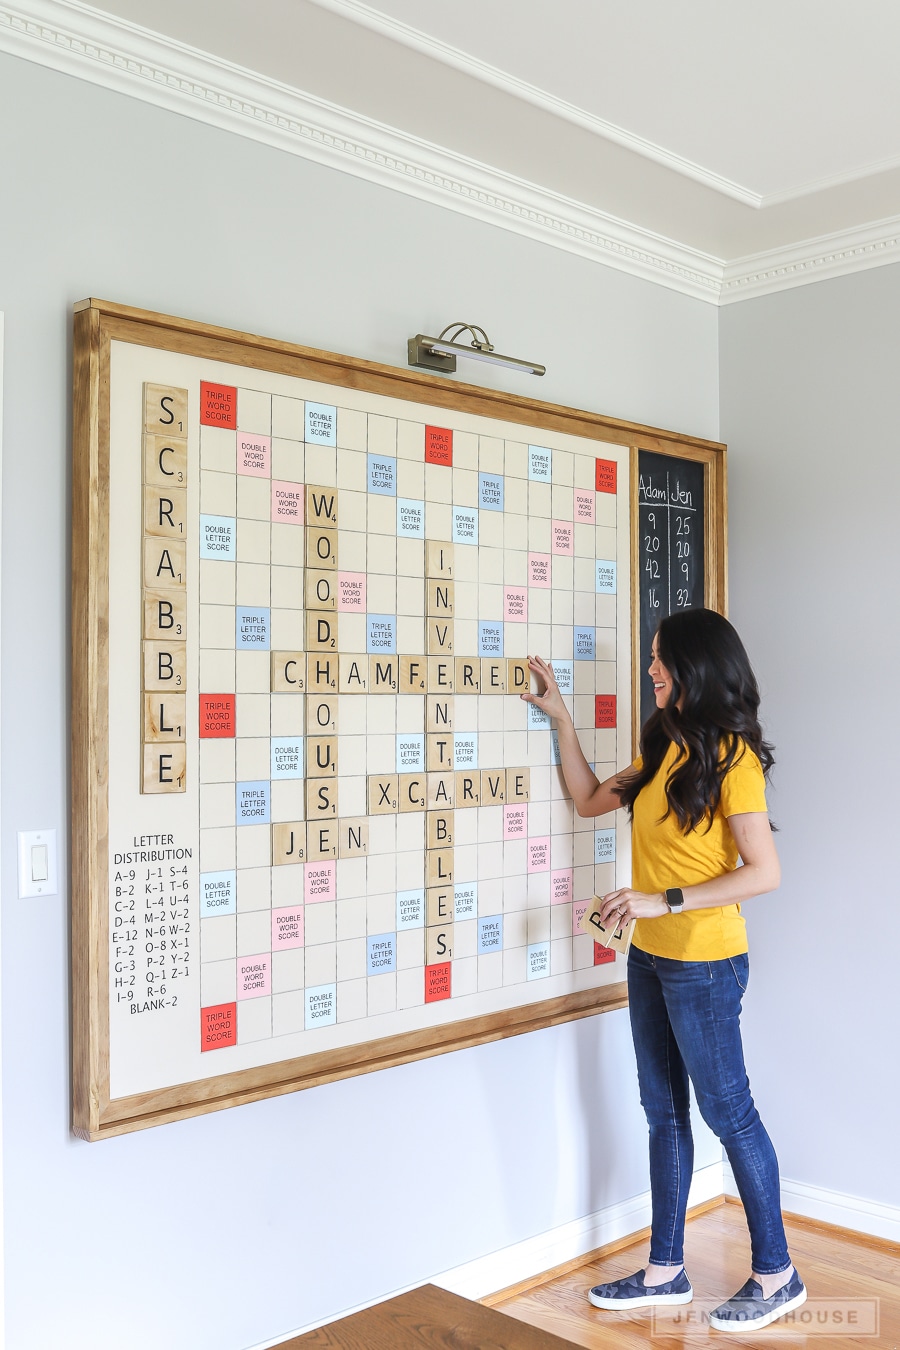
Our new house has a large basement, which Adam has claimed as his “Man Cave.” In the few weeks that we’ve been living here, we’ve quickly realized that we primarily use this space as our family lounge. We kick back and watch TV, and there’s a playroom nearby – it’s a great place for us to relax and hang out together. While we haven’t made any solid plans as to what to do with this space yet, we’re considering turning part of the basement into a theater room, complete with a wet bar and concessions area. We also envision entertaining our friends and family with games, movie nights, and more. What better project to kick off our basement plans than this DIY Giant Wall Scrabble® Game Board? I am totally geeking out over it!
I’m excited to be partnering with the awesome folks at Inventables to bring you several fun projects this year! Did you catch my adorable baby name puzzle I made a few months ago? These little puzzles make great baby shower gifts!
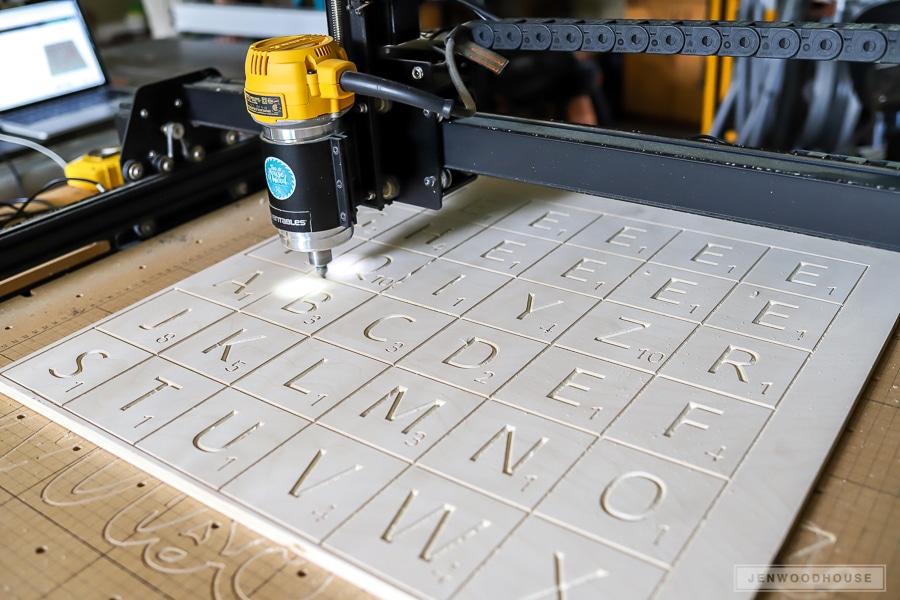
When I was thinking of tackling this DIY Giant Wall Scrabble Game, I knew this was a job for my Inventables X-Carve 3D Carving Machine. This project was so much fun to make, but it’s incredibly time-consuming, so I don’t recommend taking it on unless you have a lot of time on your hands, like me. Ha!
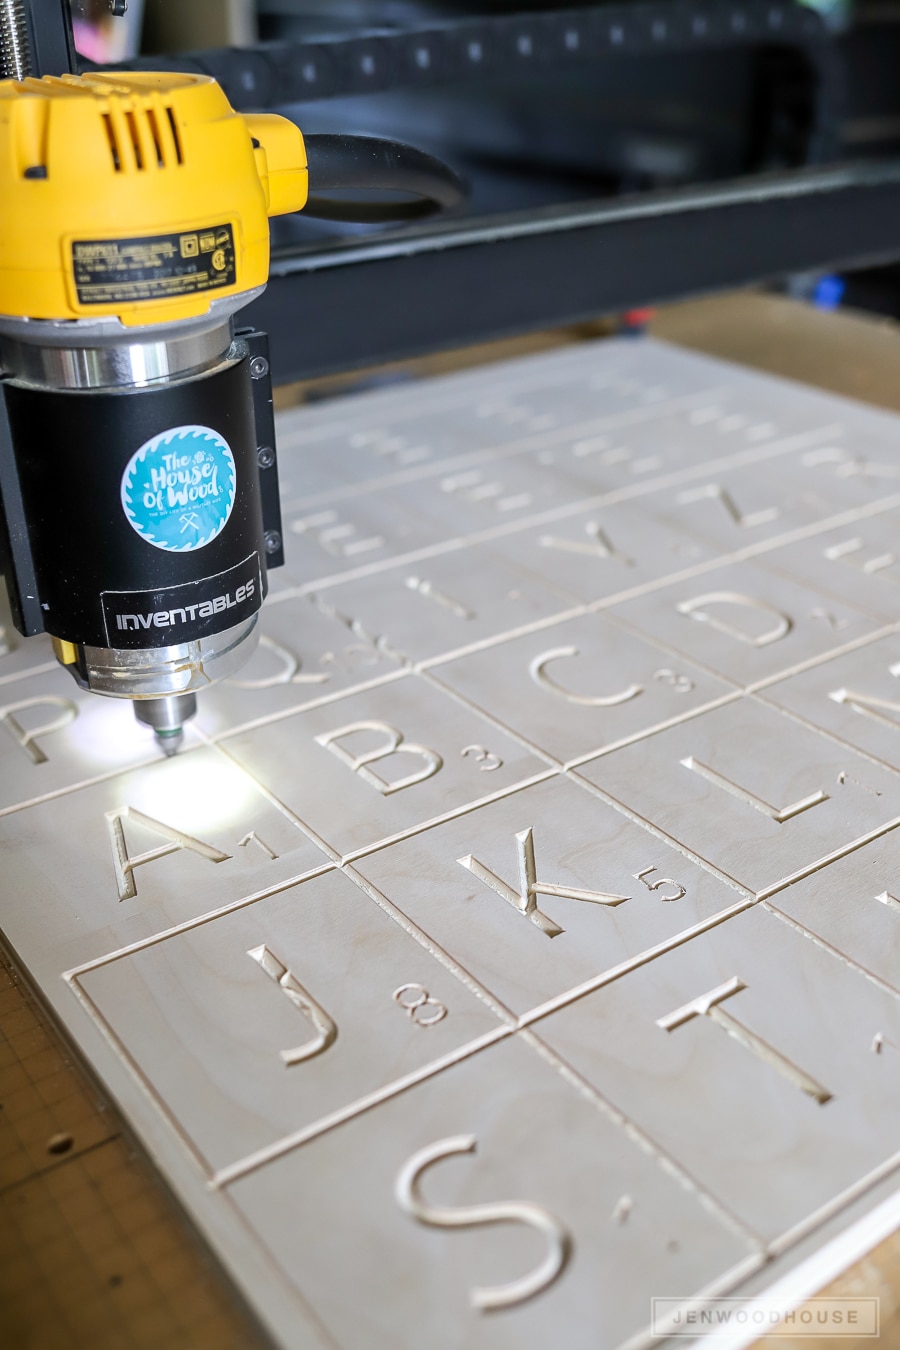
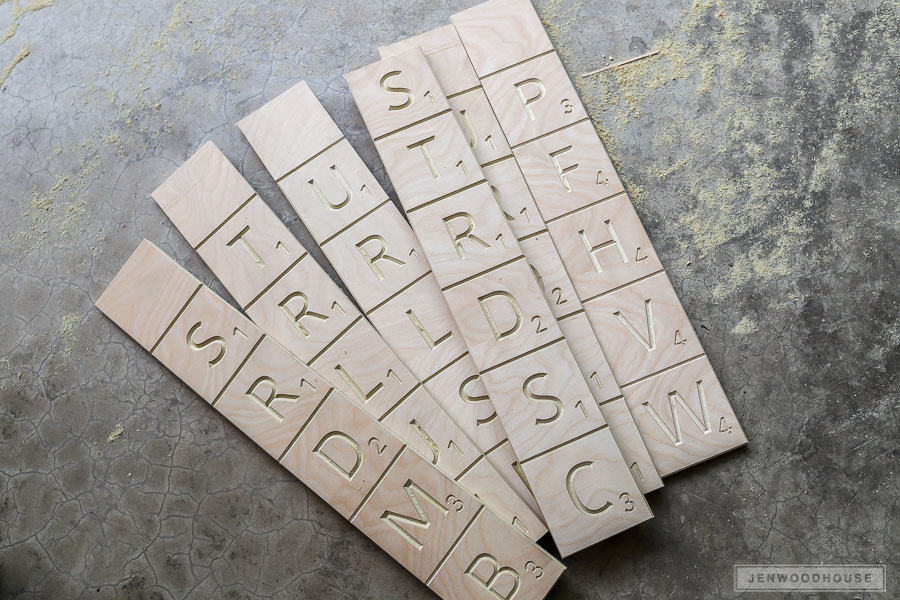
A quick Google search rendered this free SVG file for Scrabble tiles. I downloaded it from Hey, Let’s Make Stuff and it saved me a TON of time since I didn’t have to design the tiles from scratch. Thank you, Cori! I did modify the file a bit – I changed the size so that each tile was 3 1/2-inch square and then imported it into Easel (Inventables’ free design software) where I mapped out the tiles so that several tiles fit on four separate pieces of 23″ x 23″ 1/2-inch thick plywood. Here’s the file in Easel. After simulating the carve in Easel, I discovered that the 90º V-carve bit would give me the fastest and most precise cut. It took about 35-45 minutes to carve each plywood panel.

Tools and Materials:
- Inventables X-Carve 3D Carving Machine
- Table Saw
- Circular Saw
- Cordless Drill/Driver
- Compact Router
- (1) Full Sheet of 3/4-inch Plywood
- (1) Full Sheet of 1/2-inch Plywood
- (1) 1 x 12 x 8 Ft. Board
- (4) 1 x 3 x 8 Ft. Boards
- (4) 1 x 2 x 8 Ft. Boards
- (2) Quart Cans of Magnetic Primer
- Chalkboard Paint
- (100) Rare Earth Magnets
- French Cleat
- Giant Scrabble Tiles SVG File
- Bonus Tiles SVG File
Step 1: Carve the Scrabble Tiles
Instead of having the X-carve cut out the tiles individually, I set the cutting depth for the letters and numbers to 1/8″ deep and the box outline to 1/16″ deep. I’ll use the box outline as a guide make these cuts on the table saw to save time.

Step 2: Paint the Letters and Numbers
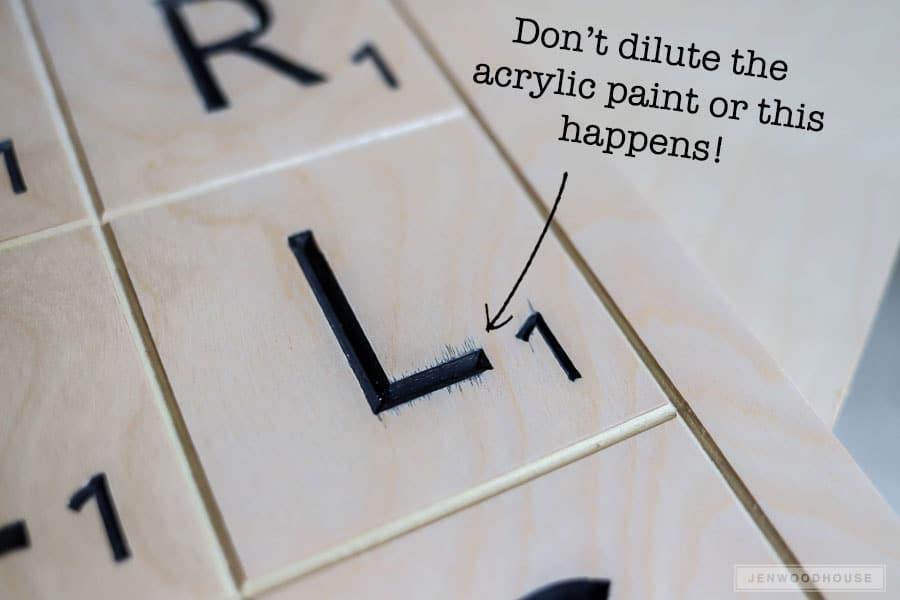
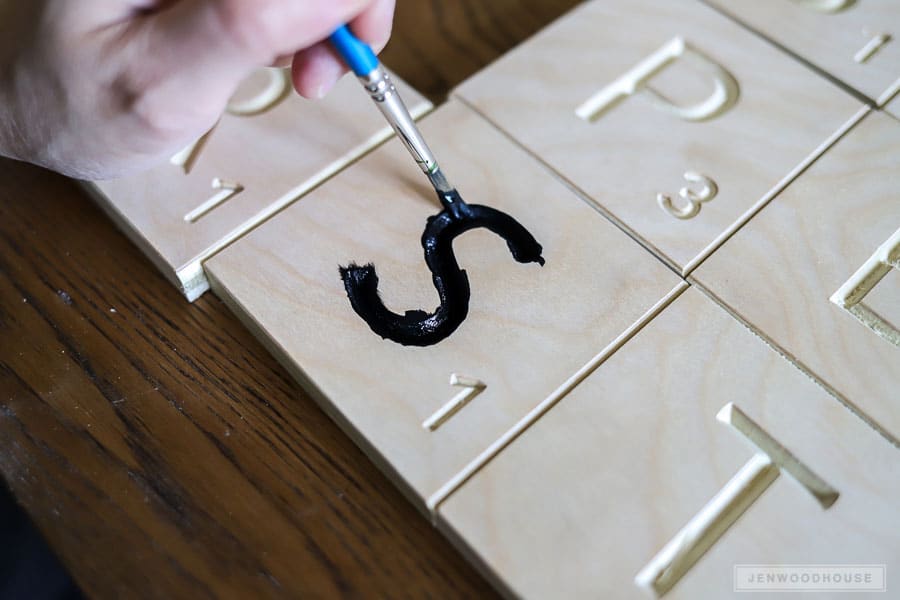
Once the carve was complete, I hand-painted the letters and numbers with black acrylic paint. Be sure NOT to dilute the paint – the water will seep into the wood fibers and you won’t be able to get a clean, crisp outline. You can’t even sand that out, unless you sand off a layer of the plywood. No bueno.
Ugh. I can’t even look at it.
Avert your eyes! Avert your eyes!
I ended up having to carve a whole new panel because I made that mistake. Take it from me – use a small paintbrush to paint the letters and numbers with acrylic paint straight from the bottle. And don’t worry about a messy job. In fact, my 6- and 8-year-old helped me with this task. As long as you don’t dilute the paint, you’ll be able to sand off the excess paint later on.

Step 3: Sand Excess Paint
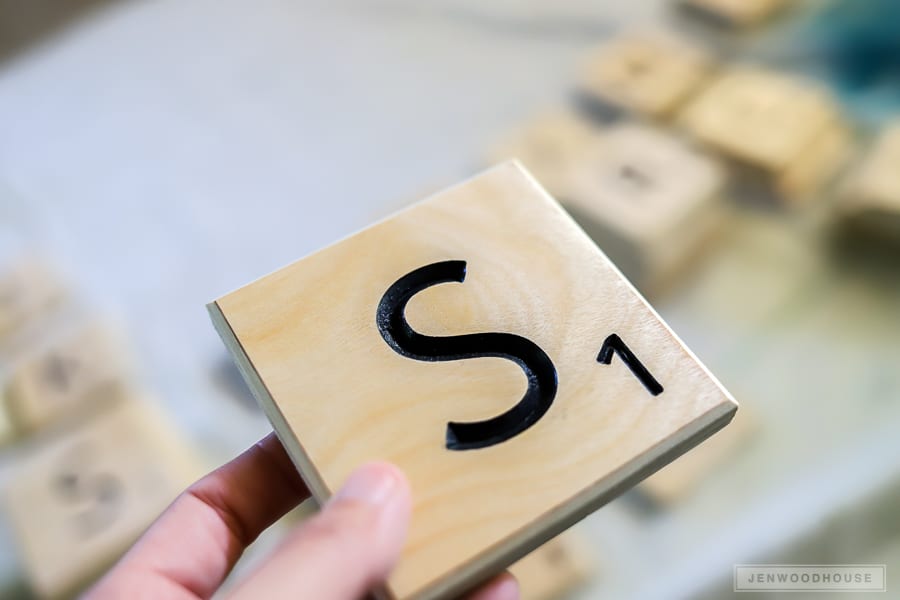
Sand the excess paint off with 180-grit sandpaper and you’re left with a crisp, clean Scrabble tile:
Ahhh… much better. I can go on living.
Also worth mentioning – be sure to paint the tiles and sand the excess paint off BEFORE you slice them up. It’s so much easier to sand a large panel, rather than try to hold onto a 3 1/2-inch square while sanding. Don’t ask me how I know.

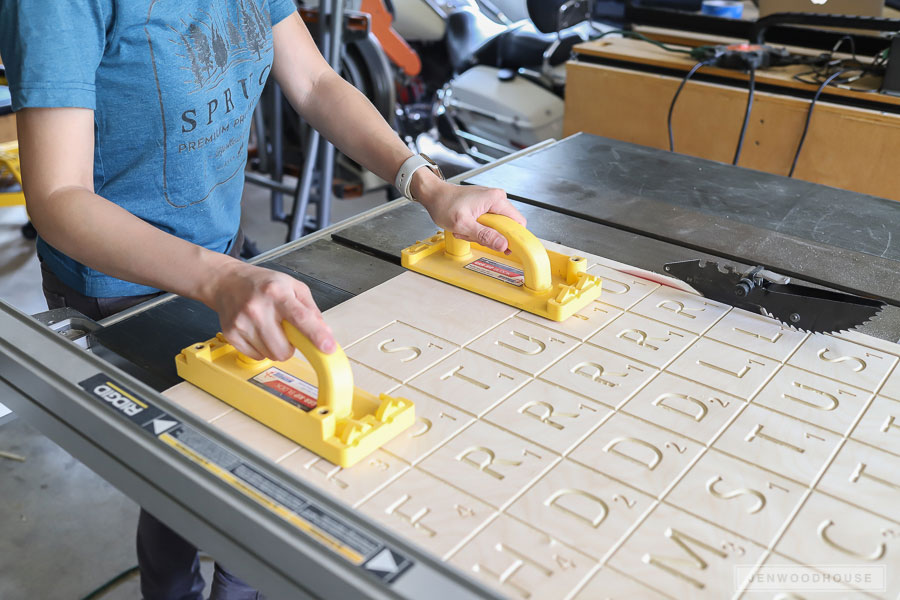
Step 4: Cut the Tiles Lengthwise
After the tiles have been painted and sanded, use a table saw to slice up the tiles lengthwise.

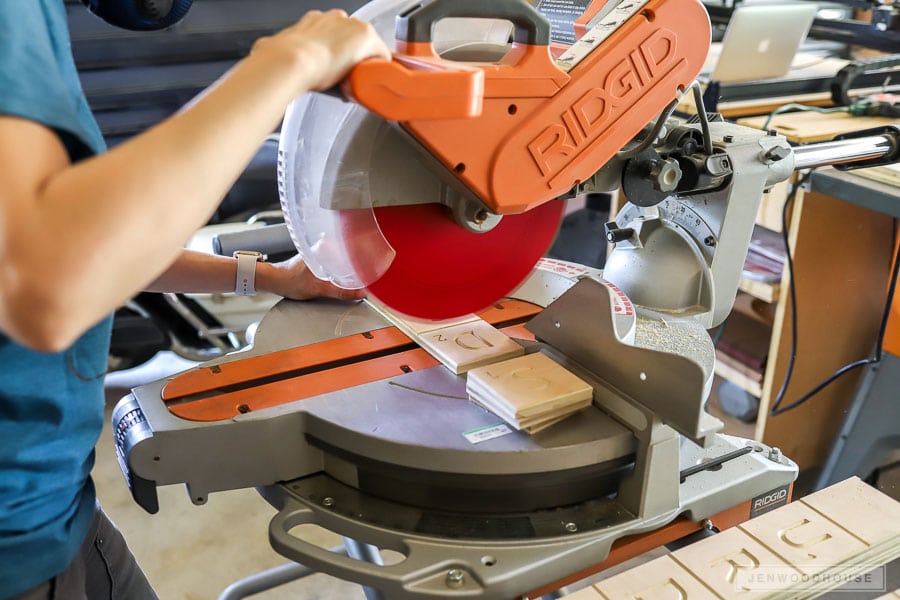
Step 5: Cross-cut the Tiles
Then chop them up into individual Scrabble tiles on the miter saw.

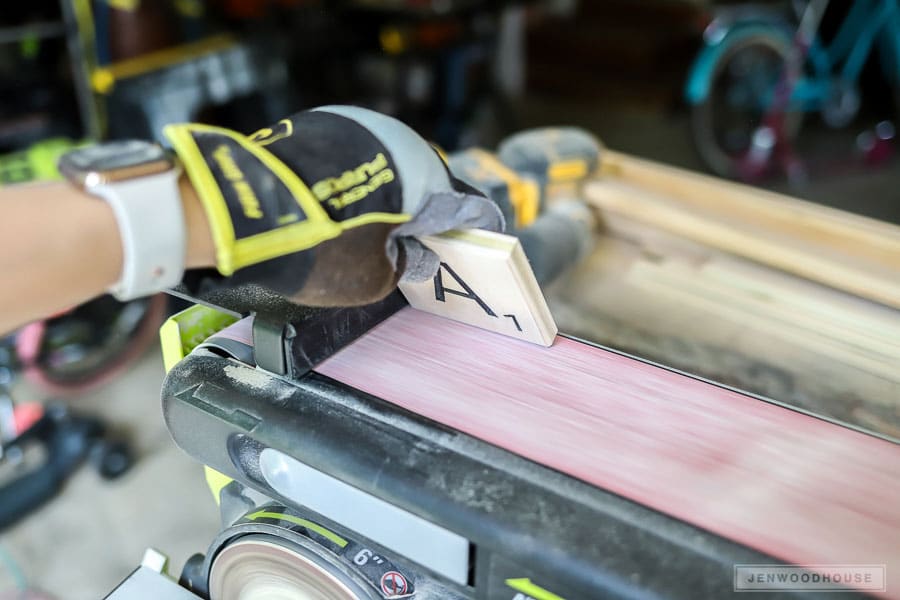
Step 6: Sand edges
Next, I used a bench sander to sand all the edges and sometime in a moment of lunacy, I decided that these tiles needed a chamfered edge on them. It would’ve been easier to have the X-carve cut the chamfer, especially with the 90º V-carve bit, but hindsight is 20/20, folks. And so I chamfered each edge of each tile by hand on the bench sander… 100 tiles x 4 edges = pure insanity.
Apparently, I enjoy over-complicating things and creating extra work for myself as a result. It’s a gift.
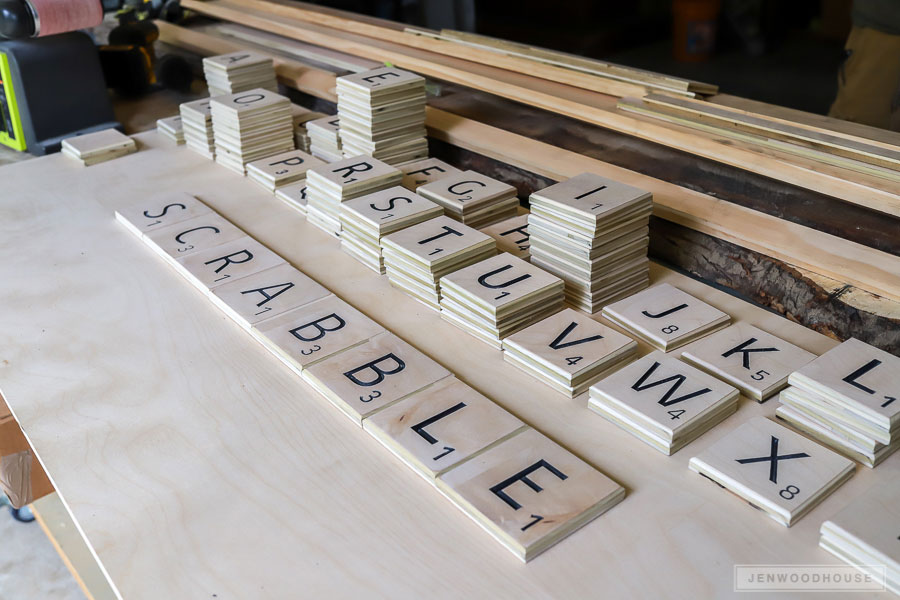
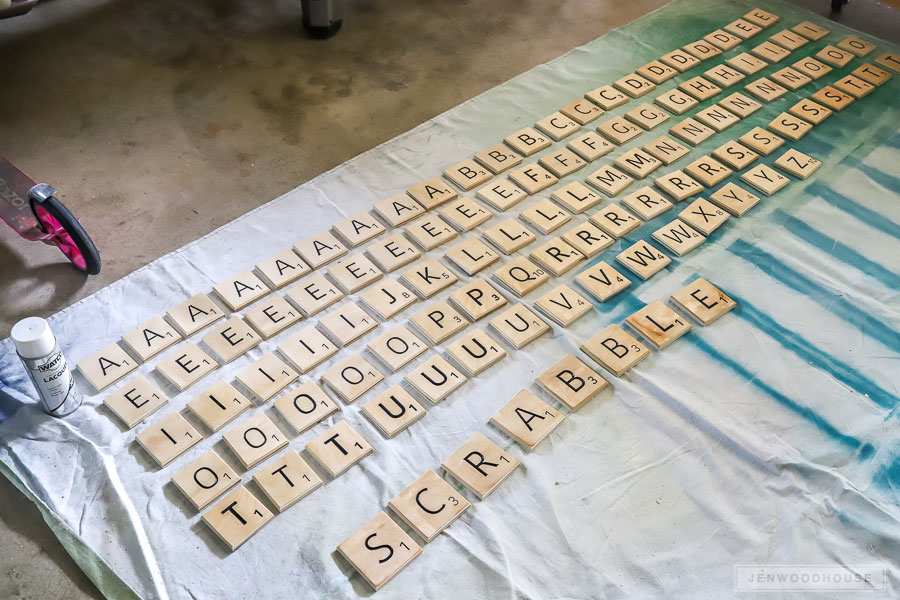
After the dust settled, I was left with 100+ beautifully chamfered and carved Scrabble tiles.
Was it worth it?
Ask me again when we’re knee-deep in a highly competitive Scrabble match and “chamfered” is the winning word. Twenty points to Gryffindor!

Step 7: Finish Tiles with a clear top coat
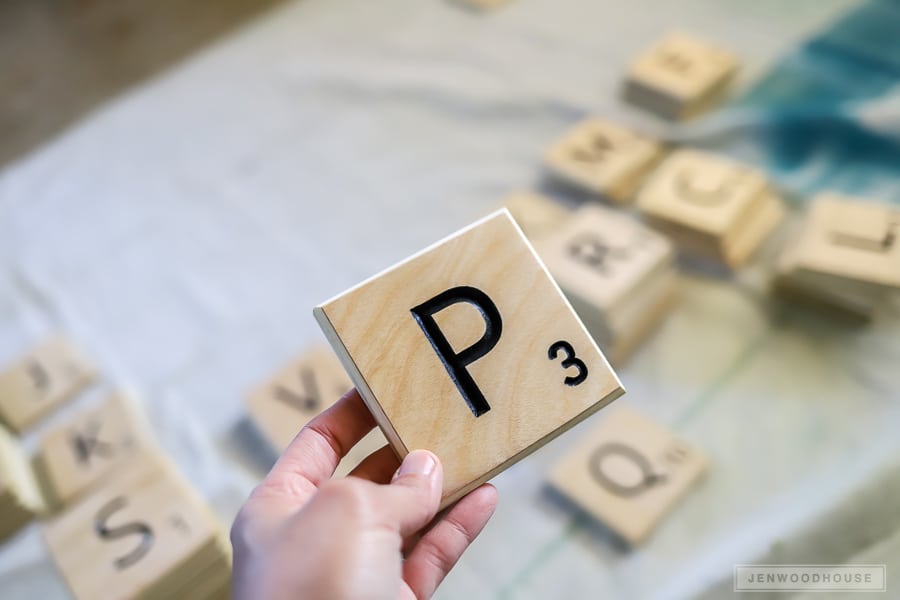
Finally, I sprayed a couple of coats of gloss lacquer on the Scrabble tiles and called it a day. Despite the strong odor, I really love using this spray lacquer because it dries quickly and is so easy to apply. After the tiles dried, they felt a little rough to the touch, so I hand-sanded each tile with a 400-grit sanding sponge.
Another tip – I always get glossy spray lacquer (as opposed to satin, semi-gloss, or matte finish) because once you sand that top coat, the gloss is dulled to a satin finish anyway.
The prettiest P you ever did see! Check out those clean, crisp lines and beautiful wood grain!

Step 8: Drill holes for magnets
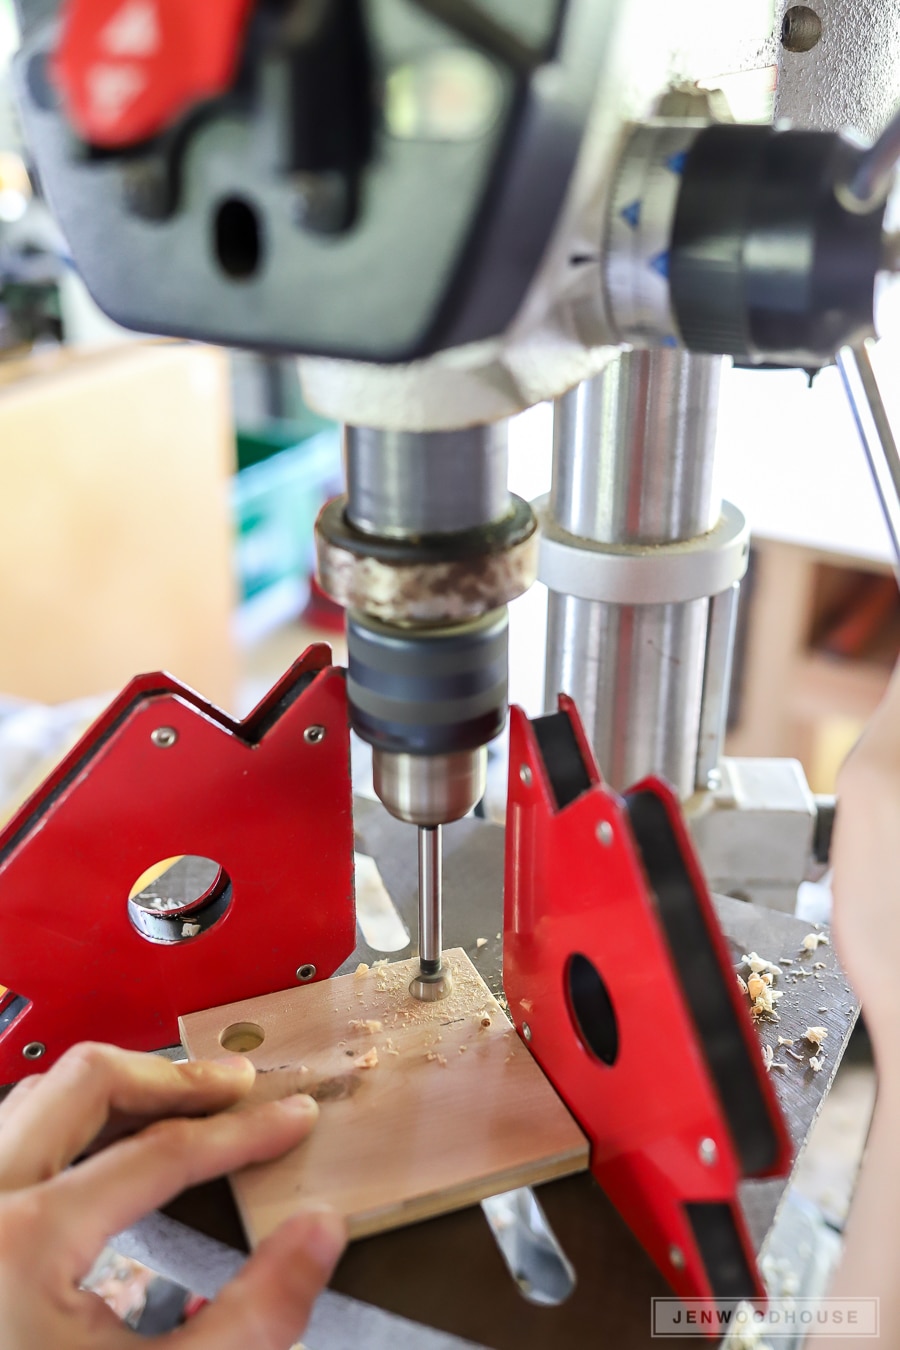
Because I wanted the tiles to sit flush to the game board, I used my drill press to drill holes into the back of each tile so that I could inset the magnets. If you don’t mind the game pieces sitting proud on the game board, feel free to skip this step and just glue the magnets to the back of the tiles. But I’m a crazy person who likes to over-complicate things, remember? We talked about this.
CASE. IN. POINT.
But I was feeling pretty clever when I found a new use for my welding magnets. Instead of building a jig, I set my welding magnets up so that I could slide each tile into place and drill in the exact location every time. All 400 holes of them!
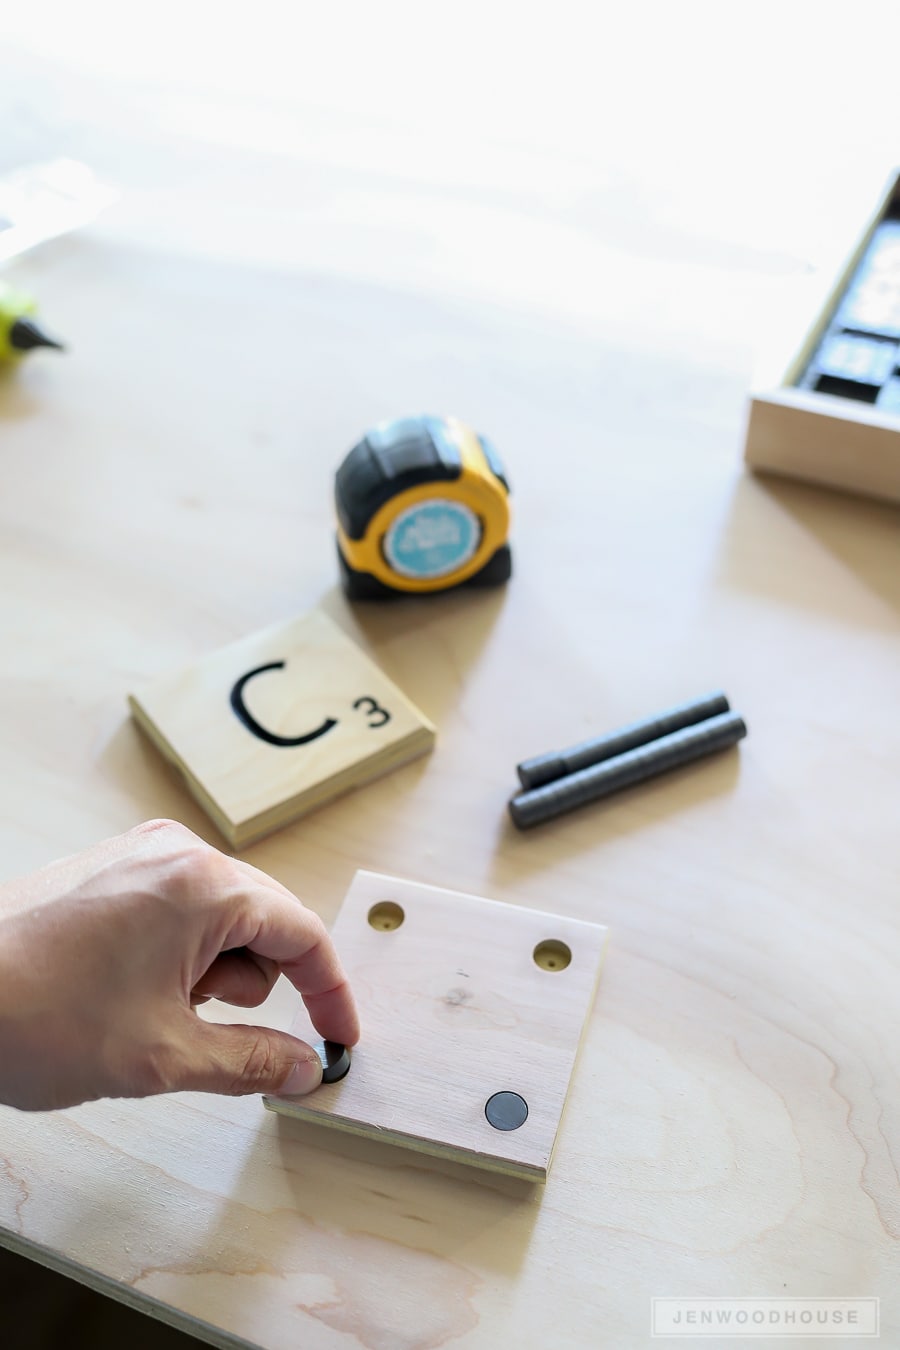
Four hundred holes later, I glued the 1/2-inch ceramic magnets in. This was another mistake – after reading the instructions on the can, Rust-Oleum recommends using rare earth magnets with their magnetic primer. Doh! You’ll get a stronger magnetic bond with the rare earth magnets. I ended up filling 2 of the 4 holes on the back of each tile and attaching 2 rare earth magnets to the back. Then, I discovered that some of the tiles still didn’t stick to the Scrabble board very well, so I went back and added these bigger magnets to the back of each tile.

Step 9: Attach the 1×12 and cut game board to size
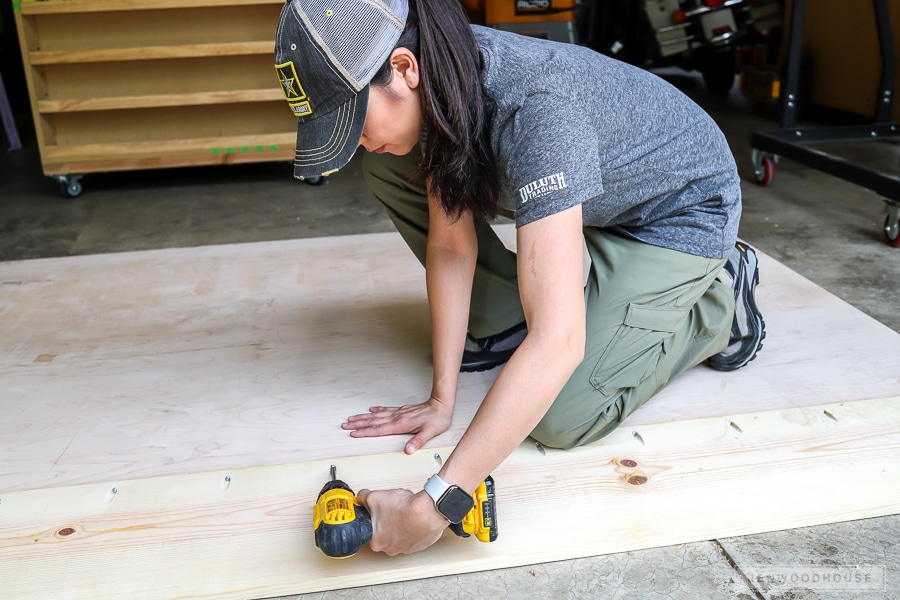
Because a full sheet of plywood is 96 inches x 48 inches, I had to make it larger in order to accommodate the 220 tile spaces. The original Scrabble board is made up of 15 by 15 spaces (220 spaces total) and with 3 1/2-inch Scrabble tiles, the playing area needs to be at least 52 1/2 inches square. I grabbed a 1×12 board and edge-joined it to the plywood, hiding the pocket holes on the back of the plywood. Then I flipped the whole thing over, filled the seam with wood filler, and sanded everything flat. Now I had a full game board that measures 80 inches x 59 inches. The extra area will be for the chalkboard.

Step 10: Paint the plywood with magnetic primer and chalkboard paint
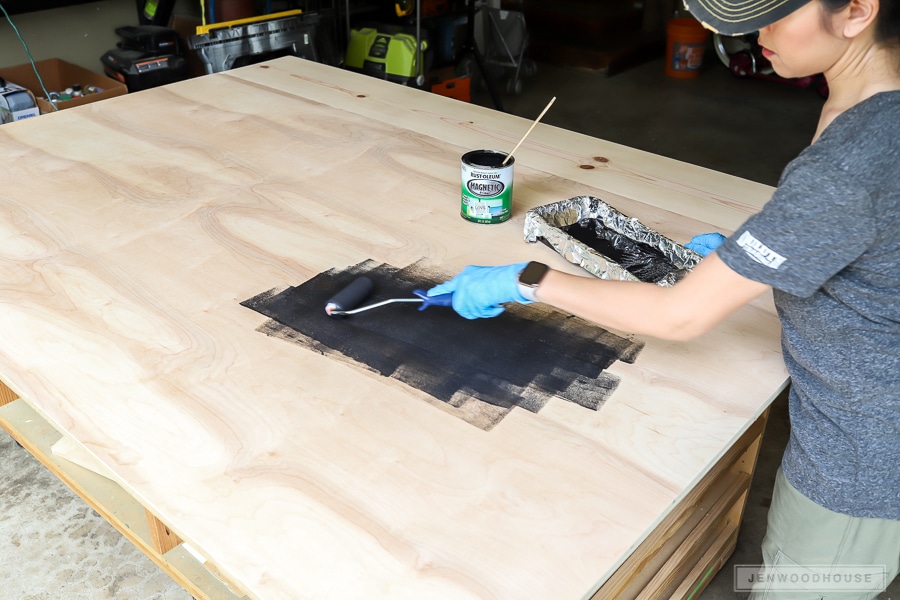
Rust-Oleum recommends 3 coats when using their magnetic primer and for an area this large, I ended up using two quart-size cans. When you open up the can, the paint is super gloopy (that’s a technical term), so you’ll have to stir it until it’s an even consistency. This will take several minutes – don’t lose heart and just keep stirring. The gloop will incorporate. Trust. I used a dense foam roller to roll on the paint. I waited about 30 minutes between coats and rolled on 3 coats, as recommended.
Quick tip: line the paint tray with aluminum foil to make clean-up a piece of cake.
Great.
Now I want cake.

Step 11: Use a straight edge and mark the gridlines
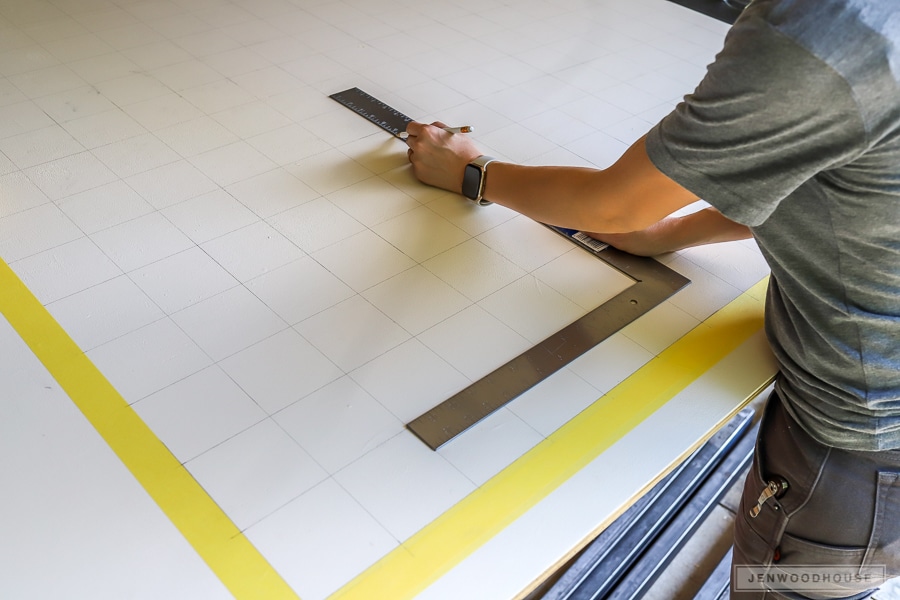
I used a straight edge to pencil in the grid. Each square measures 3 1/2 inches x 3 1/2 inches. This step isn’t actually necessary. You could just measure 3 1/2 inches for each square, mark the two ends and clamp a straight edge to act as a fence for your router. But again, I’m an expert at working harder and not smarter, remember? But this is good news for you – I’ve made all the mistakes for you, so you don’t have to! You are welcome.

Step 12: Route the gridlines
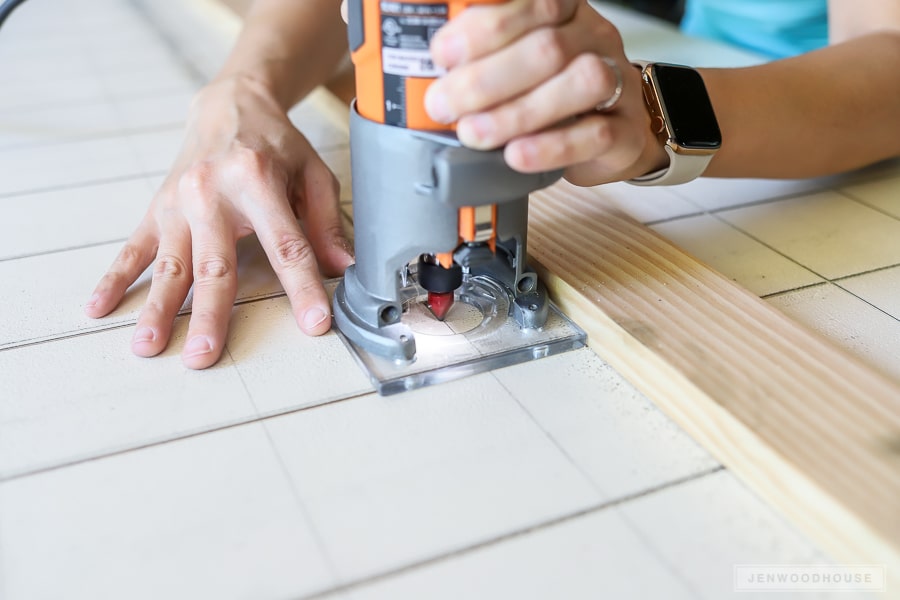
I routed the grid with this corded router and after a few snafus with the power cord, I really wished I would have had this cordless compact router instead. It took me about 2 hours to route the entire grid. Whew! I used a V-bit and routed the grooves about 1/16 inches deep.

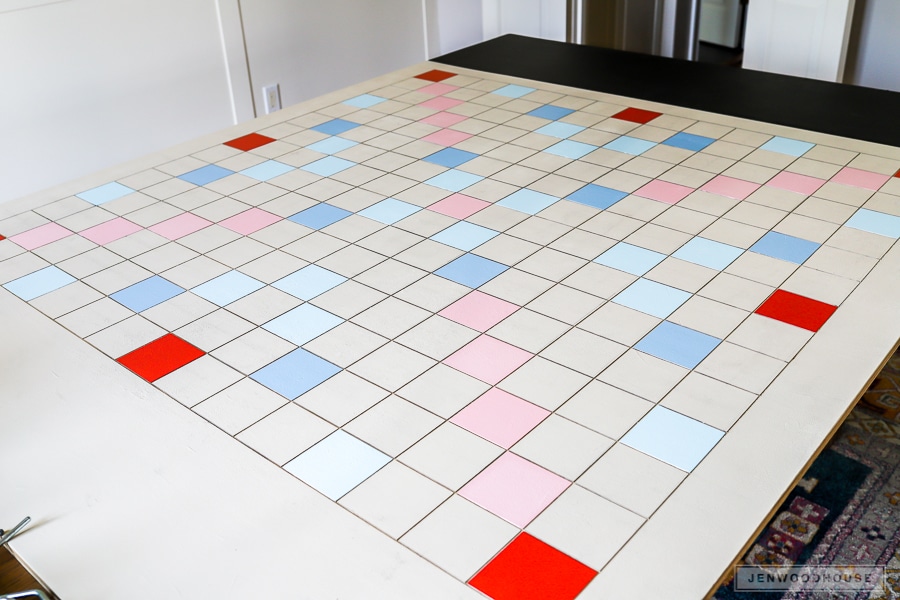
Step 13: Paint the scrabble board
Here’s another instance where hindsight is 20/20… I wish I would have painted the plywood after I routed the grid because it got pretty dirty and scuffed as I was working. So, do as I say, not as I do. Route first, then paint.
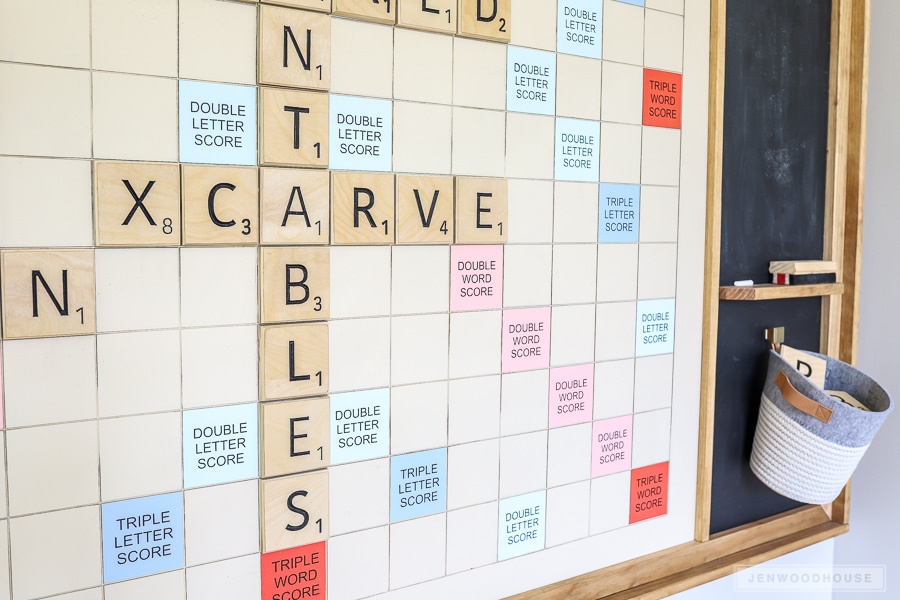
These are the latex paint colors I used in a satin sheen:
- Background: Malton (BM 1073)
- Double Letter Tiles: Crystal Springs (BM 764)
- Double Word Tiles: Smashing Pink (BM 1303)
- Triple Letter Tiles: Sapphire Ice (BM 808)
- Triple Word Tiles: Habanero Pepper (BM 1306)
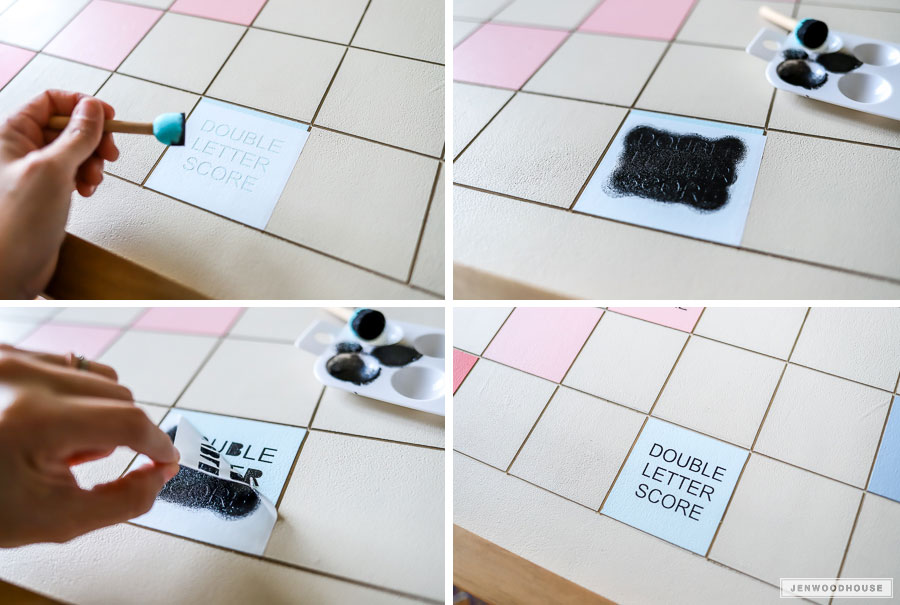
After the paint dried, I stenciled the text onto the bonus tiles. Prepare yourself for a very long evening. Put on your favorite TV series and stencil your little heart out.
>>> Download the stencil for the bonus tiles <<<

Step 14: Add the ledge and frame
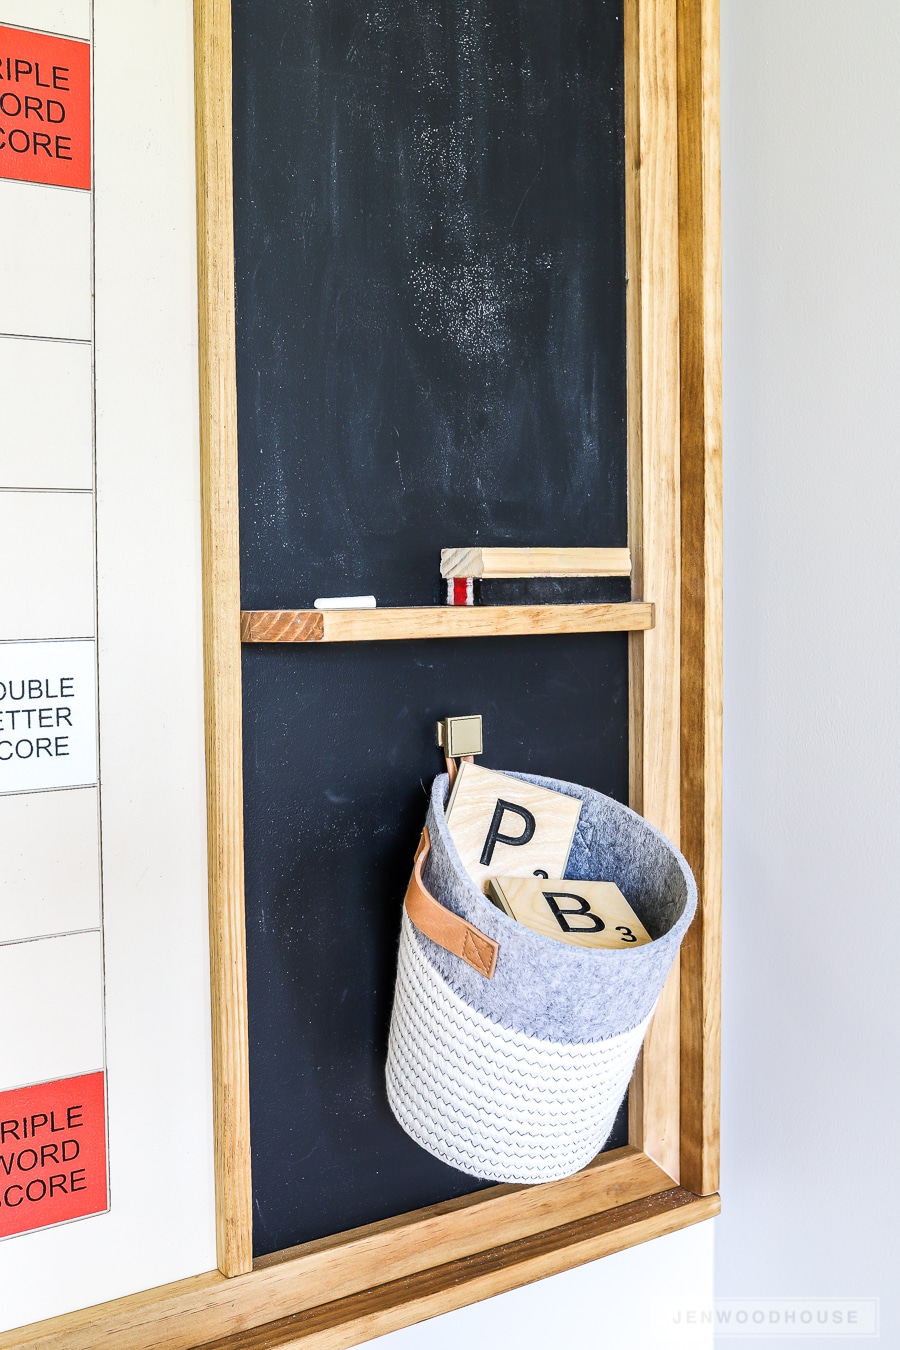
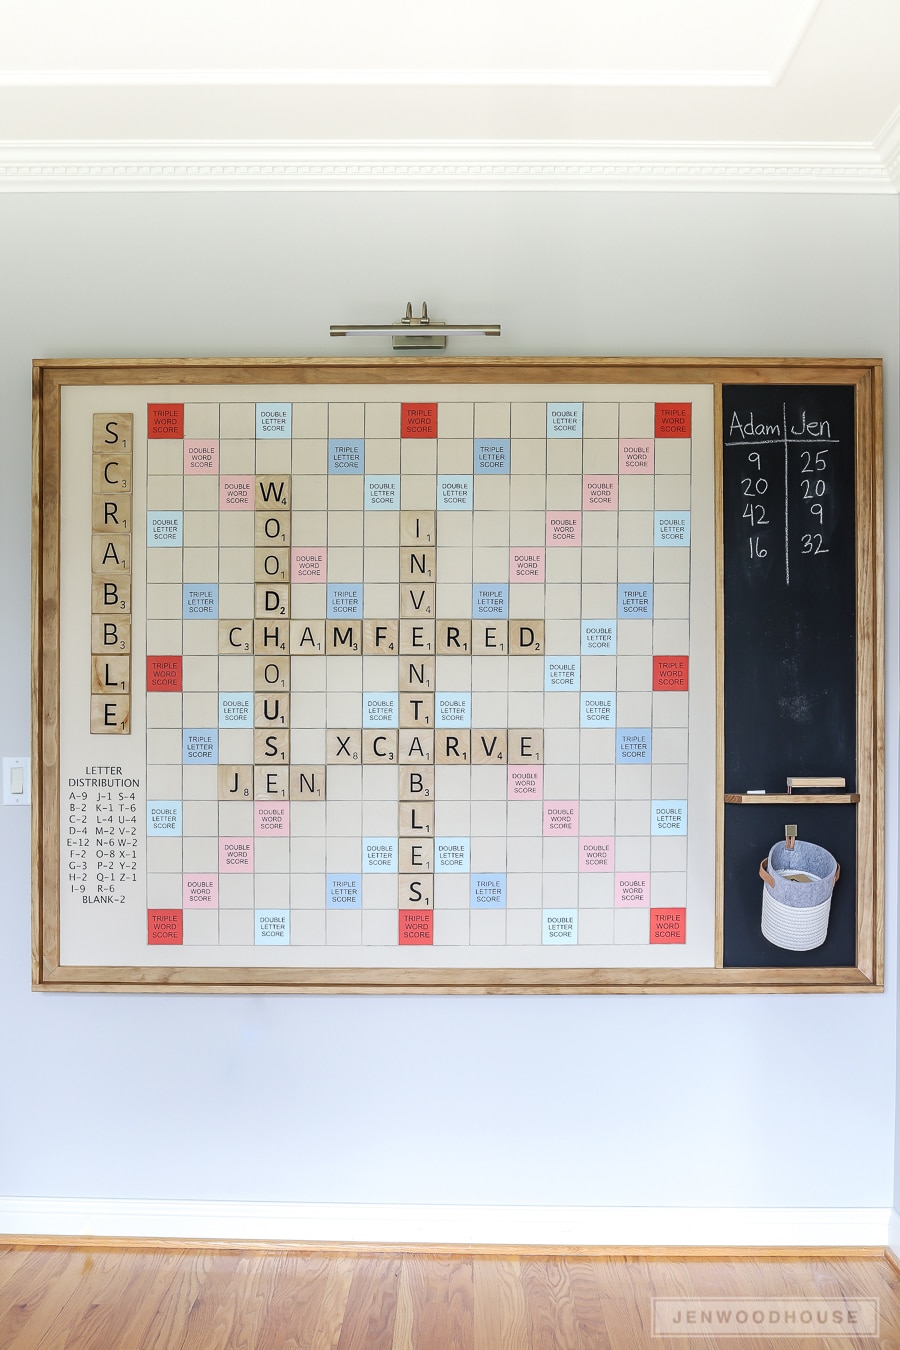
Now that the most meticulous parts are done, it’s time to wrap this project up. Let’s add the ledge (stained Golden Oak) and frame out the entire thing. Measure, mark, cut, and attach the boards with wood glue and brad nails. I hung a cute little basket right under the ledge to hold extra tiles and other miscellaneous items. Finally, we used a French cleat to hang the Scrabble board up on the wall.
Now that it’s done, I can think of better ways to make this DIY Giant Scrabble Game Board. For example, instead of hand-routing the entire board, I could have divided up the game board into nine equal parts with each panel made up of 5×5 squares. That way, each panel would be small enough for the X-carve to carve and I wouldn’t have had to stencil all of the bonus tiles by hand. But it’s done and even though it did take me about 15 years to complete, we absolutely LOVE how it turned out!
Now then. Who’s up for a game of Scrabble?
*This post is sponsored by Inventables and contains affiliate links. To read my full disclosure policy, please click here.

Jen,
This is awesome. My daughter ran across this 2 years ago and kind of filed it away. We are in the process of building a vacation rental cabin in the Smoky Mountains and decided we would tackle this project. Would you happen to have the photoshop file of the letter distribution available for download? What did you print that out on transfer it to the board?
Thanks again! What a great project.
How much would you charge our church to do one of theee for their youth room?? Please??❤️
Call me 513-999-1310
Nitza Foster
Clifton SDA church in Cincinnati OHio
How much would your charge to make one for us. We are a family of 3 with no friends or family around and my son has speech needs. Would love something like this for our home and evening family time. It could totally be smaller as well.
Same question as everyone else how much would you charge …
So cool!!!
I would like one for my classroom as well.
Please make contact.
I don’t have Easel, I have Aspire. Could you send the file and the g code to me?
I have the same question as everyone else??? Price??
Did anyone else ever get an answer or a response? She did SUCH of a great job WOW . I wish I had the time and the talent to do this. ❤️
Love this!!! So creative and can think of ways to create similar without the luxury of carving, but the inspiration is awesome!
What a fantastic idea! I love how customizable the giant Scrabble board is. Can’t wait to try this out for our next game night! Thanks for sharing such clear instructions!
Hello Jen, I am so excited to make this board – this will be my first ever X Carve / wood working project (probably should start on something easier but go big or go home. This post is how I discovered the X carve in the first place – anyway, my question is the thickness of the plywood and the 1x12X8′ board you attached. You mentioned 2 plywood sheets, 1/2″ & 3/4″. The 1/2″ is cut to make the tiles and I assume the 3/4″ is used for the game board. If so, how are you attaching the 3/4″ plywood to the 1″x12″x8′ board? Do you have 1/4″ raised up? I didn’t see anyone else ask this question so I must be missing something (I’m sure it’s me) but I don’t know what.
You also said you should have cut the board to nine equal parts with each panel made up of 5×5 squares (making the board only 45″?) – would those have to be attached together with pocket holes? And, do you think the lines would look different between the grid carved by the machine vs. the lines where the cut board are attached together? Thanks so much for posting this amazing project. I hope mine turns out as good (or as close to it as a newbie can get!)