Hello and happy Friday, friends! A few years ago, I built a couple of these Land Of Nod knock-off play stands to give to the two most adorable 3-year-old girls in my life: my daughter and niece. And I’m finally getting around to writing about it! It’s been (and still is) one heck of a long winter, so it’s been too cold to get outdoors to photograph until now. In fact, I took these photos today and though you can’t see it (I’m tricky that way), there’s still snow on the ground! #Springpleasecomequickly
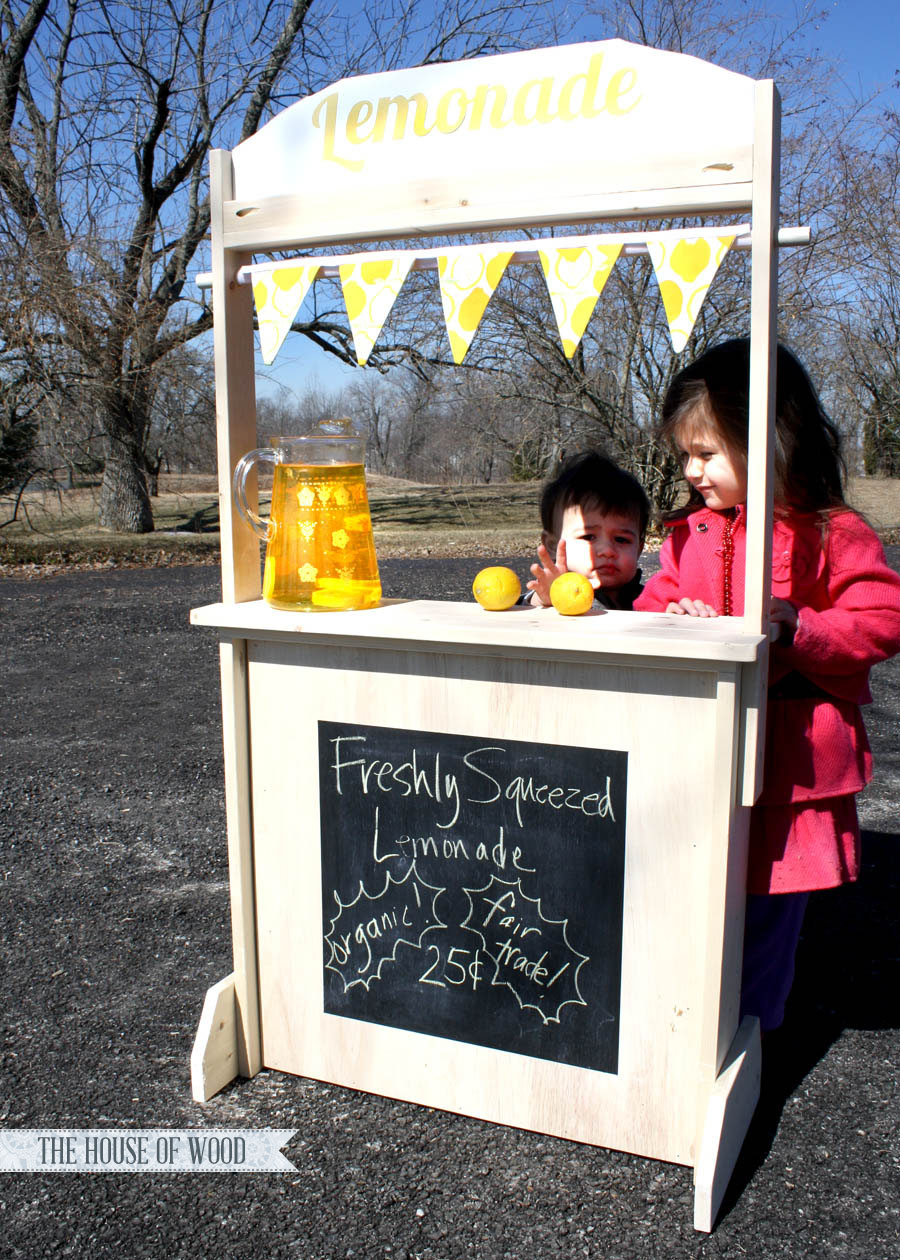
Isn’t this the cutest thing ever? My kiddos are pretty adorable, too. #madethemfromscratch
Ana White came up with this free, easy-to-follow plan for a fun play stand and I thought it would make the perfect Christmas gifts. It can be a lemonade stand, bakery, post office, theatre, market, psychiatric booth, and more… we’re only limited by our imaginations! Click here for the complete step-by-step tutorial.
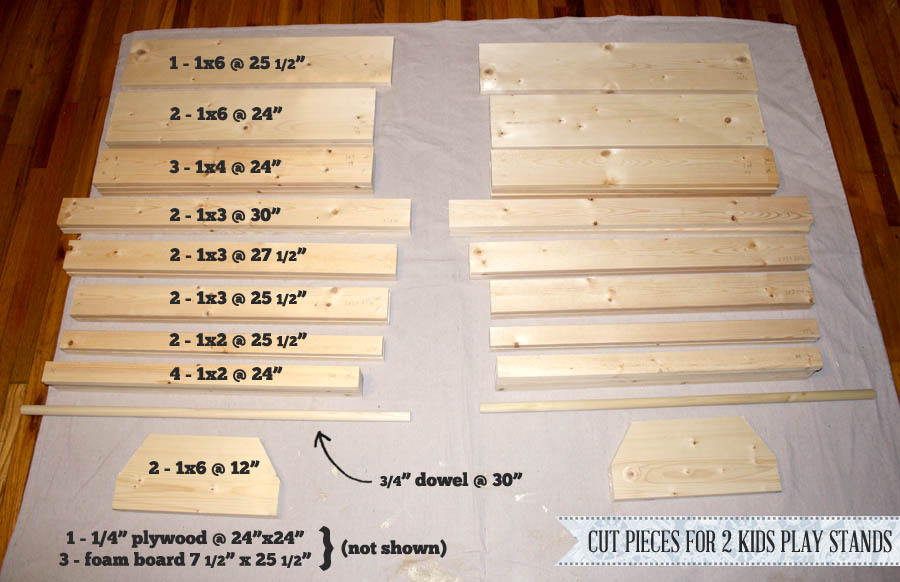
These are my cut pieces (keep in mind, I made two, so the pieces are doubled):
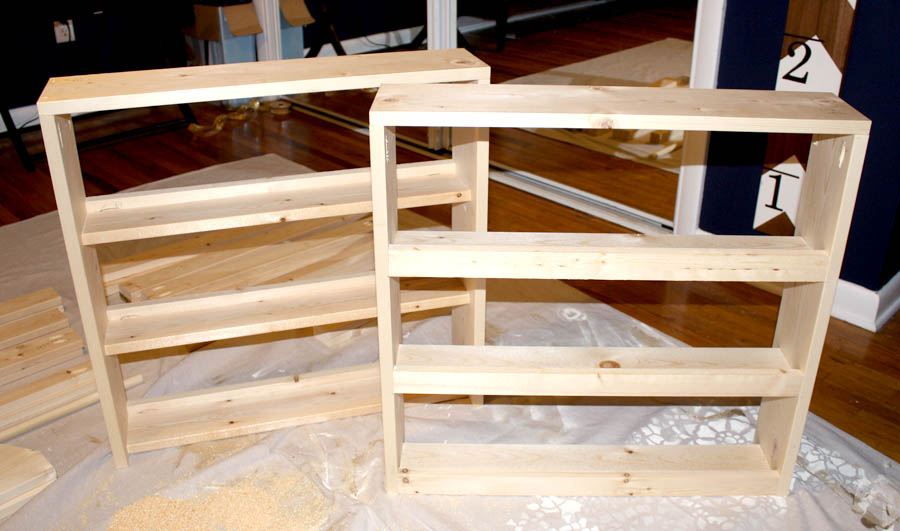
I constructed the base with the shelves:
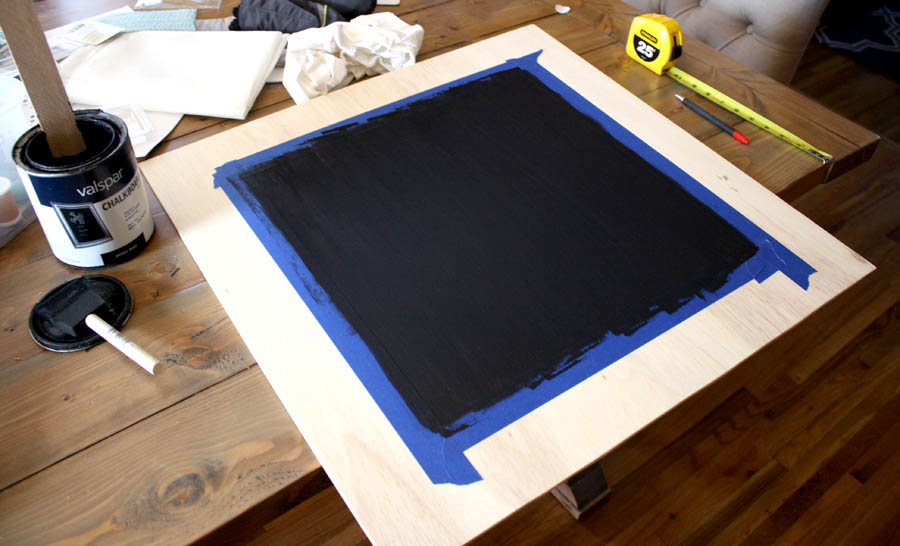
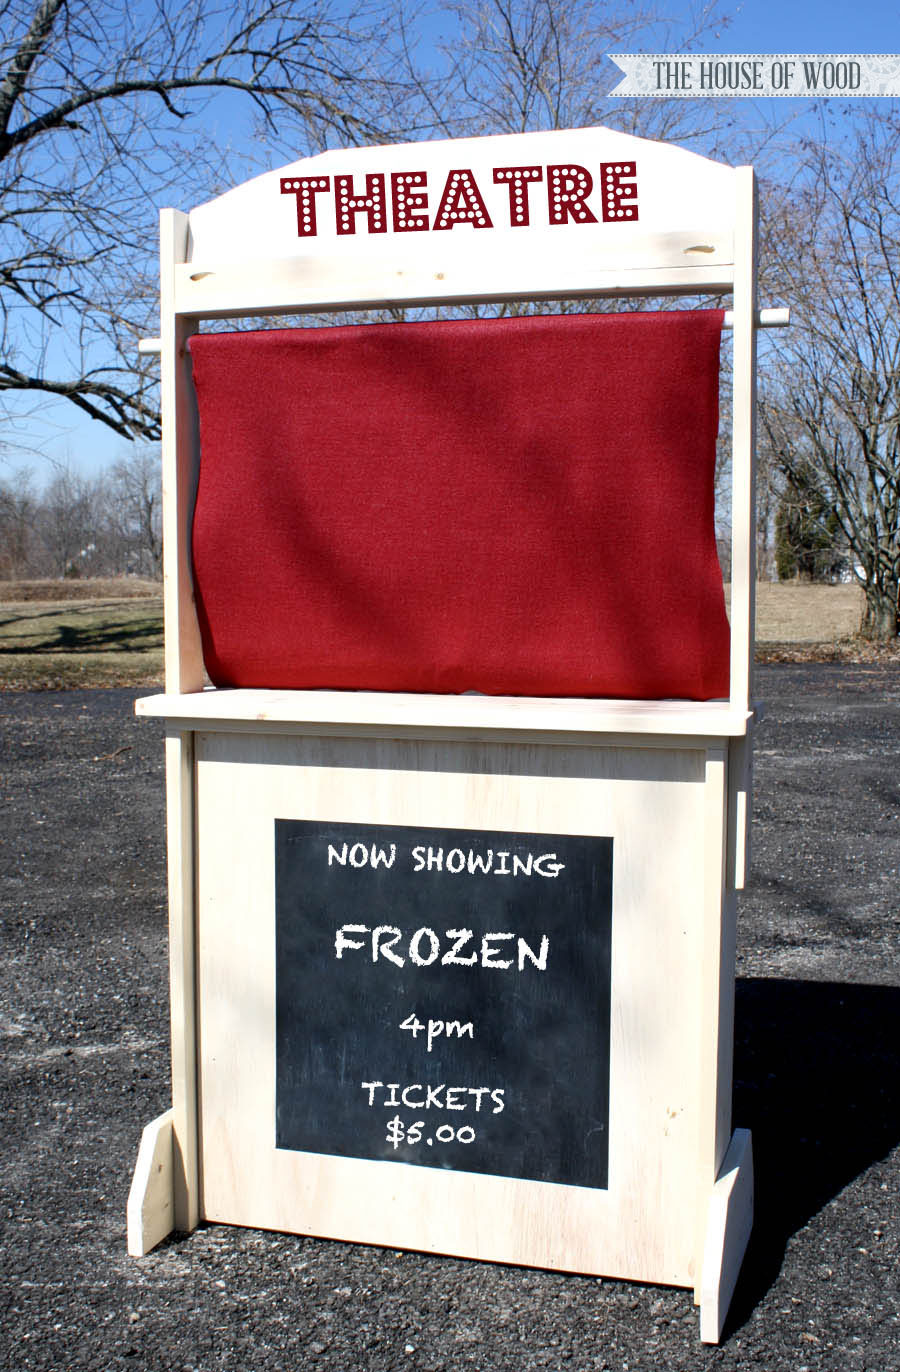
I taped off a section on the plywood and painted some black chalkboard paint on with a foam brush:
Aren’t these changeable marquees adorable? I cut some foam board and used my Silhouette Cameo to design and cut out the letters to make the different signs. Here’s how it all turned out…
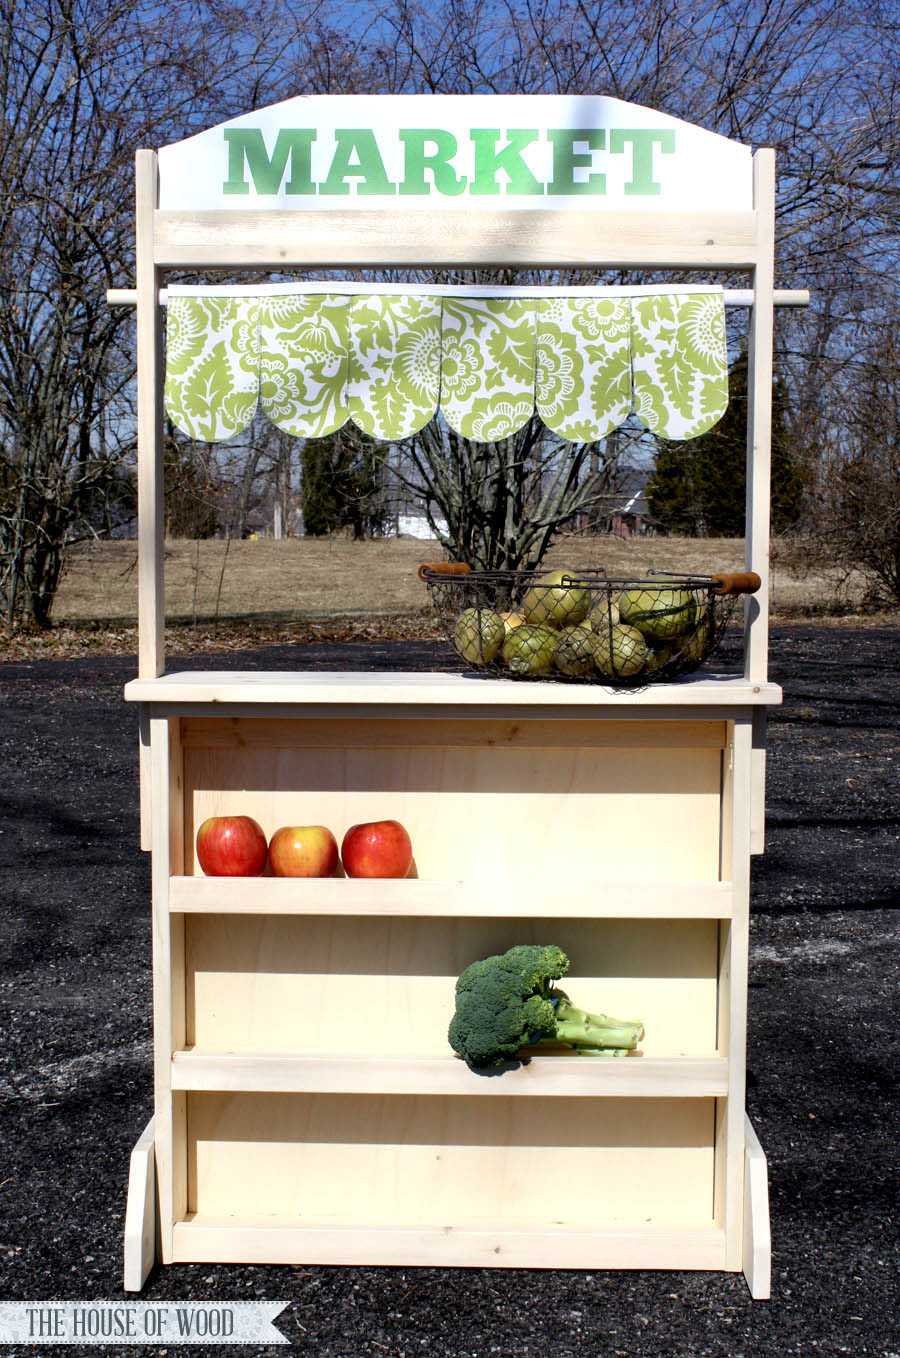
Need some produce from the market? No problem!
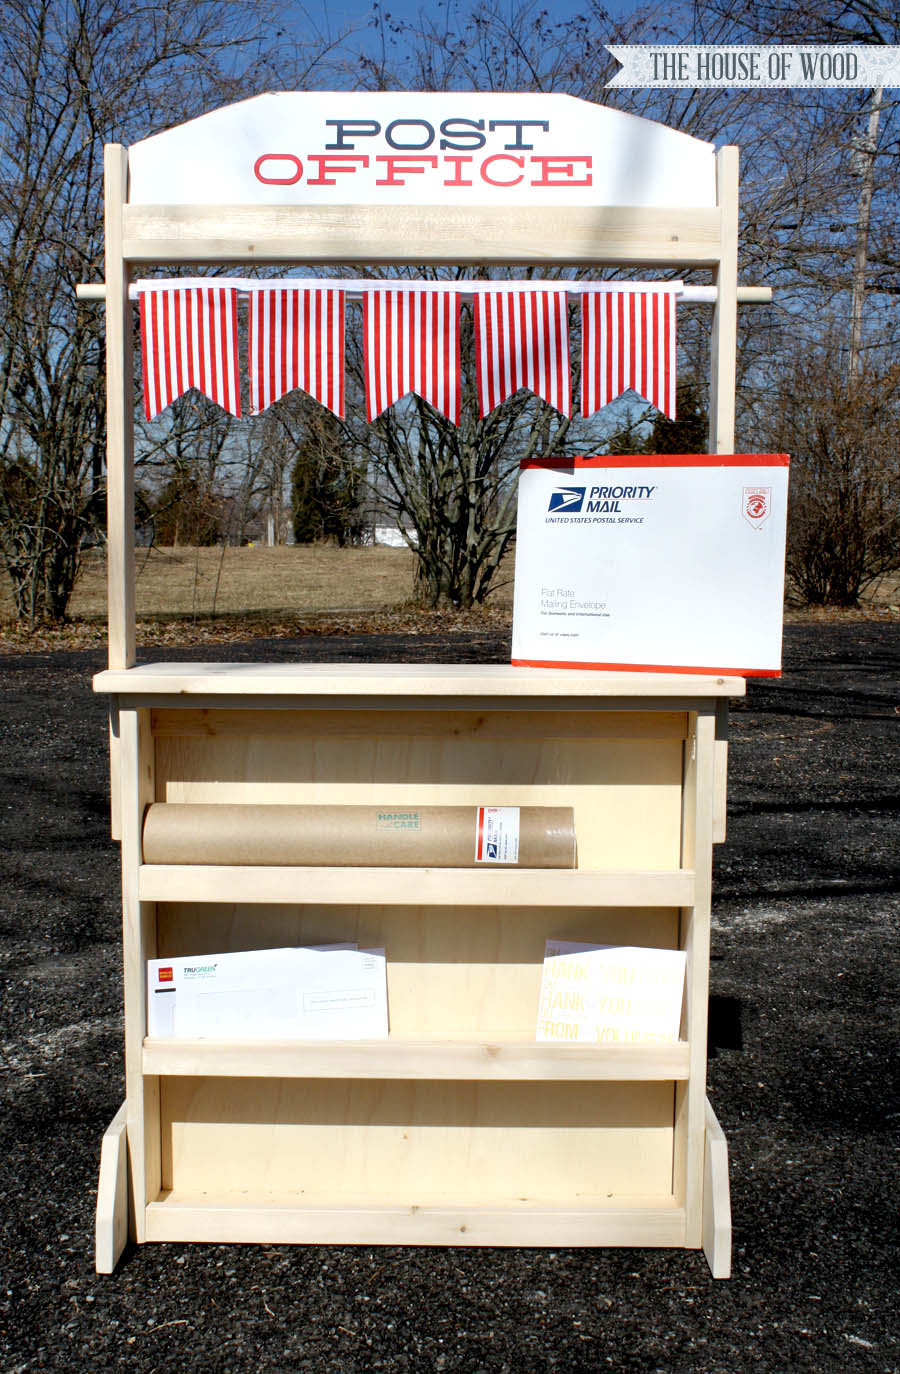
How about some stamps? We’ve got you covered!
Wanna catch the latest matinee? Why not? By the way… has Frozen been on repeat (since Thanksgiving!) at your house, like it has at ours? #wememorizedeveryline #sorrynotsorry
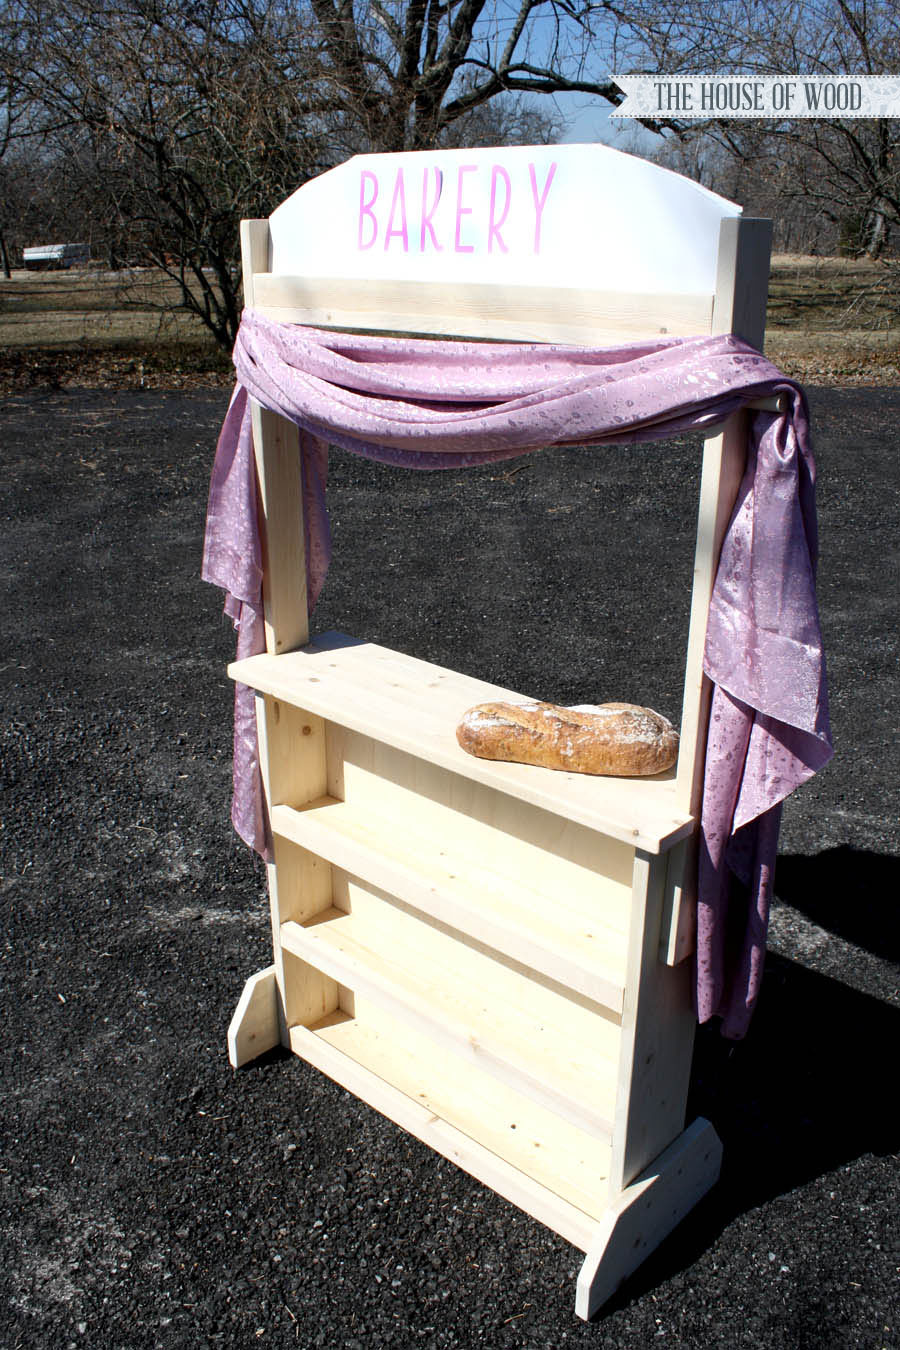
Don’t forget to pick up a loaf of fresh bread on your way home…
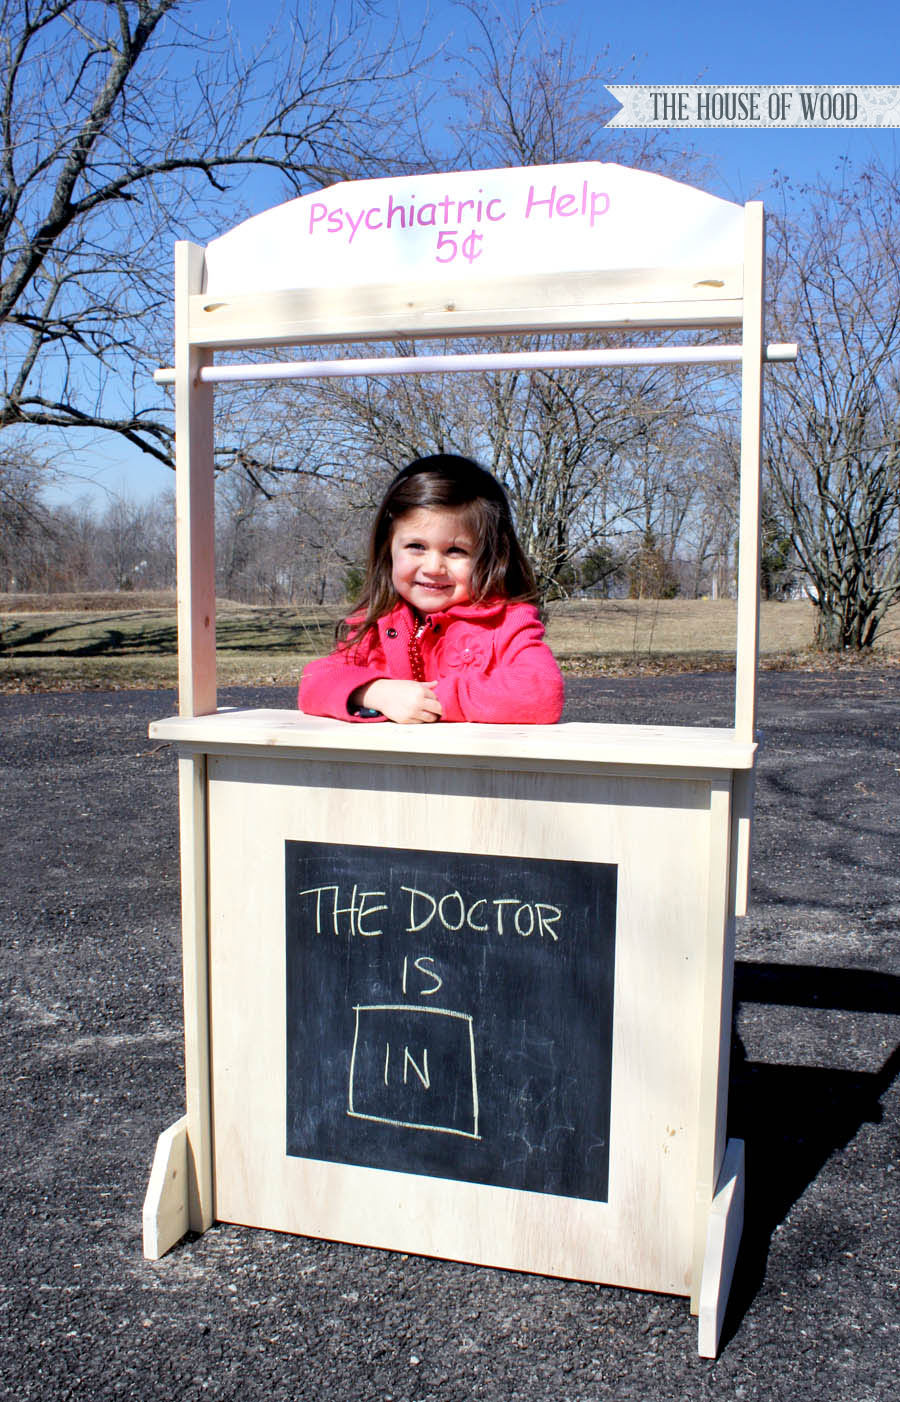
And if you’re in need of some sound advice, the doctor is in!
And last, but certainly not least, we couldn’t leave out the tried-and-true lemonade stand!
Super fun, right? The different fabric banners are cute and easy to make too, even for a novice seamstress like myself! For the lemonade banner above, I just followed my old tutorial here. For the rest of them, I just cut the different shapes in some leftover fabric, ironed on fusible interfacing and did a zig zag stitch around the perimeter to prevent fraying. Easy peasy lemon squeezey! They’re held up on the dowel with strips of velcro.
So what do you think? The kids are pretty stoked about it and so am I! Hop on over to Ana’s site, grab those plans and get to building!
Are you on Instagram? I am! Let’s be friends, it’ll be fun. Feel free to pin and share! Thanks for stopping by, have a great weekend everyone!


this is so adorable!! what an awesome toy to have around!!
Thanks, Andrea! It’s so cute, I love it (maybe more than the kids?). Can’t wait to bust this baby out during those hot summer days when lemonade stands will litter the neighborhood. 🙂
This turned out SO good!! I’m so impressed!
Well hi there, Kelly! Thanks for stopping by! And thanks for the kind words!
How awesome is that! I love that it is an all-in-one! Perfect for our kids’ imaginations!
I made this over the weekend to give to my daughter’s preschool; they love it! Thanks for sharing!!!
Yay! So fun!
Thanks for ones marvelous posting! I genuinely enjoyed reading it, you happen to be a great author.
I will remember to bookmark your blog and will eventually come back very soon. I want
to encourage you to definitely continue your great posts, have a nice day!