Howdy, y’all! I’m back with another DIY upholstered headboard project. Husband and I have been enjoying our comfy DIY upholstered headboard so much that I decided to create one for the guest bedroom as well. This is such an easy, inexpensive project that not only gives you a lot of bang for your buck, but packs quite a hefty design punch too.
For a more in-depth step-by-step tutorial, click here. But in a nutshell, here’s a quick rundown of DIY Headboard Project #2:
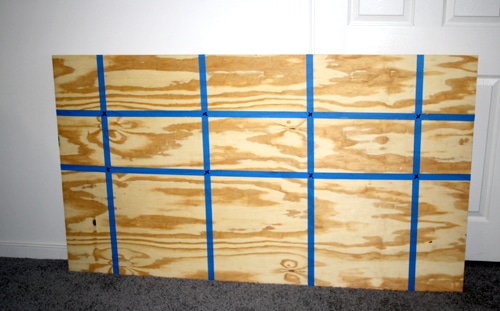
I picked up a sheet of 1/4″-thick plywood at my friendly neighborhood Lowe’s and had them cut it down (for free!) to 64″x36″ to accommodate a queen-sized bed. Then I measured and marked off (with painter’s tape) where I’d drill holes for the tufting detail to occur later on.
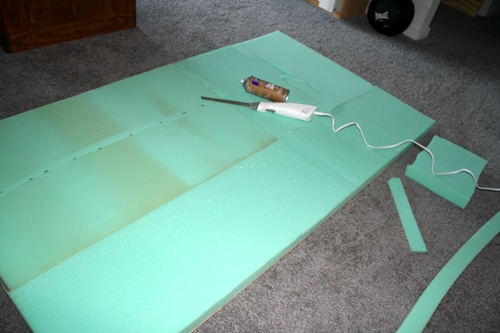
I pieced together some 2″ foam I had laying around from previous projects and fixed it to the board with spray adhesive, shaving the excess off with an electric knife, so that the foam edge was flush with the plywood. It’s far from perfect, but the layers of batting and upholstery fabric should hide any gaps or imperfections in the foam.
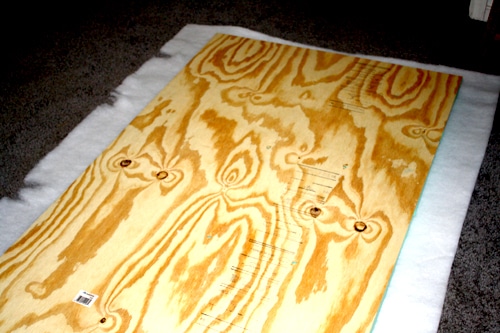
Then, I laid the plywood foam side down, over the batting. Then pulling the batting taut, I wrapped it around the board and stapled it to the back. And because I can’t leave a 5-month-old puppy alone for a second, he shredded some of my beautiful batting. But not to worry, I was able to salvage what I had left and pieced it together too, in hopes that the layer of thick upholstery fabric will be forgiving enough towards my shoddy batting layer. It’s a lucky thing Watson is so stinkin’ cute.
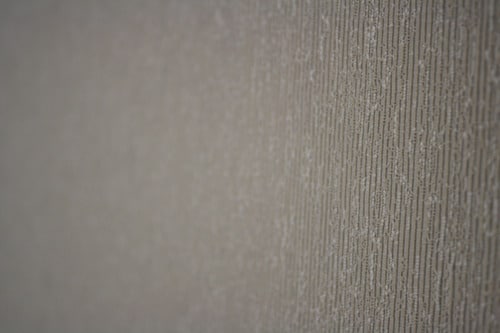
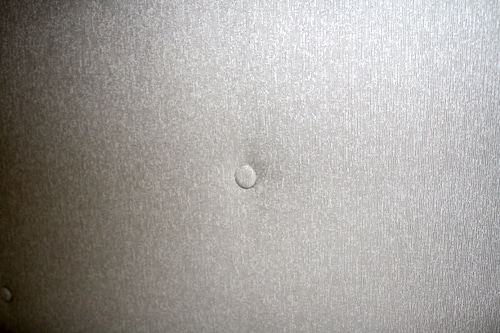
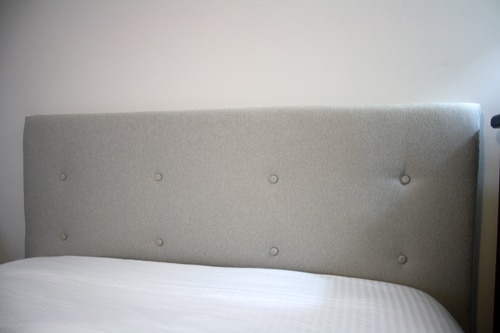
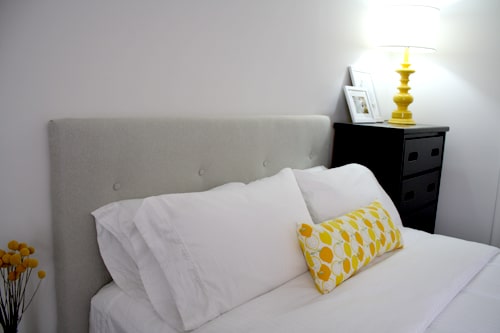
When choosing the fabric, I knew I wanted to go with a solid color this time, since my patterned headboard ended up hiding the tufting detail I worked so hard on last time. I searched for a solid color that would coordinate with our yellow and grey nursery scheme, but still work with the espresso furniture and the coffee-colored glider/ottoman combo. And because I was afraid the solid fabric would look too bland, I chose one with some texture to it, so that it still had some visual interest going on. I fell in love with this pretty fabric, in all its frosty, silvery, texturey (these are technical terms, by the way) goodness.
Unfortunately, the fabric store didn’t have it in stock, so I had to special-order it (*cue a few days of thumb-twirling). But at originally $39.99/yard, it was on sale at the time, so I was able to snag 2.5 yards of it at 40% off, which made for a happy week overall.
Next I wrapped the fabric around the board, batting side down, pulled it taut and stapled it to the back. I took some time with the corners, making sure they were neat and square before stapling it down.
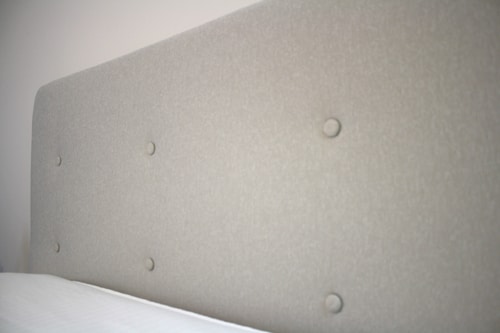
Onto the tufting part! I covered the buttons with some leftover fabric and then used an upholstery needle and thread to thread it through the pre-drilled holes, pulling the thread taut to create a tufting effect. Then I stapled the thread to the back to keep the buttons in place. I’ve seen where people have tied washers to the other side to keep the thread in place, which seems more efficient and aesthetically pleasing, but I didn’t have any washers laying around and was too lazy to go out and pick some up. So I went the ghetto-route and just stapled the thread to the back. Not that pretty and I’m not sure how well it’ll hold up over time, but for now, it’ll do.
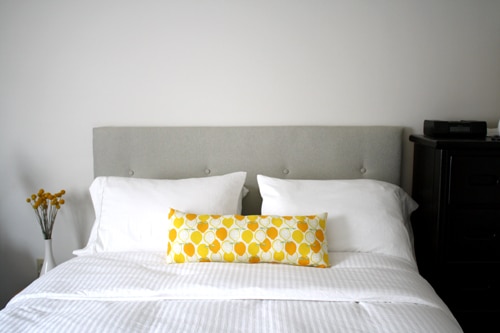
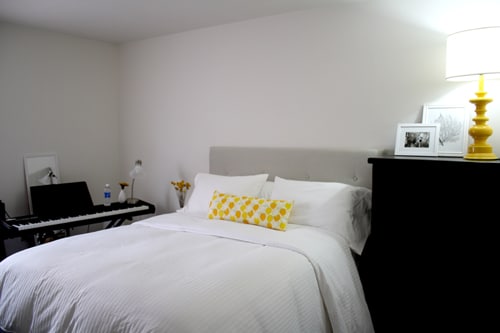
I hung the headboard using a french cleat with a 200 lb. hanging capacity (overkill, I know), screwing it into the studs in the wall so that it was good and secure. And voila! A fresh new look for not a lot of money or effort. Good times.
Don’t mind the keyboard. It will relocate once Eggroll is born, but for now, this is where I do most of my writing.
Cost Breakdown:
- 1/4″ 4×8 Sheet of plywood: $17.97
- 2″ High density foam: already owned
- Batting/Fiberfill (on sale 40% off): $8.98
- 2.5 Yards of fabric (on sale 40% off): $52.48
- 8 Buttons (on sale 50% off): $2.79
- Upholstery needle and thread: already owned
- Spray adhesive: already owned
- French cleat: $10.77
Total Cost: $92.99
Next up… what to hang above the headboard? Bare walls are the bane of my existence and there is a lot of it in this room. The hunt is on.




Looks great! I think I’m going to have to try making a headboard for our guest room. The bed in there is just on a hollywood frame so I think it’d be a great improvement.
This is seriously the most gorgeous headboard! I want to make it so bad but I am TERRIBLE with sewing. Was sewing the buttons difficult/
Ashley,
Not at all! It was just a matter of threading the needle through the pre-drilled holes, then attaching the button, then threading it back through the other side. No real sewing required! Easy peasy!
Beautiful headboard. I am going to try this on my guest bedroom as well. What are the meausrements for the buttons?
Hi Jenn!
Love love love your DIY headboards! Can you tell me where to find the bracket that holds it up to the wall and what the cost is?
Thanks!
Found you on YHL and I enjoy reading your blog now!
Rose,
You can find a french cleat at Lowe's or Home Depot… the cost can range about $10-15 depending on the size and hanging capacity you choose.
LilyGrey,
Do you mean the size of the buttons? I think they're about 2" in diameter.
Sorry I meant measurements where to place the buttons.
LilyGrey,
It depends on the size of your headboard. First, I measured where the center of the board was and then split the difference to create 2 rows of 4 buttons. This is using the grid pattern… of course, if you choose a diamond pattern, the buttons will be staggered. Hope that makes sense!
Hi! Thanks so much for the tutorial! I am attempting this project and have been slowing buying the pieces to do it…it's sure adding up but I know it will be worth it 🙂
My question on the batting is this…did you buy batting by the yard? Or did you purchase a package of quilting batting that is sold in a bundled package (they sell it in twin size or queen size)? It seems to be less expensive that way. Thanks 🙂
Nancy,
I bought 2.5 yards of batting. I opted for the batting-by-the-yard because it was on sale at the time!
I have been wanting to do this project for a while and finally got around to it this weekend. Thanks for the tutorial, it walked me right though everything and mine turned out great! I did skip the buttons, but I love it! :o) http://picasaweb.google.com/lh/photo/P1pgHQWVXRaAZhuefVXt10ZPEiGBCa6GI_W7AdfopCw?feat=directlink
Shannon P,
You're a girl after my own heart! I love your trellis wallpaper and the pin-tucked duvet! I've had my eye on that duvet cover for ages! Great job on the headboard too!
jwoo
hello! so lovely! i really love this fabric but they dont have it locally for me either, is it shiny or sparkly? I found this color as well. so pretty! http://www.joann.com/joann/catalog/productdetail.jsp?pageName=search&flag=true&PRODID=zprd_02323533a
Danielle,
It's got a shimmer/sheen to it. I love the color, but since it has texture and shimmer to it, it's not boring!
Thanks Jen! I am working on re-doing my bedroom in yellows and grays and think this might be perfect. They have the same one in a darker grey, I want something simple in case I change up the colors so this might be perfect. thanks again!
Awesome! I love the yellow/grey color combo – so much that I made it our nursery color scheme!
Thanks for this tutorial! I realize it’s been quite a while since it was published, but I’m hoping you still respond to comments. I am wondering how the French cleat worked with your 1/4″ plywood. Did the screws go through it into the foam, and if so, is that OK? Or did you buy shorter screws? Much appreciated!