*This post is brought to you by GE Lighting.
Hanging a statement light fixture in my little girl’s room is such a luxury, I know. But what’s more fun and adorable than having your very own princess pendant light?
Answer: nothing.in.the.world.
So I did some window-shopping online and stumbled across some amazing beaded chandeliers and pendant lights, but pretty much swallowed my tongue over the cost.
Here are a few that inspired this project: one / two / three / four
Of course, in true DIY form, I balked at the price and thought, “I could totally make that!” So the wheels started turning. And so did the ‘Pinteresting’ (anyone else use Pinterest as their own personal Google?). Well, whadya know. Turns out DIY beaded light fixtures are like, a thing. I can’t tell you how relieved I was to discover I didn’t have to reinvent the wheel. These are a few excellent tutorials that I found super helpful: House and Home, Gus & Lula, The Chronicles of Home, and The Lemonista.
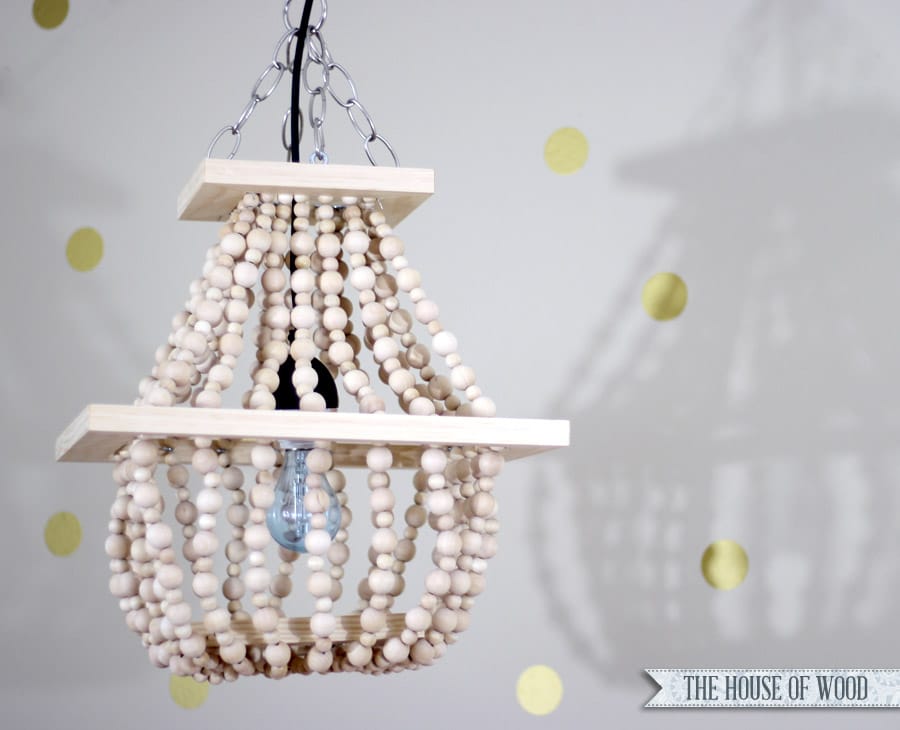
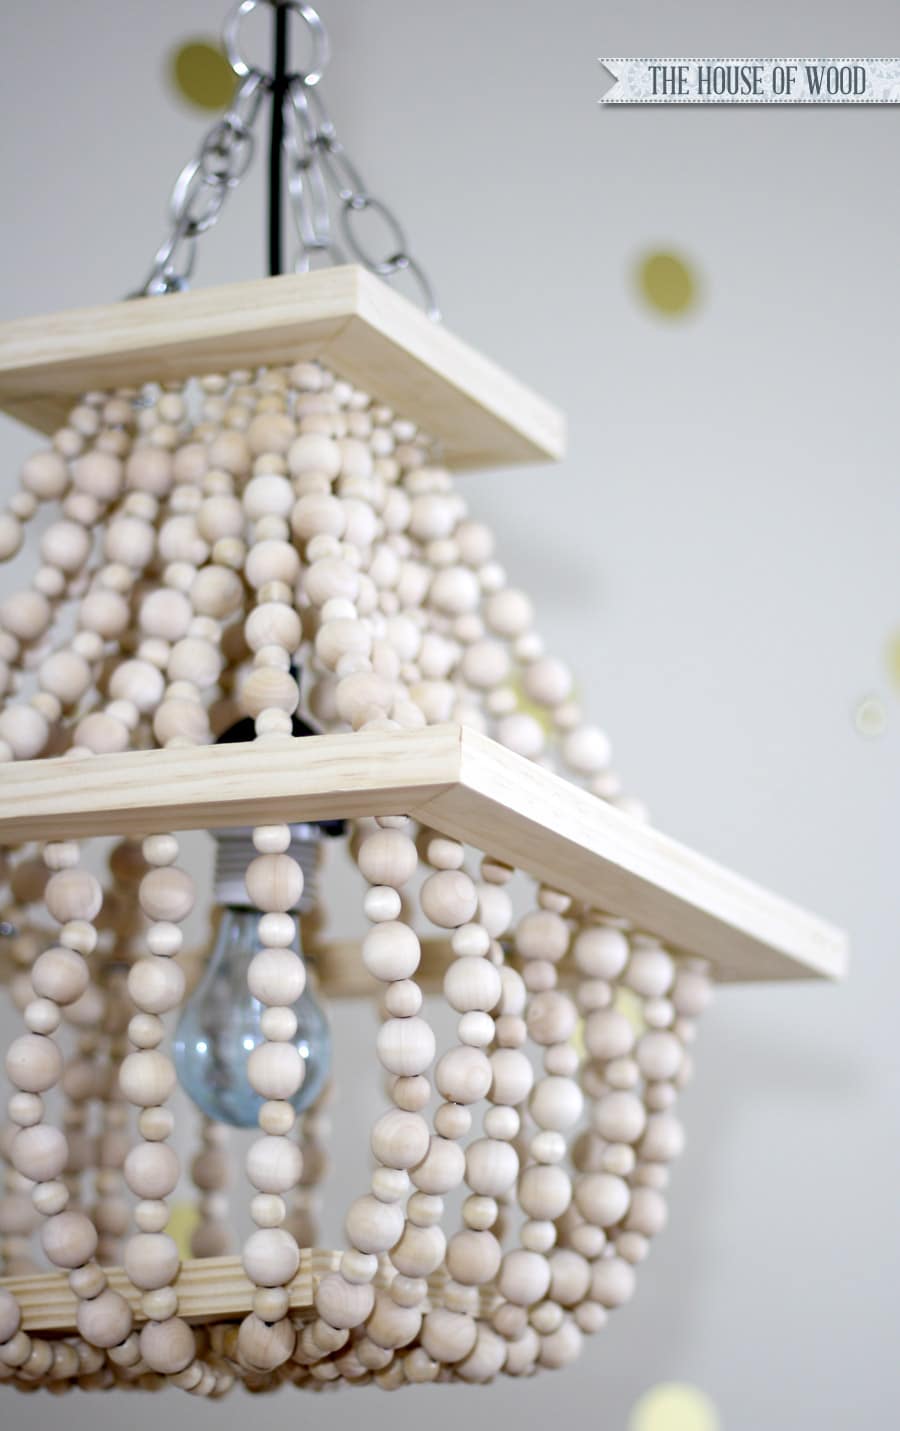
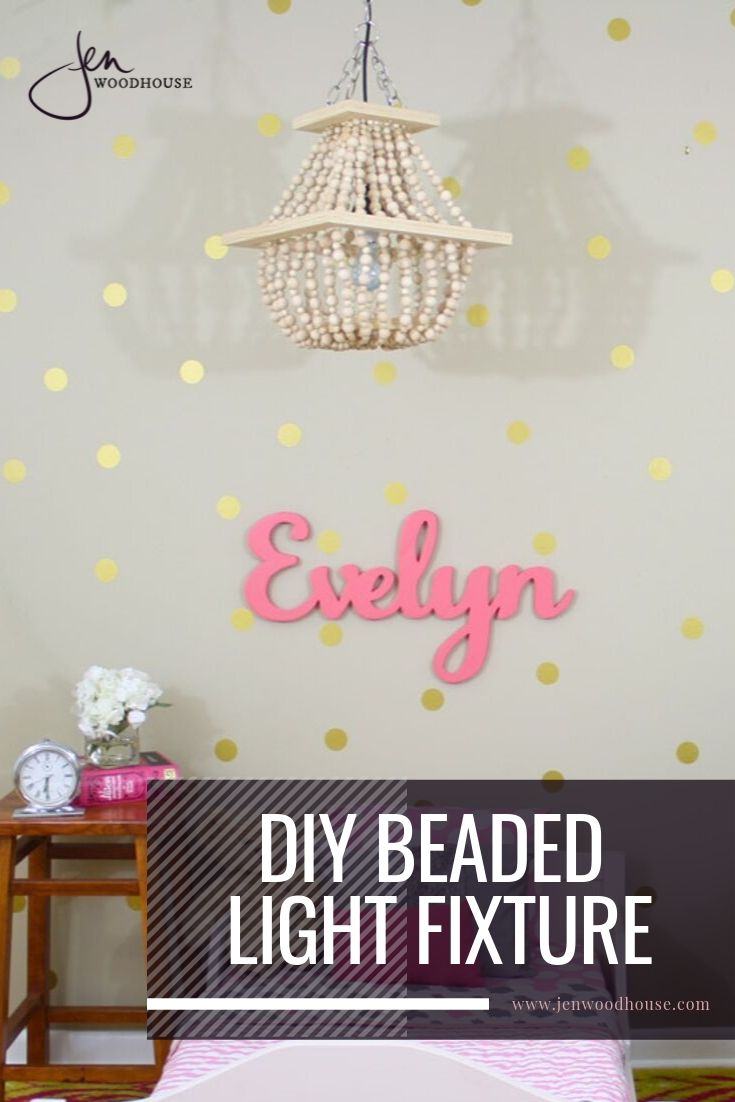
Here’s how mine turned out:
Adorable, right? Alrighty then, let’s get started! I quickly drew up a plan and got to work. Here’s how it all shook out for me.
Materials:
- 288 ct. 3/4″ (20mm) round beads, 5/32″ hole
- 312 ct. 1/2″ (12mm) round beads, 5/32″ hole
- GE reveal® light bulbs
- Mini pendant light kit
- 28-gauge steel galvanized wire
- 72 ct. – #212 screw eyes
- 4 ct. – #208 screw eyes
- 3 ft. light fixture chain
- 1 – 3/16″x1-1/2″ steel ring
- 2 – 1x2x6′
- 1-1/4″ brad nails
- Wood glue
Tools:
- Drill
- Brad Nailer
- Clamps
Cut List:
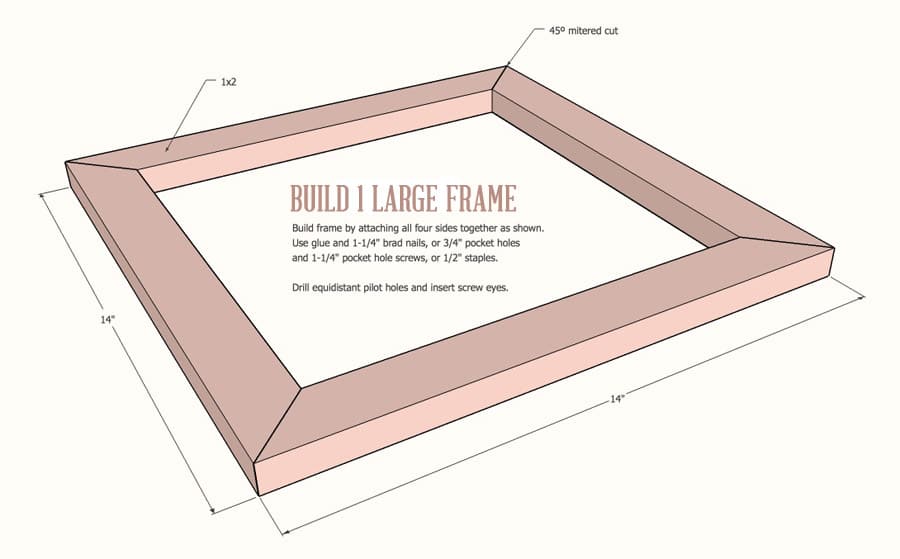
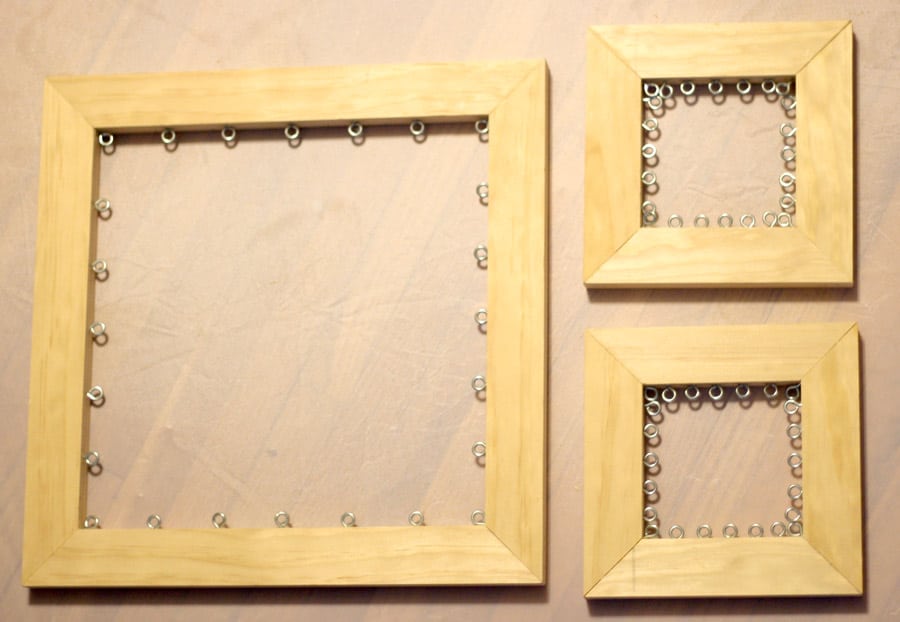
- 4 – 1×2 @ 14″ (mitered corners, measurement is from long end to long end, not parallel)
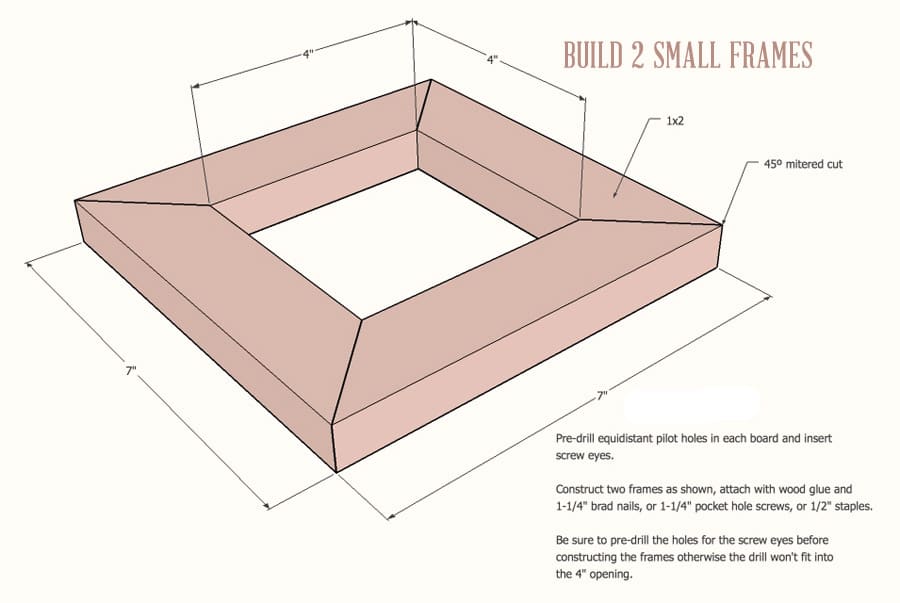
- 8 – 1×2 @ 7″ (mitered corners, measurement is from long end to long end, not parallel)
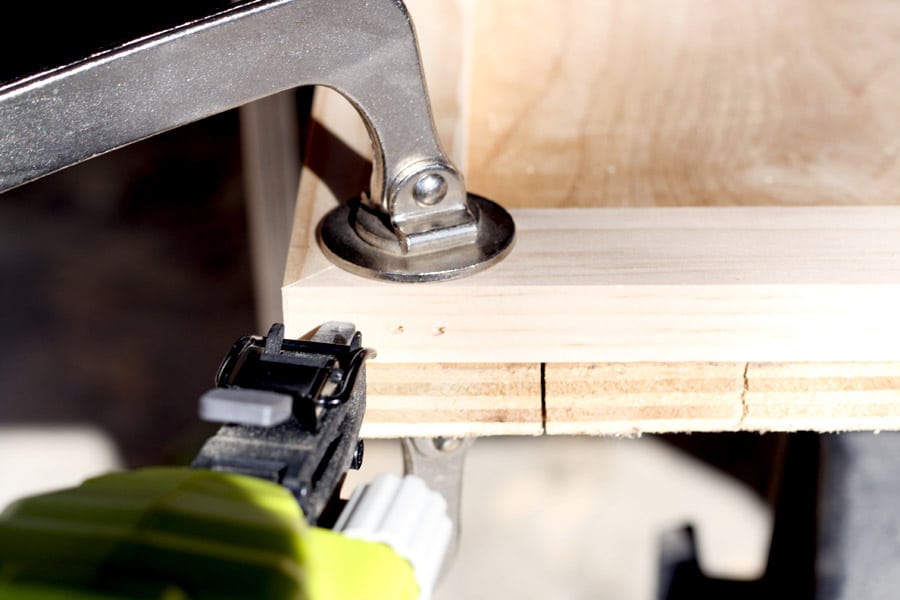
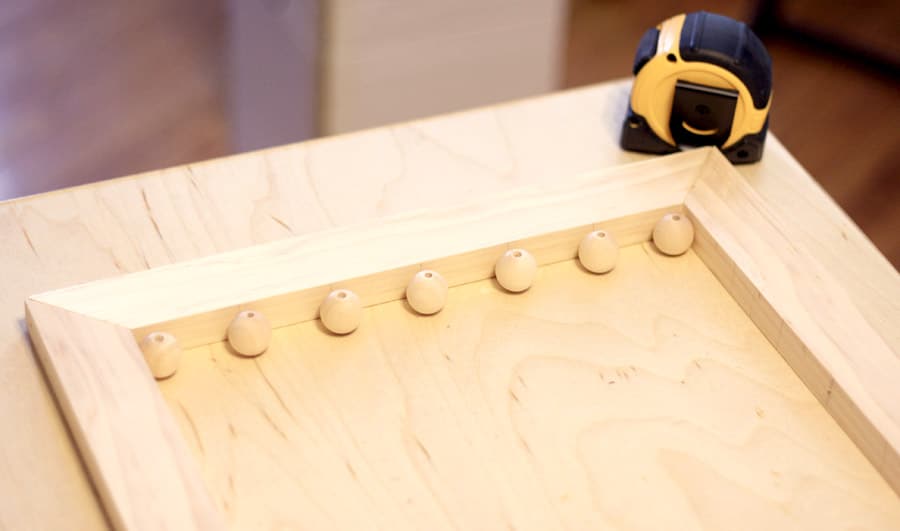
First, I built the large, center frame. It measures 14″ square.
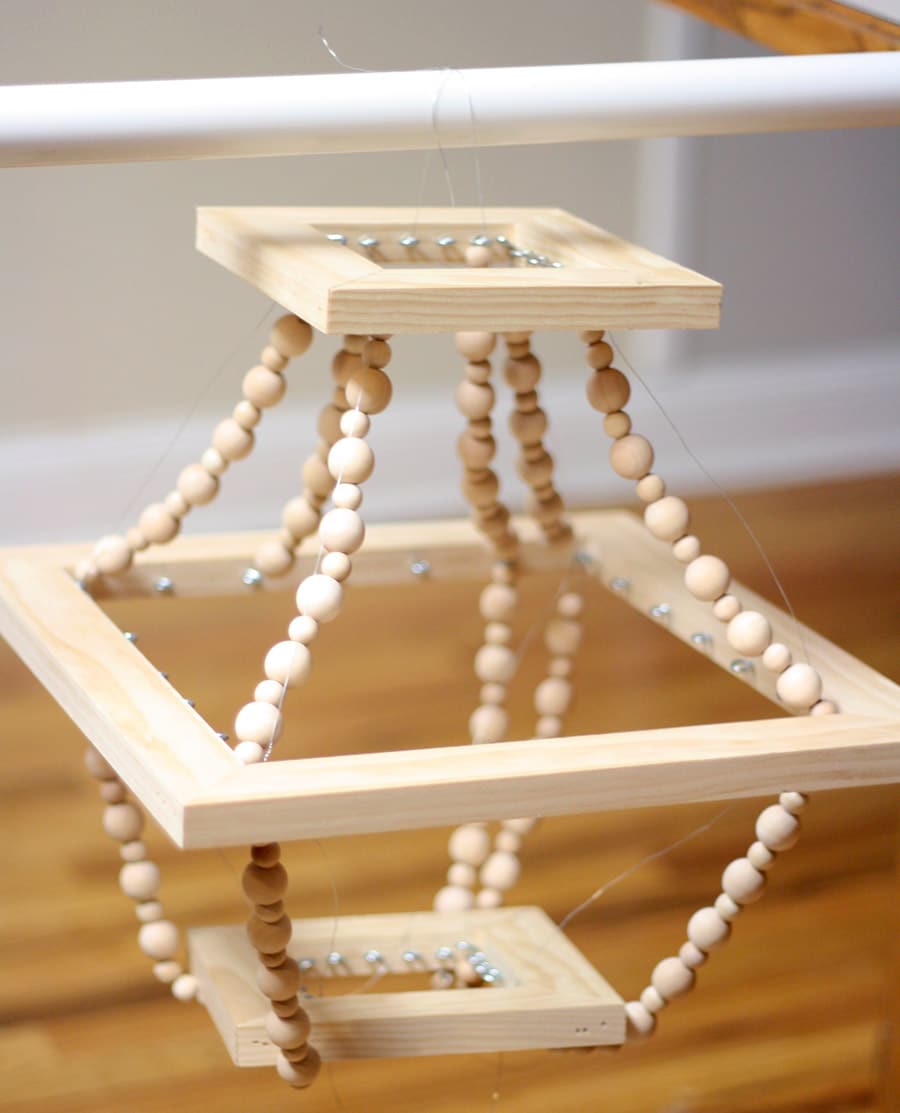
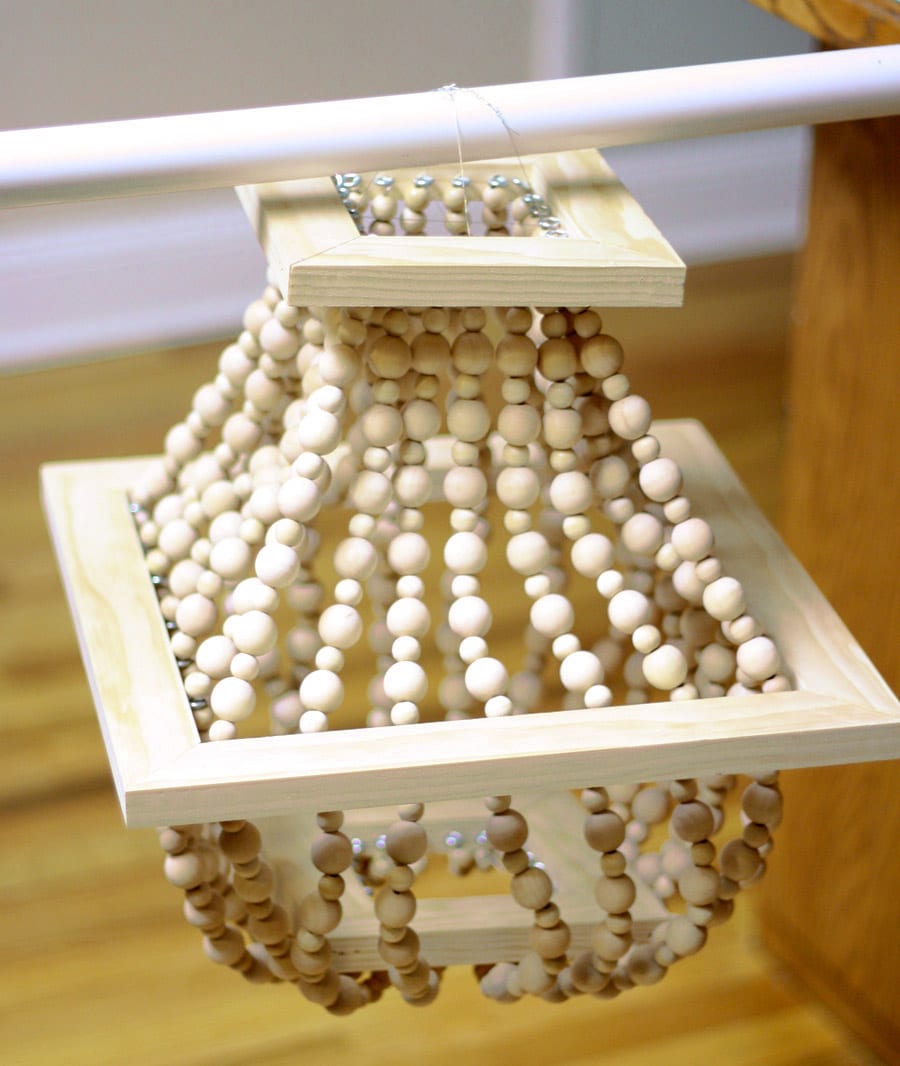
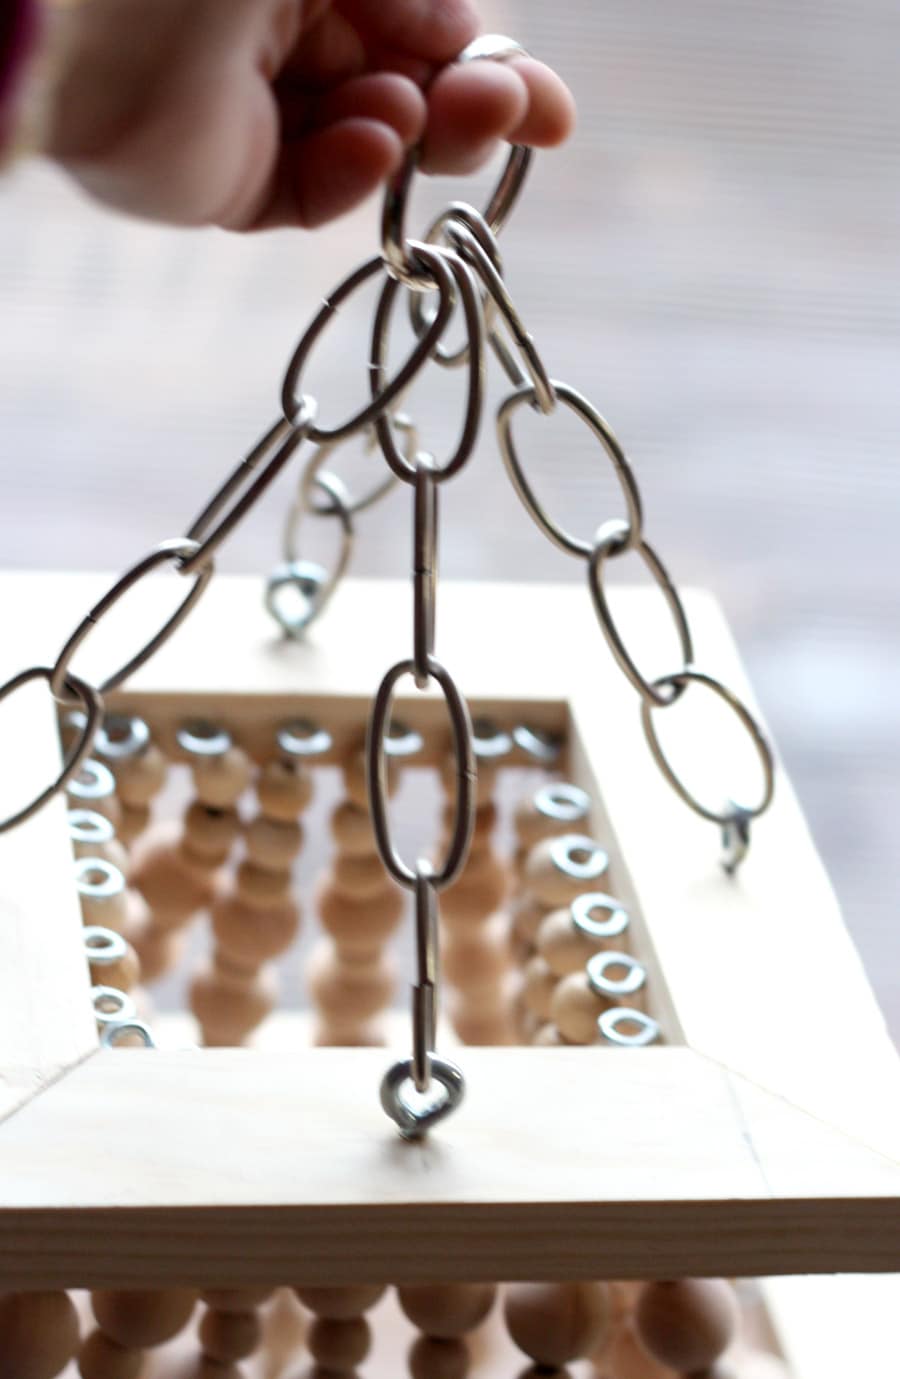
Here’s how her room looks now:
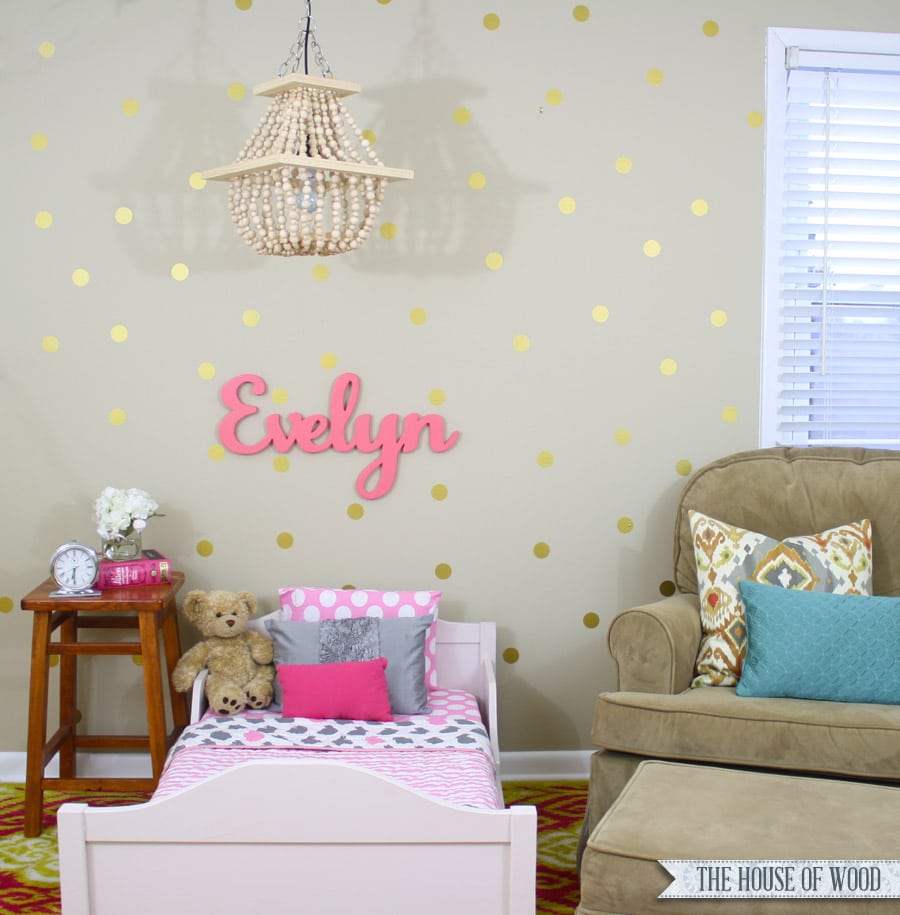
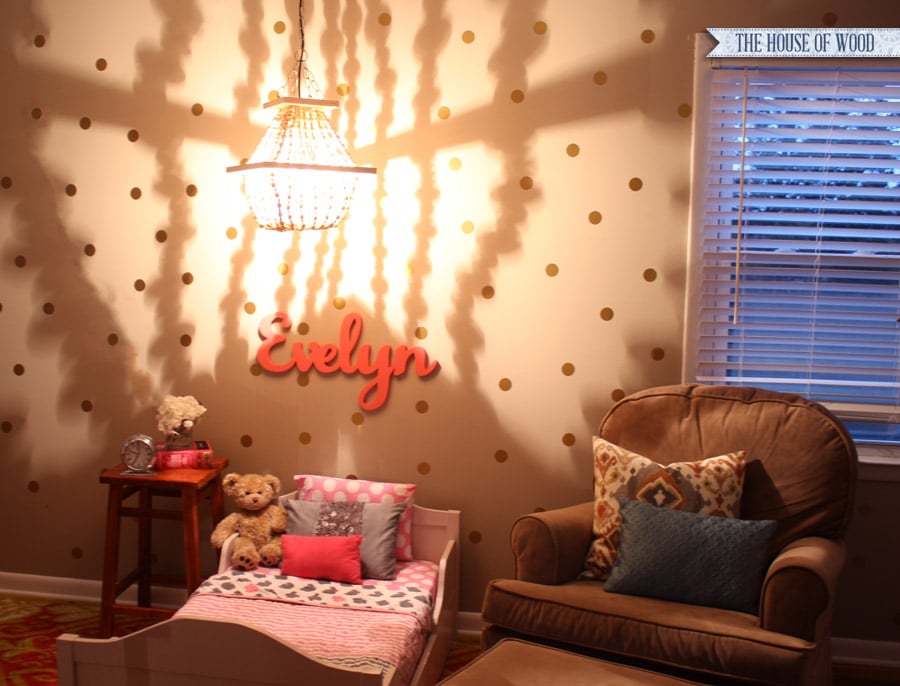
How fun are those shadows that the light casts on the walls?
Answer: Exactly one ton of fun.
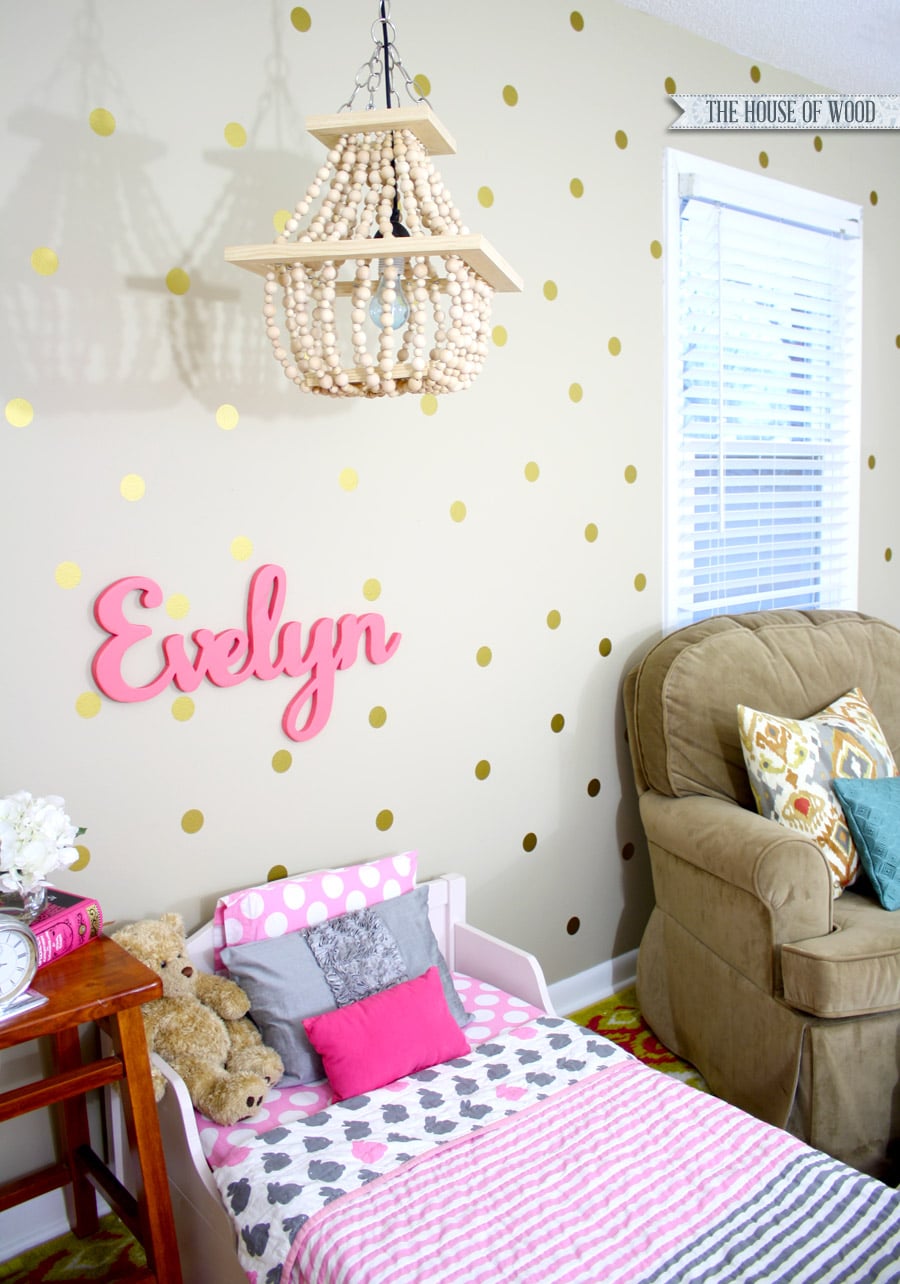
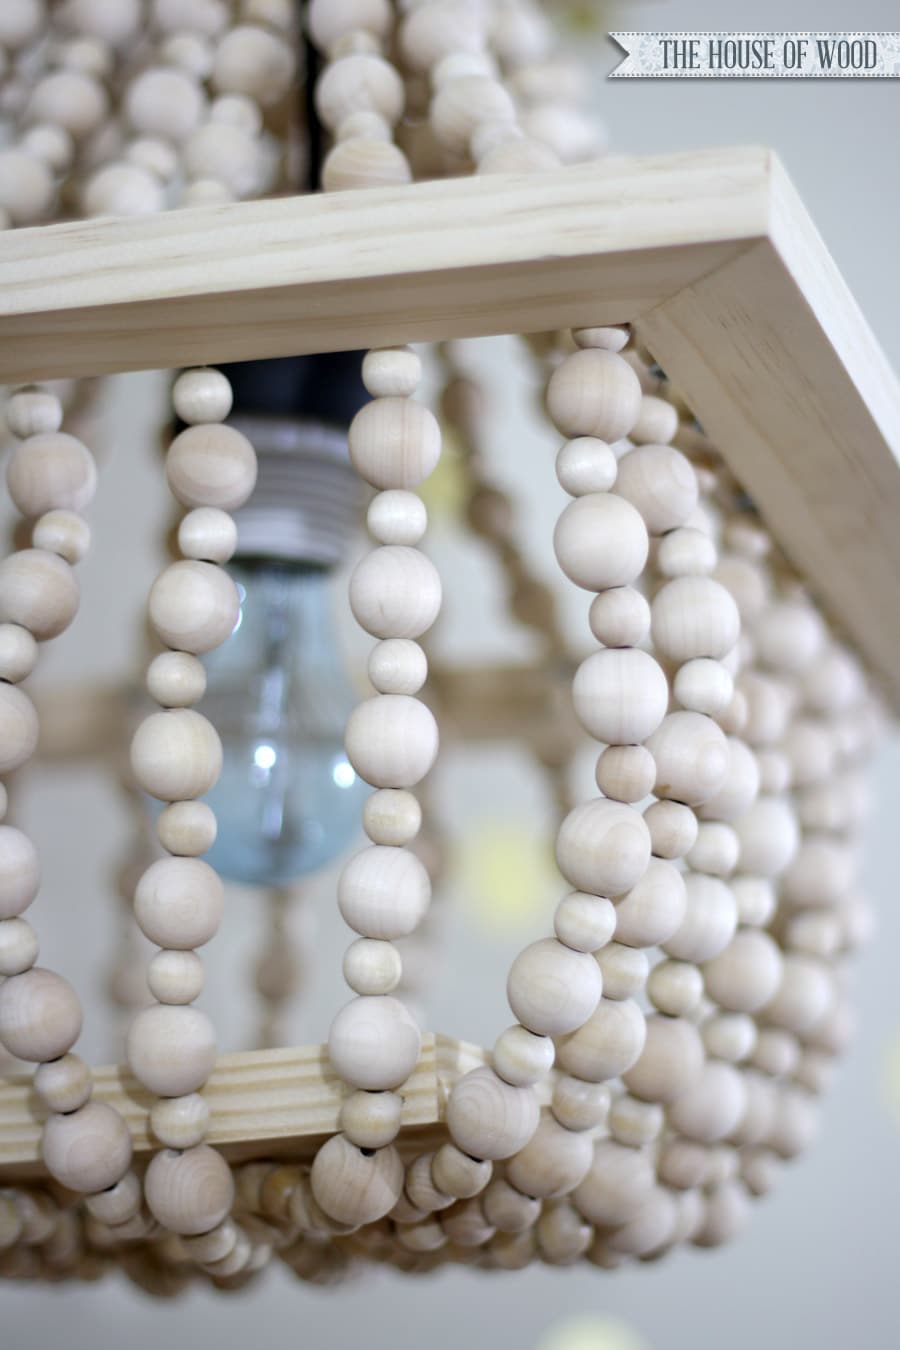
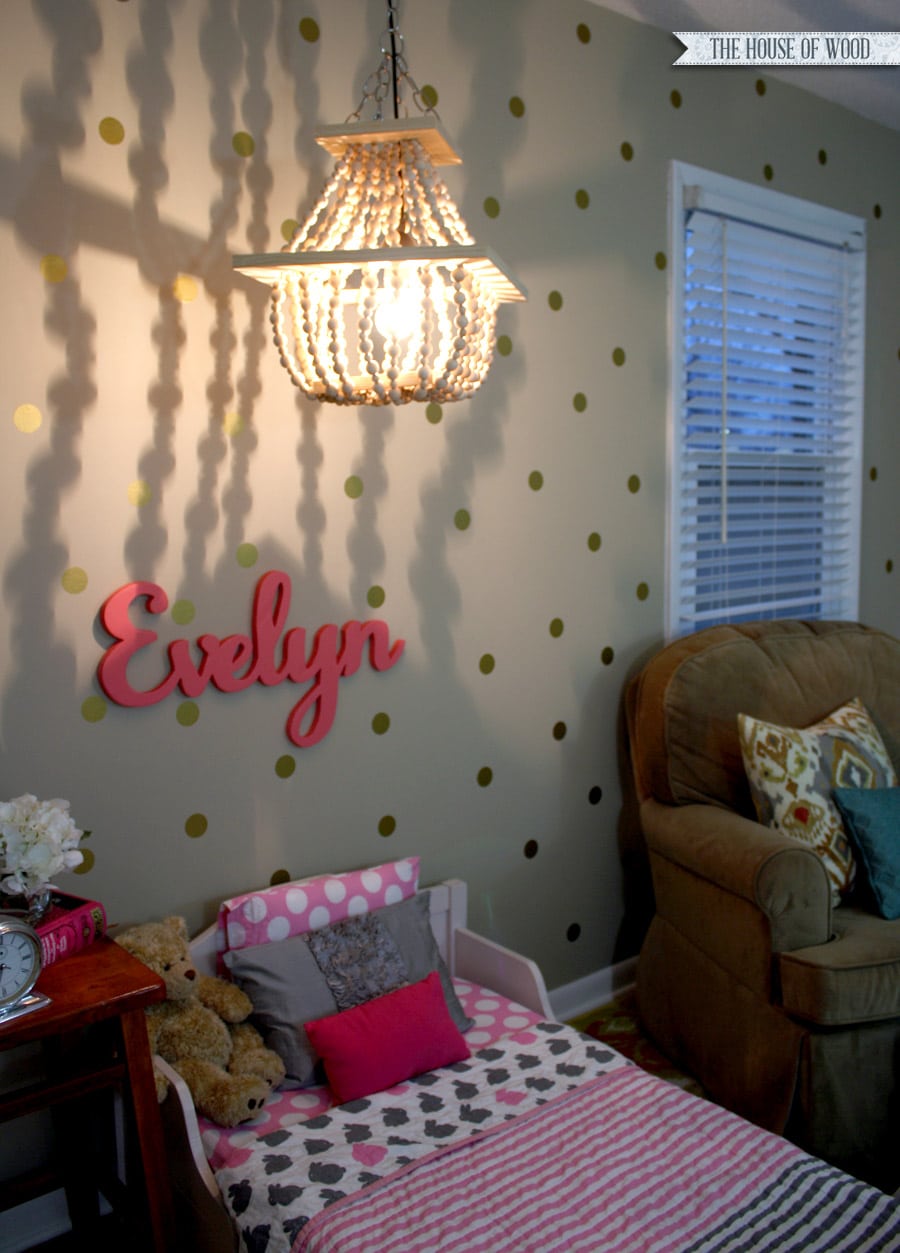

Wood Name Sign: my Etsy shop
Toddler Bed: DIY – tutorial here
Beaded Pendant Light: DIY
Bedding: Land of Nod
Silver Ruffle Pillow: The Home Centric
Ikat Pillow: Festive Home Decor
Teal Pillow: DIY
Gold Polka Dot Wall Decals: DIY
Rug: Overstock
Glider & Ottoman: Babies R Us
What do you think of my – I mean, my daughter’s new DIY beaded light fixture? I am in love with it and so is she! And the GE reveal® light bulbs illuminate the whole room with clean, beautiful light; it’s like a whole room makeover! As always, thanks for dropping by – I would love for you to pin and share this project!
Pin it for later!
In the comments below, tell me what you want to reveal in your home with GE reveal® lighting for a chance to win a $100 Visa gift card to complete your own #100reveal!
Sweepstakes Rules: No duplicate comments. You may receive (2) total entries by selecting from the following entry methods: 1. Leave a comment in response to the sweepstakes prompt on this post 2. Tweet (public message) about this promotion using #100reveal; including exactly the following unique term in your tweet message: “#SweepstakesEntry”; and leave the URL to that tweet in a comment on this post 3. Blog about this promotion using #100reveal, including a disclosure that you are receiving a sweepstakes entry in exchange for writing the blog post, and leave the URL to that post in a comment on this post 4. For those with no Twitter or blog, read the official rules to learn about an alternate form of entry. This giveaway is open to US Residents age 18 or older. Winners will be selected via random draw, and will be notified by e-mail. The notification email will come directly from BlogHer via the sweeps@blogher email address. You will have 72 hours to respond; otherwise a new winner will be selected. The Official Rules are available here. This sweepstakes runs from 1/19/2015 – 3/1/2015. Be sure to visit the GE reveal® Lighting brand page on BlogHer.com where you can read other bloggers’ posts!
*Big thanks to GE reveal® for sponsoring this post. I received complimentary GE reveal® Light Bulbs and compensation for featuring this project. All efforts followed by happy dances and professions of undying love are my own.


I want to reveal my bedroom because it’s always so dark!
Tweeted: https://mobile.twitter.com/MRSMEIER5627/status/572205342848778240
Love it!
I would reveal our family room, which always seems too dim.
I want to reveal the playroom for the kids
https://twitter.com/eaglesforjack/status/572229357625741313
I want to reveal a brand new bedroom
I’m totally inspired by this! Thanks for the great idea.
Lindsey