Hello House of Wood readers, Jaime here from jaimecostiglio.com and I’m honored to be guest posting here on Jen’s site. We are longtime woodworking friends who share the joy of creating and making all the things – just like you! Wood happens to be the preferred material of choice for both of us but I never shy away from paint or fabric as well. I’m very excited to be part of Jen’s contributor team and look forward to sharing many projects with you over the year.
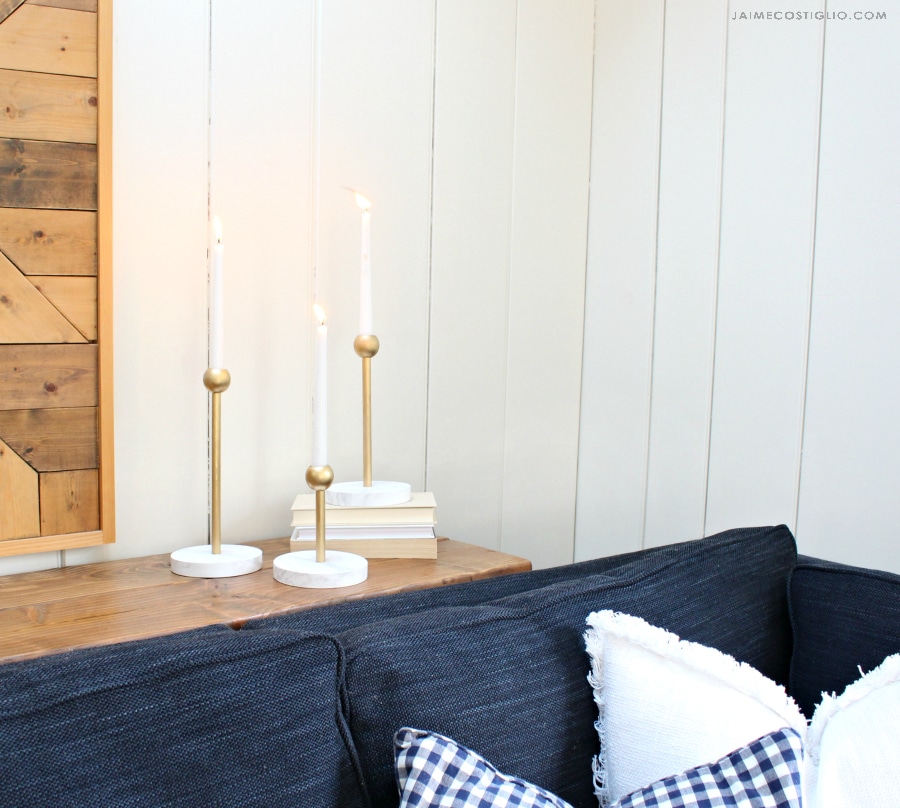
Let’s get this party started with making these DIY faux brass and marble candle holders.
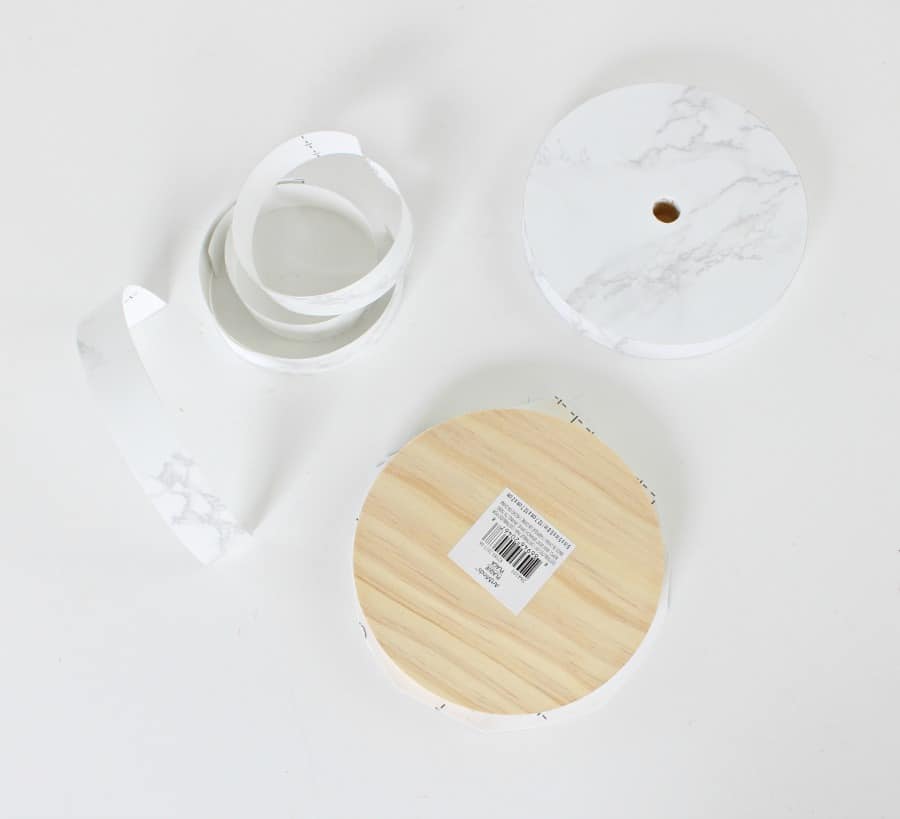
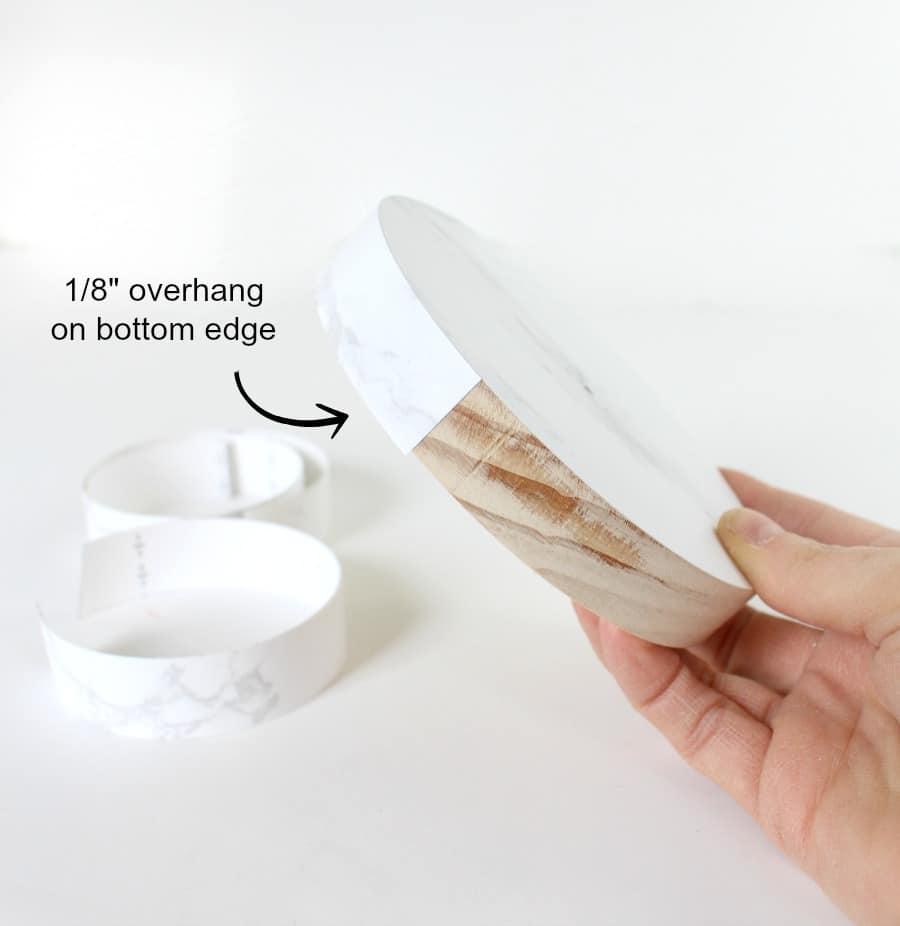
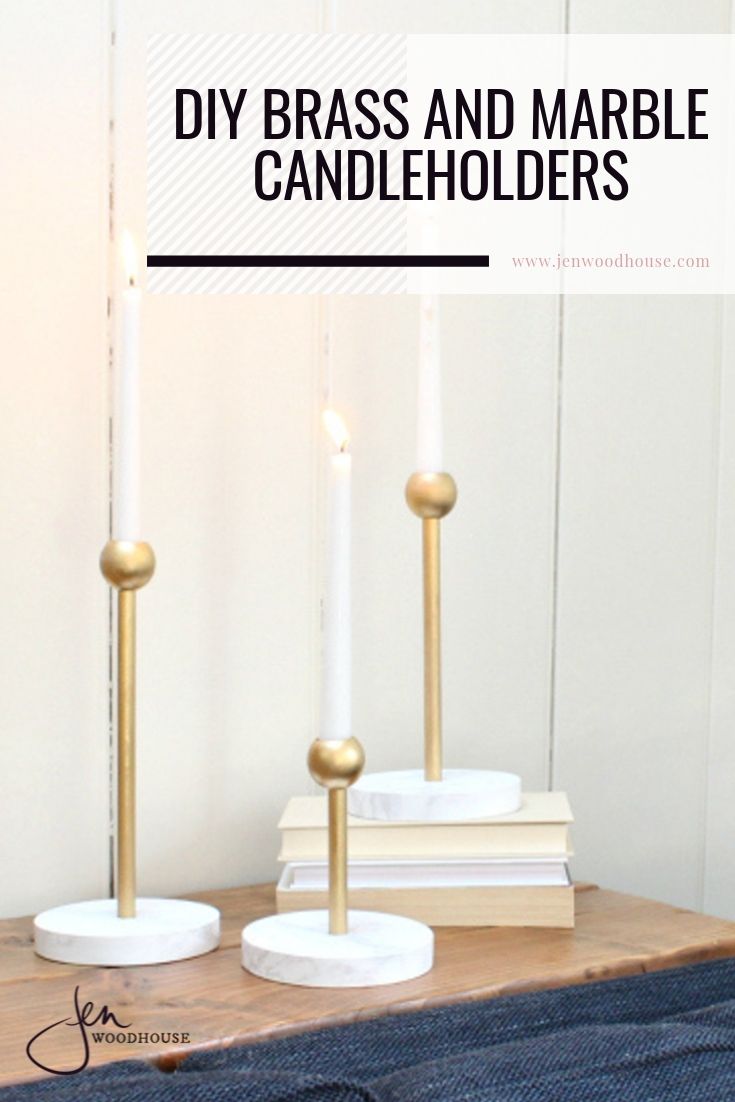
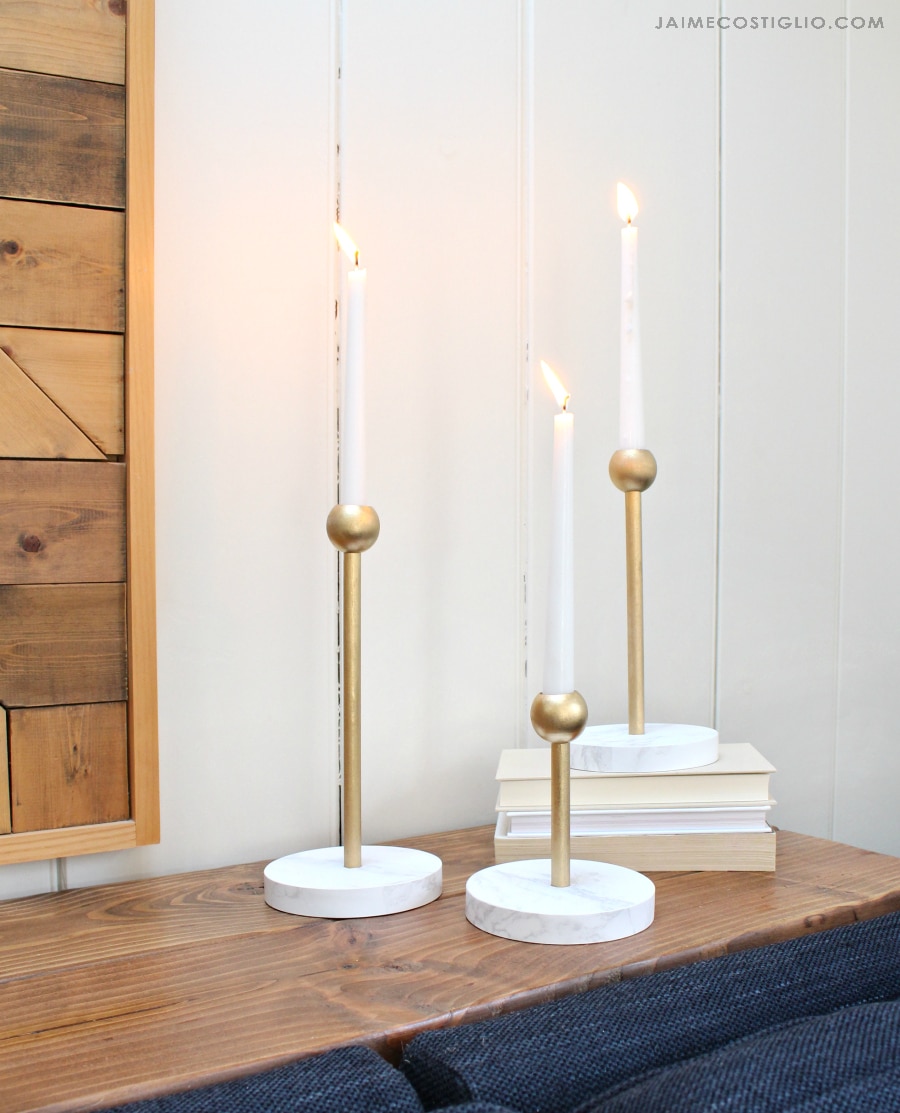 Don’t tell anyone, but these candleholders are not real brass and marble! Did I have you fooled? I happen to think they look pretty real, especially that marble base:
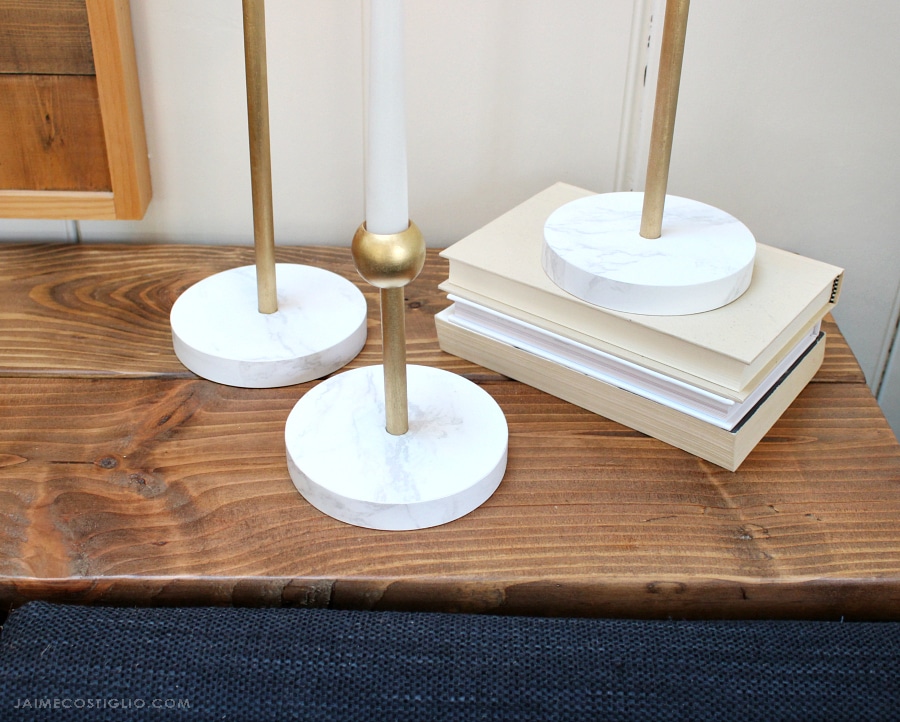
In all honesty, when Jen shared her round marble side table, I just had to try it for myself. I think you’ll agree the results are pretty fantastic.
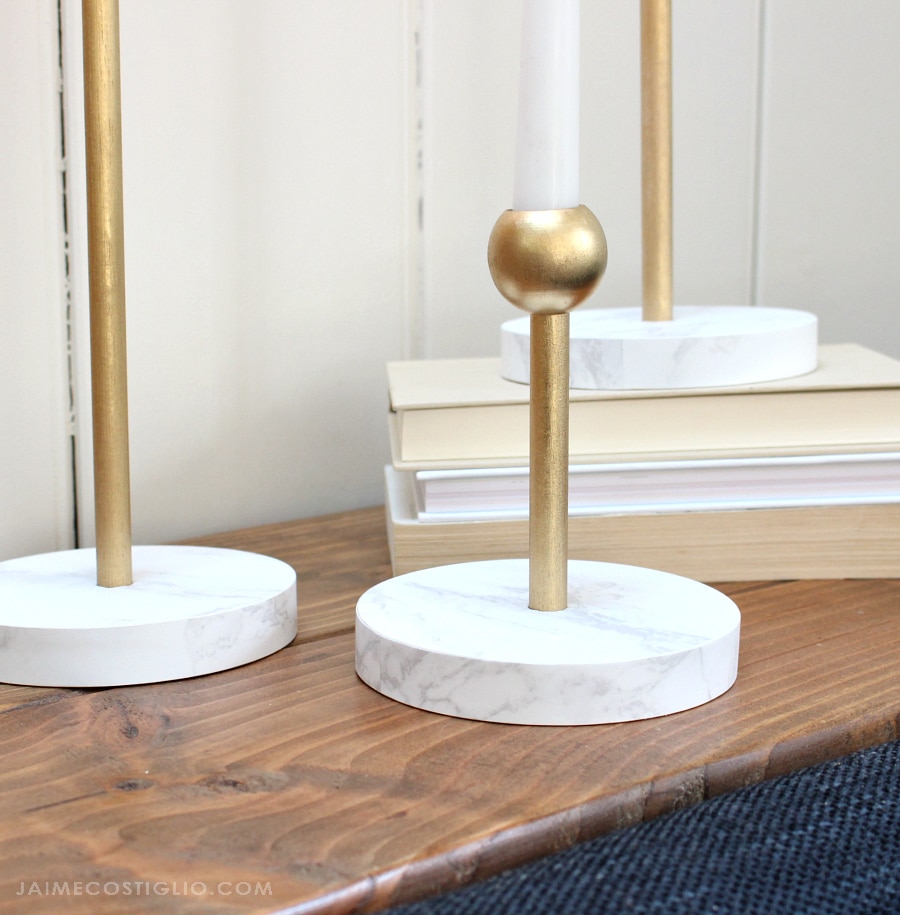
I’ll show you how to make these DIY faux brass and marble candle holders down below.
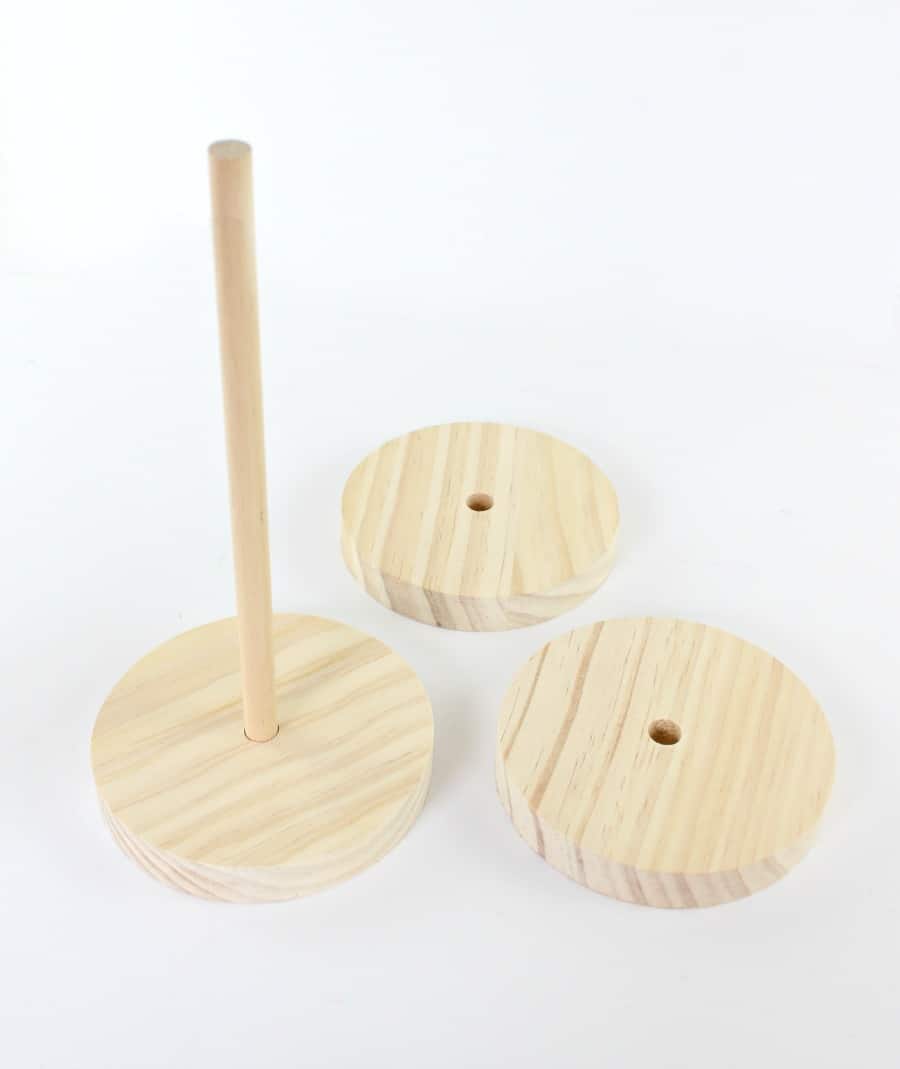
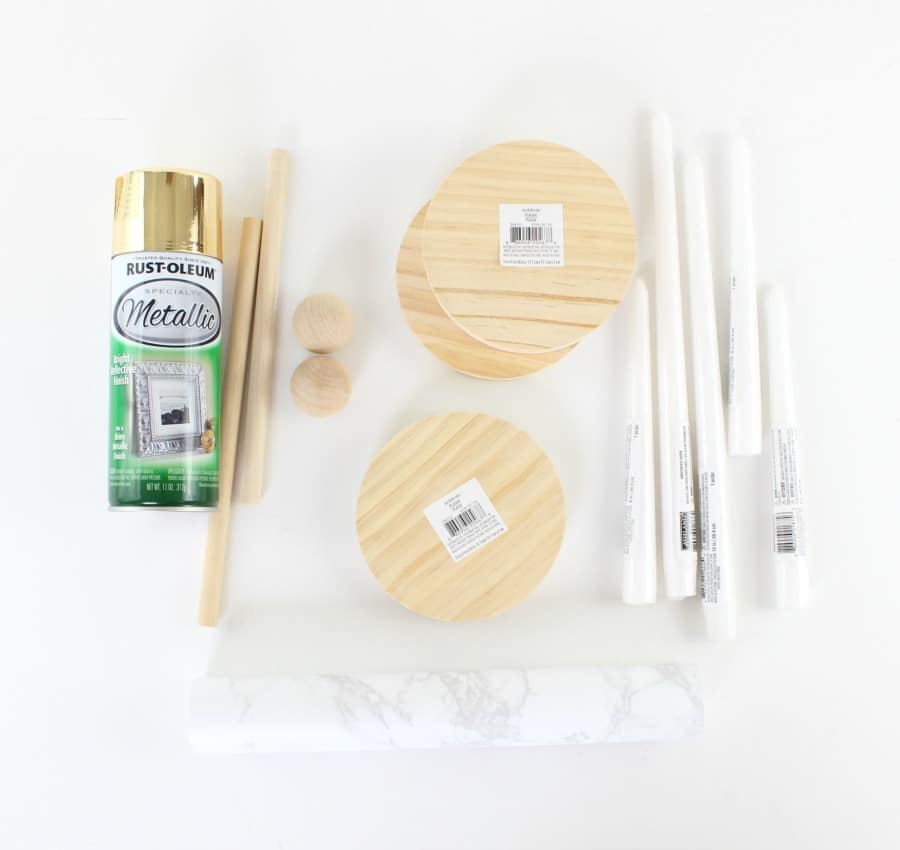
- 5″ wood rounds x 3/4″ thick
- 1/2″ round wood dowel cut at various lengths
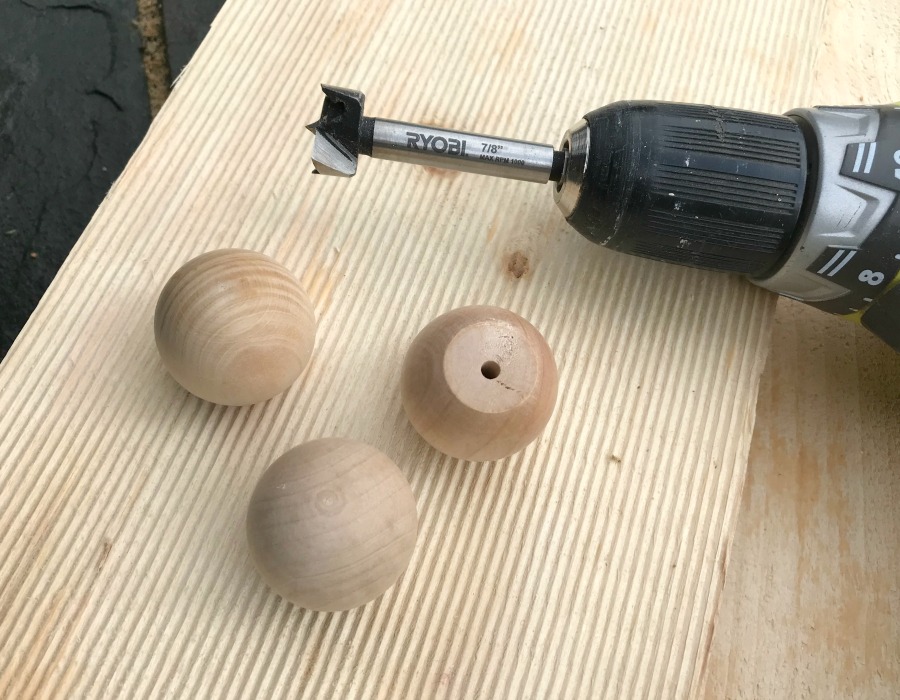
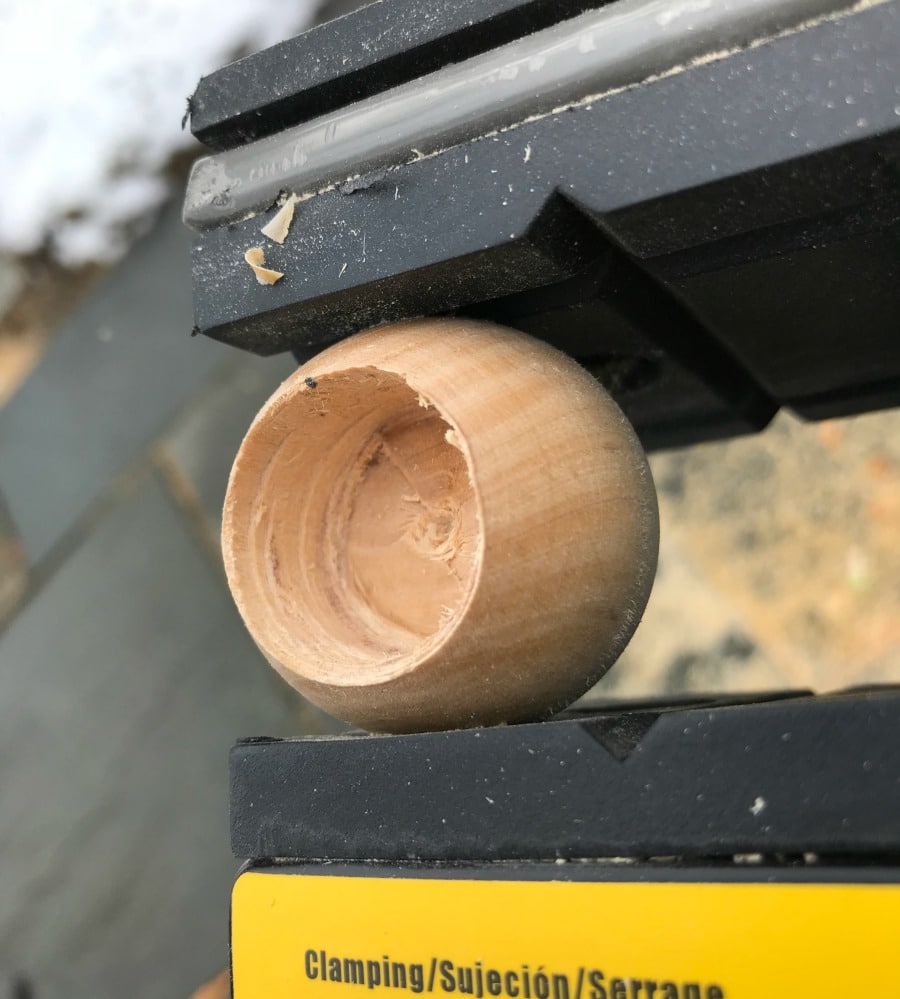
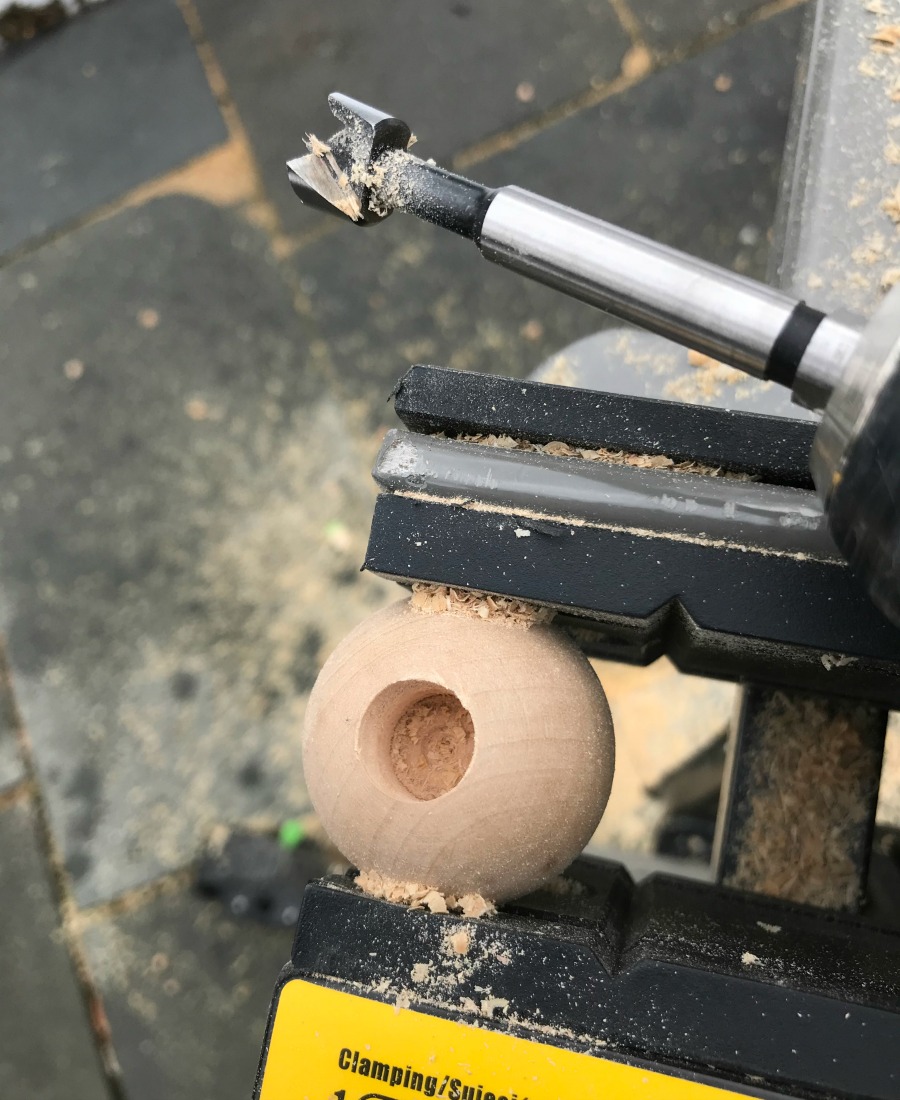
- 1 1/2″ wood doll heads
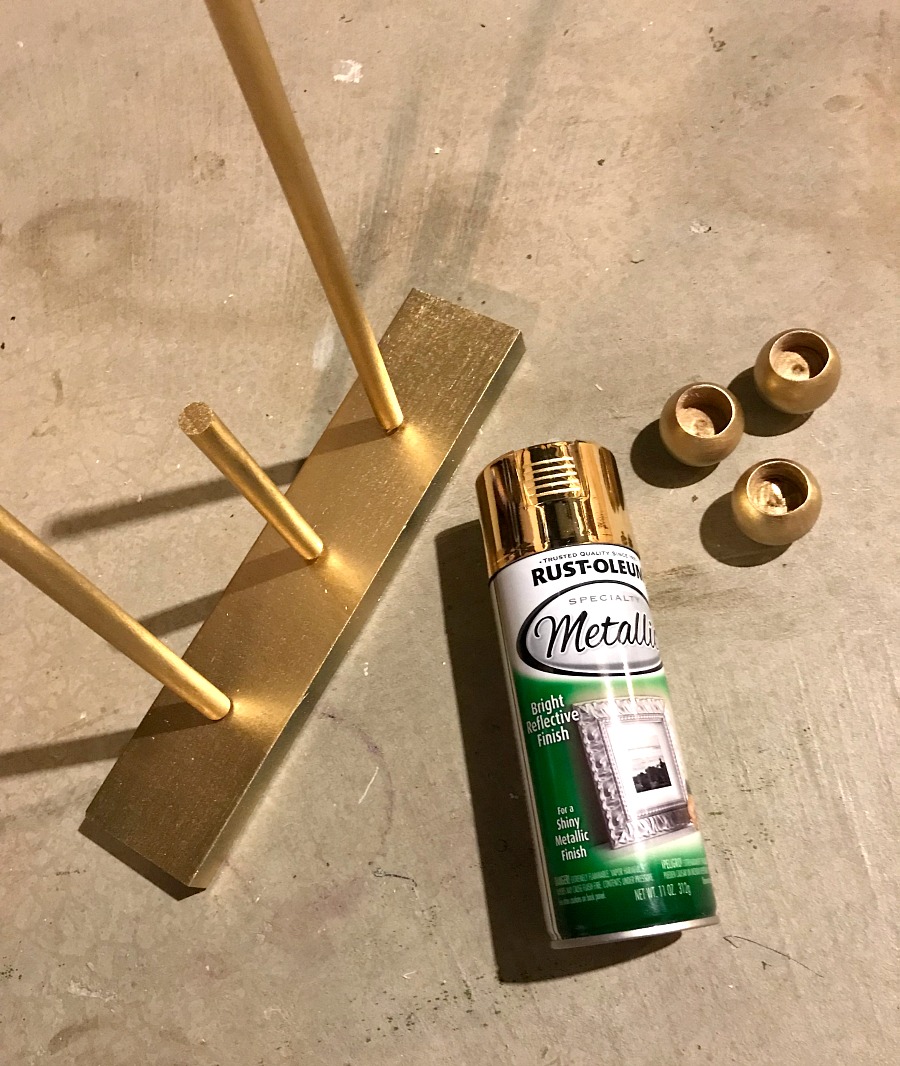
- metallic gold spray paint
- wood glue
- 1/2″ & 7/8″ Forstner bit
- drill
- marble contact paper (sample size)
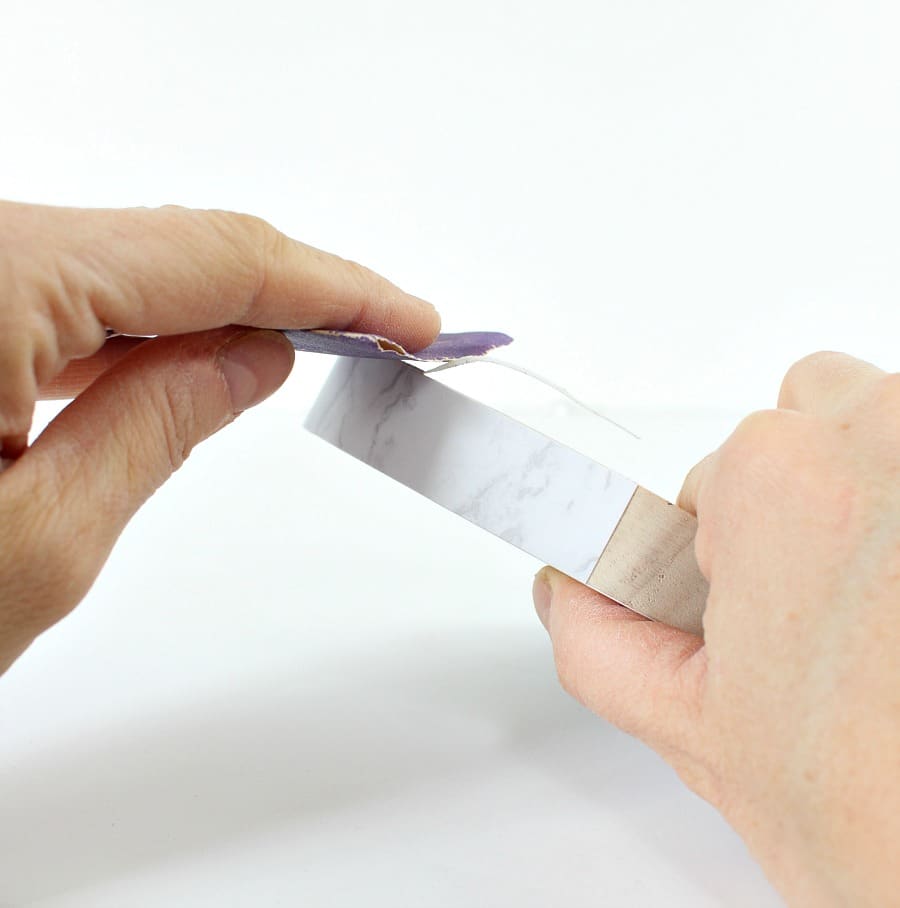
- 150-grit sandpaper
- straight edge paper cutter
- tapered candles
Supply quantities will depend on how many candleholders you wish to make. You can make 4 candle holder bases using the sample size marble contact paper.
Pin it for later!
I hope you enjoyed this tutorial for these DIY faux brass and marble candle holders. We love to see reader projects, so please be sure to share and tag us (@jenwoodhouse and @jaimecostiglio) if you make these! I’ll be back with lots more DIY in the near future.


These are so gorgeous! What a genius idea!
I love these! I may have to try these myself when I am getting closer to decorating the table I am building!!