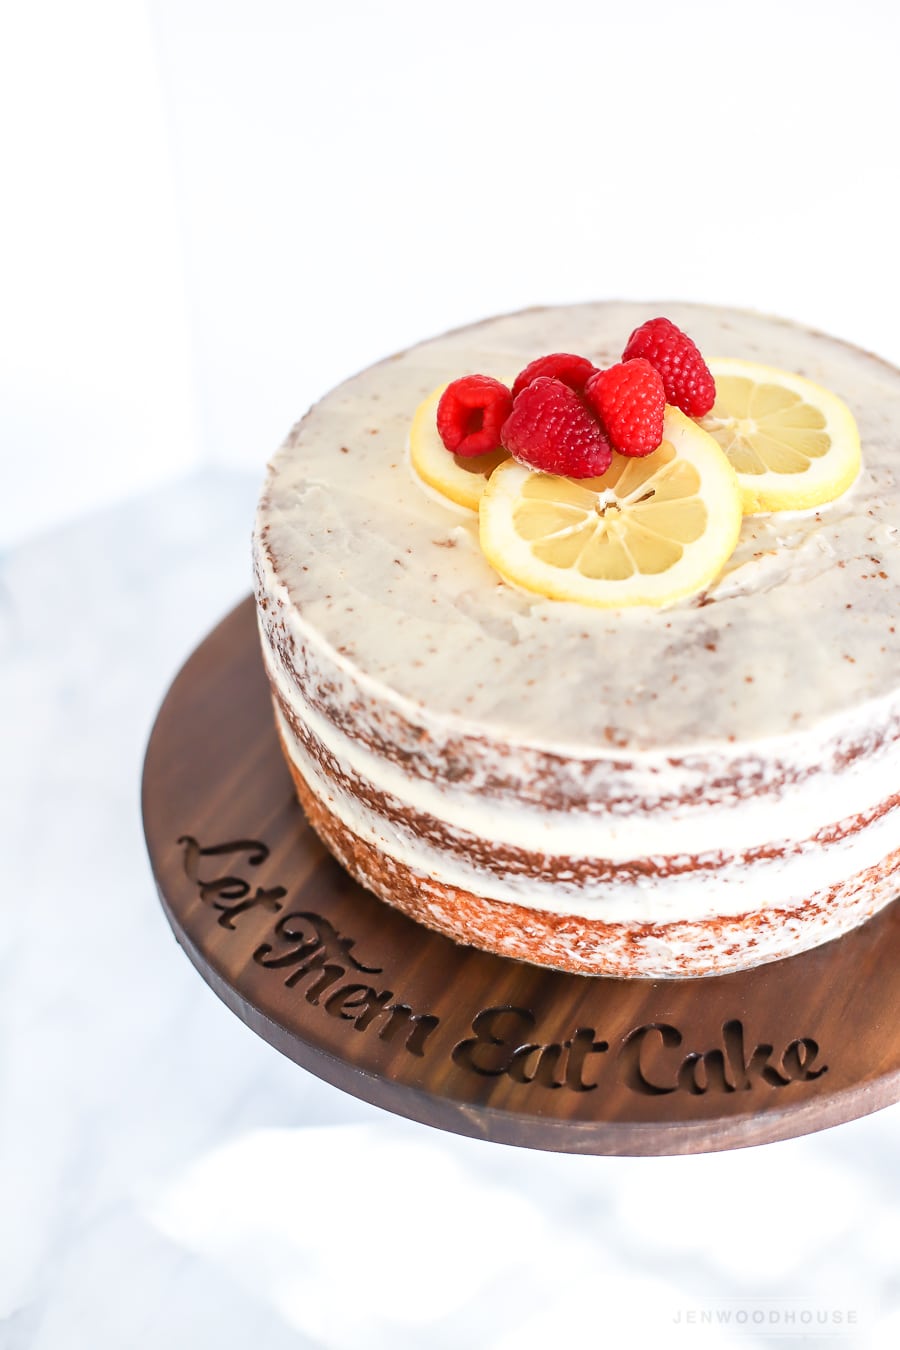
When Adam and I got married, we had the most amazing wedding cake: amaretto cake with raspberry filling and a vanilla buttercream icing. It was, hands down, the best cake I ever tasted. We knew we were supposed to wait a whole year to eat the topper, but we couldn’t wait that long. The entire cake was gone in a week! Don’t judge.
I searched high and low for the recipe, but haven’t been able to find it anywhere. This lemon amaretto cake recipe by Paula Deen was the closest thing I found, so I decided I’d give it a go! And what better excuse to make a DIY Cake Plate to display your beautiful and delicious cake? Instead of the meringue icing that goes with that recipe, I tried this Amaretto Buttercream recipe. It was so yummy, but it didn’t hold a candle to our life-changing wedding cake ten years ago. Oh, well. The search continues and I’m not mad about it!
 Supplies for a DIY Cake Stand
- Scrap wood (preferably a hardwood – I used poplar)
- Furniture bun foot
- Wood glue
- Food-safe finish (beeswax, mineral oil, or salad bowl finish)
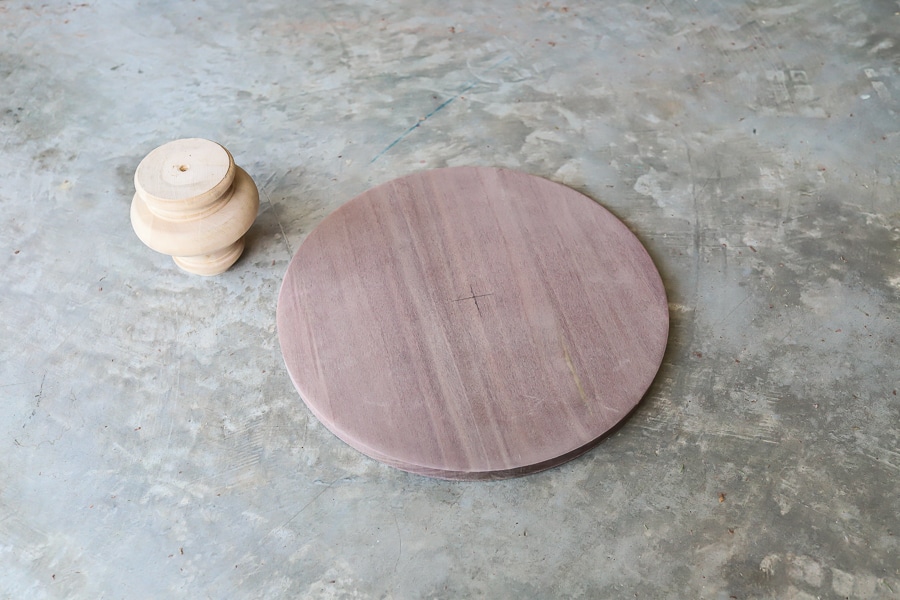
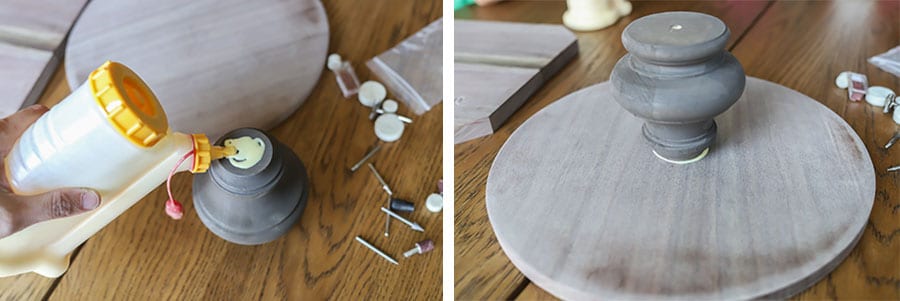
I glued up some scrap wood to make it about 13 inches square, then cut out a 12-inch circle with a jigsaw. Can you believe this is poplar? It looks like black walnut! So drool-worthy.
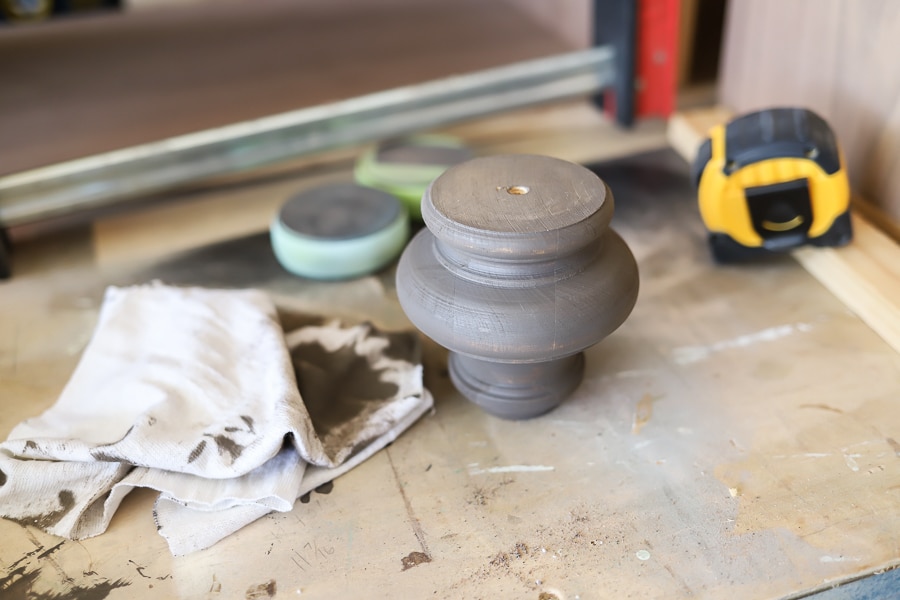
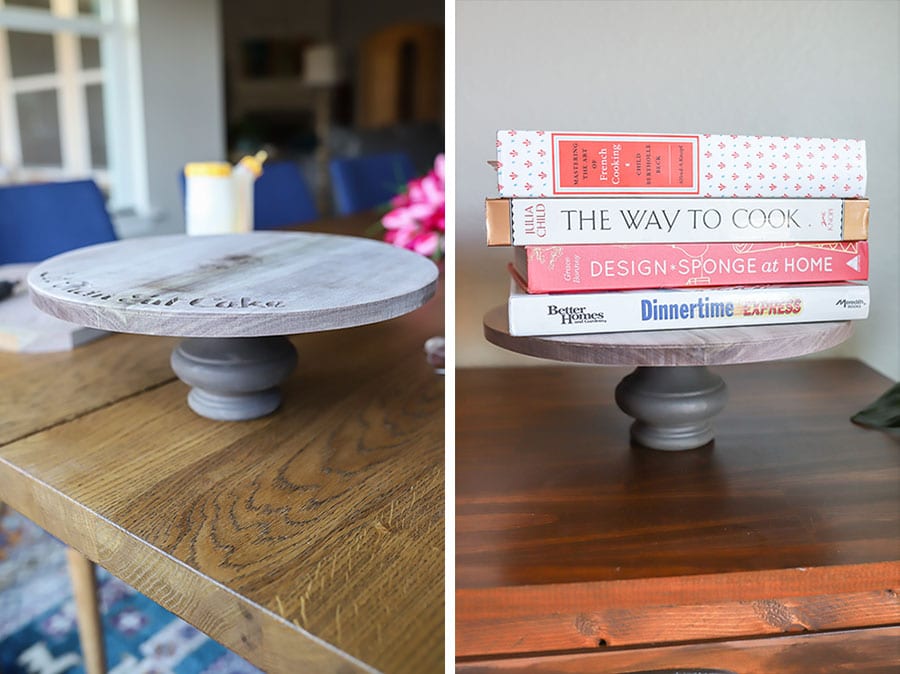
That’s it! Easiest DIY cake plate ever, right?!
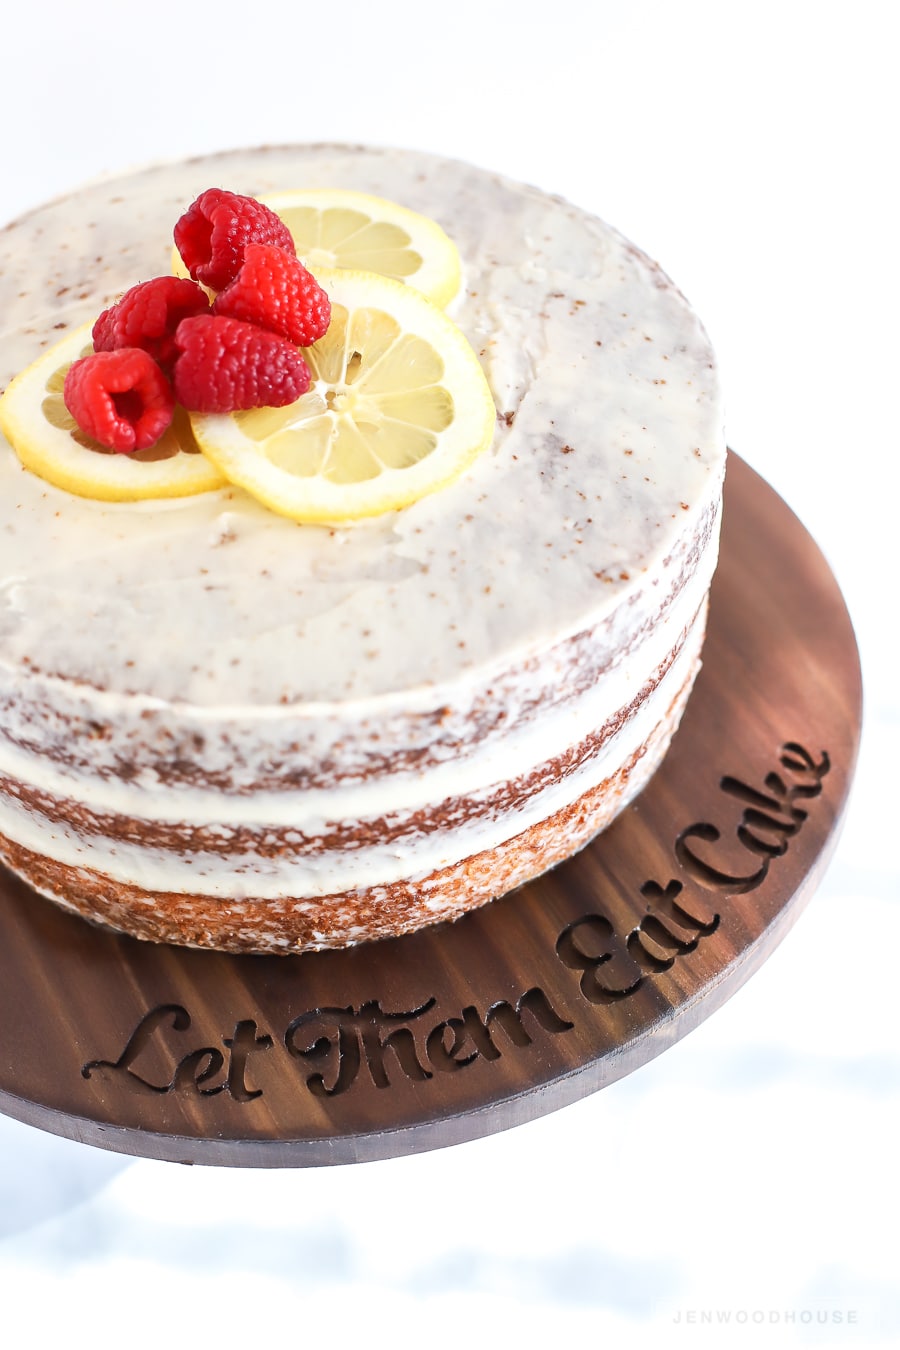
And now, let us eat cake!
 Supplies for a DIY Cake Stand

Leave a Reply